


Boomerang Ranger
 01-29-2024, 08:31 AM
#1
Hi,
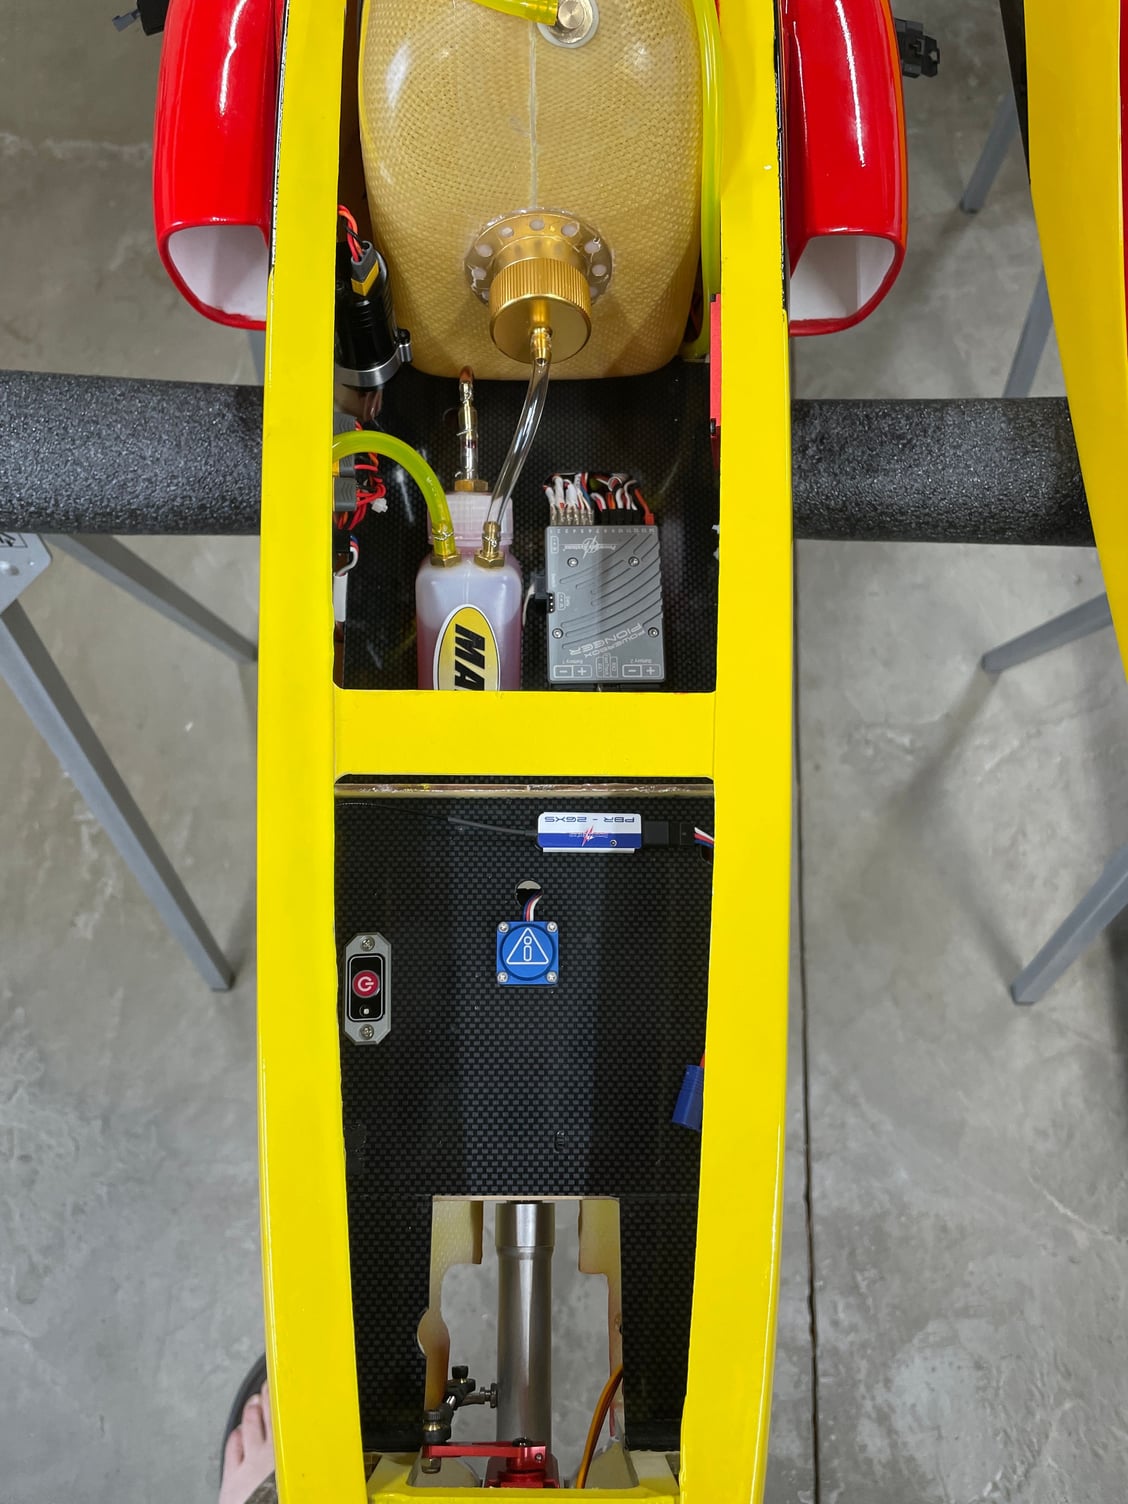
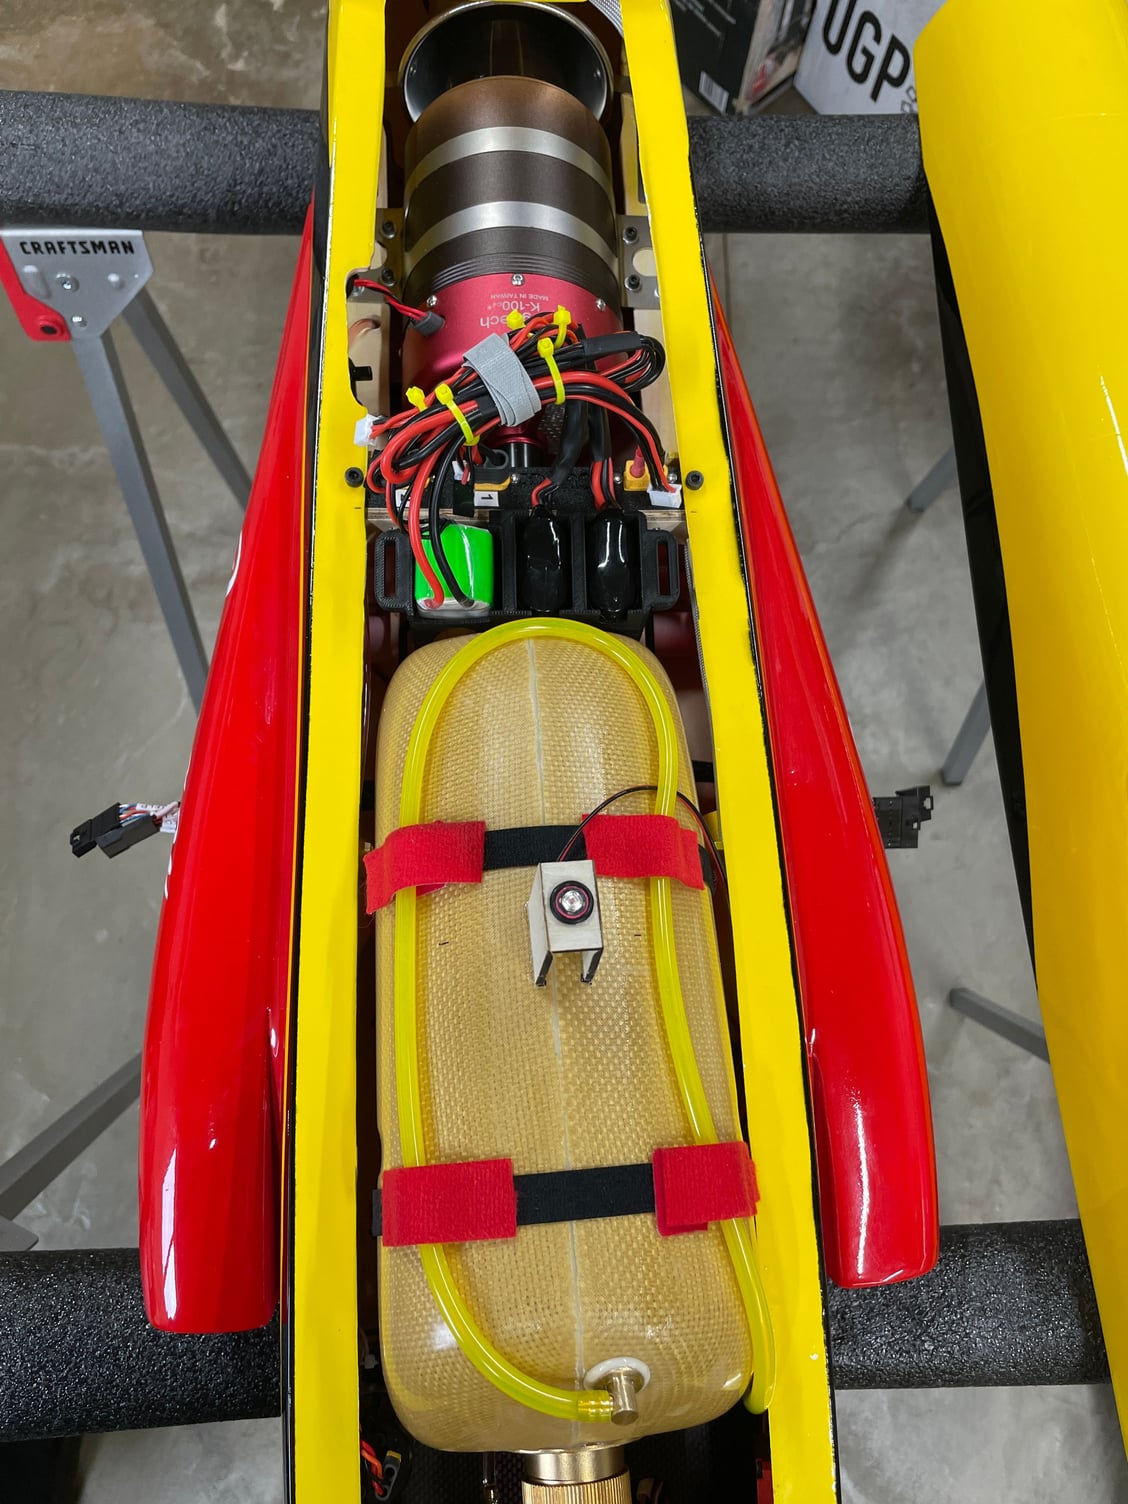
I am building a Ranger. I noticed from photos on FB that folks place the batteries between the fuel tank and turbine. Apparently, the model tends to be nose heavy.
The fuel tank is largely in front of the CG. Why do designers do this?
It seems to me the fuel tank can goes more rearward by cutting out the most rear fiberglass fuselage strap. The strap does not appear to be a structural necessity.
Has anyone else done this?
 02-07-2024, 12:37 PM
#2
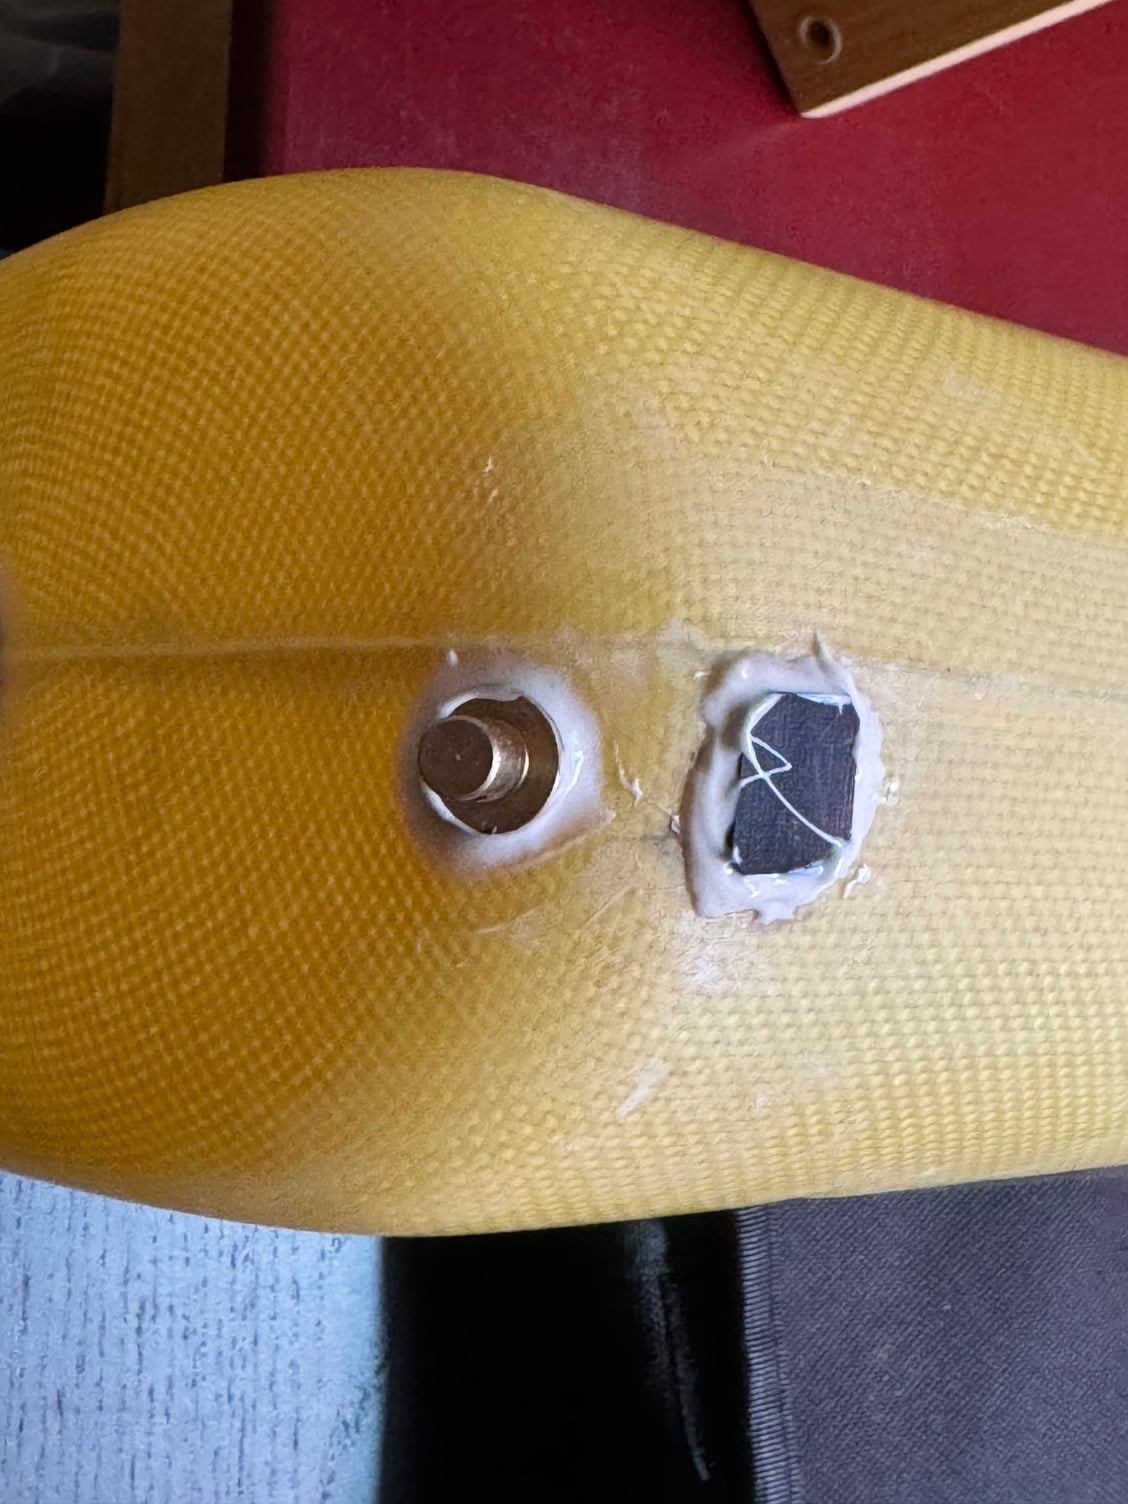
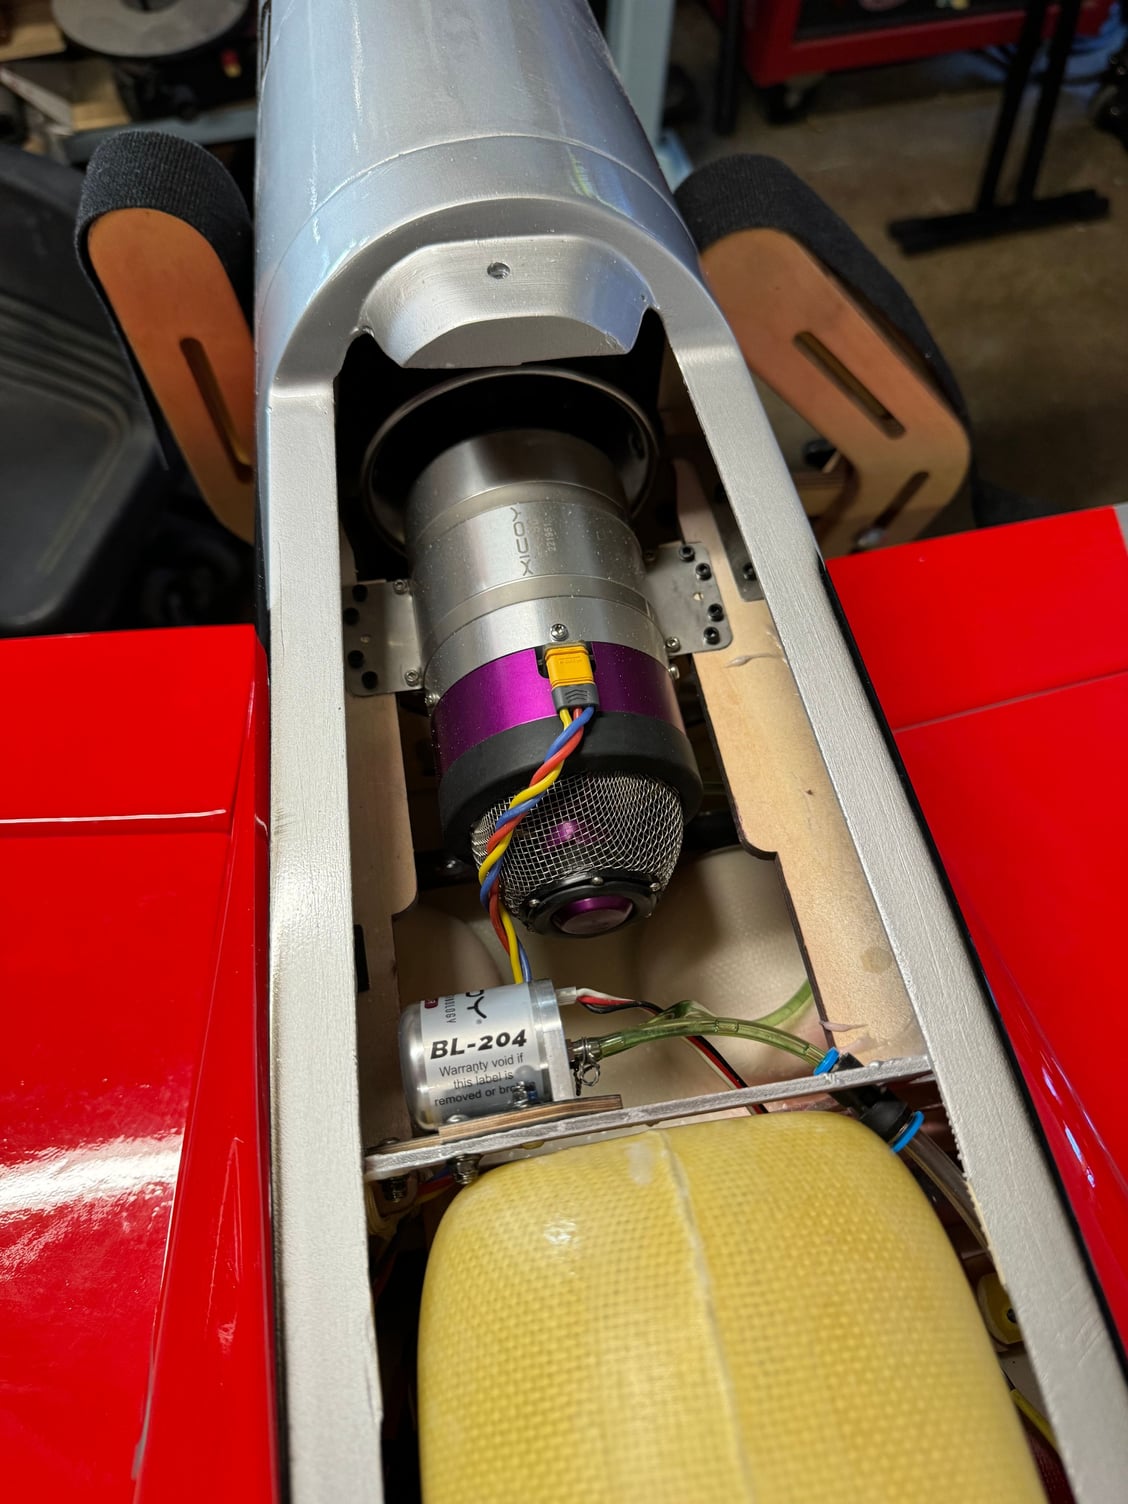
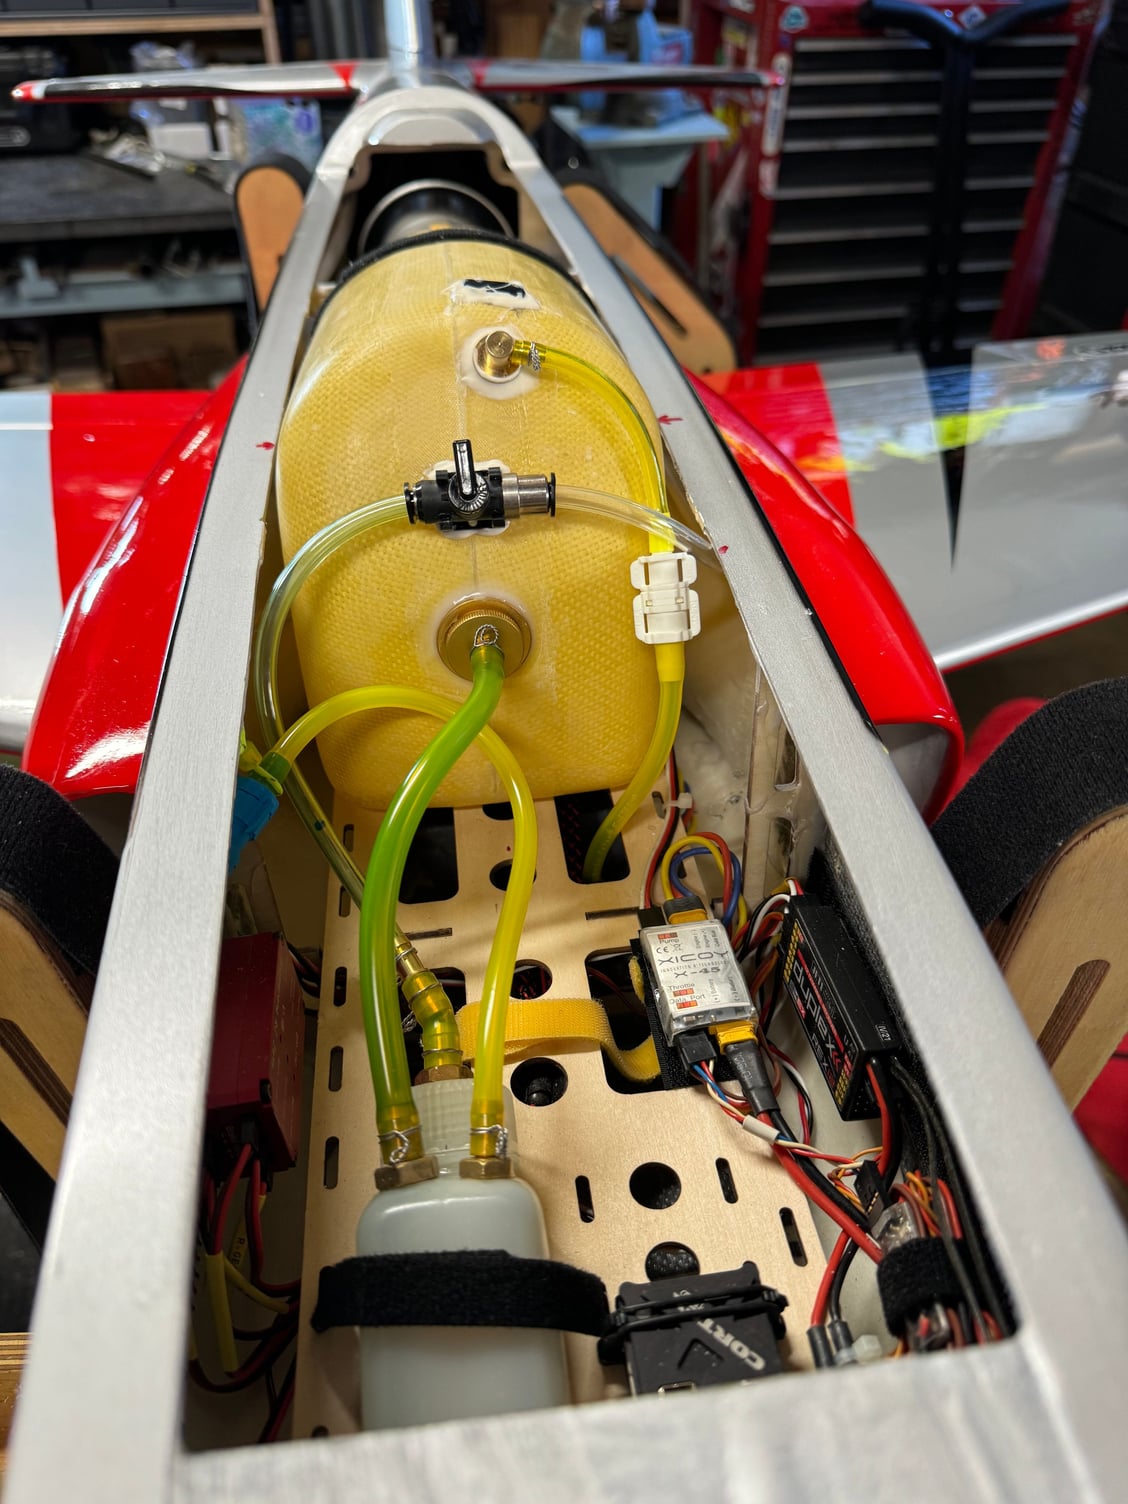
The instruction manual does not indicate where the vent line should be installed on the tank. The builder must drill a hole and epoxy-in the supplied brass vent fitting.
I chose the high point of the tank. That is generally the place to put a vent. However, that is not the spot. The canopy will not fit with the vent sticking out the top of the tank.
The spot that works is high up on the front face of the tank.
Now this makes me unhappy, because I have a patch on top of the tank that I will have to look at each time I fly.
02-08-2024, 08:07 AM
#4

My Feedback: (27)
Join Date: May 2002
Location: dimondale,
MI
Posts: 242
Likes: 0
Received 0 Likes
on
0 Posts
I took a razor blade and scraped off the runs in the clear coat.
then I wet sanded with 1000,2000, and followed by 3000.
I finished with buffing with some light compound.
This helped the appearance a lot and may have removed a oz or two
then I wet sanded with 1000,2000, and followed by 3000.
I finished with buffing with some light compound.
This helped the appearance a lot and may have removed a oz or two
02-11-2024, 04:16 PM
#6
Hi,
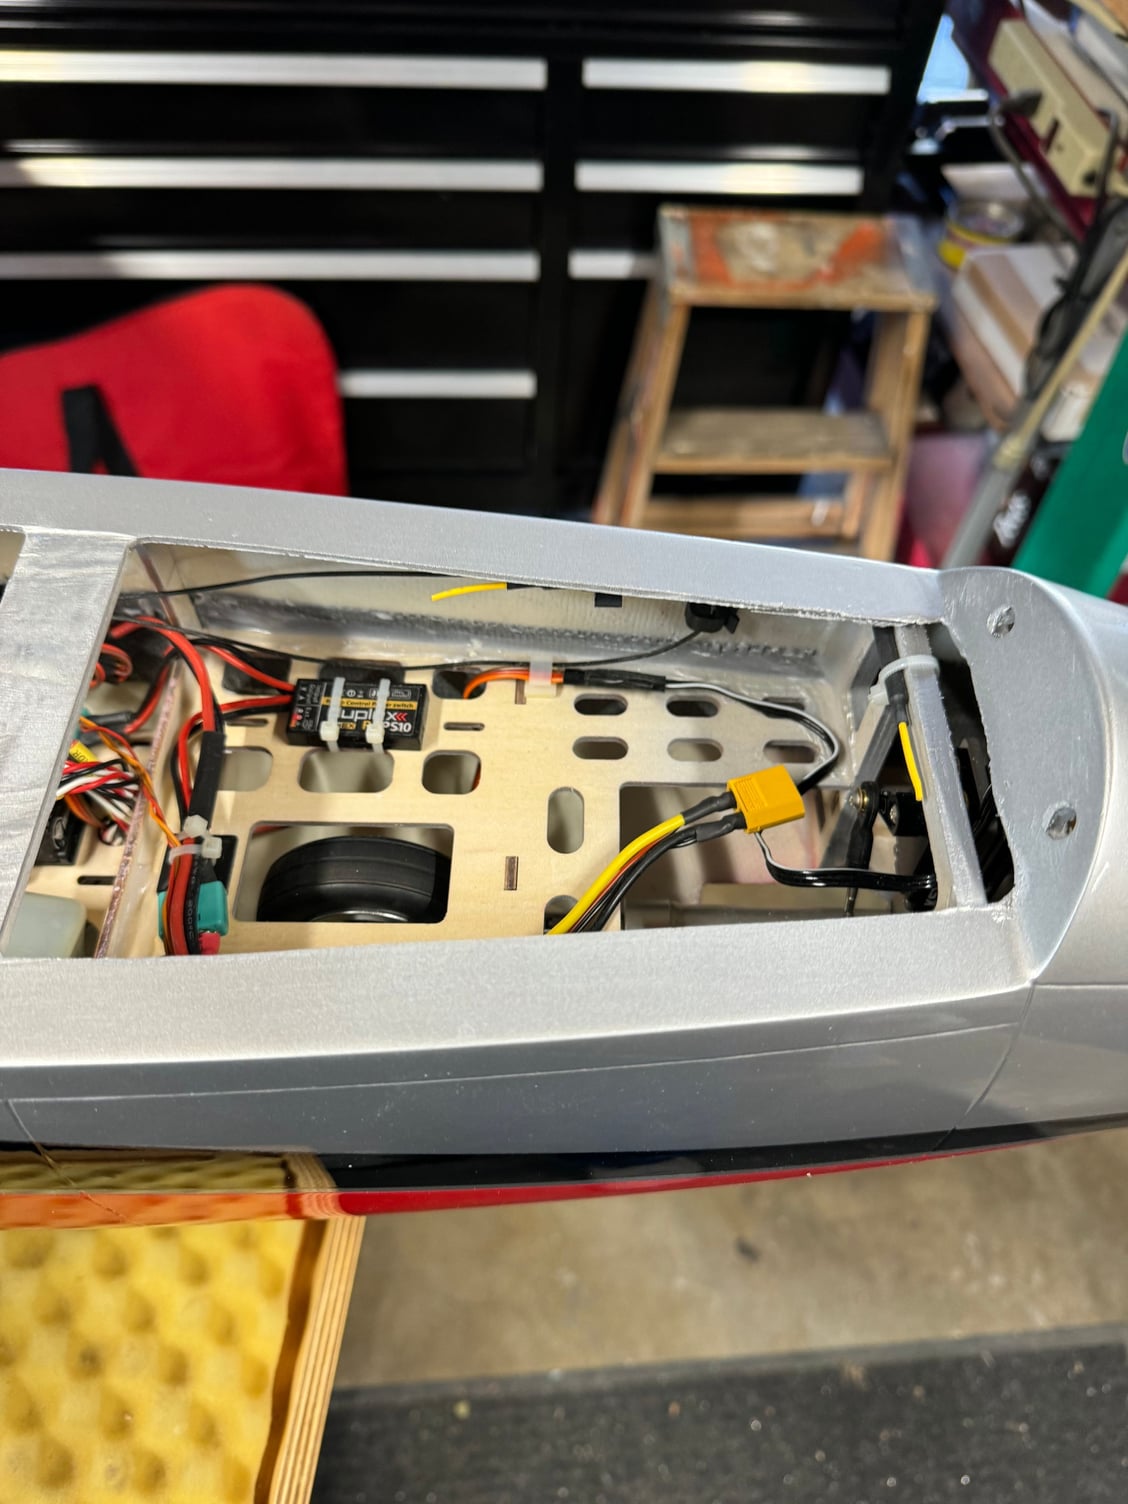
I finished the Ranger. Just working on the CG next. The empty weigh is 18.94lbs (8.61kg).
Here are my comments:
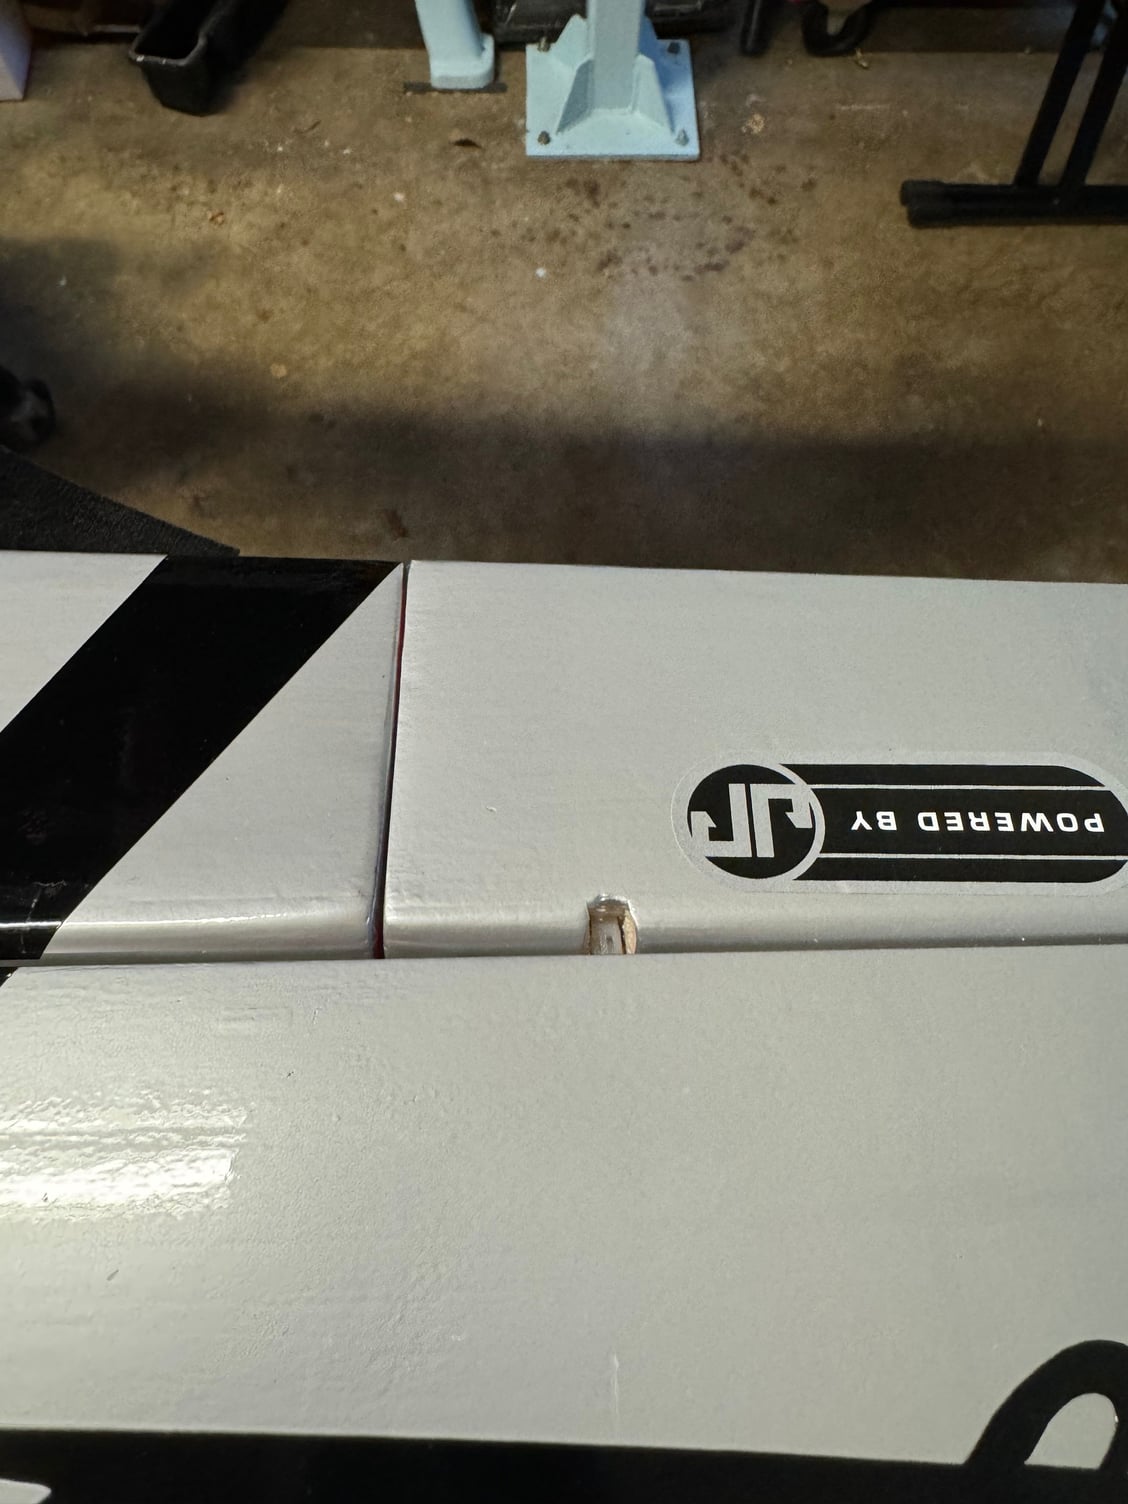
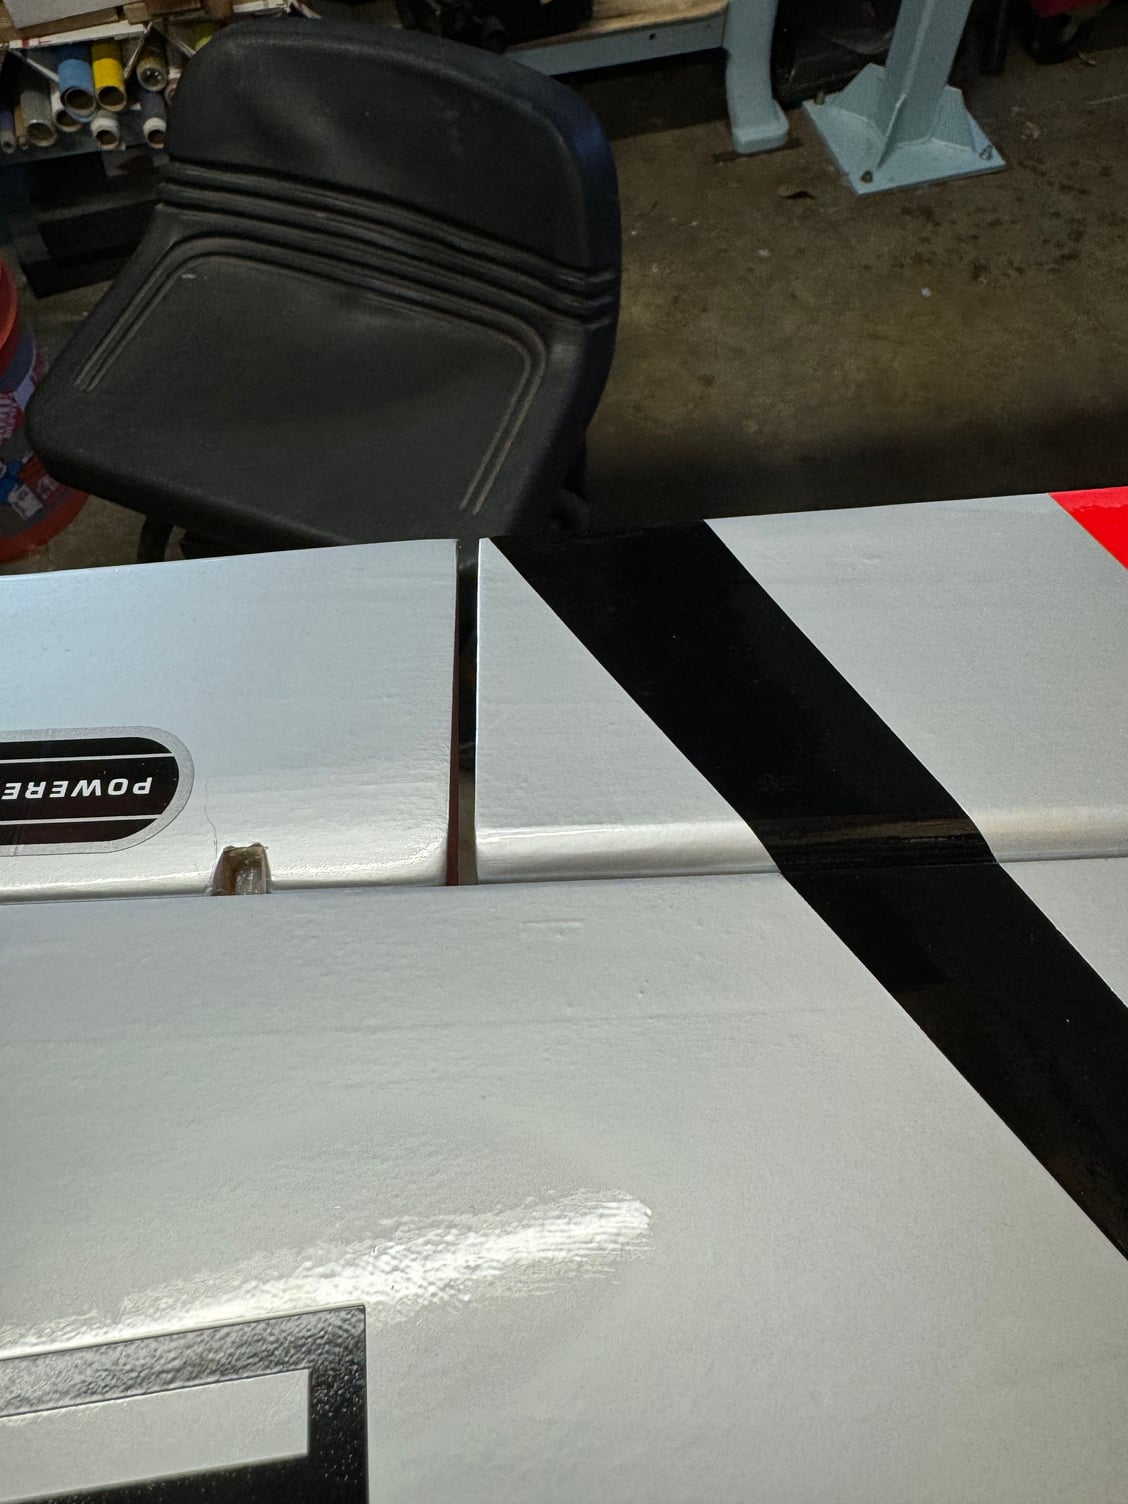
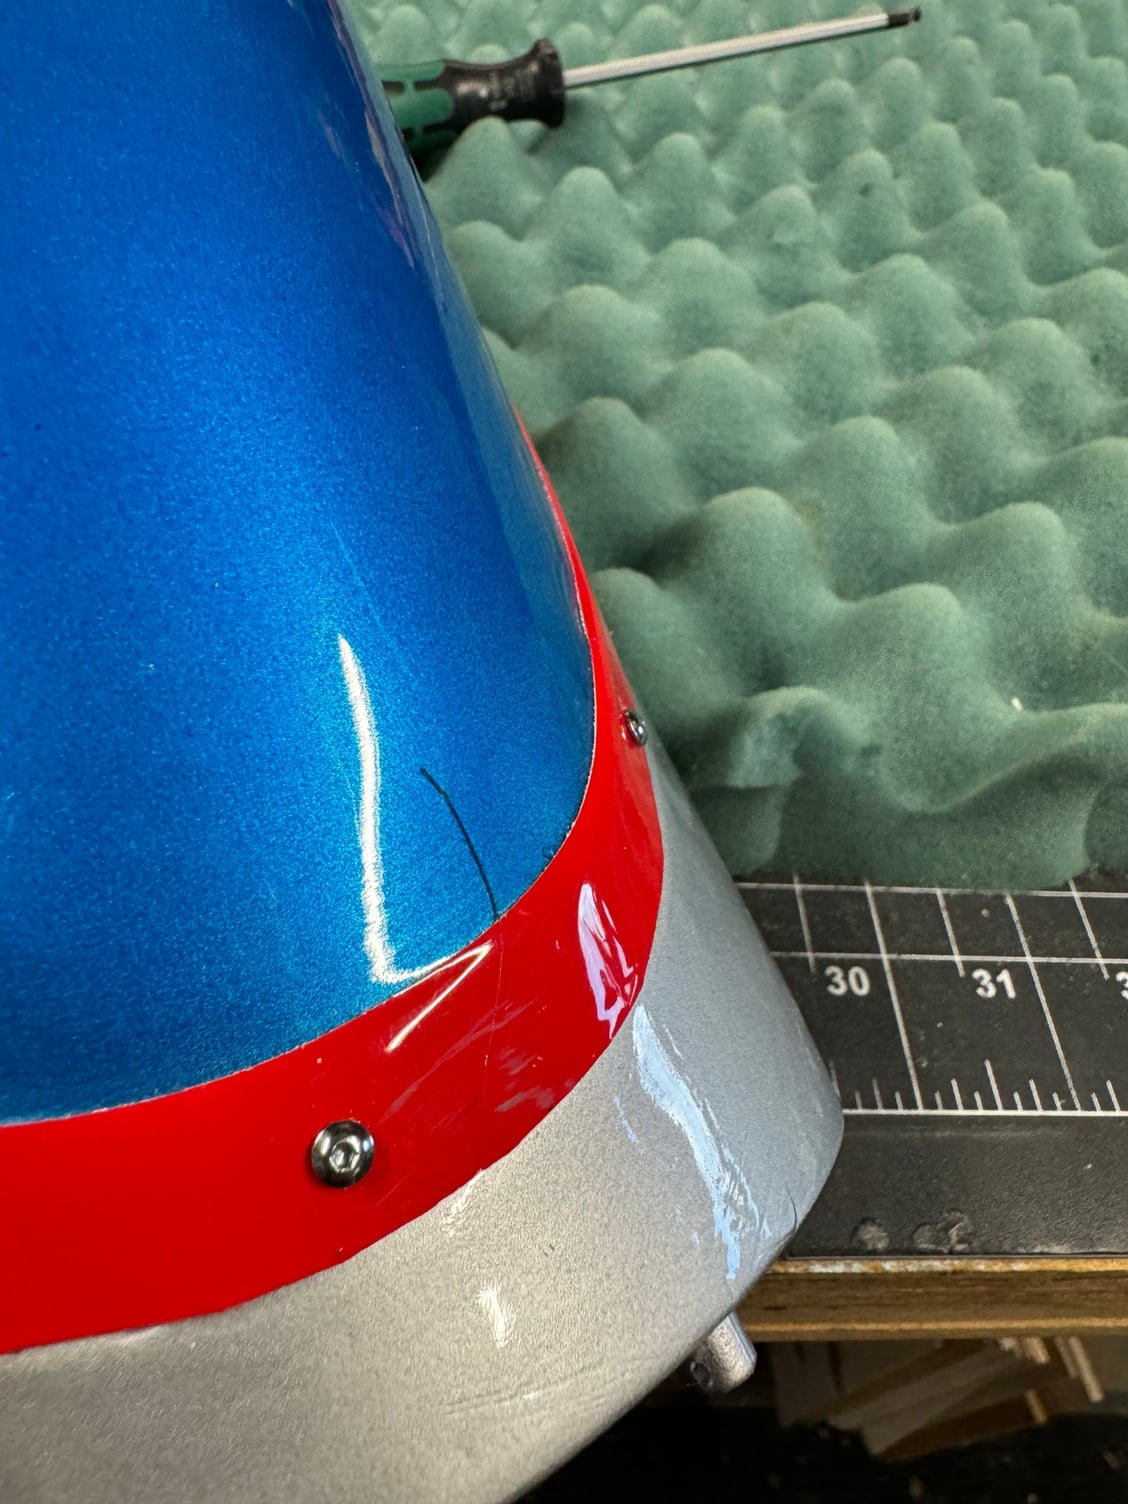
1. The clear coat has a few runs.
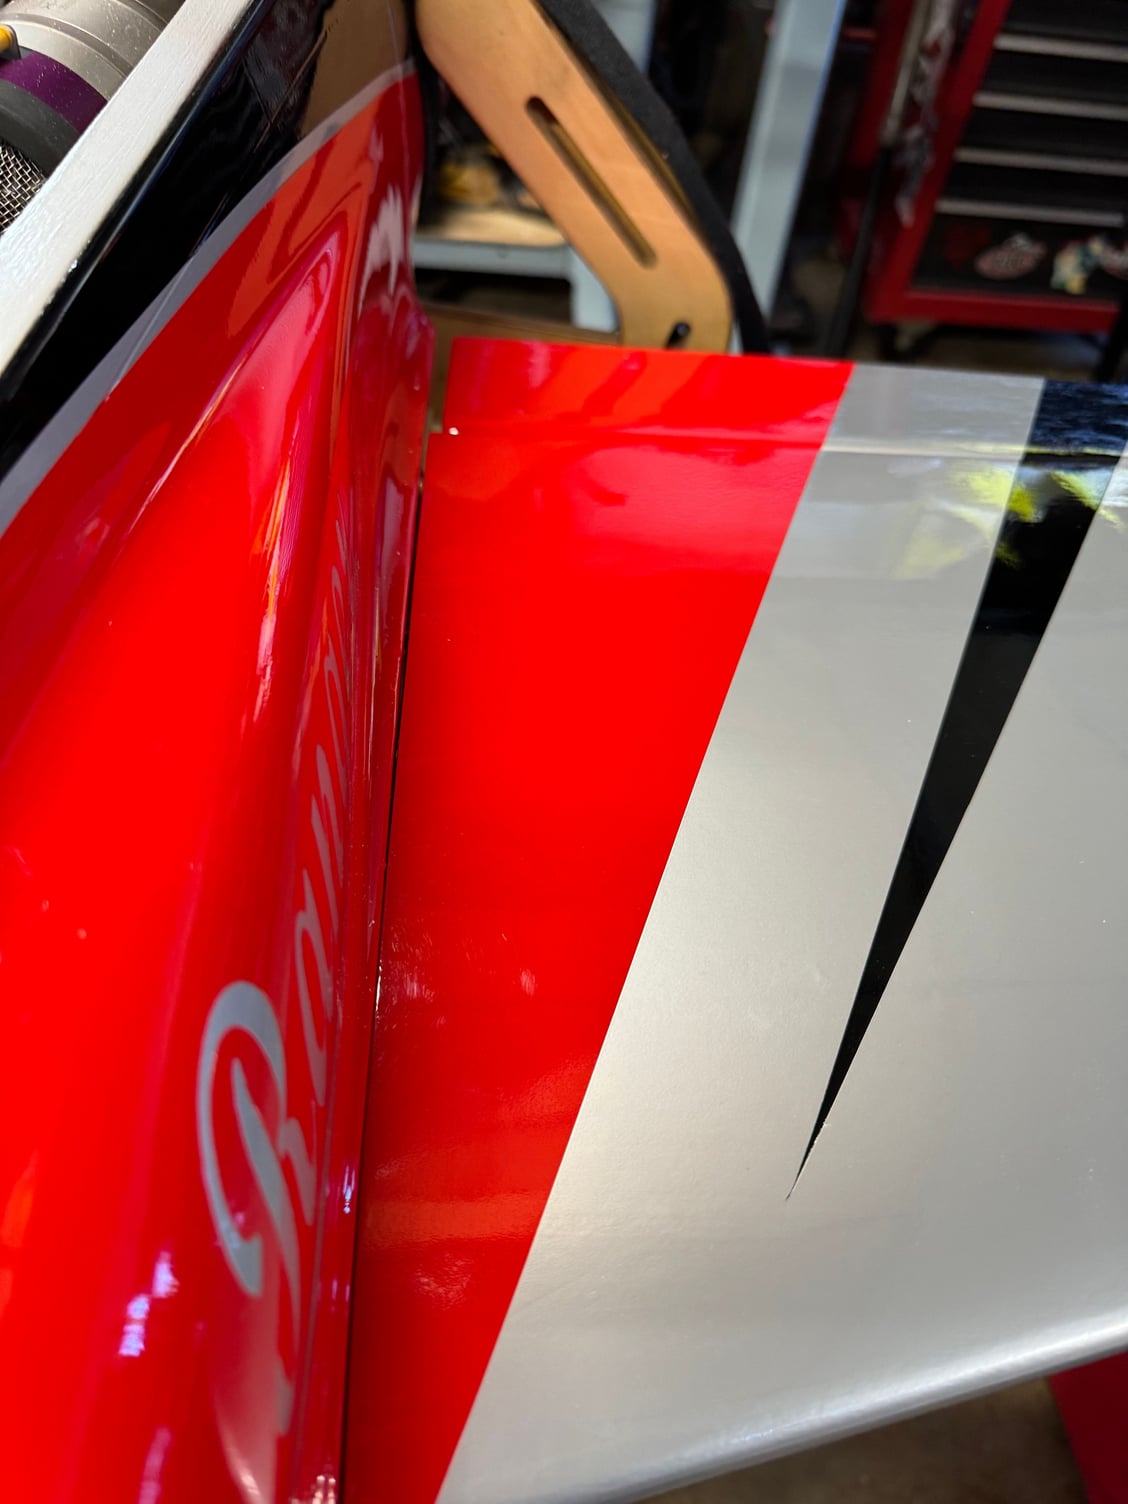
2. The wing does not seat up to the fuselage well enough. It would be better if there were screws holding the wing on, rather than the tabs. The wing fits fine but doesn't seat without a push. The tabs have no tension. I was careful tape the wing tightly to the fuselage when I drilled the tabs. It looks worse in real life than in photos.
3. The canopy frame has to be sanded to clear the tank. I added a split piece of tubing to seat between the former and the tank.
4. It is best to glue the ailerons on first, before the flaps. The aileron hinges lock them in place, while the flap hinges can slide back and forth along the wing. I did not pay close enough attention to this fact and ended up with different gaps for each wing.
5. My canopy shipped with a crack and I hope it don't grow. But I screwed it on, so it can be easily replaced.
6. Screw the rudder on before you insert the pipe. Fitting the pipe is a real puzzle once you get it together you'll never want to take in apart.
7. The gear has to be down to slide the wings on. The wing joiner seems too short to do this. I use spare JP gear controller to drop the gear before I put the wings on.
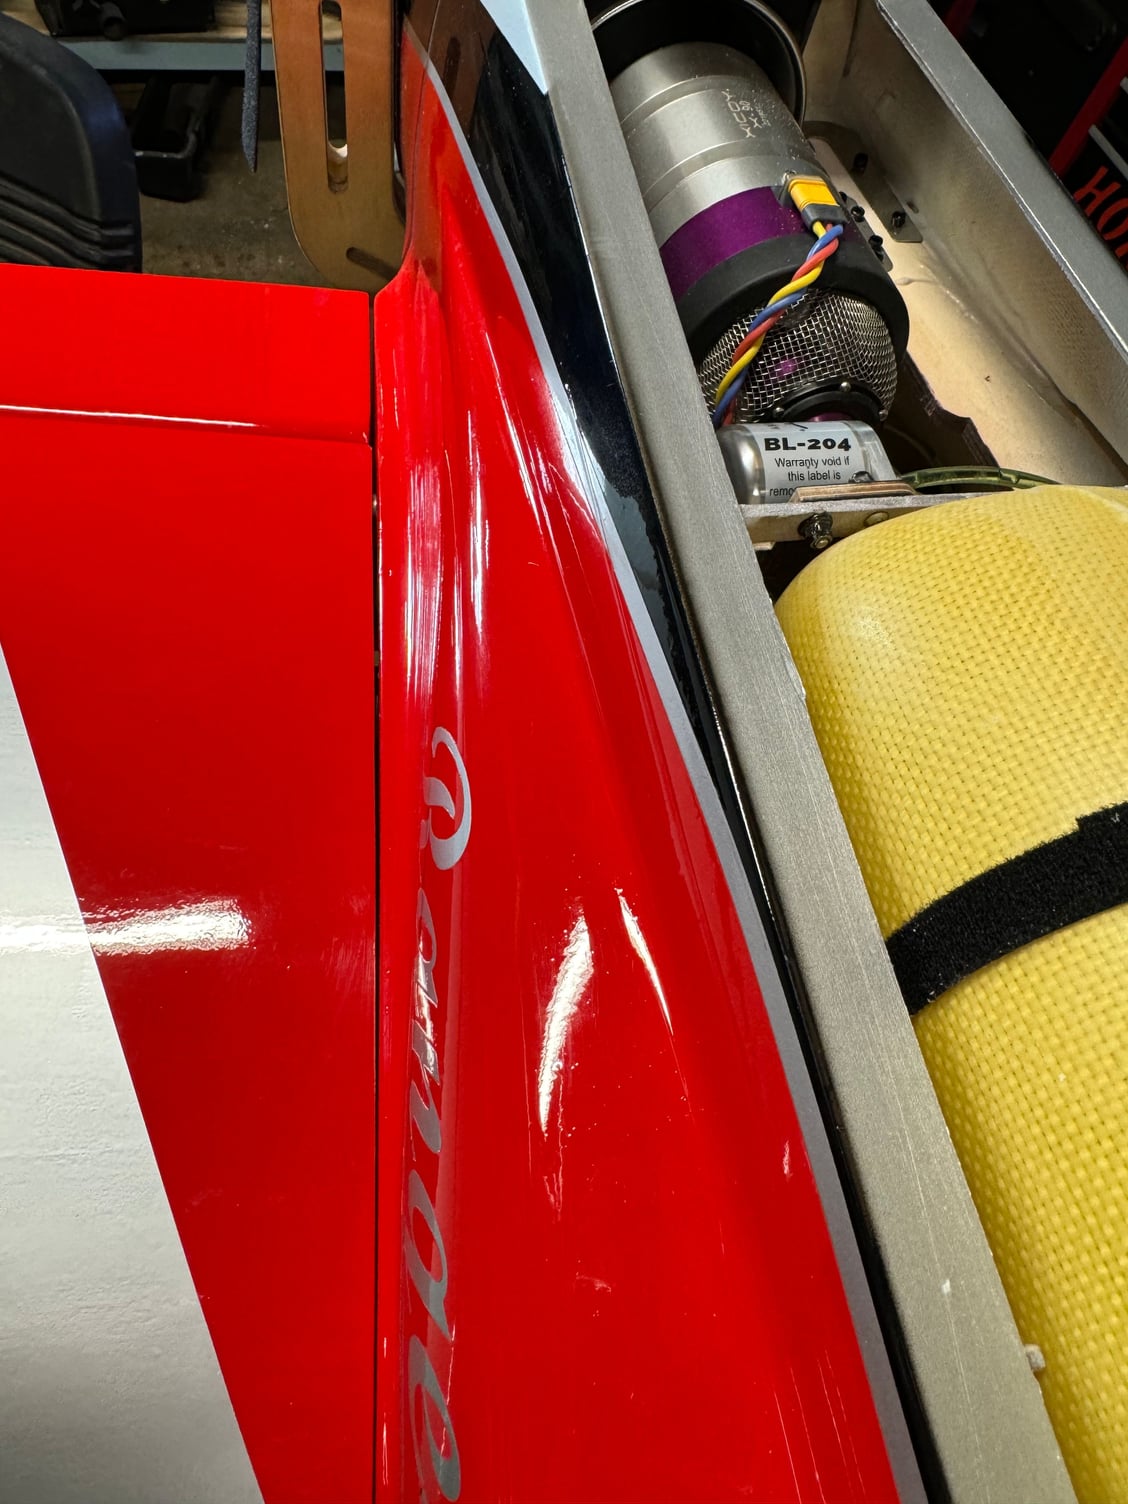
It appears to be a strong airplane. The JP landing gear is very beefy. I have had good success with JP. I wish the fuel tank was only 2.2l and over the CG. I would like to have been able to us 10-pin connectors for the wing harnesses (there isn't room).
I am looking forward to flying it.
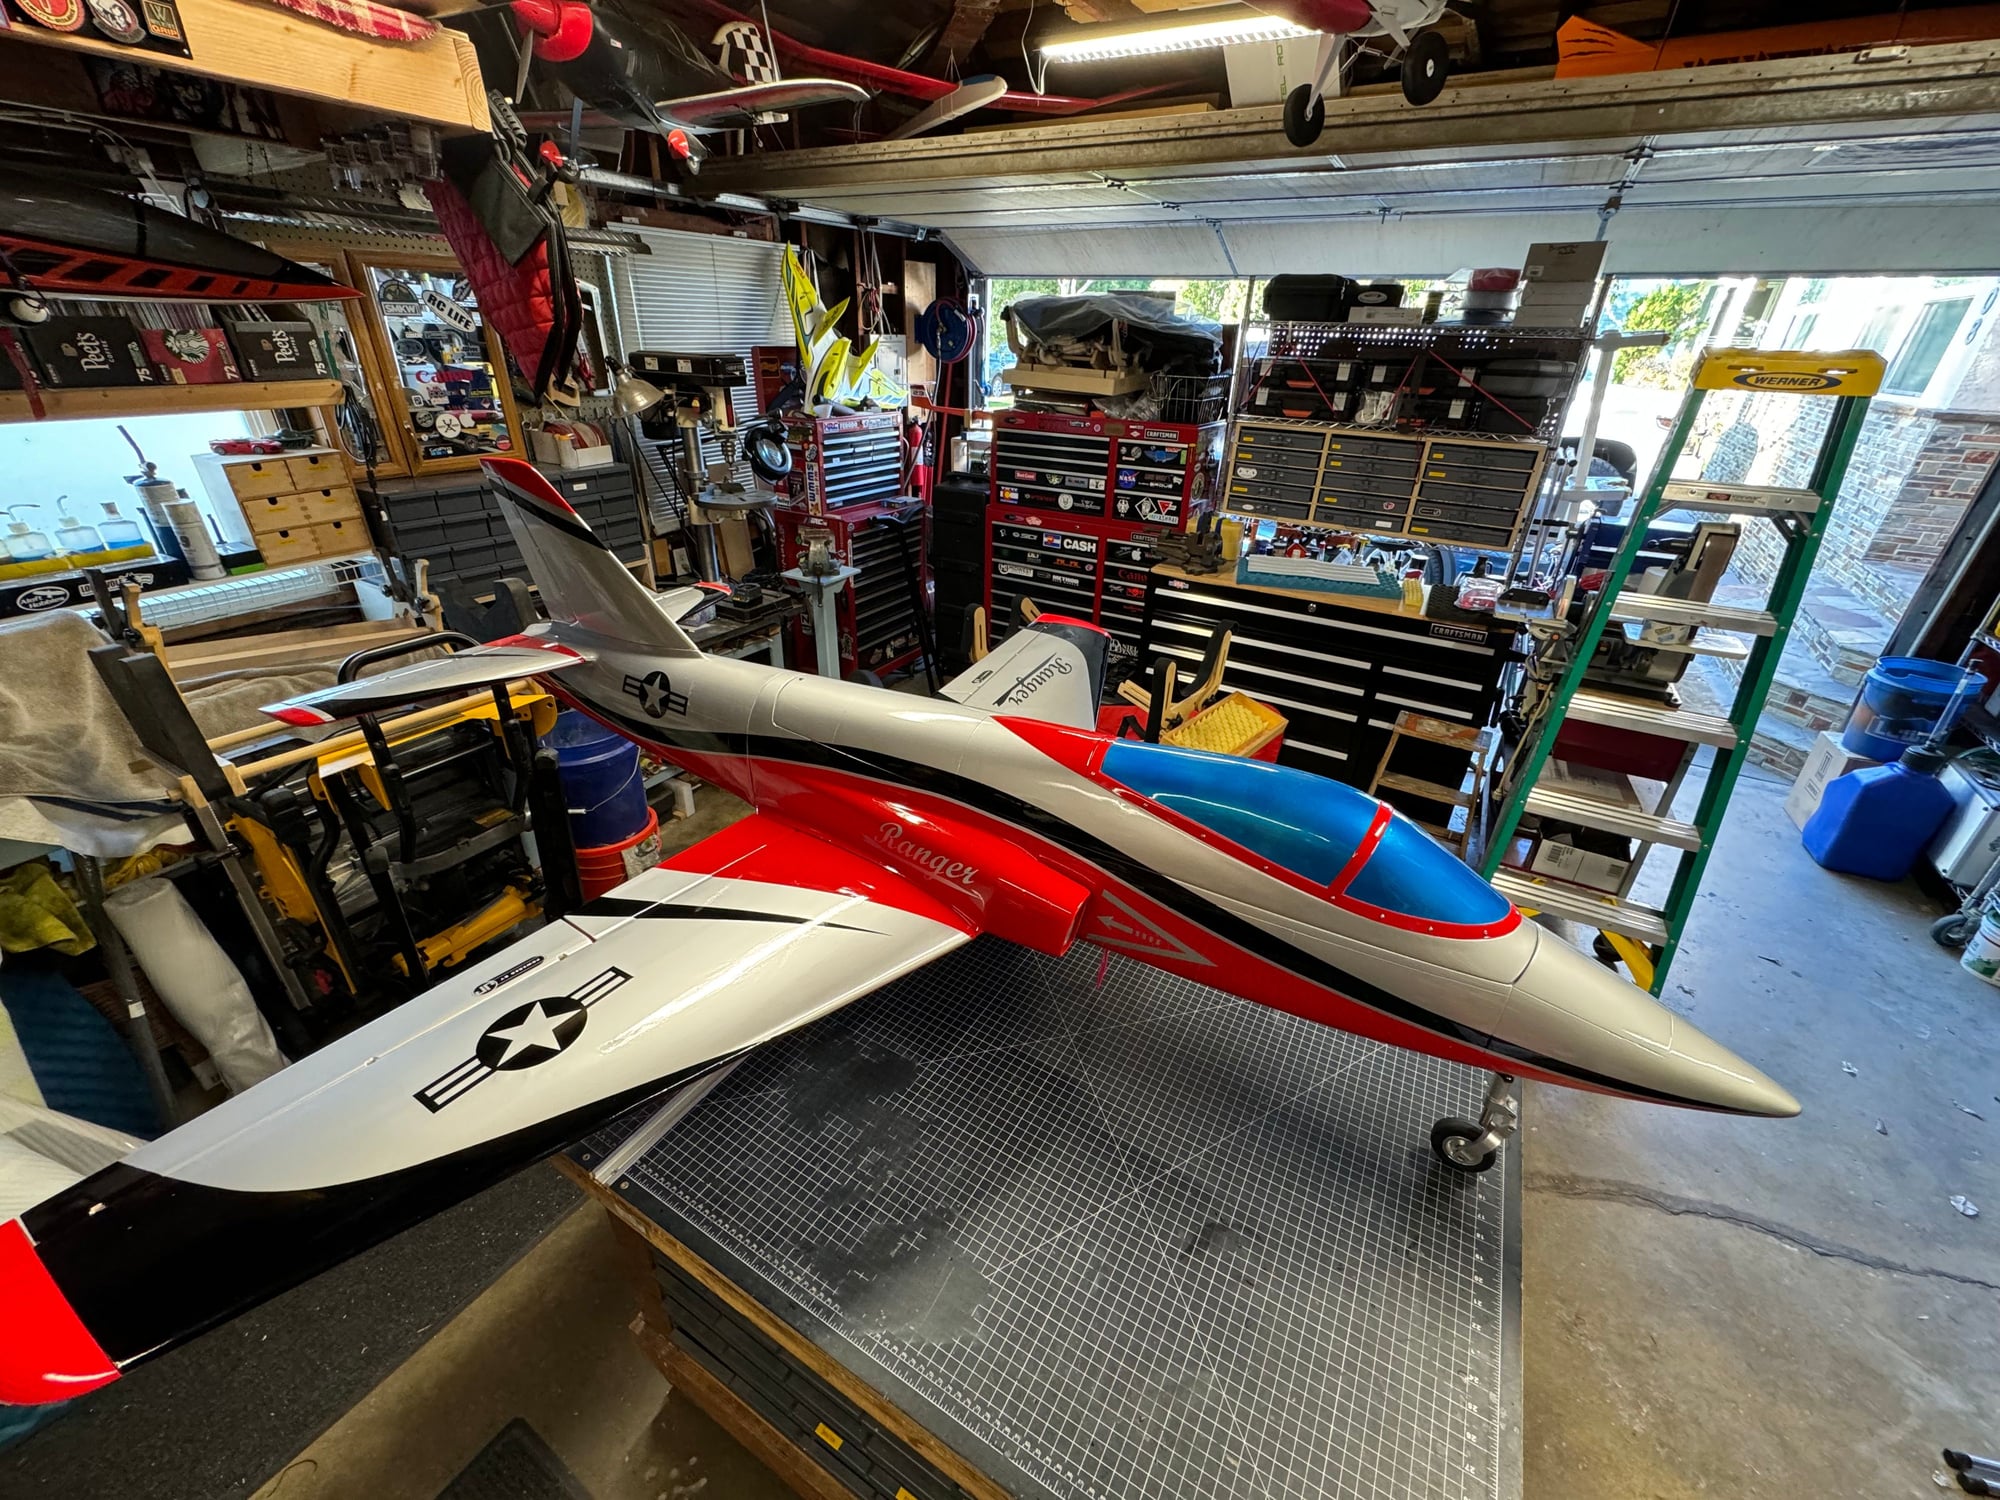
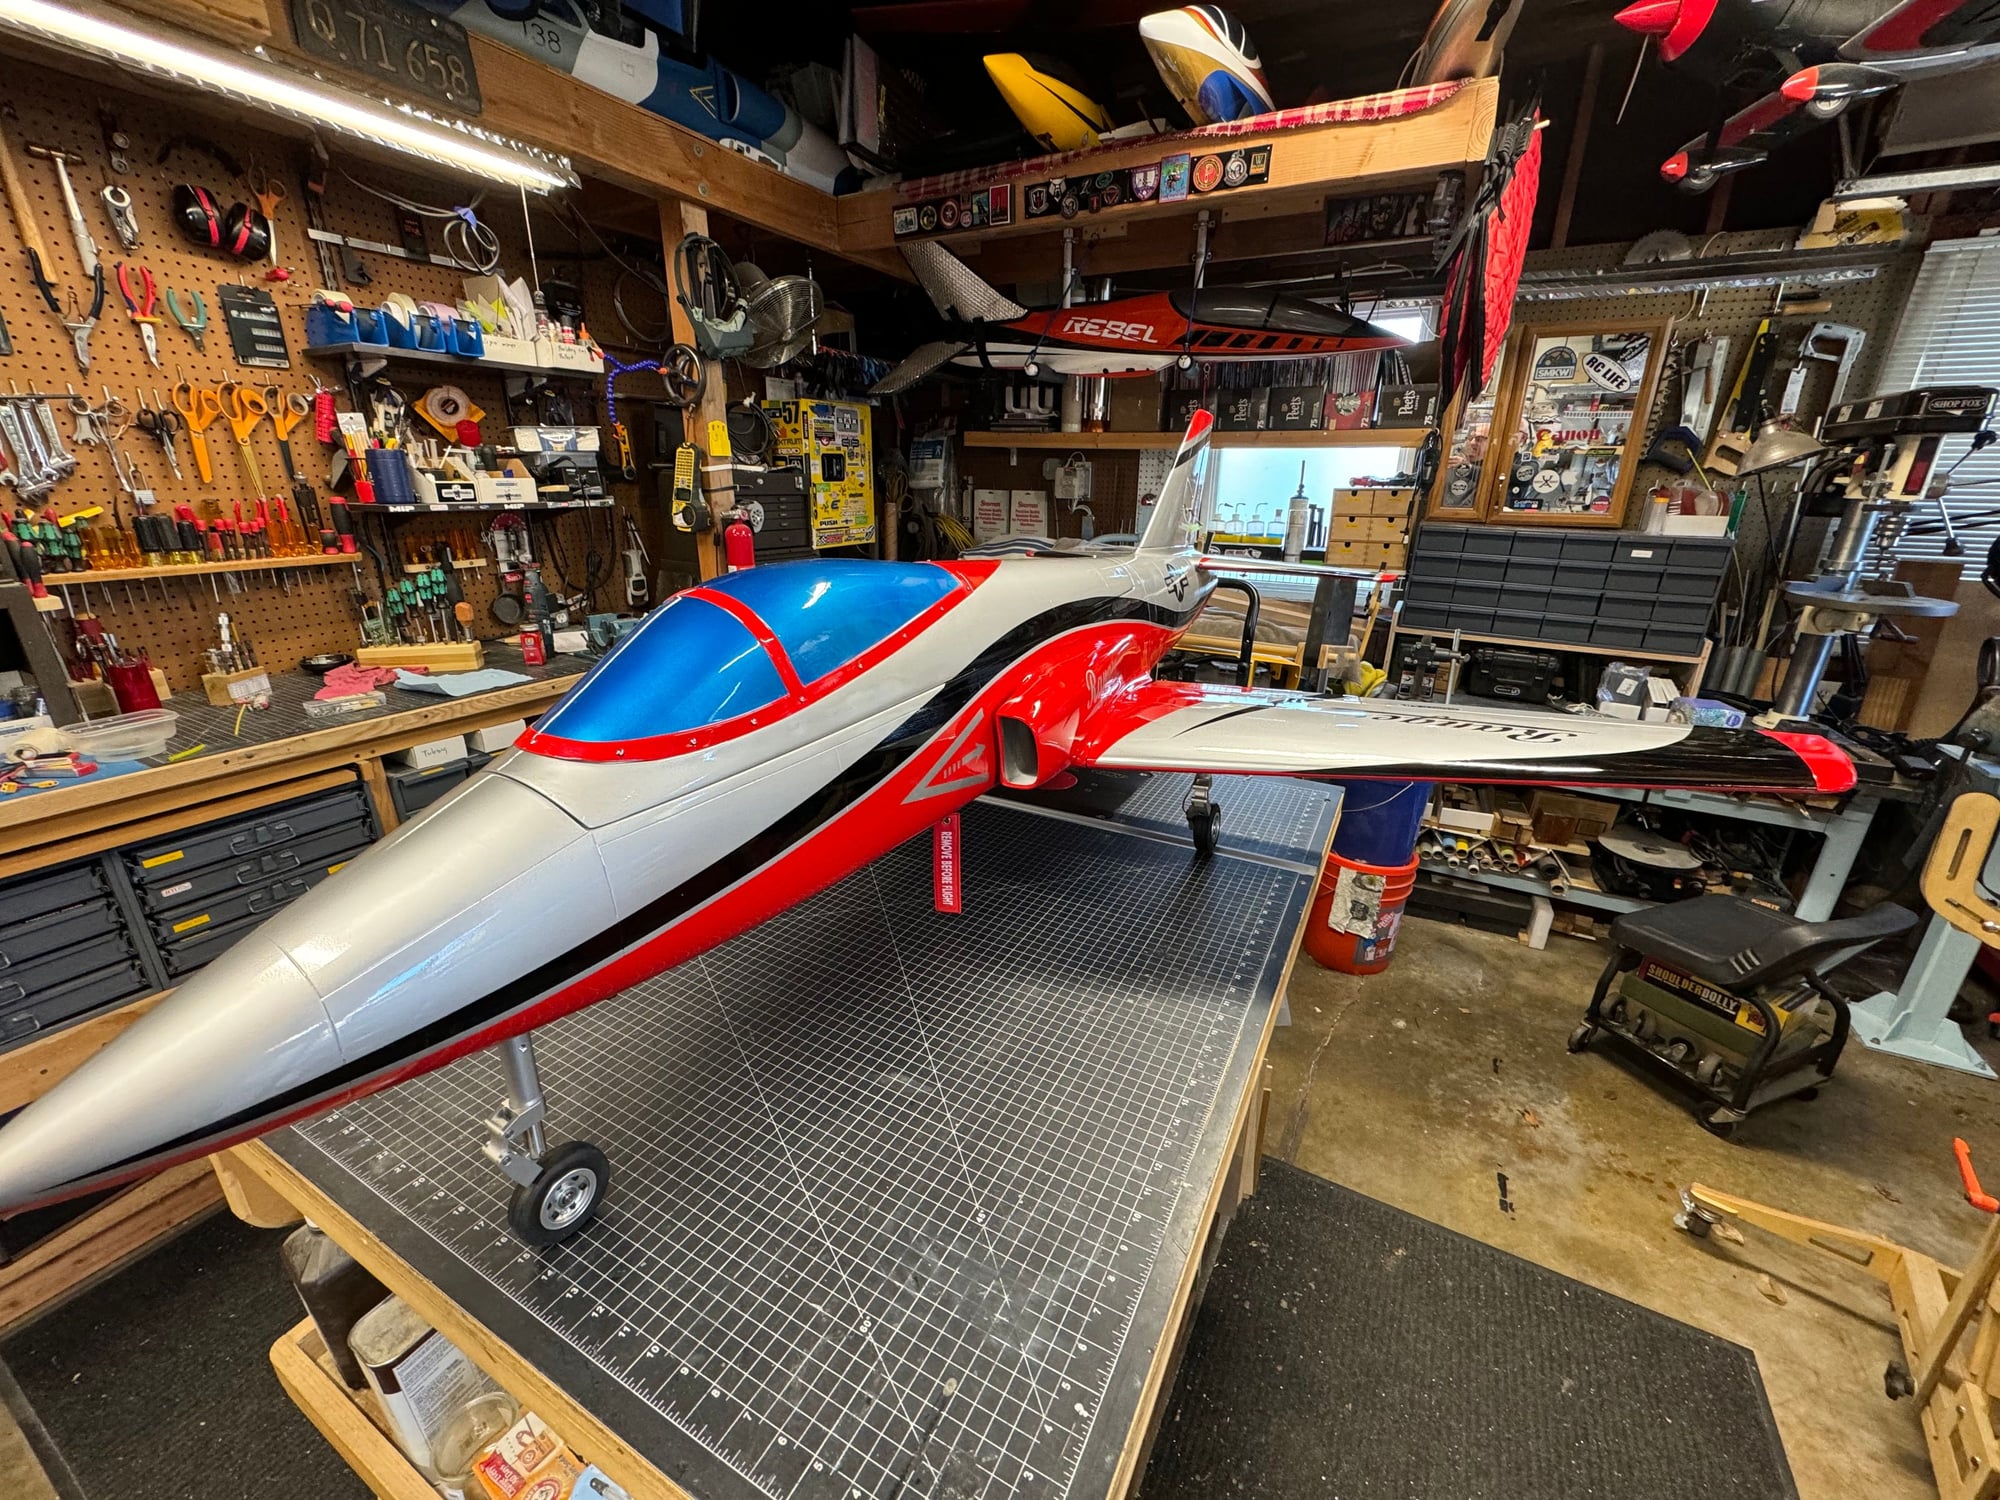
I finished the Ranger. Just working on the CG next. The empty weigh is 18.94lbs (8.61kg).
Here are my comments:
1. The clear coat has a few runs.
2. The wing does not seat up to the fuselage well enough. It would be better if there were screws holding the wing on, rather than the tabs. The wing fits fine but doesn't seat without a push. The tabs have no tension. I was careful tape the wing tightly to the fuselage when I drilled the tabs. It looks worse in real life than in photos.
3. The canopy frame has to be sanded to clear the tank. I added a split piece of tubing to seat between the former and the tank.
4. It is best to glue the ailerons on first, before the flaps. The aileron hinges lock them in place, while the flap hinges can slide back and forth along the wing. I did not pay close enough attention to this fact and ended up with different gaps for each wing.
5. My canopy shipped with a crack and I hope it don't grow. But I screwed it on, so it can be easily replaced.
6. Screw the rudder on before you insert the pipe. Fitting the pipe is a real puzzle once you get it together you'll never want to take in apart.
7. The gear has to be down to slide the wings on. The wing joiner seems too short to do this. I use spare JP gear controller to drop the gear before I put the wings on.
It appears to be a strong airplane. The JP landing gear is very beefy. I have had good success with JP. I wish the fuel tank was only 2.2l and over the CG. I would like to have been able to us 10-pin connectors for the wing harnesses (there isn't room).
I am looking forward to flying it.

The following users liked this post:
PowerDrum (04-03-2024)
04-09-2024, 10:42 AM
#12
My Feedback: (48)
Hi Gary,
The recommended control throws in the manual are about twice what they should be. Here's what I'm using:
AL: 18 mm.
EL: 21 mm.
RU: 30 mm.
FL: 25/72 mm. Flap:Elevator compensation -1/ -4 mm.
CG: 165 mm. Use 160mm. for your first flight.
I'd also recommend using your triple rates to set a little more and a little less than the above to see what suits you best.
Joe
