


Skyline. 2m F3a Bipe


 05-29-2019 | 05:56 AM
#3
Thread Starter

No i draw it then send it to Belair (uk) to have it cut. Would love a laser cutter but money and space wont allow 😀
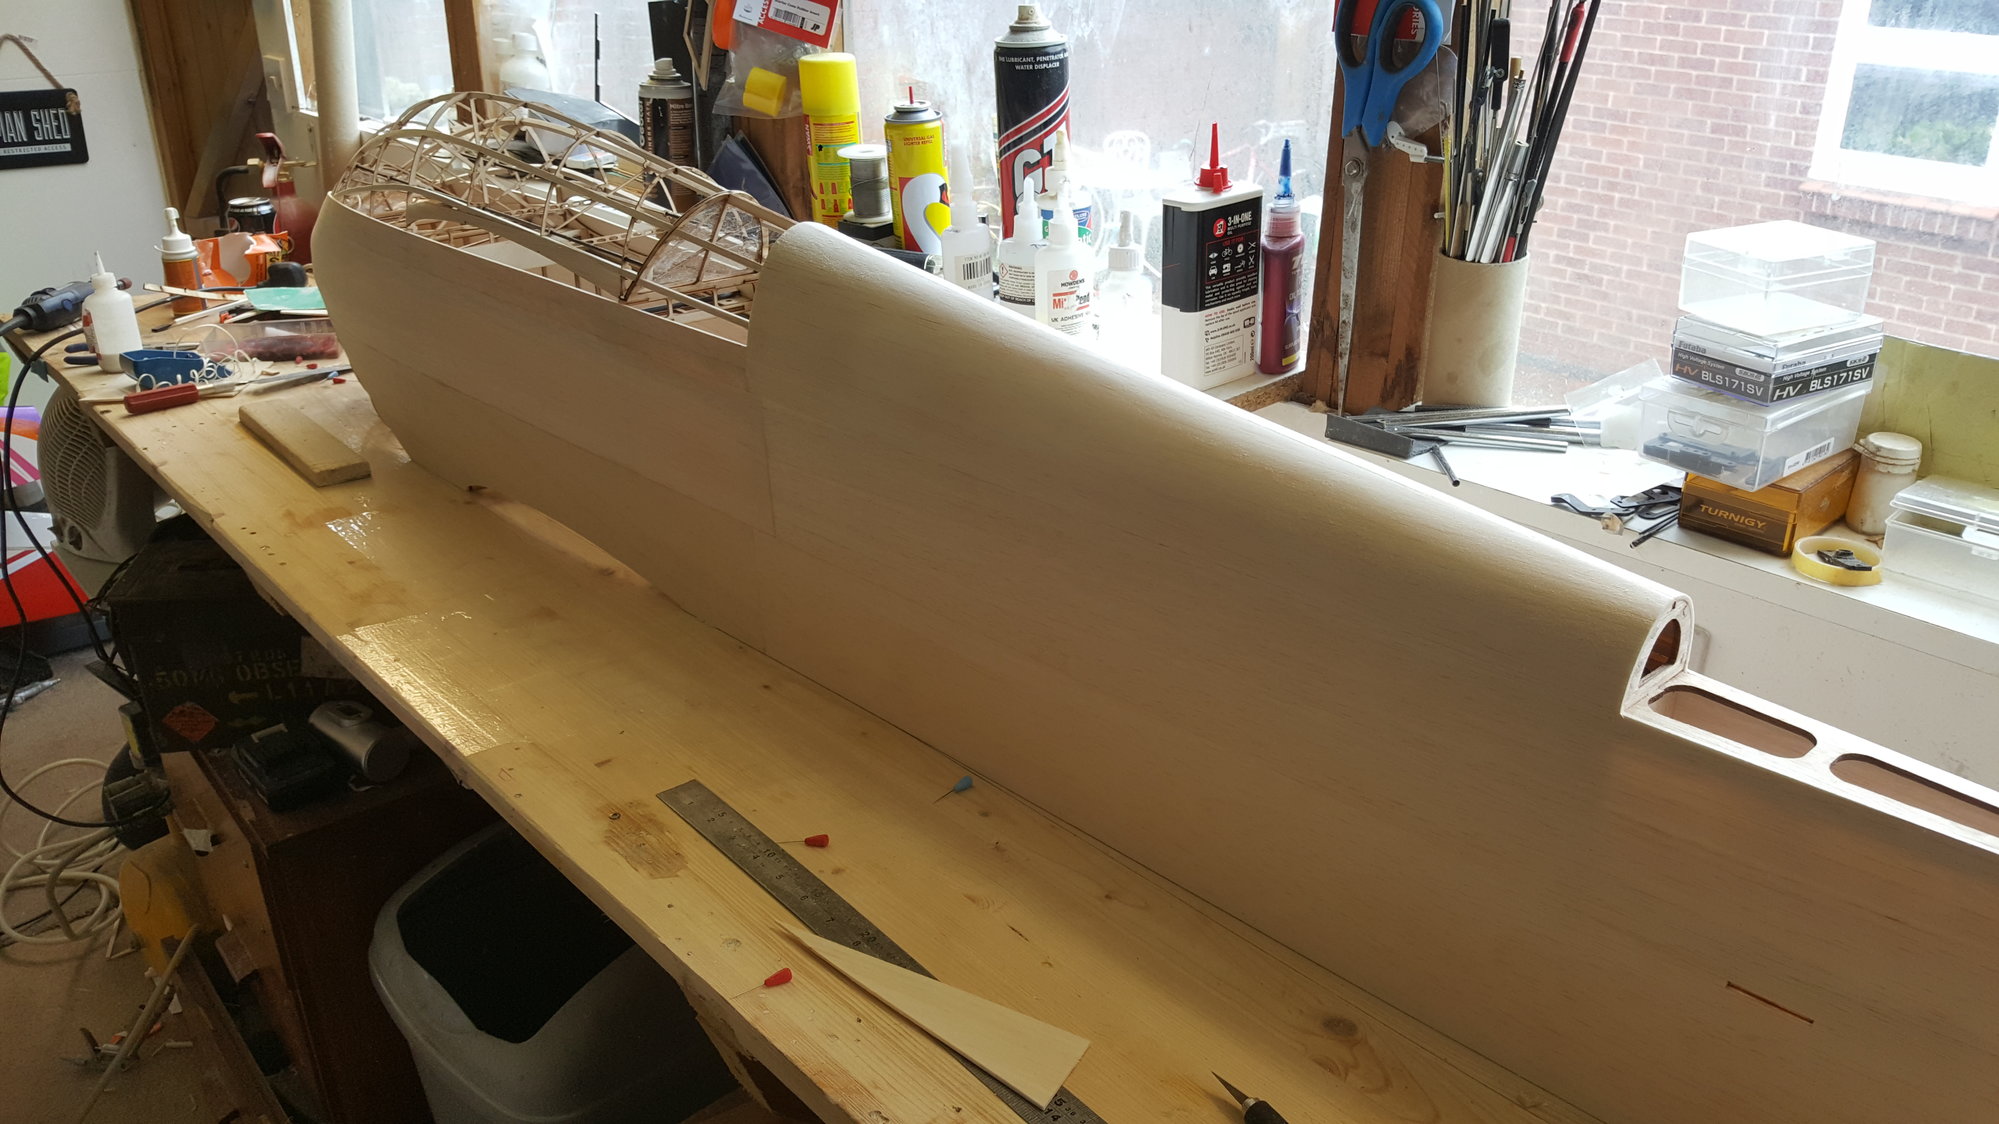
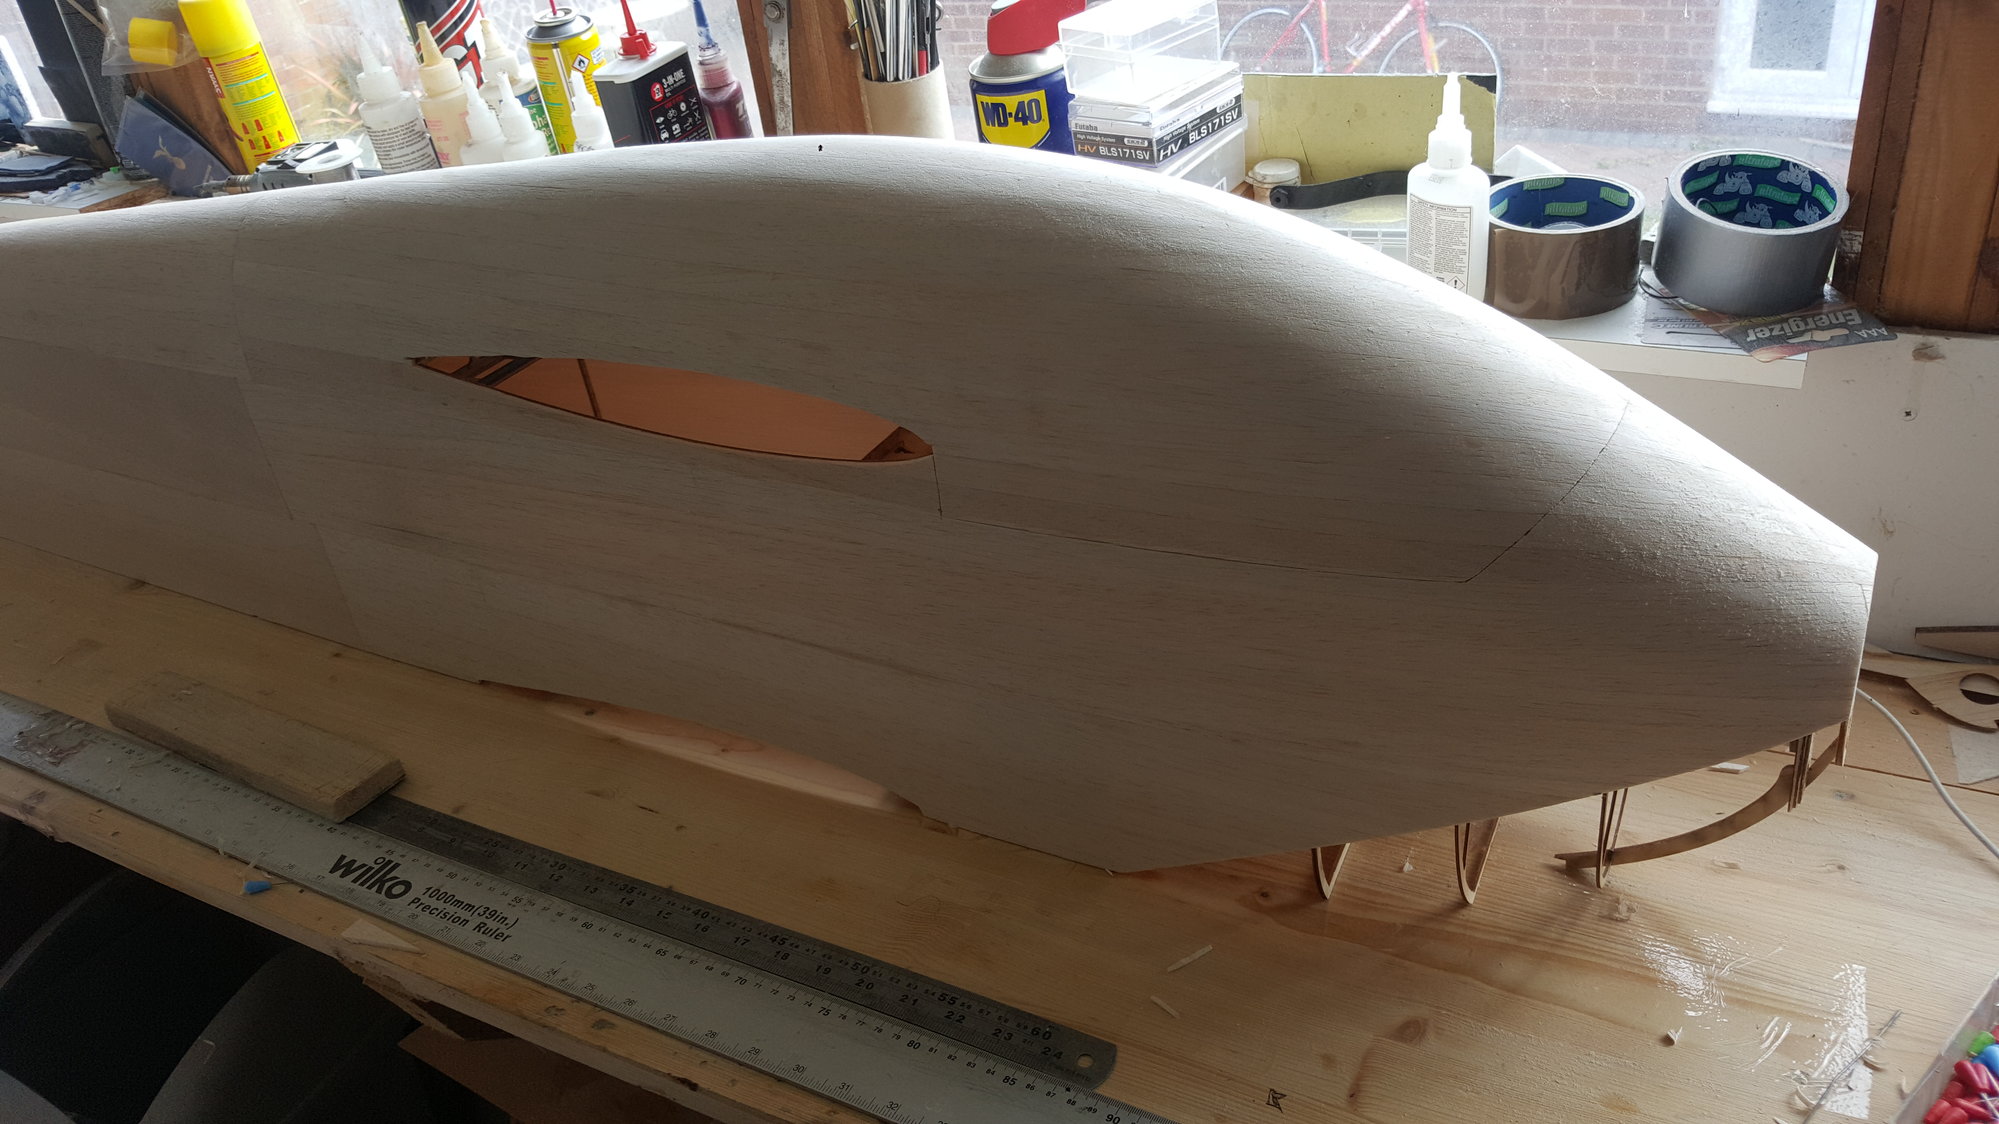
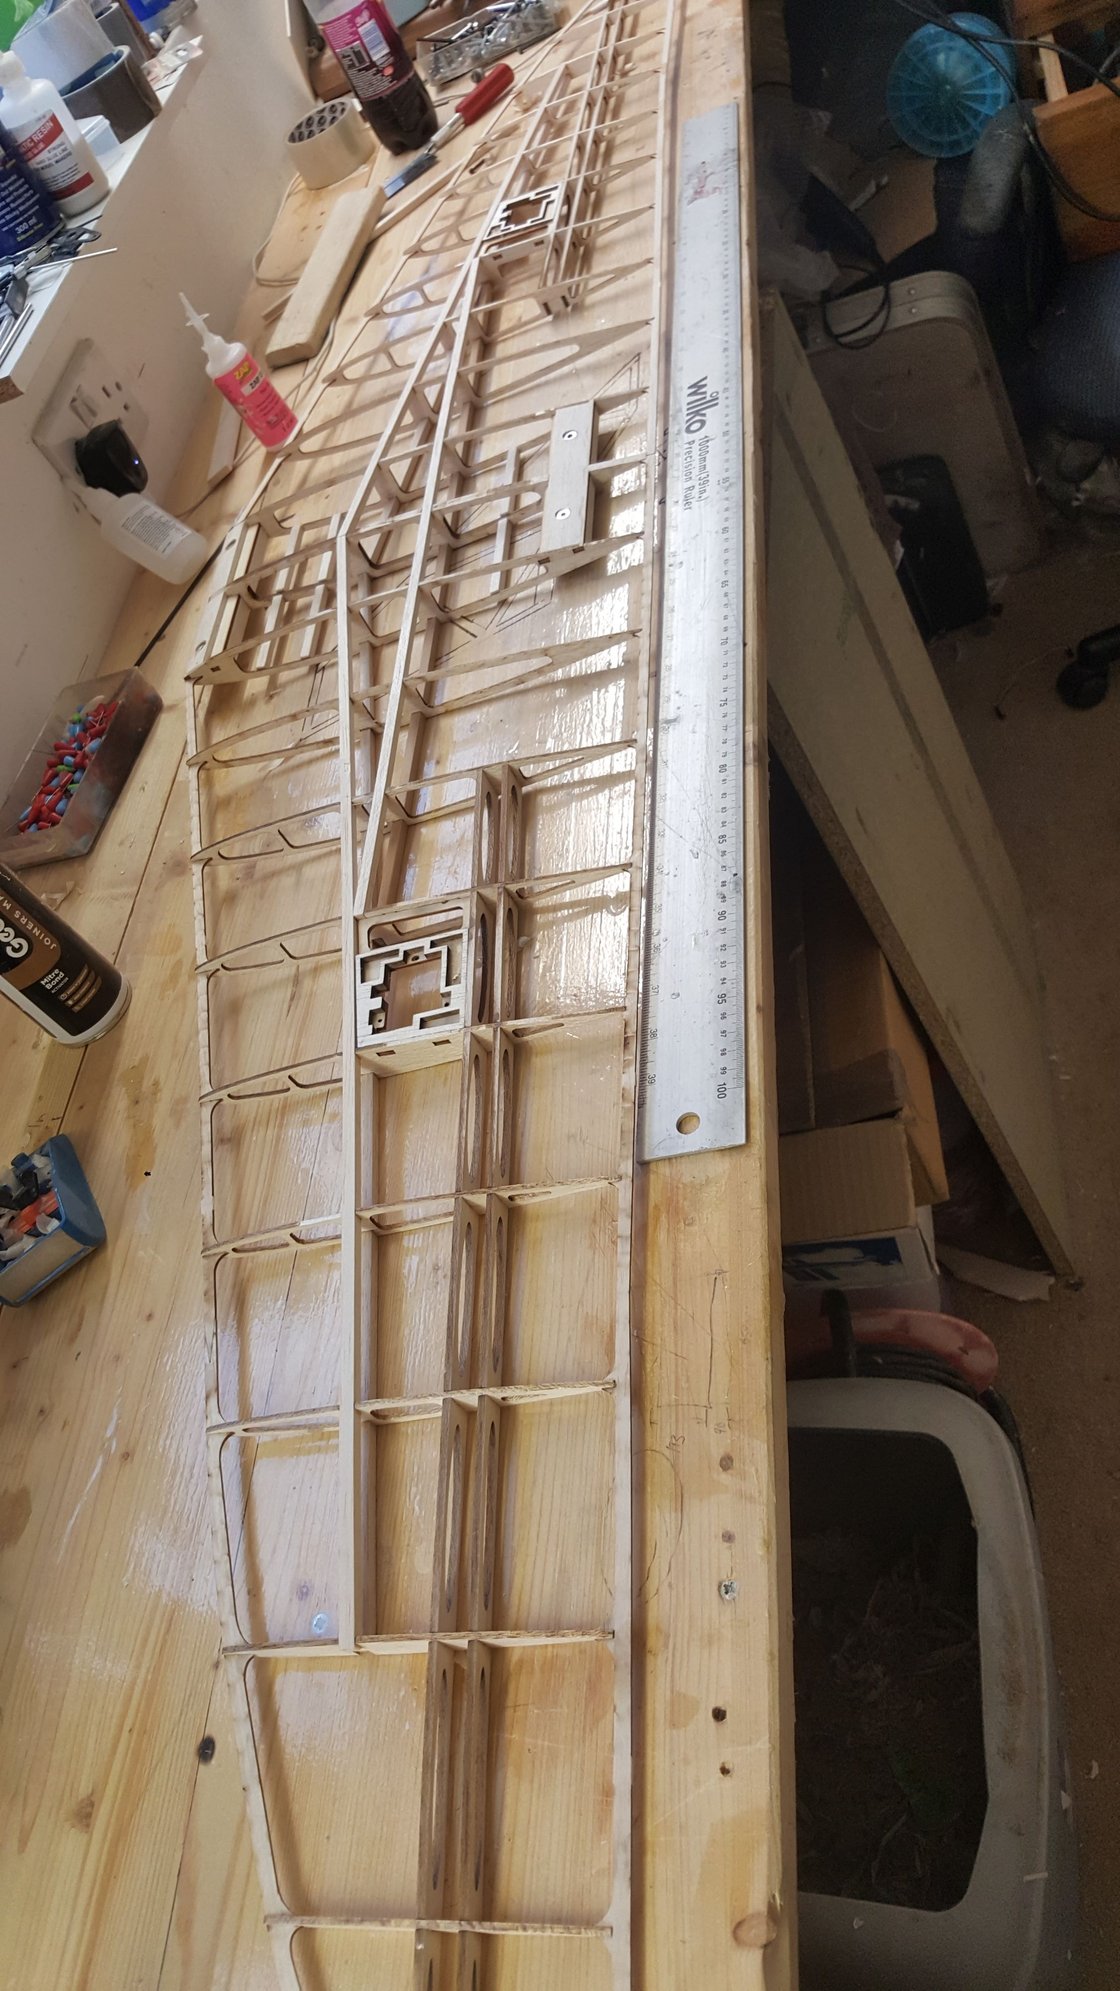
Getting on with sheeting now, done the easy bit. Just got to deal with the planking.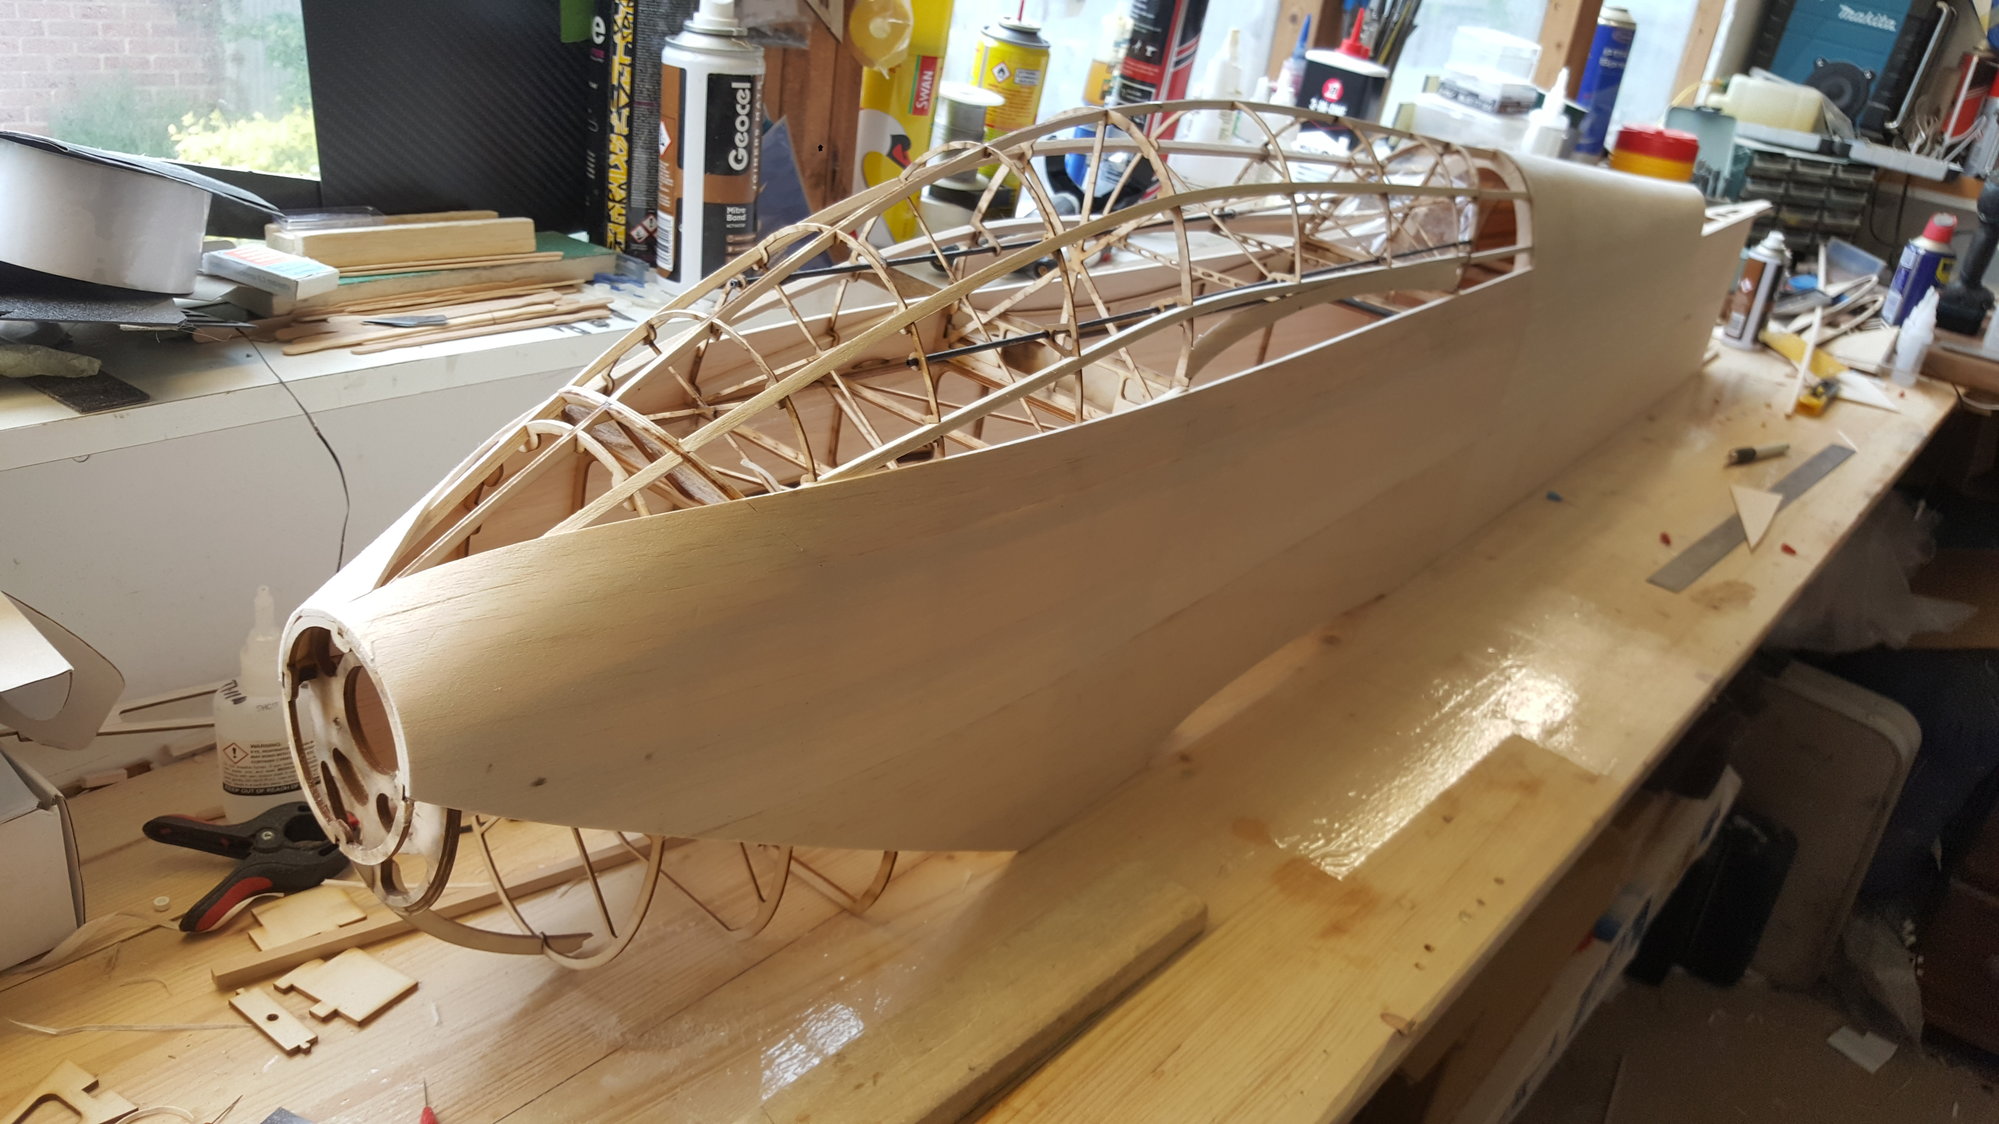
Getting on with sheeting now, done the easy bit. Just got to deal with the planking.
 05-29-2019 | 11:43 PM
#5
Thread Starter
Thanks Mark. 3/32 all round on this, not gone for contest grade this time, for cost reasons. These sheets are coming out about 21g for a 36"x4" sheet.
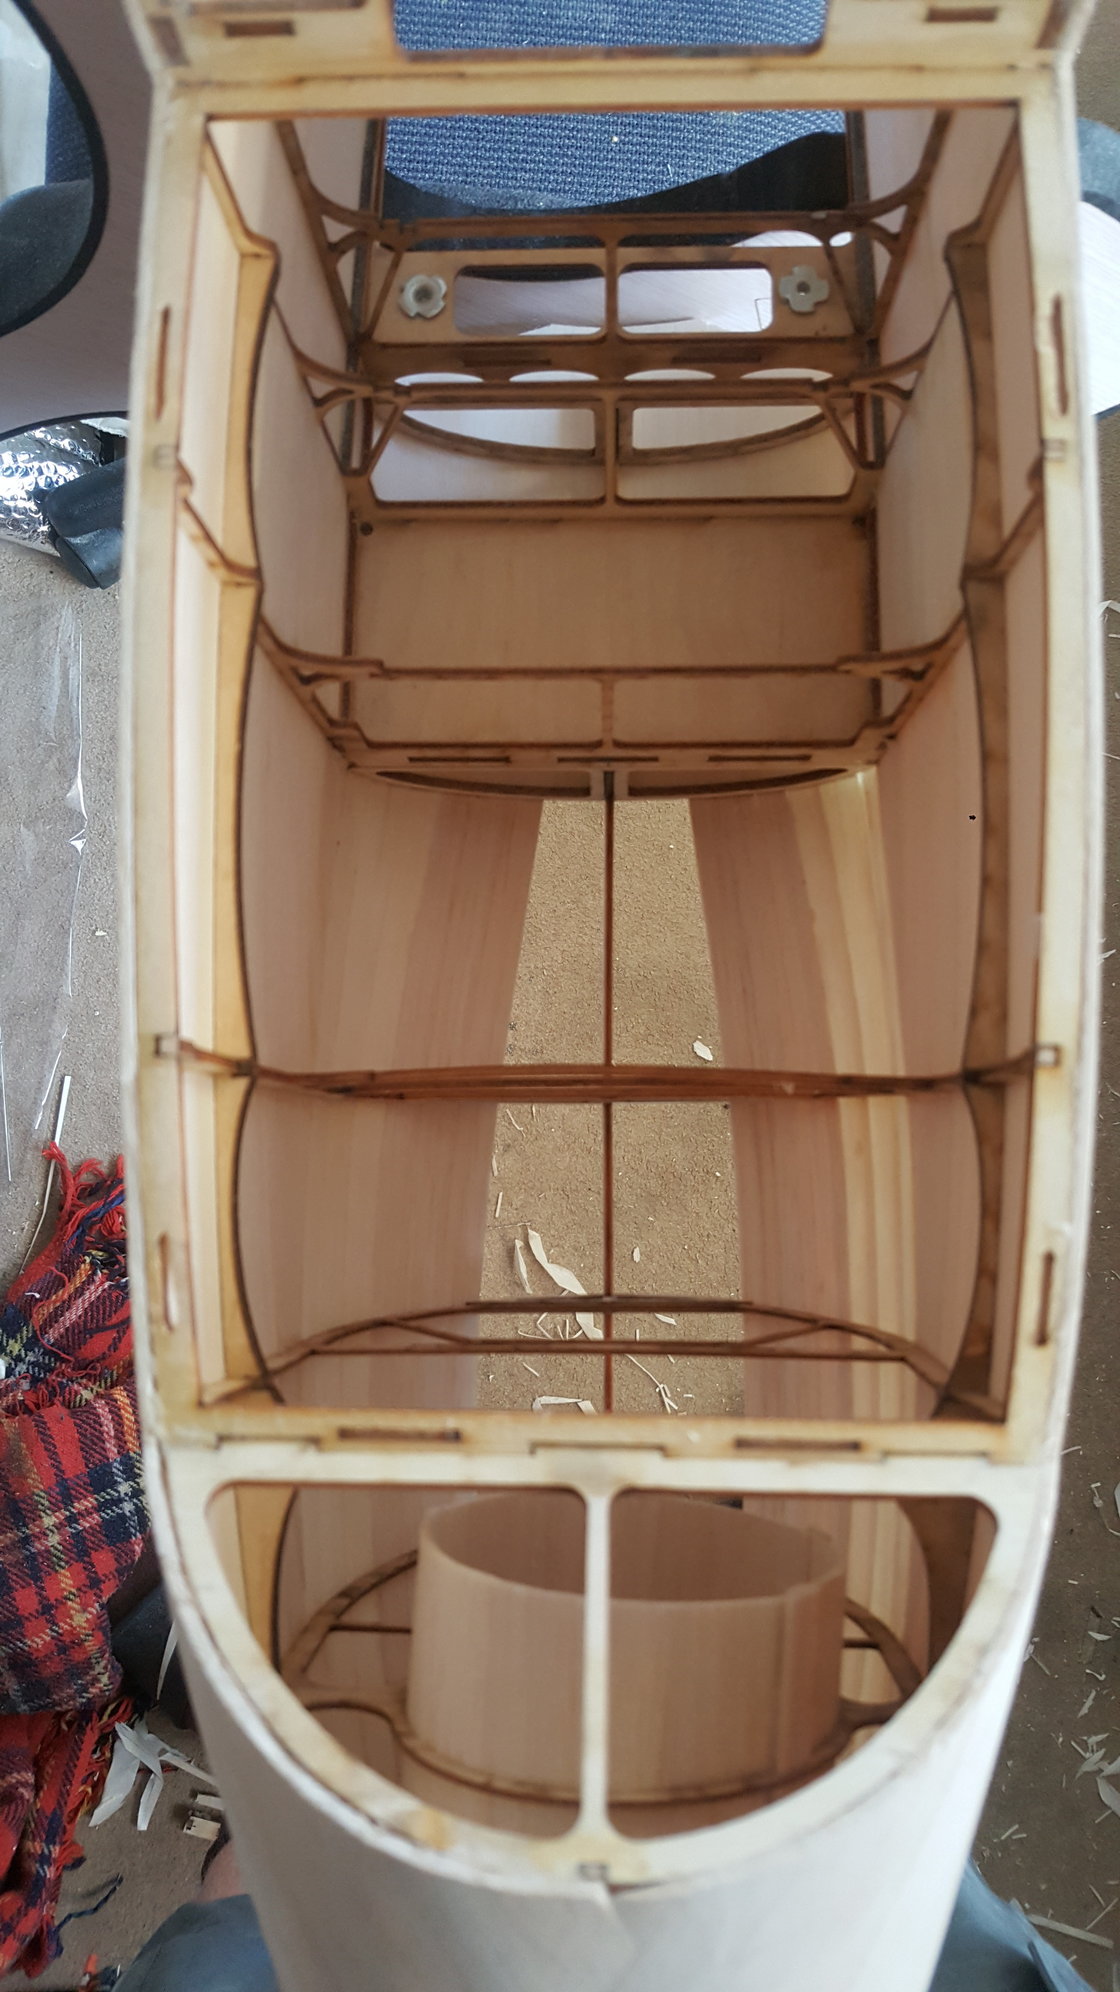
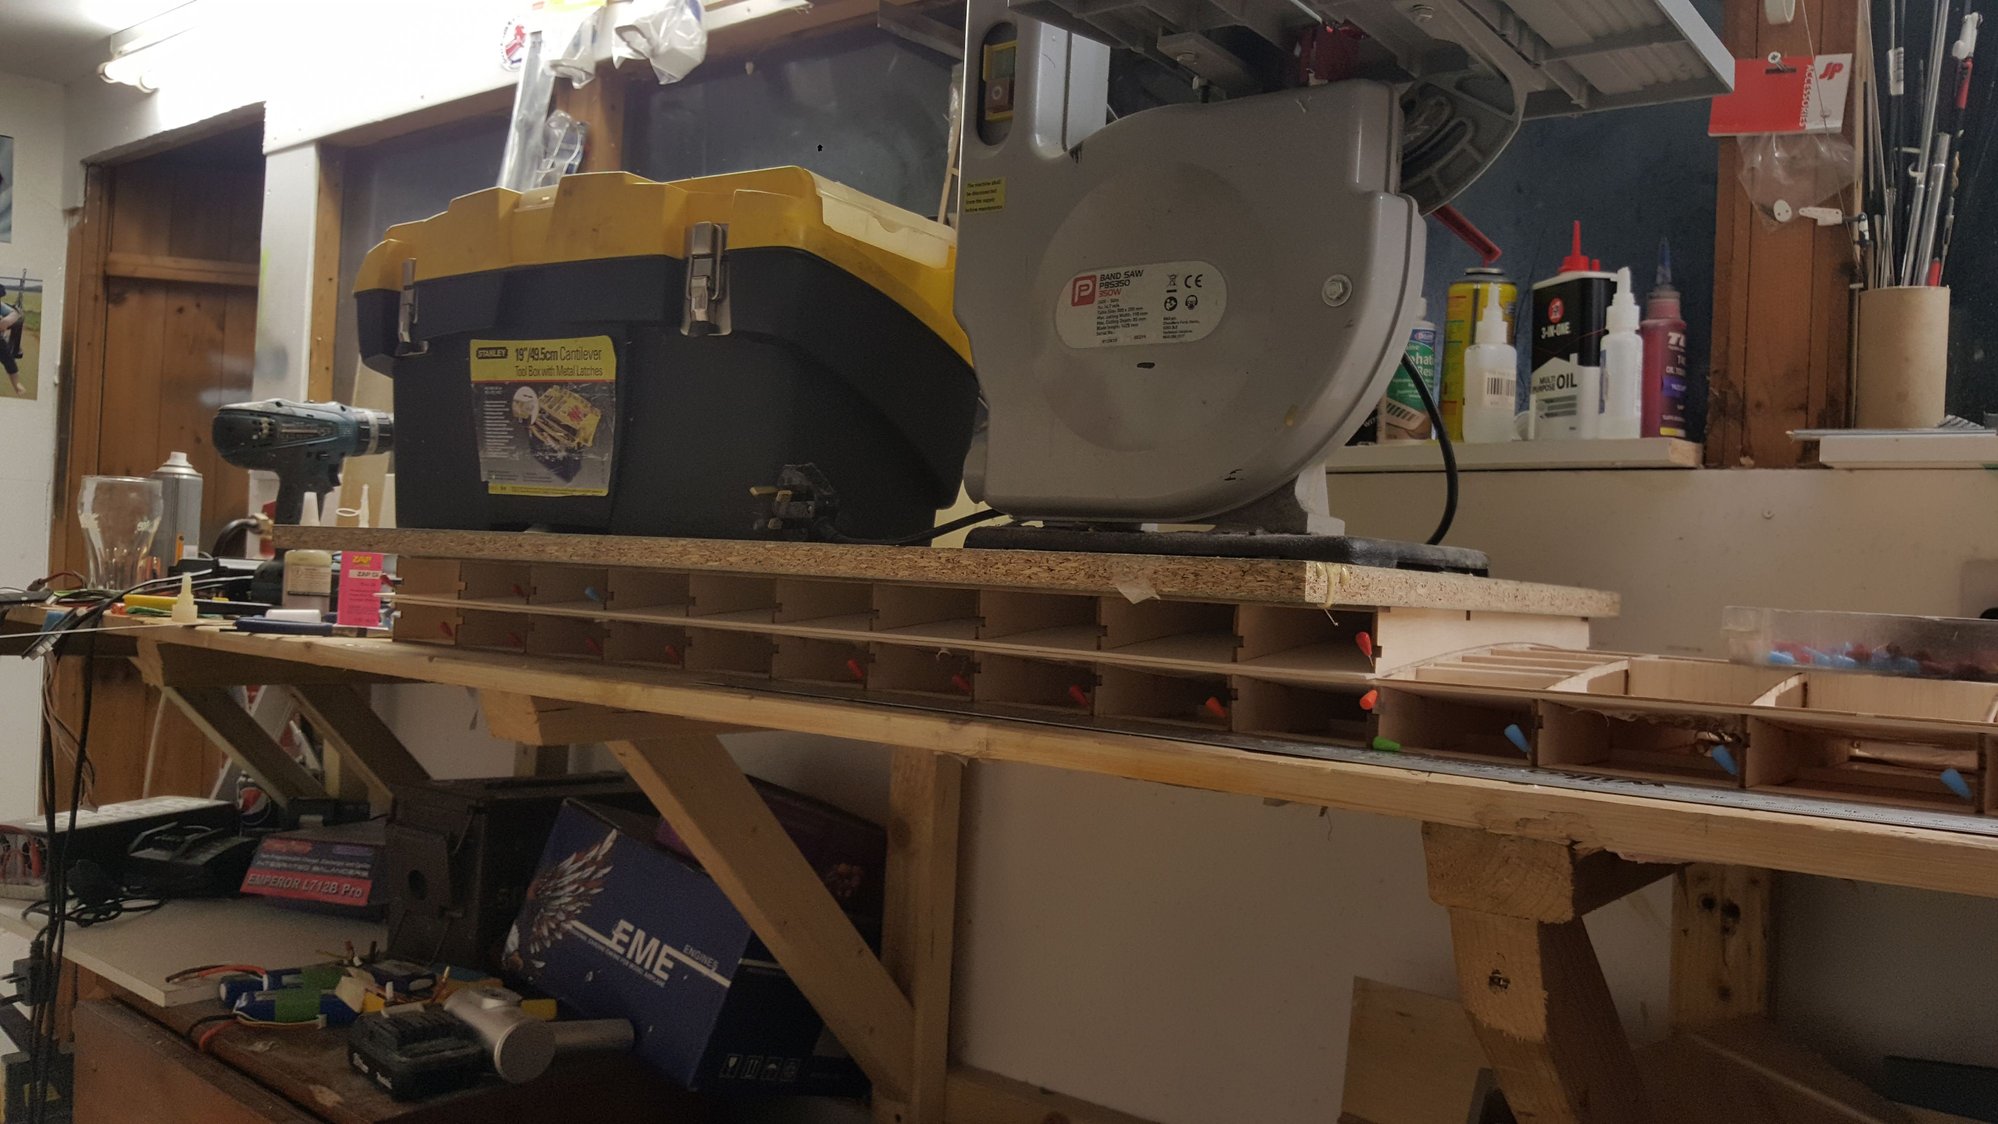
Couple of pics of the motor mounting. I've designed in a shroud to try and help with cooling. I know these motors can run a bit warm!!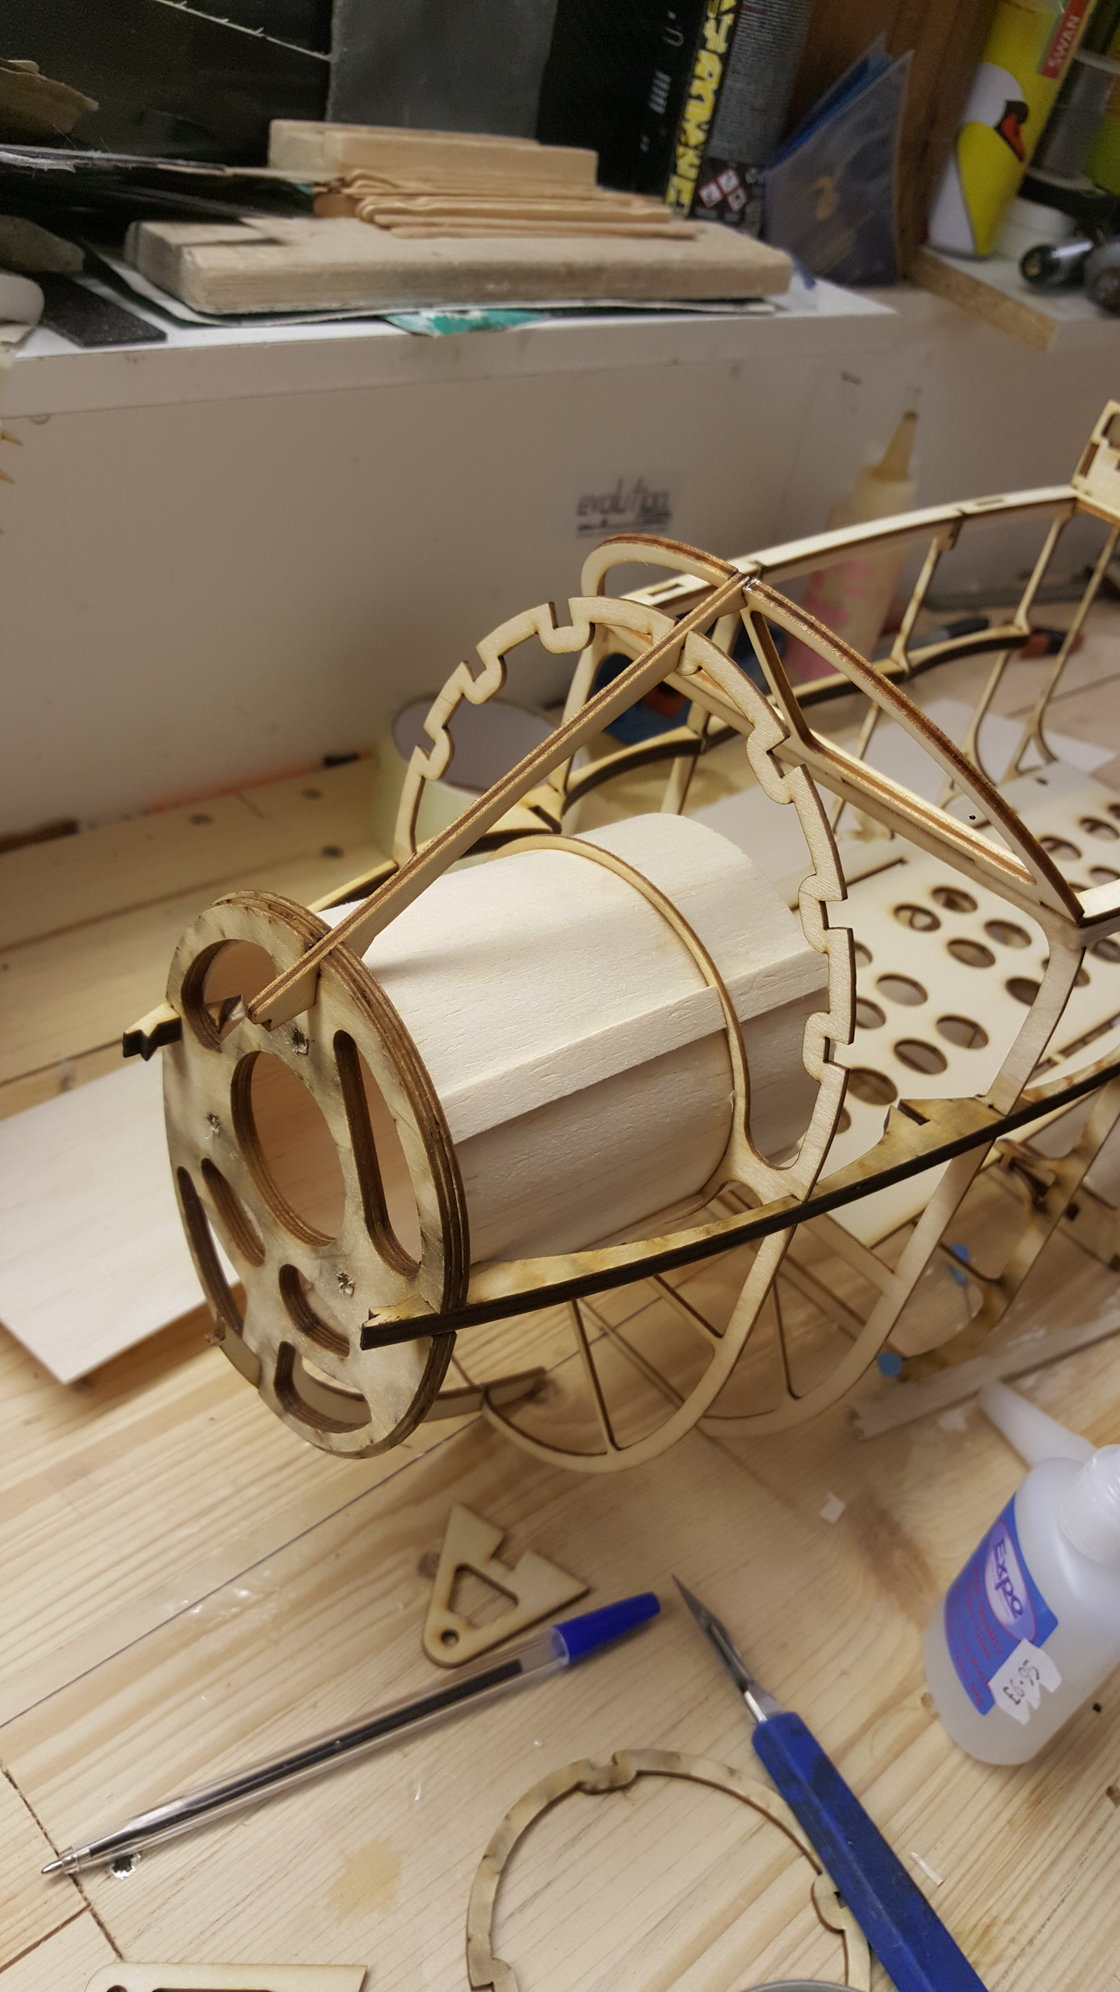
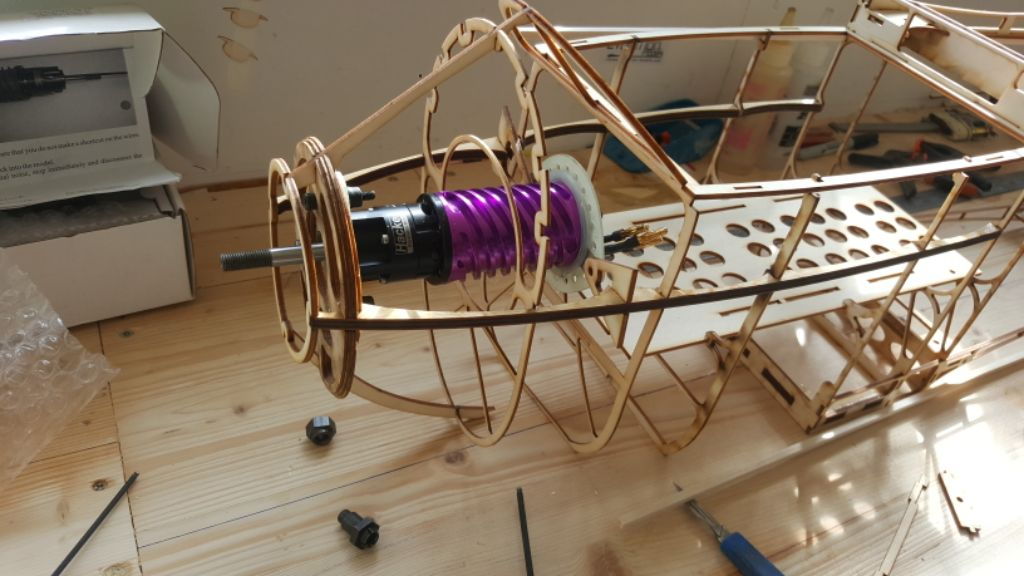
Couple of pics of the motor mounting. I've designed in a shroud to try and help with cooling. I know these motors can run a bit warm!!
06-02-2019 | 04:26 AM
#6
Very impressive work. Was just getting a reply from flywilly regarding his results with the Myvec files and he sent me this link. I've been on the fence about the Neo Stage Bipe for a month or two. Any interest in offering files for this one? Thanks, Ted.
 07-23-2019 | 05:07 AM
#15
Thread Starter
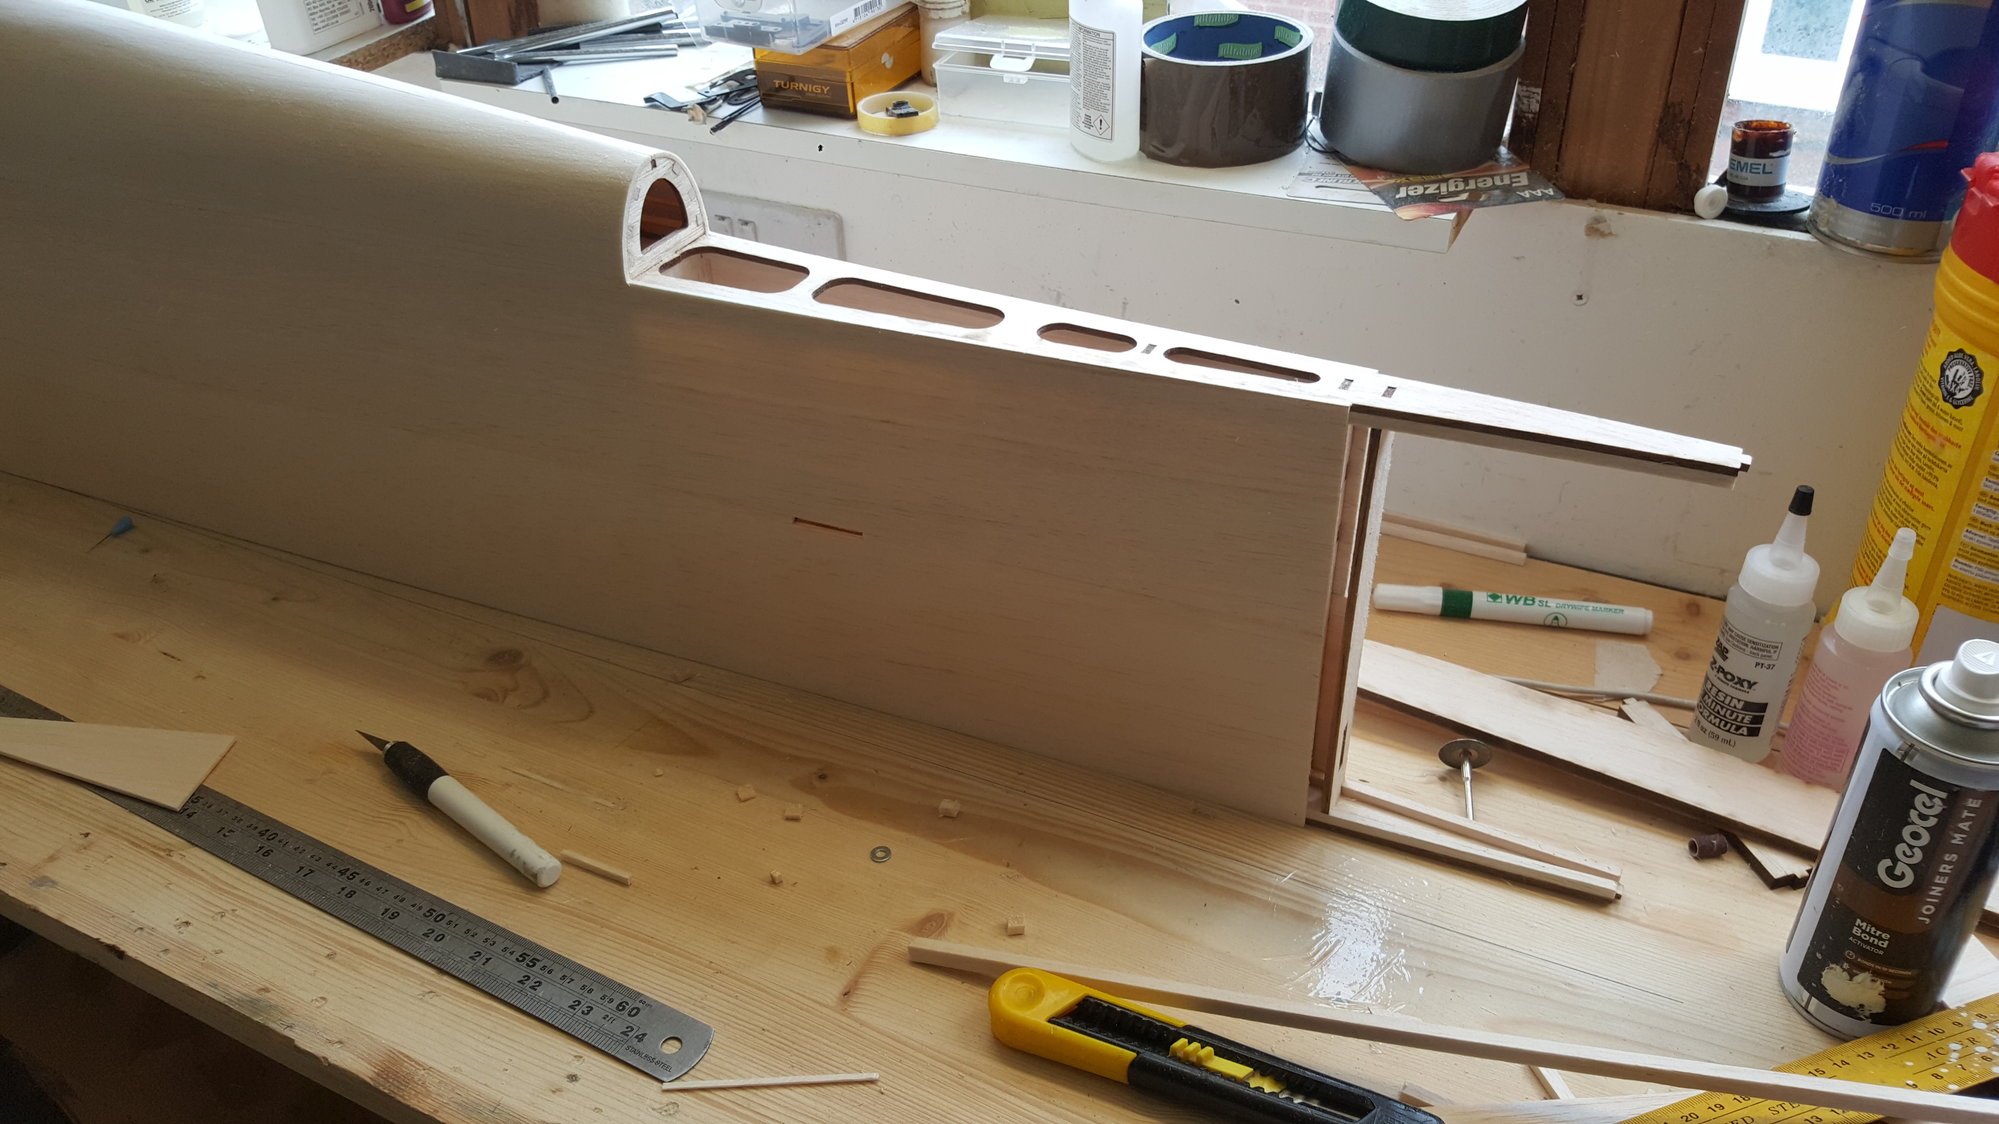
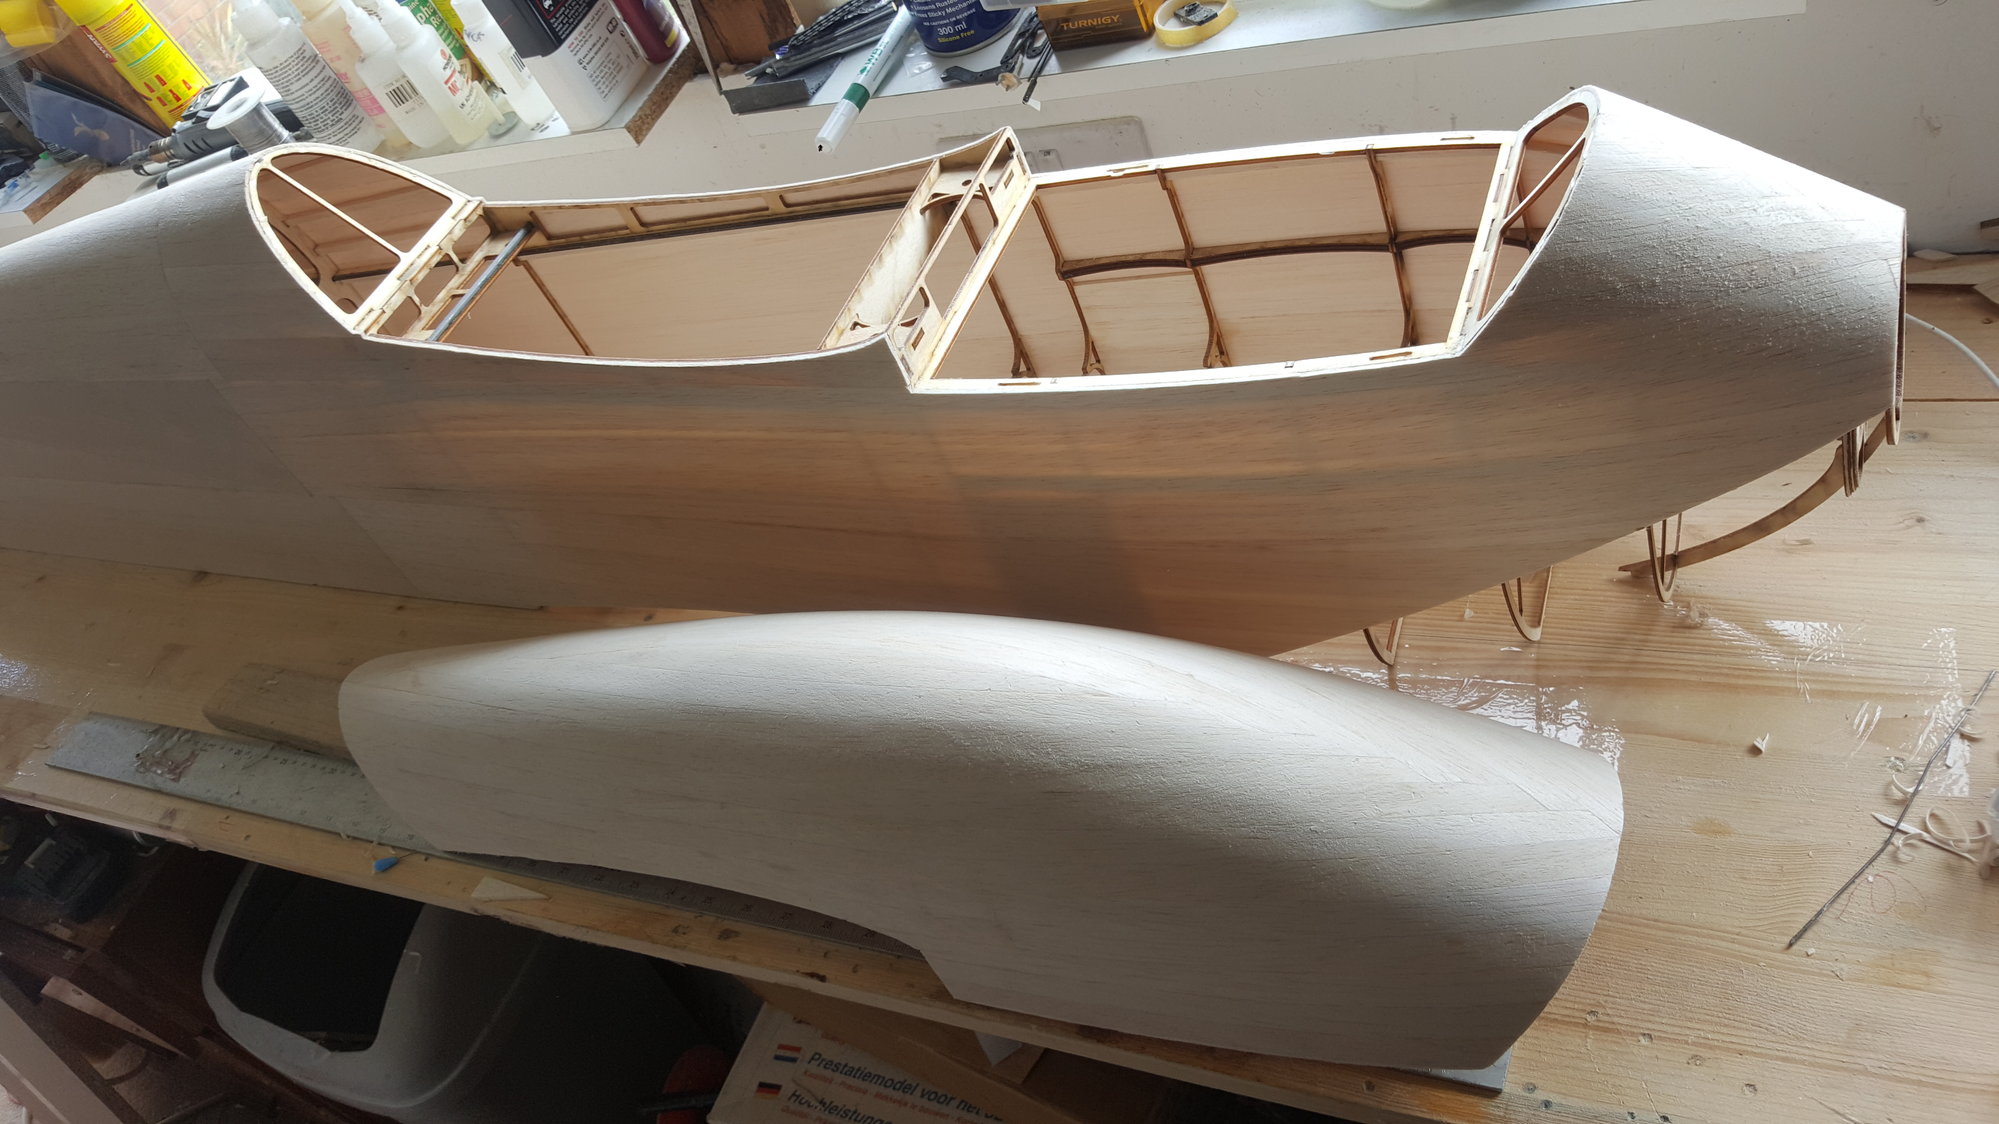
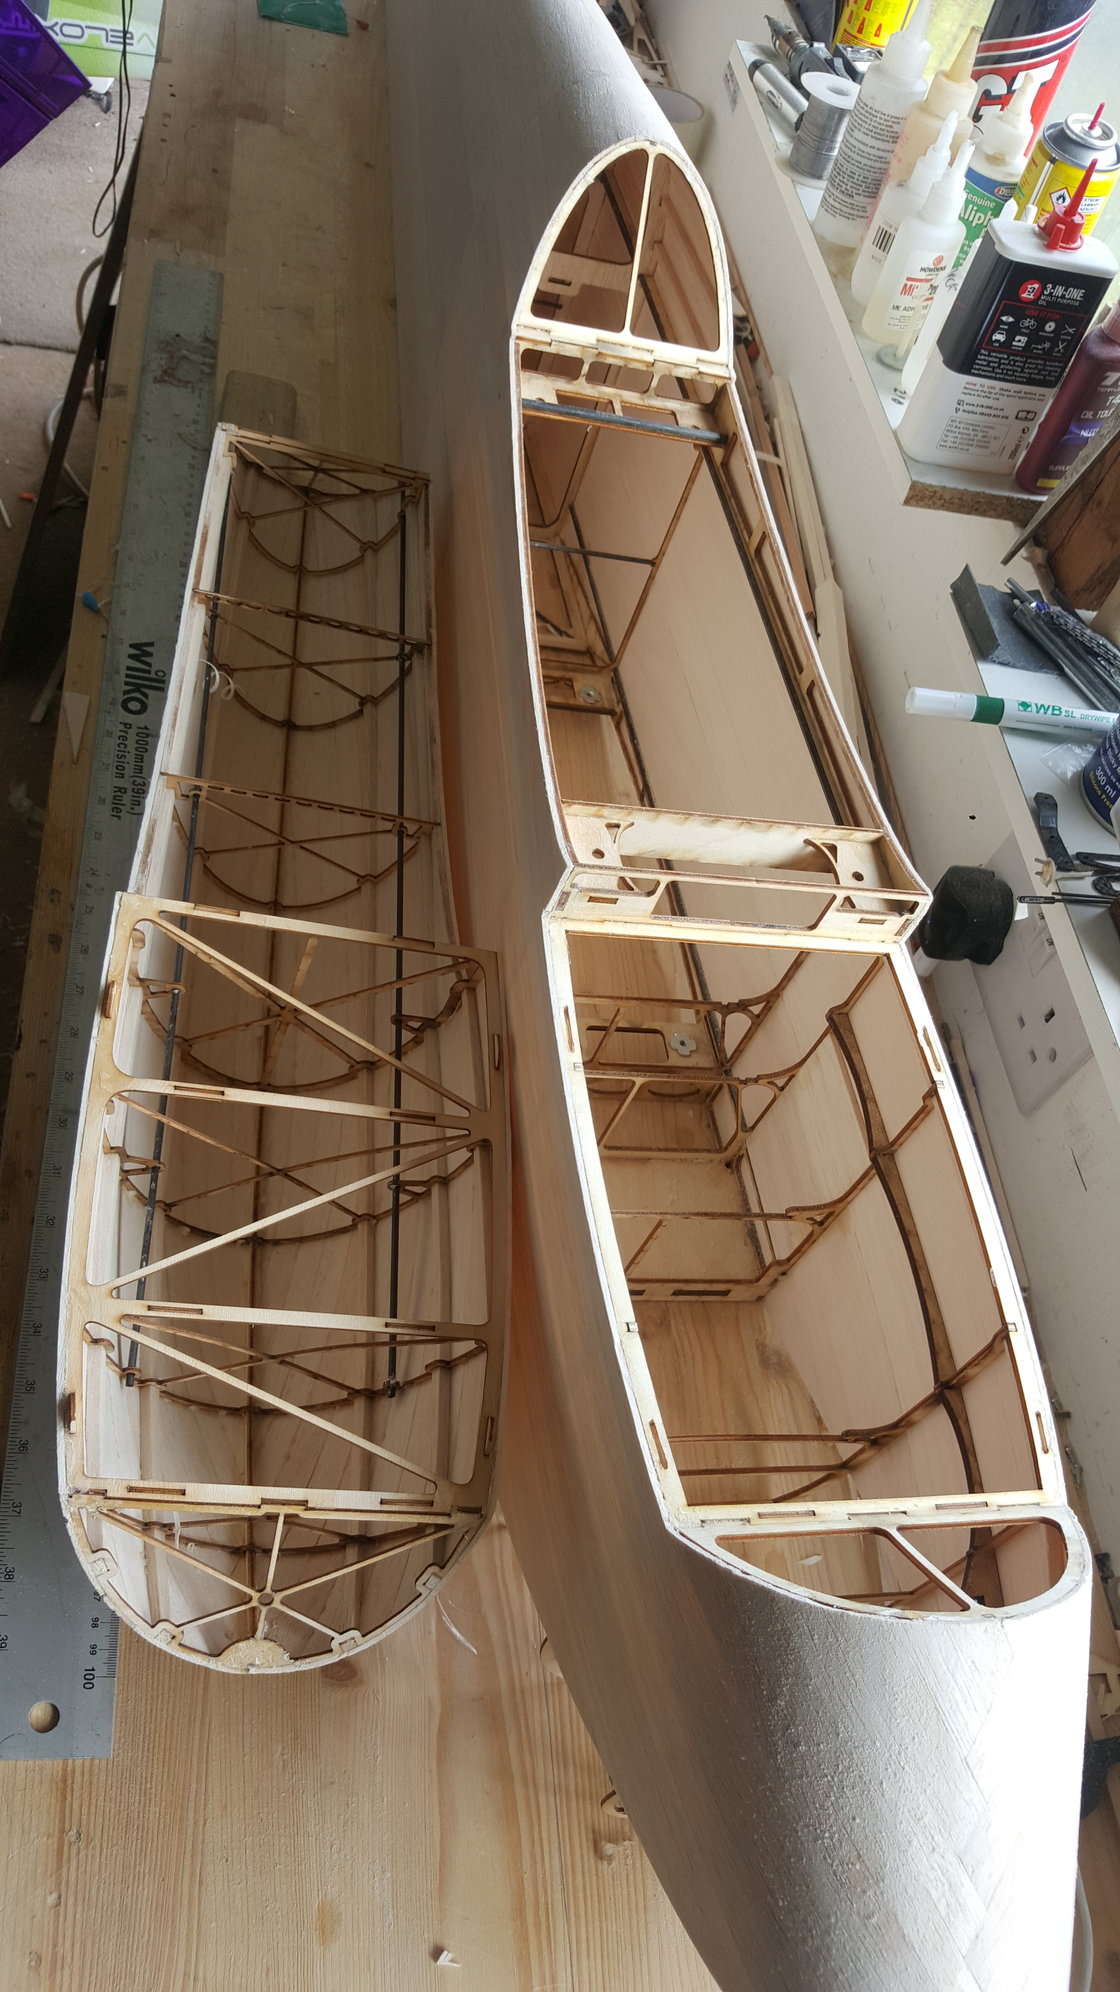
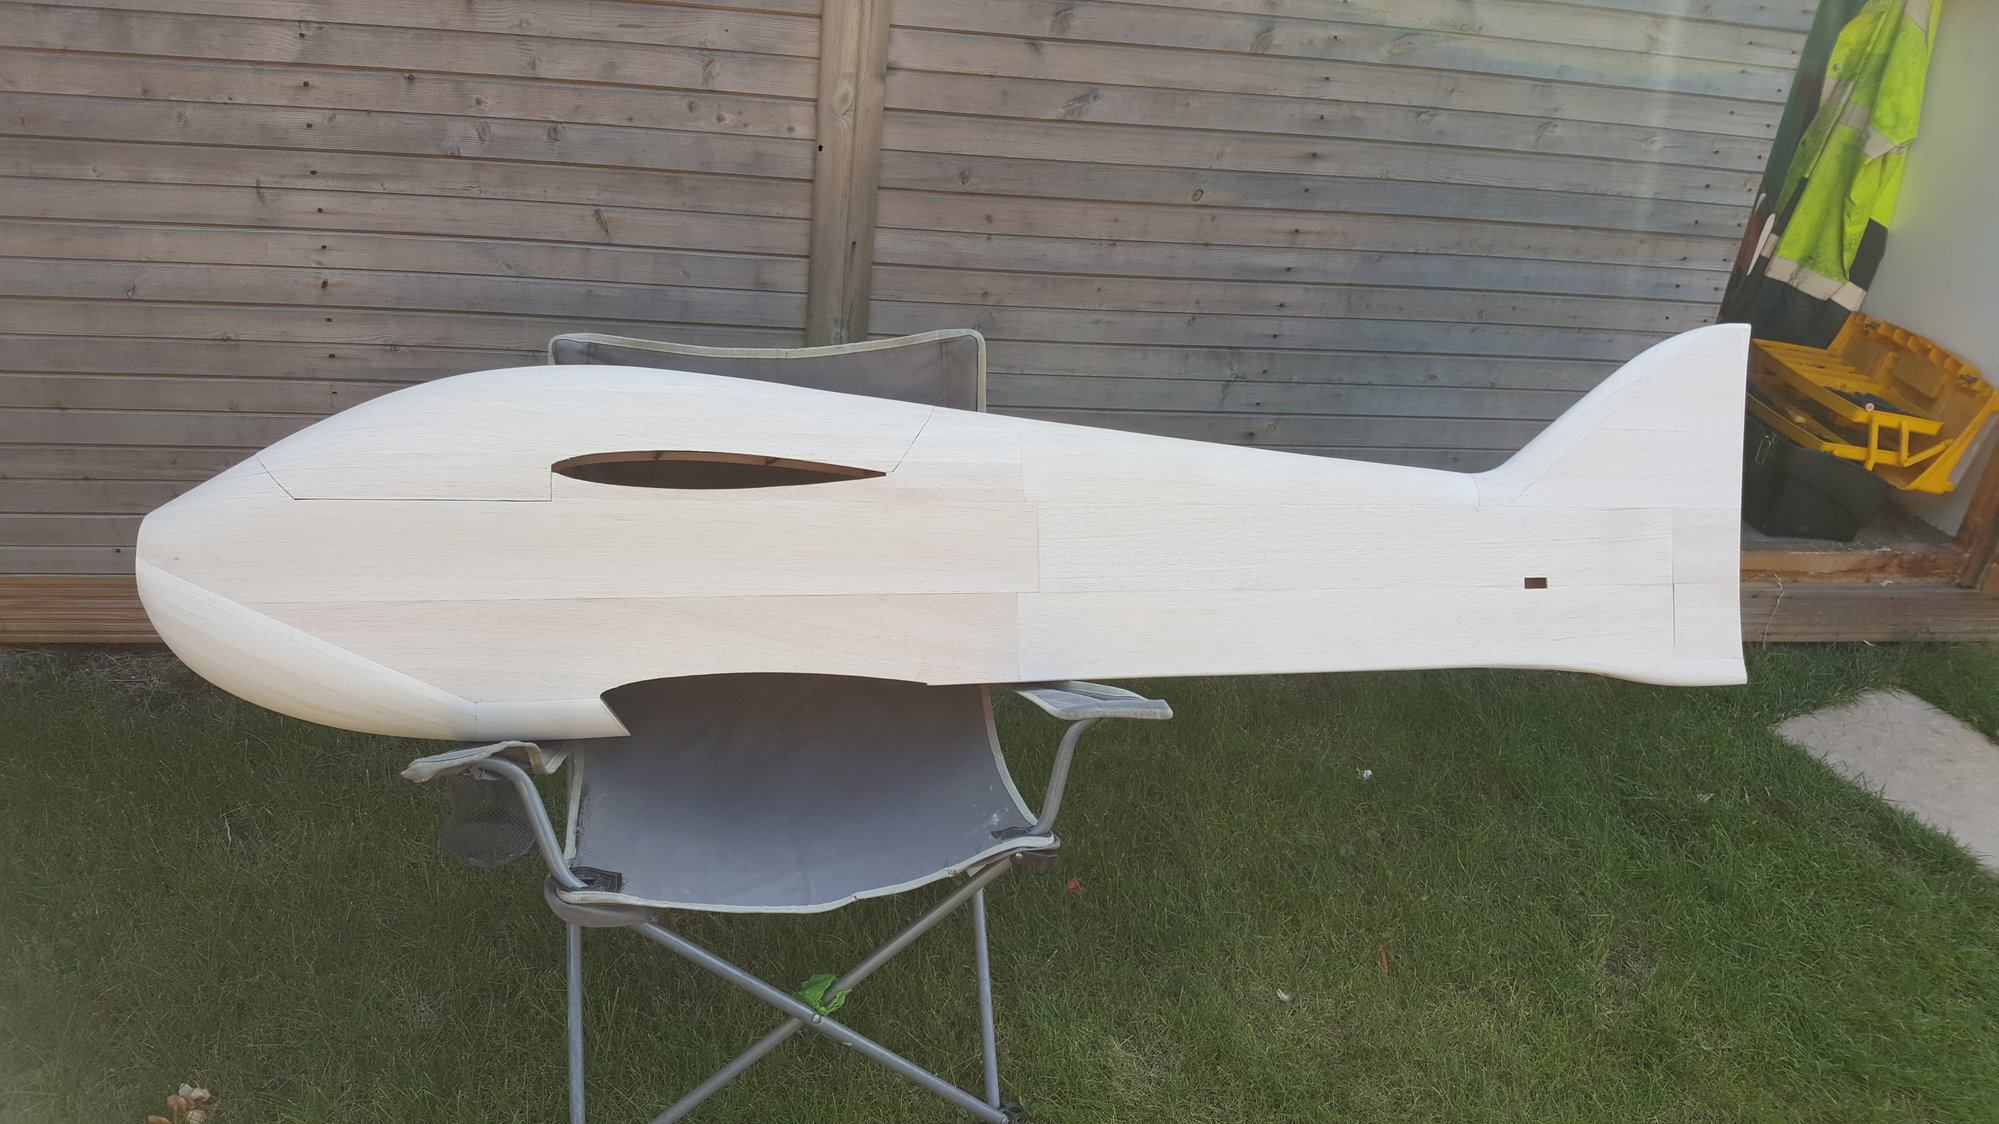
Fuselage is pretty much complete now. Just the rudder to cut out and face.
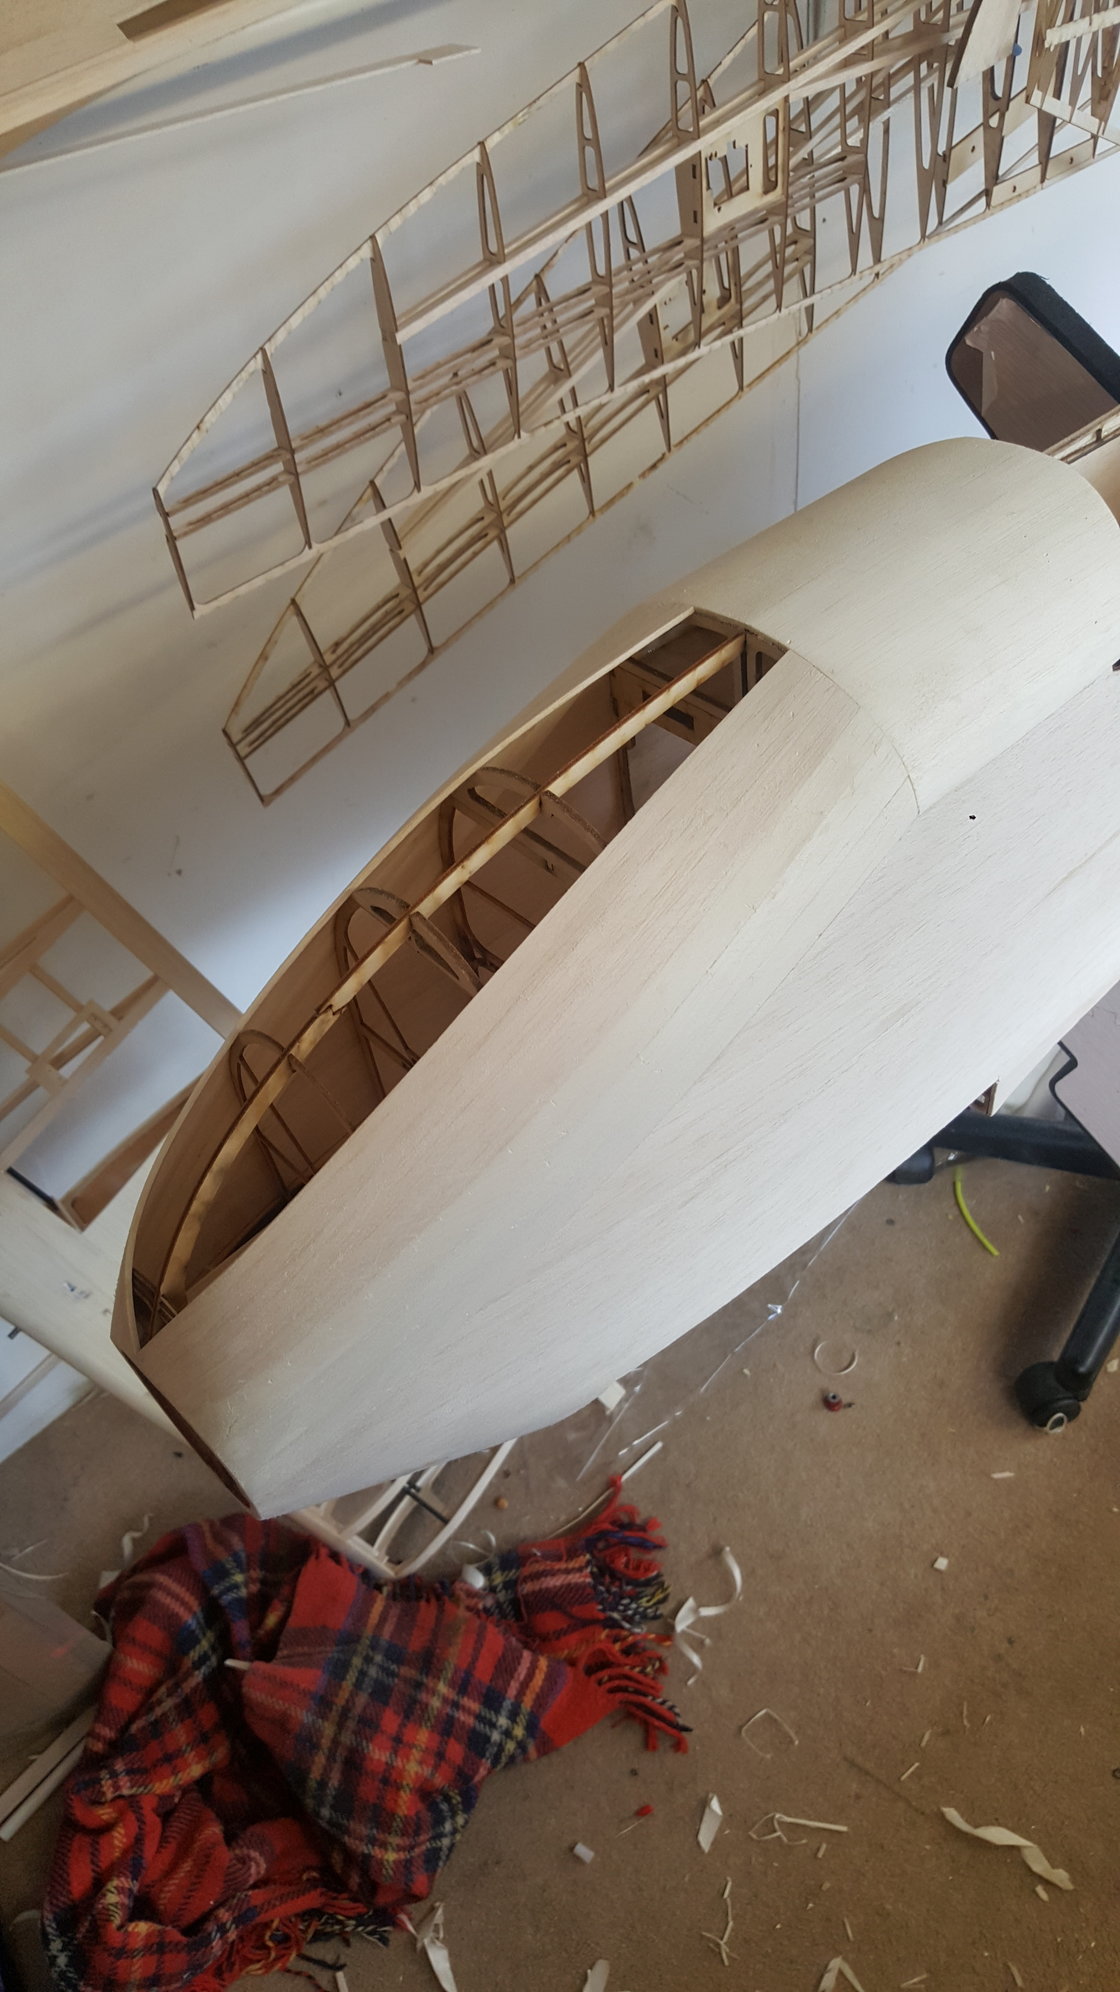
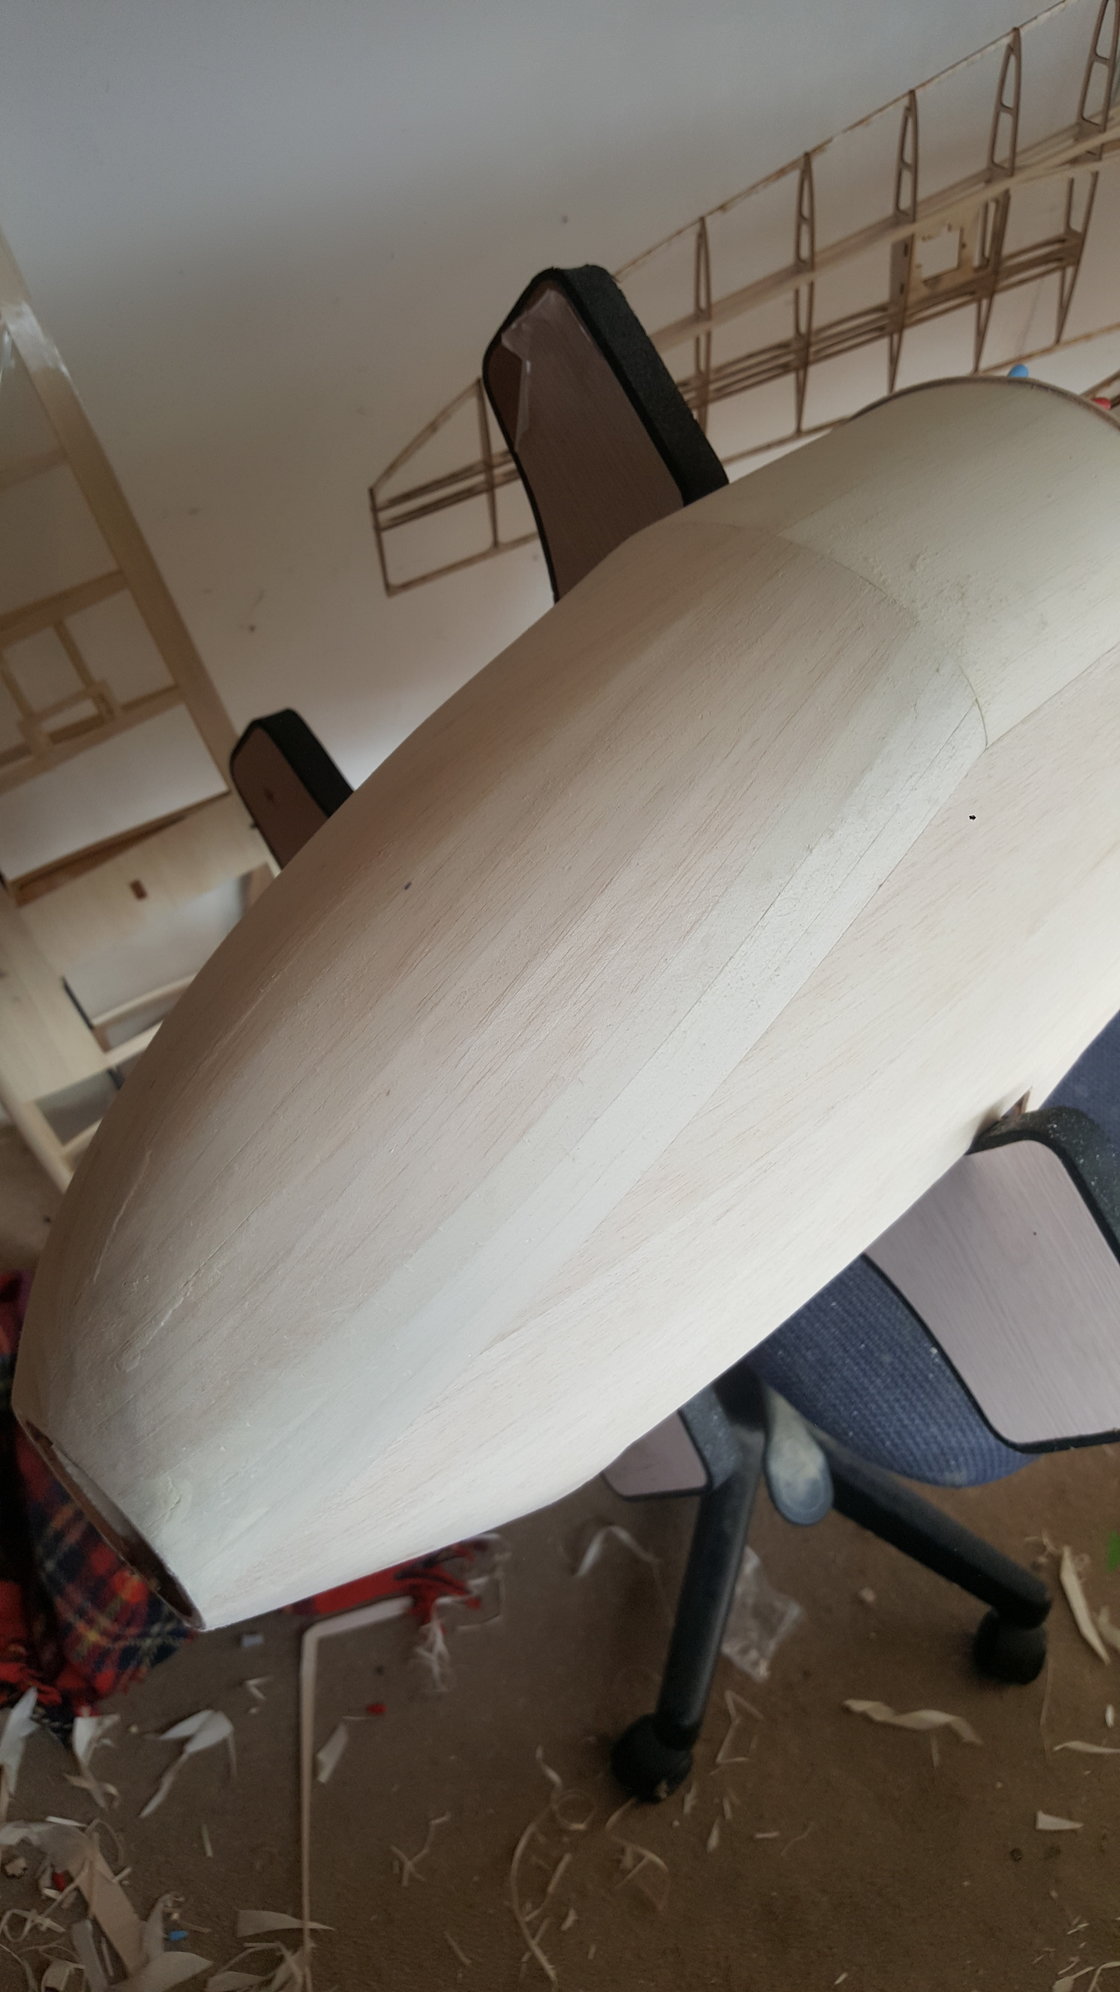
Planking the bottom of the nose was very time consuming, each piece had to be shaped and soaked to bend up to the nose ring. Also aliphatic meant only 2 strips at once. Worth it though, even with a rough sand its come up nice.
Happy with weight, its 880g at the moment with the canopy, so prob be about 900 when its cut out and hinged. So its about 20g lighter than the old one, without using contest grade balsa

 08-02-2019 | 03:37 PM
#17
Nice work. BTW, should I send my shipping crate to you this week or next? Be sure to pack it carefully for the trip across the pond. It's awesome that you've offered it to me...…..LOL. Keep up the good work, Ted.
08-28-2019 | 07:58 AM
#18
Thread Starter
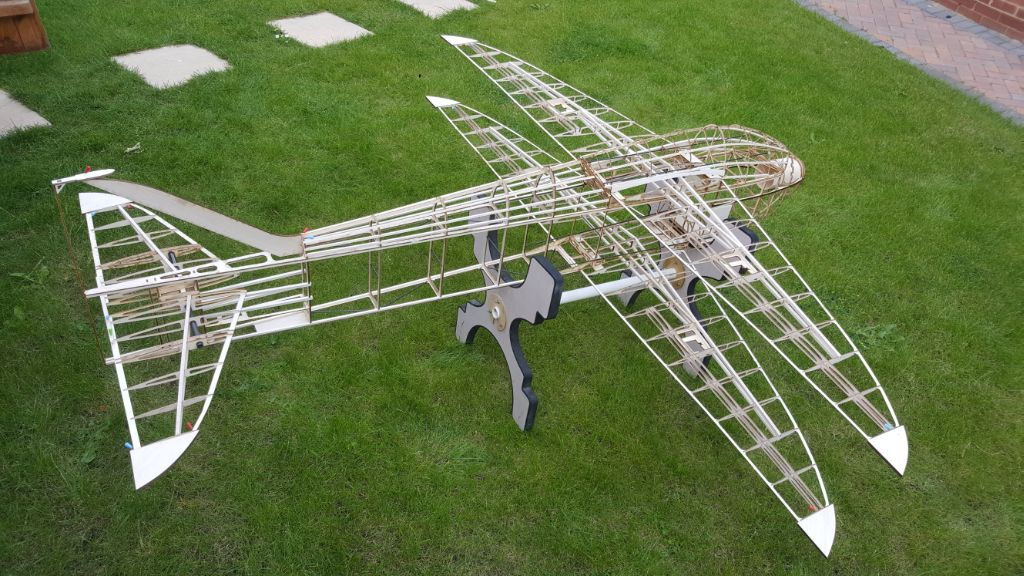
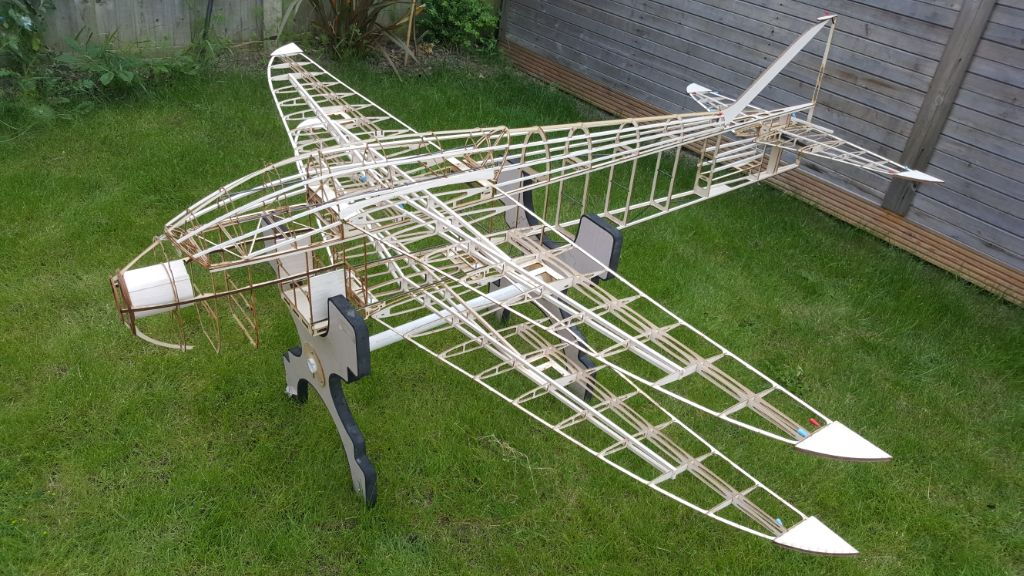
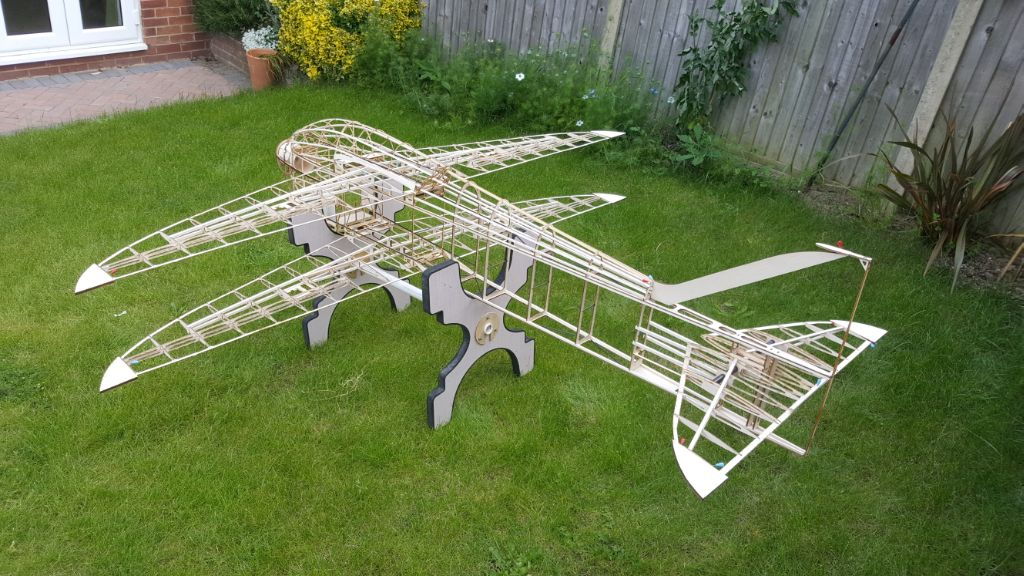
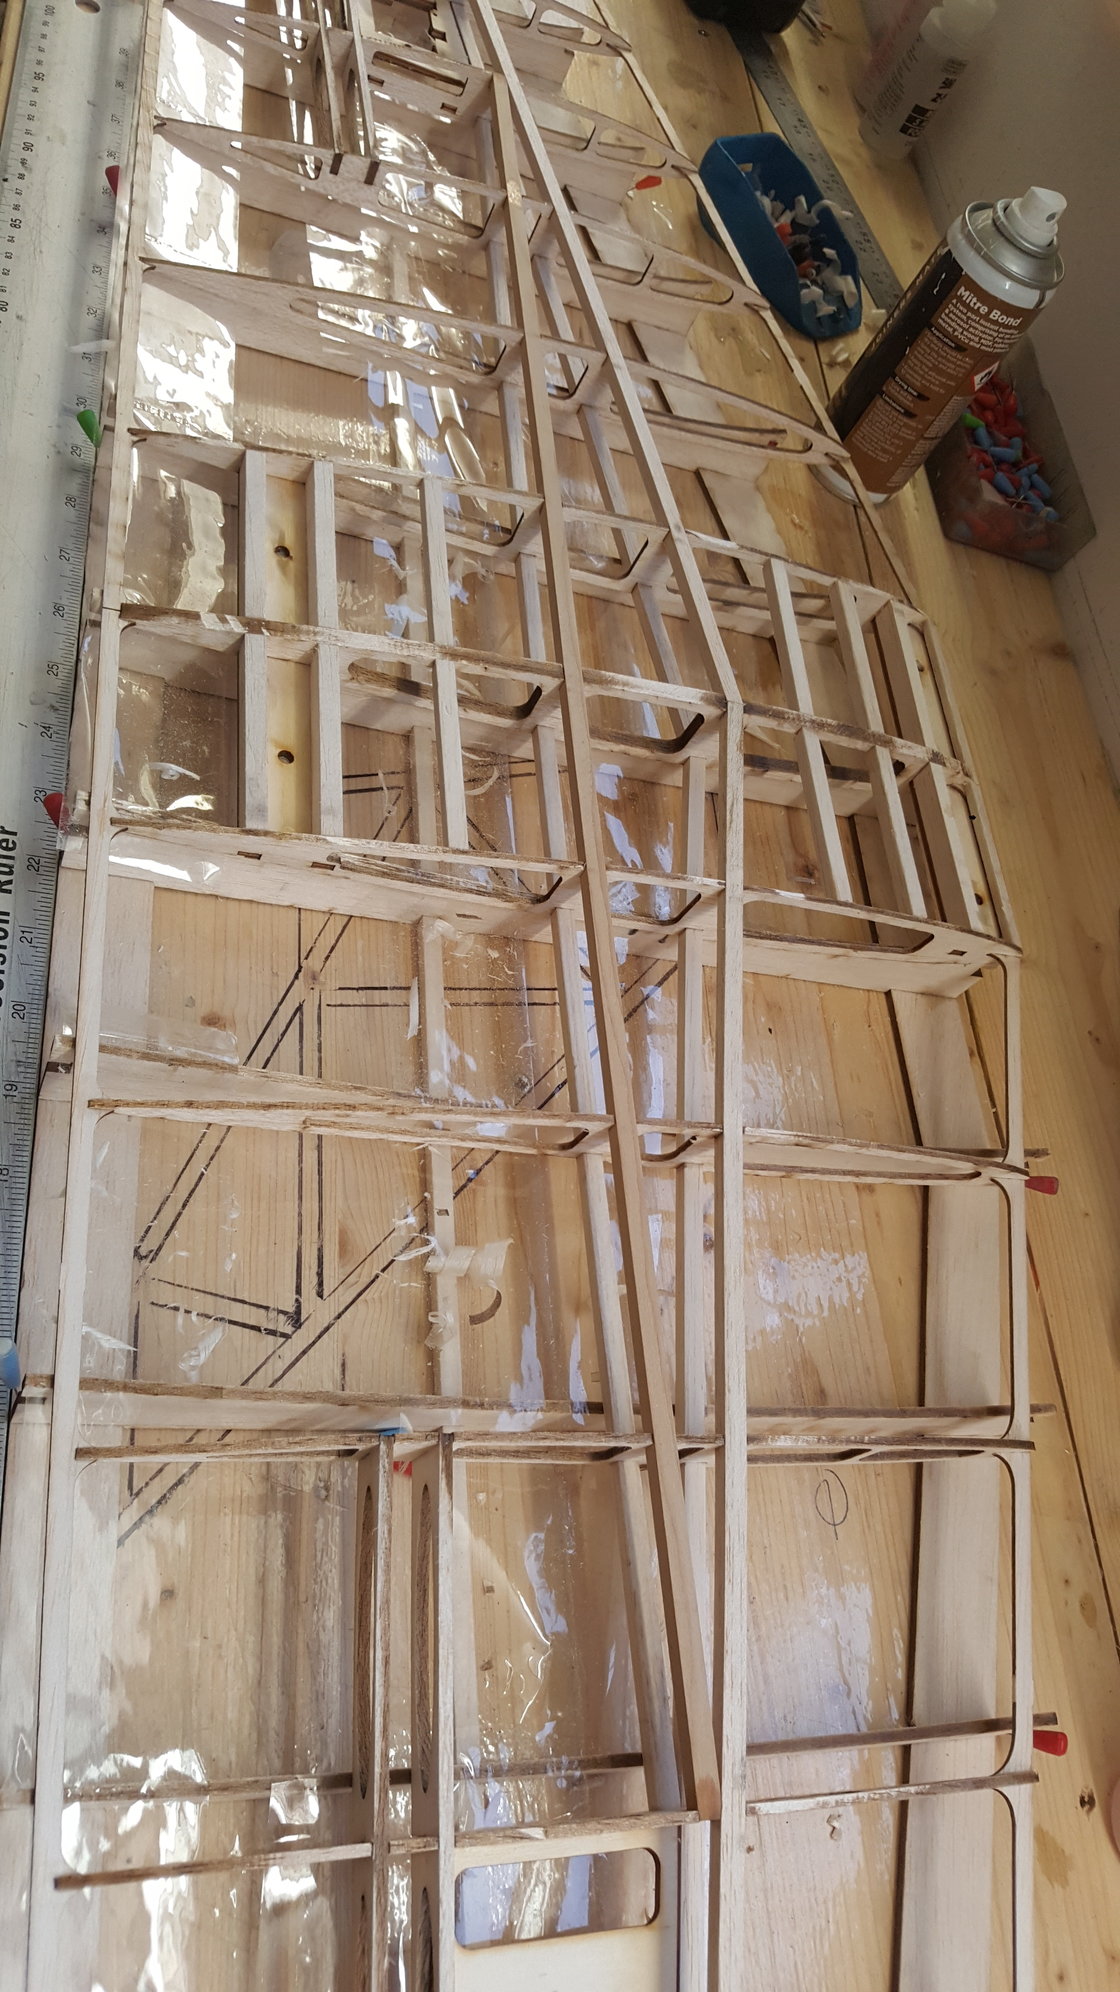
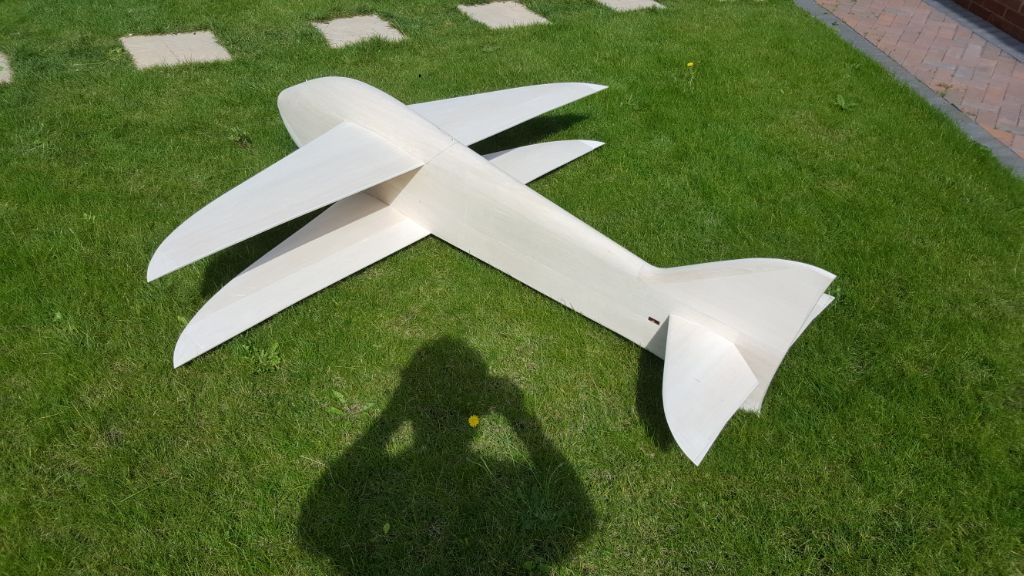
So the airframe is pretty much ready to cover now, hoped to have had it flying for the next comp but that seems unlikely now. Small things like checking the wings are square seem to take ages, especially when you cant put it together easily in your shed! Cutting ailerons out was also a pain, mainly because theres 4.
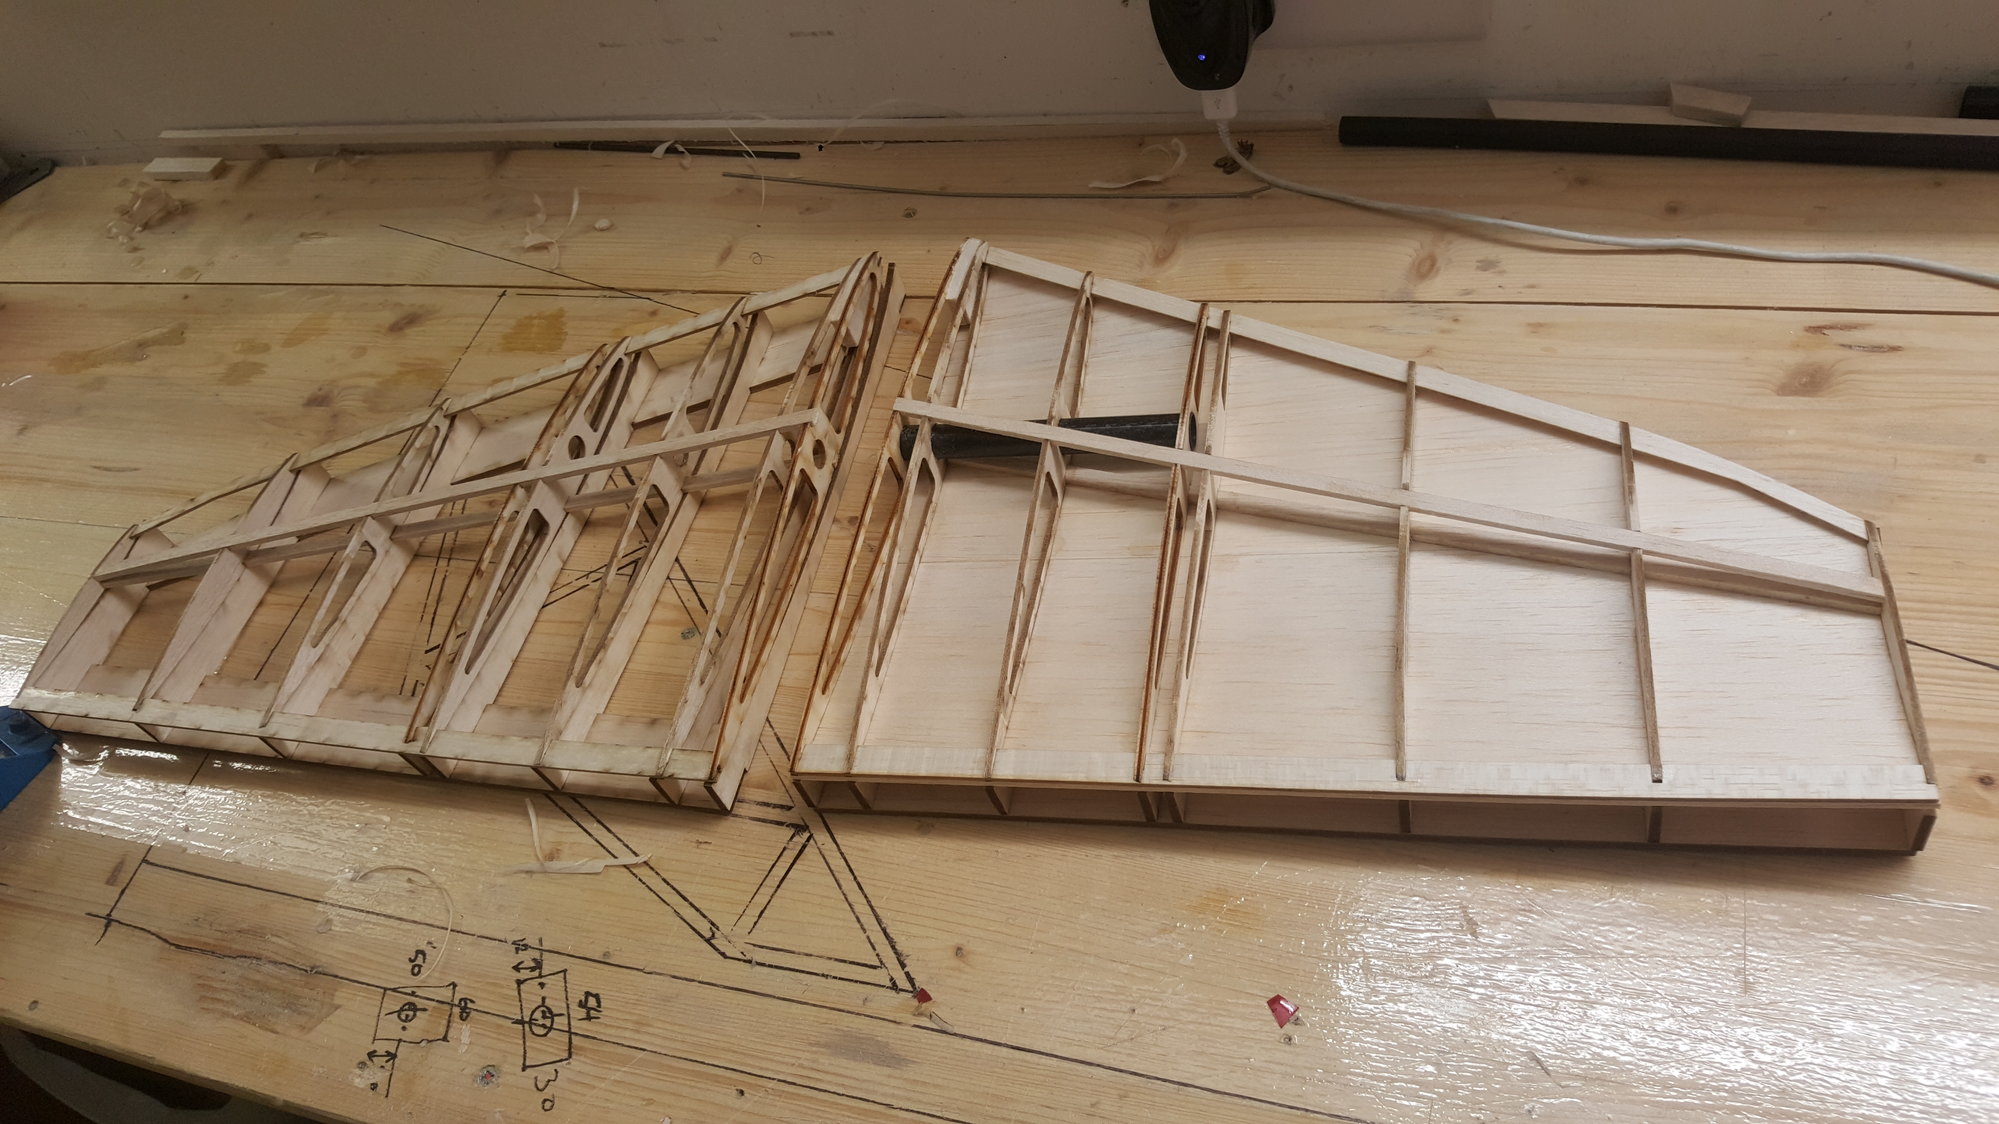
Not too many pics of the wings, but heres the ones i took.


Not too many pics of the wings, but heres the ones i took.
08-28-2019 | 08:02 AM
#19
Thread Starter

The wing structure was glued to the bottom sheeting as a whole, then each half had the top sheeting glued on seperatley. I used a jig top and bottom, weighed down, which i've done with all my wings. As long as the bench is flat, so should the wing.
Last edited by workers; 08-28-2019 at 08:04 AM.


 08-29-2019 | 02:03 AM
#23
Thread Starter
So it been built with 2.5� right thrust and 0 down thrust. I trim my models out gravity neutral so i expect the down thrust will only need a little tweaking to hold a vertical up line.
Right thrust was just a guess really and may need moving a lot, it might not.
Dan
Right thrust was just a guess really and may need moving a lot, it might not.
Dan
09-09-2019 | 02:04 PM
#24
Thread Starter
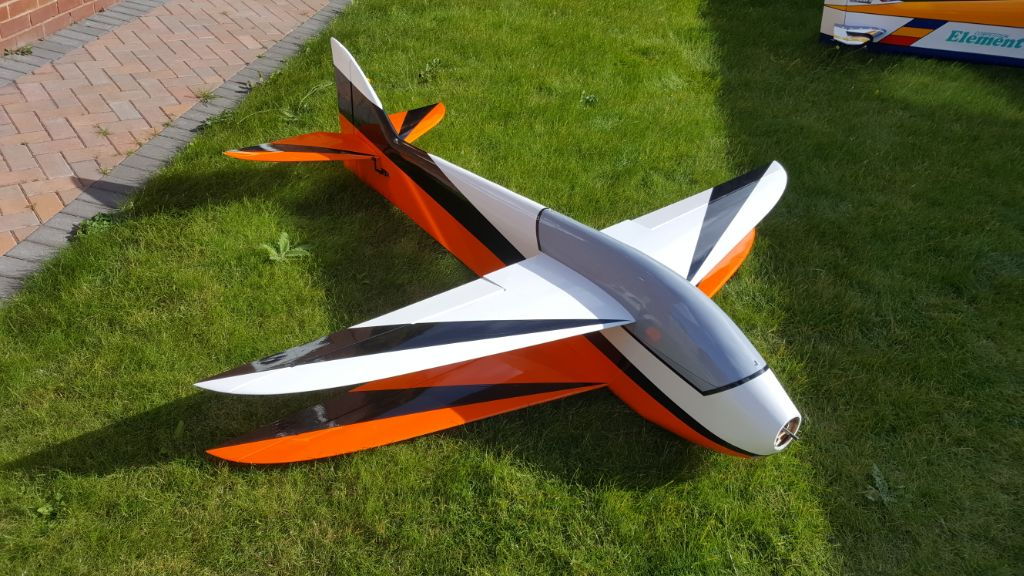
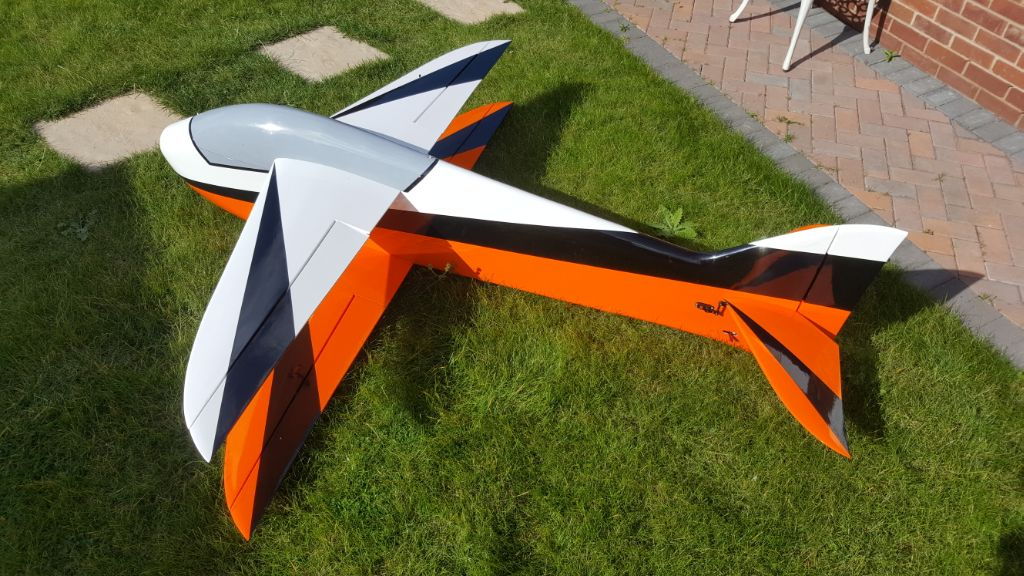
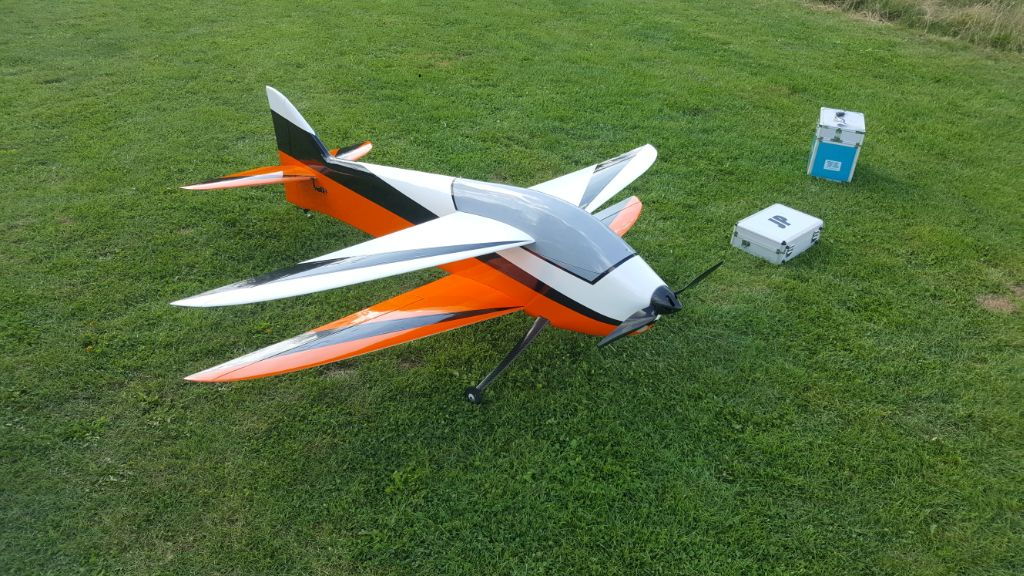
Got it finished and flying this weekend. Had 4 flights with it yesterday, even managed a p19 with it on the last flight.
Very pleased with it so far, bit of work to do with it re rudder trim but apart from that its great.
As with most biplanes, rudder is very powerful making rollers and ke manoeuvres a lot more stable and easier to control. Problem is the powerful rudder control it amplifies any unwanted yaw trim.
It was very calm aswell so will be interesting to see how it performs in the wind.


