


Fliteskin tutorial for wings and tail feathers.
 01-10-2017 | 03:23 PM
#1

Hi all,
I received a few requests for a new tutorial, I made one a few years back but has been buried somewhere in the RCU data.
I will start with a simple subject: a flap for my current build, a 1/5 scale Me109 from fliteskin aeroscale.
The Me109 has 3 flaps per wing: 2 inner flaps (upper and lower that work independently) and the outer flap which I will build first.
Each outer flap has 4 balsa ribs, a balsa leading edge and 2 skins: upper and lower.
1st I cut both skins and sand the inner surfaces with 120 grit (edges and rib contact only)
I also sand the outer side of the skin with 220 since I will prime as soon as the glue dries.
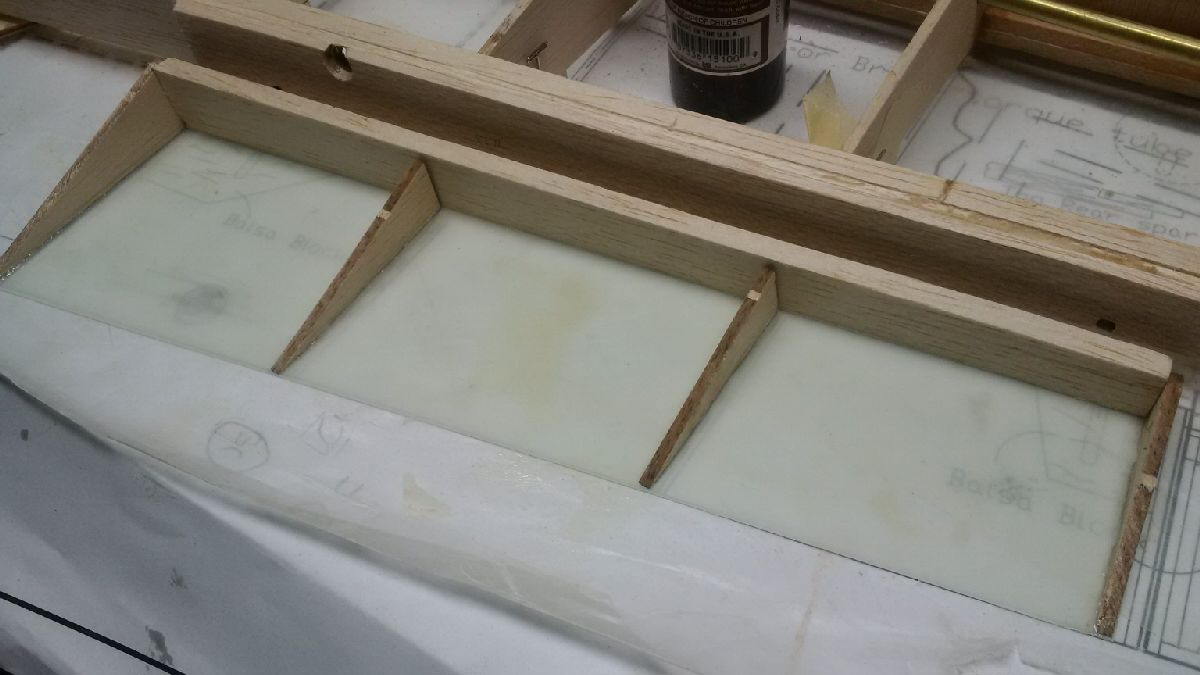
Since the skins are semi transparent, I can mark and scribe right over the plans.
I can tack the ribs to the bottom skin with CA, and for some applications, it works.
For the edges I will use the original polyurethane Gorilla glue, which expands a little.
JG
I received a few requests for a new tutorial, I made one a few years back but has been buried somewhere in the RCU data.
I will start with a simple subject: a flap for my current build, a 1/5 scale Me109 from fliteskin aeroscale.
The Me109 has 3 flaps per wing: 2 inner flaps (upper and lower that work independently) and the outer flap which I will build first.
Each outer flap has 4 balsa ribs, a balsa leading edge and 2 skins: upper and lower.
1st I cut both skins and sand the inner surfaces with 120 grit (edges and rib contact only)
I also sand the outer side of the skin with 220 since I will prime as soon as the glue dries.
Since the skins are semi transparent, I can mark and scribe right over the plans.
I can tack the ribs to the bottom skin with CA, and for some applications, it works.
For the edges I will use the original polyurethane Gorilla glue, which expands a little.
JG
Last edited by JGrc; 01-10-2017 at 03:27 PM.
 01-10-2017 | 03:32 PM
#2
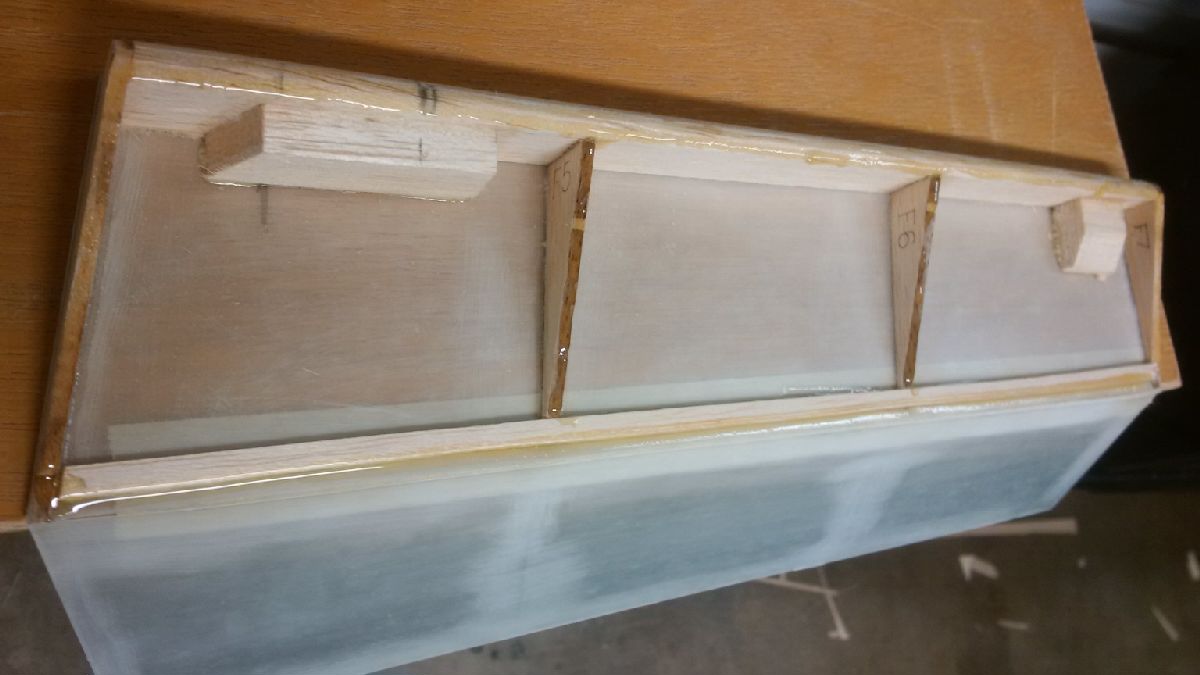
Once the bottom skins are bonded to the structure, I added a couple of small balsa blocks for Robart hinge points to grab.
Now I can start planning bonding the top skin.
In the past I have joined the top and bottom trailing edges with glue only, and it has worked but is more tricky to keep straight while it cures. This time I added a thin balsa strip (1/8: x 1/16) just short of the edge.
On a flat surface, the trailing edge of the top skin is taped to the trailing edge of the bottom skin:
and a very thin line of Gorilla glue is applied.
JG
Last edited by JGrc; 01-11-2017 at 03:01 PM. Reason: editorial
01-22-2017 | 03:01 PM
#6
The leading edge has to be accurate as it will be the position guides after the glue is place on the airframe:

Apply a thin trace of Gorilla polyurethane glue, remembering that it will expand 2 o 3 times it's volume. This also helps with an excellent grip.
As soon as the glue is applied through out the part to skin, position the skin over the frame using the leading edge pin holes previously made. Next I put as many pins as I can to get a super tight L.E. adhesion.

Magazines and soft books are the best to help the skins stay conforming to the structure.

In 4 hrs. the top of the wing will be ready to prime.
JG
Apply a thin trace of Gorilla polyurethane glue, remembering that it will expand 2 o 3 times it's volume. This also helps with an excellent grip.
As soon as the glue is applied through out the part to skin, position the skin over the frame using the leading edge pin holes previously made. Next I put as many pins as I can to get a super tight L.E. adhesion.
Magazines and soft books are the best to help the skins stay conforming to the structure.
In 4 hrs. the top of the wing will be ready to prime.
JG
Last edited by JGrc; 01-22-2017 at 03:08 PM.


