


Revell 1/72 R/C Flower Class Corvette
 05-11-2019, 08:02 AM
#1

Thread Starter
Join Date: Mar 2013
Location: Hull, UNITED KINGDOM
Posts: 65
Likes: 0
Received 0 Likes
on
0 Posts
Started this a couple of years ago, but only just got around to finishing it.
Using the Platinum version and adding GLS PE options and extras.
She isn't a representation of any particular vessel, just a figment of my imagination plus reference to many assorted photo's.
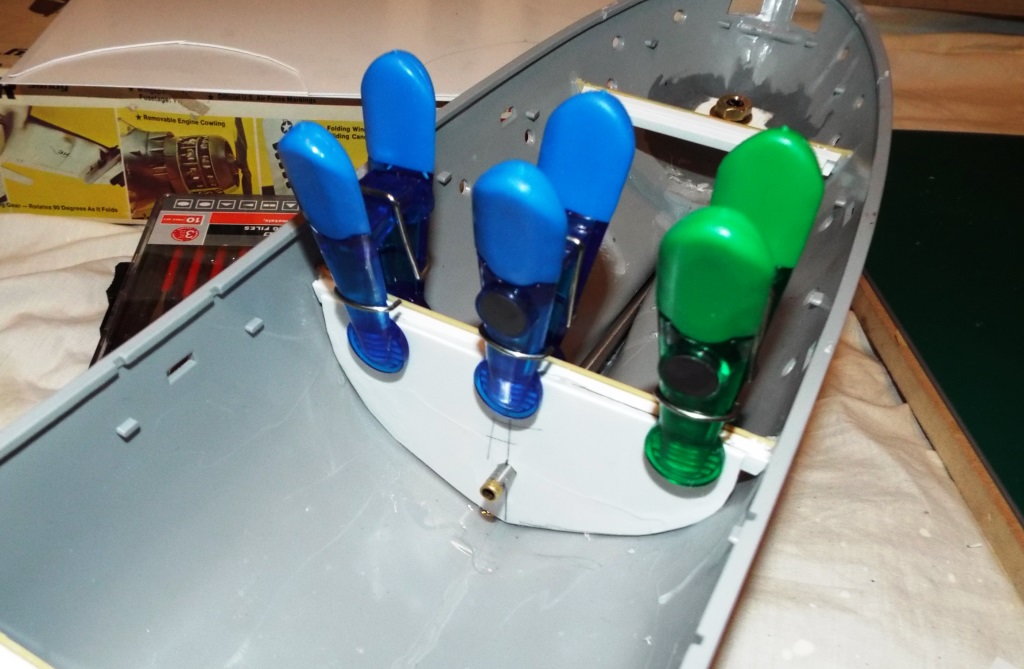
The hull was assembled as per the instructions, with added internal strengthening of the joints and hull sections
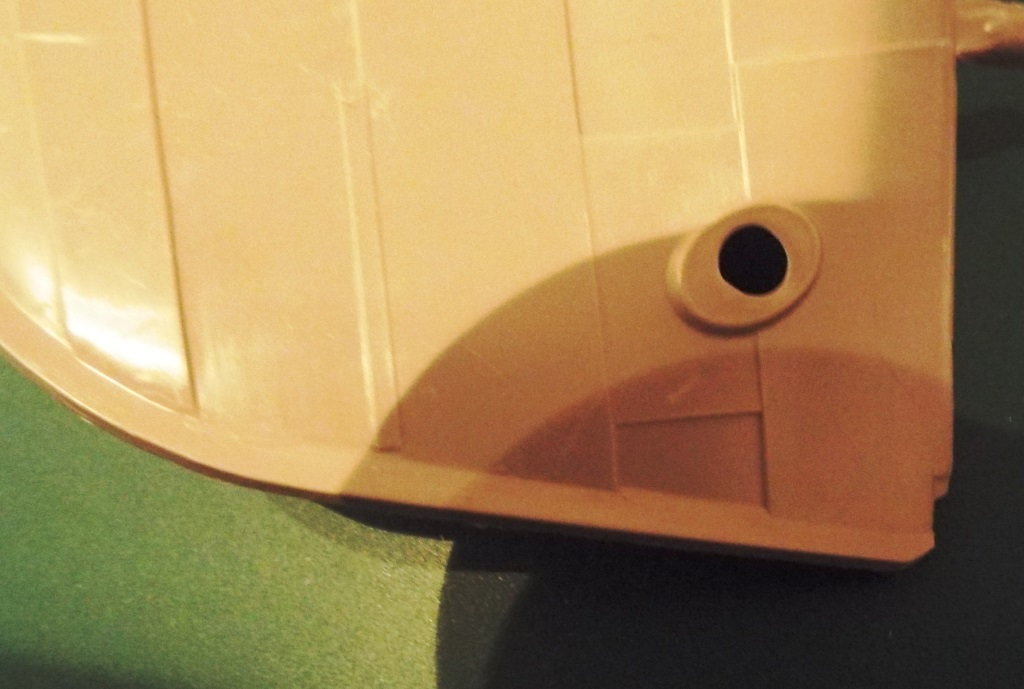
All the portholes were sealed internally with plasticard as I didn't intend to use the kit transparencies.
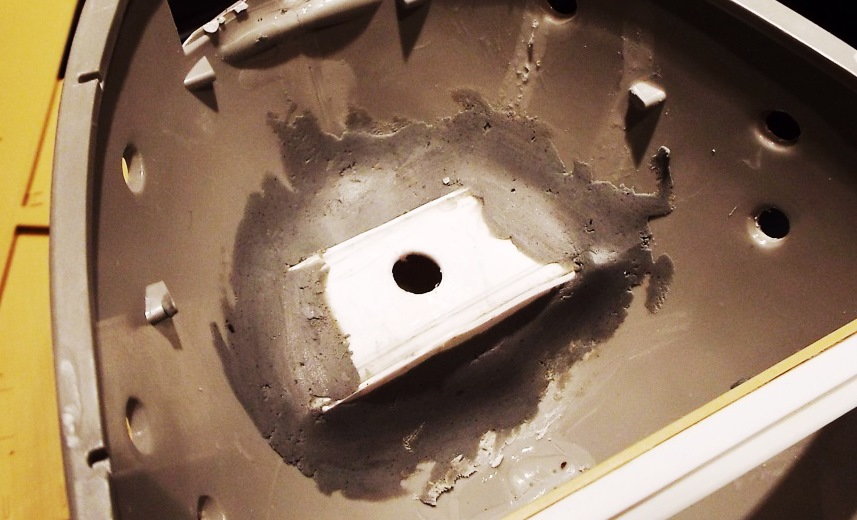
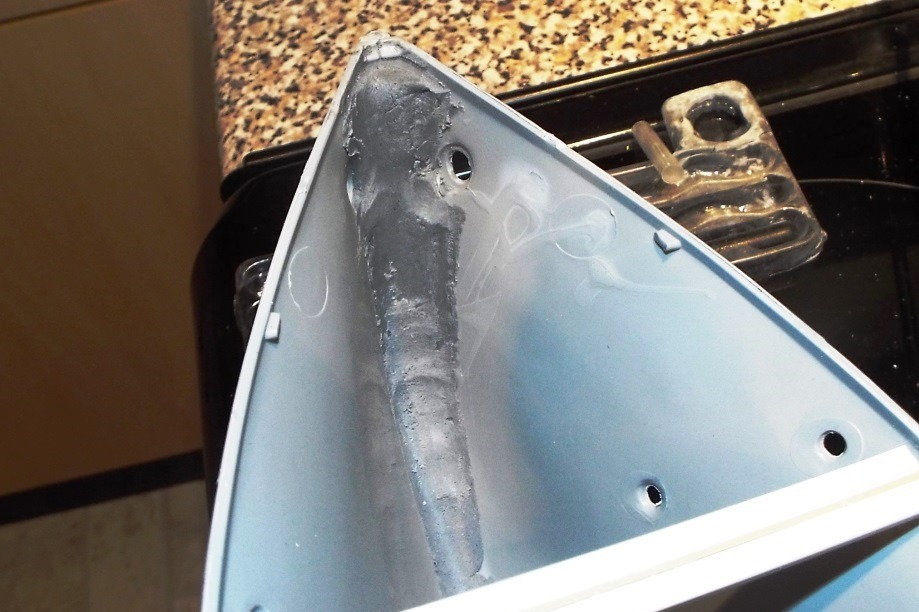
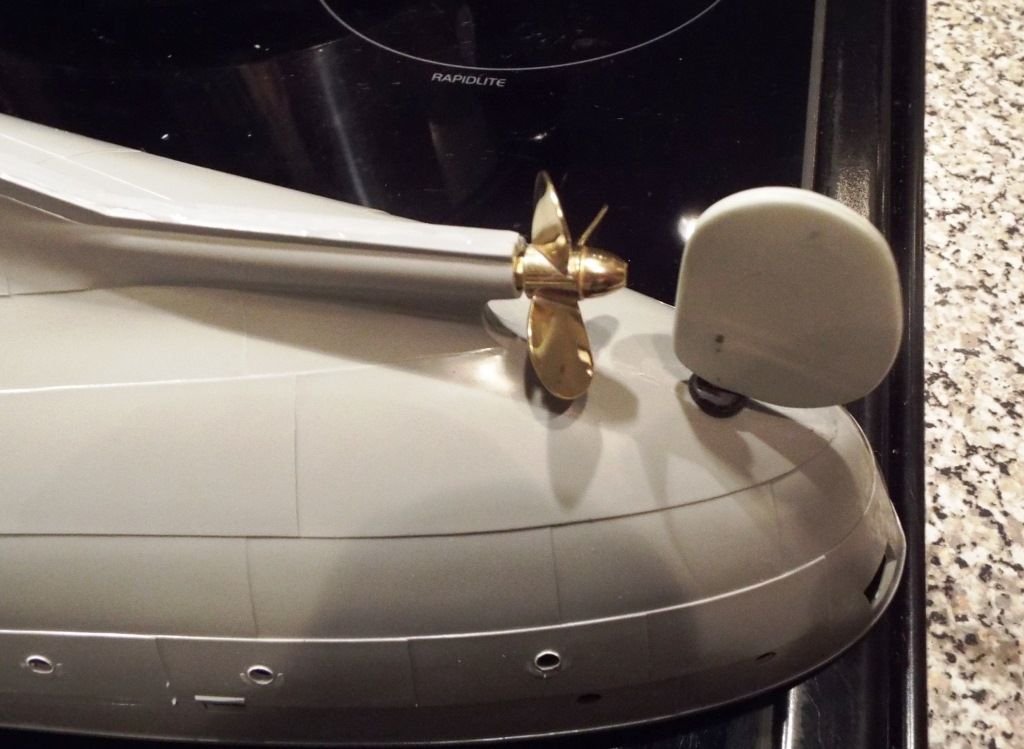
A rudder kit was purchased and cut to shape using the kit rudder halves as templates. The kit parts were then thinned down and bonded to the modified brass rudder assembly.
This was inserted into the hull with a plasticard platform to give added strength, and allow for the correct angle to be achieved
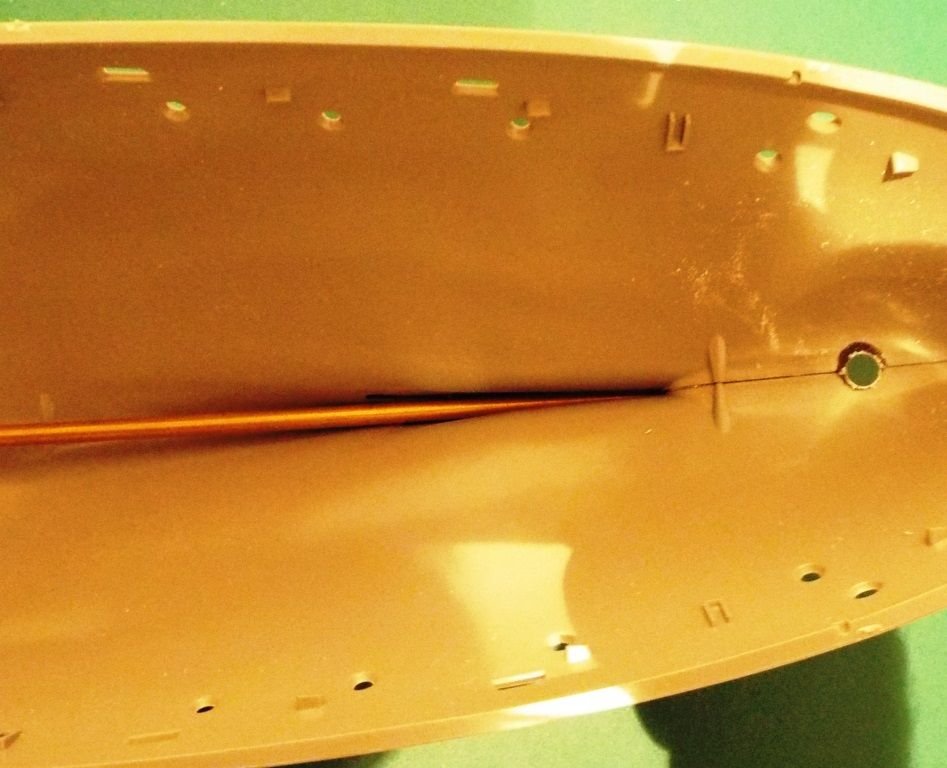
A couple of bulkheads were cut from plasticard and attached in appropriate positions inside the hull. One of the bulkheads was used as a support for the brass prop shaft, which had been drilled to allow oiling tube to be fitted.


Using the Platinum version and adding GLS PE options and extras.
She isn't a representation of any particular vessel, just a figment of my imagination plus reference to many assorted photo's.
The hull was assembled as per the instructions, with added internal strengthening of the joints and hull sections
All the portholes were sealed internally with plasticard as I didn't intend to use the kit transparencies.
A rudder kit was purchased and cut to shape using the kit rudder halves as templates. The kit parts were then thinned down and bonded to the modified brass rudder assembly.
This was inserted into the hull with a plasticard platform to give added strength, and allow for the correct angle to be achieved
A couple of bulkheads were cut from plasticard and attached in appropriate positions inside the hull. One of the bulkheads was used as a support for the brass prop shaft, which had been drilled to allow oiling tube to be fitted.
 05-13-2019, 08:03 AM
#2
Thread Starter
Join Date: Mar 2013
Location: Hull, UNITED KINGDOM
Posts: 65
Likes: 0
Received 0 Likes
on
0 Posts
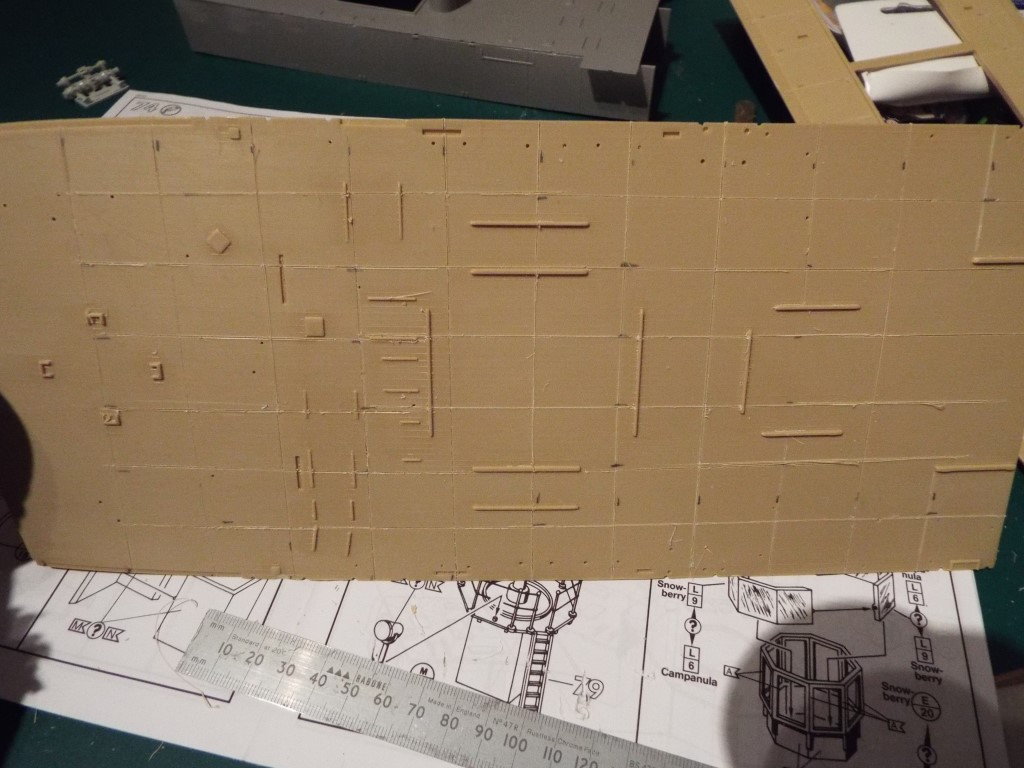
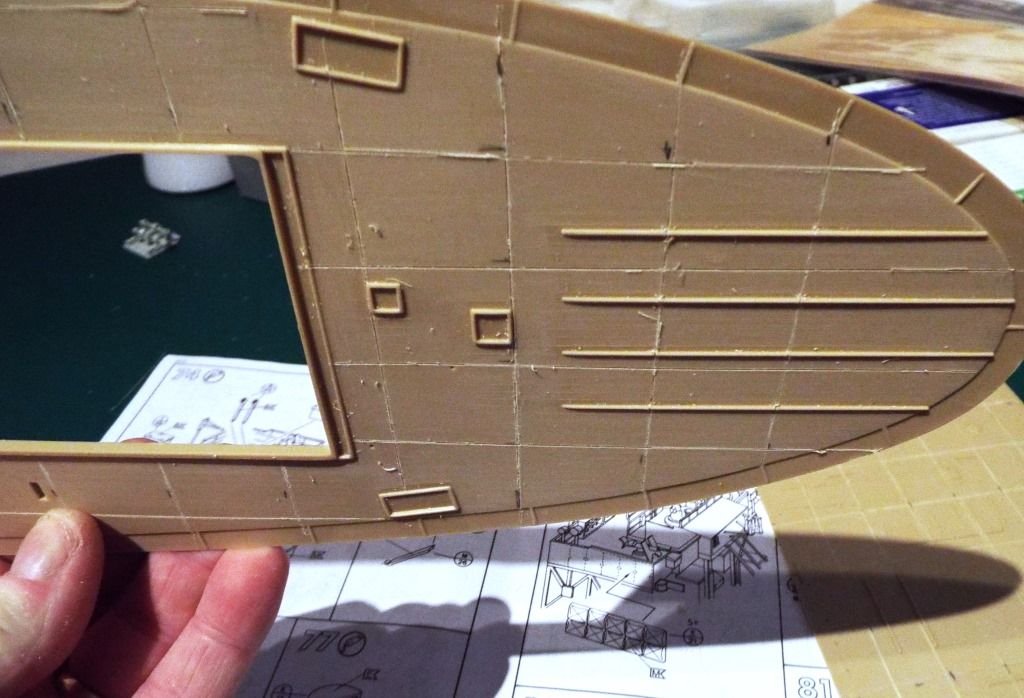
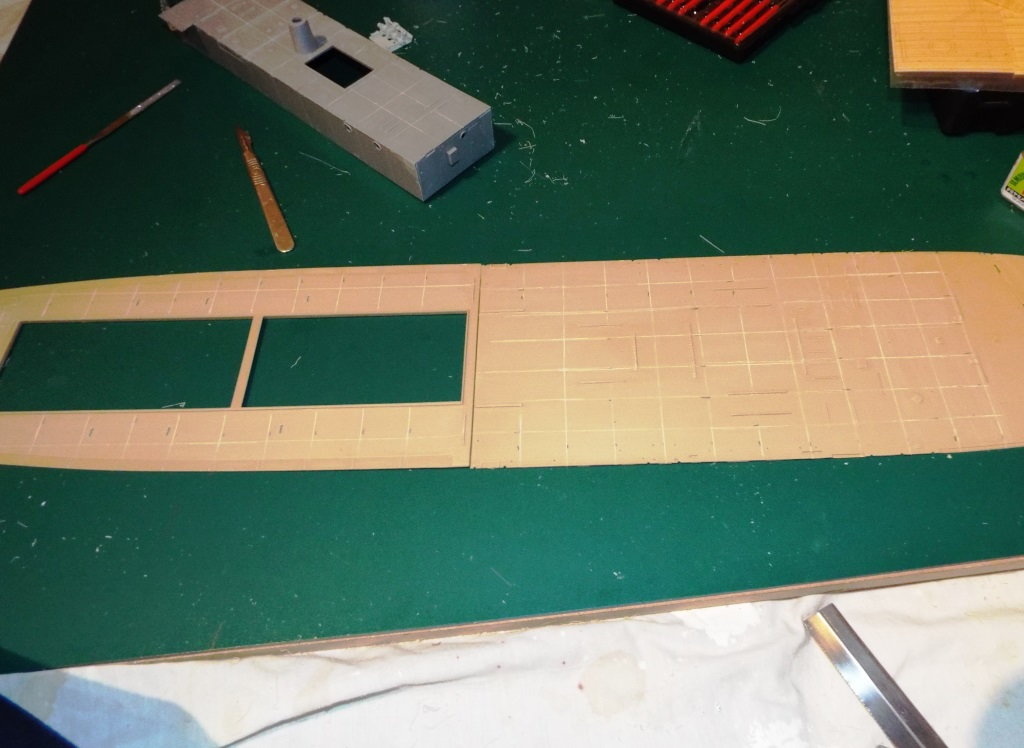
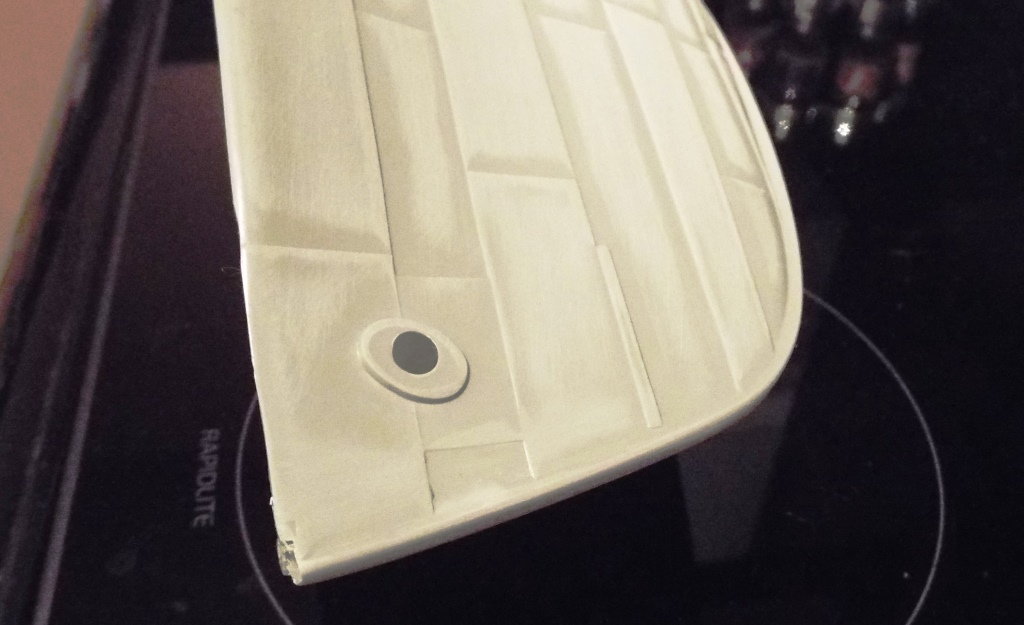
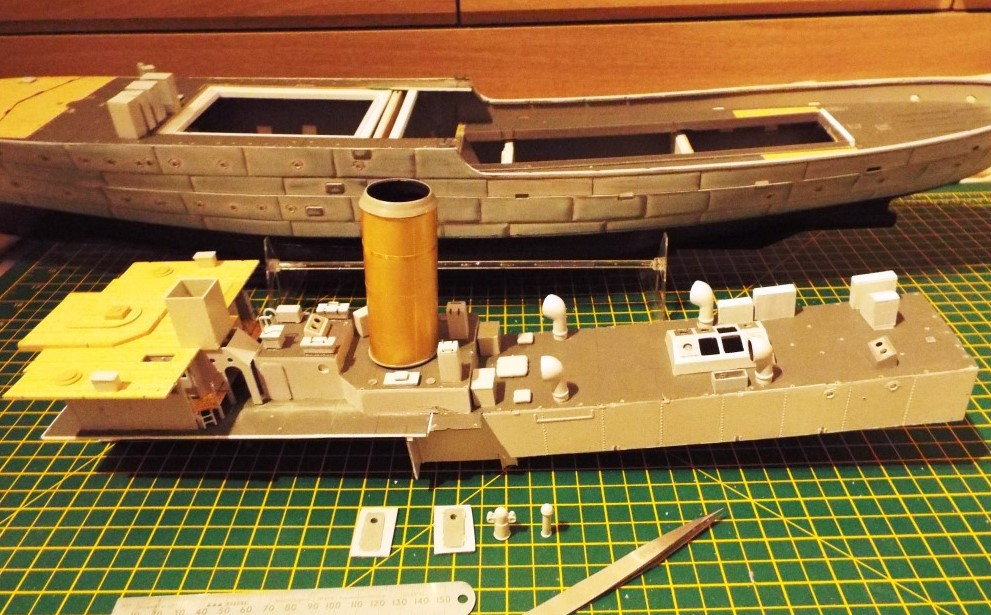
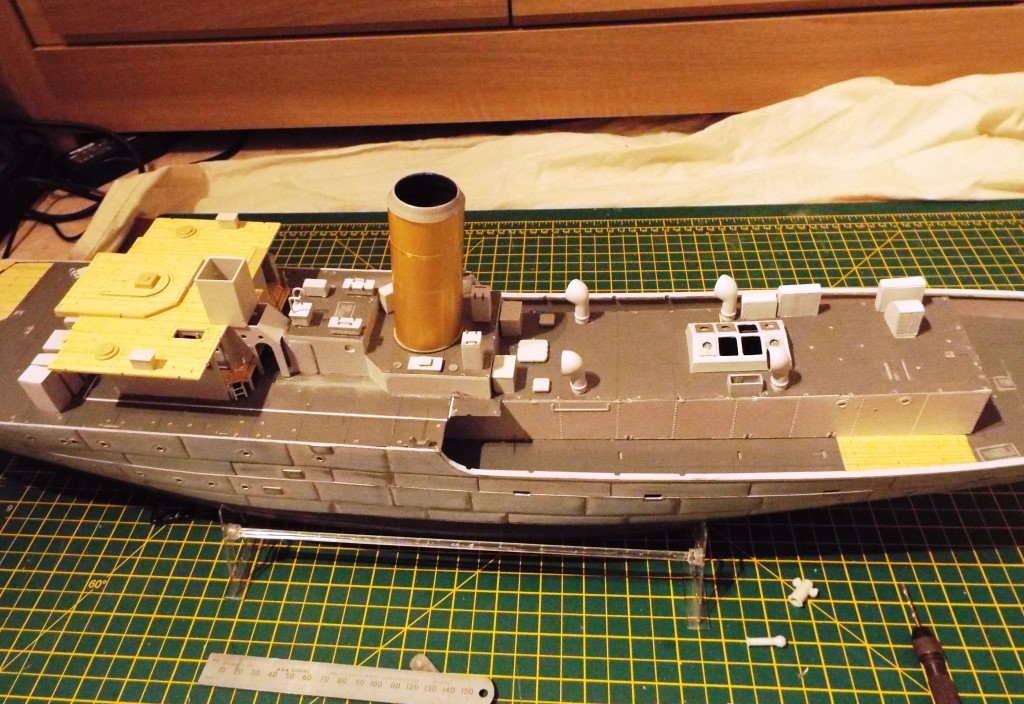
Not all Flowers had wooden decking, so I removed the moulded in decking and re-scribed for a welded plate look.
The hull exterior plating is too pronounced and the bow flange is larger than scale. This required a lot of sanding and filing to get a
reasonable scale look
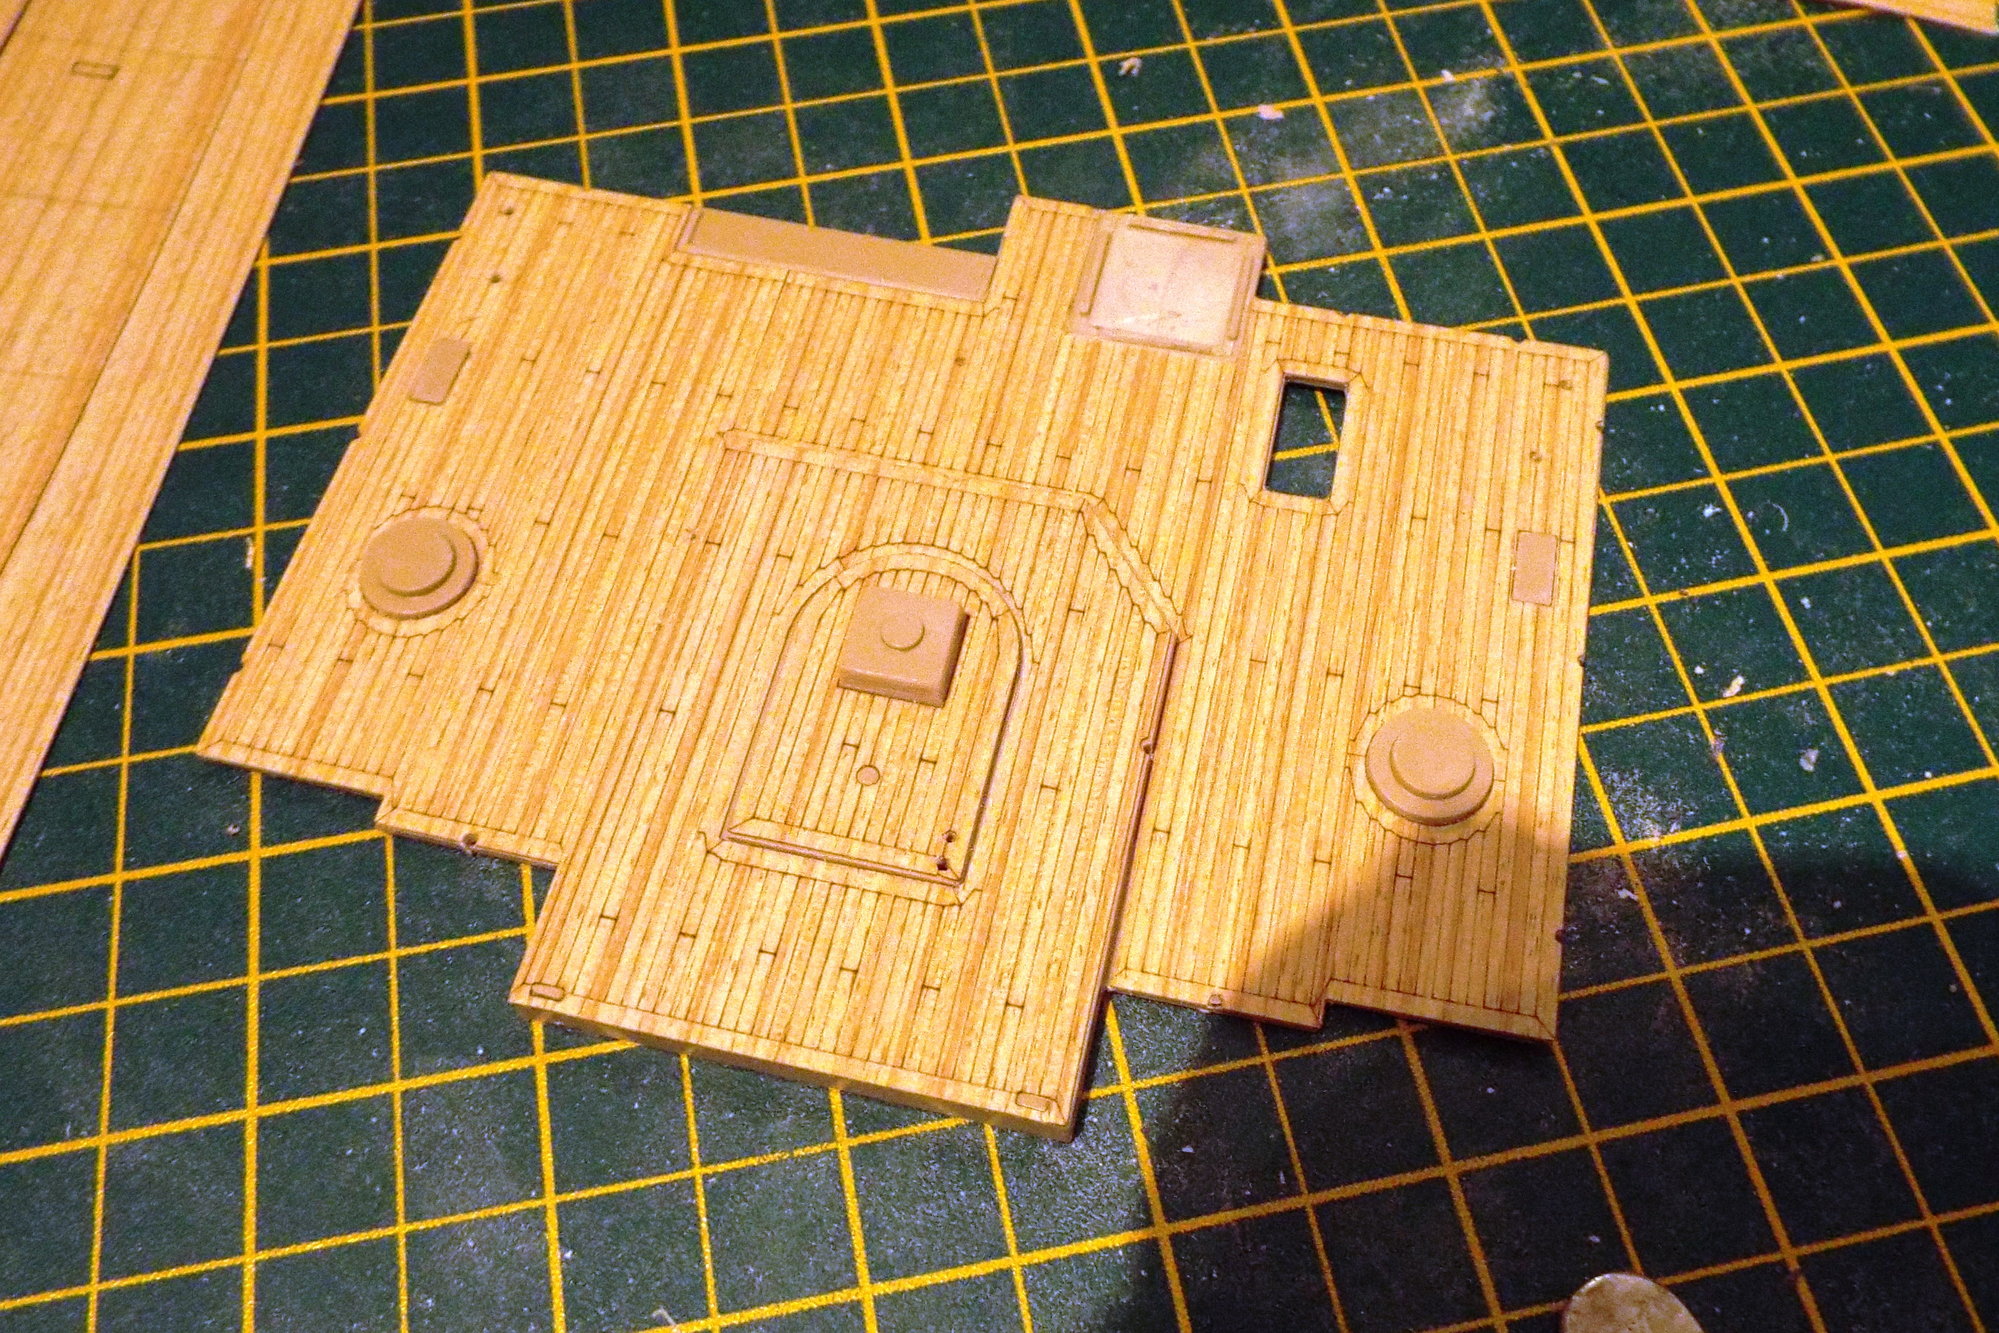
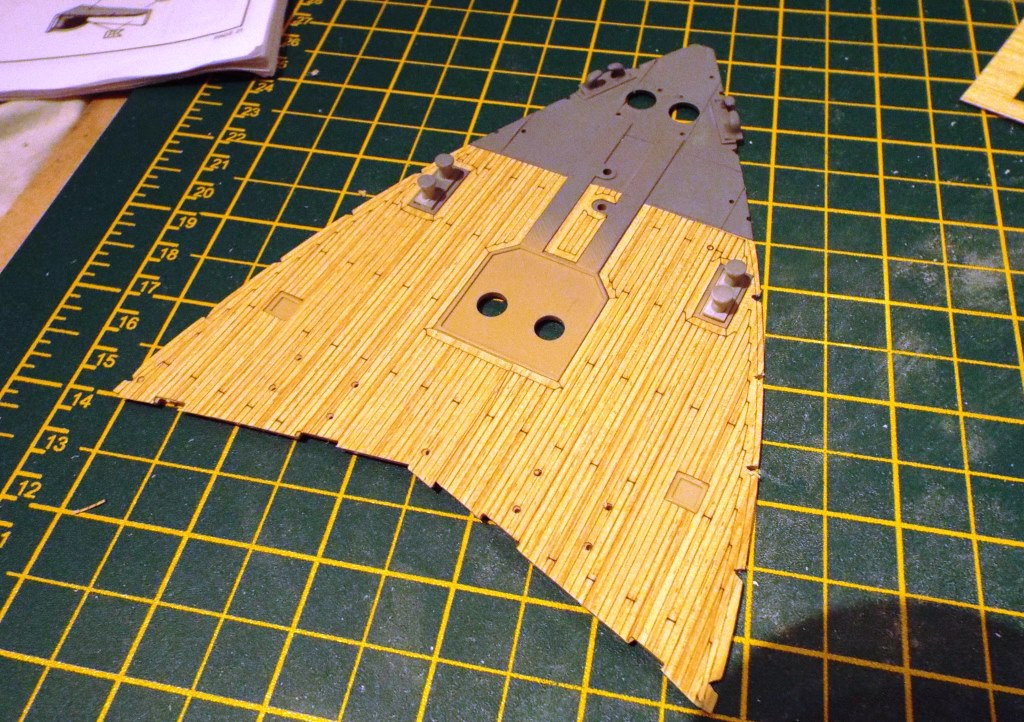
I used the supplied stick on decking where appropriate, and sealed with a coat of pledge/future.
The hull exterior plating is too pronounced and the bow flange is larger than scale. This required a lot of sanding and filing to get a
reasonable scale look
I used the supplied stick on decking where appropriate, and sealed with a coat of pledge/future.
 10-05-2019, 01:51 PM
#4
Thread Starter
Join Date: Mar 2013
Location: Hull, UNITED KINGDOM
Posts: 65
Likes: 0
Received 0 Likes
on
0 Posts
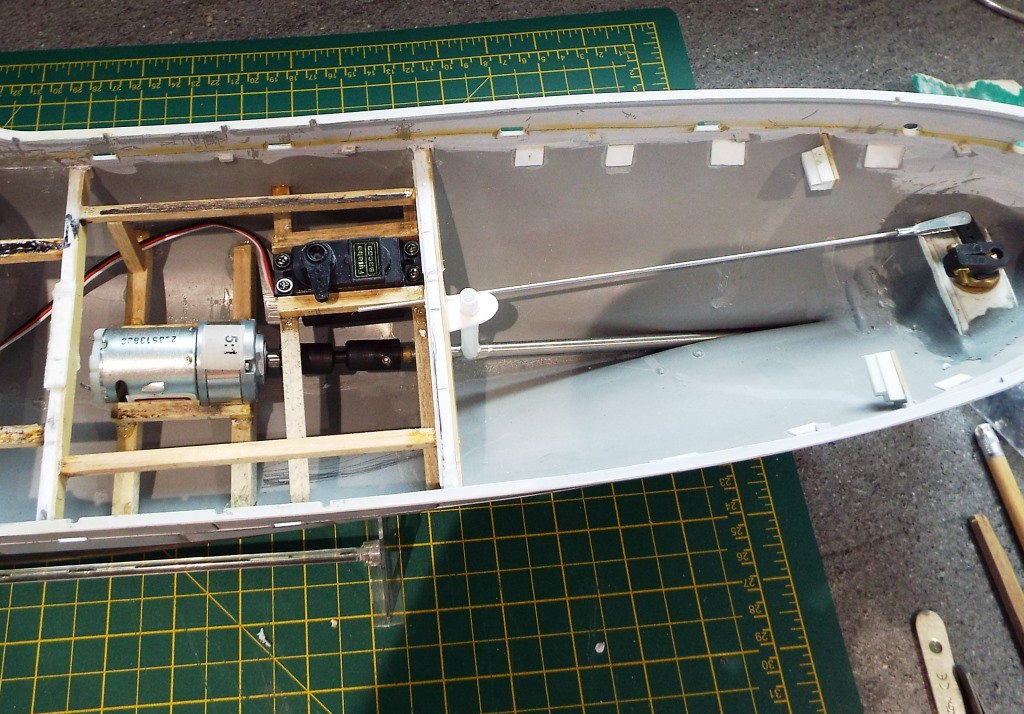


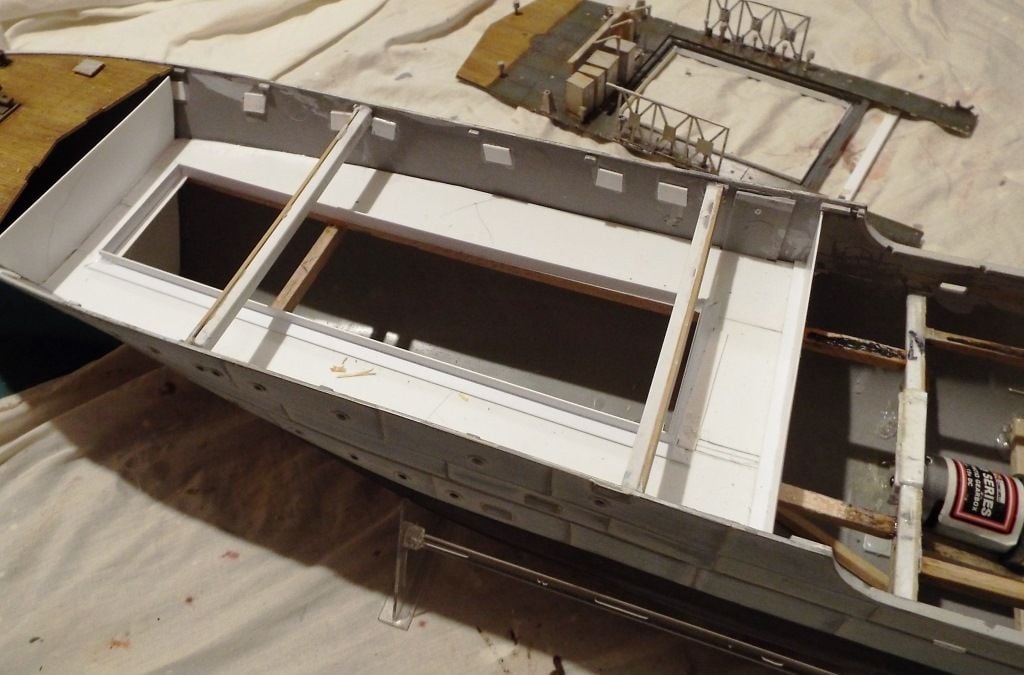
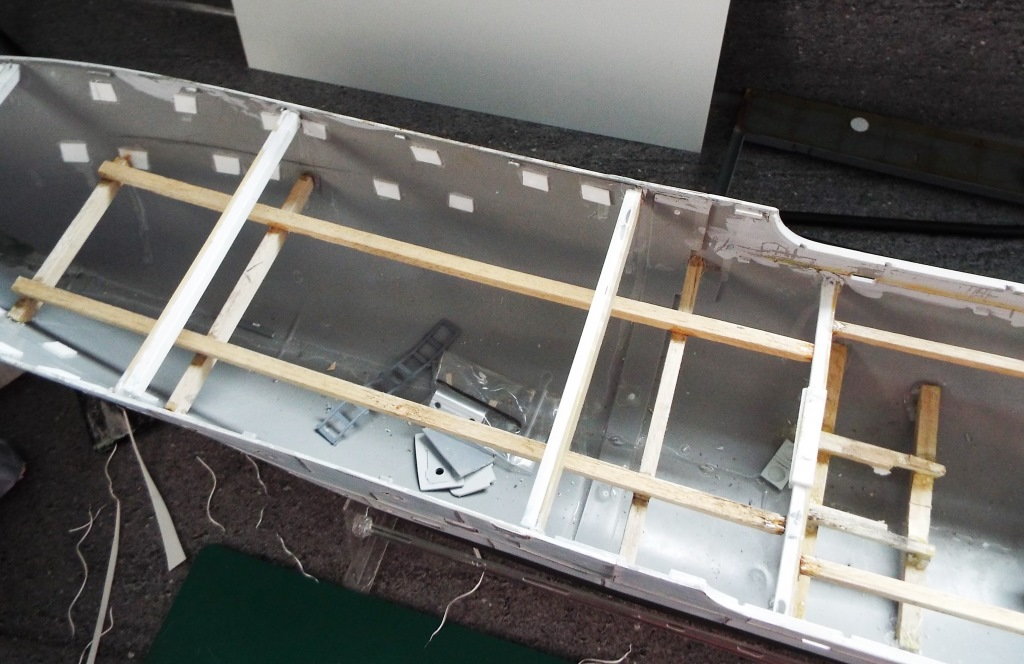
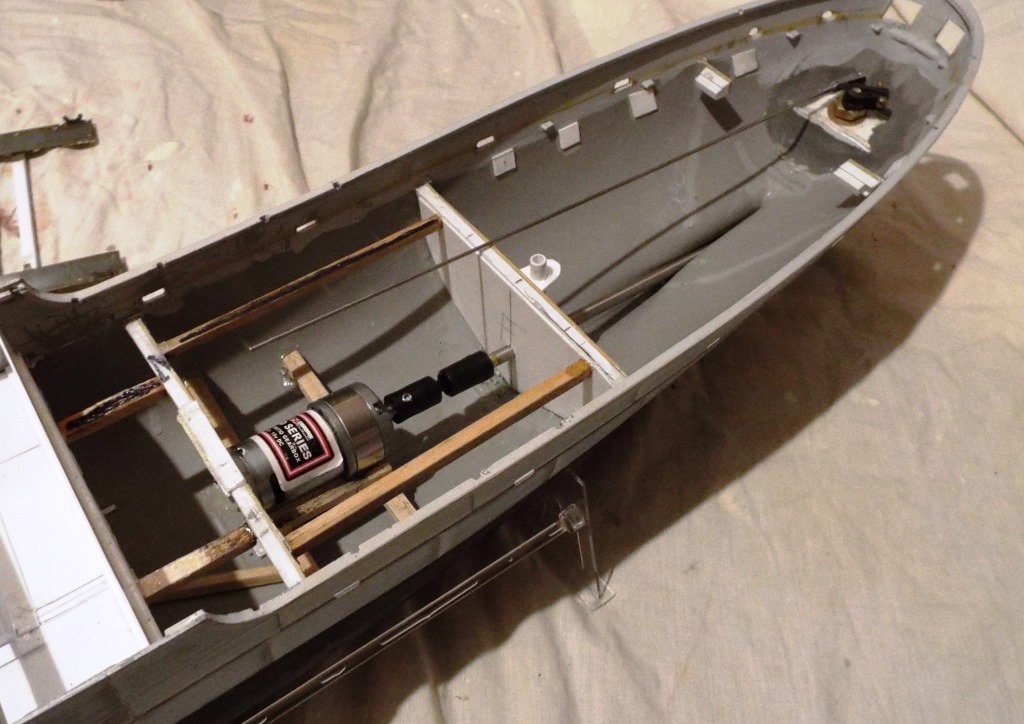
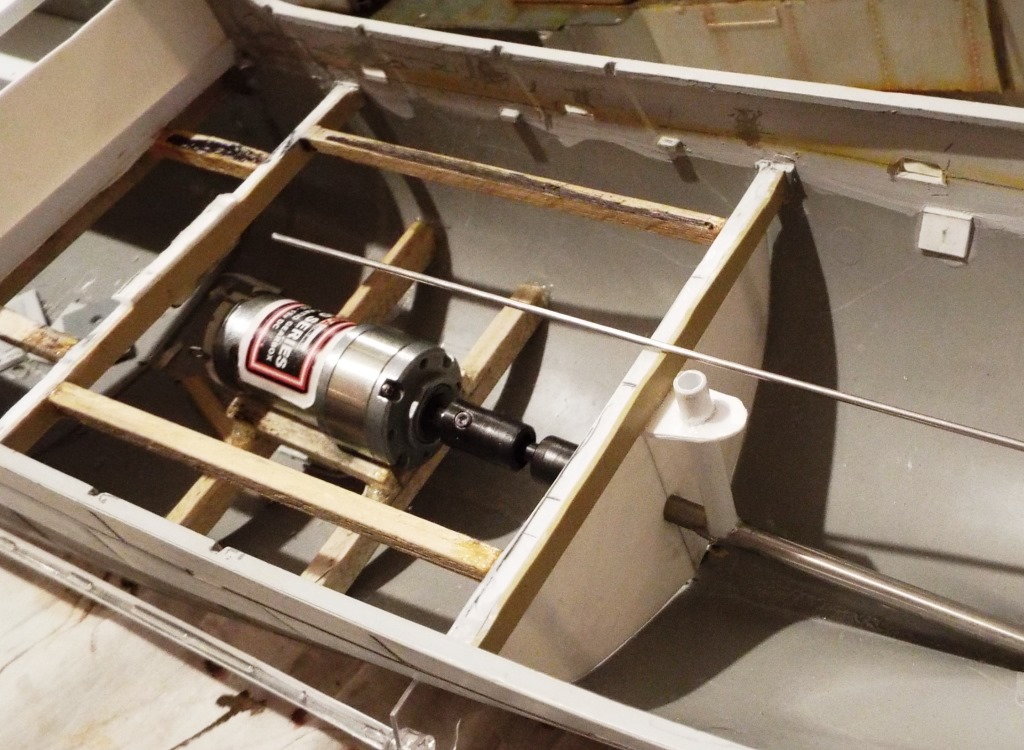
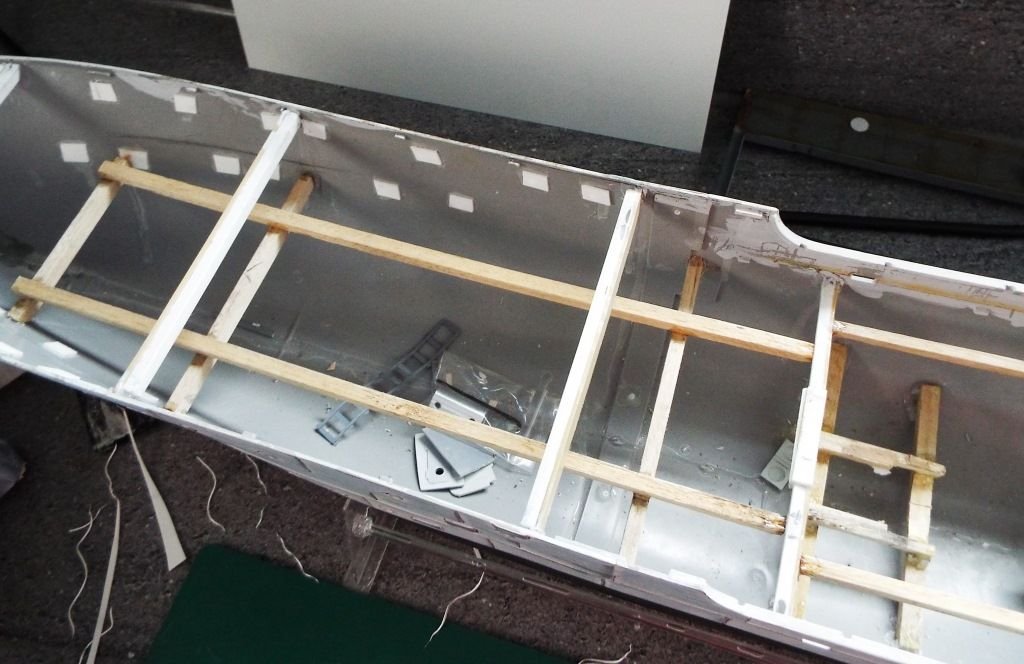
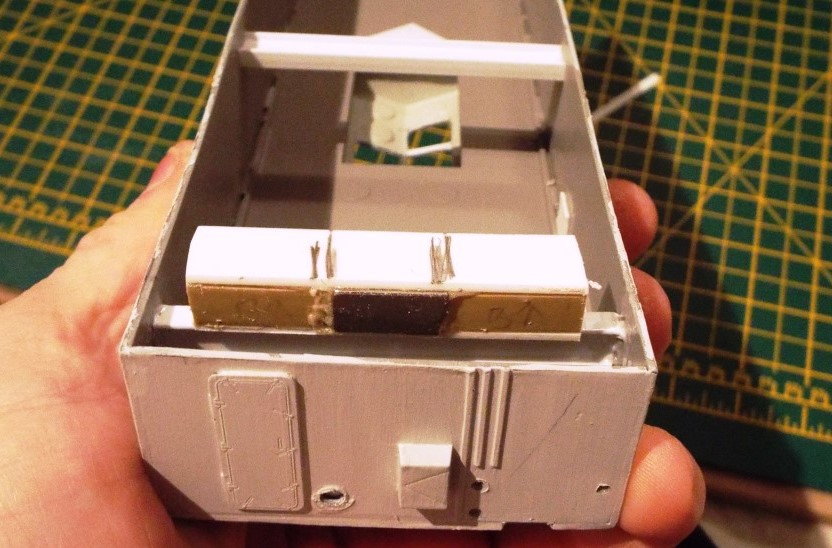
Always looking to cut my costs, I used the spent rocket sticks found after bonfire night for the hull inner supports and bracing.
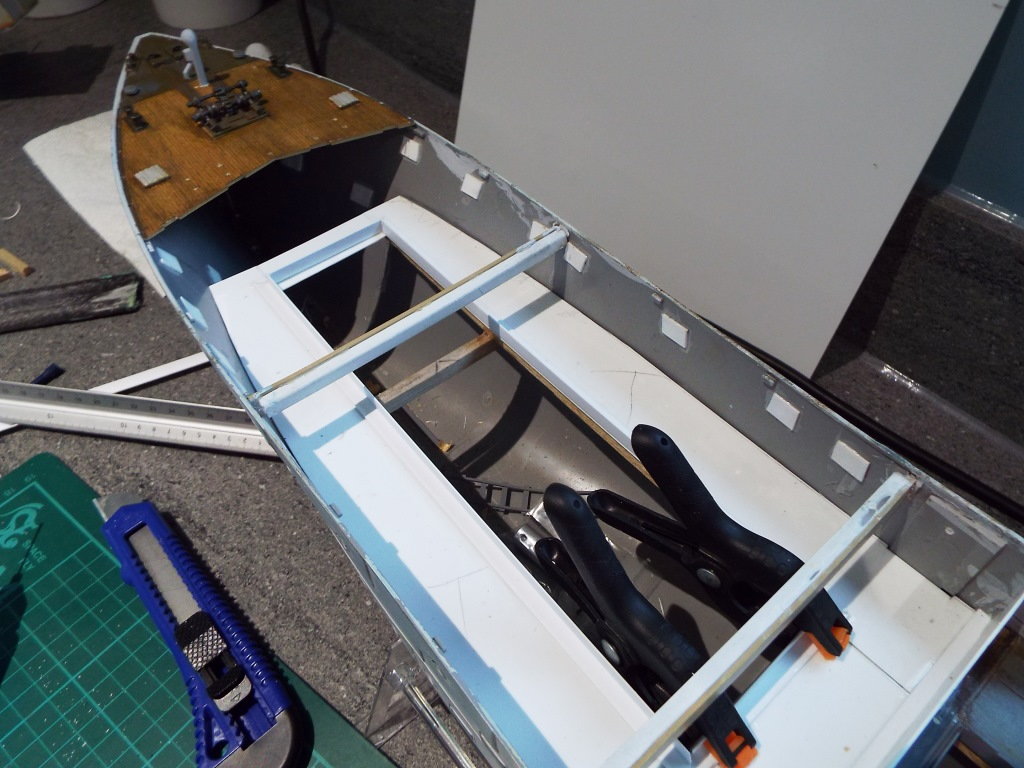
Having plenty of plasticard to hand, I made an inner decking and bulkheads to provide a waterproof barrier for the electrics.
I also took this opportunity to fit the geared motor, propshaft, servo and rudder tiller.
Last edited by ojays; 10-05-2019 at 01:53 PM.
10-10-2019, 12:04 PM
#5
Thread Starter
Join Date: Mar 2013
Location: Hull, UNITED KINGDOM
Posts: 65
Likes: 0
Received 0 Likes
on
0 Posts
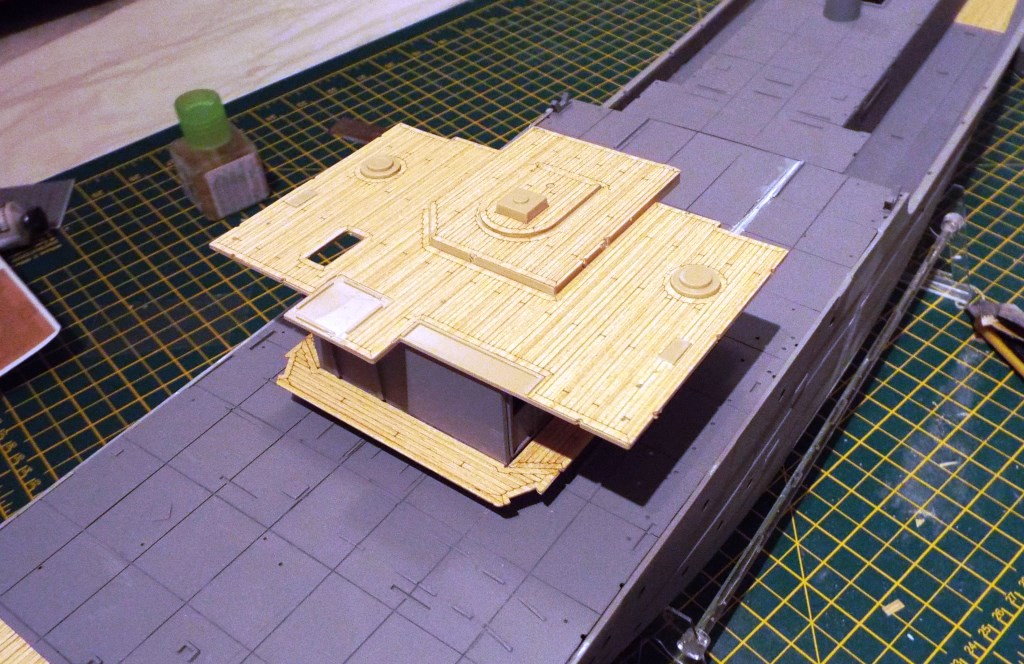
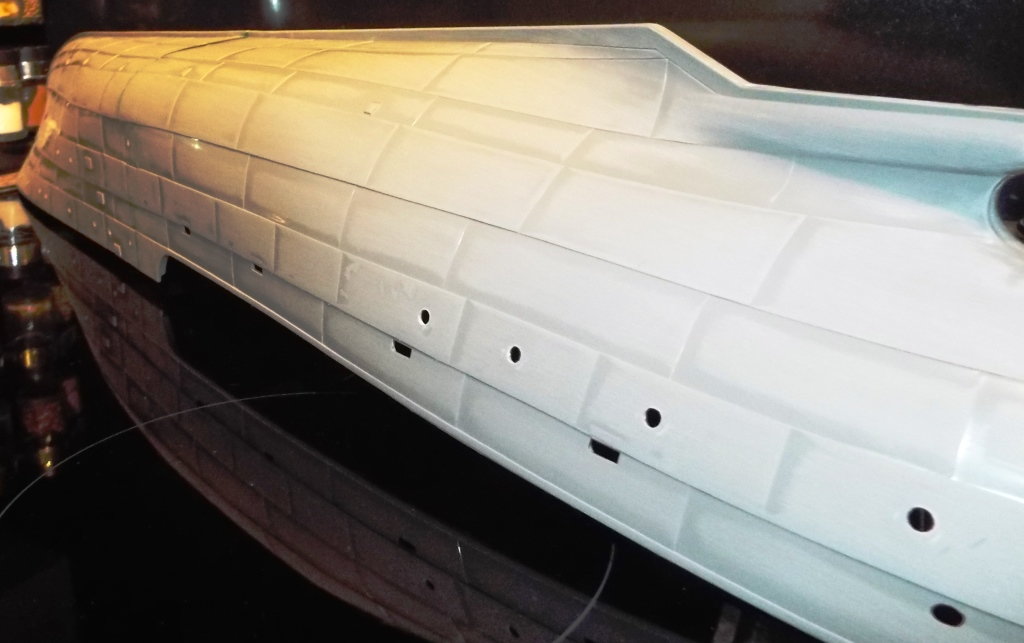
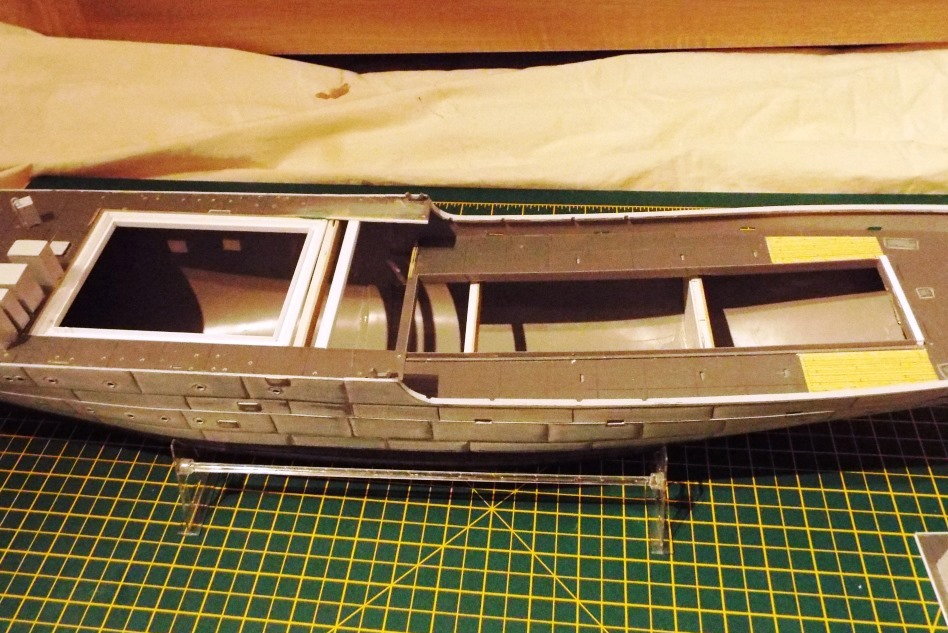
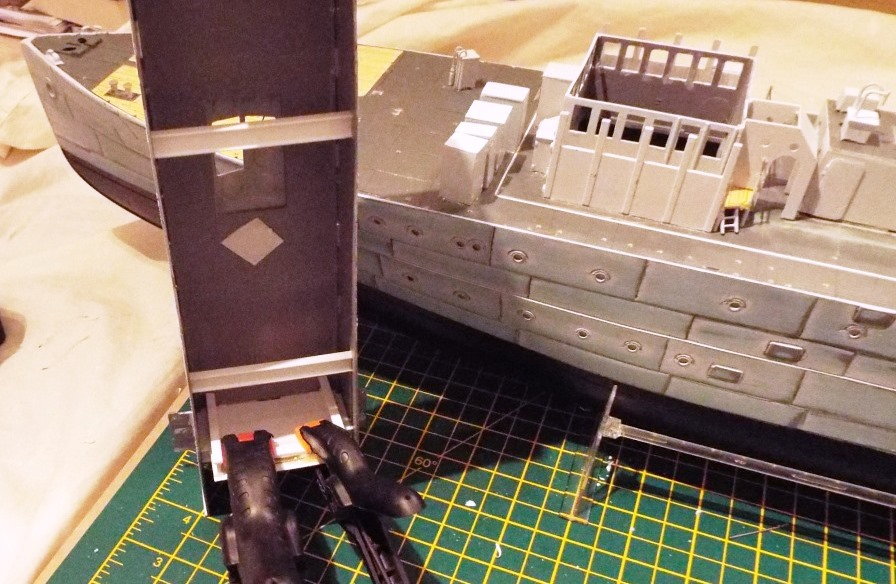
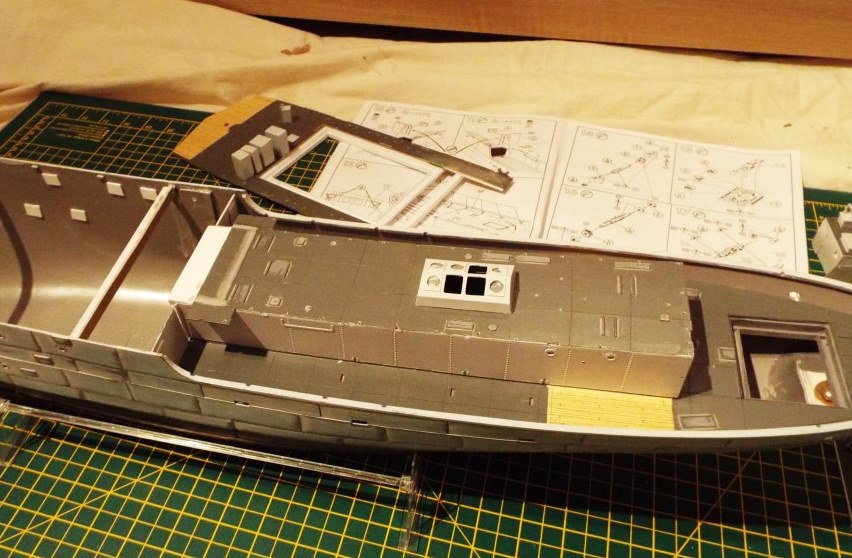
I had decided at an early stage to make the mechanicals to be easy to access.
For the rudder I made a hatch under the depth charge rails.
For the main electrics and motor, I cut a larger hole in the deck than is already there.
This starts at the breakwater on the bow just in front of the lockers, back to the end of the main superstructure.
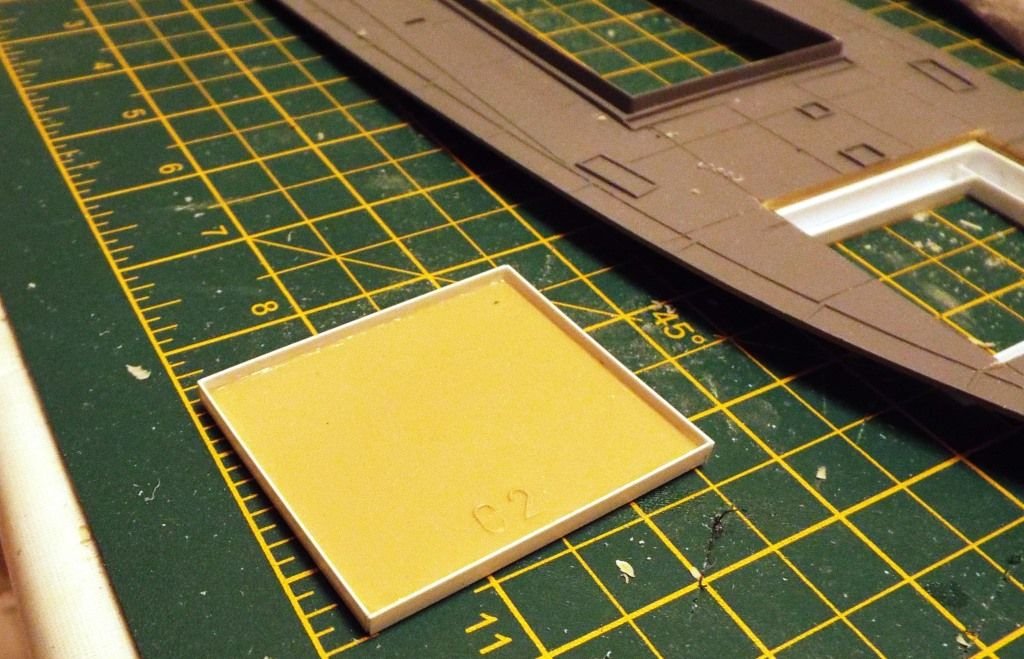
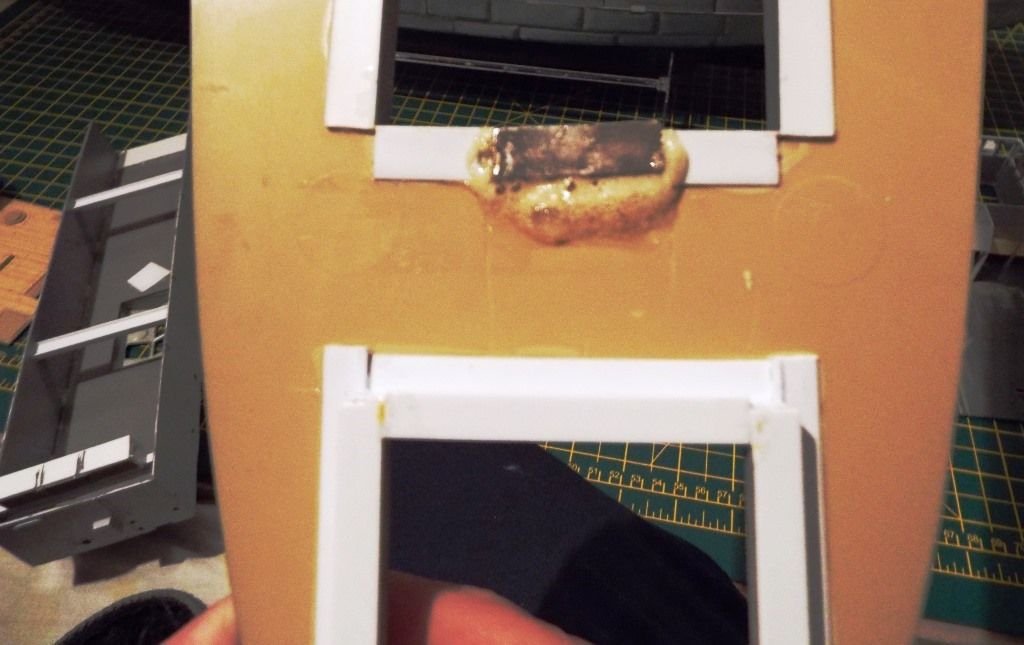
As usual I used small powerful magnets for securing all these items.
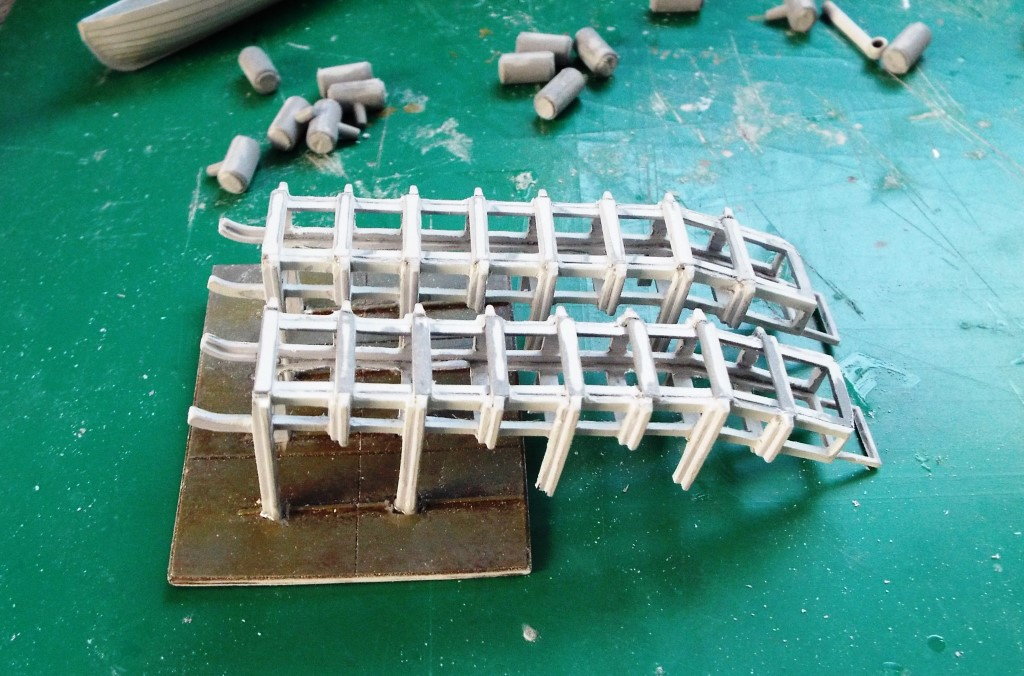
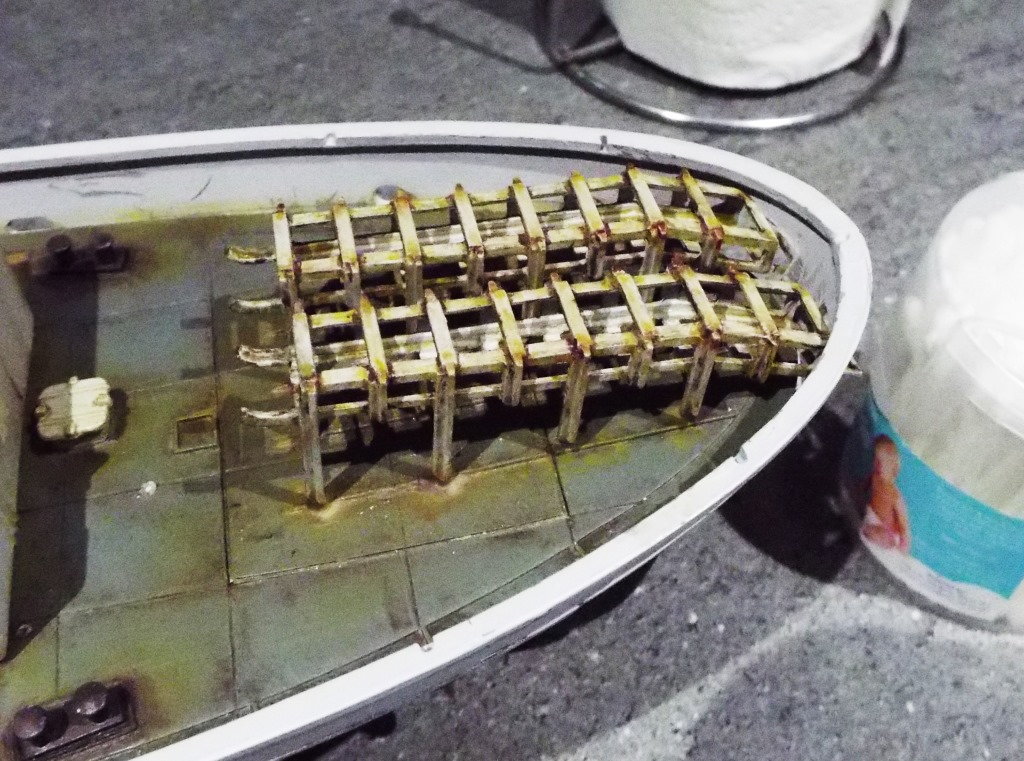
For the rudder I made a hatch under the depth charge rails.
For the main electrics and motor, I cut a larger hole in the deck than is already there.
This starts at the breakwater on the bow just in front of the lockers, back to the end of the main superstructure.
As usual I used small powerful magnets for securing all these items.
 04-23-2020, 12:01 AM
#7
Join Date: Jul 2007
Location: Blackpool Lancs, UNITED KINGDOM
Posts: 1,432
Likes: 0
Received 32 Likes
on
32 Posts
Very nice.
Thinking back to mine (early Revell Snowberry), the after deck tended to be wet in anything but flat calm, just like the real thing. It benefitted greatly from having the hole under the aft superstructure being surrunded by a tall coaming. Real Flower class ships were known to be tender and most had substantial ballast down in the bilges, models follow this and need careful attention to weight distribution.
Thinking back to mine (early Revell Snowberry), the after deck tended to be wet in anything but flat calm, just like the real thing. It benefitted greatly from having the hole under the aft superstructure being surrunded by a tall coaming. Real Flower class ships were known to be tender and most had substantial ballast down in the bilges, models follow this and need careful attention to weight distribution.
