


STUG III BUILD
 01-09-2011, 07:53 PM
#1
Senior Member
Thread Starter
Join Date: Jul 2006
Location: , CA
Posts: 382
Likes: 0
Received 0 Likes
on
0 Posts
Finally getting around to building my Asiatam PIII metal hull. Decided to go with a Heng Long Stug III as a donor. Only used the upper hull, detail parts and elevation motor from the kit. (no recoil will be used) Will sell off the lower hull and all electronics later. looked interesting. or For electronics, I am using the Pershing DMD / MFU and a Tamiya apple. I know the sound is a bit off but I didn't want to spring for a new MFU. Also built the "Pig snout" mantle out of the original and some bondo. Ran the Dremel over it for some texture and it's done.
Edit:
Re-thinking the compressed gas version. Want a subject that has battle history....
Edit:
Re-thinking the compressed gas version. Want a subject that has battle history....

 01-10-2011, 02:30 PM
#4
Senior Member
Thread Starter
Join Date: Jul 2006
Location: , CA
Posts: 382
Likes: 0
Received 0 Likes
on
0 Posts
E
No time to do all that. This should be a relatively quick but interesting conversion. Should look nice with all the plumbing on the decks.
D
No time to do all that. This should be a relatively quick but interesting conversion. Should look nice with all the plumbing on the decks.
D
01-10-2011, 03:08 PM
#5


The compressed gas version like Panther and Tiger was purely for training purposes though there will be some unenlightened person whom will claim otherwise
01-12-2011, 09:13 AM
#8
Senior Member
Thread Starter
Join Date: Jul 2006
Location: , CA
Posts: 382
Likes: 0
Received 0 Likes
on
0 Posts
Started looking into the waffle pattern zimm and wanted to know if there were different amounts applied to the stug's. I see some museum tanks that have none on the lower hull sides and and some loaded to the hill. I want to leave the horizontal surfaces (especially, the rear deck) off but want to see if that would be accurate. This model shows the amount I want to add. (none on the busy rear deck)
01-12-2011, 07:36 PM
#9
Senior Member
Thread Starter
Join Date: Jul 2006
Location: , CA
Posts: 382
Likes: 0
Received 0 Likes
on
0 Posts
Starting the Zimm. Made a tool / mold and some thin urethane sheets. Have been cutting to size and roughing up the corners to make it feel more realistic. Still need to blend it a bit more on the lower sides too. Like the look so far..Plan to do the cement upper armor next.
D
D
01-13-2011, 03:22 PM
#12
Now you know that I’m fussy and not easily pleased but the waffle pattern that you have created is really good though a little on the thick side as in on a fussy bugger’s thick side, this pattern was used by “Alkett” keep the good work comming
01-13-2011, 03:51 PM
#13
Senior Member
Thread Starter
Join Date: Jul 2006
Location: , CA
Posts: 382
Likes: 0
Received 0 Likes
on
0 Posts
Thanks,
That was the thinnest I could get it with the tooling and pattern I had. If I were to do it again, I would make the waffle less deep and pour them a bit thinner. I think I can reduce the feel a lot with paint and weathering. May try to remove the hull lower sides. Not happy with those.
D
That was the thinnest I could get it with the tooling and pattern I had. If I were to do it again, I would make the waffle less deep and pour them a bit thinner. I think I can reduce the feel a lot with paint and weathering. May try to remove the hull lower sides. Not happy with those.
D
01-13-2011, 07:37 PM
#15

Cool project!
FFR2608 can build anything and everything.. And he makes it look so easy too. Darrin, is there anything you can't build, other than maybe a functional Space Shuttle that can actually reach orbit?
FFR2608 can build anything and everything.. And he makes it look so easy too. Darrin, is there anything you can't build, other than maybe a functional Space Shuttle that can actually reach orbit?
 01-13-2011, 10:19 PM
#17
Senior Member
Thread Starter
Join Date: Jul 2006
Location: , CA
Posts: 382
Likes: 0
Received 0 Likes
on
0 Posts
MANCHU
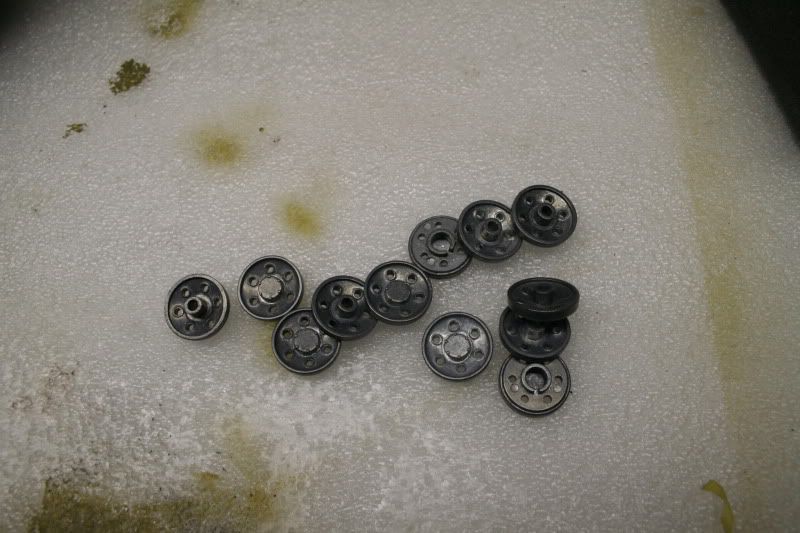
The tool was just a square piece of Rennshape with the grooves filed in by hand. Similar to these...
RSEA
Thanks for the very kind words...
KEVIN
Looks like I need to keep going to get her ready.
RIVET
As for the waffle thickness, this shot shows a pretty thick pattern compared to most images I've seen. Maybe, I'm not too far off.
D
01-16-2011, 05:23 PM
#18
Senior Member
Thread Starter
Join Date: Jul 2006
Location: , CA
Posts: 382
Likes: 0
Received 0 Likes
on
0 Posts
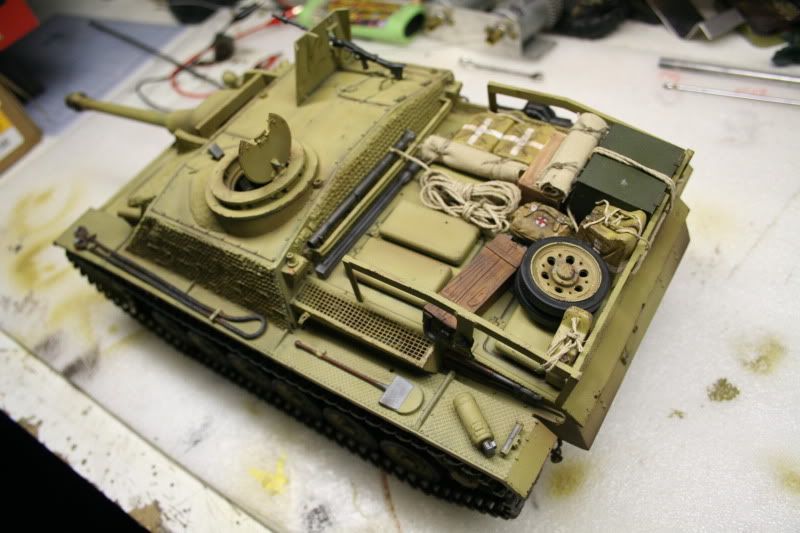
Got the darkened base coat down. Still waiting for a few details before pre-shading, the lightened topcoat and camo. Built the rack out of brass and soldered it together.
Things to do before paint:
Build the engine intake vents out of PE install late metal return rollers. (When they arrive) Set the IR emitter in the barrel.
Things to do before paint:
Build the engine intake vents out of PE install late metal return rollers. (When they arrive) Set the IR emitter in the barrel.
01-18-2011, 06:08 PM
#19
Senior Member
Thread Starter
Join Date: Jul 2006
Location: , CA
Posts: 382
Likes: 0
Received 0 Likes
on
0 Posts
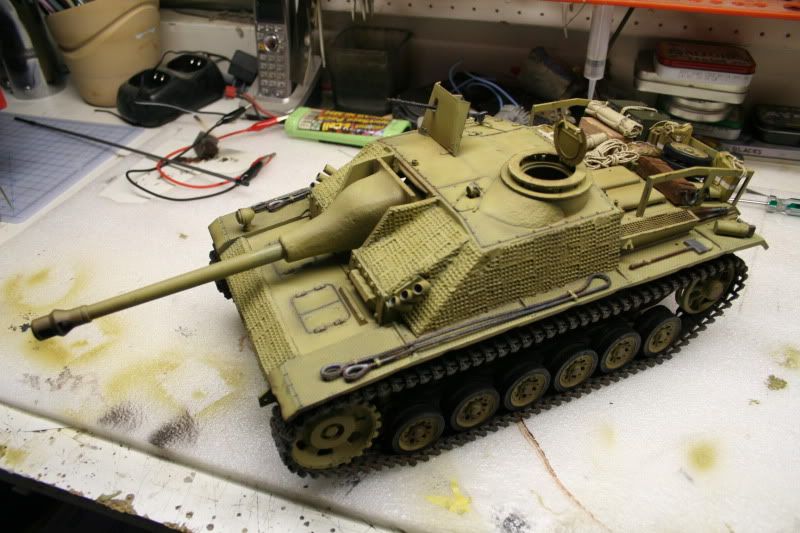
Started the layered colors and shading. Will try to keep this weathering to a minimum. (not easy) I also plan to leave it a solid yellow for now and add camo when I get bored with it.
D
D
01-18-2011, 06:14 PM
#20
Senior Member
Thread Starter
Join Date: Jul 2006
Location: , CA
Posts: 382
Likes: 0
Received 0 Likes
on
0 Posts
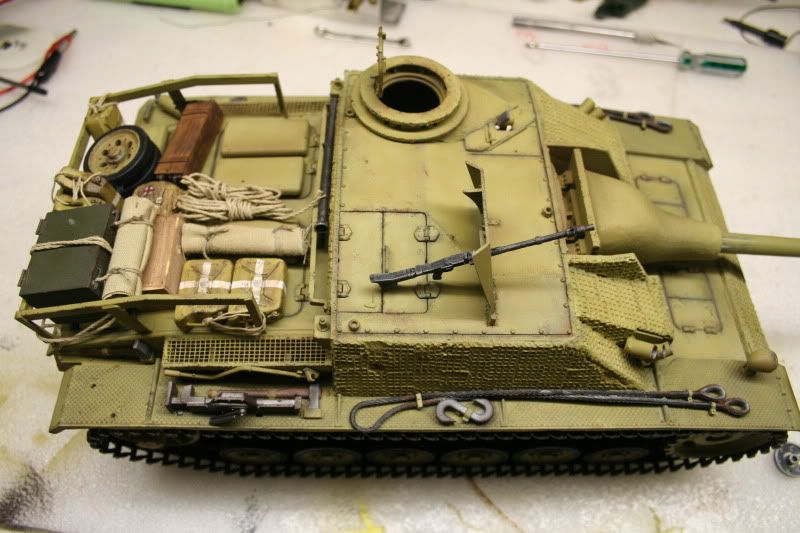
Next layer brought back the darker yellow's. I think the weathering is enough for now. Plan to add more junk to the rear rack next...Final paint work will be done after everything is assembled and running to balance everything out.
D
D
 01-26-2011, 05:47 PM
#23
Senior Member
Thread Starter
Join Date: Jul 2006
Location: , CA
Posts: 382
Likes: 0
Received 0 Likes
on
0 Posts
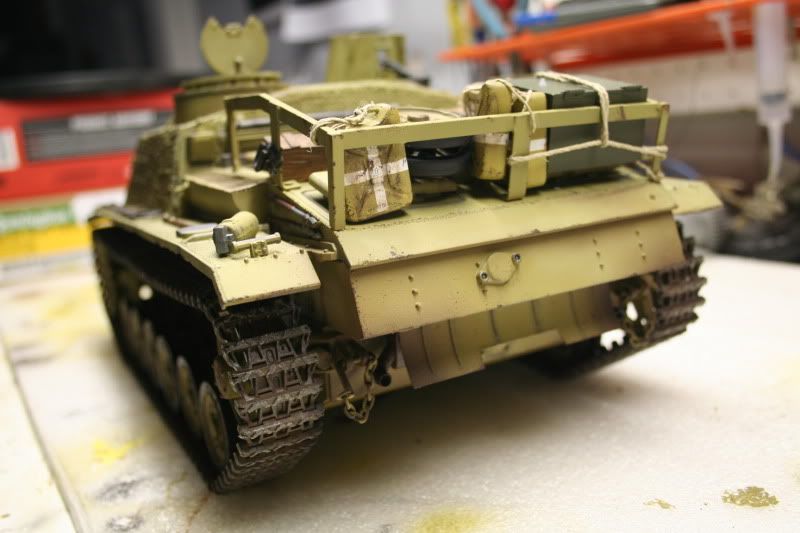
Almost finished with this project. Still using the P IV Tamiya tracks for now but will add metal later. Just got the metal return rollers from Phil. (thanks Phil for the excellent service)
Really tried to keep the weathering down but it's hard to stop.
Yellow is looking a bit strong through the photos. Will get some outside shots this weekend.
Cant wait to test it on the SCAT field.
D
Really tried to keep the weathering down but it's hard to stop.
Yellow is looking a bit strong through the photos. Will get some outside shots this weekend.
Cant wait to test it on the SCAT field.
D