


Heng Long KV-1 repaint
 01-19-2016 | 12:21 AM
#1

Thread Starter

 Heng Long KV-1 repaint
Now that my Tiger is almost there I did a start on a KV-1 I've had on the shelf for a while .
Got metal lower hull
5/1 low profile
tamiya tracks
metal Wheel set .
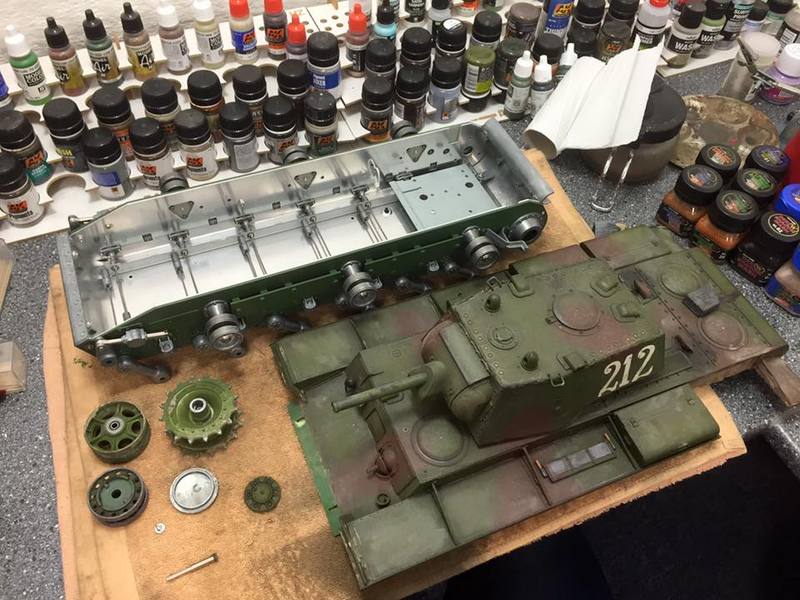
Tamiya tracks will Cure this
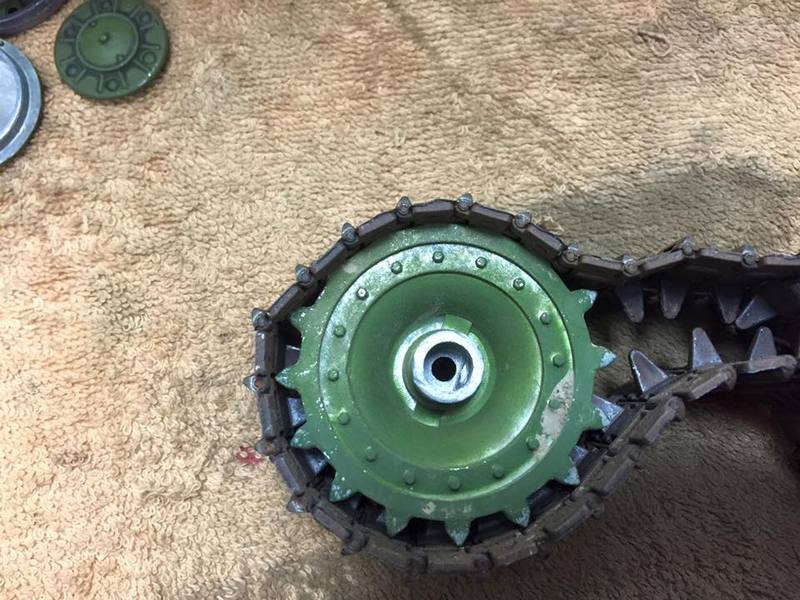
So here is the starting point
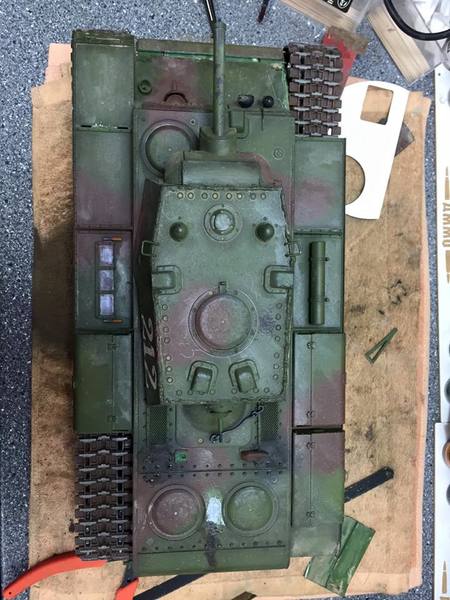
Got metal lower hull
5/1 low profile
tamiya tracks
metal Wheel set .
Tamiya tracks will Cure this
So here is the starting point
 01-19-2016 | 12:44 AM
#2
Thread Starter
On my Kv-2 I did not want to hack and slash to remove any fenders , but on this I wanted to try out just that
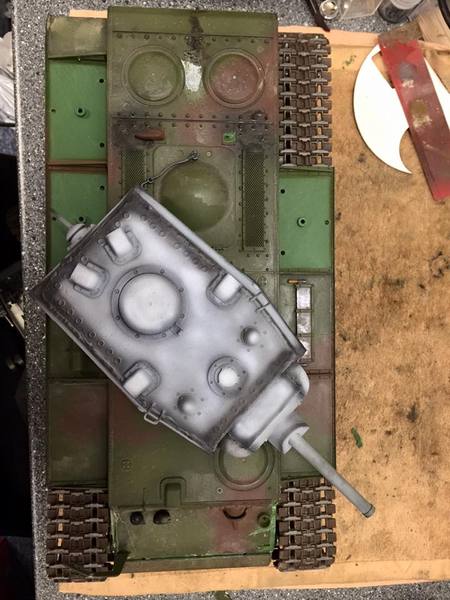
And even more removed and turret got a start on the Paint
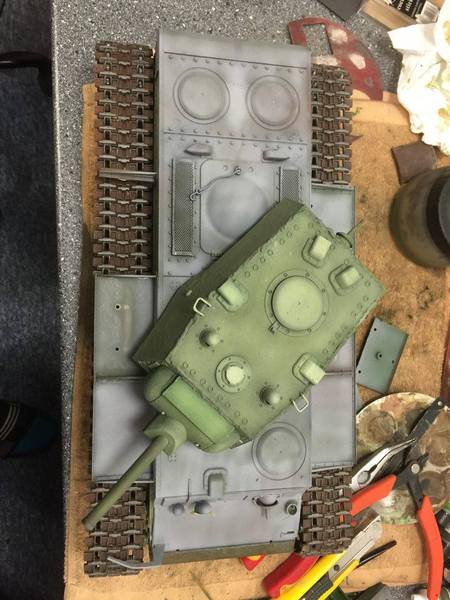
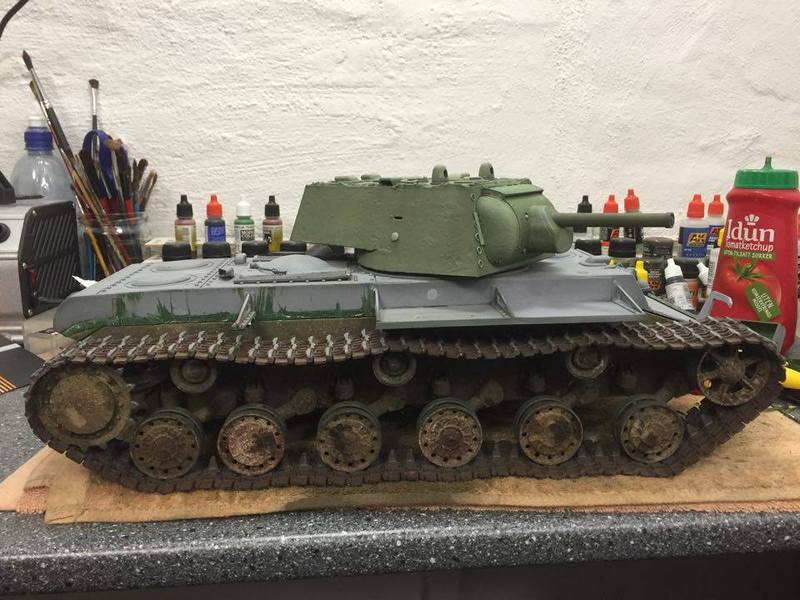
And even more removed and turret got a start on the Paint
Last edited by sollie; 01-19-2016 at 12:49 AM.
 01-19-2016 | 01:06 AM
#4
Thread Starter
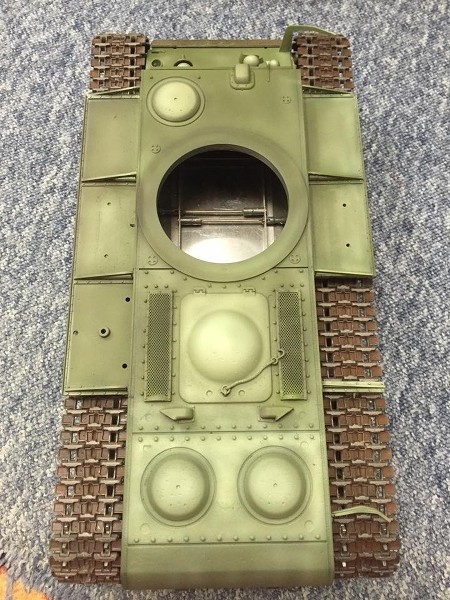
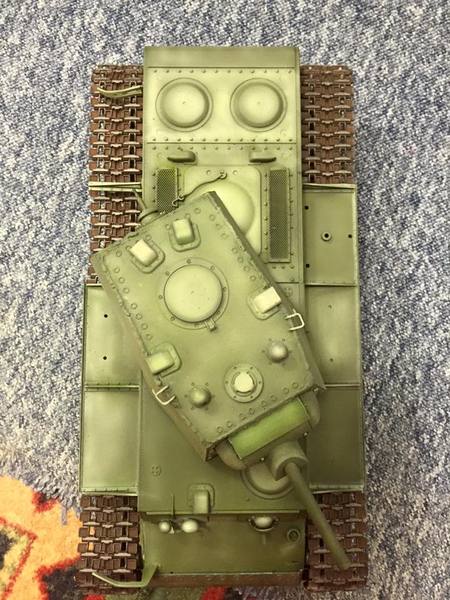
Now, onto installing the LP 5/1 gearboxes I ran into a little ' hmm' moment..
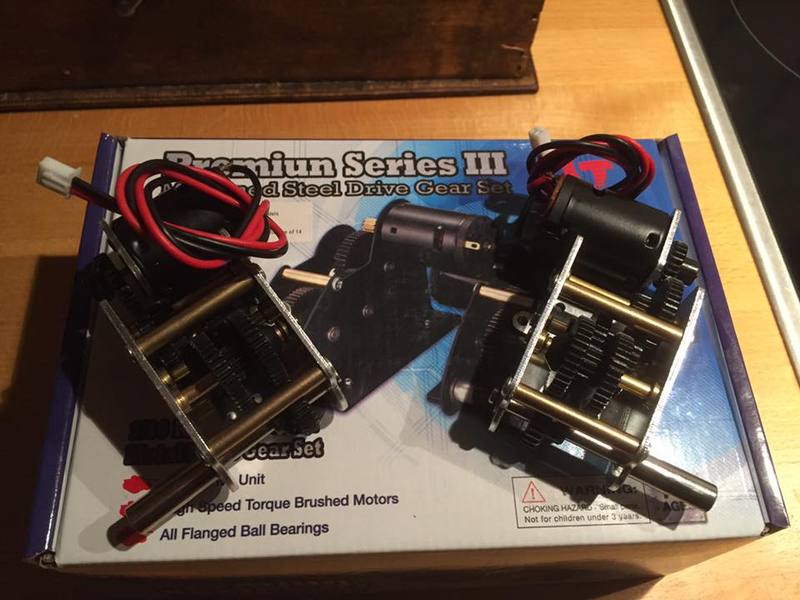
I find I strange that the holes is placed as they are . It is impossible to angle the screw straight, and so i fear of damagin the treads in the gearbox plate . Am I missing something here ?
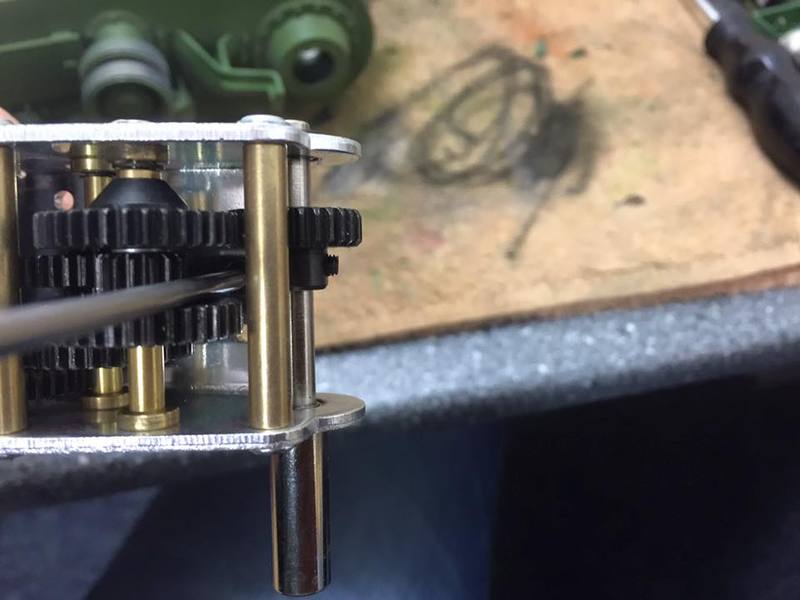
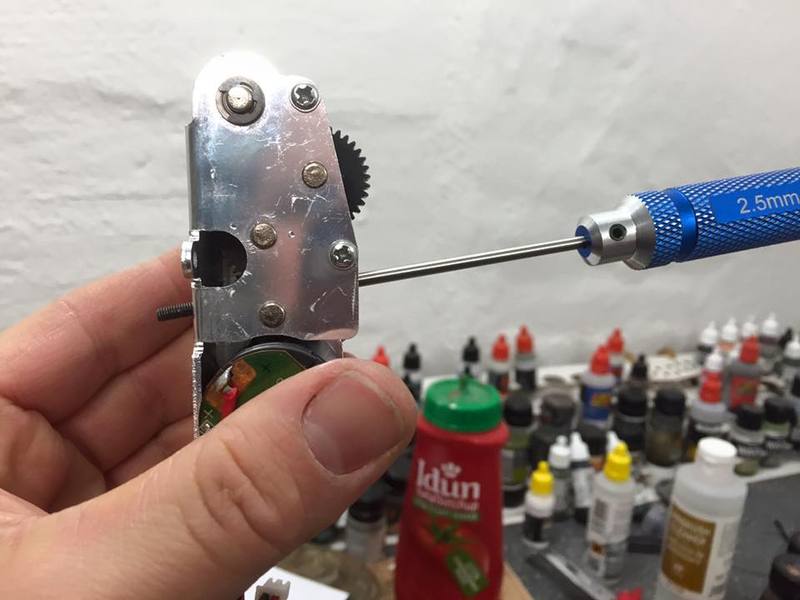
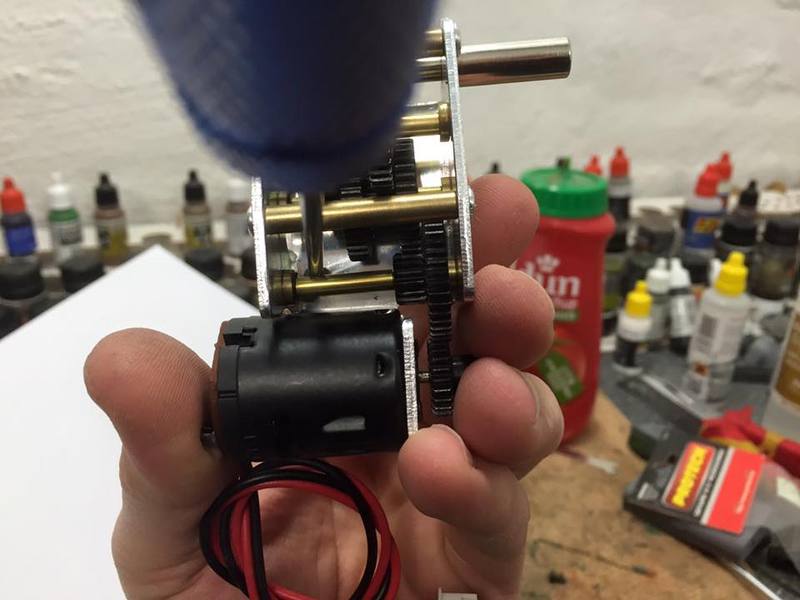
I find I strange that the holes is placed as they are . It is impossible to angle the screw straight, and so i fear of damagin the treads in the gearbox plate . Am I missing something here ?
01-25-2016 | 12:23 AM
#5
Thread Starter
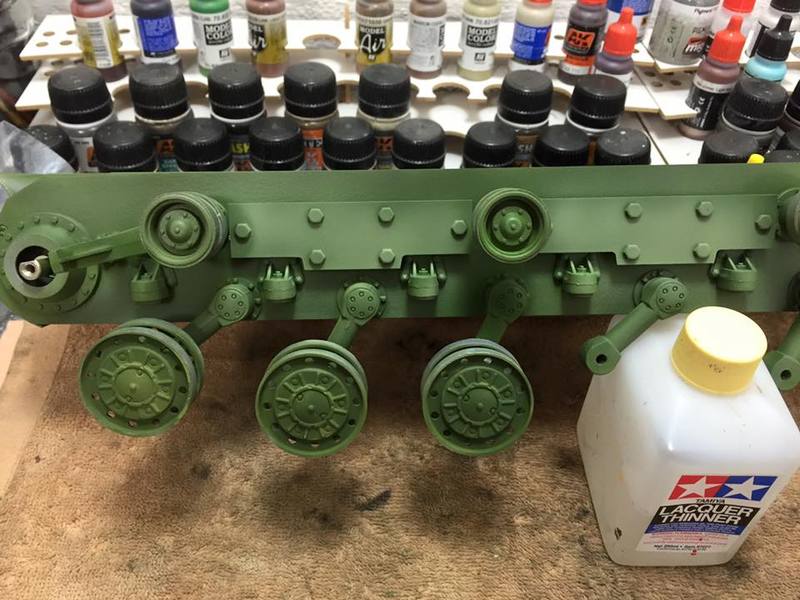
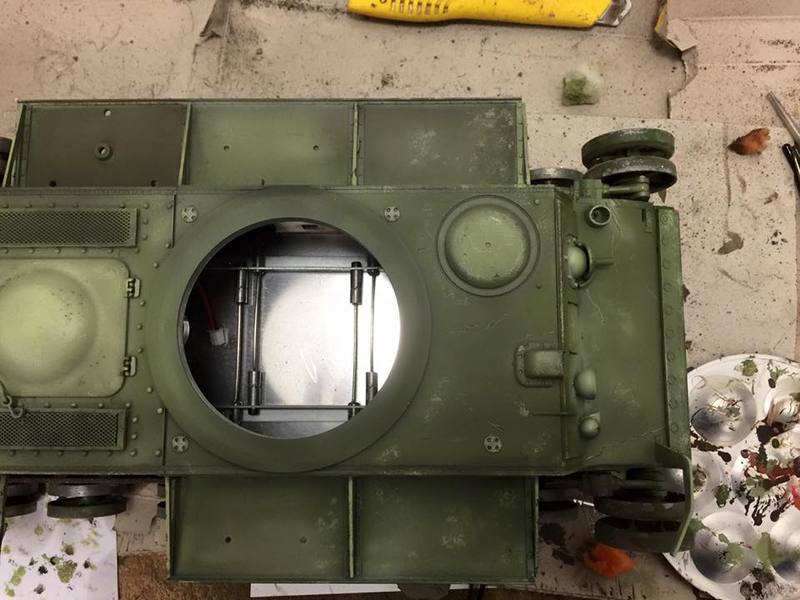
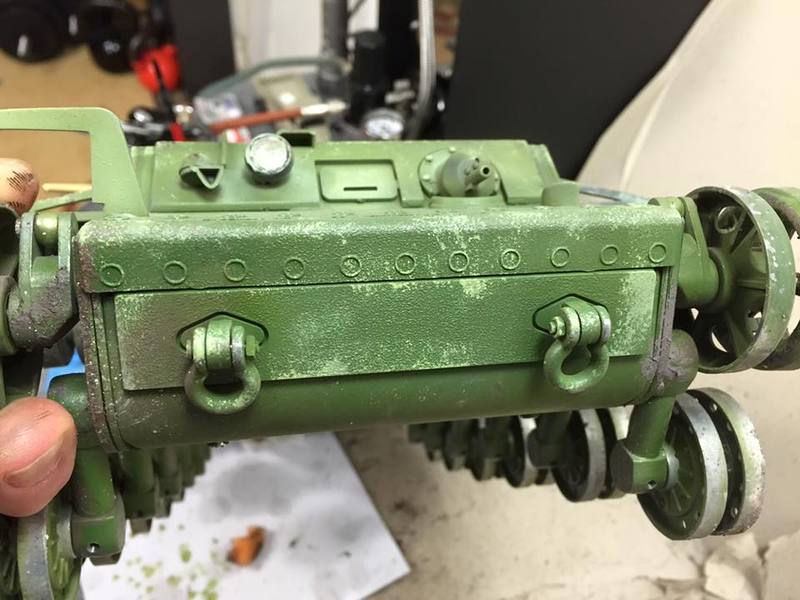
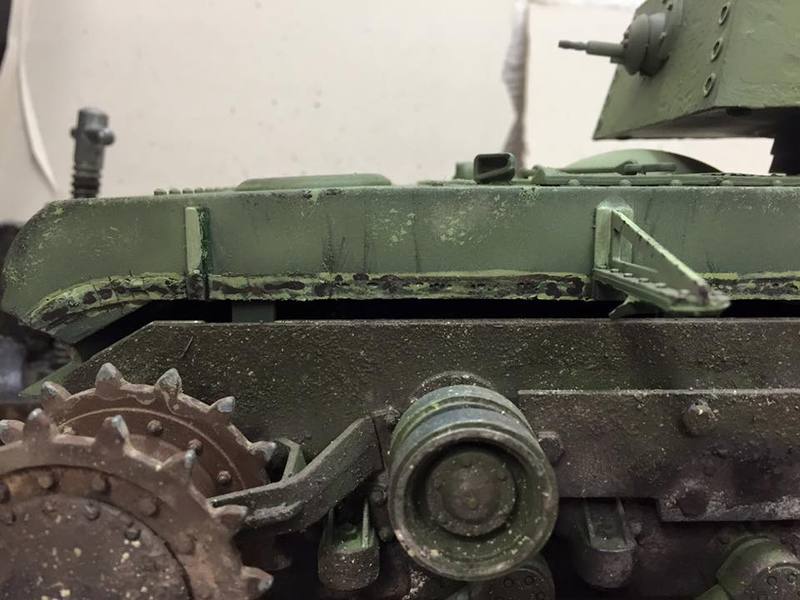
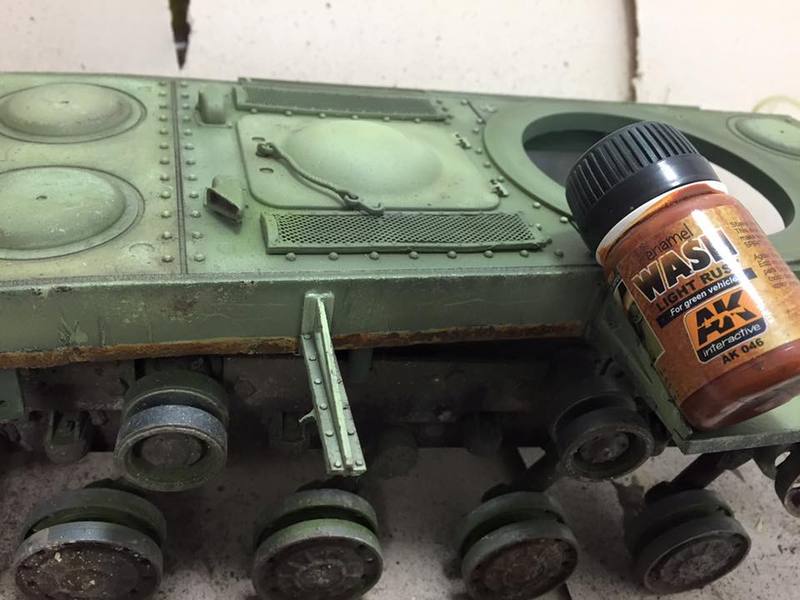
Had a go With the filters and Wilder's deep shadow wash
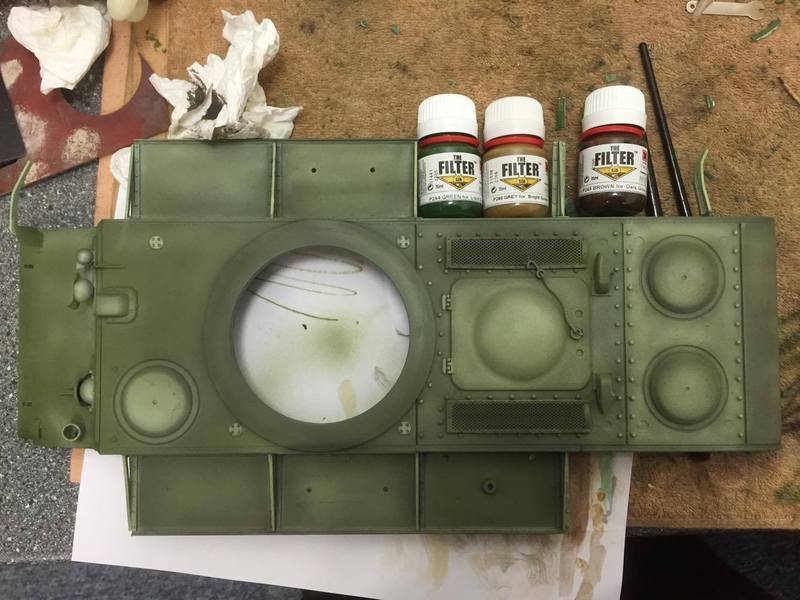
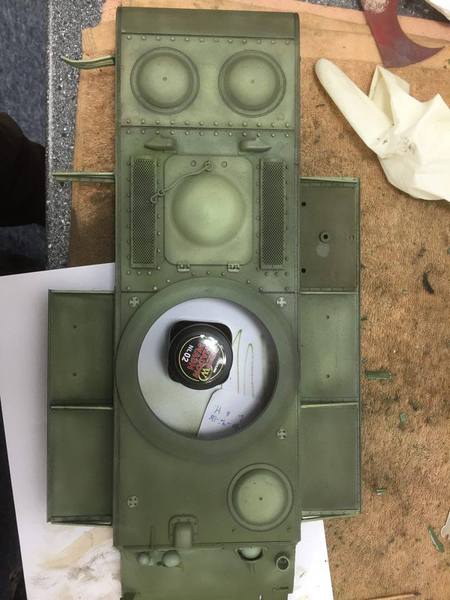
And then thought I'd play a little With Oils. Normaly a step I usually skips
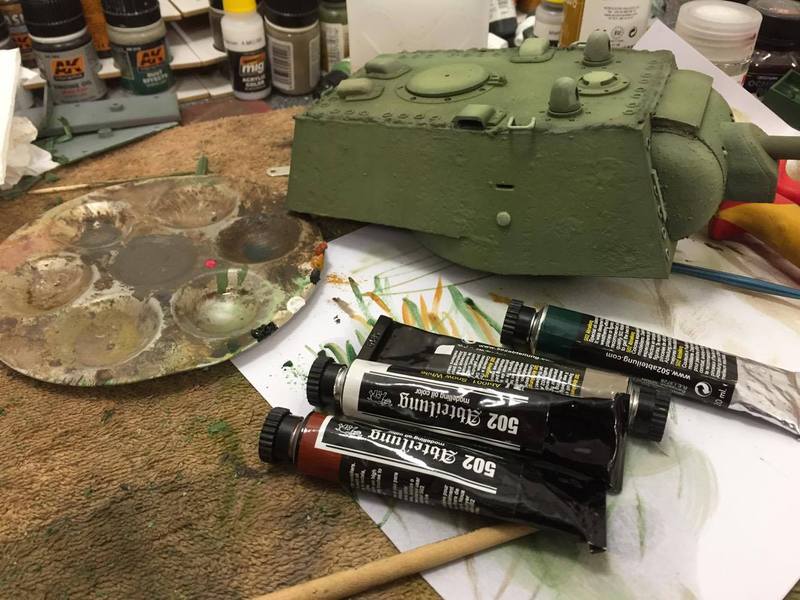
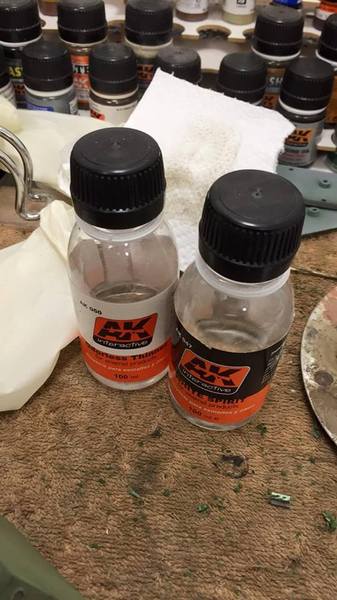
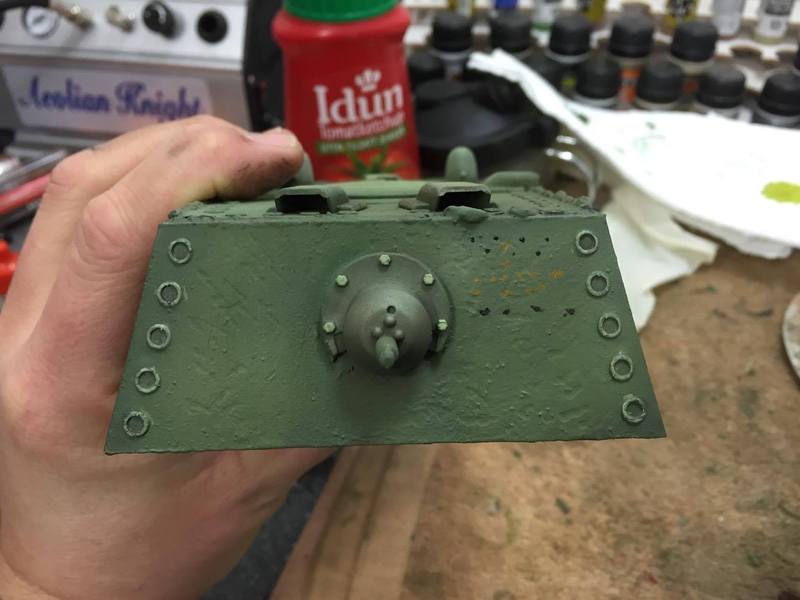
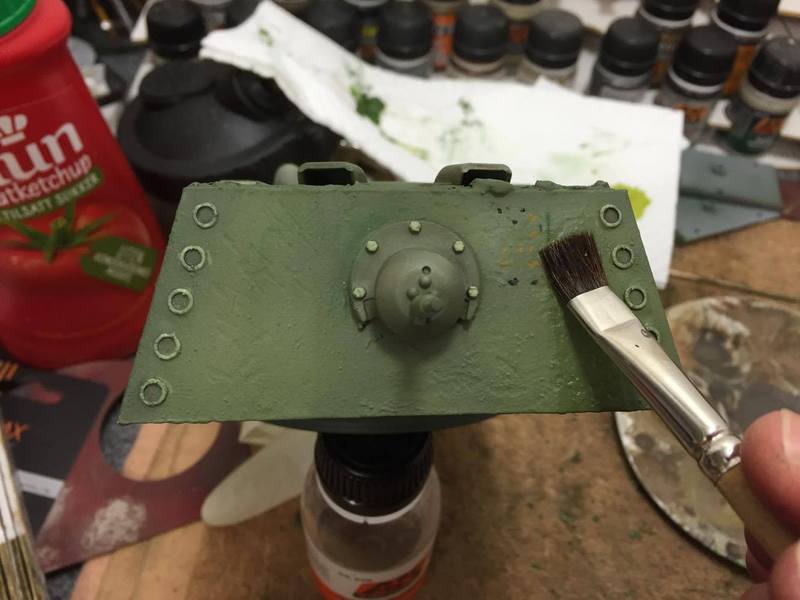
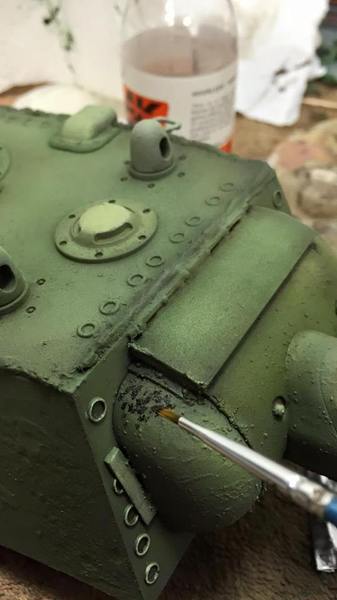
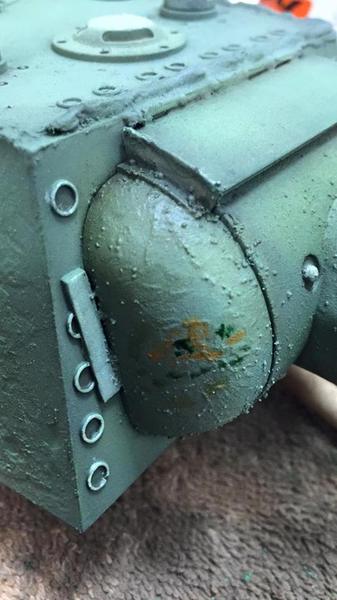
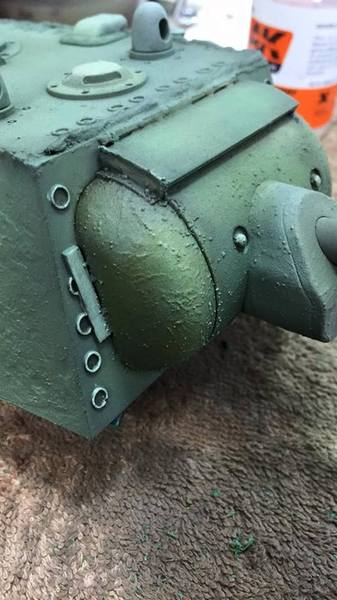
Hard to spot any Wild changes in the photo, but they are there :-)
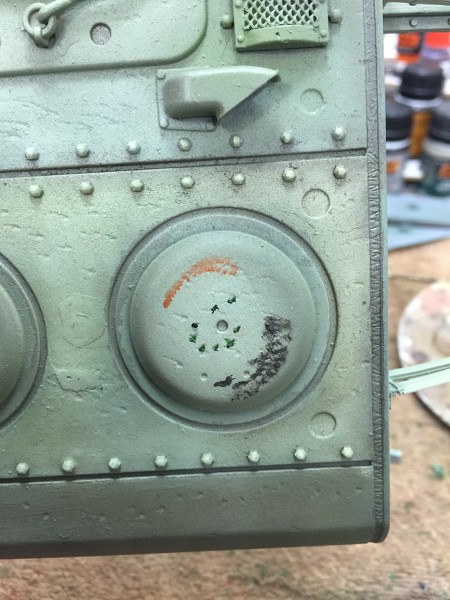
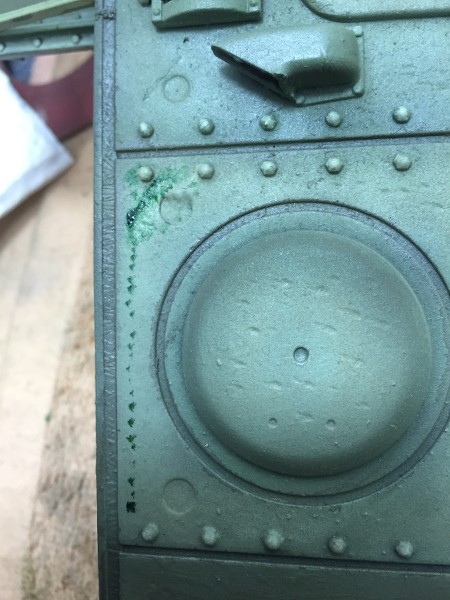
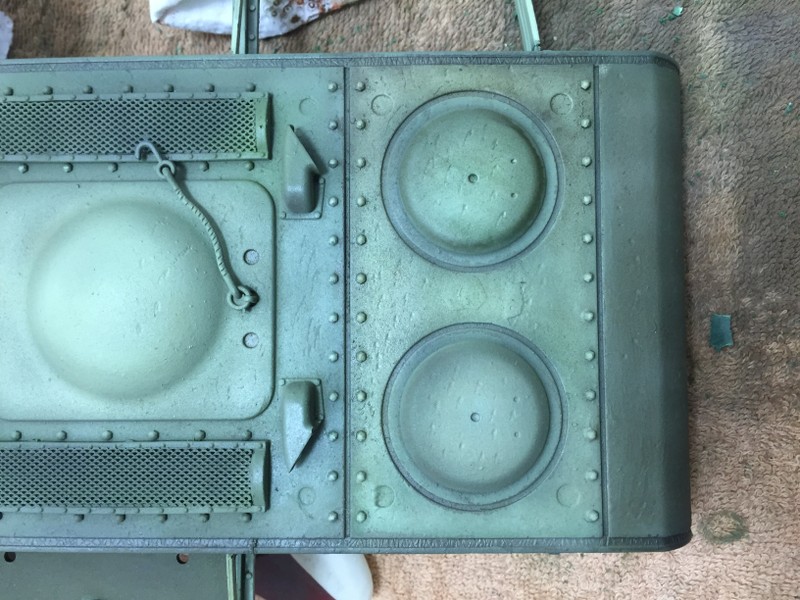
And then thought I'd play a little With Oils. Normaly a step I usually skips
Hard to spot any Wild changes in the photo, but they are there :-)
 01-25-2016 | 12:24 AM
#7
Thread Starter
And when Clear coat had dried up, and mailman had dropped off New stuff, it was tiem to get into mud.
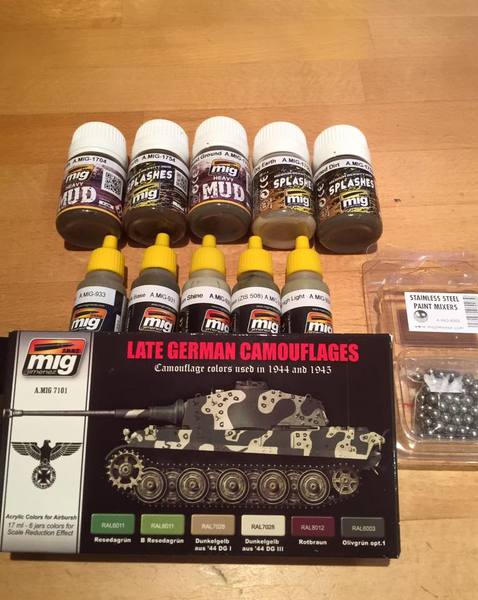
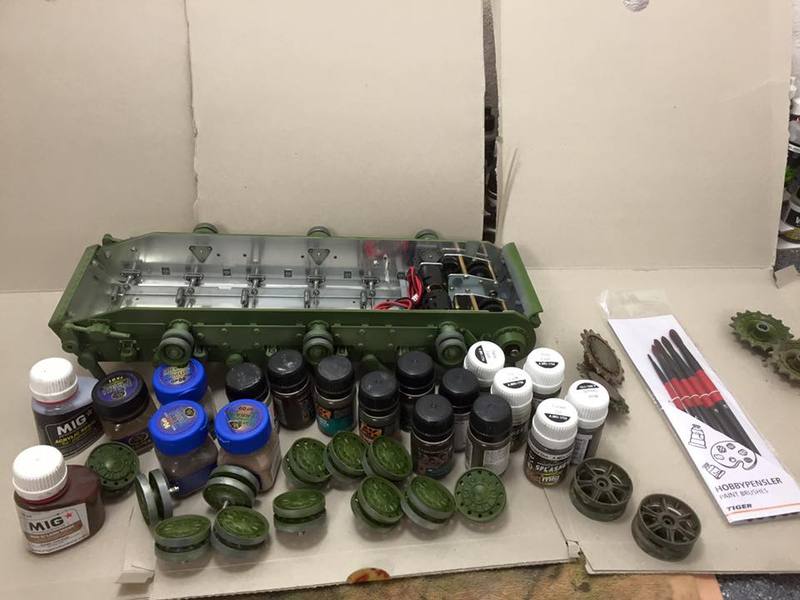
I got a few jars of the New mud and splatter series from Ammo. Pre mixed, so no need to break out the acrylics and mix in pigments.
I threw in a 'dash' of wilders texture Earth to create a tad more texture. You can mix in what ever into the Heavy mud series to get the result you want.
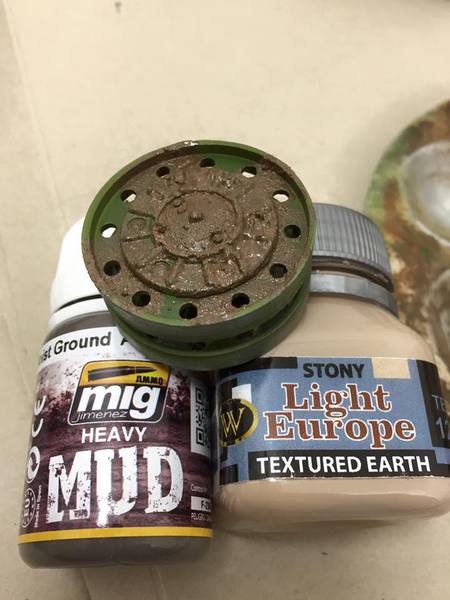
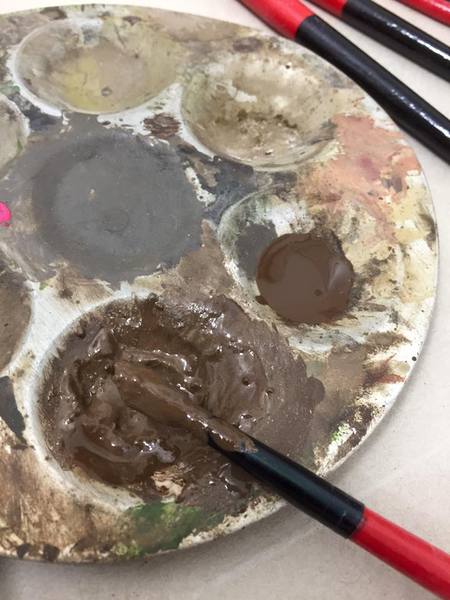
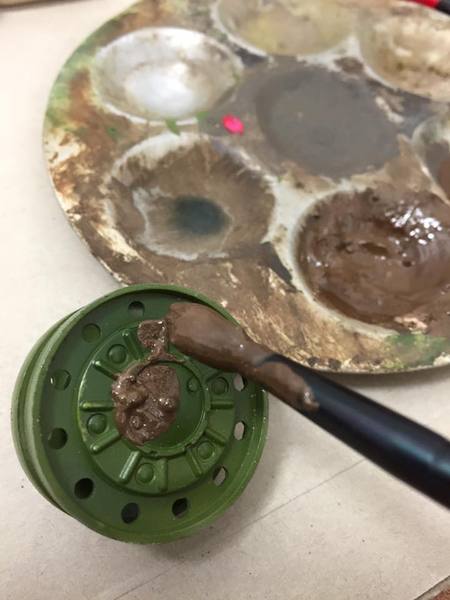
Then I sprinckle the wet mix With different pigments
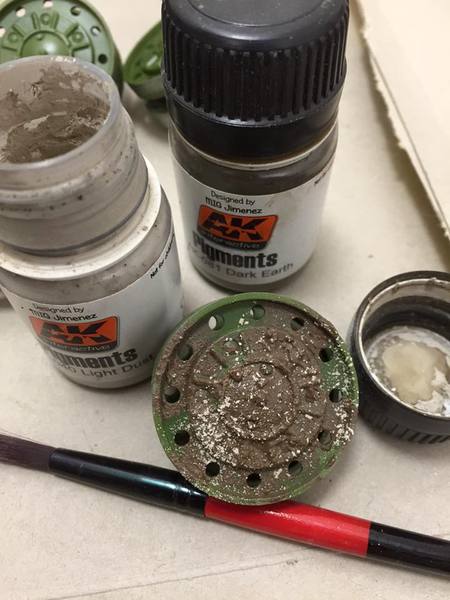
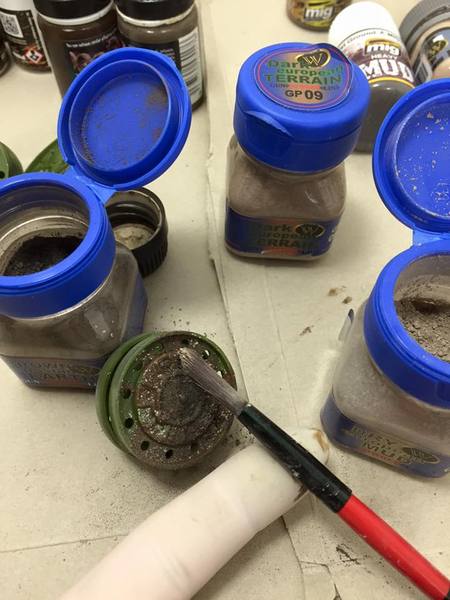
And in the end it came out like this
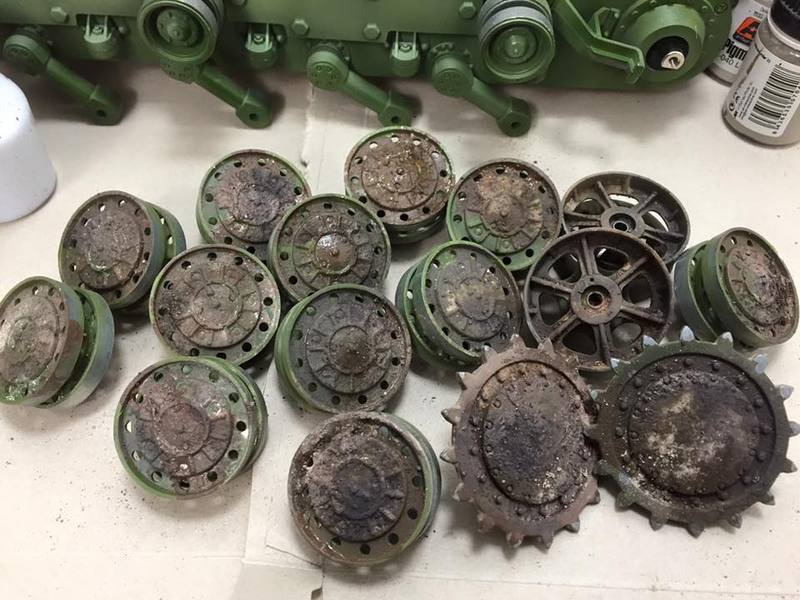
Once all dried up, I'll try out the 'splash' series. Again pre mixed jars and ready for action . Did a quick test, and I felt I had good controll over the 'splatter'
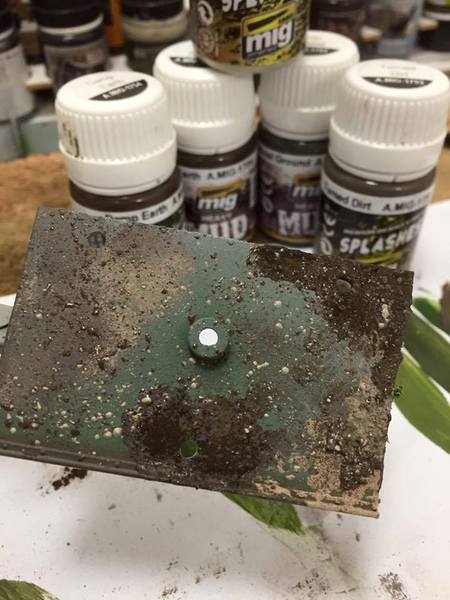
Thanks for looking
I got a few jars of the New mud and splatter series from Ammo. Pre mixed, so no need to break out the acrylics and mix in pigments.
I threw in a 'dash' of wilders texture Earth to create a tad more texture. You can mix in what ever into the Heavy mud series to get the result you want.
Then I sprinckle the wet mix With different pigments
And in the end it came out like this
Once all dried up, I'll try out the 'splash' series. Again pre mixed jars and ready for action . Did a quick test, and I felt I had good controll over the 'splatter'
Thanks for looking
 01-25-2016 | 08:41 PM
#9

My Feedback: (1)
I was looking at the new splash effects line they offer and from your testing it looks like another winner. I will try some out for myself soon I guess.
The Kv1 is looking like a masterpiece in the making to me. Great work and illustrations for everyone to learn from. I am watching this thread with great anticipation brother.
The Kv1 is looking like a masterpiece in the making to me. Great work and illustrations for everyone to learn from. I am watching this thread with great anticipation brother.
01-26-2016 | 01:13 AM
#10
Thread Starter
I will try to make a short Write up on the mud and splash series asap. But what I can say, last night I got to work, full of spirit, and my kv2 mud feast fresh in mind
https://www.youtube.com/watch?v=WLa9zeBj8hU Well, With New Products and approach I think, now , that I should have done a few more test pieces..
started With mixing these 2
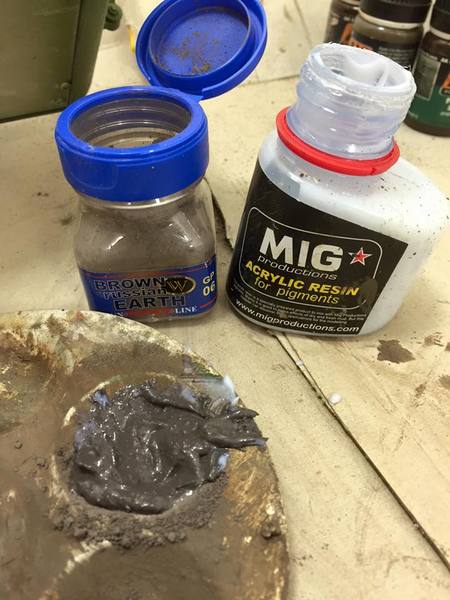
and dabbed it on With larger brush. in the wet mix I added more pigments, just like I did on my Wheels
Then I adde some Heavy mud With a sponge to create a more texture look to it .
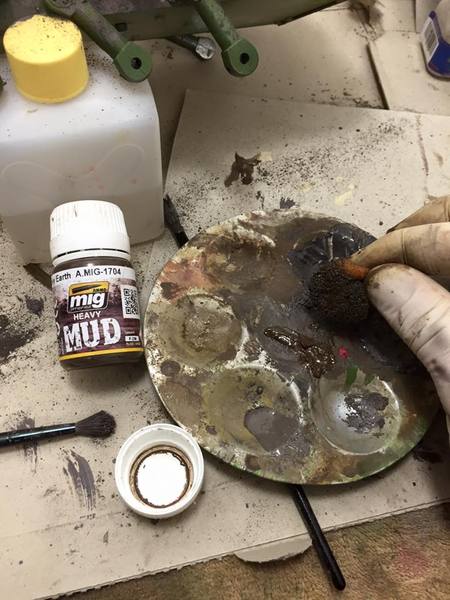
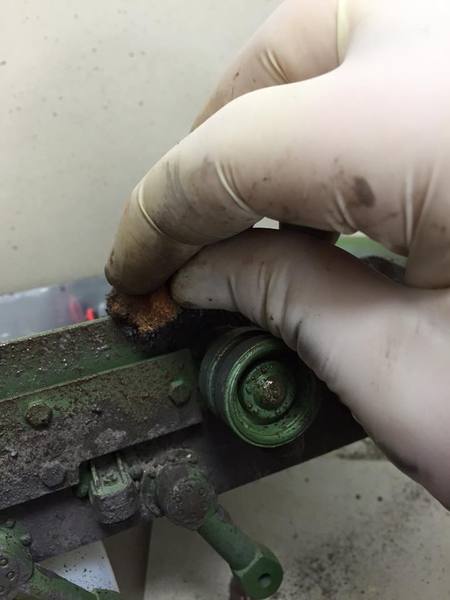
And then some light splashes to brake up what became a reall mess in my eye's..
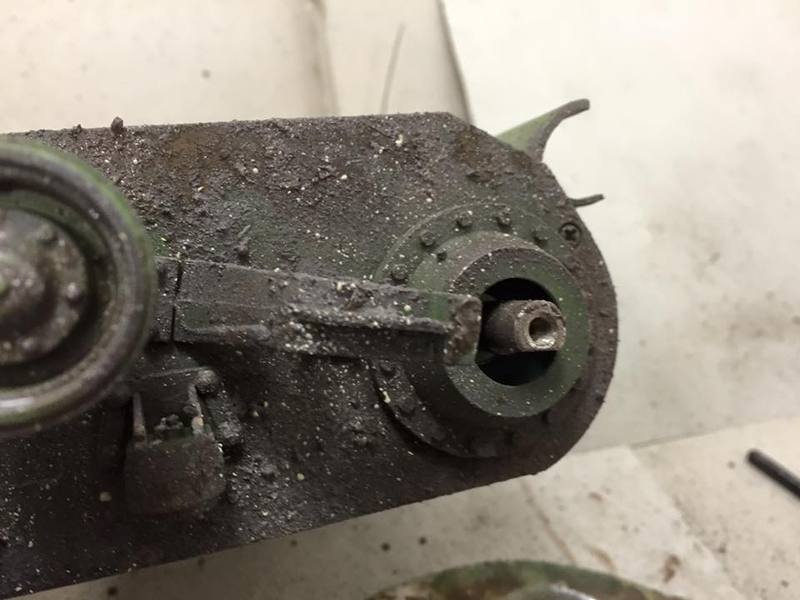
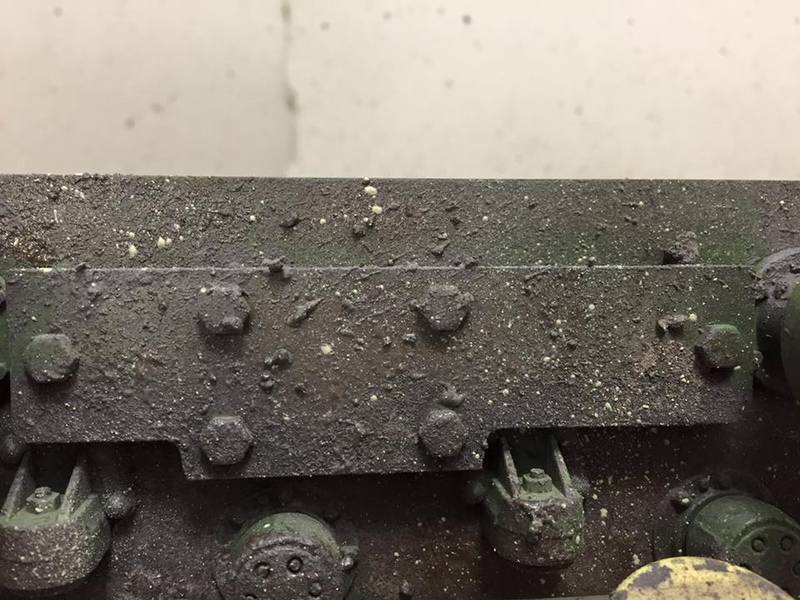
Maybe once Wheels and tracks are one it will look better , but I think I will og back and redo some ..
https://www.youtube.com/watch?v=WLa9zeBj8hU Well, With New Products and approach I think, now , that I should have done a few more test pieces..
started With mixing these 2
and dabbed it on With larger brush. in the wet mix I added more pigments, just like I did on my Wheels
Then I adde some Heavy mud With a sponge to create a more texture look to it .
And then some light splashes to brake up what became a reall mess in my eye's..
Maybe once Wheels and tracks are one it will look better , but I think I will og back and redo some ..
01-26-2016 | 11:29 AM
#11

Senior Member
Nice job. I am always cautious about applying too much mud. Partly because I don't think I am very good at it. The other thing is these are not static models so my thought is you could drive them in the local mud. It wouldn't look to scale but it could be washed off for maintenance.
01-26-2016 | 08:01 PM
#12
My Feedback: (1)
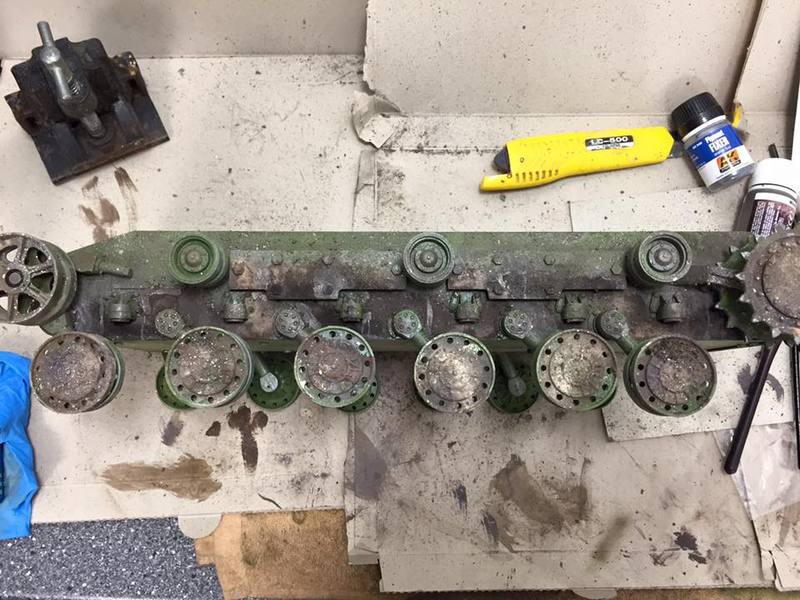
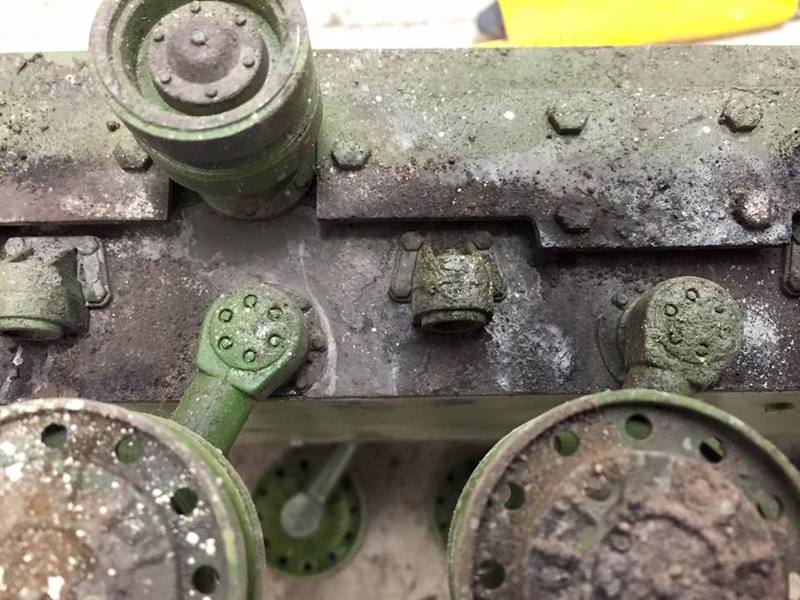
Dan, I have been playing with the weathering stuff for years now, and I have had very good luck with mud effects, even heavy effects without any trouble at all. Thing I do is lightly oil any moving parts before applying the mud effects. Suspension pivot points and such, so there is nothing stuck there to prevent movement. Trick with this type of stuff is do it in layers and slowly build to the look you want. It adds the depth and feel for real mud and dirt. And if anyone can do it, you certainly can, man.
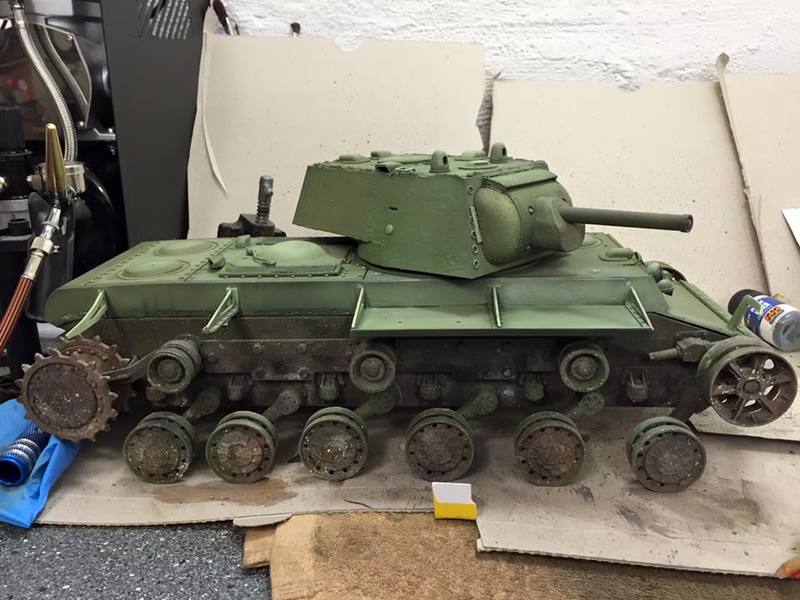 01-28-2016 | 01:31 AM
#14
Thread Starter
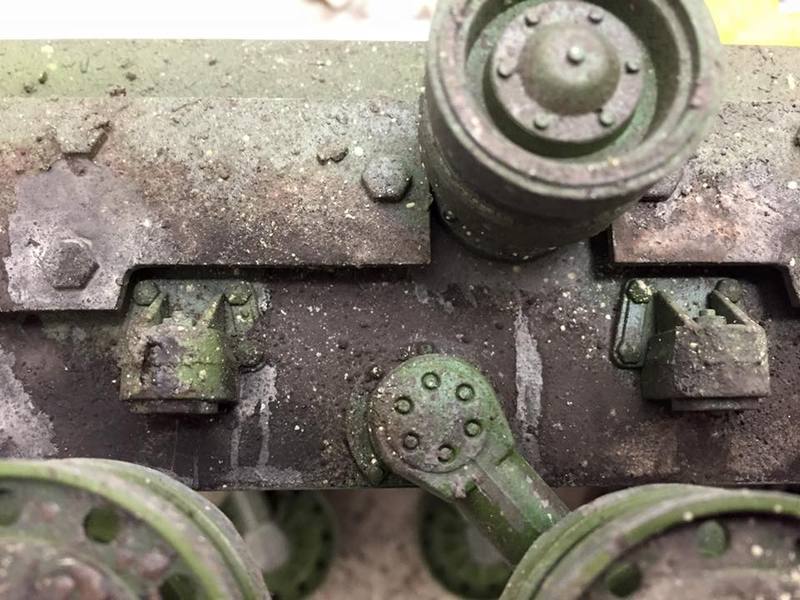
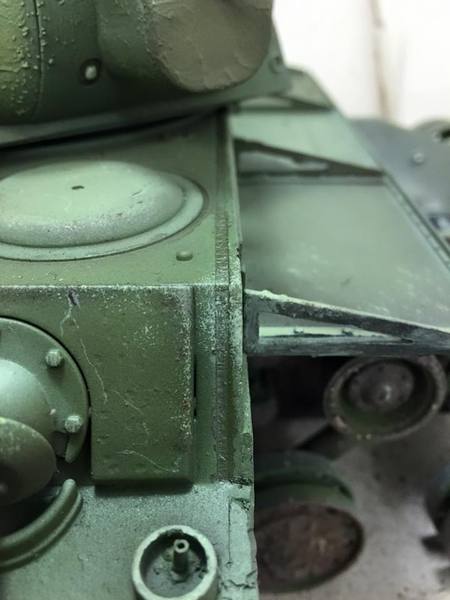
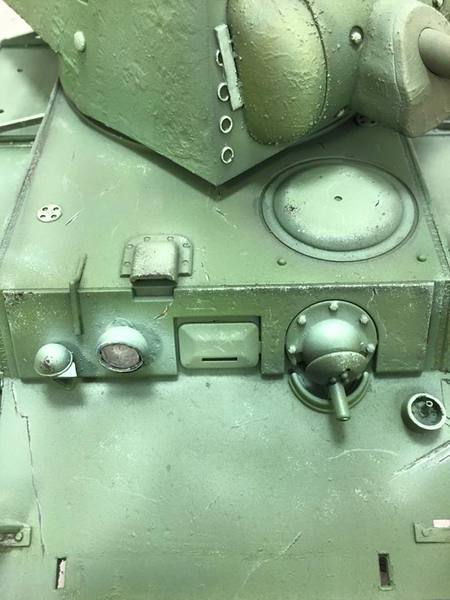
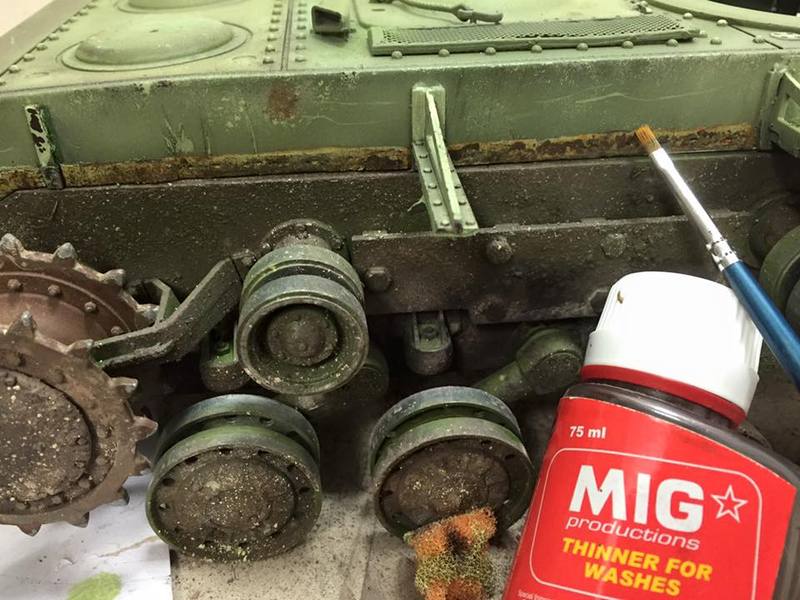
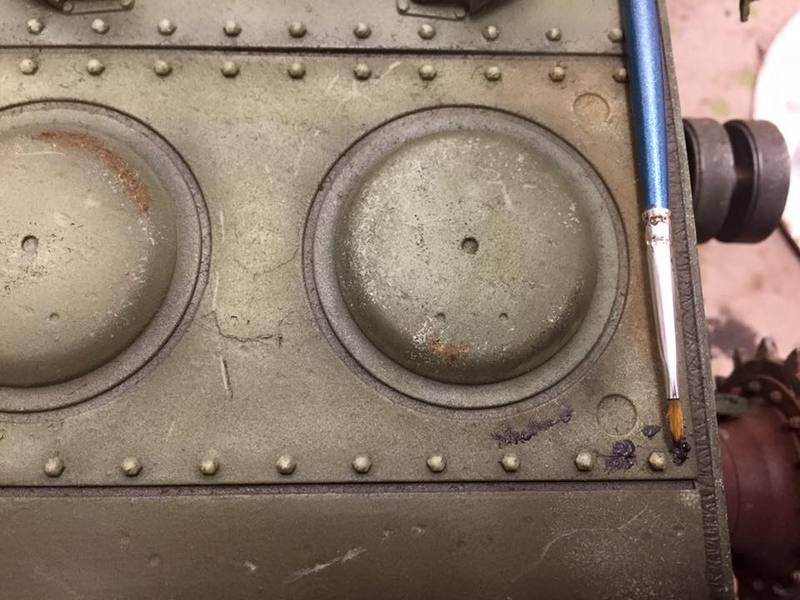
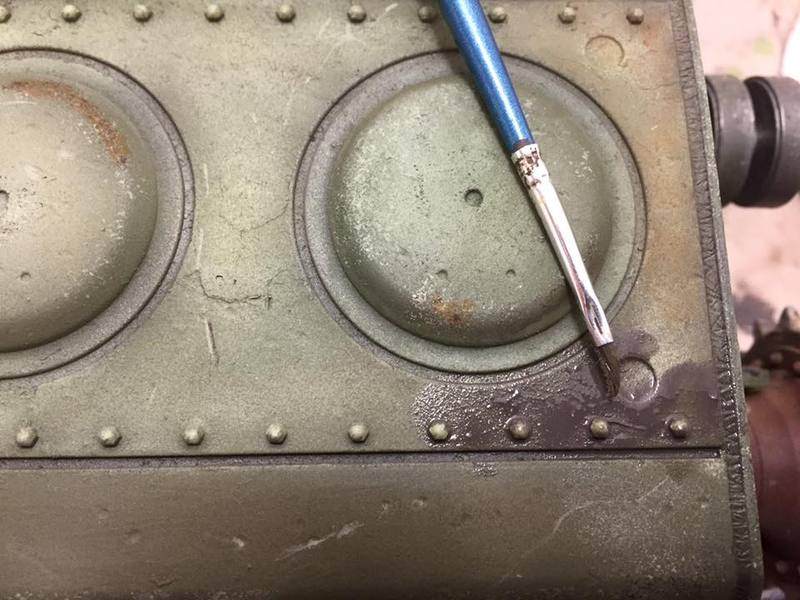
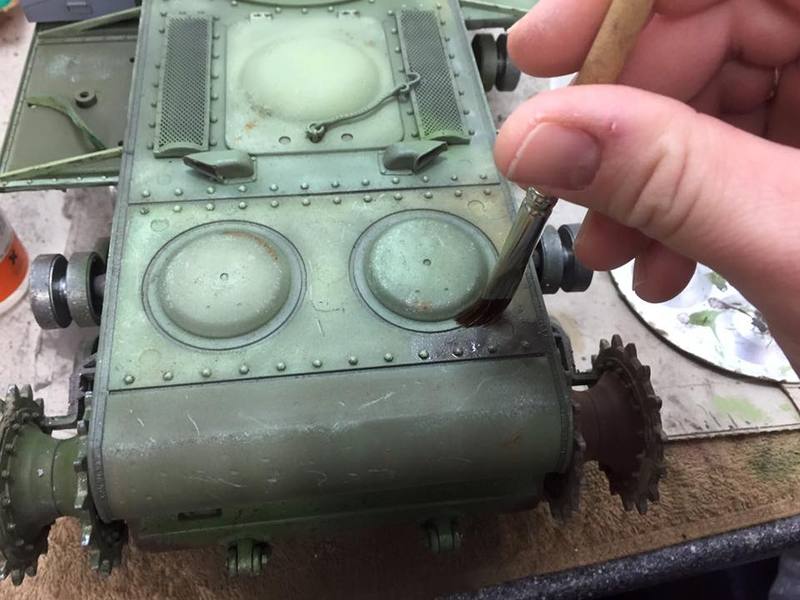
I did go back and reworked some of the spots .
First time using Wilder pigments and fixer .
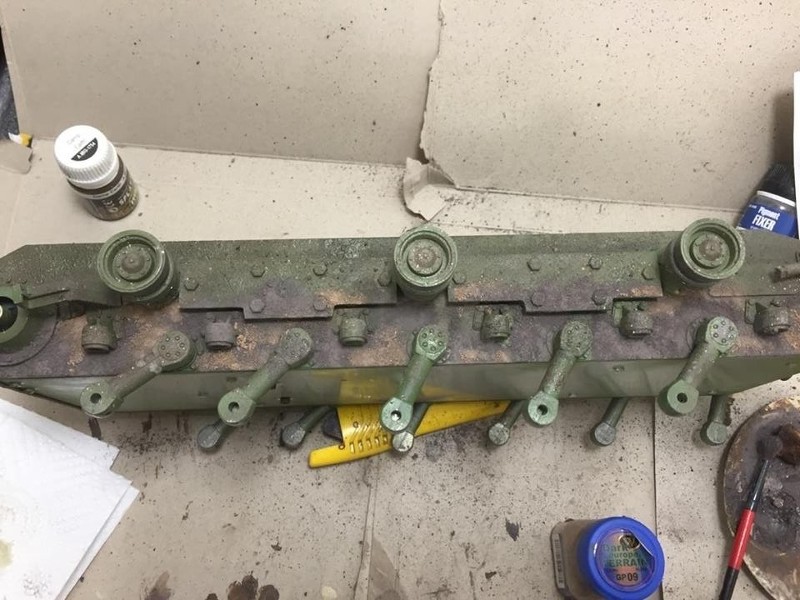
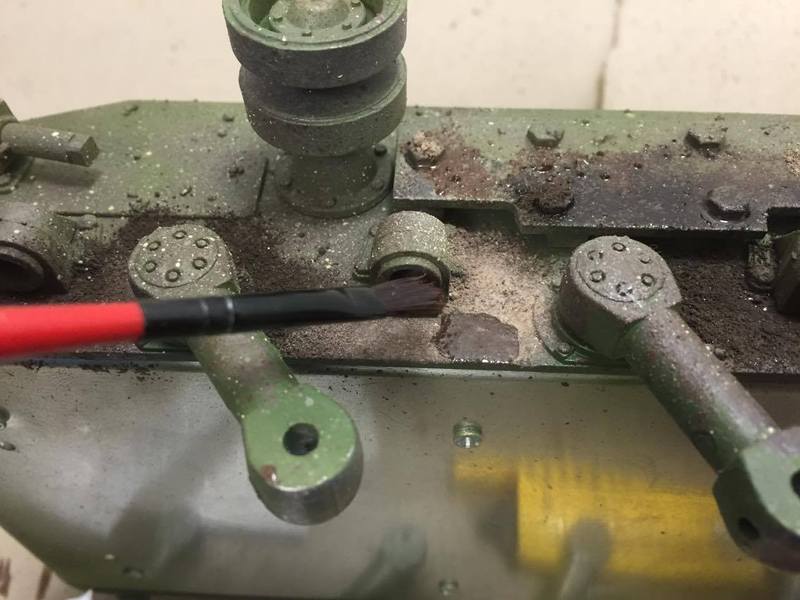
And end result..
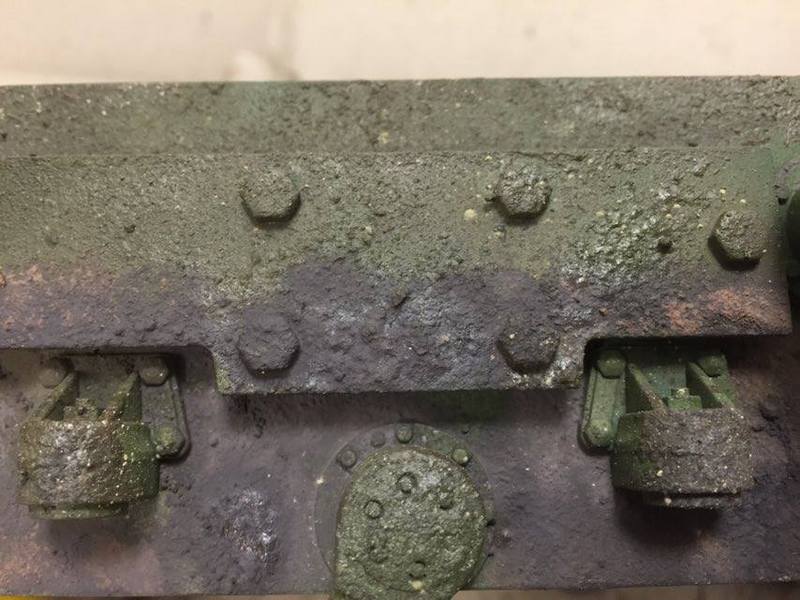
and on other side I used Mig Production.
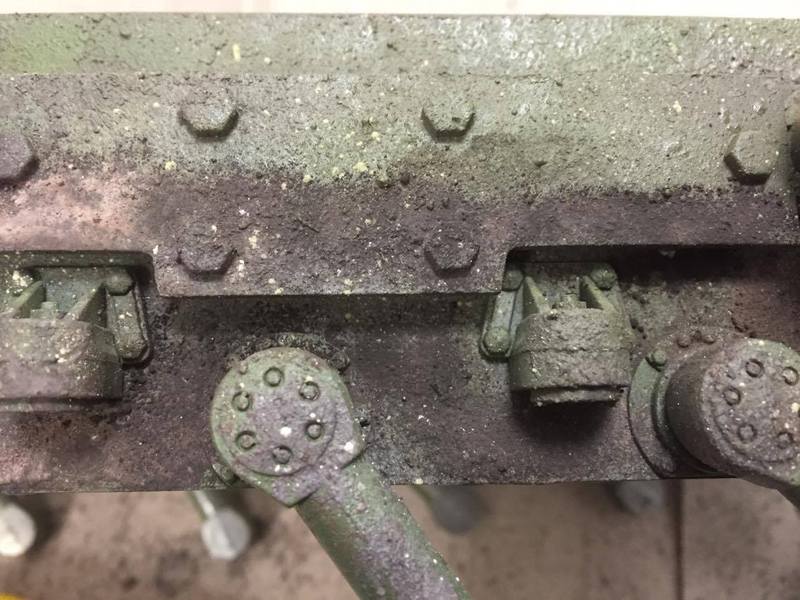
I find the texture once the fixer dried, so much better on the Mig , than on the Wilder . Also the wilder Fixer is really strong in the smell, stay'd like for day's in my basement.
So I did the rest in Mig to get that gritty texture .
First time using Wilder pigments and fixer .
And end result..
and on other side I used Mig Production.
I find the texture once the fixer dried, so much better on the Mig , than on the Wilder . Also the wilder Fixer is really strong in the smell, stay'd like for day's in my basement.
So I did the rest in Mig to get that gritty texture .
01-28-2016 | 01:32 AM
#15
Thread Starter
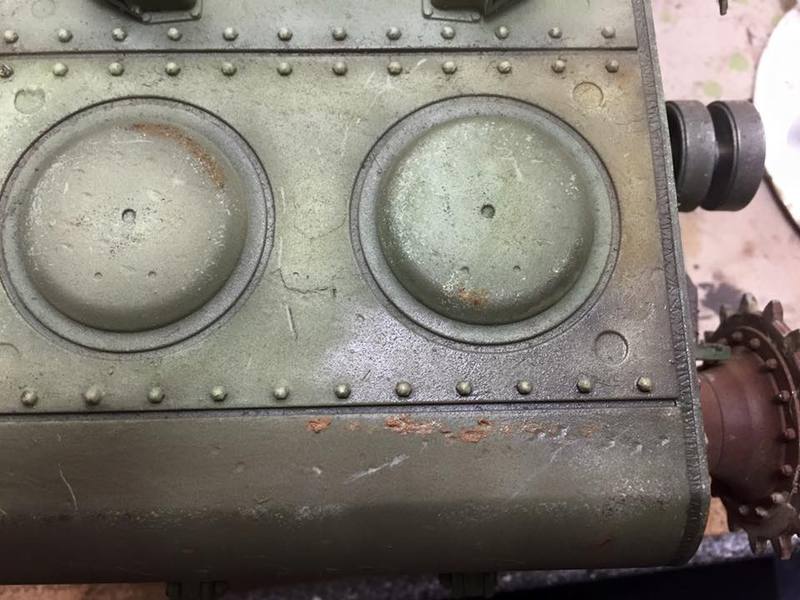
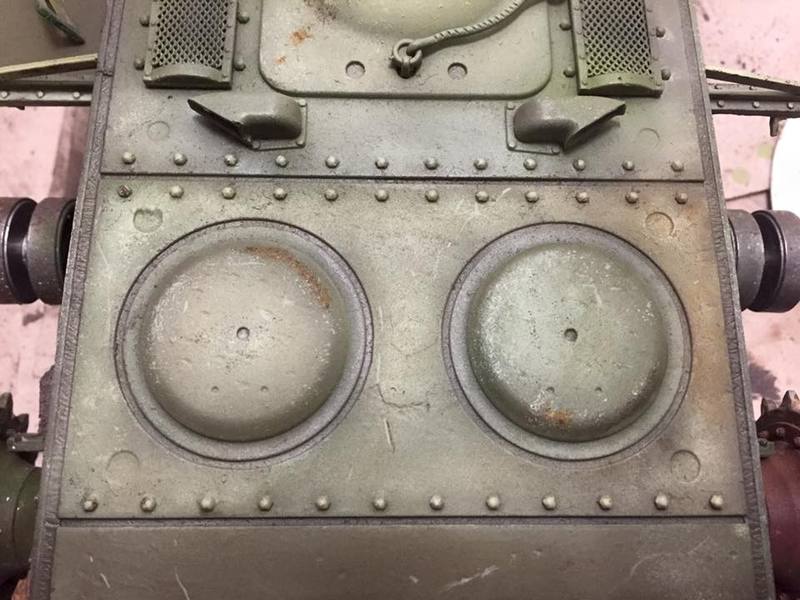
Since I have allready bought a few of the wilder Pigments , I had to try another go on a test piece
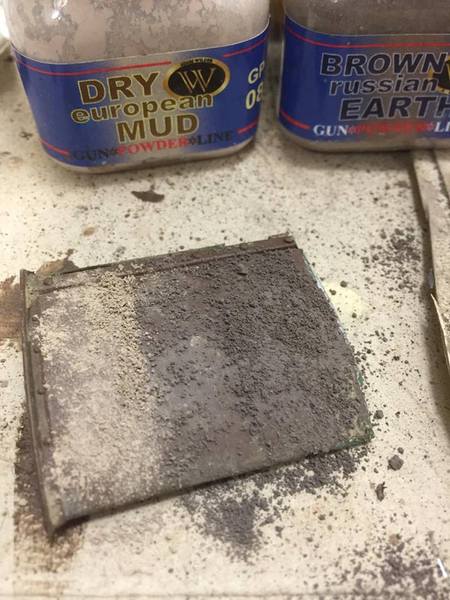
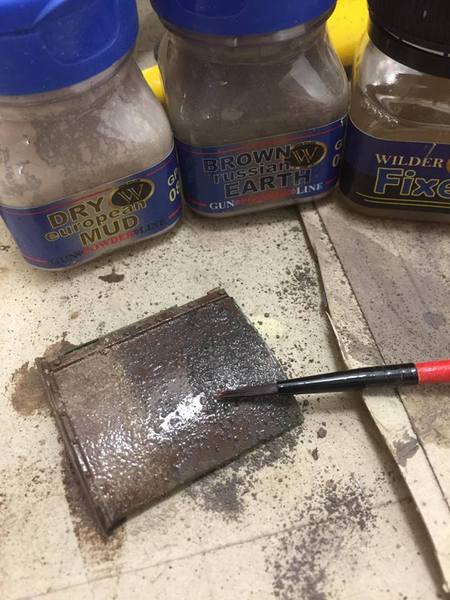
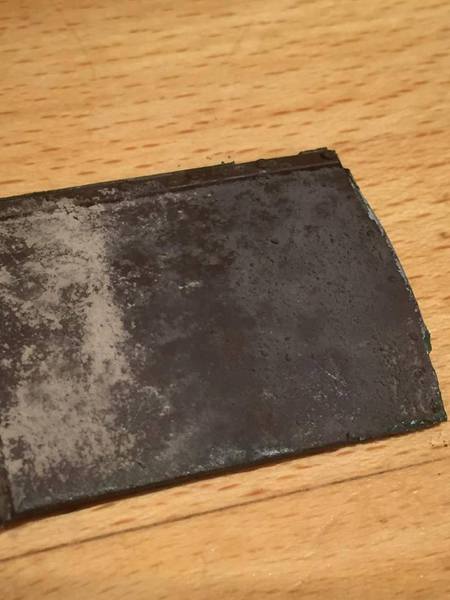
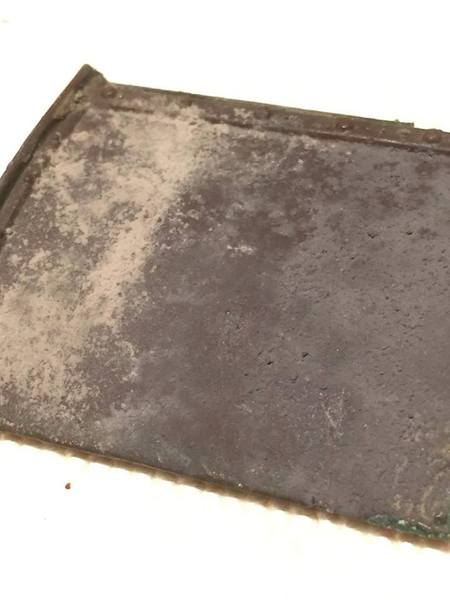
Better results for sure, so With New brand comes New approach . But I'm setting the fixer aside, the smell is to strong..
Better results for sure, so With New brand comes New approach . But I'm setting the fixer aside, the smell is to strong..


 02-01-2016 | 06:08 AM
#22

I really like the effort you're putting in here, it really shows. I've never worked with oils or other reflective type of paints, but I've always wanted to. The grease smudge is a good look especially on wheel hubs.
Keep this up!
Keep this up!
02-02-2016 | 09:40 AM
#24

Great weathering thread. Has shown me what I will be doing to my 1/48 Zaku II and 1/16 Stug III.

