


Torro Jagdtiger modifications .
 04-02-2016 | 11:10 AM
#1

Thread Starter

I wanted to make my jagdtiger a little 'schurzen' less' , and at the same push my comfortzone a little on chopping and rebuilding With evergreen.
So about a week of running it Stock, out came the Knife.
off With the molded on skirts.
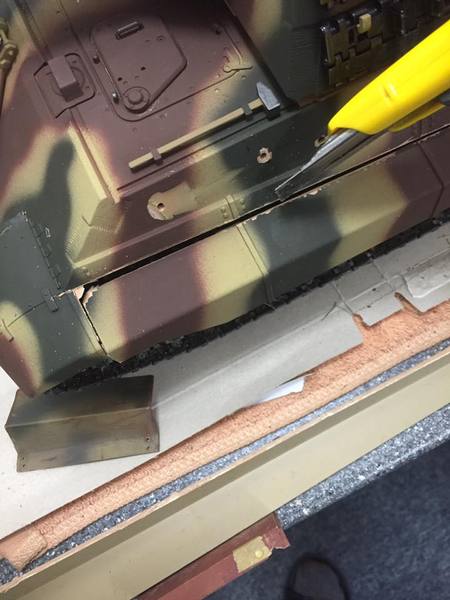
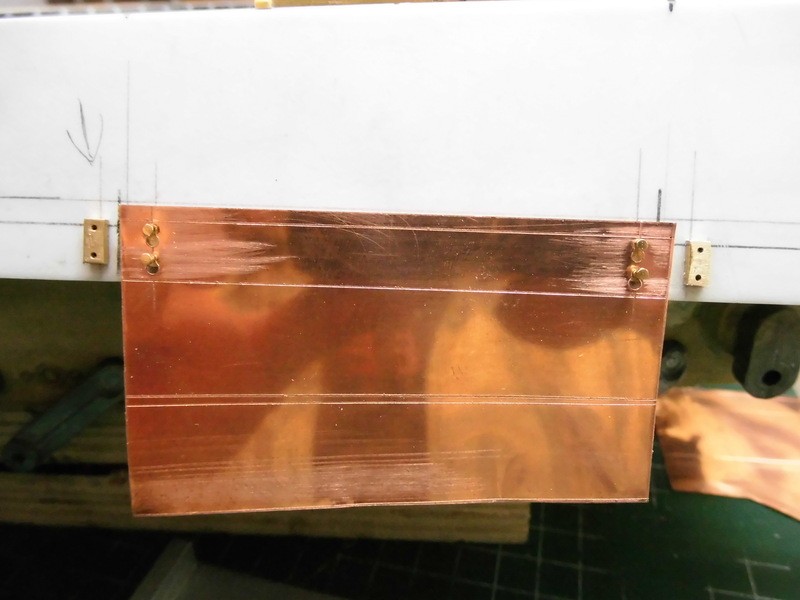
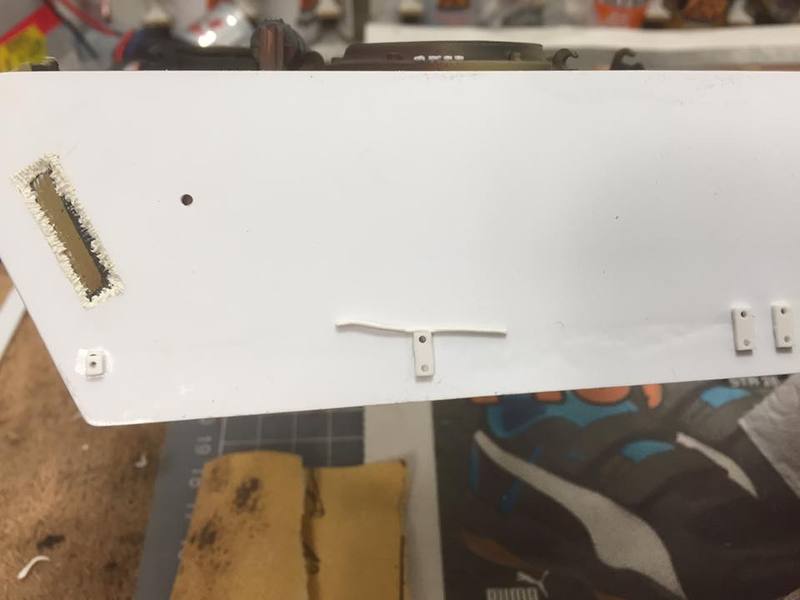
New 1,5mm evergreen Board on the inside, and a 2mm 'fill inn ' pc in between.
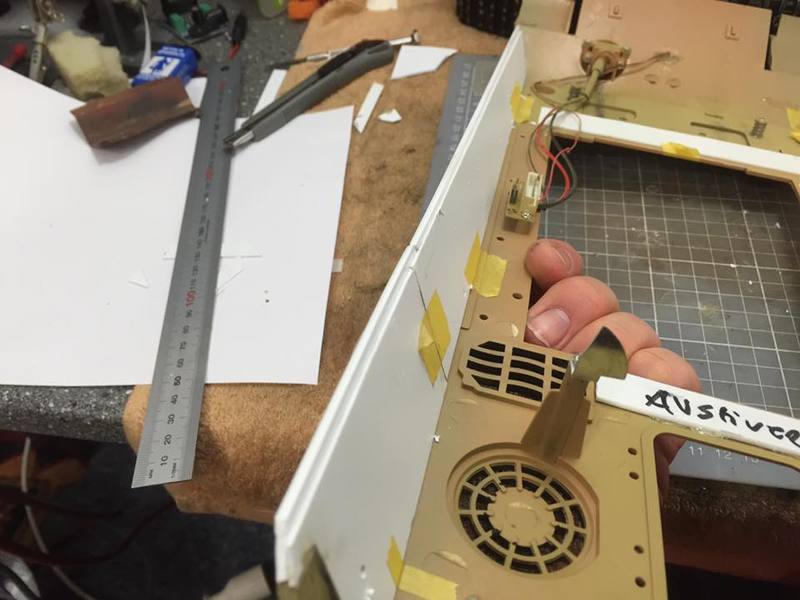

Line up the Outer pc of 0,5mm ( would prefer 1mm, but LHS was out ) evergreen Board and cut to shape .

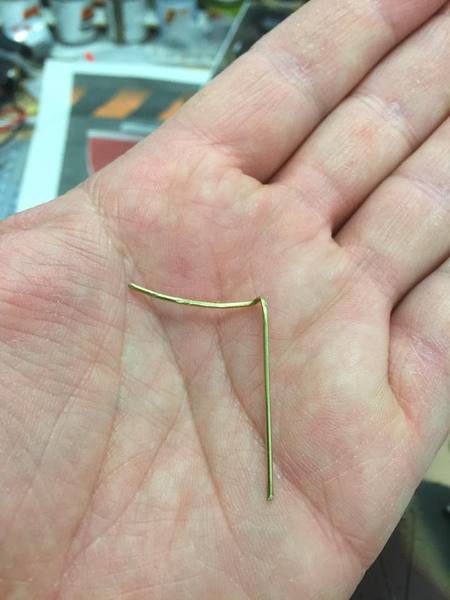
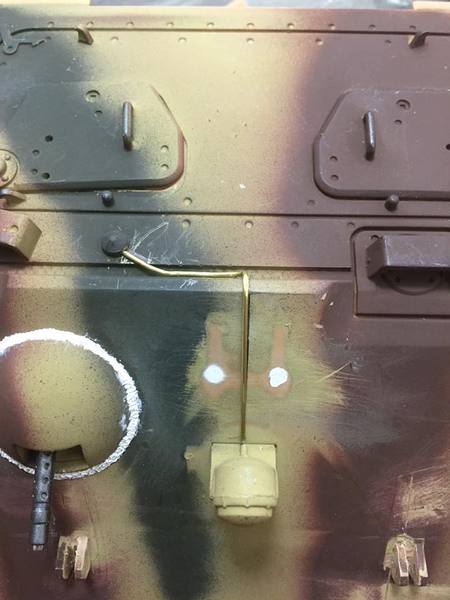
add a few Ludwigs parts , and this si were I'm at , at the moment .

So about a week of running it Stock, out came the Knife.
off With the molded on skirts.
New 1,5mm evergreen Board on the inside, and a 2mm 'fill inn ' pc in between.
Line up the Outer pc of 0,5mm ( would prefer 1mm, but LHS was out ) evergreen Board and cut to shape .
add a few Ludwigs parts , and this si were I'm at , at the moment .
 04-03-2016 | 10:24 PM
#4
Thread Starter
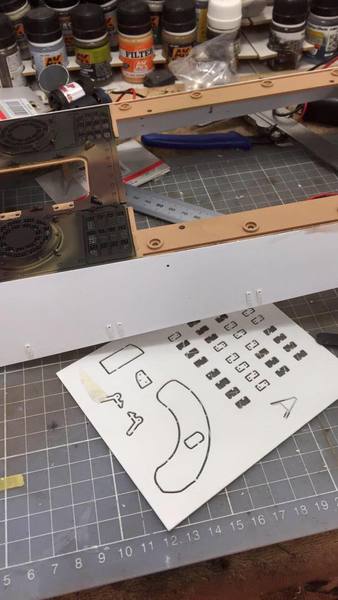
Did a bit more to see if I could do some fenders on my own eventually.
made a few paper mock ups

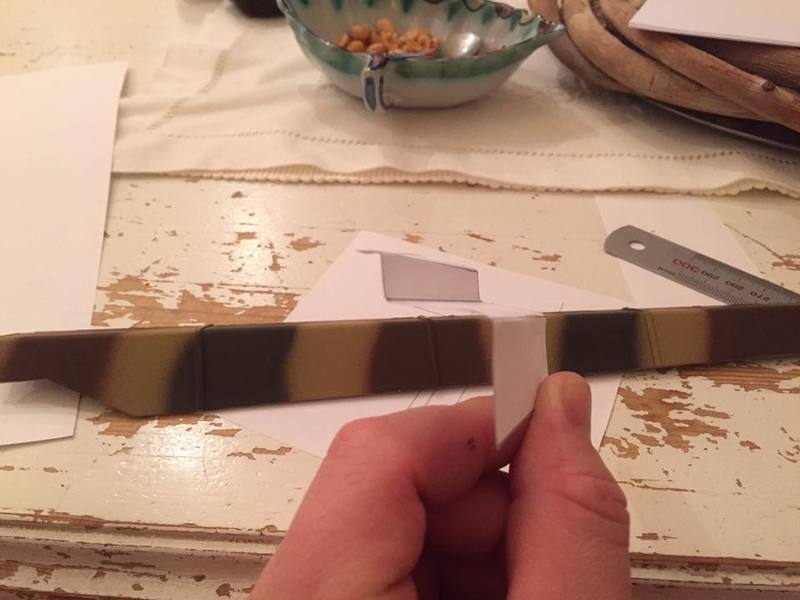


Hope to get the lines transfered to sheet metal soon , like this .
made a few paper mock ups
Hope to get the lines transfered to sheet metal soon , like this .
04-04-2016 | 09:03 AM
#6
Philipat, I used a photo from Gary's unboxing of the Jagdtiger to show why sollie had to replace the whole side armor plate. I circled in green what needs to be updated if you want a Imex Jagdtiger without finders. When I get one I plan on doing the same thing. It would be difficult to glue a strip of plastic to the bottom of the side armor plate to extend it to the correct width after cutting off the finders.
Last edited by MAUS45; 04-04-2016 at 09:06 AM.
04-04-2016 | 09:06 AM
#7
Thread Starter

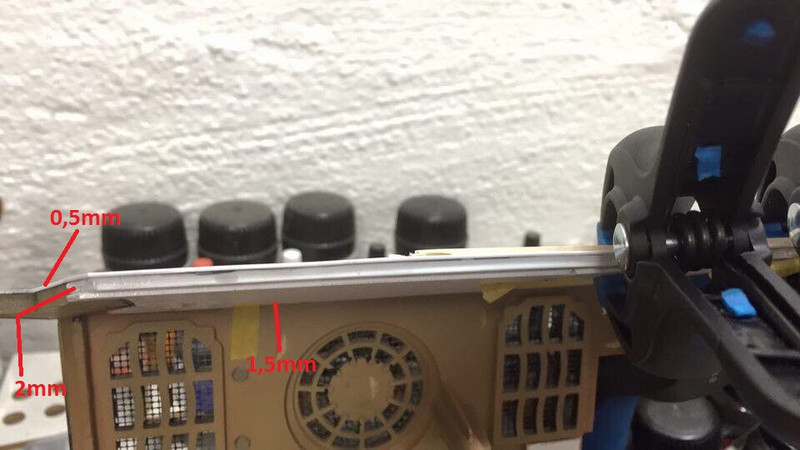
and on the outside I wanted to use 1 mm, but my LHS only had 0,5mm that had the length to cover the hull side
04-04-2016 | 09:35 AM
#8
Thread Starter
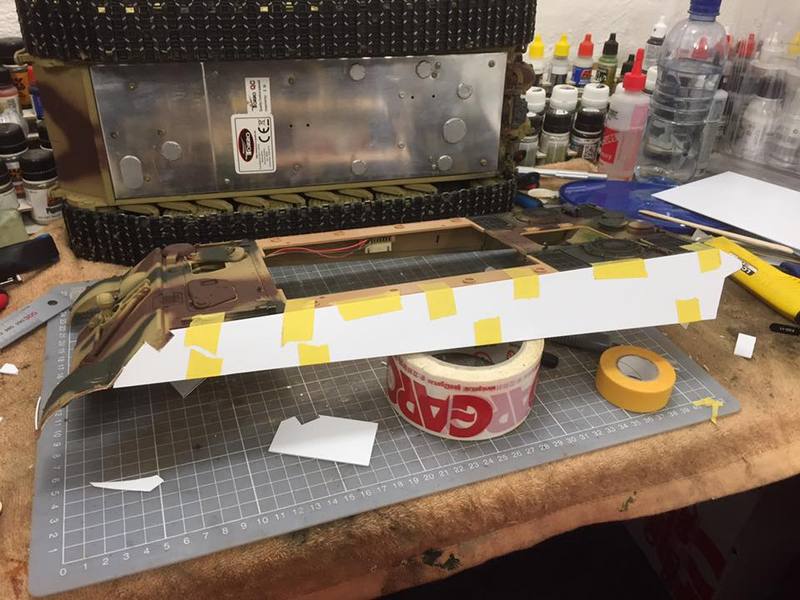
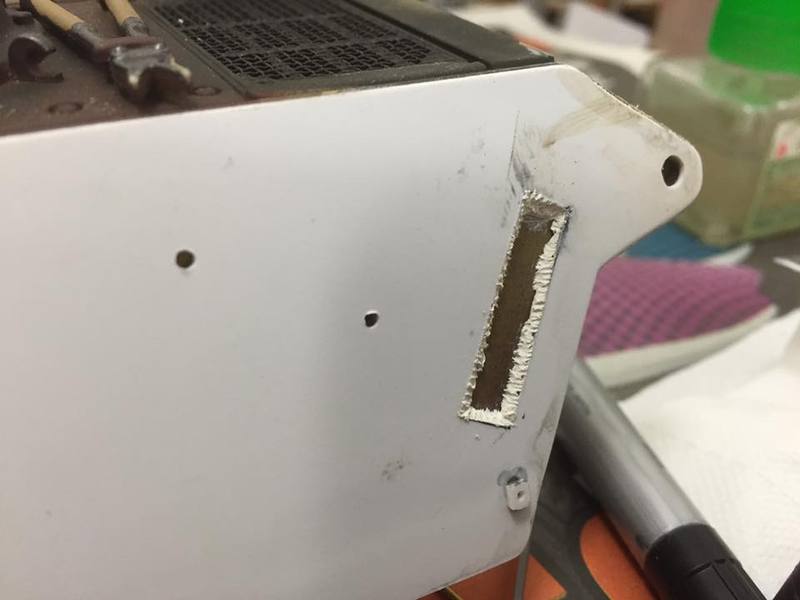
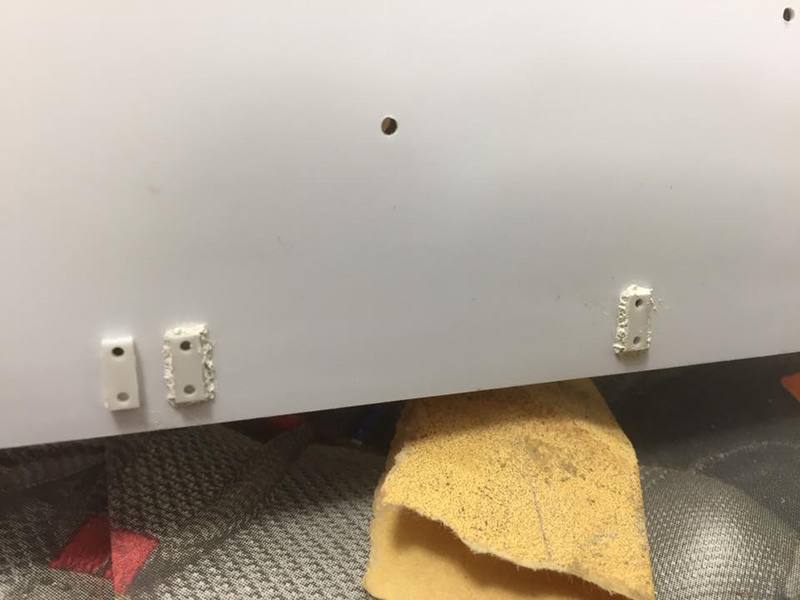
I had maybe hoped to get away With only a backplate and filling in the cutaway at the front, but once I filled in the first pc, I just knew I had to make a full front plate also to cover my rather poor job. No way any filler would look good no mather the H spent sanding, hehe
Also if only 0,5mm it get's a tad thicker armor sides ;-)
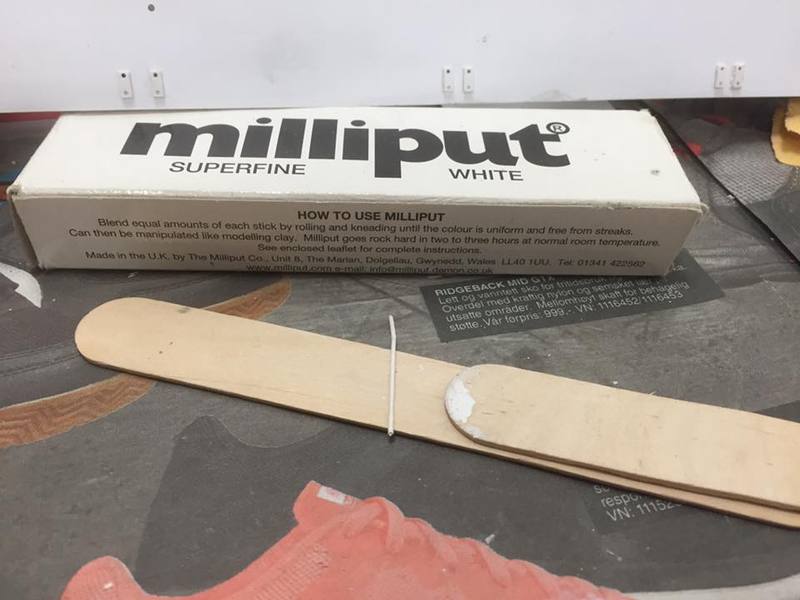
Here you can see the sandwitch of evergreen sheets
Also if only 0,5mm it get's a tad thicker armor sides ;-)
Here you can see the sandwitch of evergreen sheets
Last edited by sollie; 04-04-2016 at 09:49 AM.
04-04-2016 | 10:25 AM
#9
Wow, so you didn't replace the whole side panel, you just added extra to the bottom and then covered it with a thin sheet of plastic.
I would be concerned with it flexing and cracking. Is it solid enough?
I would be concerned with it flexing and cracking. Is it solid enough?
04-04-2016 | 10:55 AM
#10
Thread Starter
its a thin sheet of 0,5mm to cover the whole side panel and a 2mm fill in strip.
( To cut the Whole side and replace would be Beyond me :-) ) .
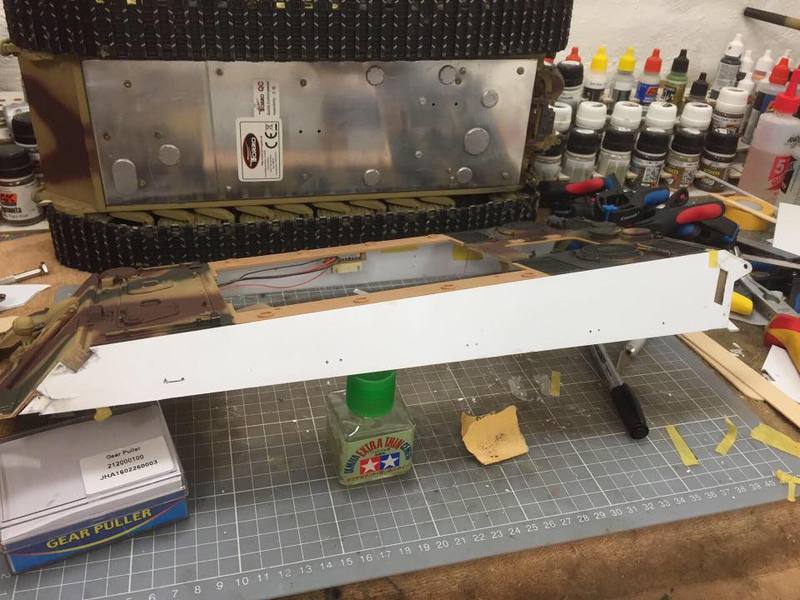
so 0,5mm outside as 'New' side panel , 2mm as fill in , and 1,5mm inside for added strength.
I can tell you taht it's much stiffer, even without the super strukture than it was first time I took it appart, I also added a few 1,5mm strips here and there to stiffen it up
( To cut the Whole side and replace would be Beyond me :-) ) .
so 0,5mm outside as 'New' side panel , 2mm as fill in , and 1,5mm inside for added strength.
I can tell you taht it's much stiffer, even without the super strukture than it was first time I took it appart, I also added a few 1,5mm strips here and there to stiffen it up
04-07-2016 | 07:24 AM
#11
Philipat, I used a photo from Gary's unboxing of the Jagdtiger to show why sollie had to replace the whole side armor plate. I circled in green what needs to be updated if you want a Imex Jagdtiger without finders. When I get one I plan on doing the same thing. It would be difficult to glue a strip of plastic to the bottom of the side armor plate to extend it to the correct width after cutting off the finders.

 04-25-2016 | 06:59 AM
#13
Looking good Sollie.
05-11-2016 | 12:50 AM
#14
Thread Starter
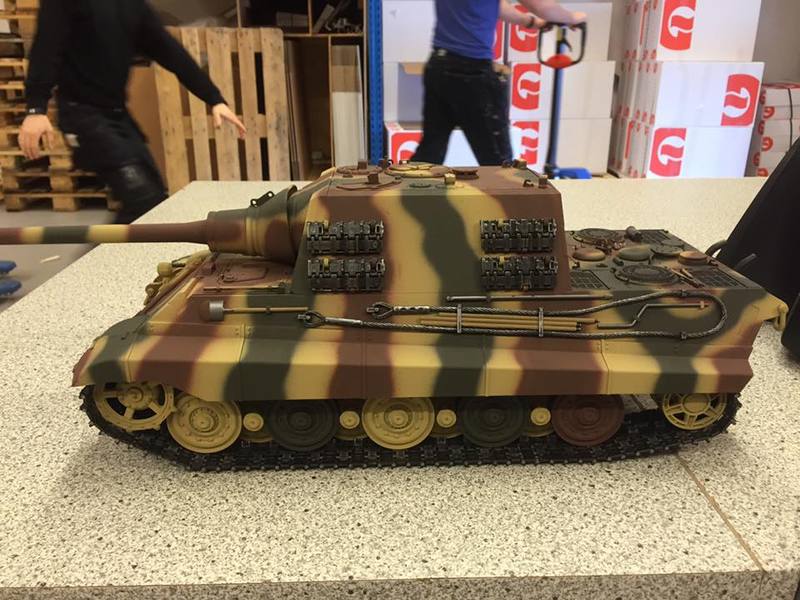
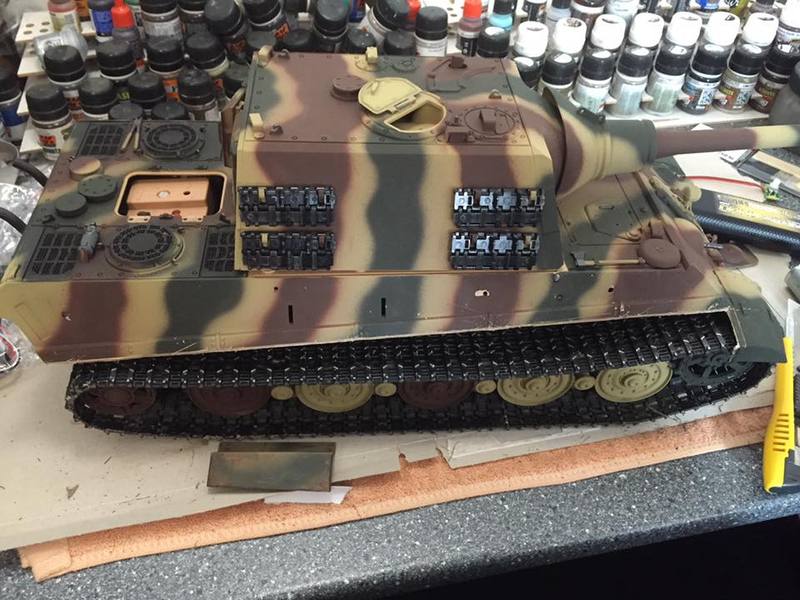
Still a ' w i p ' , but took it outside last night for a quick spin.
Stock 2,4ghz system , With only uppgraded motors ( JP480)
https://www.youtube.com/watch?v=yMOko9EHq90
Stock 2,4ghz system , With only uppgraded motors ( JP480)
https://www.youtube.com/watch?v=yMOko9EHq90
04-08-2019 | 08:30 AM
#18
Thread Starter
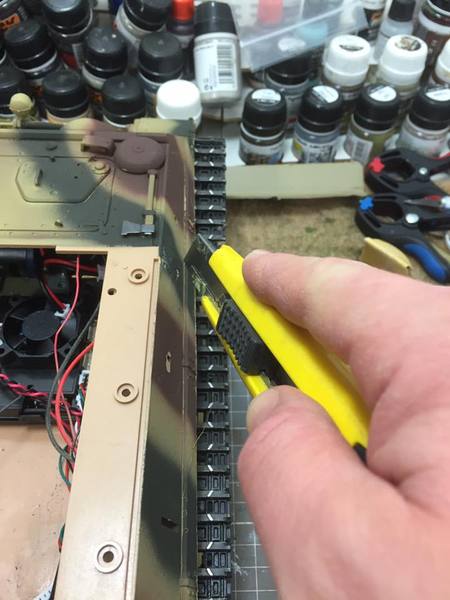
So with most of the lower hull done . I took it out for a quick spin in the garden. Snow has just melted here , and sun was out , so perfect timing
Clark tk 80 with one of my Panther soundsets ( think it suits the JT well to )
dual fr7 speaker box
pdsgb gearbox
Hope you like it
Clark tk 80 with one of my Panther soundsets ( think it suits the JT well to )
dual fr7 speaker box
pdsgb gearbox
Hope you like it
 04-29-2019 | 11:31 AM
#23
Thread Starter

