


First Multi-Part Kit with 3D Printer
 01-26-2018 | 03:33 PM
#1
Thread Starter

My Feedback: (1)
Before we get started, a question for Paco: Greg, you have a 3D printer, don't you? I seem to remember you sending me photos of a drum you printed, but you know the hippie brain, that may never have happened. 
Anyway, here's a little project I got from a friend. I have to say that there are 3 guys in the UK that have been instrumental in the moderate success I've had since I got the printer. I'm hoping you guys will get crazy and push me into something over my head with this printer. I'm already working on an SS100 to pull a meillerwagen, and I want to copy Alwyn and start making tire molds. Anybody out there that knows how to make STL files that wants to try out your stuff?
So check this and let us know what ya think. Or don't think. Yeah, sometimes that hurts my head, too.
 01-27-2018 | 06:41 AM
#2
WOW! Gary, you never stop! You certainly have passion. You are constantly building something, the Hetzer, other numerous tanks, the trucks now into 3D printing, I cant wait to see whats next. I just enjoy watching your videos and the stuff you come up with. I really think you should start building electronics now, starting with the ''Scout',' lol
I have been looking at a lot of 3D printers, just for fun stuff, there are so many out there its just plain confusing where to start.
Keep up the great work Gary!
Shad
I have been looking at a lot of 3D printers, just for fun stuff, there are so many out there its just plain confusing where to start.
Keep up the great work Gary!
Shad
01-27-2018 | 07:38 AM
#4
Thread Starter
My Feedback: (1)
One of the reasons I chose the Creality CR-10 is because two of the guys I turn to for advice have the exact same machine. I also waited until Black Friday to buy so I got close to 50% off. But remember, owning the printer is only about 20% of it. The rest is making it do what you want. I started with certain goals, and first was to be able to print stuff from files my fellow members sent me. That wasn't difficult, so I then tried modifying those files and printing the new parts. That's fairly easy as well, but now comes the last and hardest of my goals, to learn to make my own designs. I'm still trying to learn openscad and if that goes well my first design will be a simple box to hold a battery between the frame rails in the Opel Blitz. Then a similar box for a speaker.
I'm also trying to promote the free exchange of STL files. I can understand if a guy spends a couple years doing all the designs for a tank he might not want to share, but for the small stuff it's better for us all to just share the info. Kevin Grannum put all his designs up at his website and you can download them all for free. I think that's absolutely fantastic, and he has some real good stuff, including an excellent 20L jerry can and a tank trap that I've already made several of. Thingiverse is also great and I just printed an old time phone booth that should be great with a bit of tweaking. I think if I just enlarge it by about 20% it will be the perfect size. I'm probably gonna move again the end of this coming summer and a place with a piece of land like I had when i did Ansbach West is a priority. I miss my tank park like you wouldn't believe. Stupid City of Livonia. Made me pay $175 and be on probation for three months because ... I let my cat ... go outside. Can ya believe that crap? Had to move, so here we are, but the next place will be better.
I'm also trying to promote the free exchange of STL files. I can understand if a guy spends a couple years doing all the designs for a tank he might not want to share, but for the small stuff it's better for us all to just share the info. Kevin Grannum put all his designs up at his website and you can download them all for free. I think that's absolutely fantastic, and he has some real good stuff, including an excellent 20L jerry can and a tank trap that I've already made several of. Thingiverse is also great and I just printed an old time phone booth that should be great with a bit of tweaking. I think if I just enlarge it by about 20% it will be the perfect size. I'm probably gonna move again the end of this coming summer and a place with a piece of land like I had when i did Ansbach West is a priority. I miss my tank park like you wouldn't believe. Stupid City of Livonia. Made me pay $175 and be on probation for three months because ... I let my cat ... go outside. Can ya believe that crap? Had to move, so here we are, but the next place will be better.
01-27-2018 | 07:42 AM
#5
Thread Starter
My Feedback: (1)
01-27-2018 | 01:32 PM
#6
Wow Gary, That is so cool!!!

 01-28-2018 | 03:06 PM
#12
nope nothing yet hopefully this week what 3D printer is that
01-28-2018 | 05:28 PM
#13
Thread Starter
My Feedback: (1)
Creality CR-10. One of the reasons I chose it is because both Alwyn Turner and Wibbs have the exact same gear and they're both way better than I am. Now, that ain't sayin' much, 'cause most ever'body is better than me, but they really are very good. And my Ace-in-the-Hole is an engineer for Rolls Royce Aerospace, so I think I have a decent brain trust, can ya dig it?
For you, Greg, if I can print anything for ya, just holler.
For you, Greg, if I can print anything for ya, just holler.
05-25-2018 | 05:52 AM
#15
Junior Member
Joined: May 2018
Posts: 5
Likes: 0
Received 0 Likes
on
0 Posts
CR-10 is a good printer, hard to beat it out of the box, it has some clones, tevo tornado being one of them, both have some advantages and disadvantages, the cr-10 bed heat is really its only disadvantage, a friend of mine has one and it takes a long time to get to abs temp, i have the tornado, it comes with a extruder that can print flexible filament, so no need to upgrade, my friends cr-10 did not have a extruder at the time he got it, that could print flex, and the tornado has a AC heated bed, instead of a DC bed like the cr-10 and pretty much every other lower cost printer. the bed on it heats up to abs temps very, very fast, but tevo dropped the ball in another place on it, the one i got, not sure about current models, has a very weak y axis motor mount, that has a tendency to flex, and the bed of it is a ceramic glass instead of aluminum like the cr-10, so it is much heavier, and having to make rapid directional changes can cause the belt for the Y axis to slip messing up your prints, it is a easy fix with a printed support, but it is very worth mentioning, had many a failed print myself and didnt know why until i found that, after i printed a mount for it, i have had zero problems. The company behind the cr-10 is much better with support from what i have heard, the couple of times i have needed support from tevo they have handled it quickly, so my personal experience is, they are also good, but i have heard that they can be slow.
05-25-2018 | 06:15 AM
#16
Hey Gary, No I do not have a 3d printer. I have a friend in Calif. who's business owns an industrial size one who printed the fuel drums for me. I also sent him the STL file for the Pak 40 you sent me. They can print it, but I asked them to hold off till I can tweak the file enough to fix the wheels and gun barrel. Both are "off" a bit. I did assemble the kit and now have ideas of other changes to the file that will make assembly easier. I downloaded a free 3d CAD program and I am learning the software now. I have 40 years experience in 2d drafting, but the 3d stuff is a little different. My old hippy brain has a flatter learning curve than most. Anybody who can send me by PM, or post here, the correct dimensions for the Pak 40 barrel size, and the correct wheel size, I would be thankful for the help, and can edit the file to fix the inaccuracies.
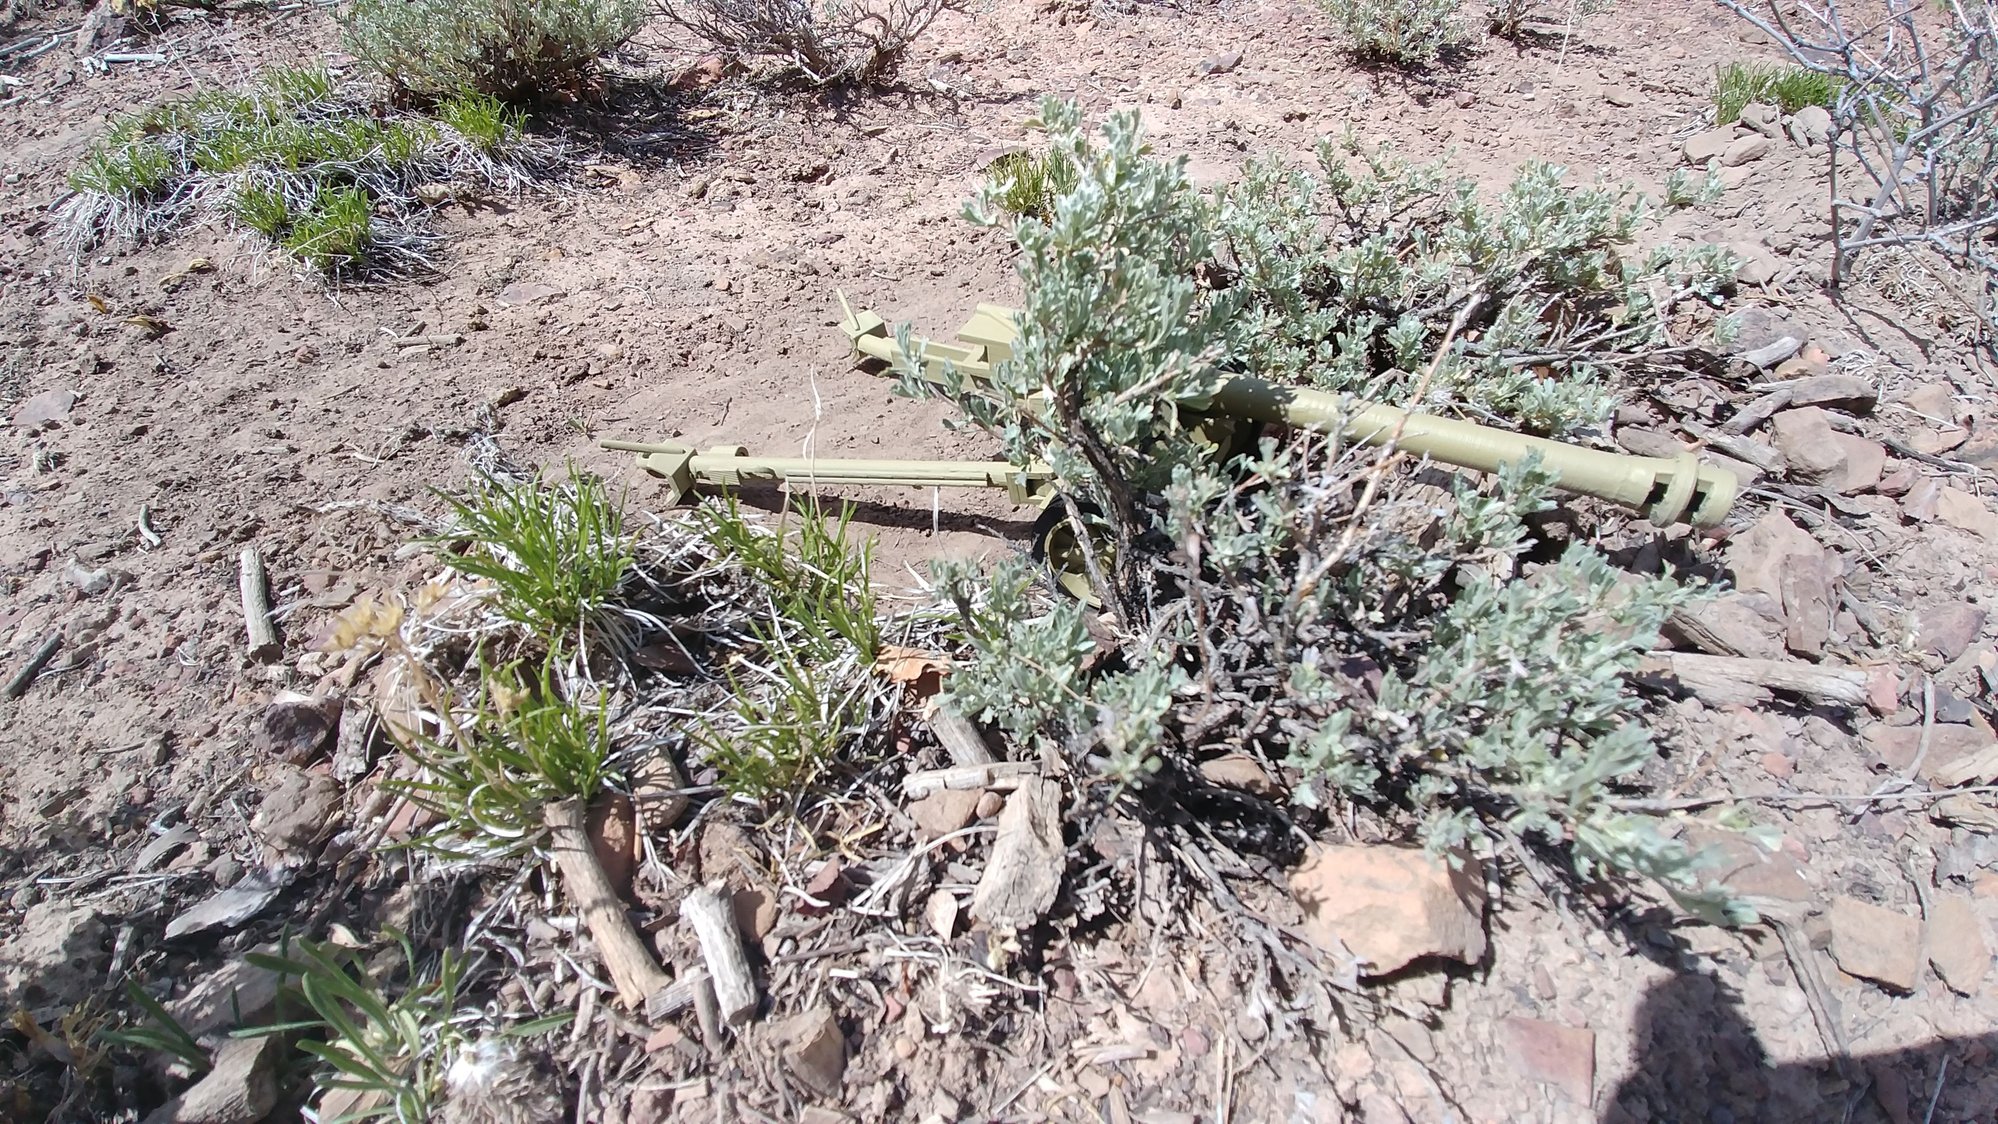
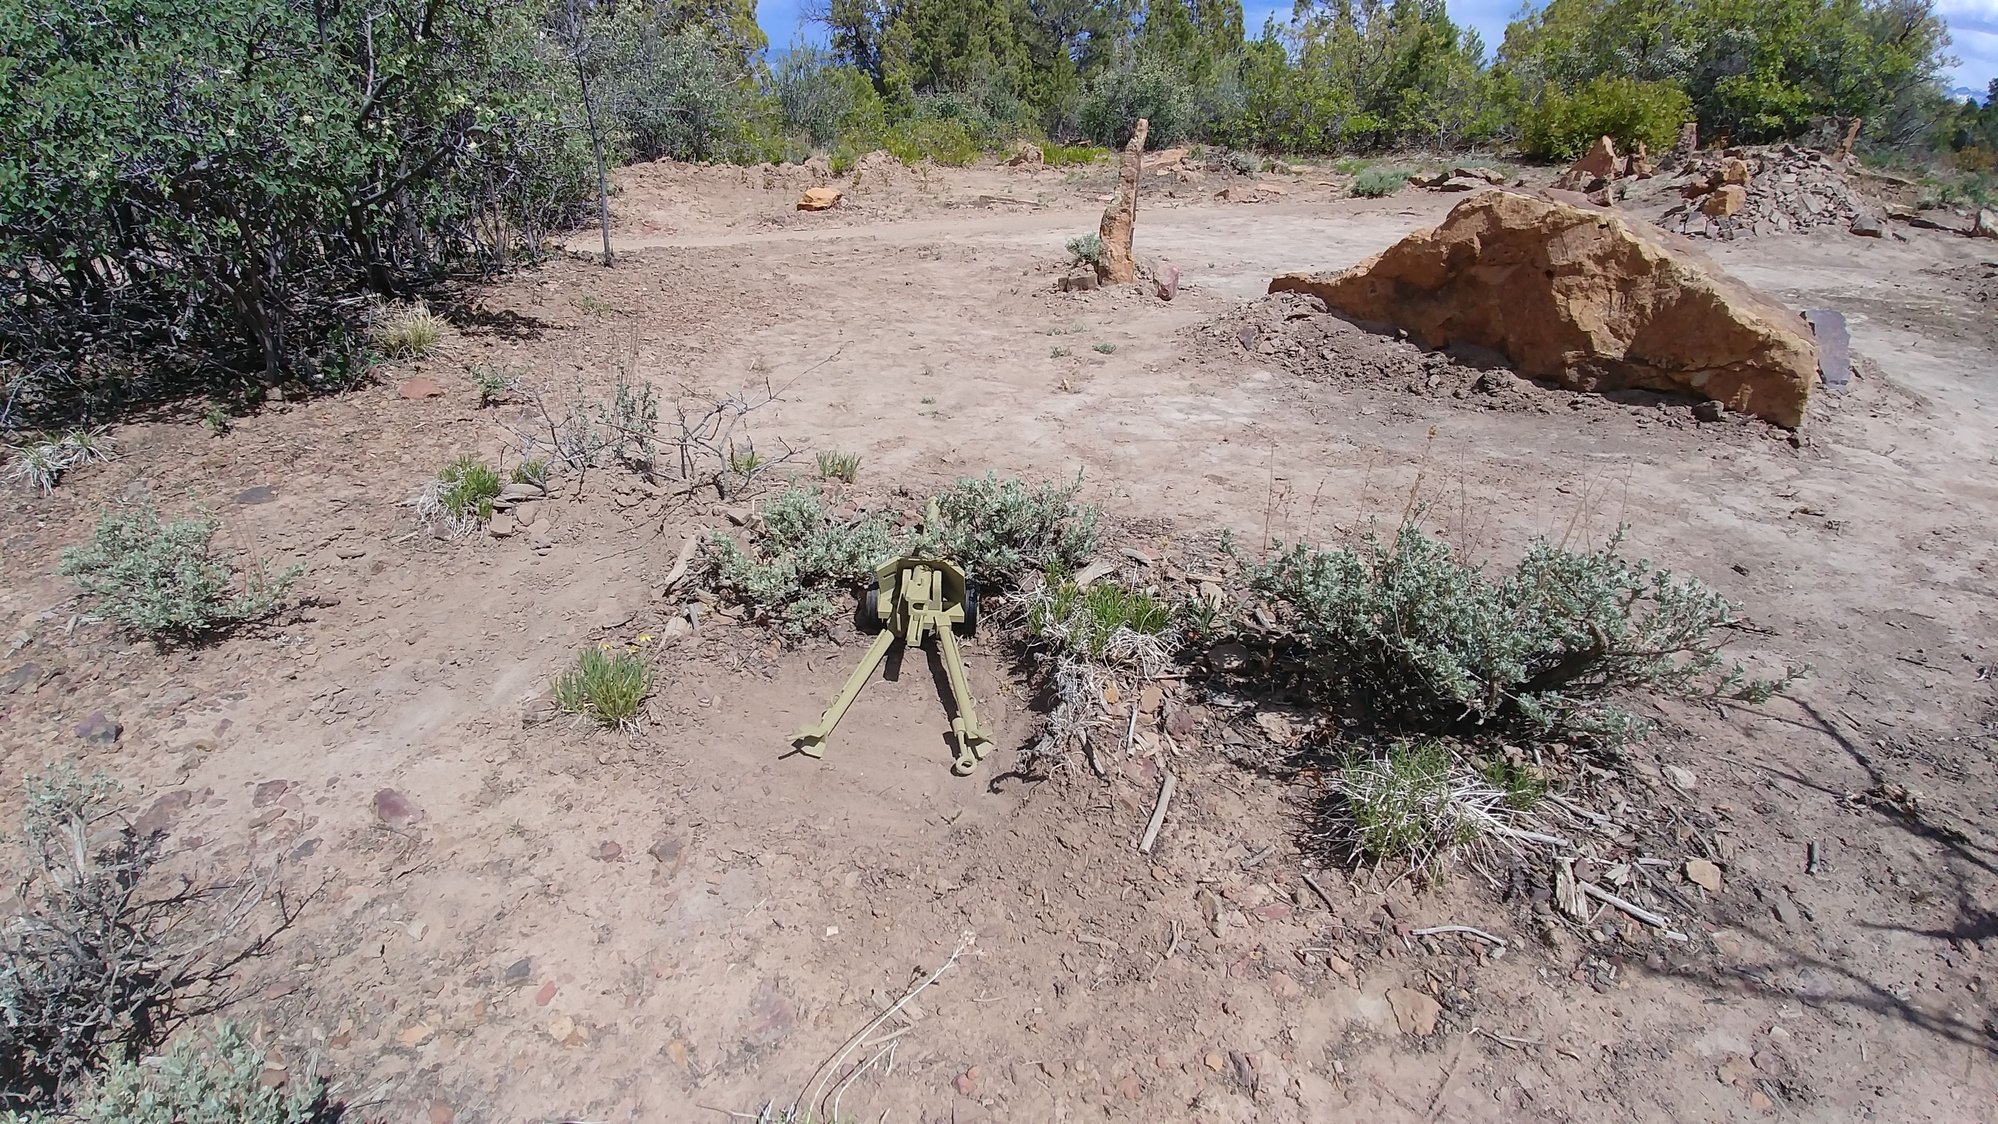
Here is the Pak 40 assembled and set up in Tankland covering the road to Sidi Bou Zid.
Who can tell us where Sidi Bou Zid is, and why it relates to tanks?

Here is the Pak 40 assembled and set up in Tankland covering the road to Sidi Bou Zid.
Who can tell us where Sidi Bou Zid is, and why it relates to tanks?
Last edited by Pah co chu puk; 05-25-2018 at 06:29 AM.
05-25-2018 | 06:24 AM
#17
And here it is being reviewed by Rommel. He agrees that the design is not quite ready for battle.

05-25-2018 | 06:58 AM
#18
Measuring my 21st Cent example (and scaling up to 1/16)
wheel diameter 55.7mm, 11.25 wide
Barrel overall 191.8mm (excluding breach assembly - that part is 28mm long)
1st barrel segment 61.8mm long diameter tapering from 10.7 to 9.6
second barrel segment 108 long, 7.7 tapering down to 7 at the muzzle break
Muzzle break 25.7mm long
Hope this helps..
wheel diameter 55.7mm, 11.25 wide
Barrel overall 191.8mm (excluding breach assembly - that part is 28mm long)
1st barrel segment 61.8mm long diameter tapering from 10.7 to 9.6
second barrel segment 108 long, 7.7 tapering down to 7 at the muzzle break
Muzzle break 25.7mm long
Hope this helps..
05-25-2018 | 09:53 AM
#19
Thread Starter
My Feedback: (1)
Hi Guys. First, I'm really glad to see you were able to do something with the PAK 40, Paco. You did a great job. I think for what it is it should make a nice, cheap battlefield accessory, but we can surely make it better. And thanks to you, Ex-Pat, for the info. I've shown some of your projects around the new shop and all are impressed. When I say you used to live in Detroit the standard response is, "Well, let's get him back here!" If I get time (and who has any of that these days?) I'll try to use the scale features in cura to get the barrel and muzzle break to the correct sizes. Once we get it sorted to your satisfaction, Paco, you could maybe have your buddy do a few, or if you want to invest in a roll of filament I should be able to print you at least 5 or 6 more to scatter around Tankland. All that Allied stuff you've got needs more antagonists, right?
Right now I'm off to cut the grass, and then, since Wayne was frakkin' with me about how my Hetzer will be an antique before I get it finished that's moved to the very top of the list (just got the brass bolts I need for the skirts, too). The gauntlet has come down!
Right now I'm off to cut the grass, and then, since Wayne was frakkin' with me about how my Hetzer will be an antique before I get it finished that's moved to the very top of the list (just got the brass bolts I need for the skirts, too). The gauntlet has come down!
05-25-2018 | 10:38 AM
#20
I have the PAK 40 on my oh so very long to-do list, but as I have a bunch of the 21st Centuary ones that I picked up in a close out sale many years ago, its a long way down it...
05-25-2018 | 07:14 PM
#21
Measuring my 21st Cent example (and scaling up to 1/16)
wheel diameter 55.7mm, 11.25 wide
Barrel overall 191.8mm (excluding breach assembly - that part is 28mm long)
1st barrel segment 61.8mm long diameter tapering from 10.7 to 9.6
second barrel segment 108 long, 7.7 tapering down to 7 at the muzzle break
Muzzle break 25.7mm long
Hope this helps..
wheel diameter 55.7mm, 11.25 wide
Barrel overall 191.8mm (excluding breach assembly - that part is 28mm long)
1st barrel segment 61.8mm long diameter tapering from 10.7 to 9.6
second barrel segment 108 long, 7.7 tapering down to 7 at the muzzle break
Muzzle break 25.7mm long
Hope this helps..
05-26-2018 | 06:44 AM
#22
Gary, Is the barrel you printed on the Pak 40 hollow?
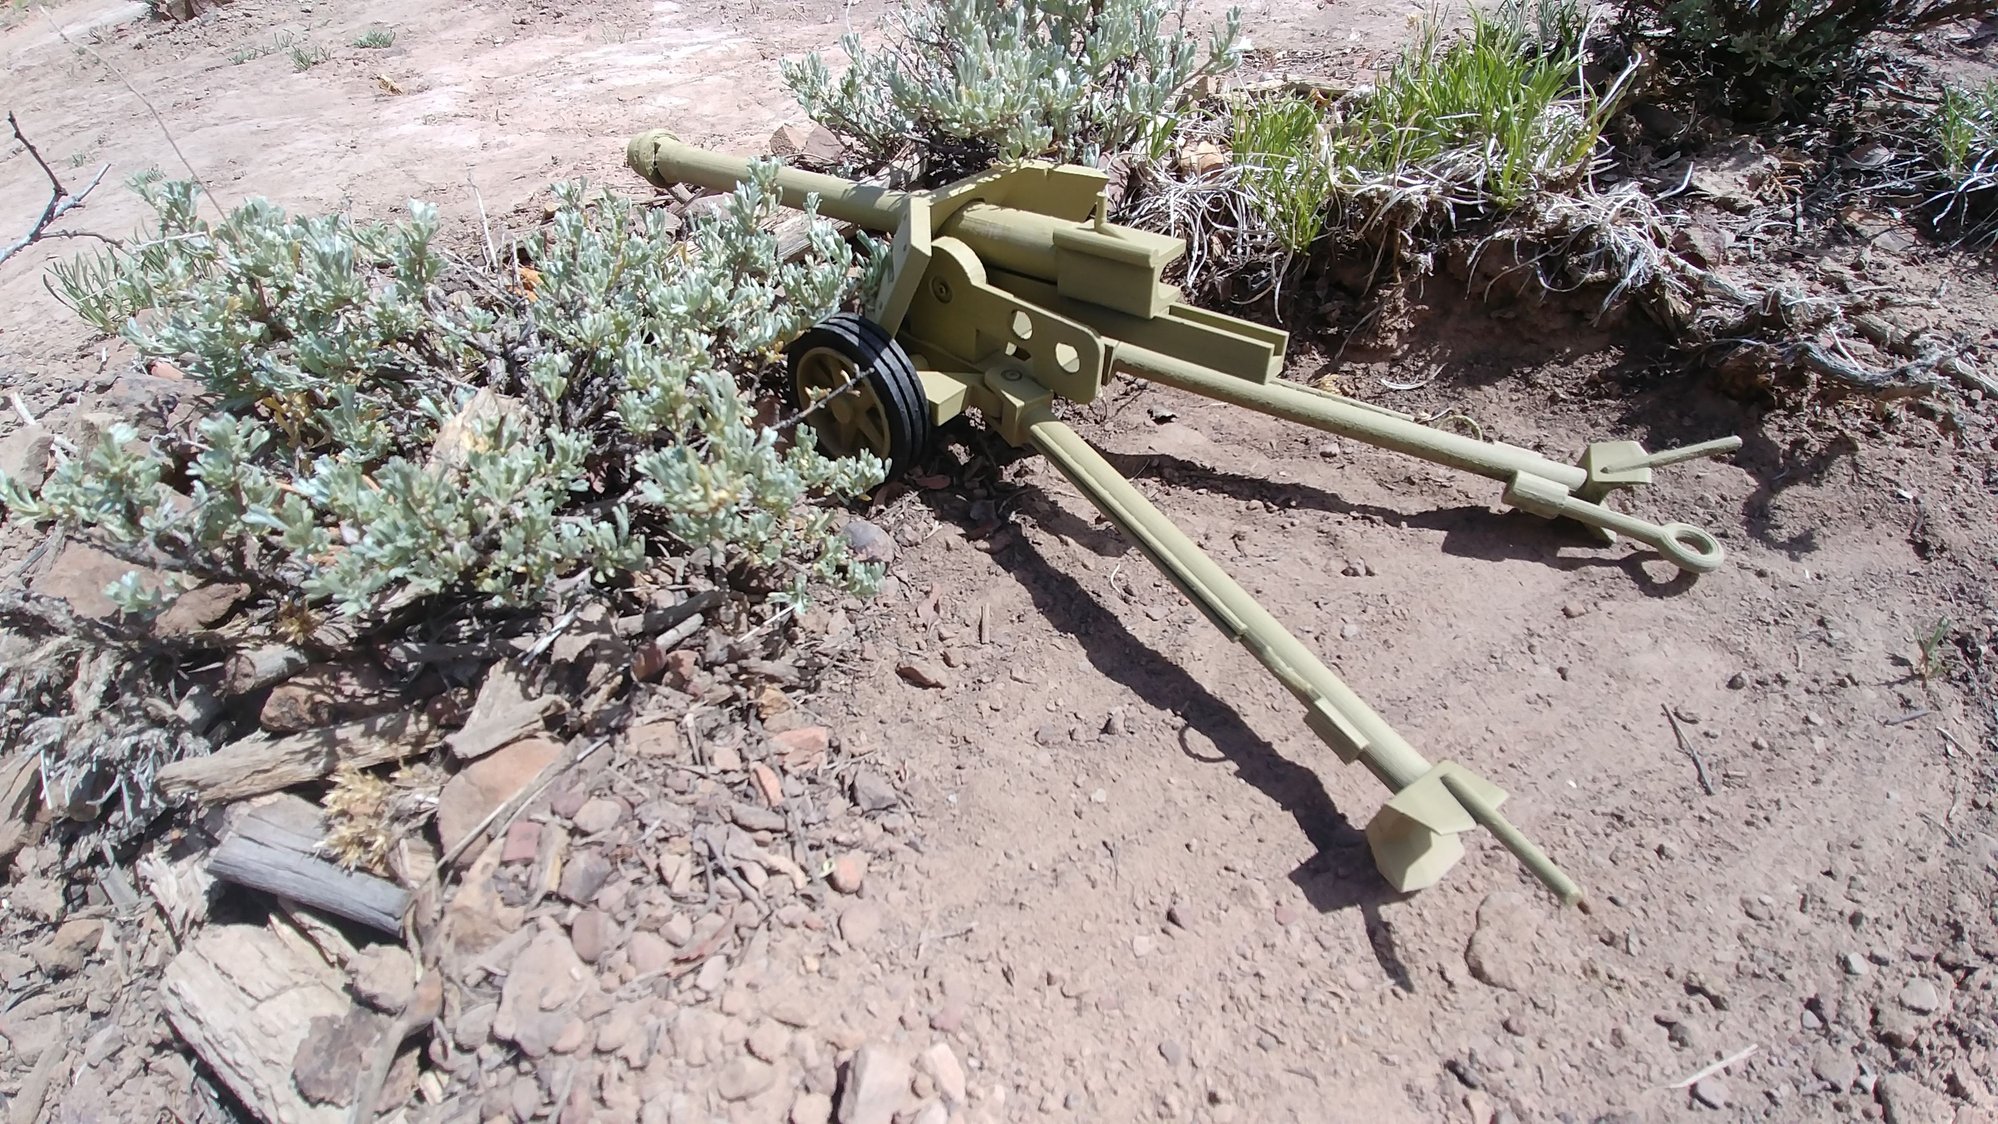
I just put it together as is, and did not bother to check if the barrel was hollow, or did I clean up the 3d printing texture, it was more of an exercise in the assembly method. If the barrel is, it would make a great IR field gun. It's low to the ground and easy to camouflage.
I used screws to put the trailing arms on, so they can be in towing mode, or be spread out in firing mode, and used screws to mount the barrel so it elevates. If I can make the wheels turn, it could be towed.
05-26-2018 | 07:17 AM
#23
Thread Starter
My Feedback: (1)
Yeah, it's hollow. It prints upright, as though aiming at the ceiling directly overhead. Takes from 5 to 7 hours to print, depending on how fine the print.
Considering what you had to work with, you did an awesome job. It's a pretty rough kit, with virtually no detail. If I ever get time I'd like to add the little wheels and levers, but for right now it's a "20 footer". Looks fantastic from 20 feet away and that was kind of the point. A quick cheap accessory that will look good on any battlefield. I like your idea of an IR field piece. Now where could we hide a servo to give it a bit of traverse?
Considering what you had to work with, you did an awesome job. It's a pretty rough kit, with virtually no detail. If I ever get time I'd like to add the little wheels and levers, but for right now it's a "20 footer". Looks fantastic from 20 feet away and that was kind of the point. A quick cheap accessory that will look good on any battlefield. I like your idea of an IR field piece. Now where could we hide a servo to give it a bit of traverse?
05-26-2018 | 07:41 AM
#24
I know how the servo would mount for traverse, I also have an idea for servo elevation, a little ammo type box could hold the electronics, and I have old HL apples to rework into a receiver for it. Flash and emitter in the barrel, not sure how I could do recoil... I can can add some more details, so it looks great, from as close as 10 feet!
05-26-2018 | 06:48 PM
#25
Little bit of work but you could do a servo under the carriage with some sheathed r/c plane throttle cable. Fab up a small bracket to hold the sheathing at the tube so just the cable would actuate the barrel. I did this on my resin KV-1 conversion, made a turret basket and mounted the servo in the basket, ran the cable to the bracket where you'd usually have a recoil unit. I had clearance issues so just having the small bracket to hold the cable sheathing gave me the room for elevation. Really though even a micro servo a bit forward and under the breach slide once painted would hide pretty well.
Last edited by TheBennyB; 05-26-2018 at 06:55 PM.

