


JadgPanther Build
 07-12-2018 | 03:29 AM
#1
Thread Starter

Joined: May 2013
Posts: 37
Likes: 0
Received 0 Likes
on
0 Posts
From: Point of Rocks, MD
 JadgPanther Build
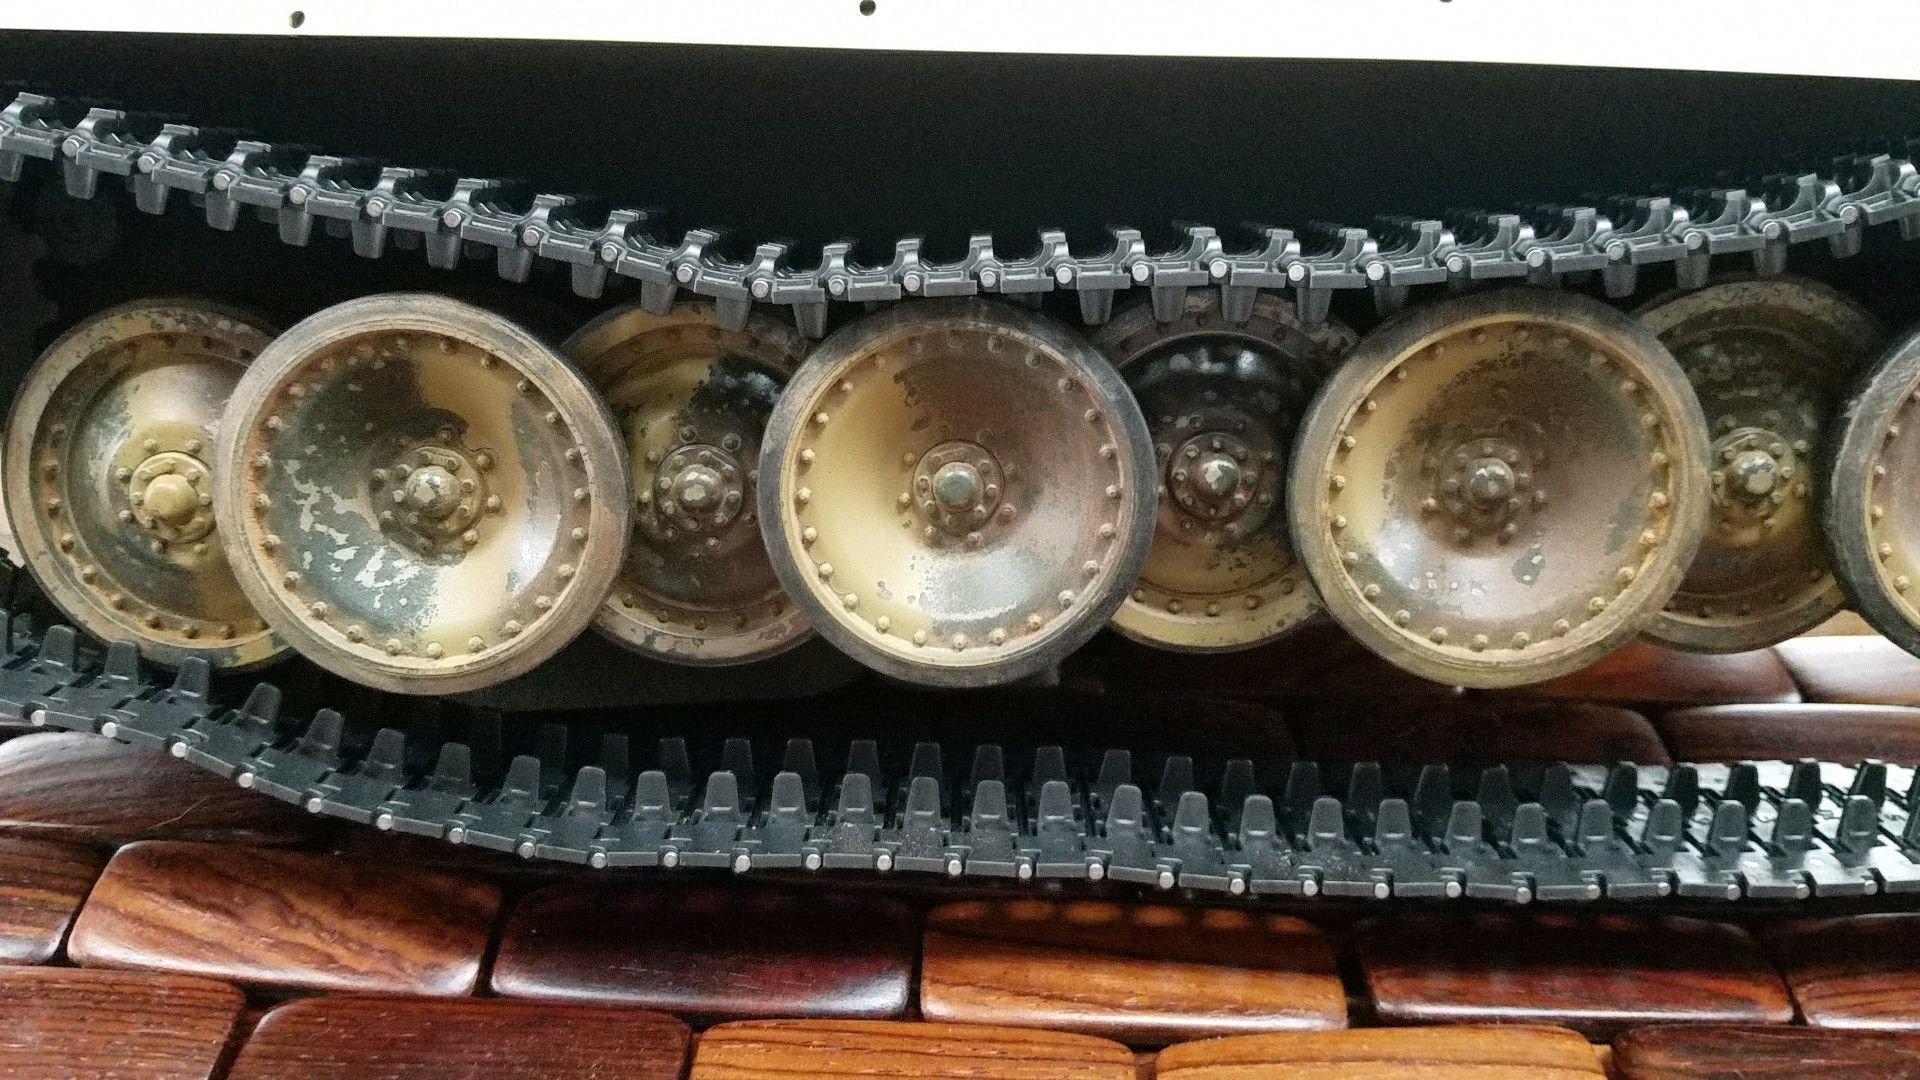
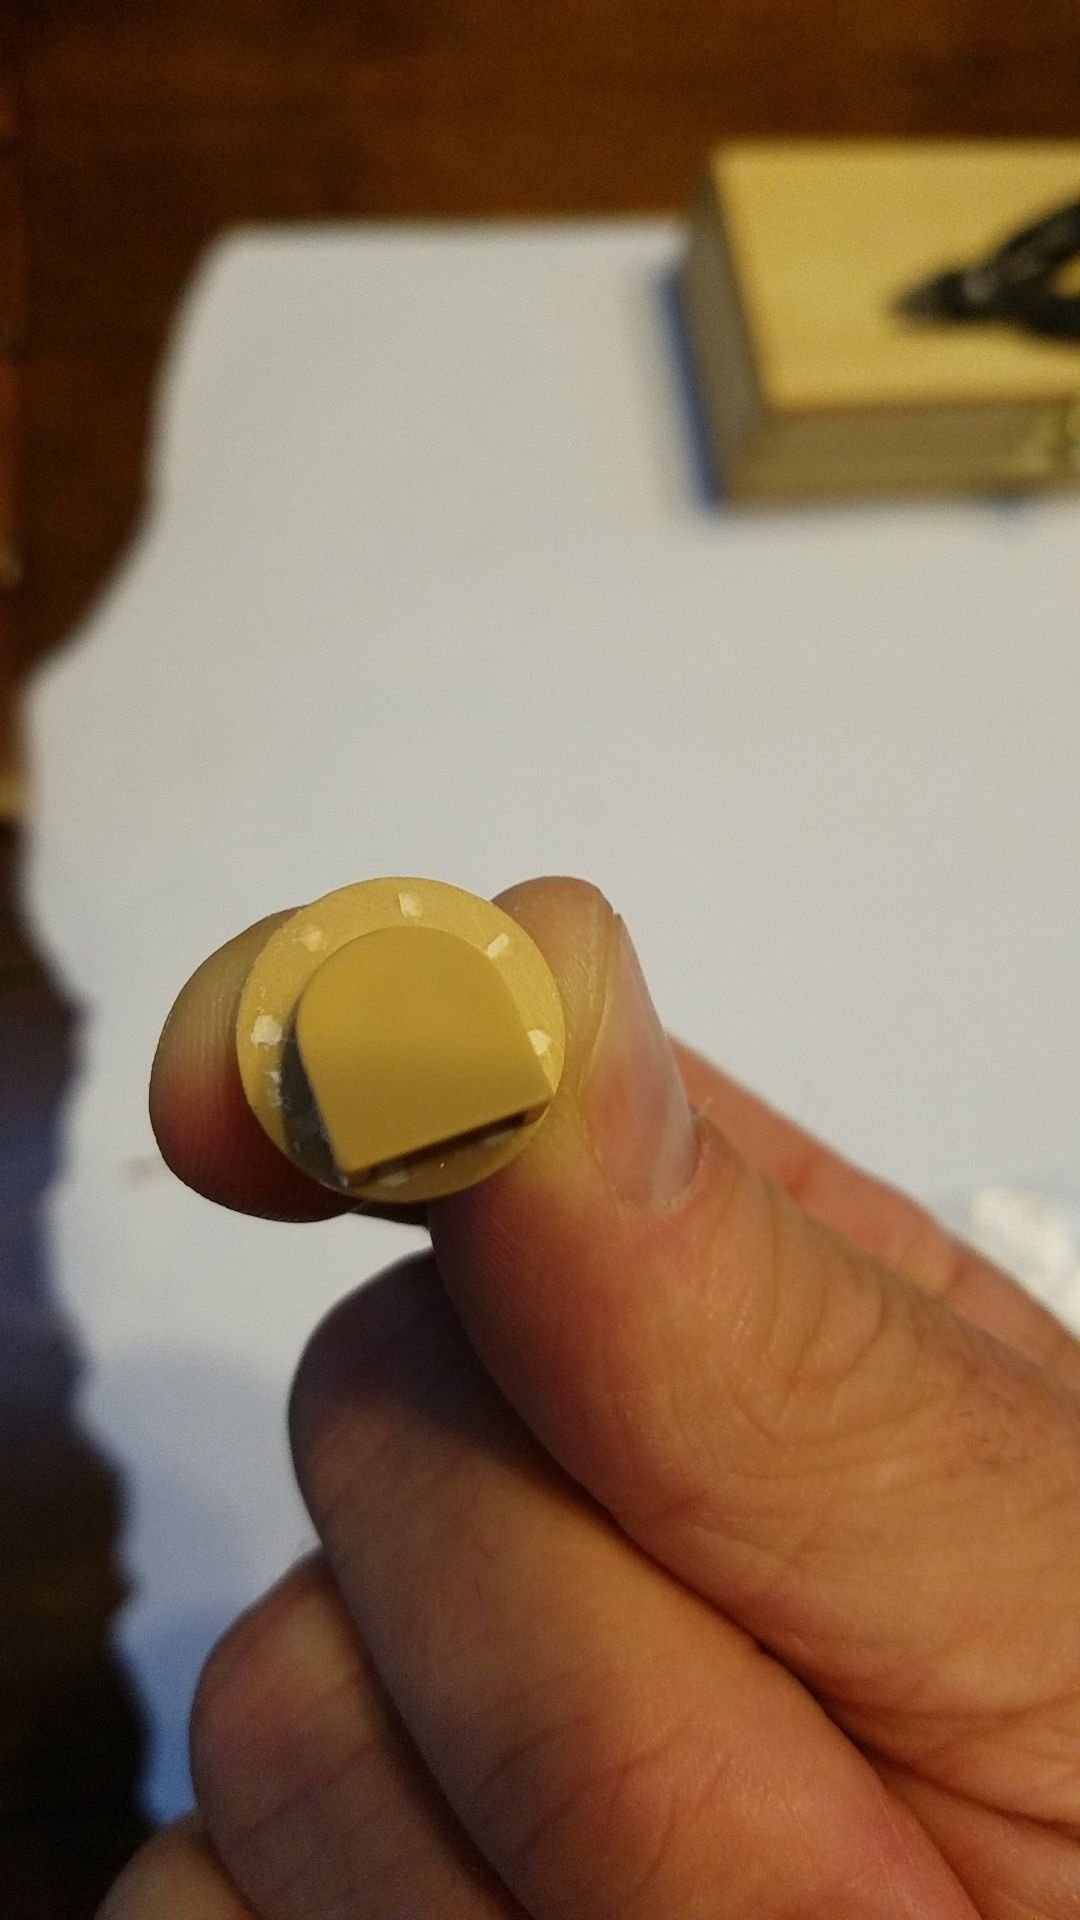
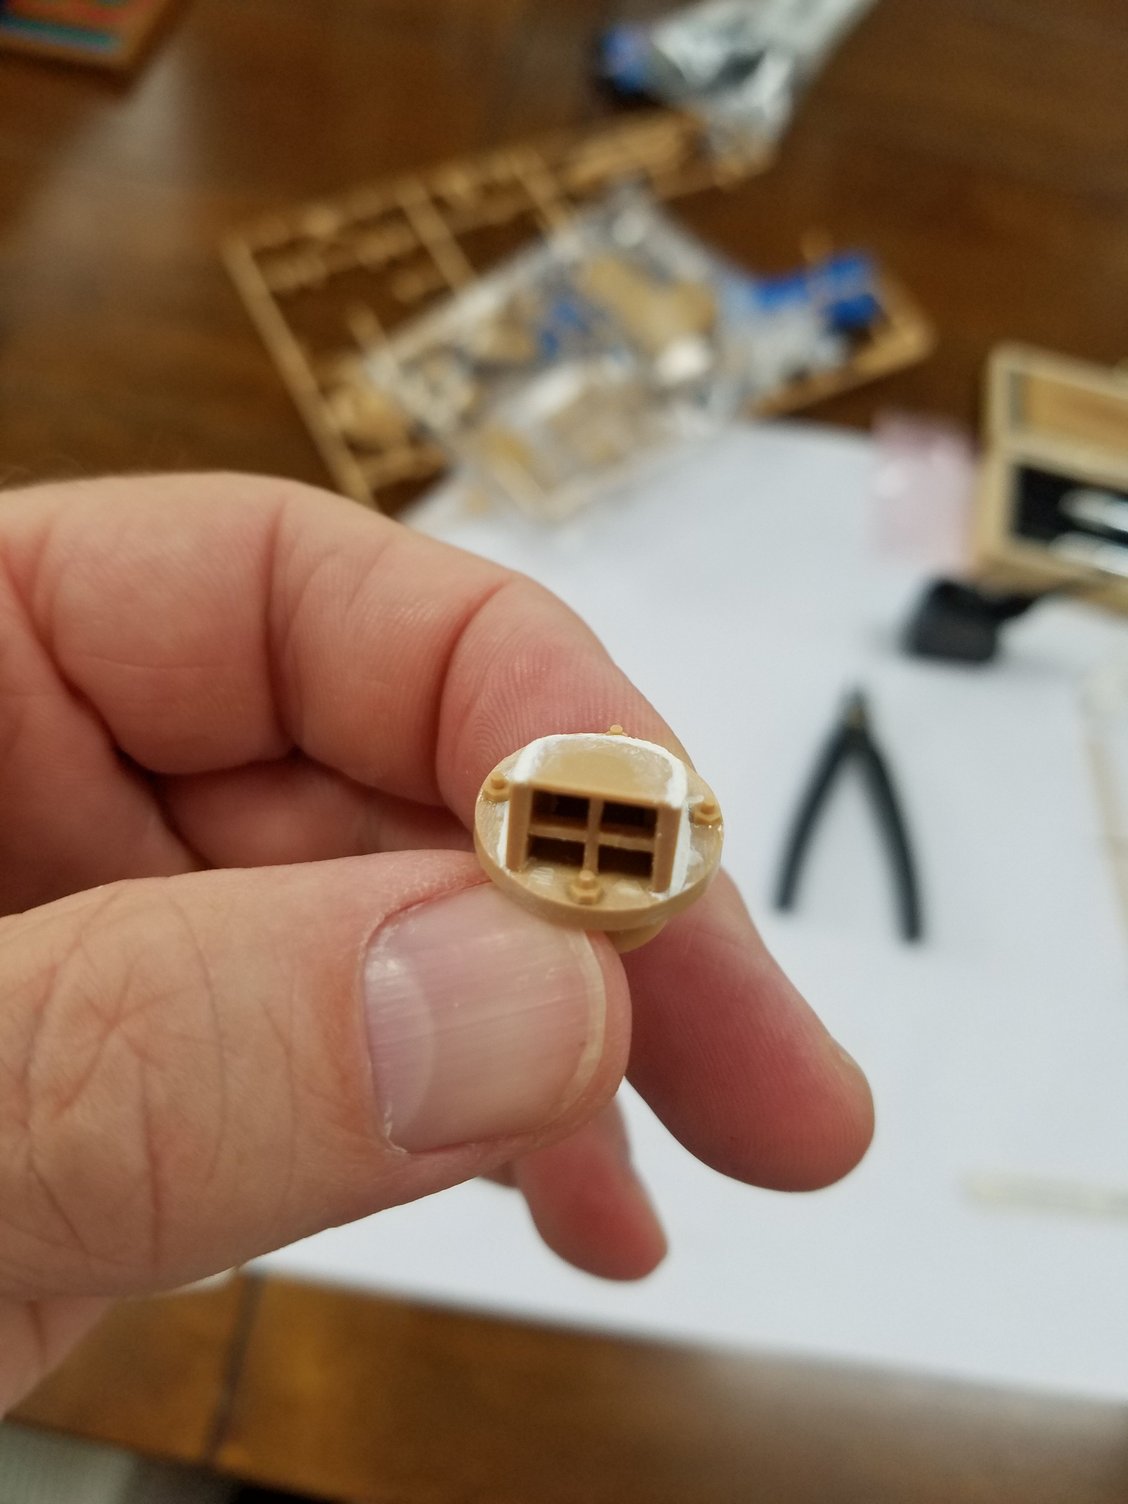
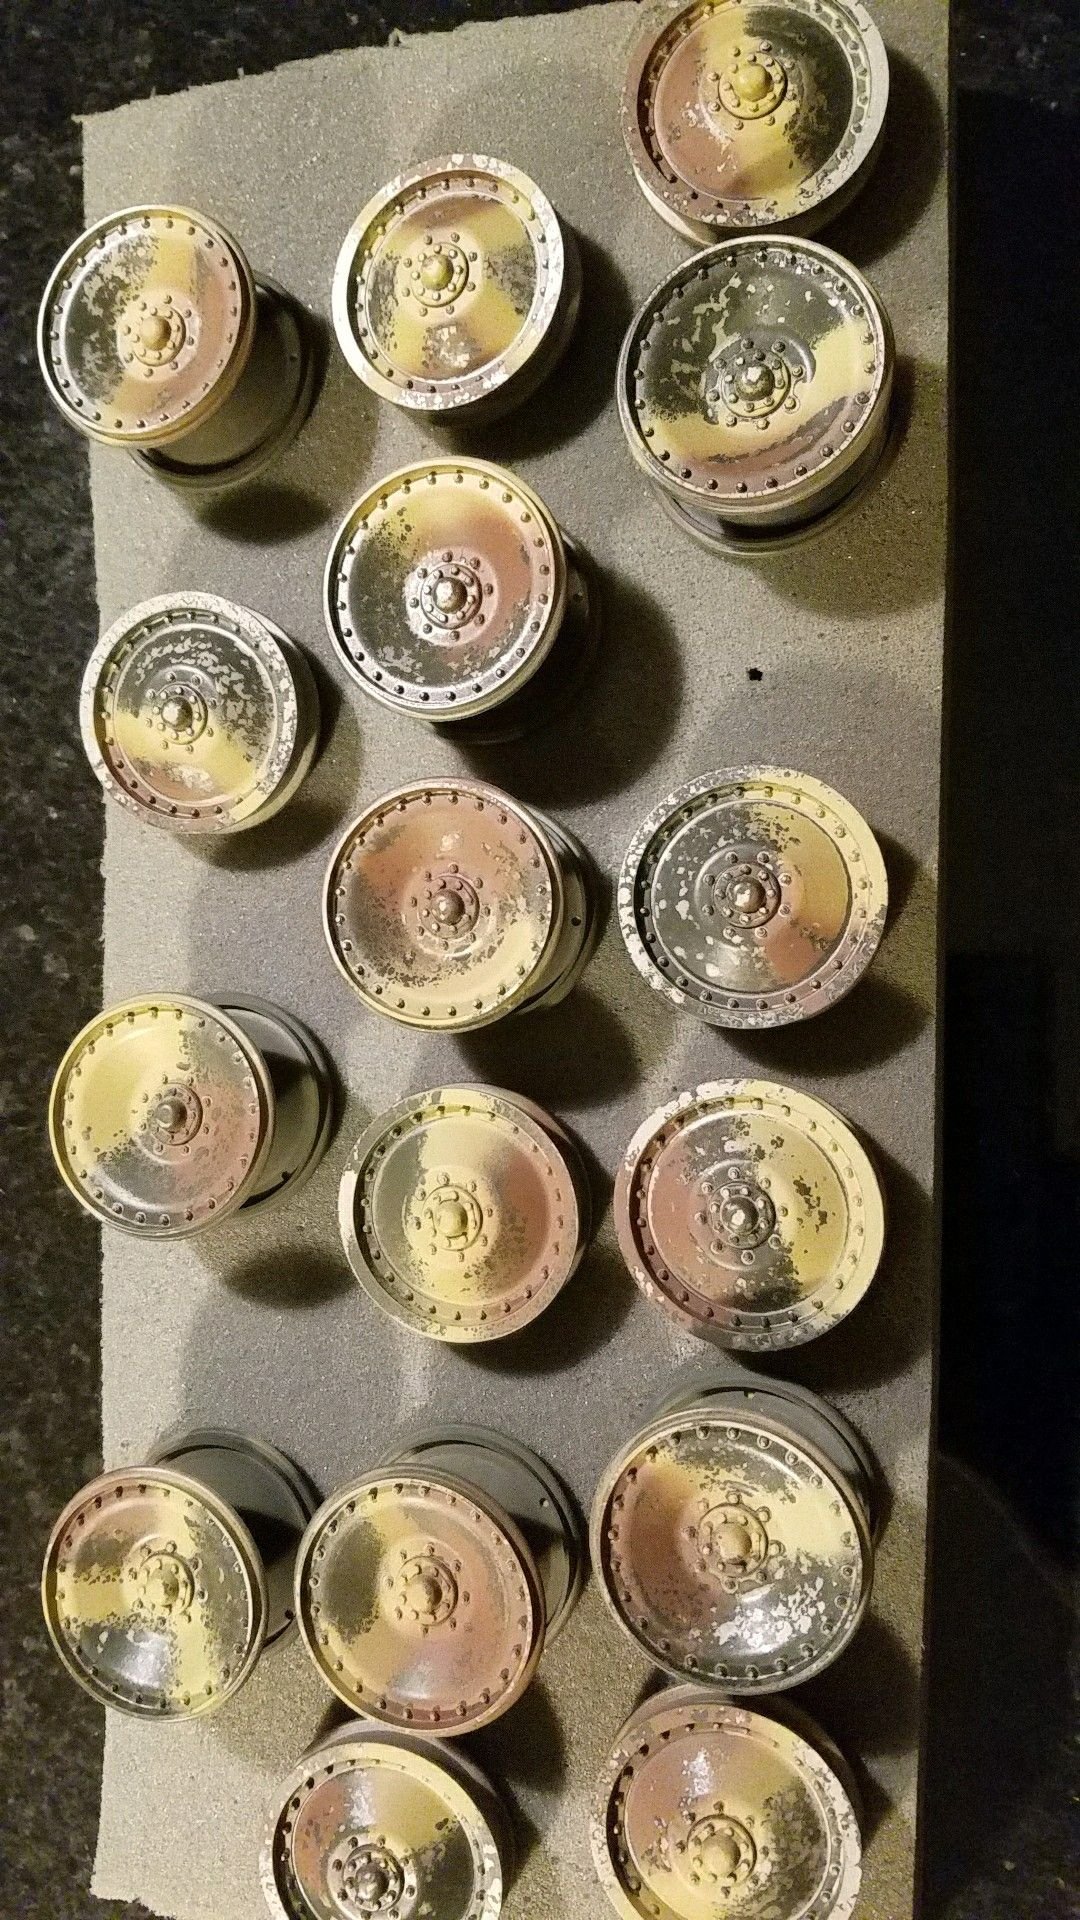
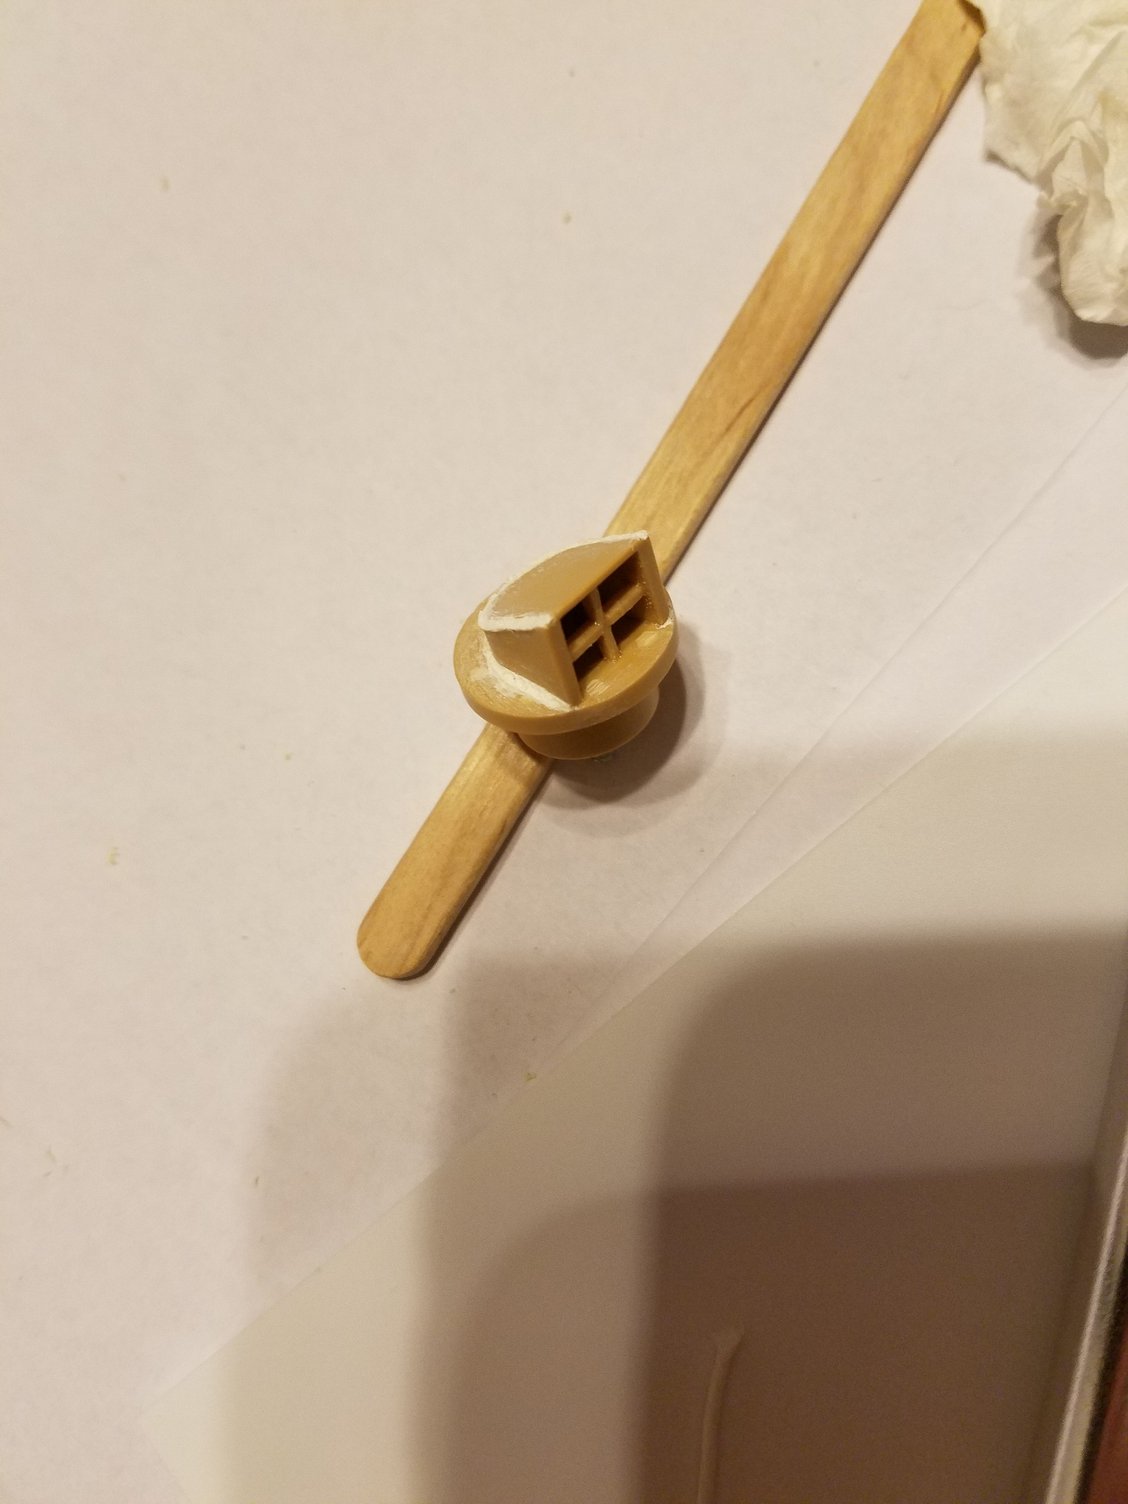
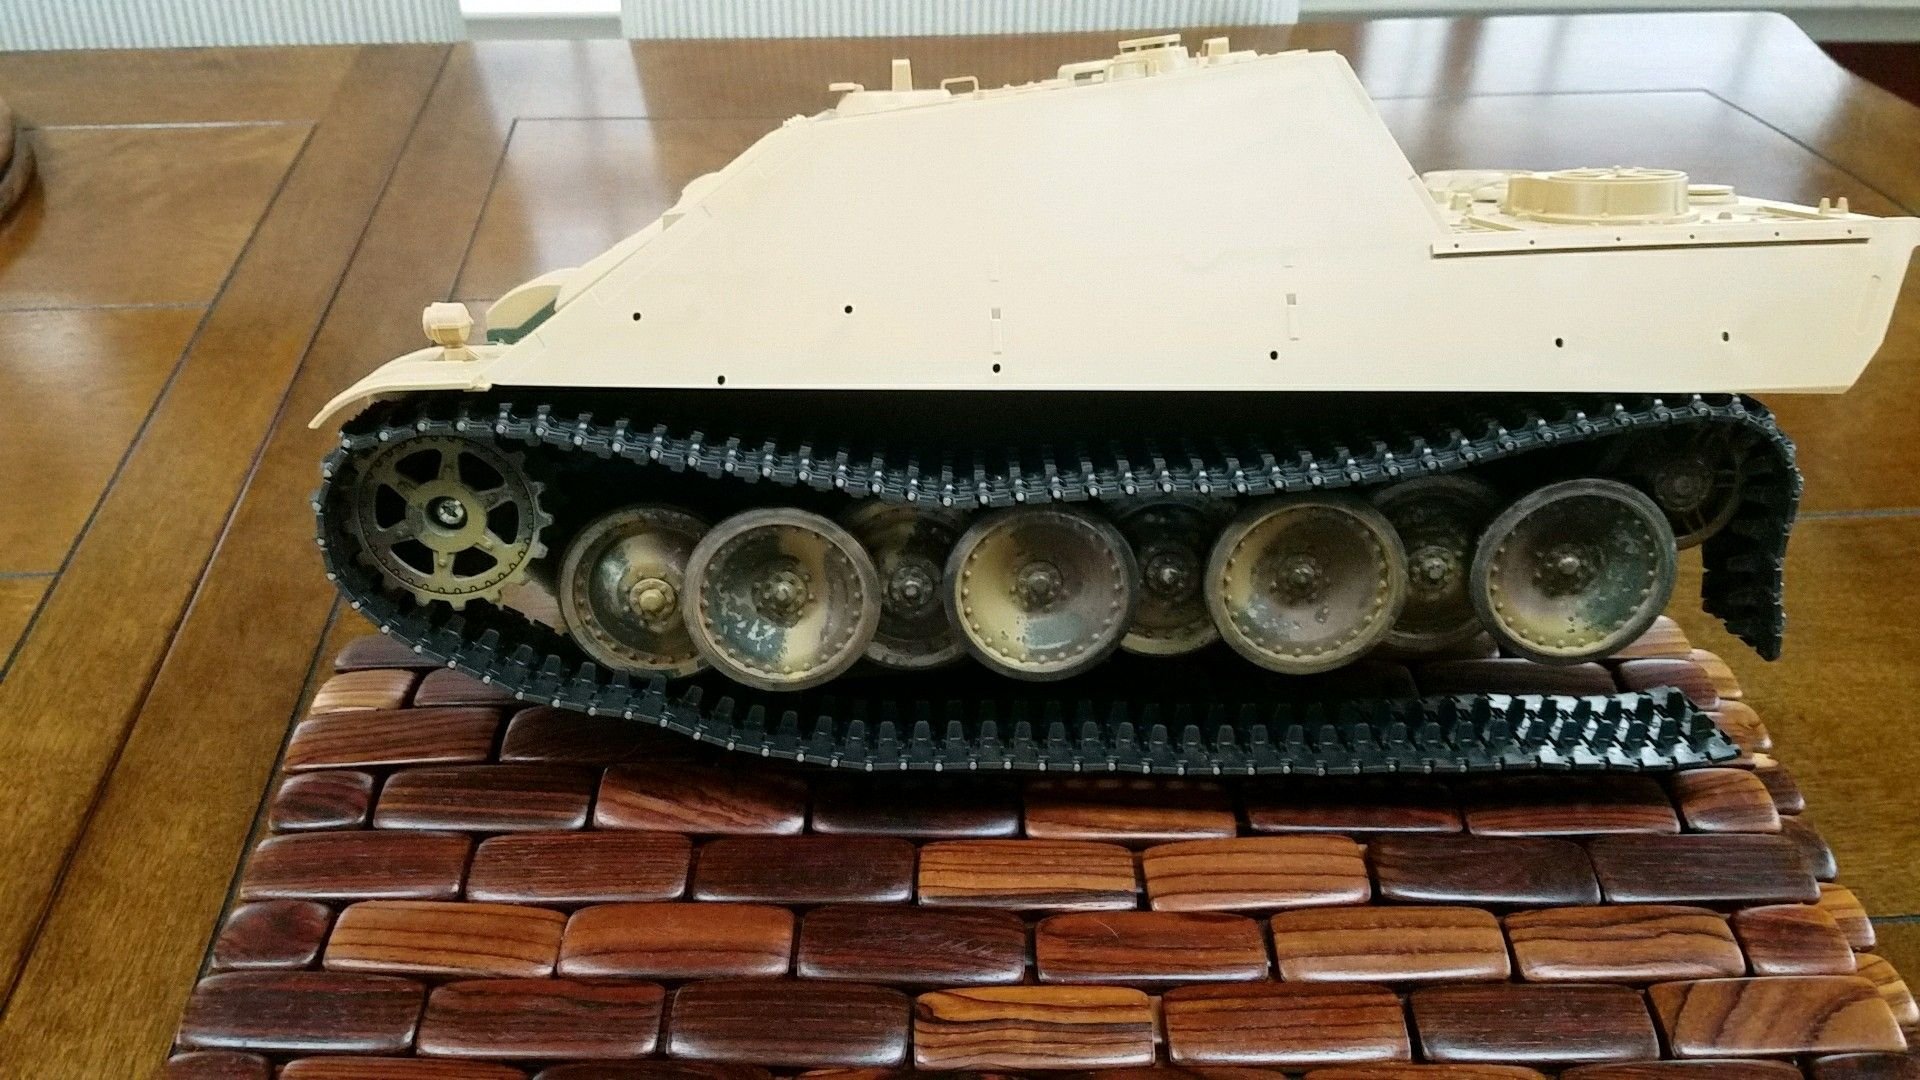
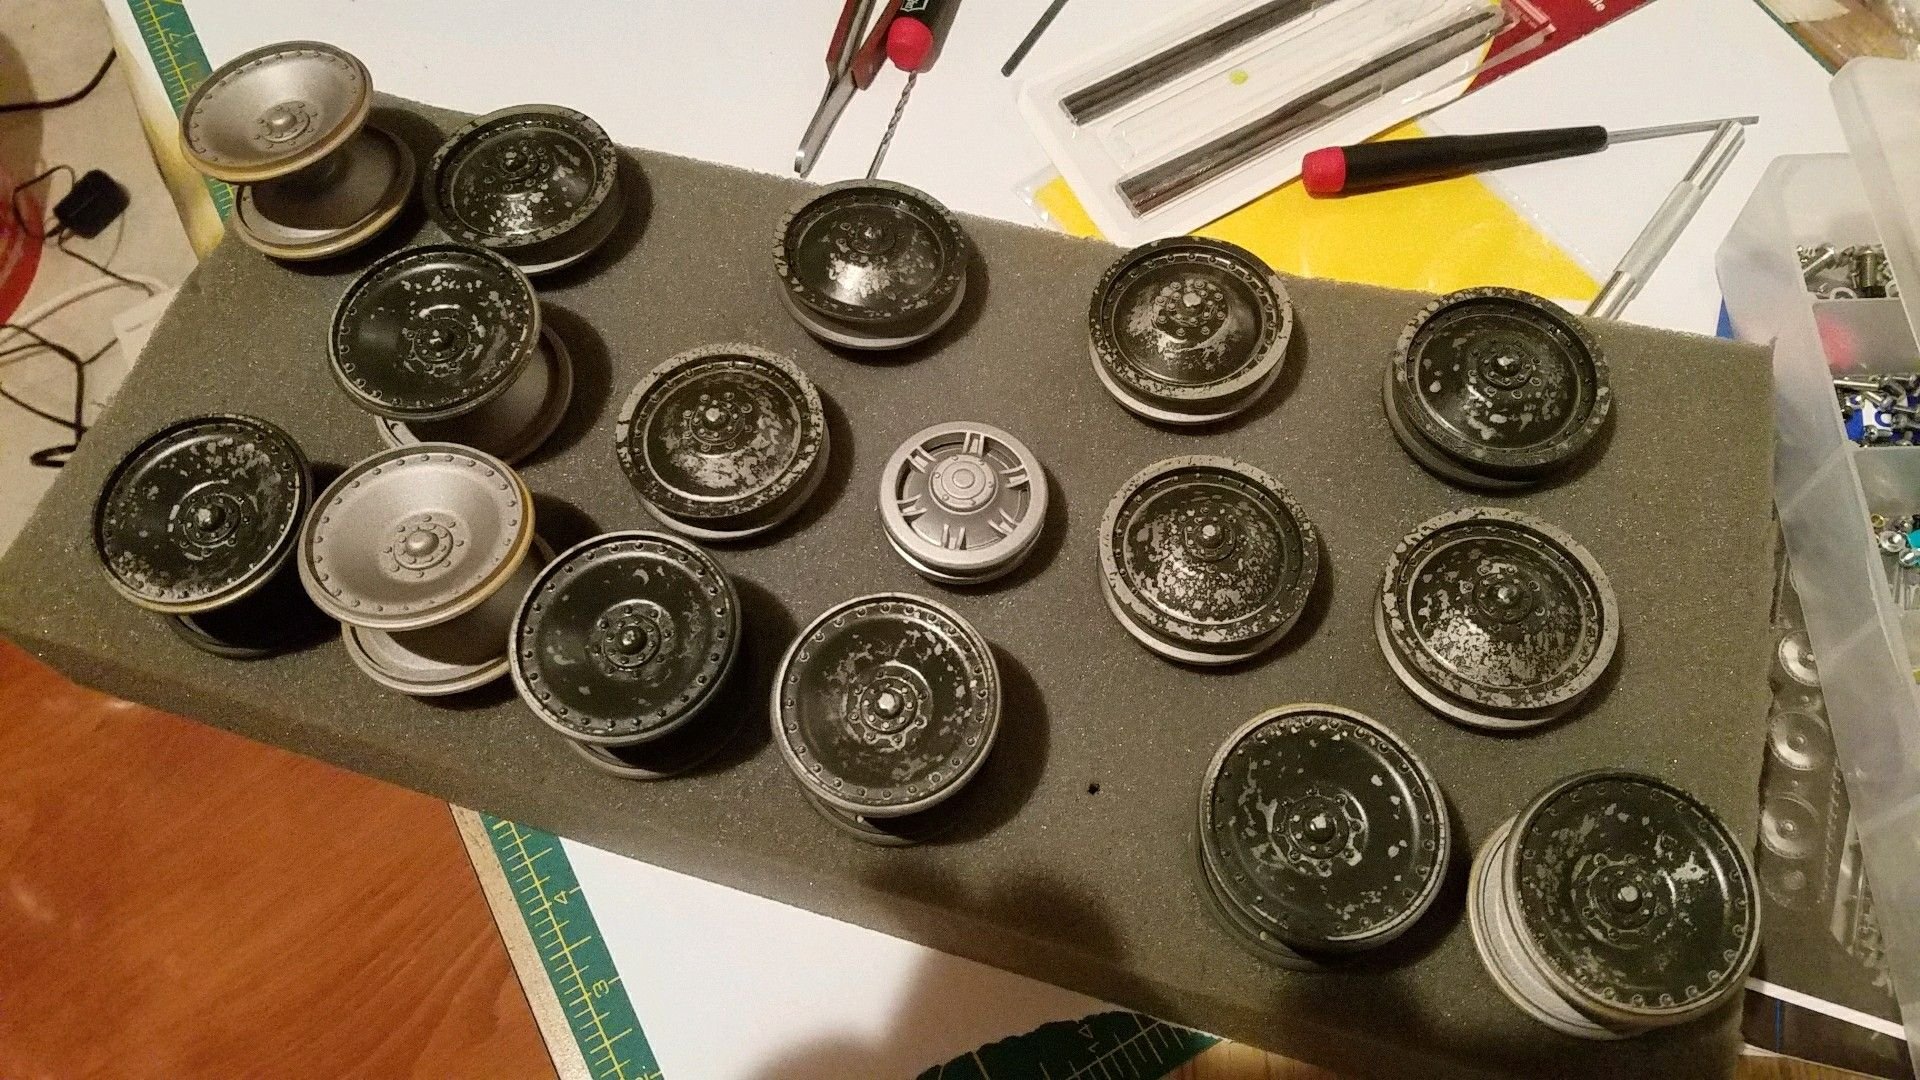
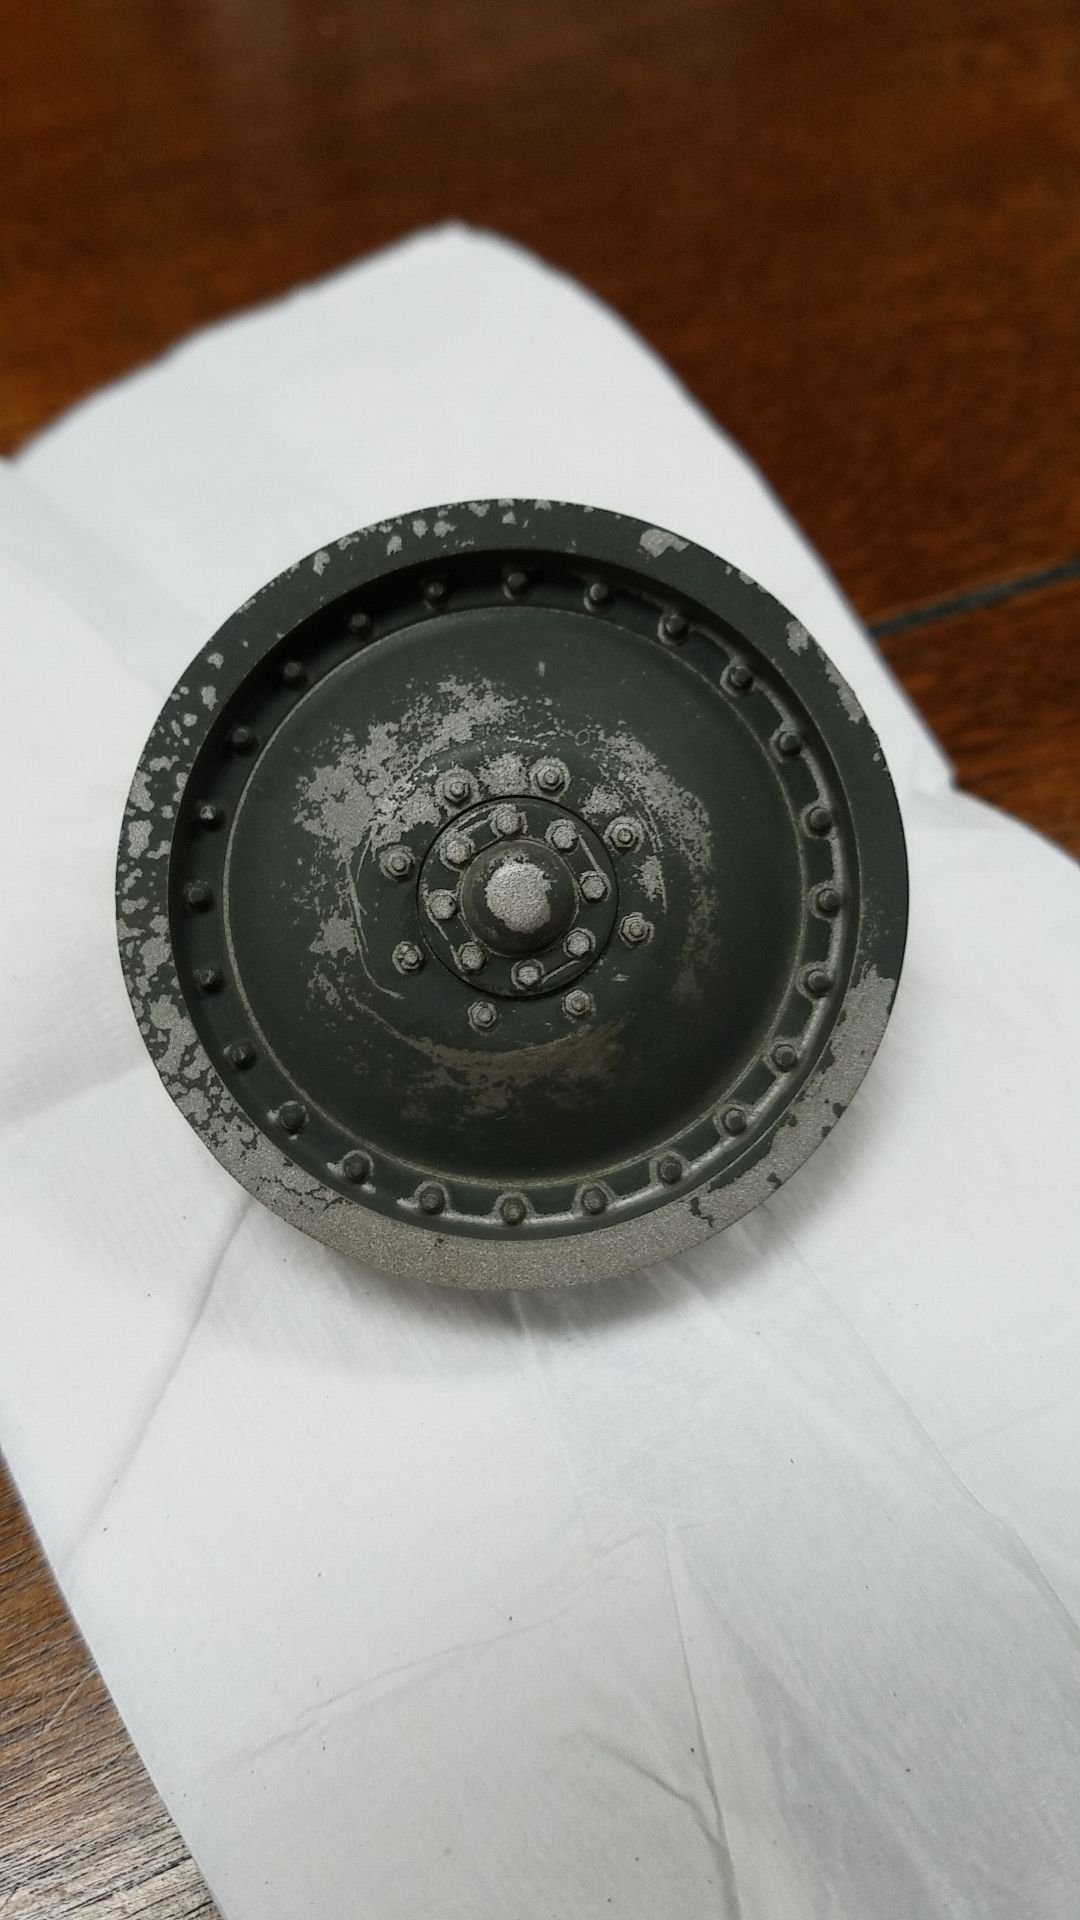
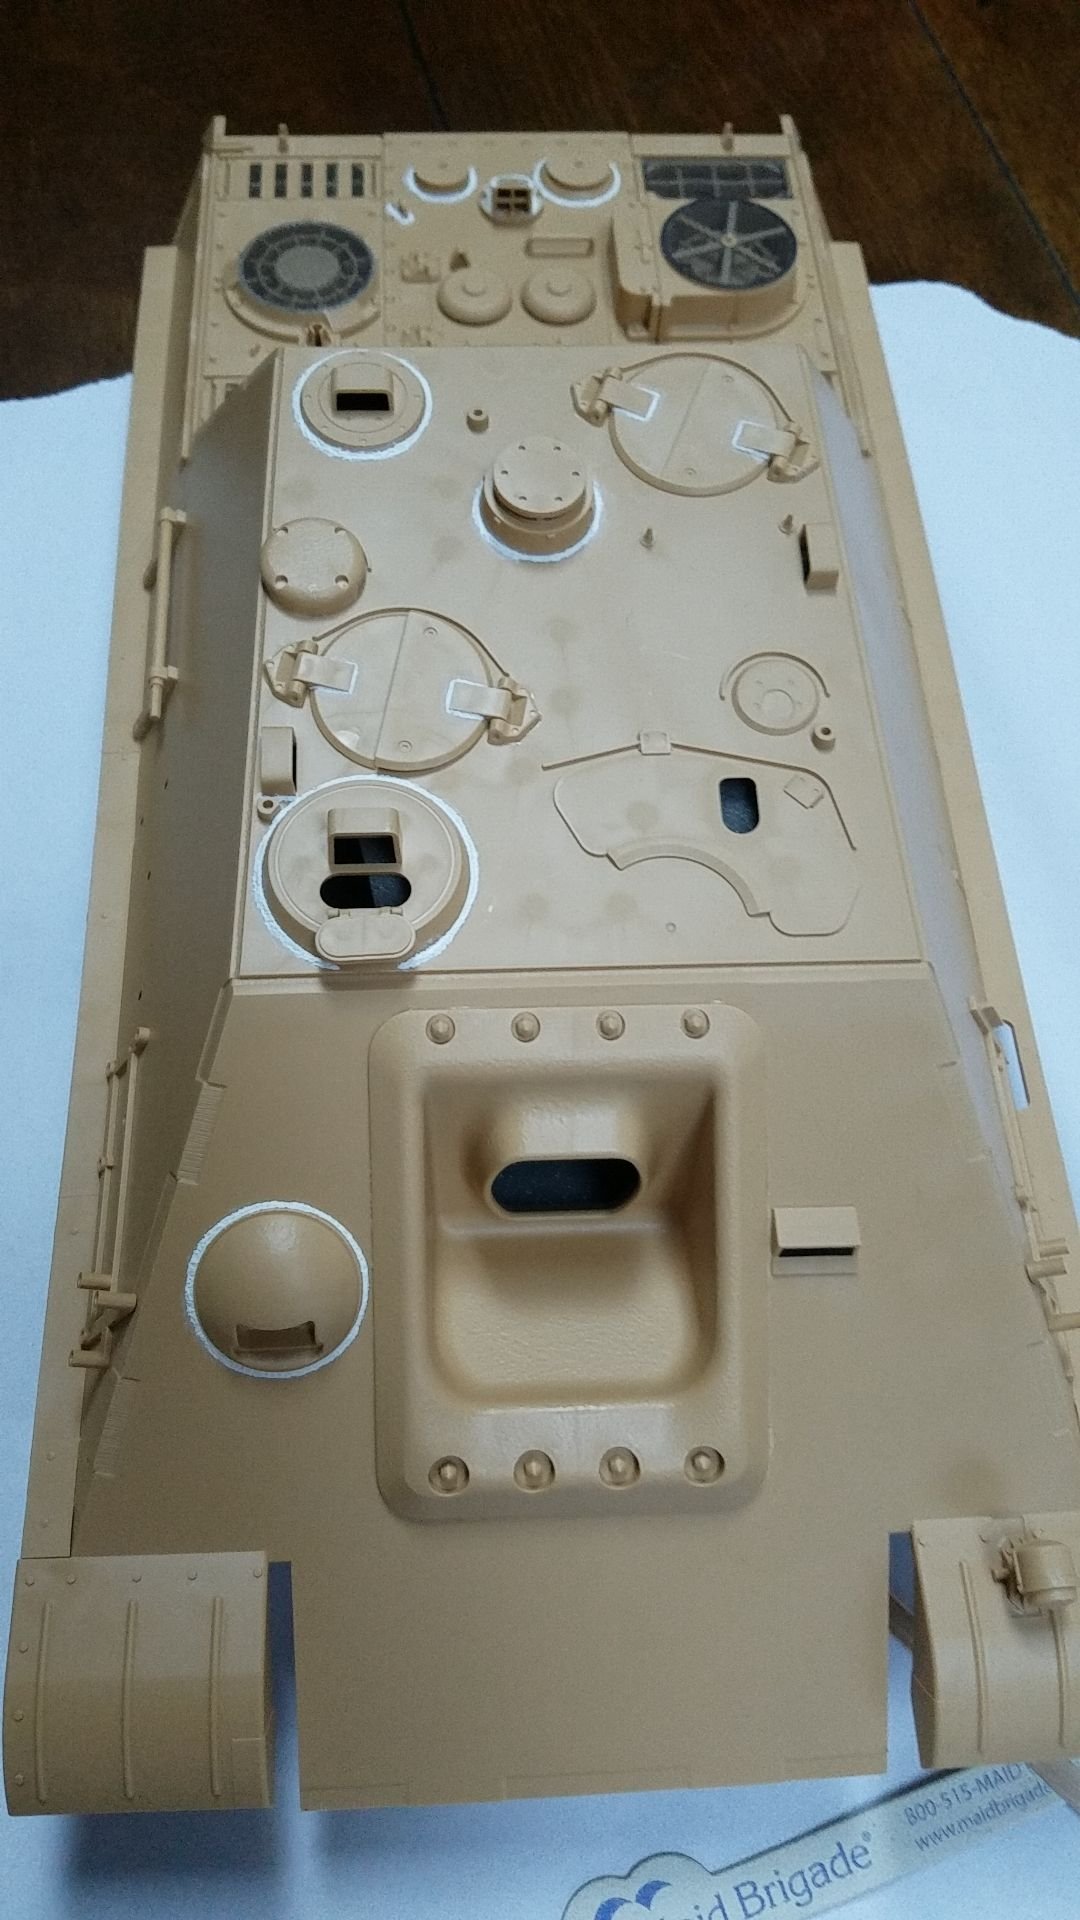
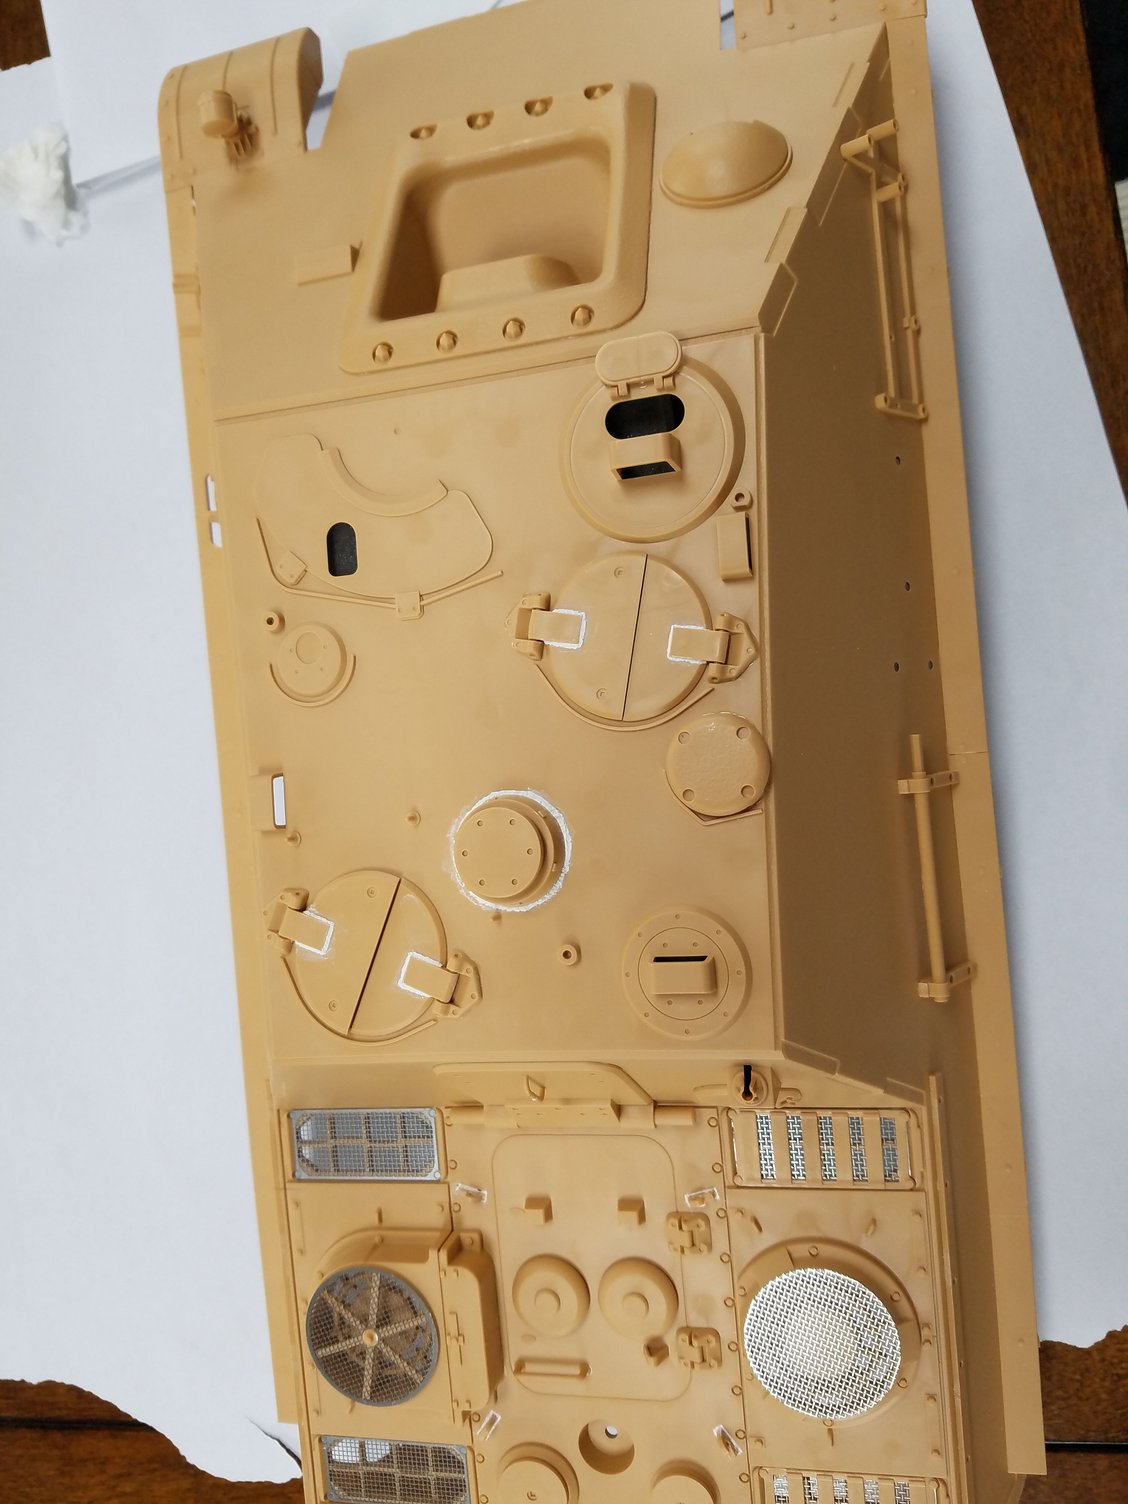
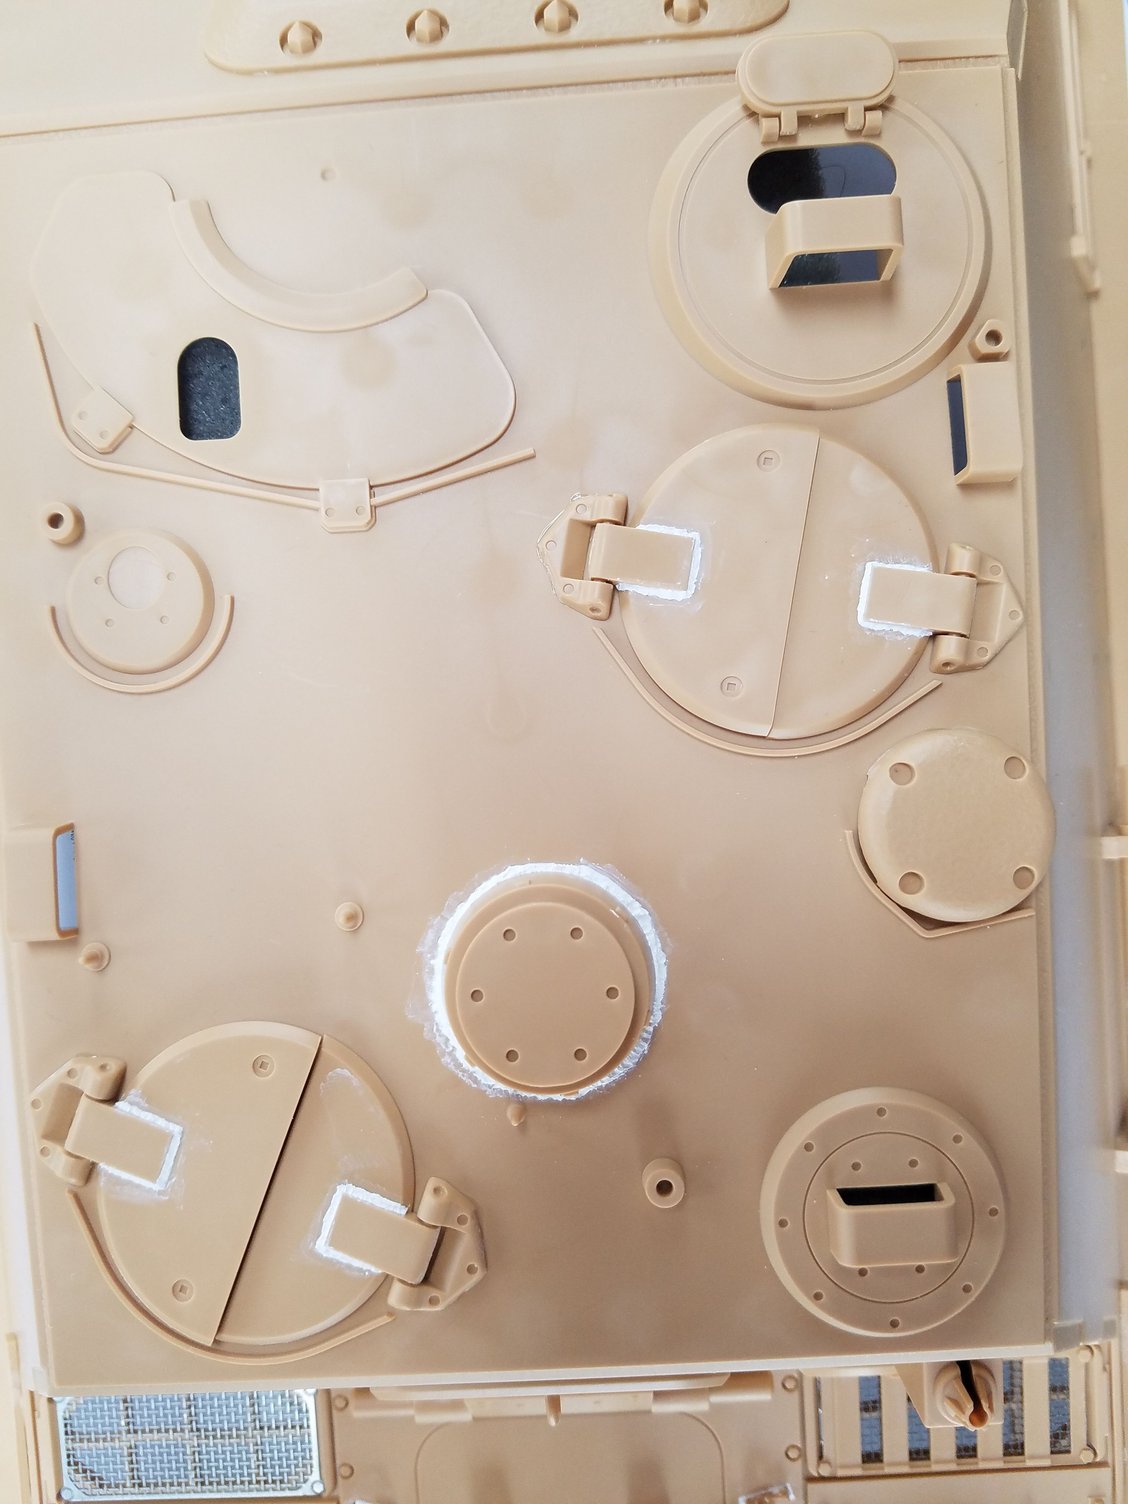
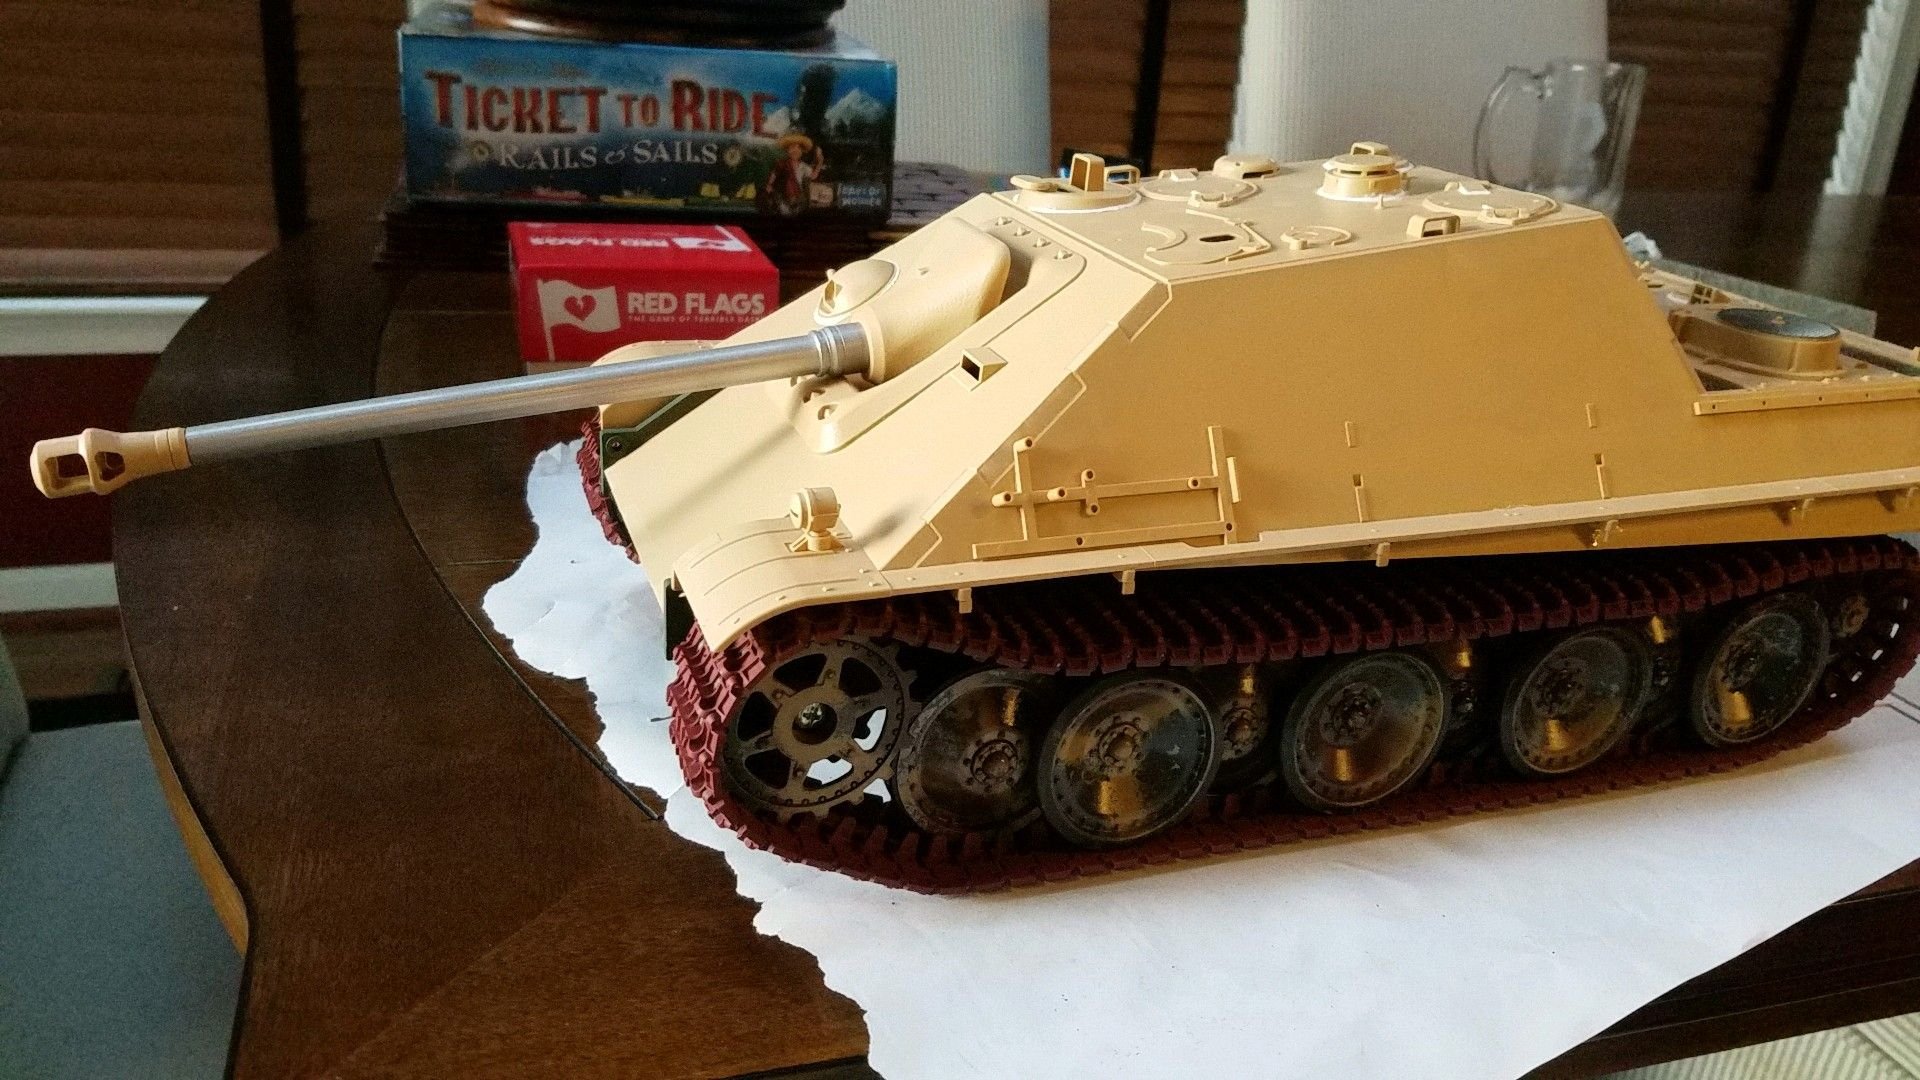
I purchased this kit from the AAF, when they announced Tamiya was discontinuing the kit. I have been watching videos on how to weather armor vehicles, and in particular Shane Smyth's videos on youtude, everything from adding texture, pin washes, dot filters, using oil base paints, using pigments and the like. His videos are why I'm trying my hand at weathering. Check his videos out on youtube, Shane Smyth from Ireland. So here are a few pics so far. Let me know what you guys think, Thanks.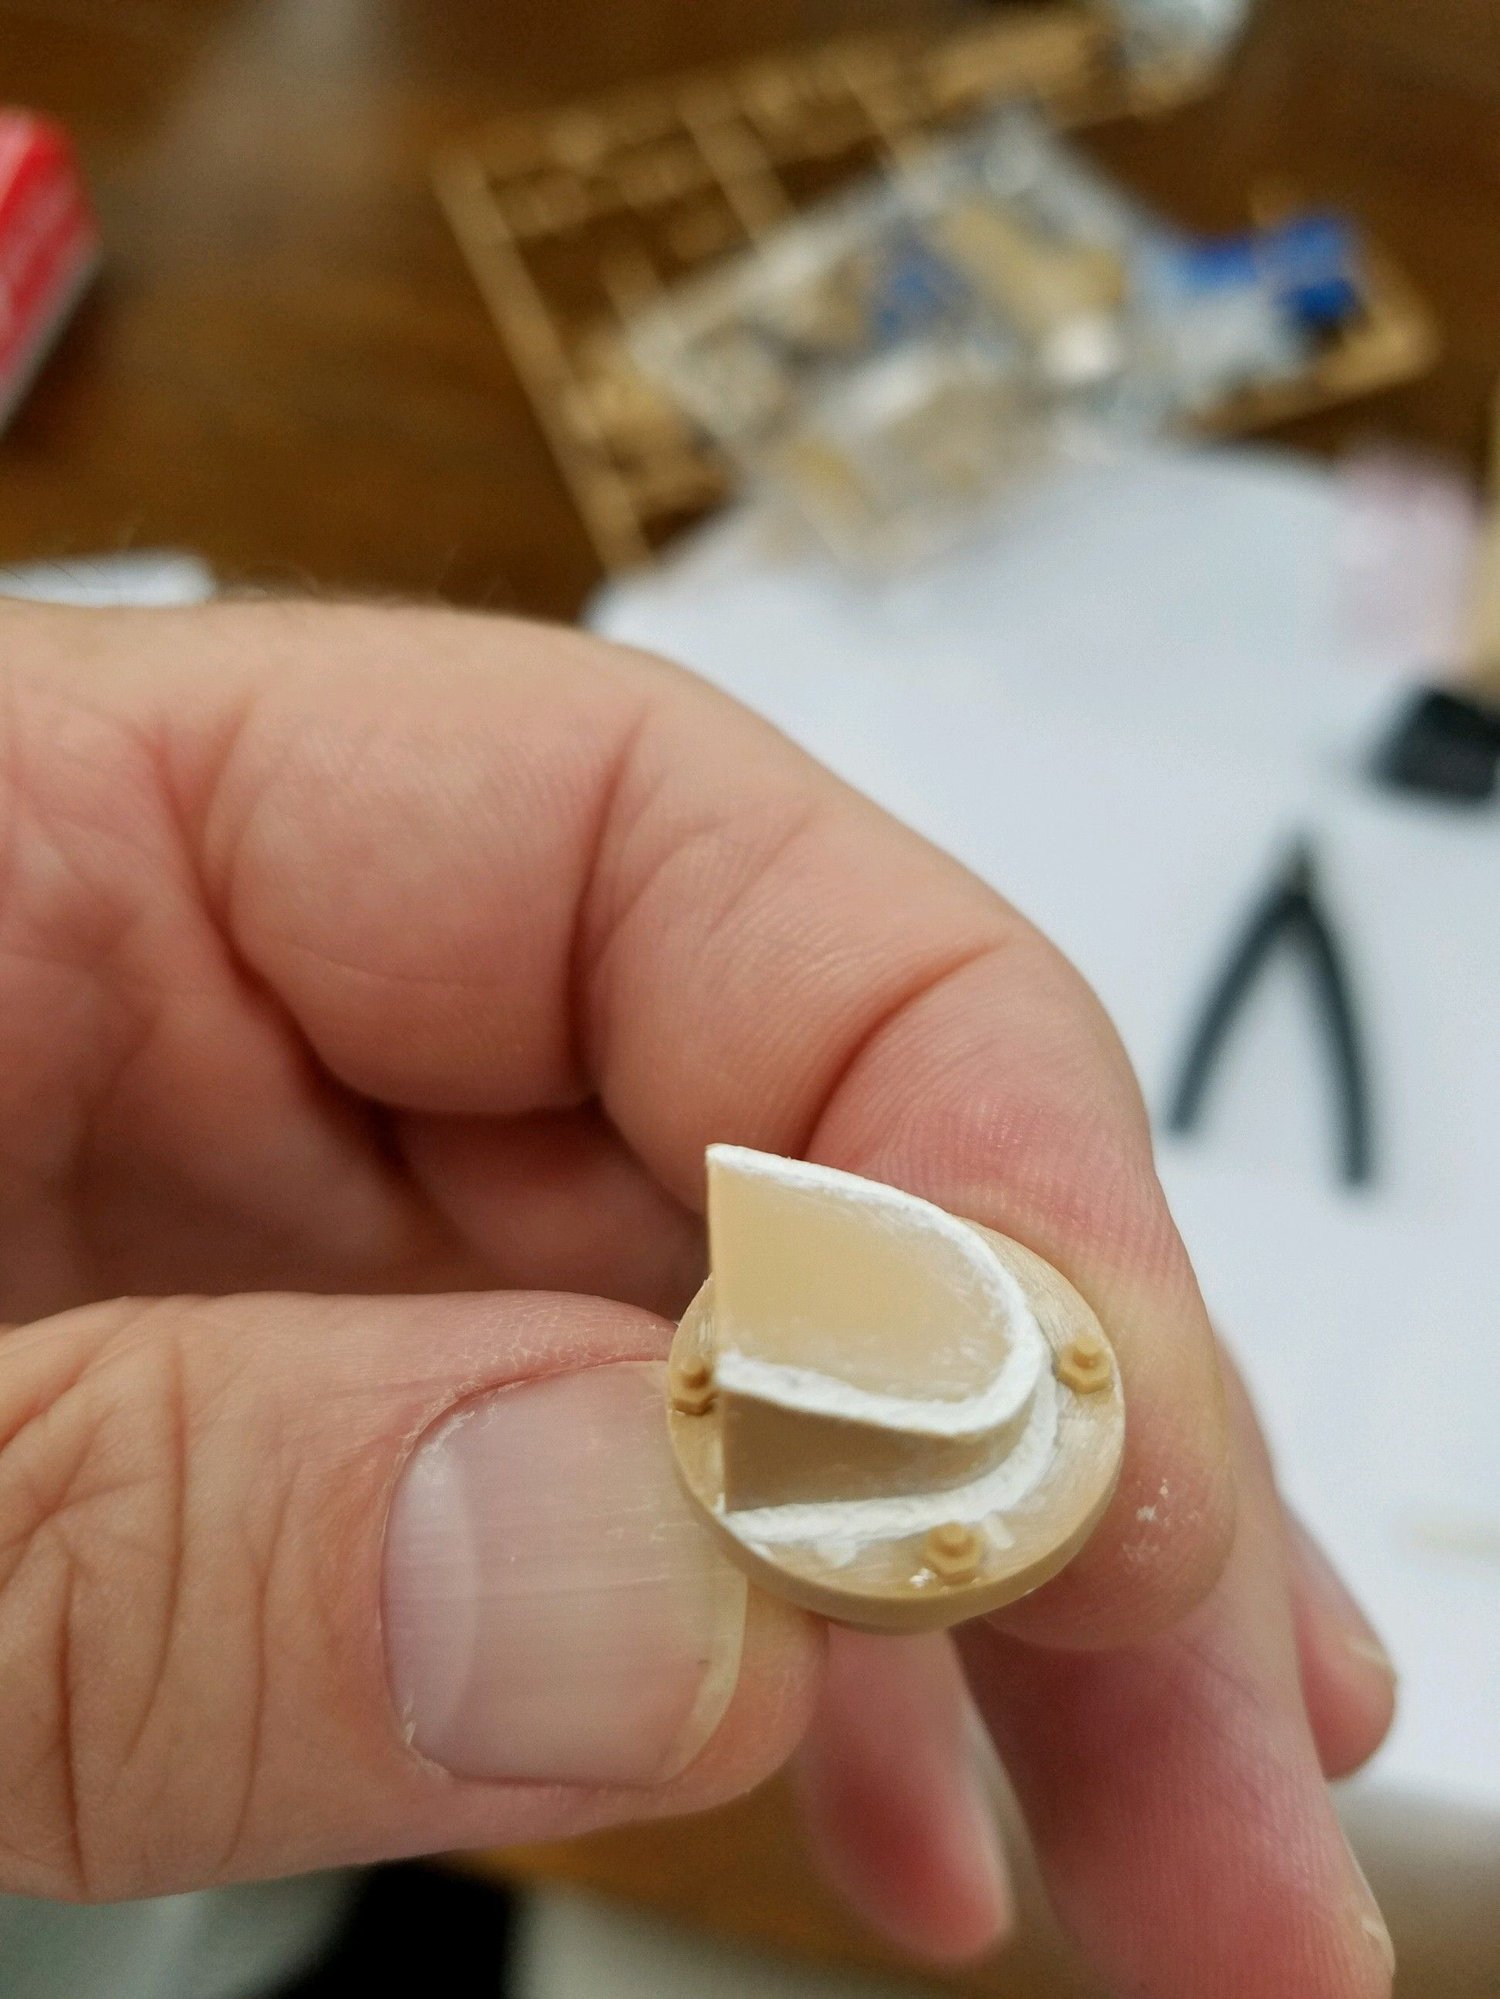


 07-12-2018 | 05:59 AM
#3


Very nice progress and pictures!
I wish I had your drive and enthusiasm... I'm still looking at my Mid Production Tamiya Jagdpanther on the bench.
I wish I had your drive and enthusiasm... I'm still looking at my Mid Production Tamiya Jagdpanther on the bench.
07-13-2018 | 05:56 AM
#4
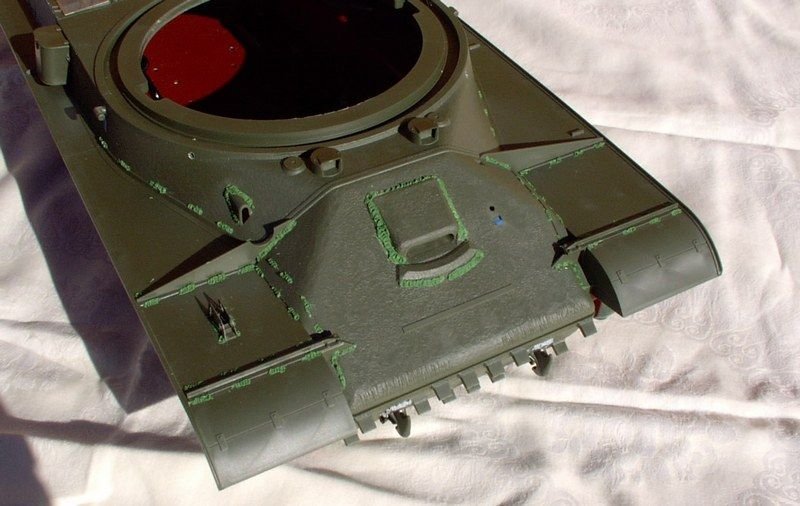
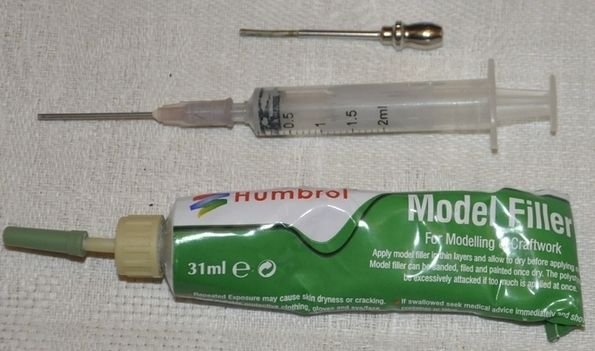


Photos of some of my work, the IS 2. Doing the welds is time consuming but well worth the effort, a lot of bang for the time. I also attached a photo of the tools I use for the welds. The large needle is a small horse needle, the end is rounded off and cut straight. The smaller one is a standard syringe with the end of the needle carefully ground straight. In addition to the Humbrol filler for welds, I've used Tamiya filler and Squadron filler. I've also been known to use a very fine straight blade screw driver to shape very small welds. Just dip the blade in water and the filler won't stick to it as you work. Always practice on scrap plastic before you start with the filler. After your first coat of paint, if any welds or parts of welds seem to stick out a bit, hit them with 700 or 800 grit paper, but gently, a little touch goes a long way. Also, allow the filler to set up at least overnight before handling.


