


Taigen Sherman: 3D print fix for no track tensioner?
 10-31-2020, 02:14 PM
#1

Thread Starter
Erik mentioned a while back a solution for track stretching on the Taigen Sherman which is unfortunately one of theirs without idler tension adjustment. It involves printing up plastic sleeves to slip over the idler, making it bigger- and taking up the slack. Has anyone done this? I don't have a printer...I'm guessing what is wanted is a hard plastic in black, 1.375" ID, wall thickness from 0.030" to 0.080" and a length of 0.5"
My math may be screwy on that, and I'm a newbie, so correct me here if I have something wrong. Very very very roughly, my guess is that 1/16" wall thickness buys you about half a link...based on nothing but paper napkin math.
Has anyone tried this solution?
My math may be screwy on that, and I'm a newbie, so correct me here if I have something wrong. Very very very roughly, my guess is that 1/16" wall thickness buys you about half a link...based on nothing but paper napkin math.
Has anyone tried this solution?
 11-01-2020, 10:00 AM
#2

I have run my taigen shermans to death. Well the first two any way. I have many. I just replaced the track. Just like you do on a tamiya sherman or even a tamiya abrams (which they say to do when you run out of adjustment and those are 250 bucks)
Track stretches, plain and simple..
I used Mato adjustable Idlers on a henglong sherman which is a plastic hull. On the taigen, you would need a dremmel with various attachments to be able to cut off and grind away the zinc chassis casting and then place the mato idler in place and drill and tap screw holes for it. I will have to do this eventually as their track keeps stretching out and I just cant afford to replace track like that. I will do a write up on it when I do go mad scientist on one and put an adjustable idler on it.
The major problem with taigen track is its heavy being all metal and having crappy cast metal soft pins. It should have hardened steel pins, that would solve alot of issues.
I really wish some company would come out with nice rubber or plastic chevron track to reaplce the crappy taigen sherman track. Or they would get their act in gear and make nice track. Having black metal track that wears to silver fast that is supposed to be rubber is just sad and pathetic. Its not much effort to make nice track like tamiya does.....
11-03-2020, 12:35 PM
#3
Thread Starter
It would be great to see a writeup on adding idler adjust.
I was thinking for now the duct tape-baling wire solution (or perhaps electrical pvc tape solution ). By sliding 3D printed sleeves over the Sherman idler wheel, with different O.D.s, track tension could be taken up until a full link can then be removed. I don't have a 3D printer, but it should be fairly easier to make up some, and experiment with how much fractional track lengths can be taken up with different thickness sleeves.
I was thinking for now the duct tape-baling wire solution (or perhaps electrical pvc tape solution
). By sliding 3D printed sleeves over the Sherman idler wheel, with different O.D.s, track tension could be taken up until a full link can then be removed. I don't have a 3D printer, but it should be fairly easier to make up some, and experiment with how much fractional track lengths can be taken up with different thickness sleeves.
11-07-2020, 06:30 PM
#5

I'd be interested in the installation of Mato tensioners to the Taigen Sherman as well. I'm already running the Mato tracks, and being able to properly tension them would be great.
11-08-2020, 07:44 AM
#6
Get a dremmel and start grinding. I will tell you its a lot of work.
I have cut up several taigen hulls to make them narrower to fit tamiya uppers or urethane uppers. Just cutting the edges of the wings off is a lot of work. I have used a dremmel and a band saw. Also, grinding off the engine door and exhuast ports on the rear is a huge job. Its a zinc material that doesnt grind well at all. It clogs up grinding wheels instantly and tears up the sanding wheels pretty quick so I use the reinforced cutting disc on edge and slowly cut away material instead of grinding. It takes forever. It would be really nice if Taigen did just buy mato idlers or come up with the same part.
I have cut up several taigen hulls to make them narrower to fit tamiya uppers or urethane uppers. Just cutting the edges of the wings off is a lot of work. I have used a dremmel and a band saw. Also, grinding off the engine door and exhuast ports on the rear is a huge job. Its a zinc material that doesnt grind well at all. It clogs up grinding wheels instantly and tears up the sanding wheels pretty quick so I use the reinforced cutting disc on edge and slowly cut away material instead of grinding. It takes forever. It would be really nice if Taigen did just buy mato idlers or come up with the same part.
11-09-2020, 02:41 PM
#7
Thread Starter
Right now, I have just a little slack in one track. Still runs fine. But I do want to pursue if anyone is willing to make up the 3D sleeves. It seems an easy quick fix to keep rolling.
???
???
03-06-2022, 02:56 PM
#8
I have run my taigen shermans to death. Well the first two any way. I have many. I just replaced the track. Just like you do on a tamiya sherman or even a tamiya abrams (which they say to do when you run out of adjustment and those are 250 bucks)
Track stretches, plain and simple..
I used Mato adjustable Idlers on a henglong sherman which is a plastic hull. On the taigen, you would need a dremmel with various attachments to be able to cut off and grind away the zinc chassis casting and then place the mato idler in place and drill and tap screw holes for it. I will have to do this eventually as their track keeps stretching out and I just cant afford to replace track like that. I will do a write up on it when I do go mad scientist on one and put an adjustable idler on it.
The major problem with taigen track is its heavy being all metal and having crappy cast metal soft pins. It should have hardened steel pins, that would solve alot of issues.
I really wish some company would come out with nice rubber or plastic chevron track to reaplce the crappy taigen sherman track. Or they would get their act in gear and make nice track. Having black metal track that wears to silver fast that is supposed to be rubber is just sad and pathetic. Its not much effort to make nice track like tamiya does.....
Track stretches, plain and simple..
I used Mato adjustable Idlers on a henglong sherman which is a plastic hull. On the taigen, you would need a dremmel with various attachments to be able to cut off and grind away the zinc chassis casting and then place the mato idler in place and drill and tap screw holes for it. I will have to do this eventually as their track keeps stretching out and I just cant afford to replace track like that. I will do a write up on it when I do go mad scientist on one and put an adjustable idler on it.
The major problem with taigen track is its heavy being all metal and having crappy cast metal soft pins. It should have hardened steel pins, that would solve alot of issues.
I really wish some company would come out with nice rubber or plastic chevron track to reaplce the crappy taigen sherman track. Or they would get their act in gear and make nice track. Having black metal track that wears to silver fast that is supposed to be rubber is just sad and pathetic. Its not much effort to make nice track like tamiya does.....

Found this thread while planning out my full metal Sherman build and figured I'd chime in.
Have you considered taking a set of plastic Heng Long T48 tracks, cutting the end connectors off to be left with just the pad, and using Mato end connectors?
Would certainly be a tedious repetitive job cutting ALL those end connectors (atleast it's plastic, so a bit easier) and then drilling the extra holes for the missing pin where the end connectors were molded on to make proper double-pin tracks.
But you get proper T48 chevrons (not quite rubber, but close enough I suppose) while having metal end connectors and guide horns for wear resistance when running with metal sprockets.
Would be nice if you could buy a bunch of Mato end connectors without pads so you're not paying the price of a full set of tracks just to scrap most of it. An email to Mato might work to get you a bag of connectors for cheap.
03-06-2022, 03:23 PM
#9
Arise, dead thread, ARISE!!
Found this thread while planning out my full metal Sherman build and figured I'd chime in.
Have you considered taking a set of plastic Heng Long T48 tracks, cutting the end connectors off to be left with just the pad, and using Mato end connectors?
Would certainly be a tedious repetitive job cutting ALL those end connectors (atleast it's plastic, so a bit easier) and then drilling the extra holes for the missing pin where the end connectors were molded on to make proper double-pin tracks.
But you get proper T48 chevrons (not quite rubber, but close enough I suppose) while having metal end connectors and guide horns for wear resistance when running with metal sprockets.
Would be nice if you could buy a bunch of Mato end connectors without pads so you're not paying the price of a full set of tracks just to scrap most of it. An email to Mato might work to get you a bag of connectors for cheap.
03-06-2022, 04:31 PM
#10
Only concern is how those plastic pads will hold up with the weight and stress of a full metal tank.
 The metal end connectors should take most of the beating from the sprocket, but stretch in the plastic pads might still be a concern. Guess we'll find out.
03-07-2022, 10:47 AM
The metal end connectors should take most of the beating from the sprocket, but stretch in the plastic pads might still be a concern. Guess we'll find out.
03-07-2022, 10:47 AM
#11

Get a dremmel and start grinding. I will tell you its a lot of work.
I have cut up several taigen hulls to make them narrower to fit tamiya uppers or urethane uppers. Just cutting the edges of the wings off is a lot of work. I have used a dremmel and a band saw. Also, grinding off the engine door and exhuast ports on the rear is a huge job. Its a zinc material that doesnt grind well at all. It clogs up grinding wheels instantly and tears up the sanding wheels pretty quick so I use the reinforced cutting disc on edge and slowly cut away material instead of grinding. It takes forever. It would be really nice if Taigen did just buy mato idlers or come up with the same part.
I have cut up several taigen hulls to make them narrower to fit tamiya uppers or urethane uppers. Just cutting the edges of the wings off is a lot of work. I have used a dremmel and a band saw. Also, grinding off the engine door and exhuast ports on the rear is a huge job. Its a zinc material that doesnt grind well at all. It clogs up grinding wheels instantly and tears up the sanding wheels pretty quick so I use the reinforced cutting disc on edge and slowly cut away material instead of grinding. It takes forever. It would be really nice if Taigen did just buy mato idlers or come up with the same part.
03-07-2022, 05:11 PM
#12
Maybe this for cutting the metal would work. Especially if you're just trying to shave stuff off of a flat surface.
https://www.harborfreight.com/electr...EaAvCzEALw_wcB
I remember cutting some airsoft gas pistol magazines in half for a project. Made of similar material. I was amazed how quick a wood blade on a circular saw cut through them. Like butter.
https://www.harborfreight.com/electr...EaAvCzEALw_wcB
I remember cutting some airsoft gas pistol magazines in half for a project. Made of similar material. I was amazed how quick a wood blade on a circular saw cut through them. Like butter.
03-07-2022, 06:26 PM
#13
Senior Member

Join Date: Jan 2008
Location: Abbotsford,
BC, CANADA
Posts: 342
Likes: 0
Received 3 Likes
on
3 Posts
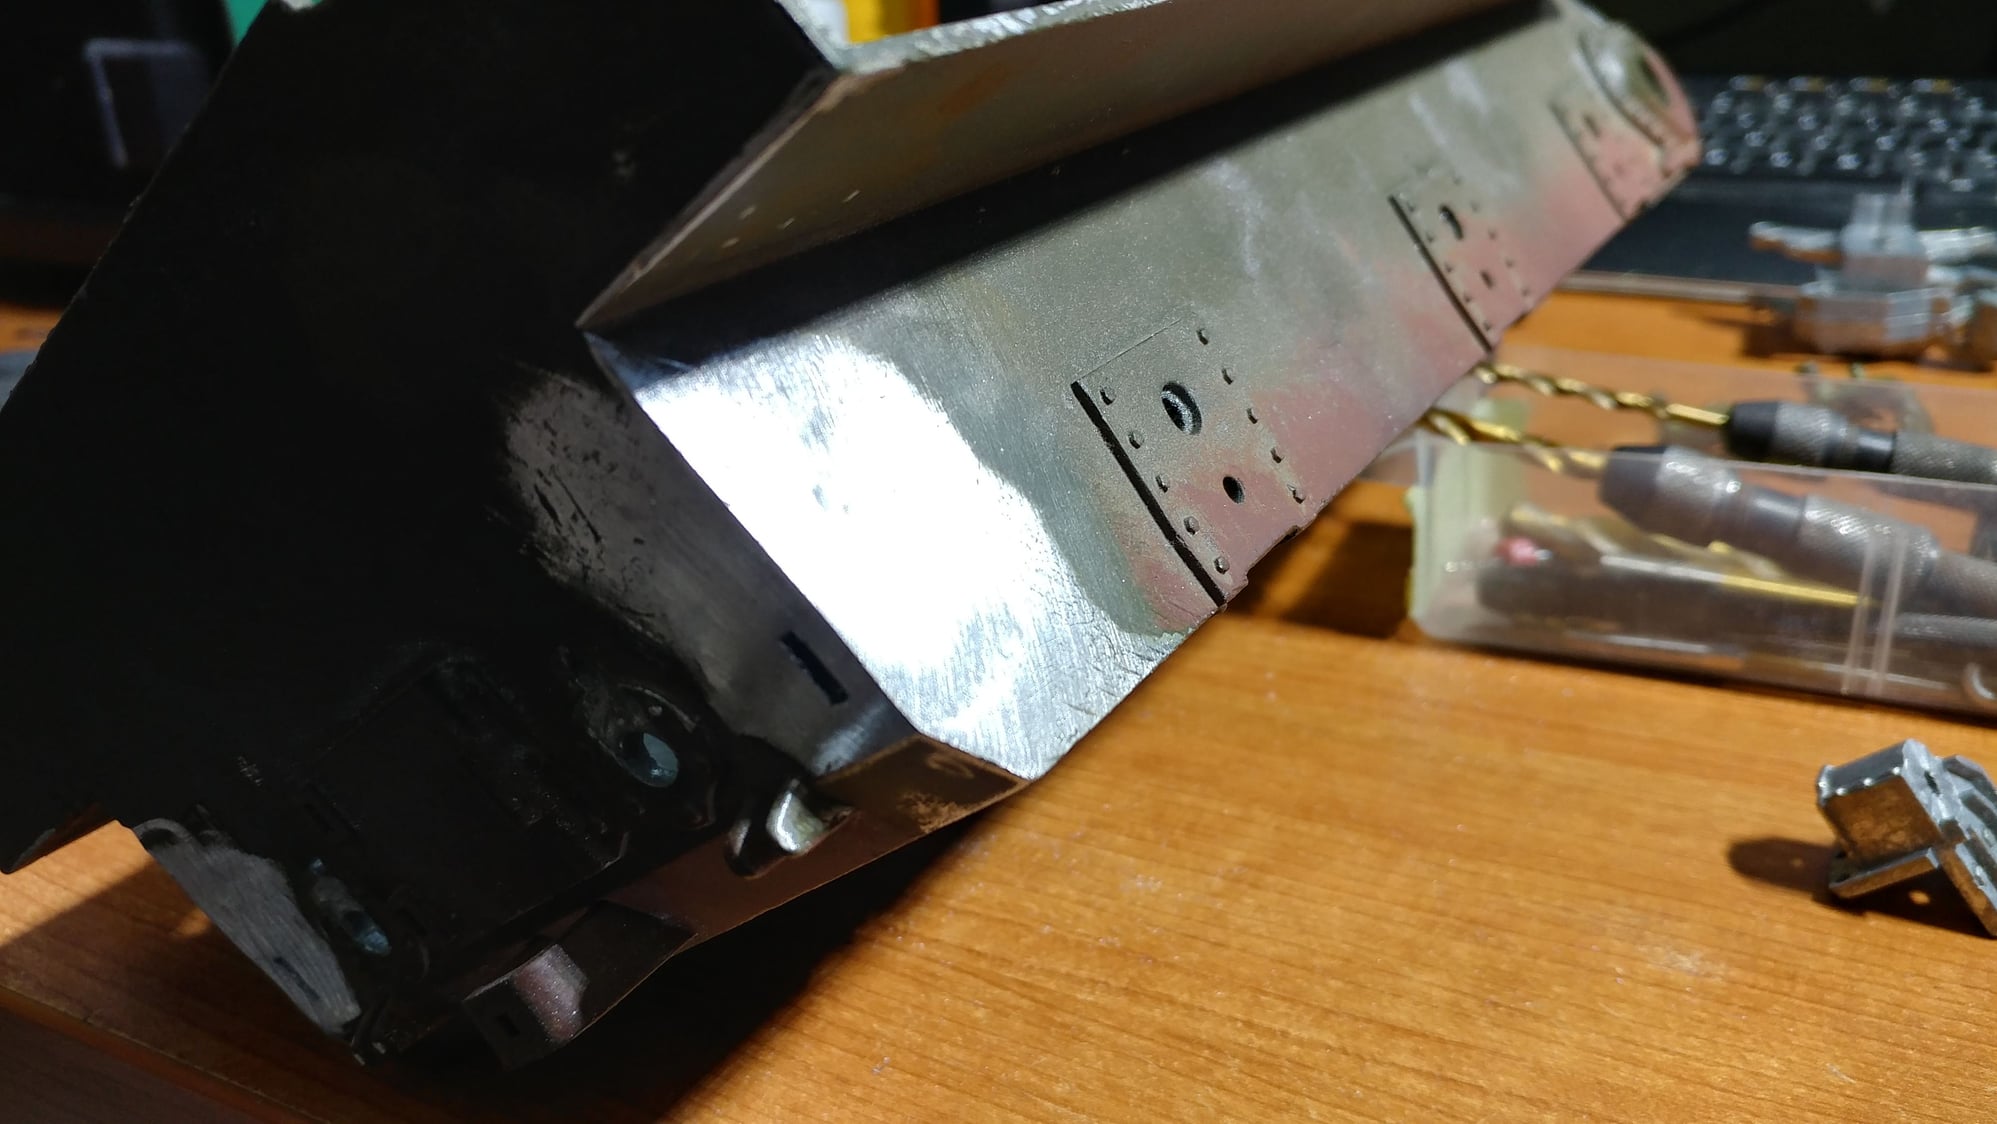
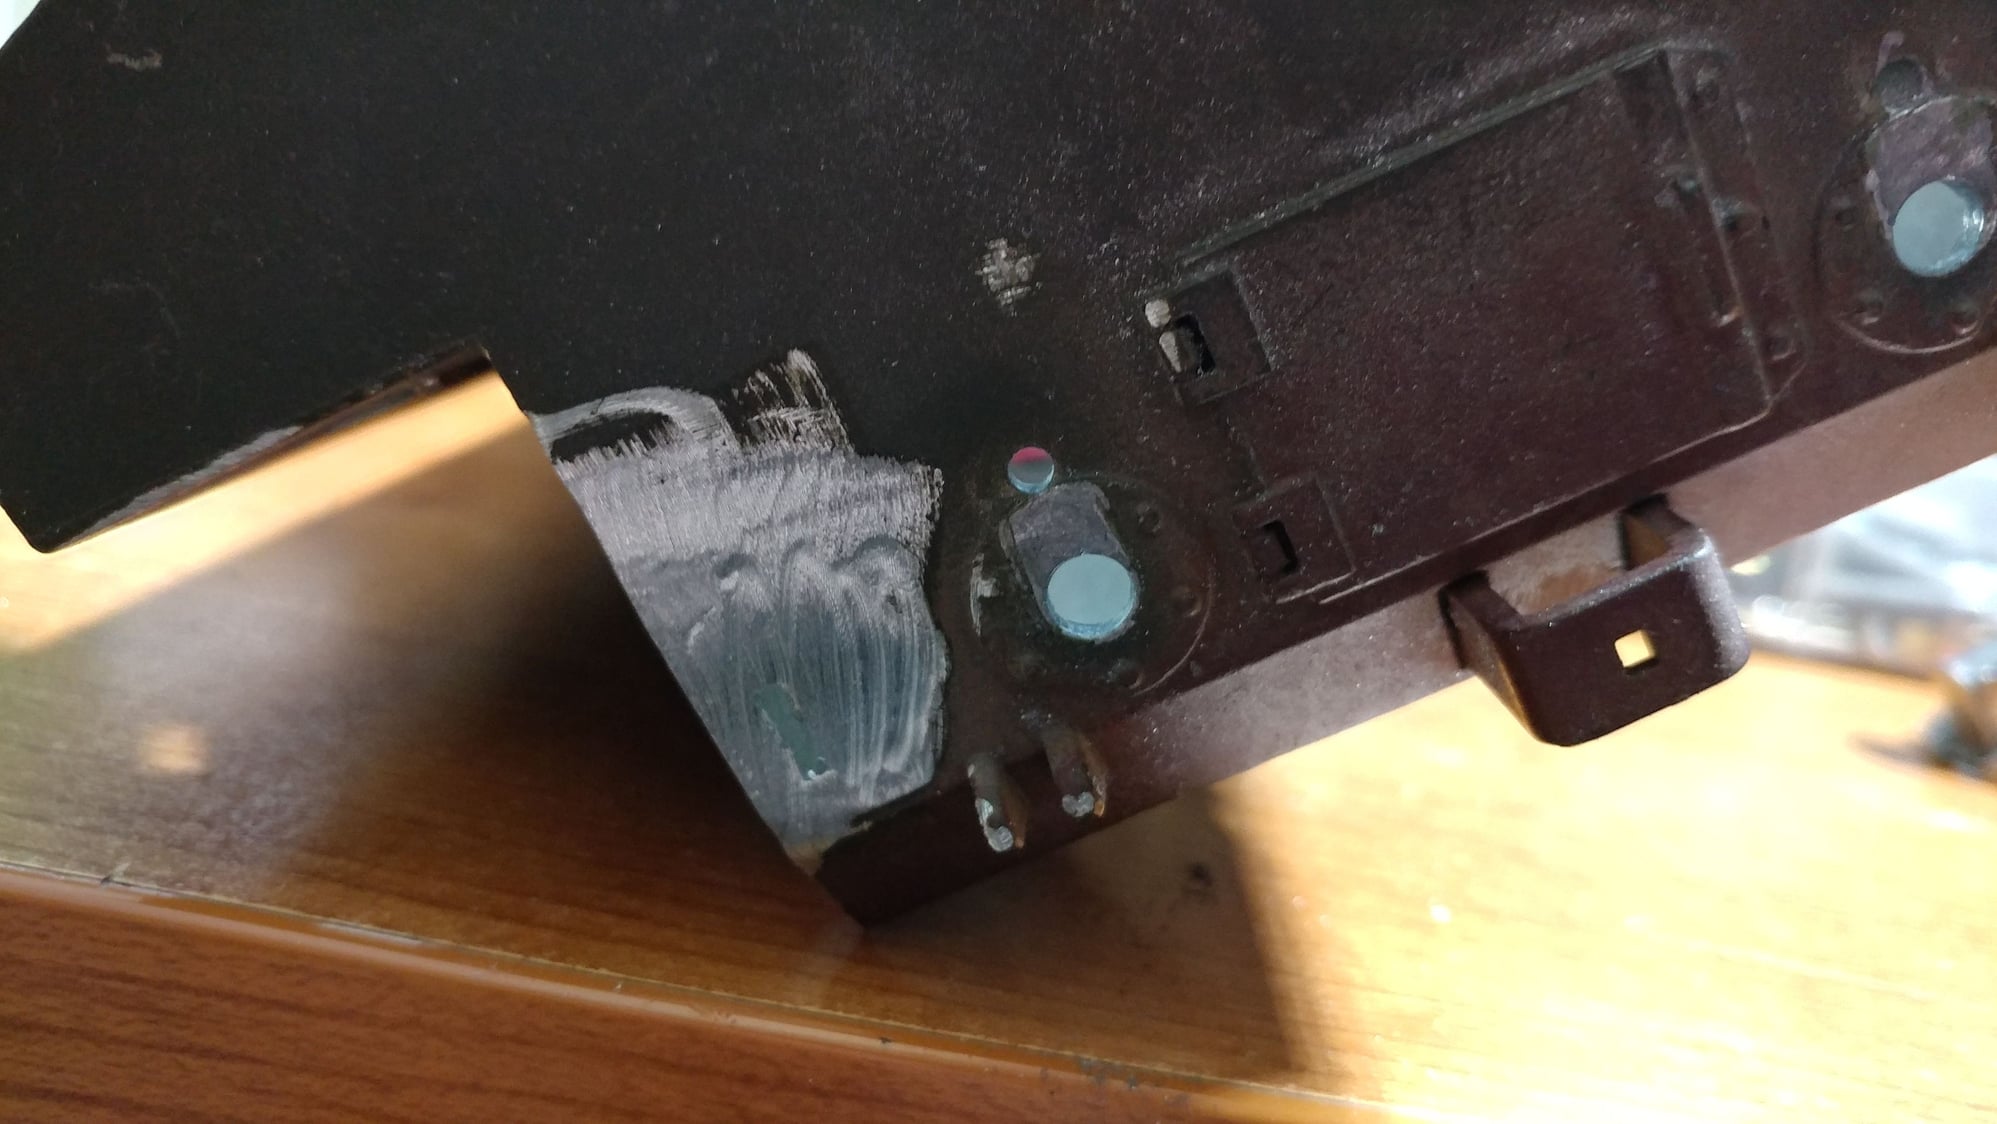
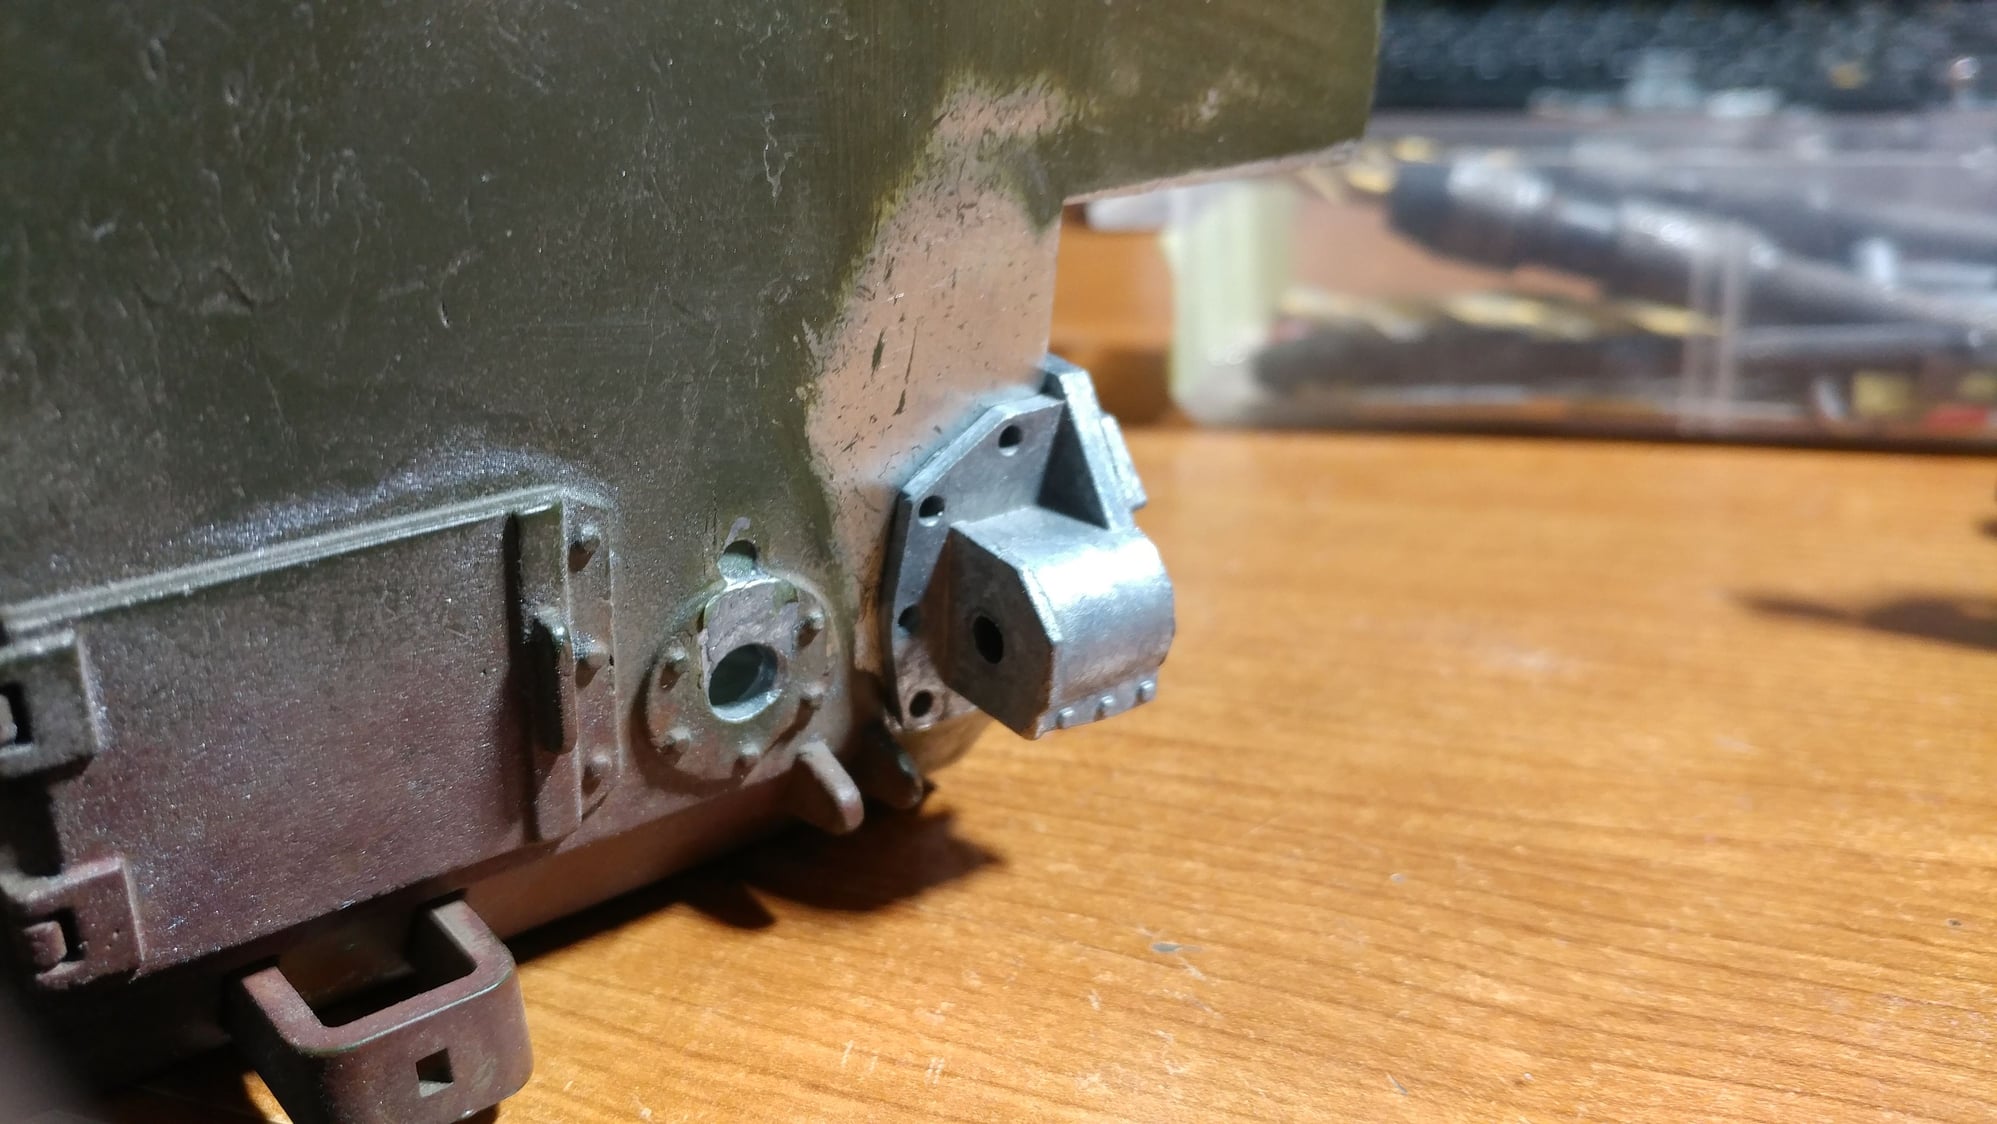
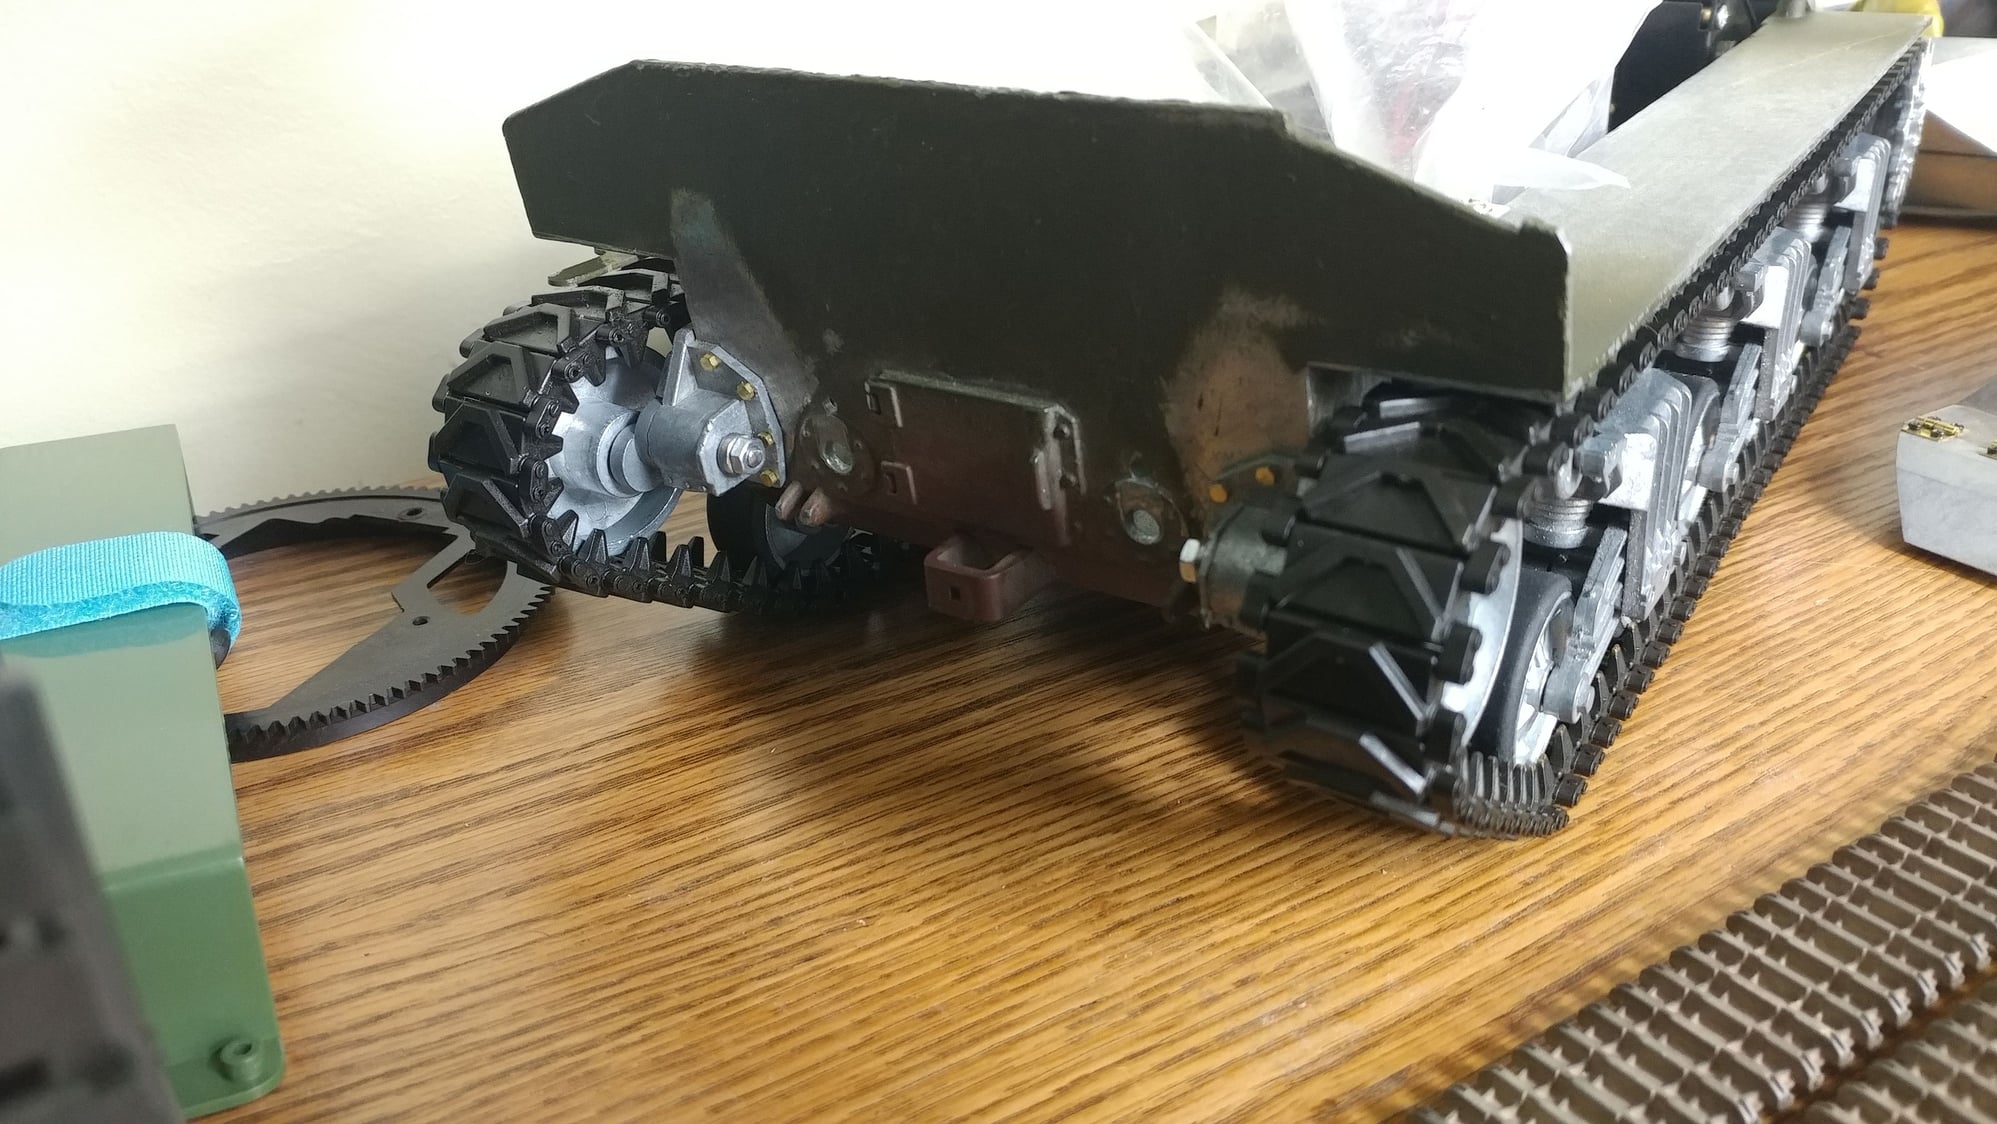
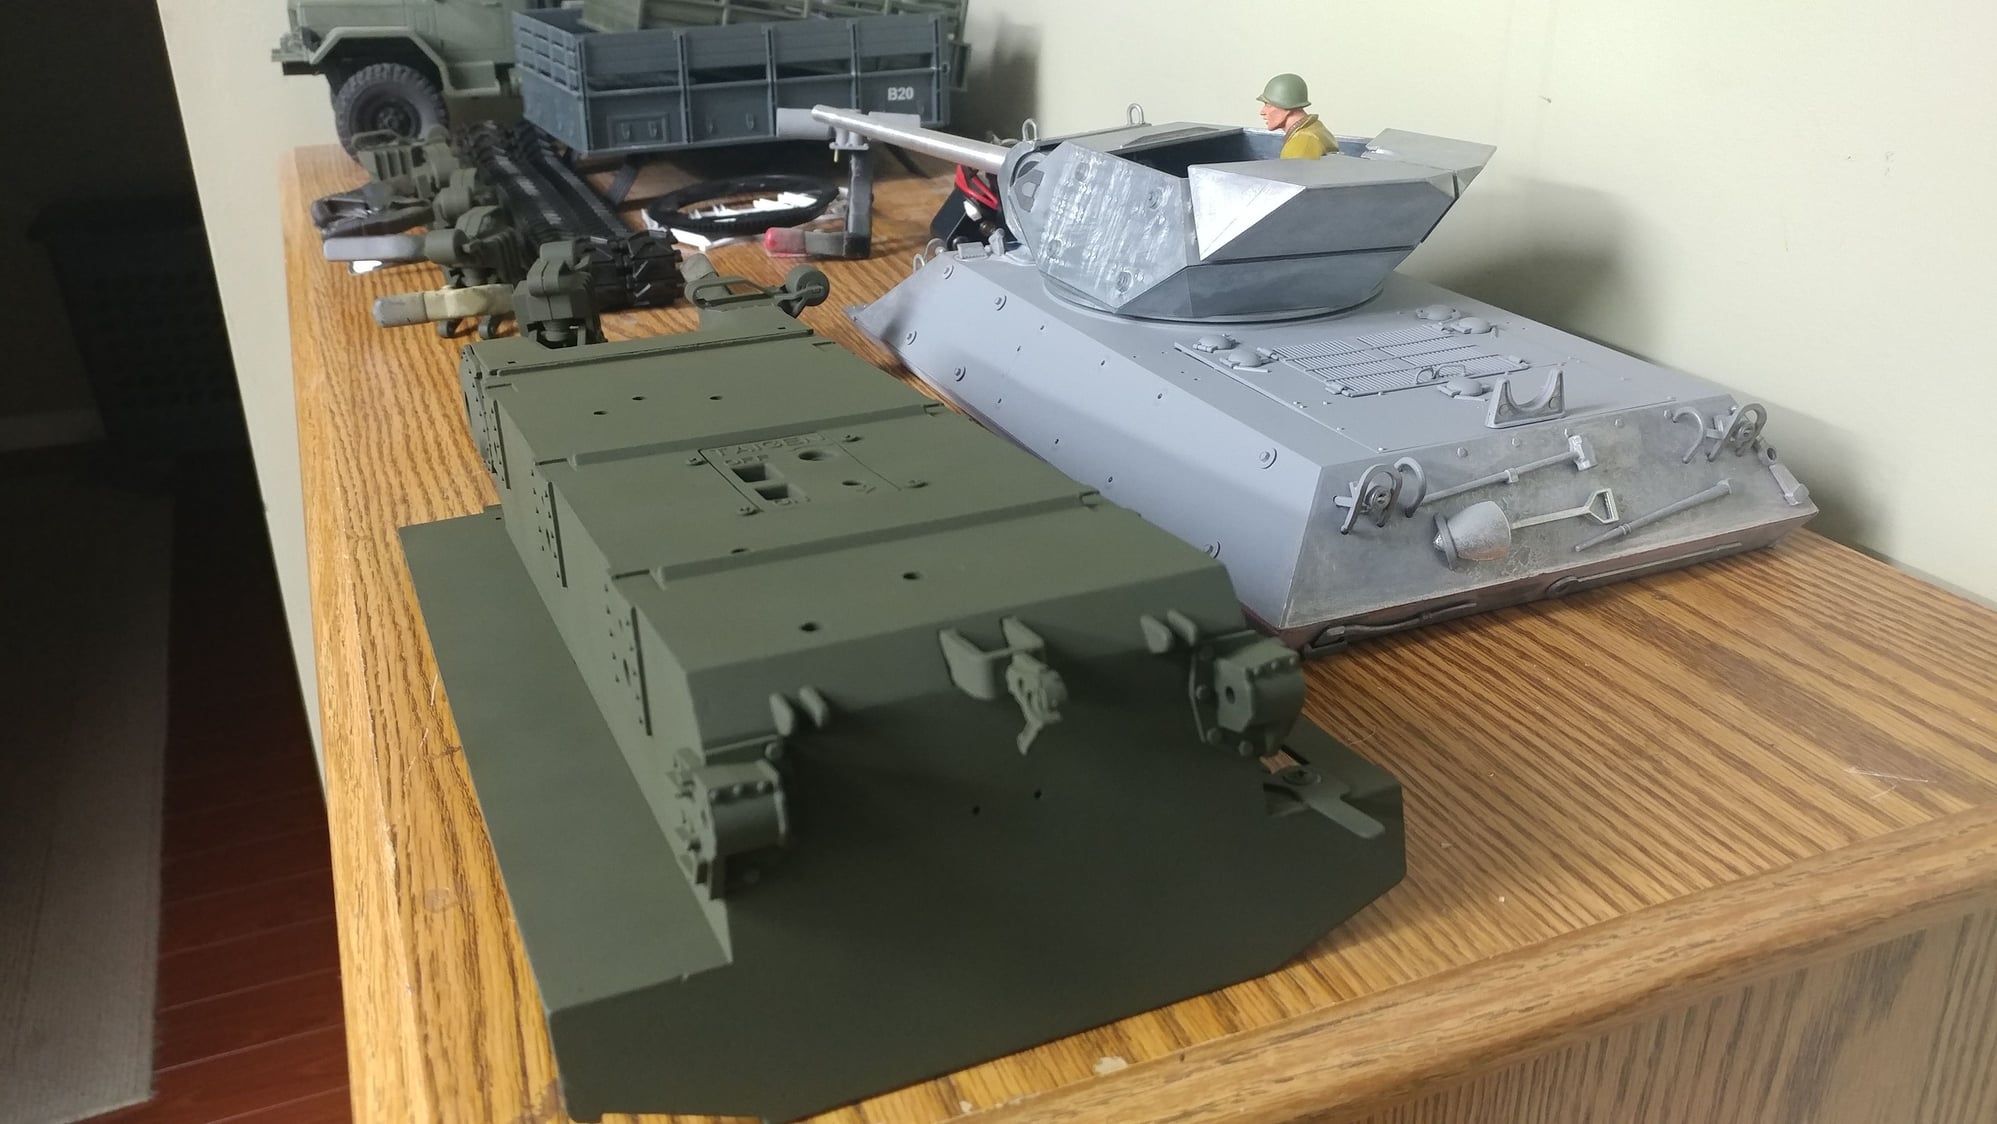
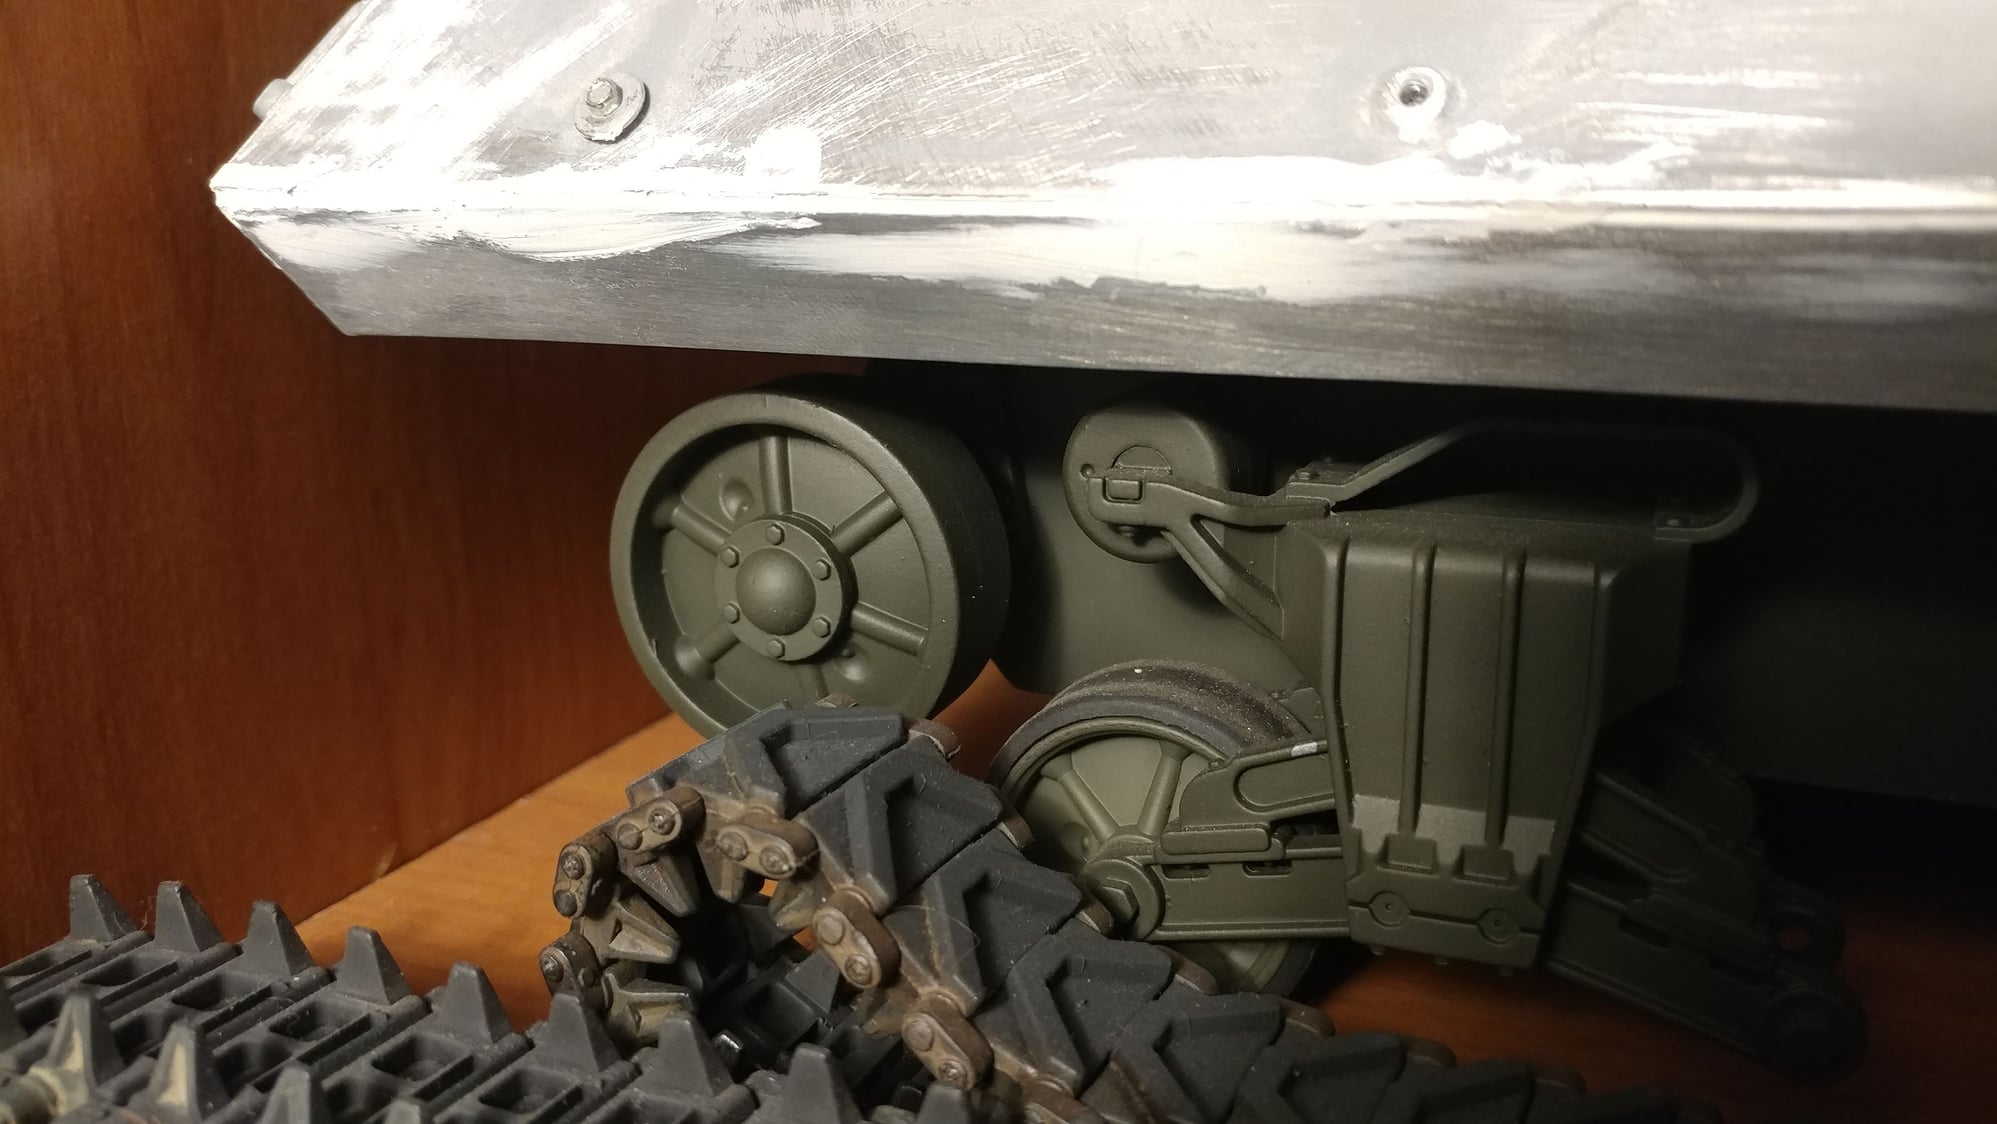
I put adjustable Mato idlers on a Taigen hull for my M10. I used a die grinder to cut most of the fixed idlers off then switched to a dremel. It really wasn't that much work, you could use just a dremel, it would just take longer. I finished using hand files and sand paper. I epoxied the idlers into place, then drilled the holes and used scale bolts and nuts to secure the idlers on. It took me a few hours.
M10 Tank Destroyer
Rob
M10 Tank Destroyer
Rob
Last edited by smittyrob; 03-07-2022 at 06:29 PM.
03-07-2022, 07:08 PM
#14
I put adjustable Mato idlers on a Taigen hull for my M10. I used a die grinder to cut most of the fixed idlers off then switched to a dremel. It really wasn't that much work, you could use just a dremel, it would just take longer. I finished using hand files and sand paper. I epoxied the idlers into place, then drilled the holes and used scale bolts and nuts to secure the idlers on. It took me a few hours.
M10 Tank Destroyer
Rob
M10 Tank Destroyer
Rob

That looks beautiful. That is how I'd prefer them to come, with the doors and exhausts as separate parts. It might actually work out cheaper to get a grinder than a bunch of Dremel replacement bits.
03-07-2022, 07:31 PM
#15
I love having excuses to buy new tools...although I don't need an excuse to buy more tools.
03-07-2022, 11:28 PM
#16
I put adjustable Mato idlers on a Taigen hull for my M10. I used a die grinder to cut most of the fixed idlers off then switched to a dremel. It really wasn't that much work, you could use just a dremel, it would just take longer. I finished using hand files and sand paper. I epoxied the idlers into place, then drilled the holes and used scale bolts and nuts to secure the idlers on. It took me a few hours.
M10 Tank Destroyer
Rob
M10 Tank Destroyer
Rob
03-08-2022, 06:17 AM
#18
https://www.mscdirect.com/product/details/00439018
Personally I would use a pneumatic die grinder like this, but I happen to have one anyway for my real job.
https://www.mscdirect.com/product/details/44306082
But if you do decide to buy a quality burr, stay away from anything made in China or Pakistan. USA made is good, as are the German, Swiss and Israeli offerings.
Hope that helps.
 03-08-2022, 06:53 AM
#19
Dremmel brand bits are available at home depot and the burr is pretty good. I eat dremmel bits for lunch and dinner, as well as dremmels. I go through one about every two or three years with the way I build. I have a box of dremmels with problems lol. Some go back 40 years from my dad, they were smaller and single speed back then and I have drill press adapters around for them somewhere lol.
I could not do what I do without them.
I figured out this idler mod a few years ago when I replaced the broken idler on Jerome's henglong sherman from him pushing it. He was 3. I have also modified the taigen wheels to fit this idler as well, an even bigger mod, as I dont like the larger mato wheel. I have a few sets of idler mounts here I just have not gotten around to chewing up any taigens yet but I have two that have already gotten new track once each so soon they are going to get the mato adjuster mod rather than new track. Sadly I have asked Taigen to add some sort of idler adjuster and to switch to steel pins in their tracks but they arent interested. Their track pins are soft metal and wear quick and allow track stretch and then they start walking out. Alot. I have so many I have had to rubber cement back in place.
What I want to figure out is a way to make the mato adjuster work for tamiya HVSS shermans. I have played around with it a little. It would likely take an new arm or an adapter extension. I might figure it out, we will see.
03-08-2022, 07:43 PM
#20
I'd love to know what you did to fit the Taigen idler to the Mato mount. I was planning on doing that myself and figured it would be pretty straightforward. I guess not? I agree the Mato idlers look weird and wrong.
03-08-2022, 09:32 PM
#21
Senior Member
Join Date: Jan 2008
Location: Abbotsford,
BC, CANADA
Posts: 342
Likes: 0
Received 3 Likes
on
3 Posts
I put the Taigen idler wheels on the Mato idler adjuster, but unfortunately I don't remember what was required other than changing the bearing size to modify them to fit. I think the hole on the Taigen wheel is larger and I added a piece of brass tube which the attaching screw passes through. I just don't want to take it apart to check.
Last edited by smittyrob; 03-08-2022 at 09:35 PM.
03-08-2022, 09:37 PM
#22
I put the Taigen idler wheels on the Mato idler adjuster, but unfortunately I don't remember what was required other than changing the bearing size to modify them to fit. I think the hole on the Taigen wheel is larger and I added a piece of brass tube which the attaching screw passes through. I just don't want to take it apart to check.
06-30-2022, 11:00 AM
#23
I'm probably gonna give it a shot myself. Gonna be using Mato tracks anyway, and the plastic HL tracks are cheap enough for an experiment. I'll update on how it goes if I get it done before you.
Only concern is how those plastic pads will hold up with the weight and stress of a full metal tank. The metal end connectors should take most of the beating from the sprocket, but stretch in the plastic pads might still be a concern. Guess we'll find out.
Only concern is how those plastic pads will hold up with the weight and stress of a full metal tank.
The metal end connectors should take most of the beating from the sprocket, but stretch in the plastic pads might still be a concern. Guess we'll find out.So I guess I'll just use the Mato tracks. They're a good replica of the various steel chevron tracks for the Sherman.
On a side note, I also figured out how to make the Mato tracks work with Taigen sprockets. I kinda prefer the look of the simplified sprockets that Taigen uses. So I've been trying to make that work for my build.
06-30-2022, 12:34 PM
#24
I for the taigen idler on the mato adjuster mount by drilling and reaming the idler to fit some bearings and then used 3m bearing glue. That stuff holds bearings in place when there is no mechanical way to do it.
07-01-2022, 12:44 AM
#25
Basically what I will do. Back side of the wheel has to be trimmed back. Then a pocket bored in the back side to fit a bearing. Then use Mato bearings to fit with the Mato mount. I have a build thread going on my Sherman so I will post more details on how I did mine there for anyone who wants to do it on theirs. I'm just waiting on a special drill bit to arrive for that. Trying to do it all nice and precise, but I don't have a lathe, so gotta improvise.