


Ziroli 1/6 Hellcat Build


 09-13-2020, 11:02 AM
#252

Thread Starter
Looking great!
I read that the Tamiya paint is 'low VOC' - how low is it? My wife gets a headache as soon as I open/spray anything with any VOCs. I used latex paint on my last Hellcat - worked quite well and kept my household happy! Only thing was that the gloss level wasn't close to reality. Recalled a zero VOC paint from Nelson Hobbies, but the company appears to be gone. Getting closer to filling, glassing and priming, so I need to start thinking about paint.
I read that the Tamiya paint is 'low VOC' - how low is it? My wife gets a headache as soon as I open/spray anything with any VOCs. I used latex paint on my last Hellcat - worked quite well and kept my household happy! Only thing was that the gloss level wasn't close to reality. Recalled a zero VOC paint from Nelson Hobbies, but the company appears to be gone. Getting closer to filling, glassing and priming, so I need to start thinking about paint.
 09-13-2020, 11:42 AM
#253
Thread Starter
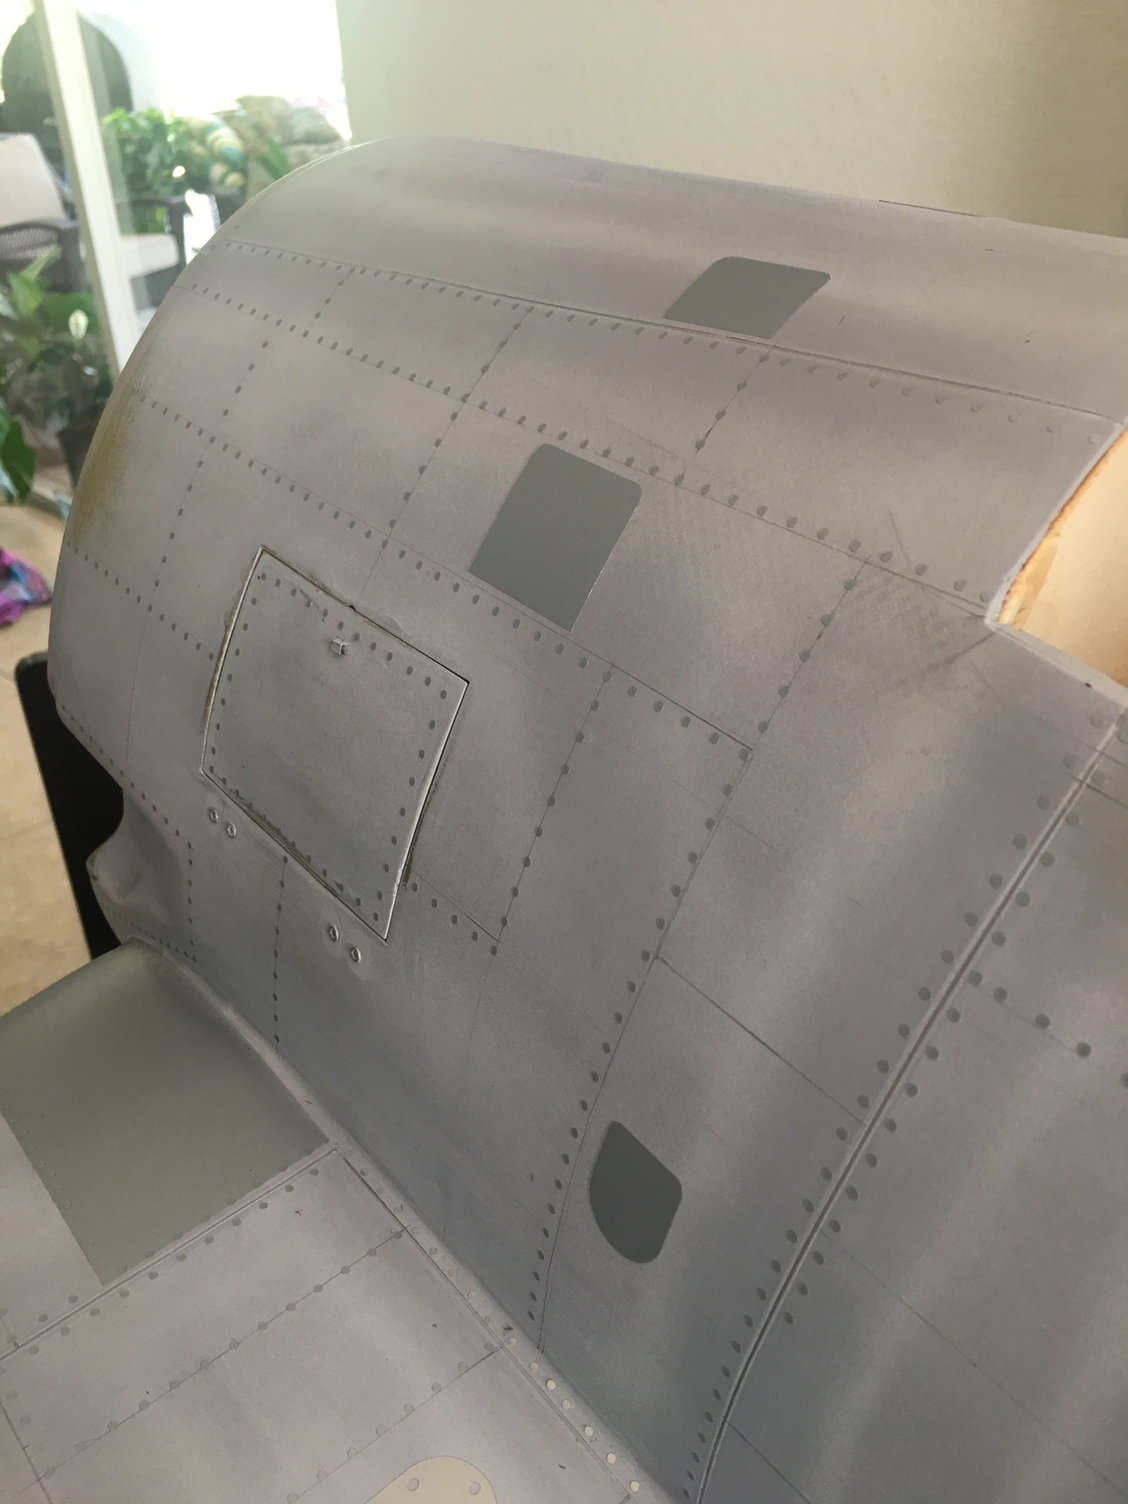
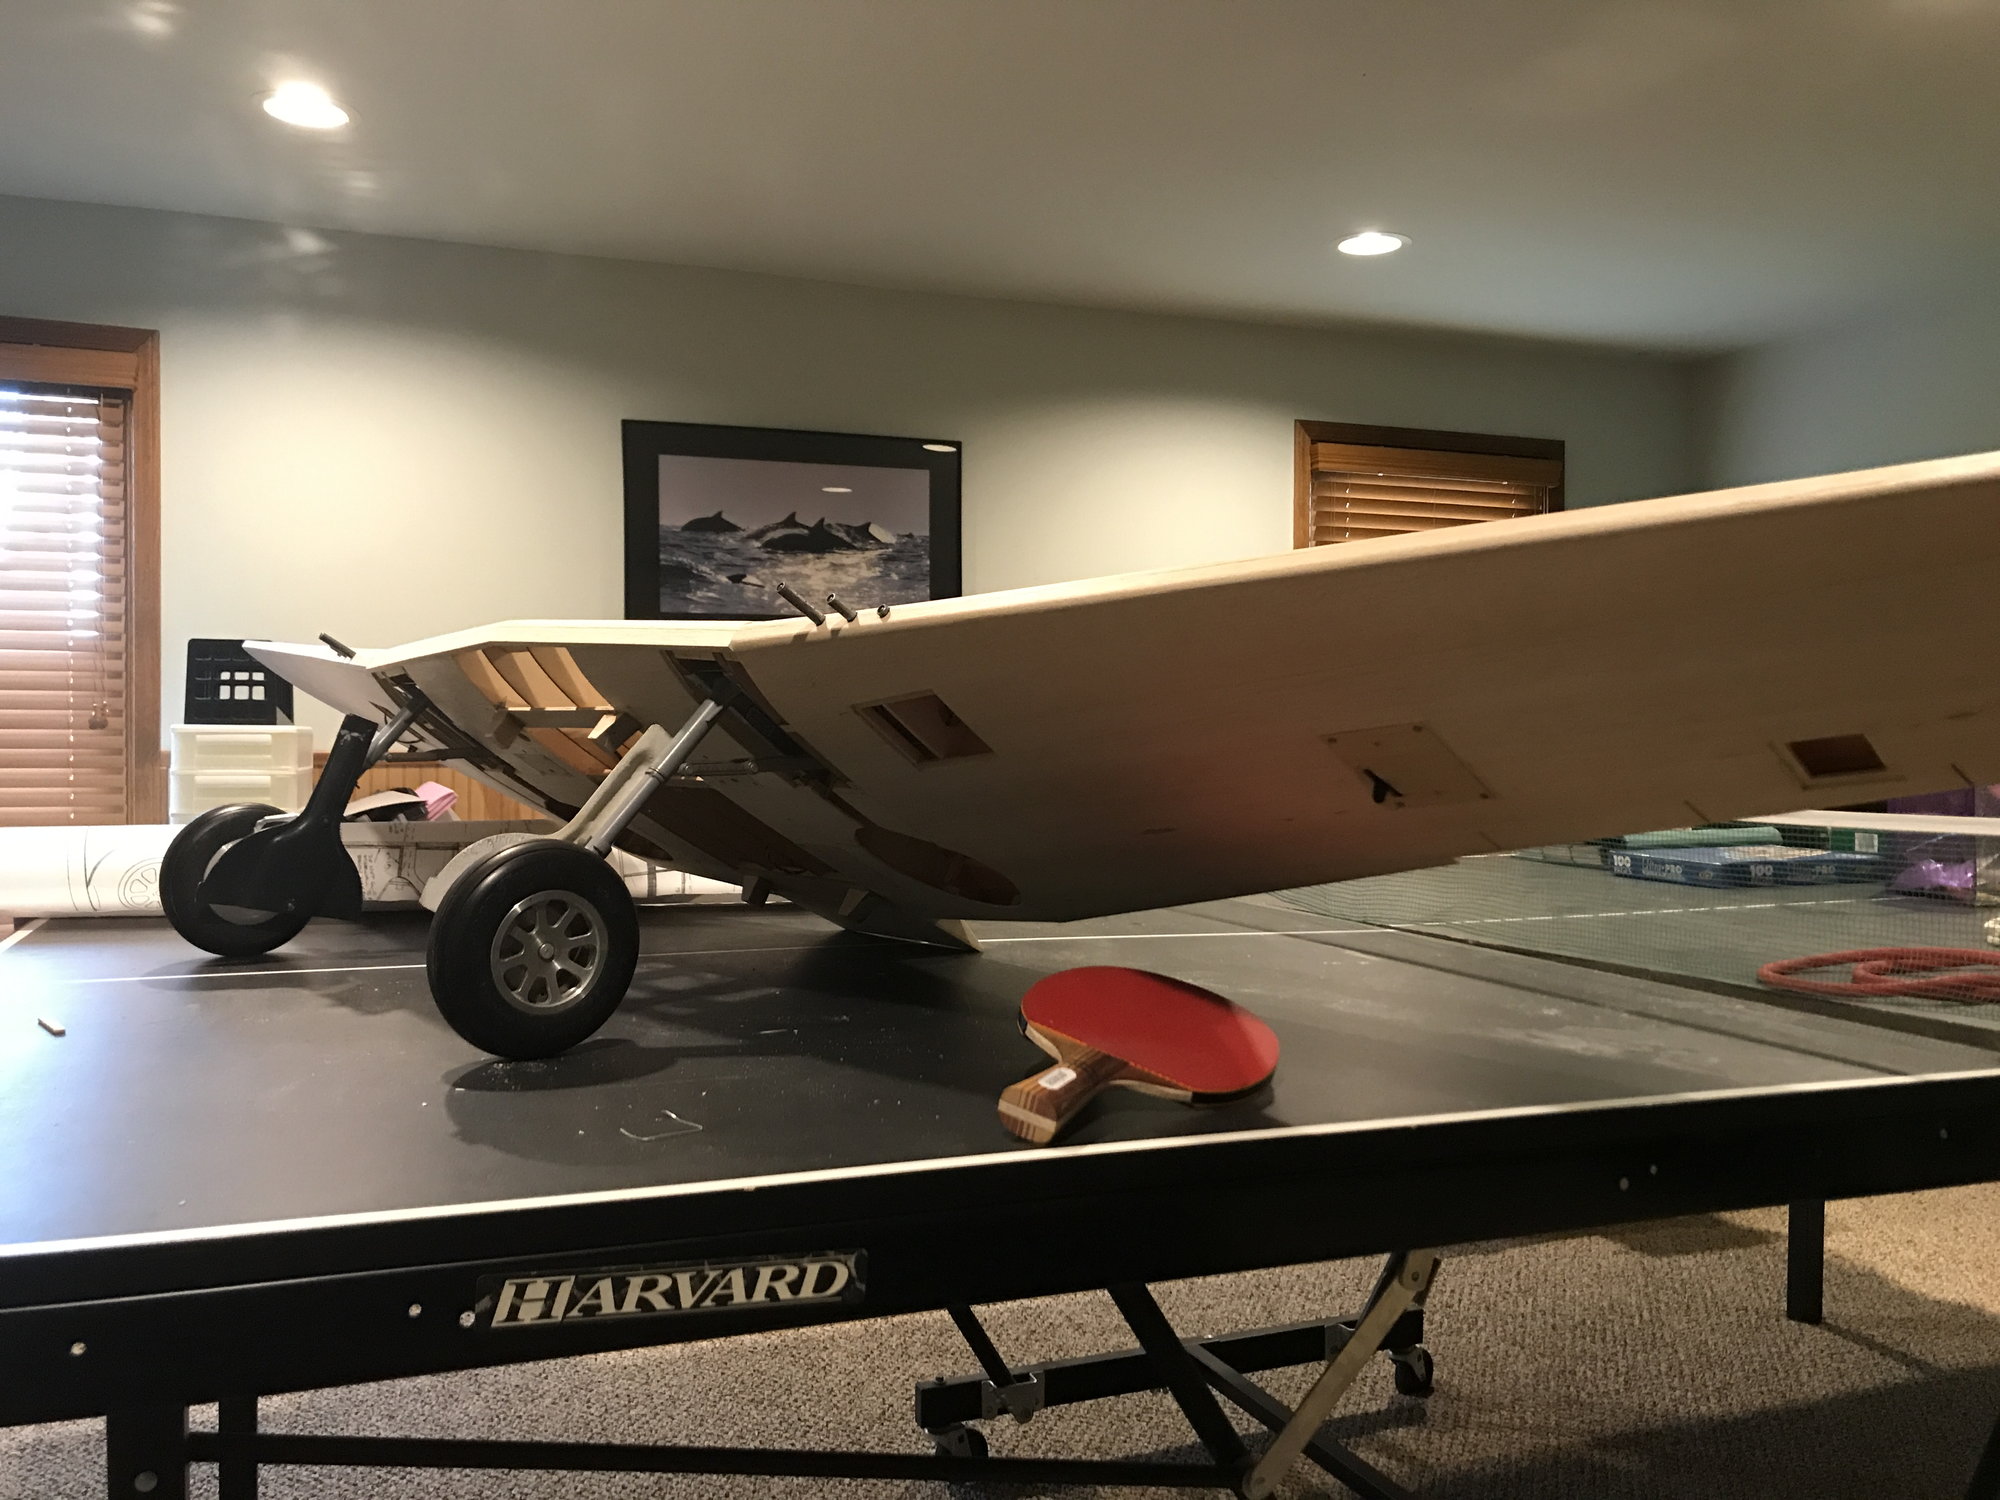
Ready to finish sheeting the wing underside. Needed to add some framing for access hatches. Next steps: Finish the wing underside sheeting, install and shape the leading edges and wing tips.
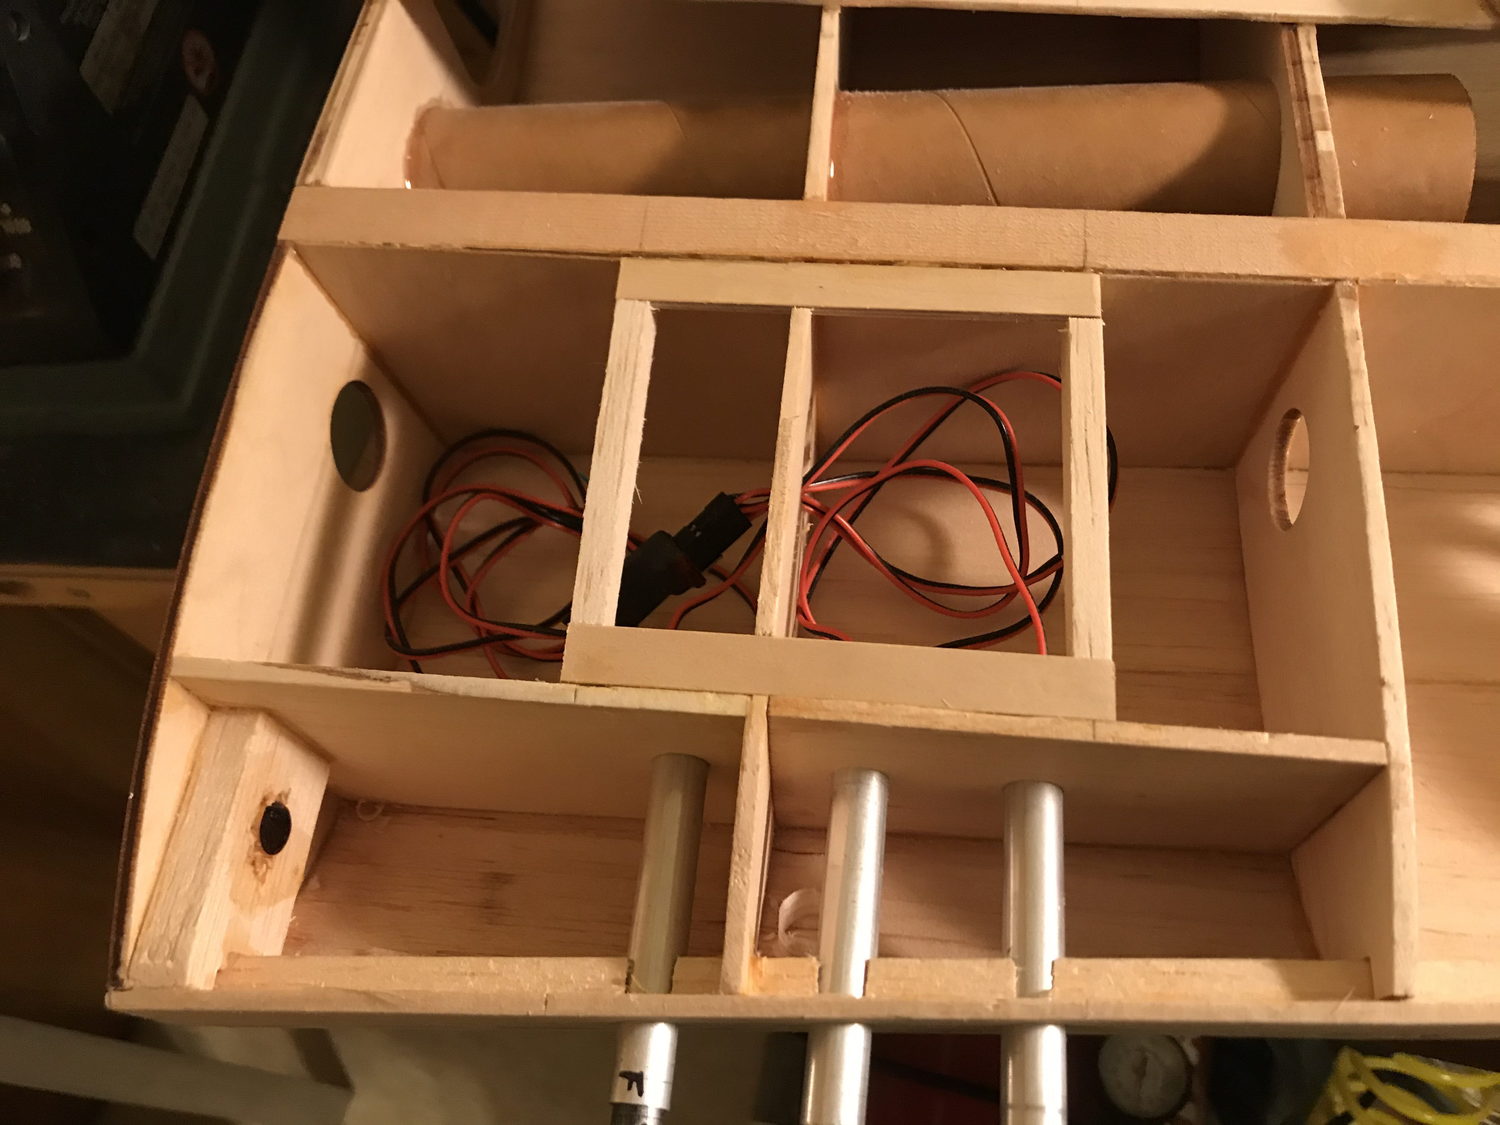
Frame installed for access cover to barrels and wiring.
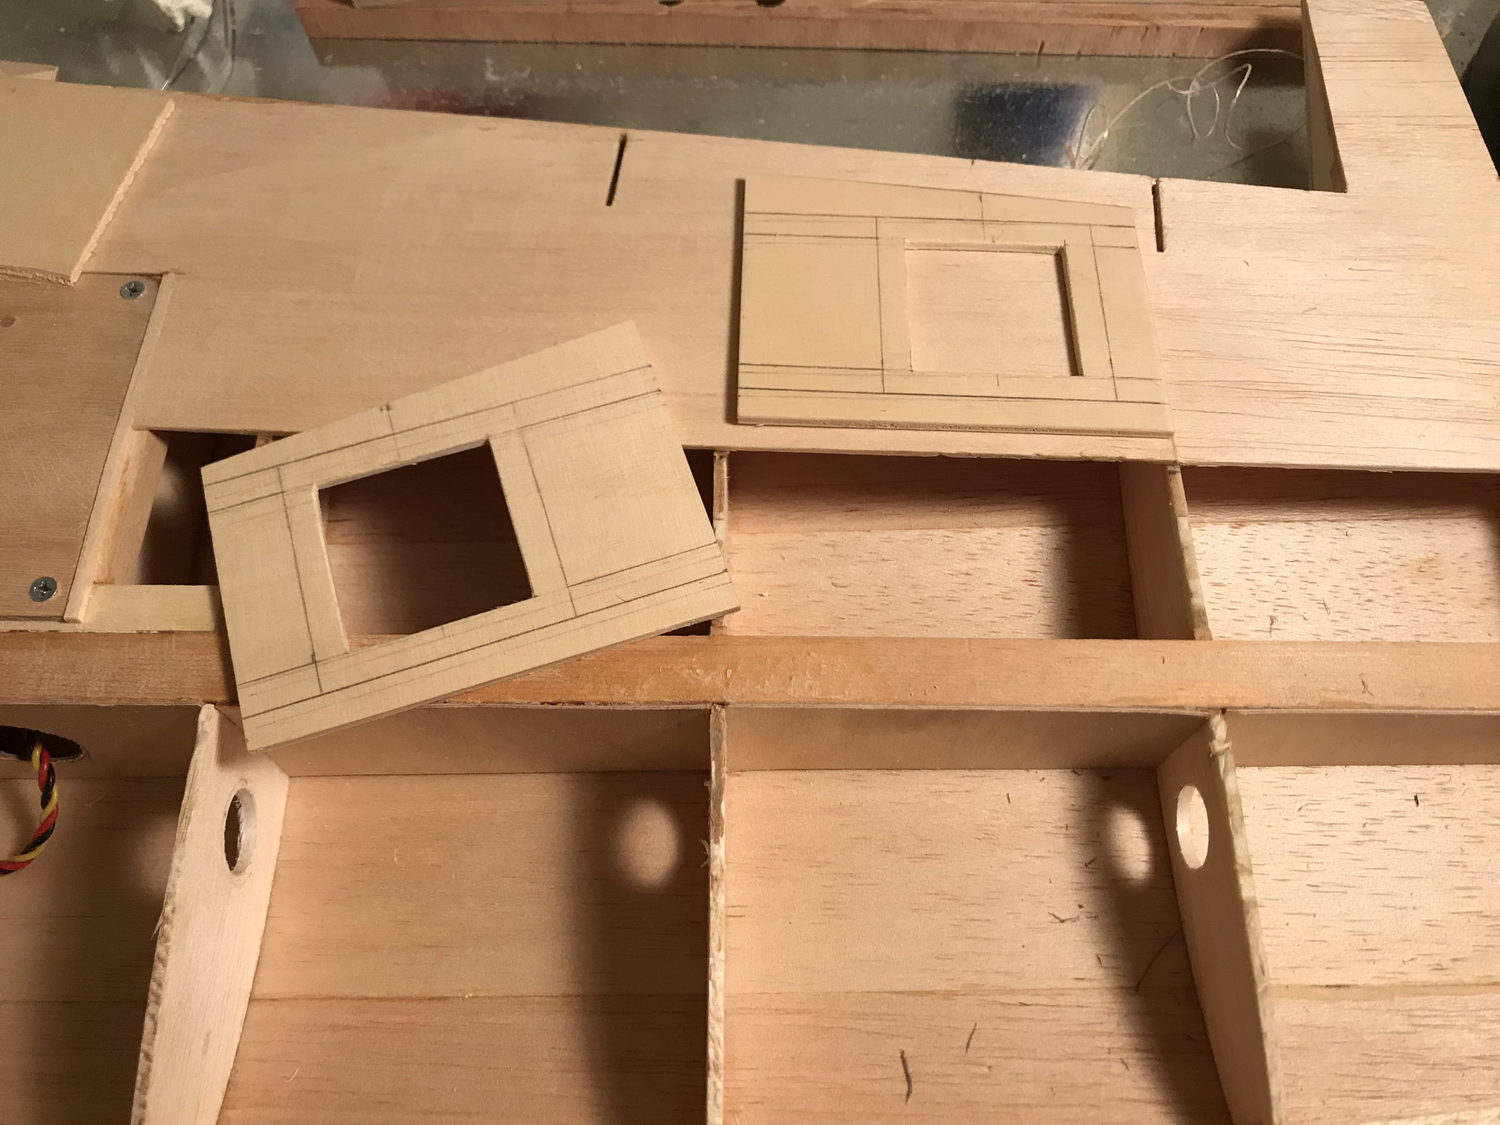
Creating a frame for an access cover to formation lights. Not sure if I'm going to install these lights or not, but I'll be ready if decide to do so. Also, still need to cut a hole in the spar web for running the wires.
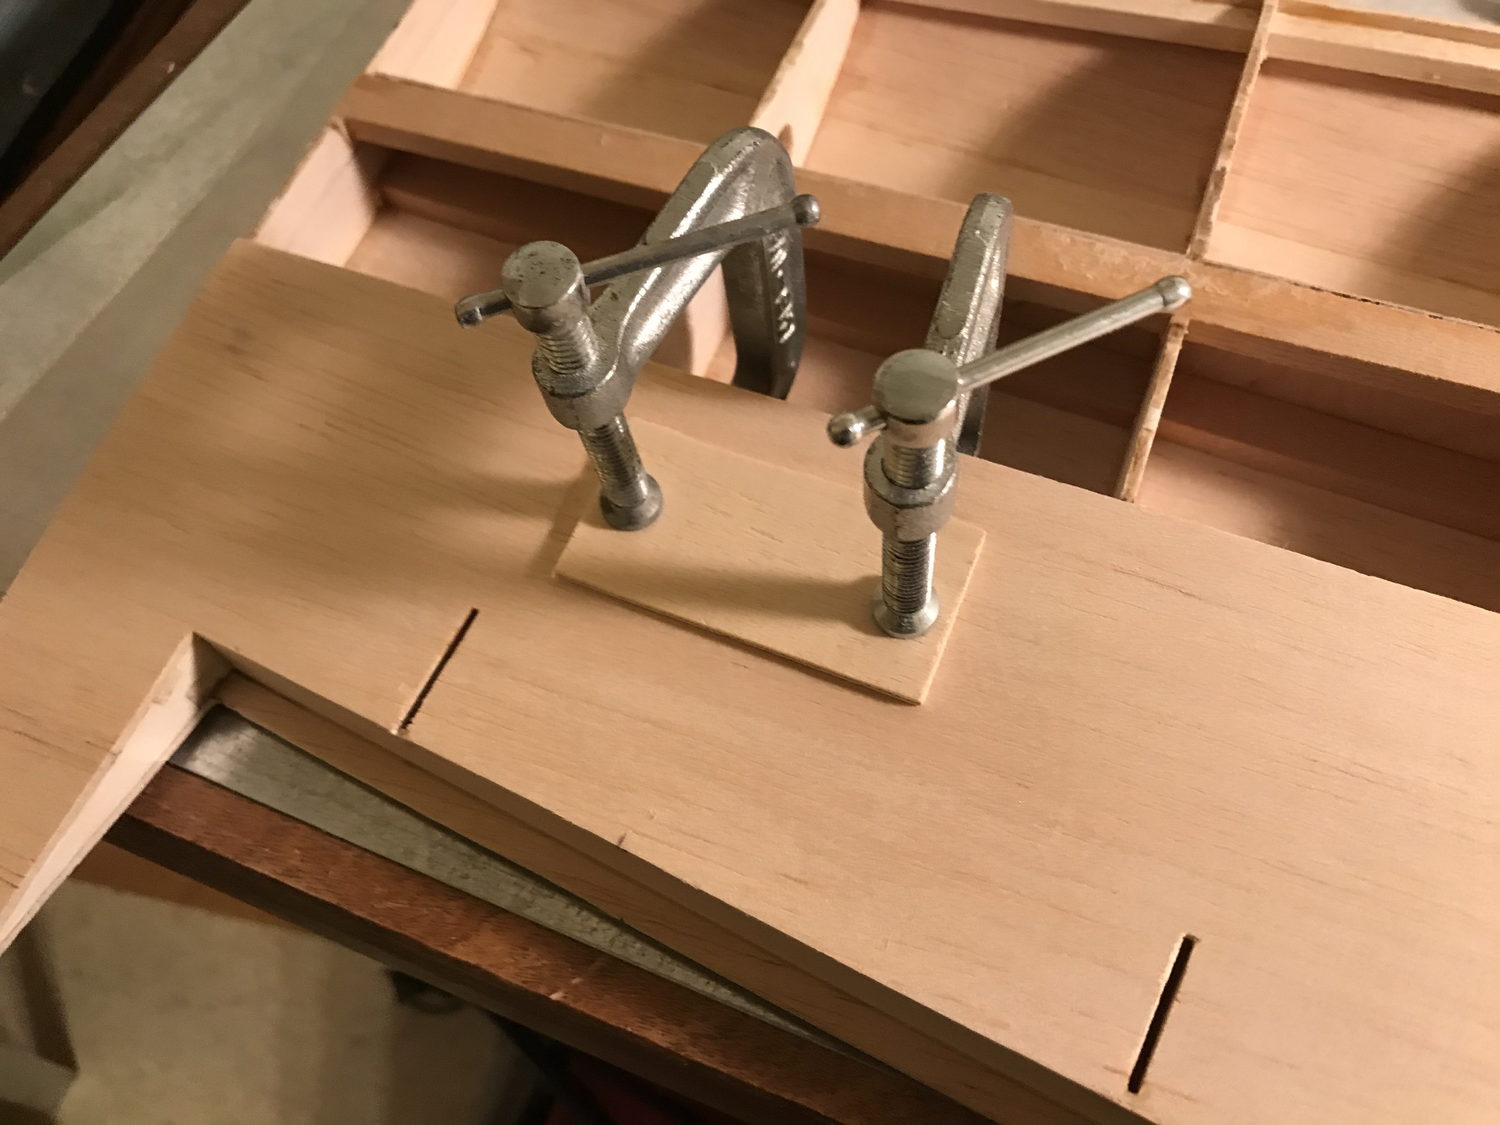
Access frame glued and clamped in place.
Frame installed for access cover to barrels and wiring.
Creating a frame for an access cover to formation lights. Not sure if I'm going to install these lights or not, but I'll be ready if decide to do so. Also, still need to cut a hole in the spar web for running the wires.
Access frame glued and clamped in place.
09-26-2020, 05:01 AM
#255
My Feedback: (23)
Excellent workmanship DaleCS! Mine was purchased second hand with the fuselage and wings built. I had to fix a bunch of stuff like the ailerons, flaps, engine mount(I am using a 120), tail wheel, main wheel cutouts etc. it’s perfect now but I would have done a much better job building it with one eye closed and my left arm tied behind my back. The builder of the Hellcat should be placed on the firing squad. Sloppy as sloppy can be.
 10-18-2020, 07:47 AM
#257
Thread Starter
Beautiful work, ledd4u! Looking forward to the finished paint job.
I'll be completing the sheeting for the underside of my wings, this week. Completing access covers, wing leading edge and wing tips. After that, I believe the rest of my work will consist of lighting installation (may delay until after first flight), surface prep, glassing, priming, panel lines and detail kit, painting.
I'll be completing the sheeting for the underside of my wings, this week. Completing access covers, wing leading edge and wing tips. After that, I believe the rest of my work will consist of lighting installation (may delay until after first flight), surface prep, glassing, priming, panel lines and detail kit, painting.
10-24-2020, 09:35 AM
#258
My Feedback: (23)

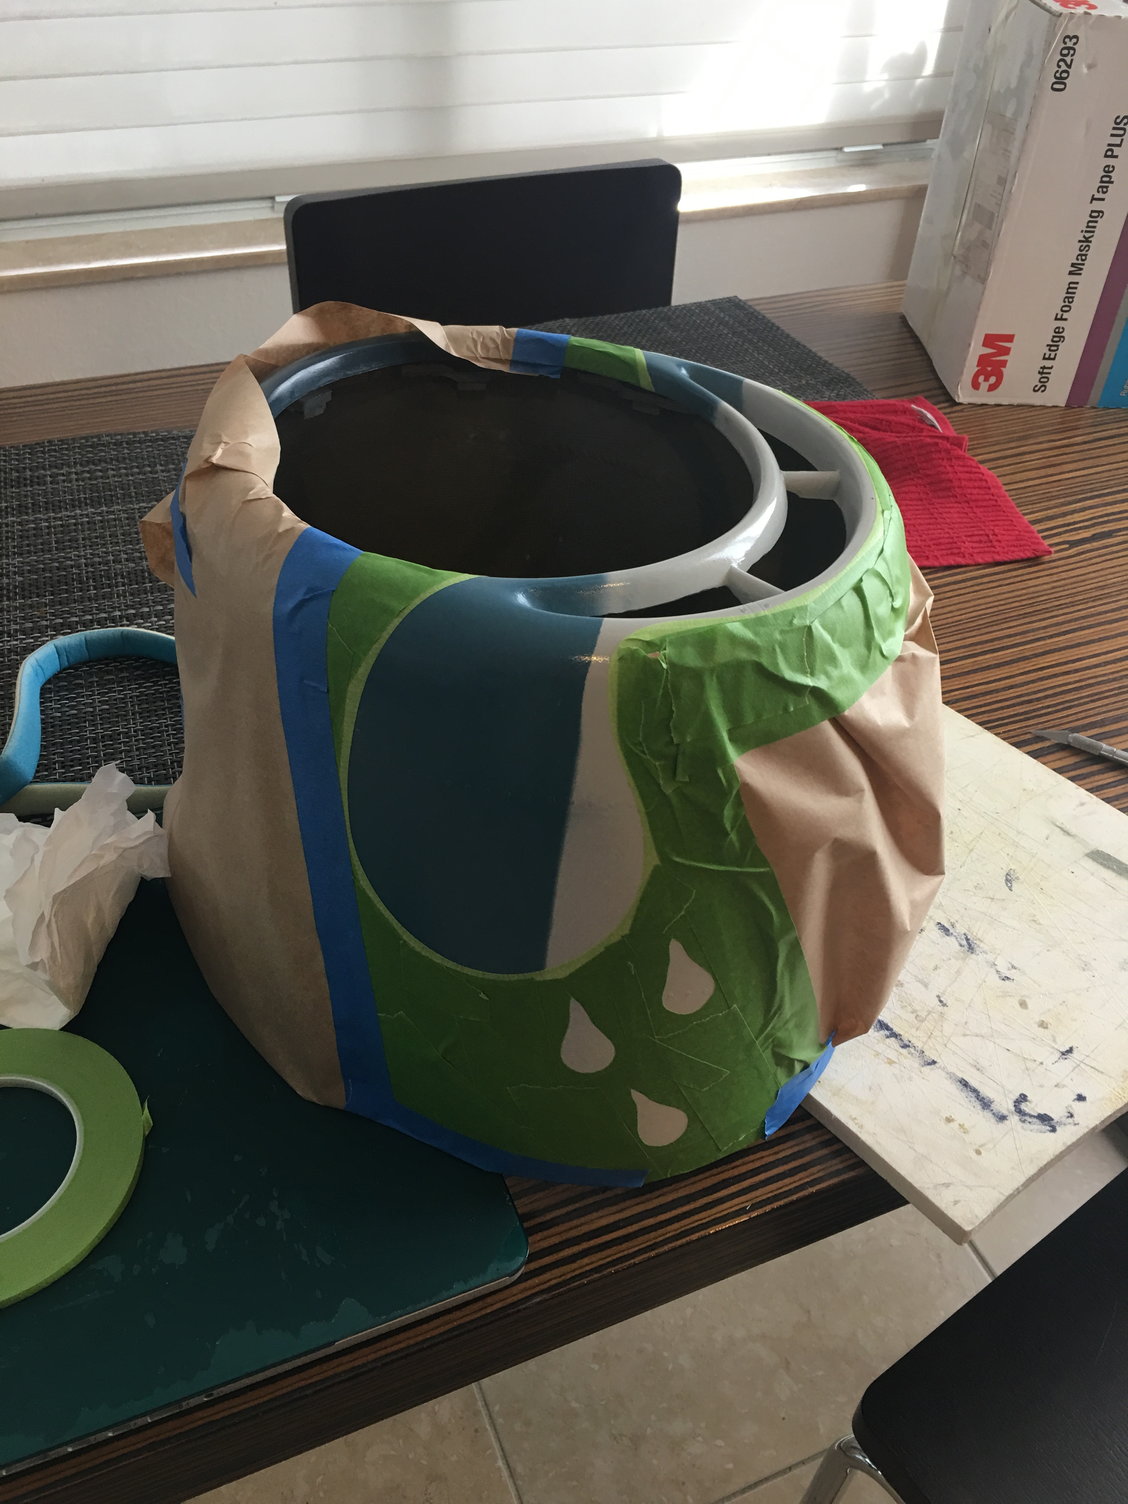
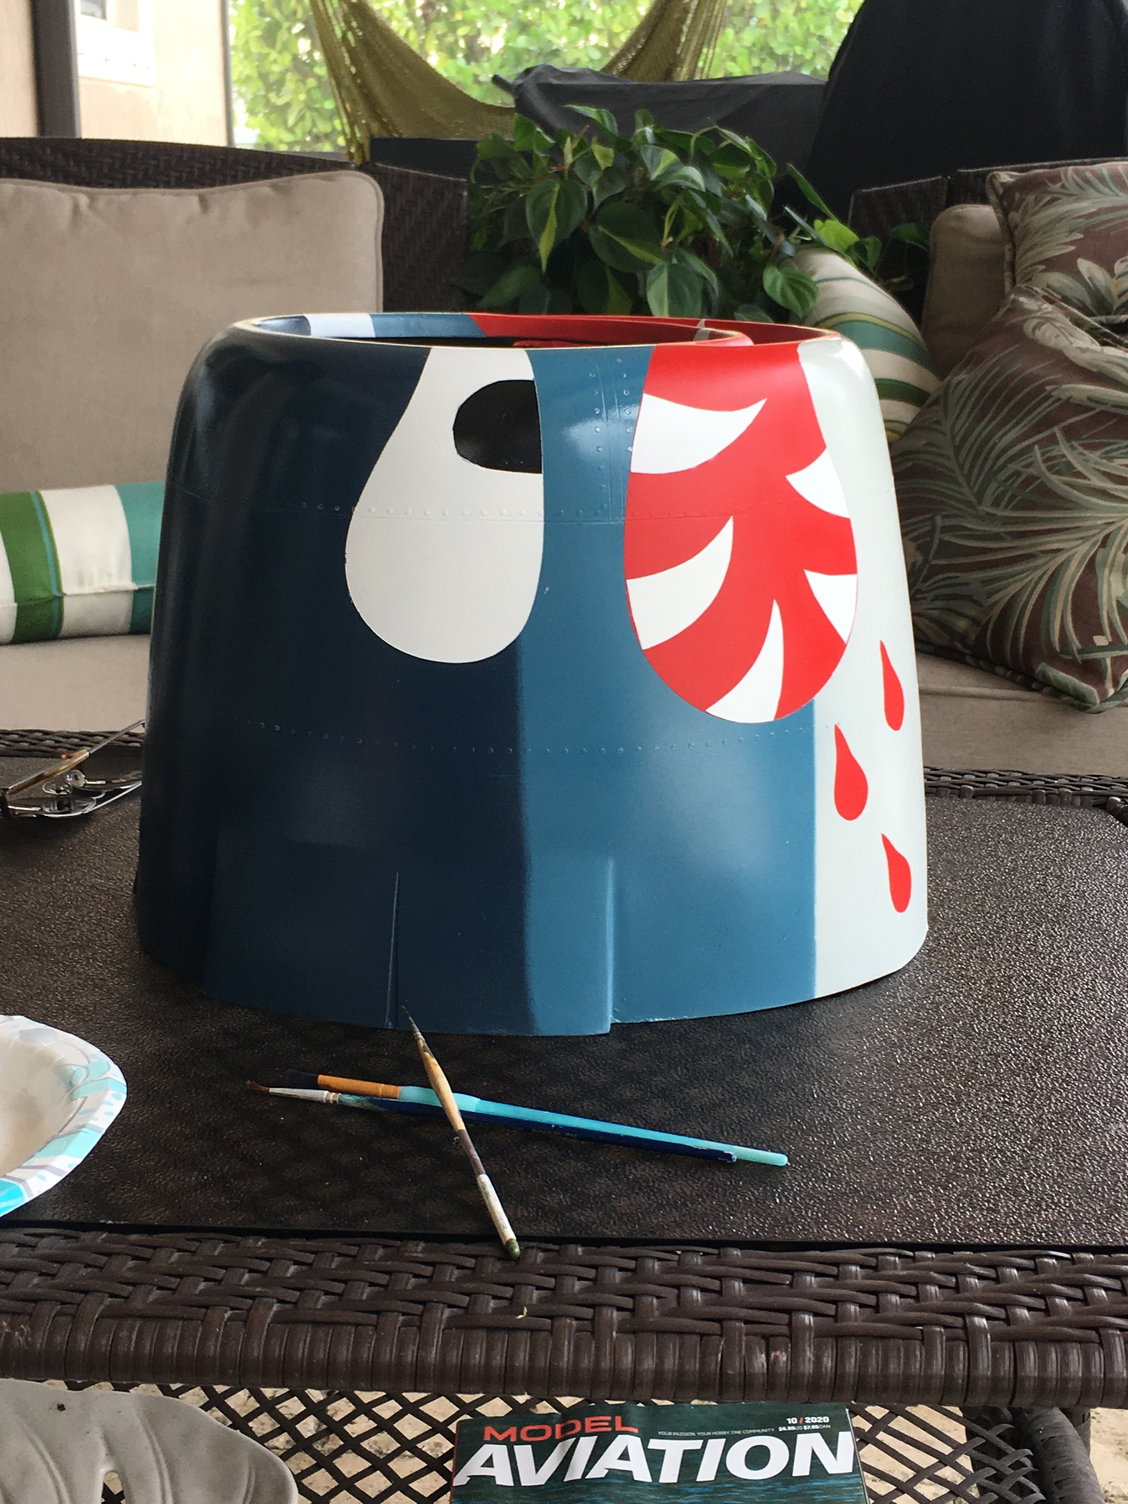
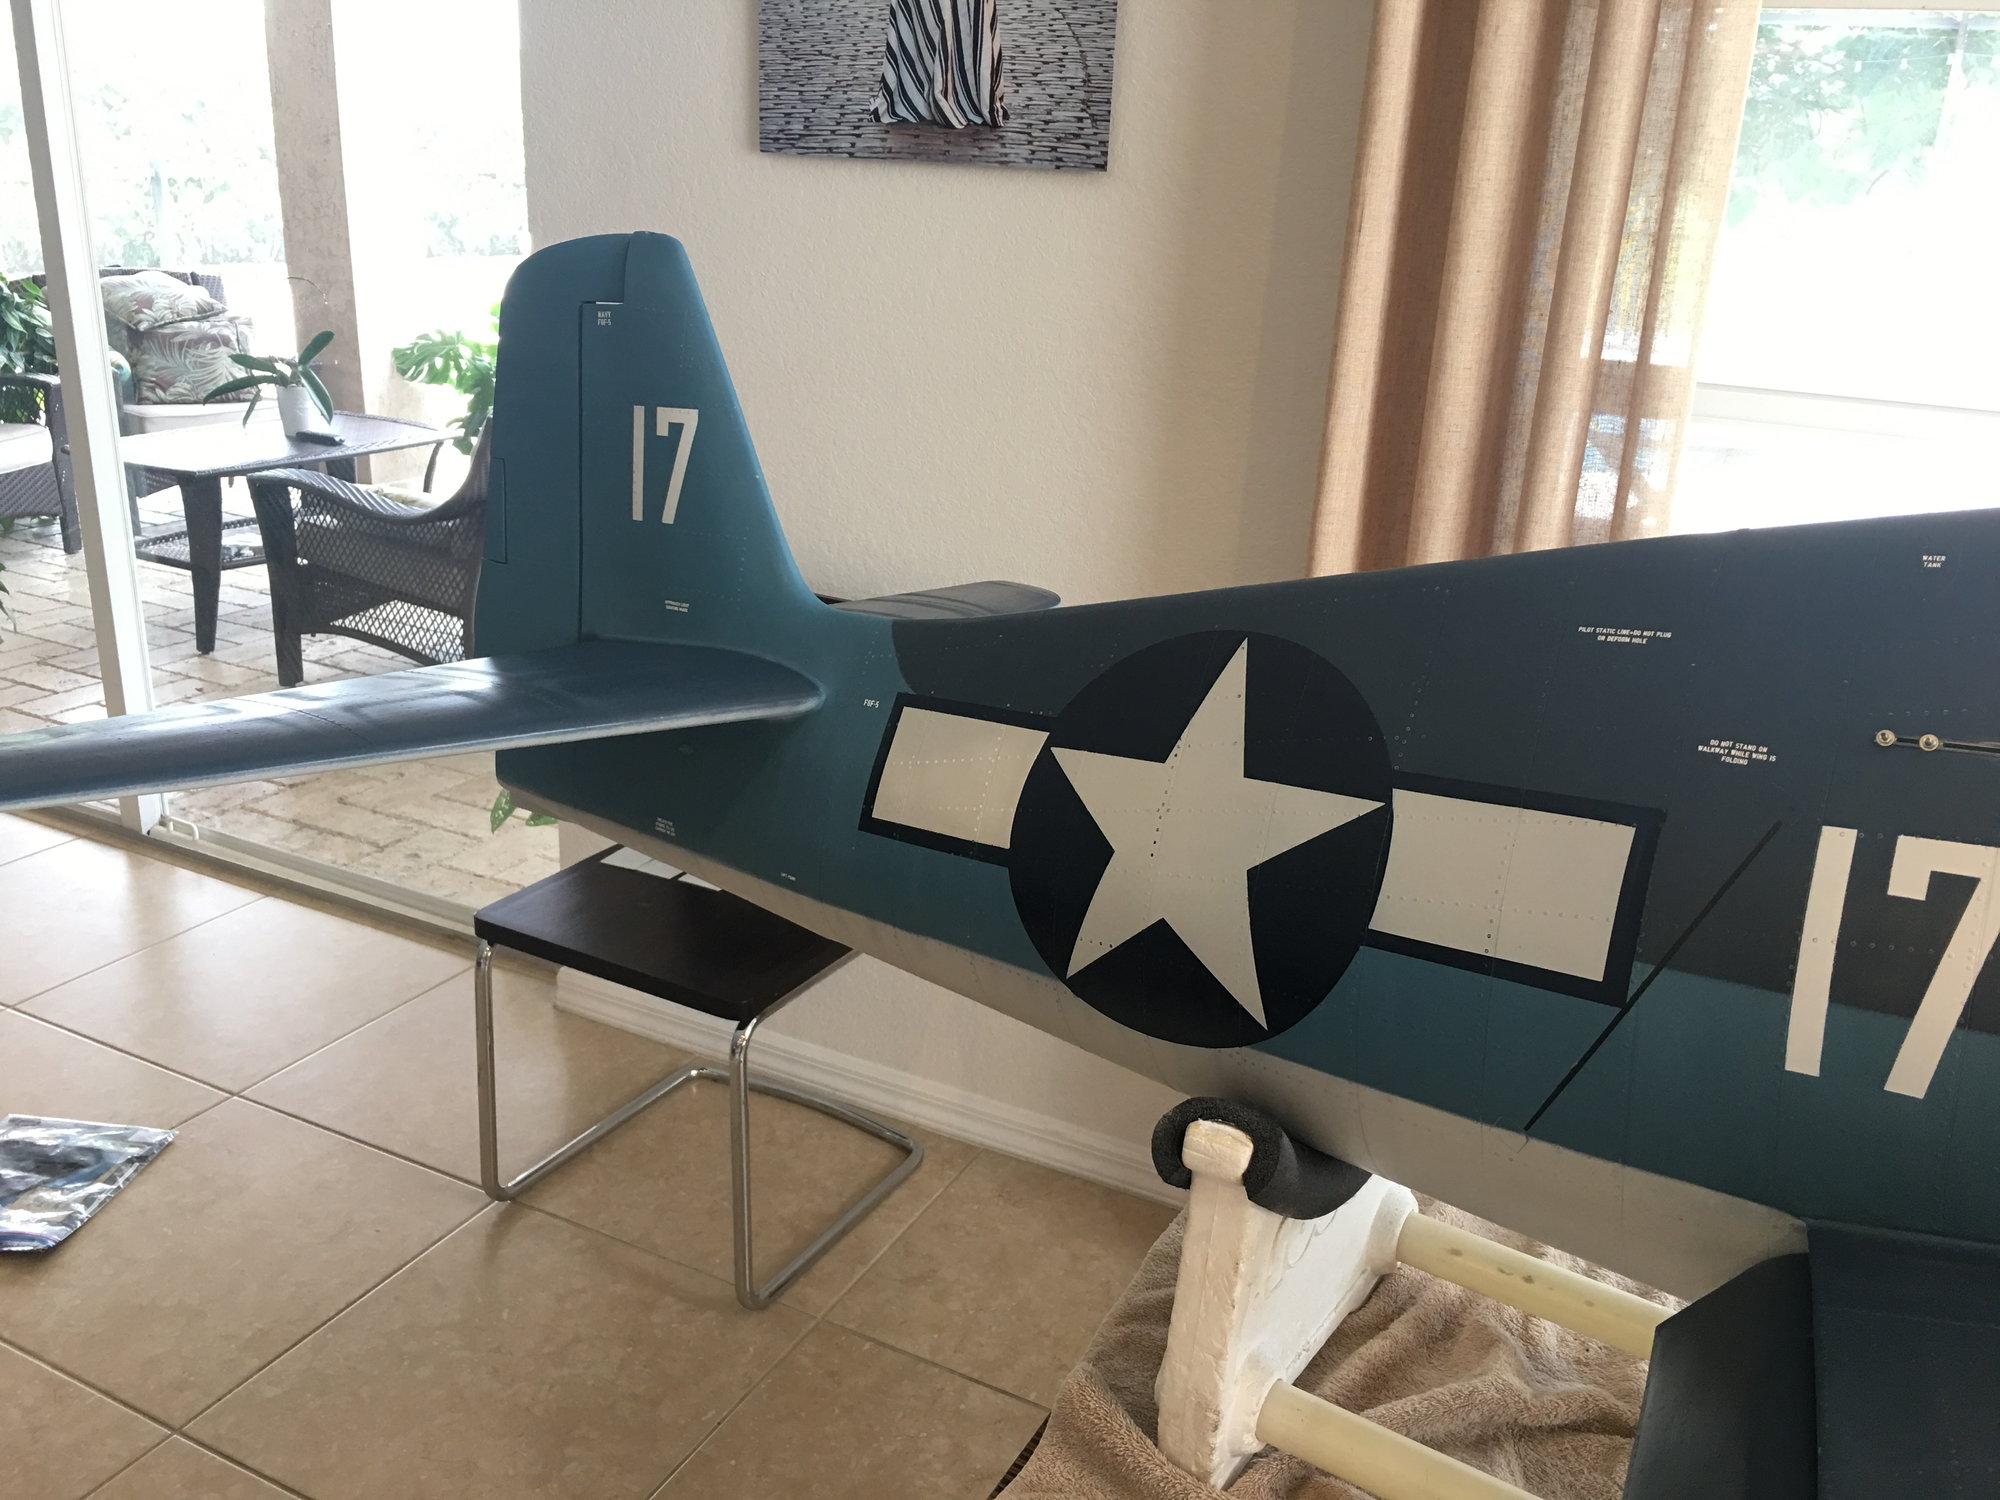
Got up this Saturday morning had my coffee and began painting the cowl. Painted the bars and stripes with the Mirce masks. I believe the paint mask adhesive is to strong. Lifted my base coat paint in some areas. Never used paint masks since I make my own. Won’t use that again and that’s a fact! Make my own stuff. No paint lift anymore. Spent a whole day fixing it.
The following users liked this post:
DaleCS (10-31-2020)
 11-11-2020, 08:02 PM
#262
Thread Starter
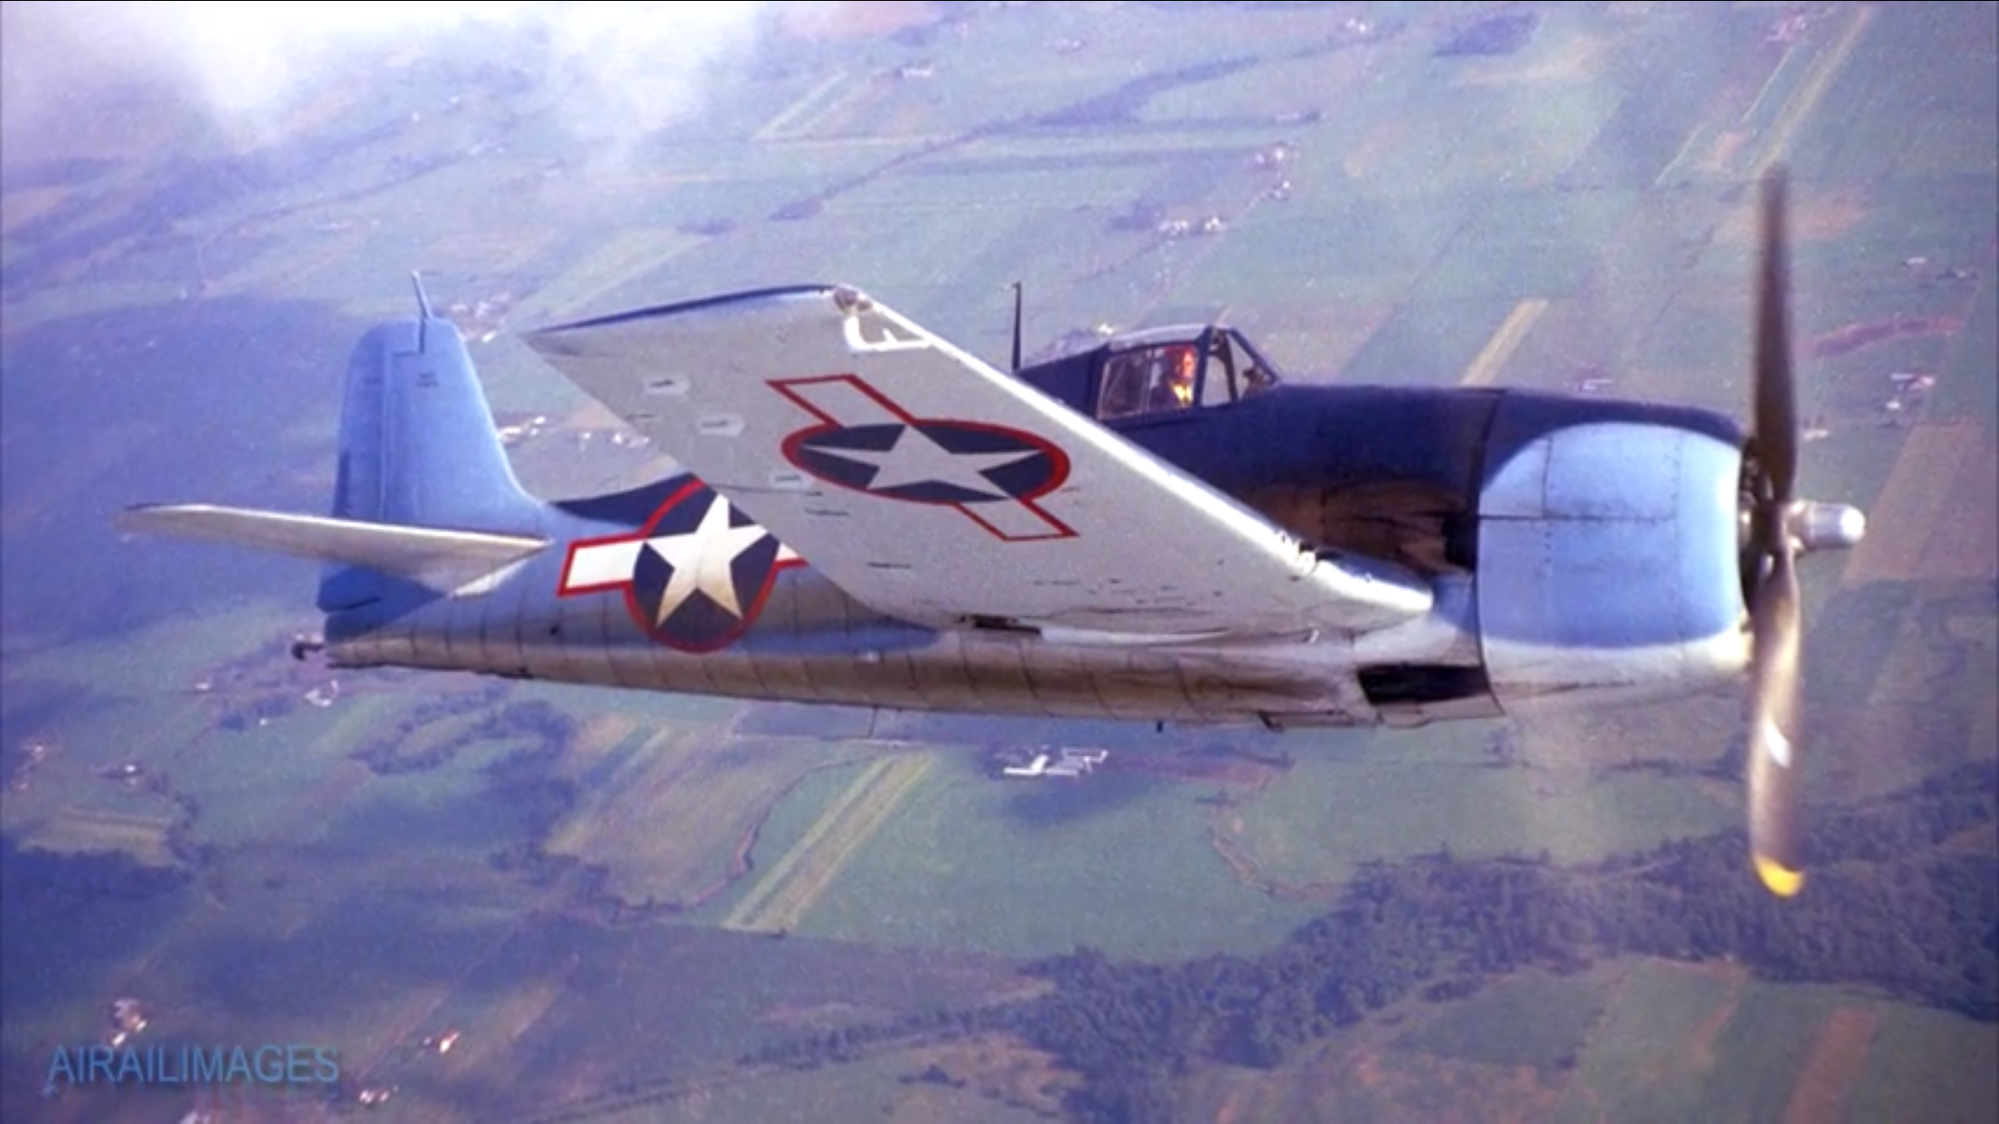
There's good picture of a tri-color Hellcat at the Pensacola museum. I'm no military paint expert and I can't find anything in my web searches with respect to military paint gloss measurements/levels. Therefore, suggest starting with a sample to compare with the photo. Or, if you can get to Pensacola, can you make a few samples covering a range of percentages and compare them with the actual plane in the link?
I expect that gloss level was reduced with age and exposure to the elements at sea. If you're building this to fly - get it close enough with a sample comparison with the picture in the link, maybe a little on the 'aged/weathered' side. If entering for competition and you can't find any expert advice, head to Pensacola.
Call the museum? They might have a paint expert there, or a contact with restoration personnel that could provide better info without having to make the trip. If you learn anything on sheen/gloss levels, let me know. I have a suspicion that color specs were easier to measure and adhere to than sheen/gloss levels - they may have varied quite a bit, but that's just my speculation based on not being able to find any info on the matter.
11-13-2020, 07:50 PM
#263
11-14-2020, 02:43 PM
#264
My Feedback: (23)
Thanks s Chad! I sprayed it with PPG 2060 flex and flat. That’s what I normally use for warbirds. I should have checked and inspected the bars and stripes. Kinda sucks that they were made wrong. Won’t mention where they came from. I should have just made my own stuff as I usually do. Oh well.
11-14-2020, 03:08 PM
#265

My Feedback: (60)
Join Date: Dec 2001
Location: Litchfield Park,
AZ
Posts: 7,677
Likes: 0
Received 25 Likes
on
23 Posts
Thanks s Chad! I sprayed it with PPG 2060 flex and flat. That’s what I normally use for warbirds. I should have checked and inspected the bars and stripes. Kinda sucks that they were made wrong. Won’t mention where they came from. I should have just made my own stuff as I usually do. Oh well.
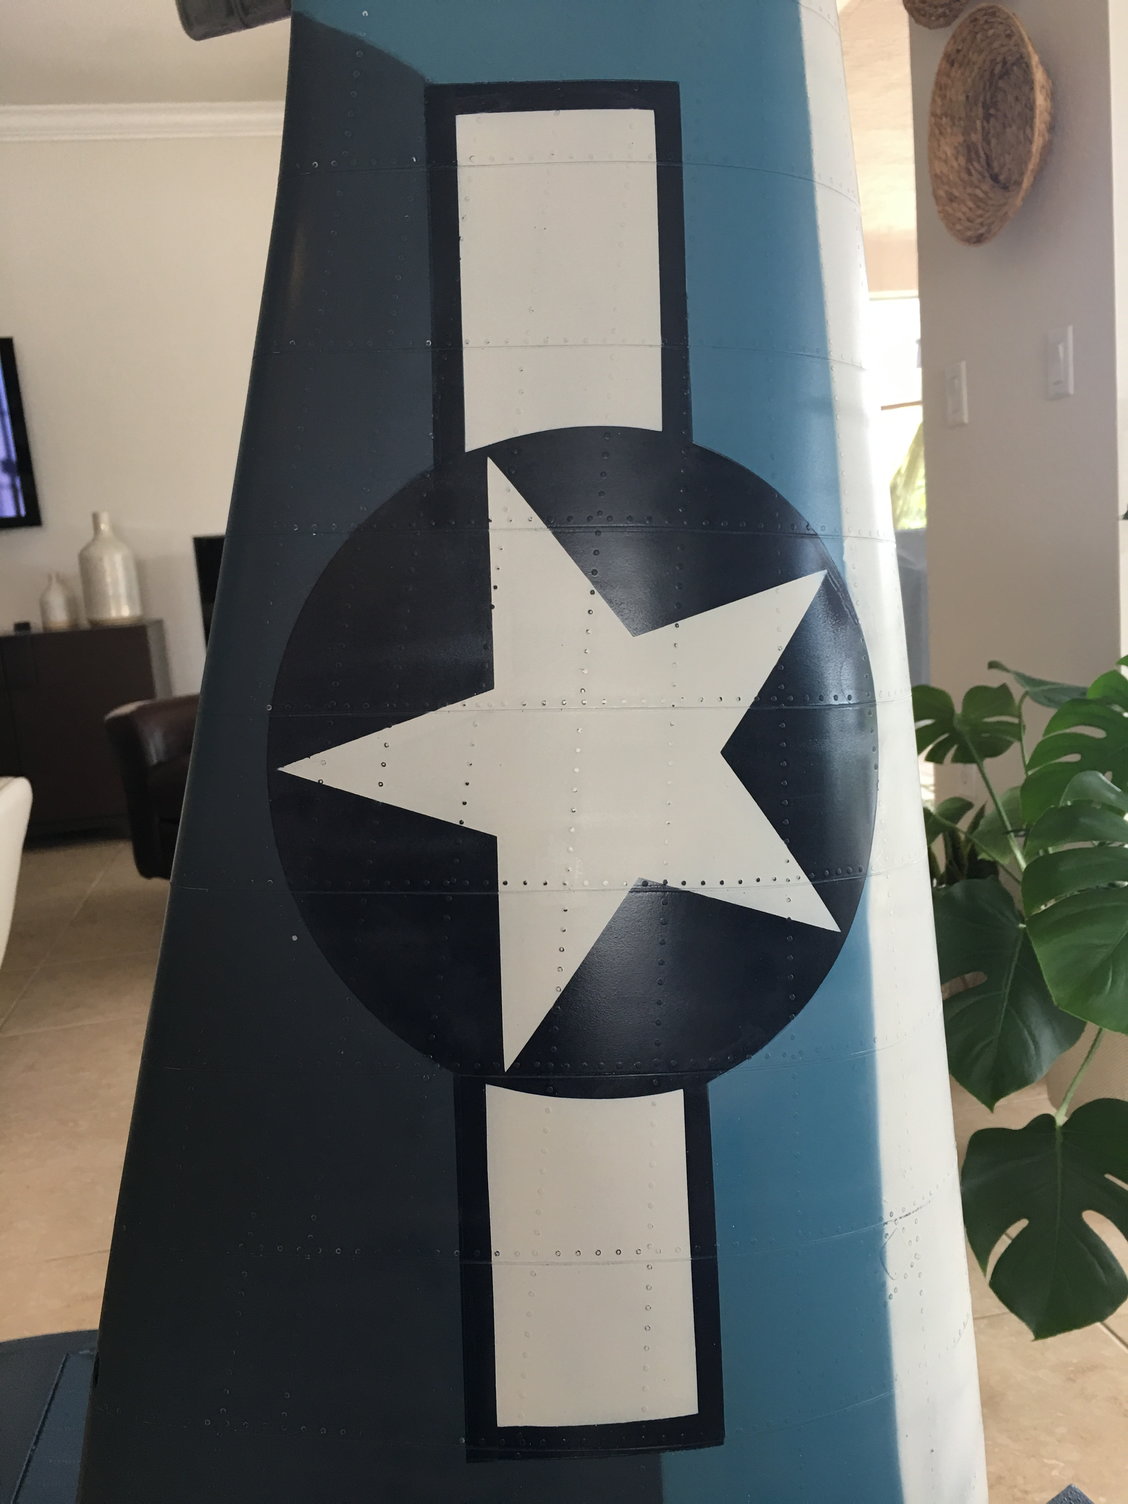
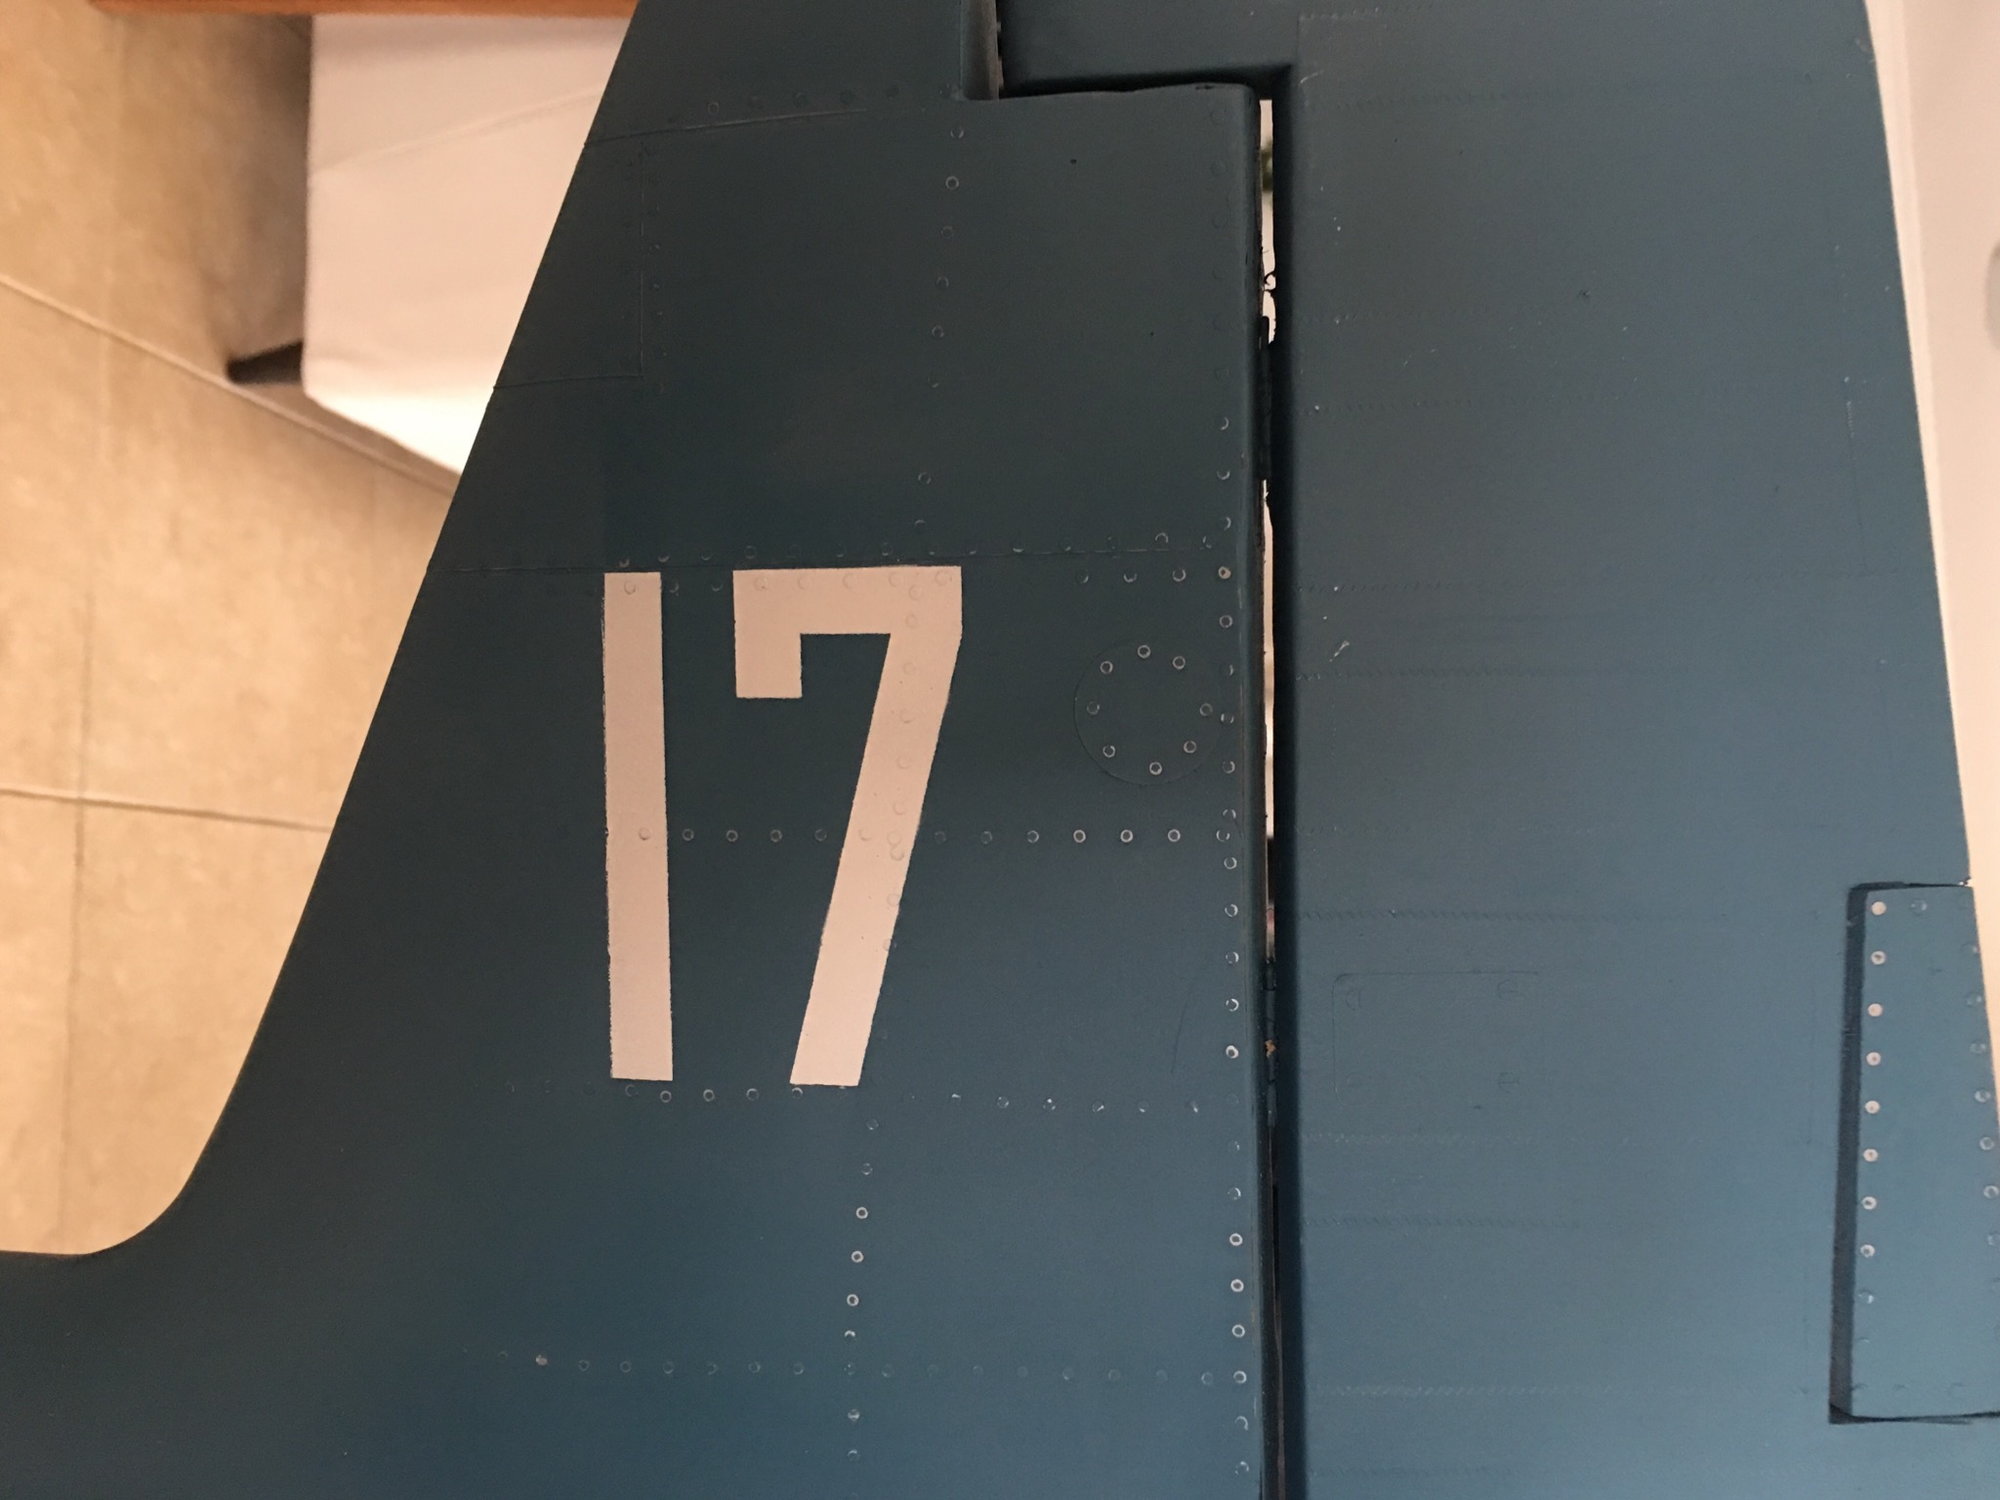
The airplane looks fantastic ledd4u. The US national insignia is rather more complicated than it looks and it's a lot easier to get wrong than it is to get right! Yours are not glaringly out of whack though and 99% of folks are never going to know the difference. Still aggravating though, I know the feeling.
11-20-2020, 05:10 PM
#266
Thread Starter
The airplane looks fantastic ledd4u. The US national insignia is rather more complicated than it looks and it's a lot easier to get wrong than it is to get right! Yours are not glaringly out of whack though and 99% of folks are never going to know the difference. Still aggravating though, I know the feeling.
11-29-2020, 03:35 PM
#267
Thread Starter
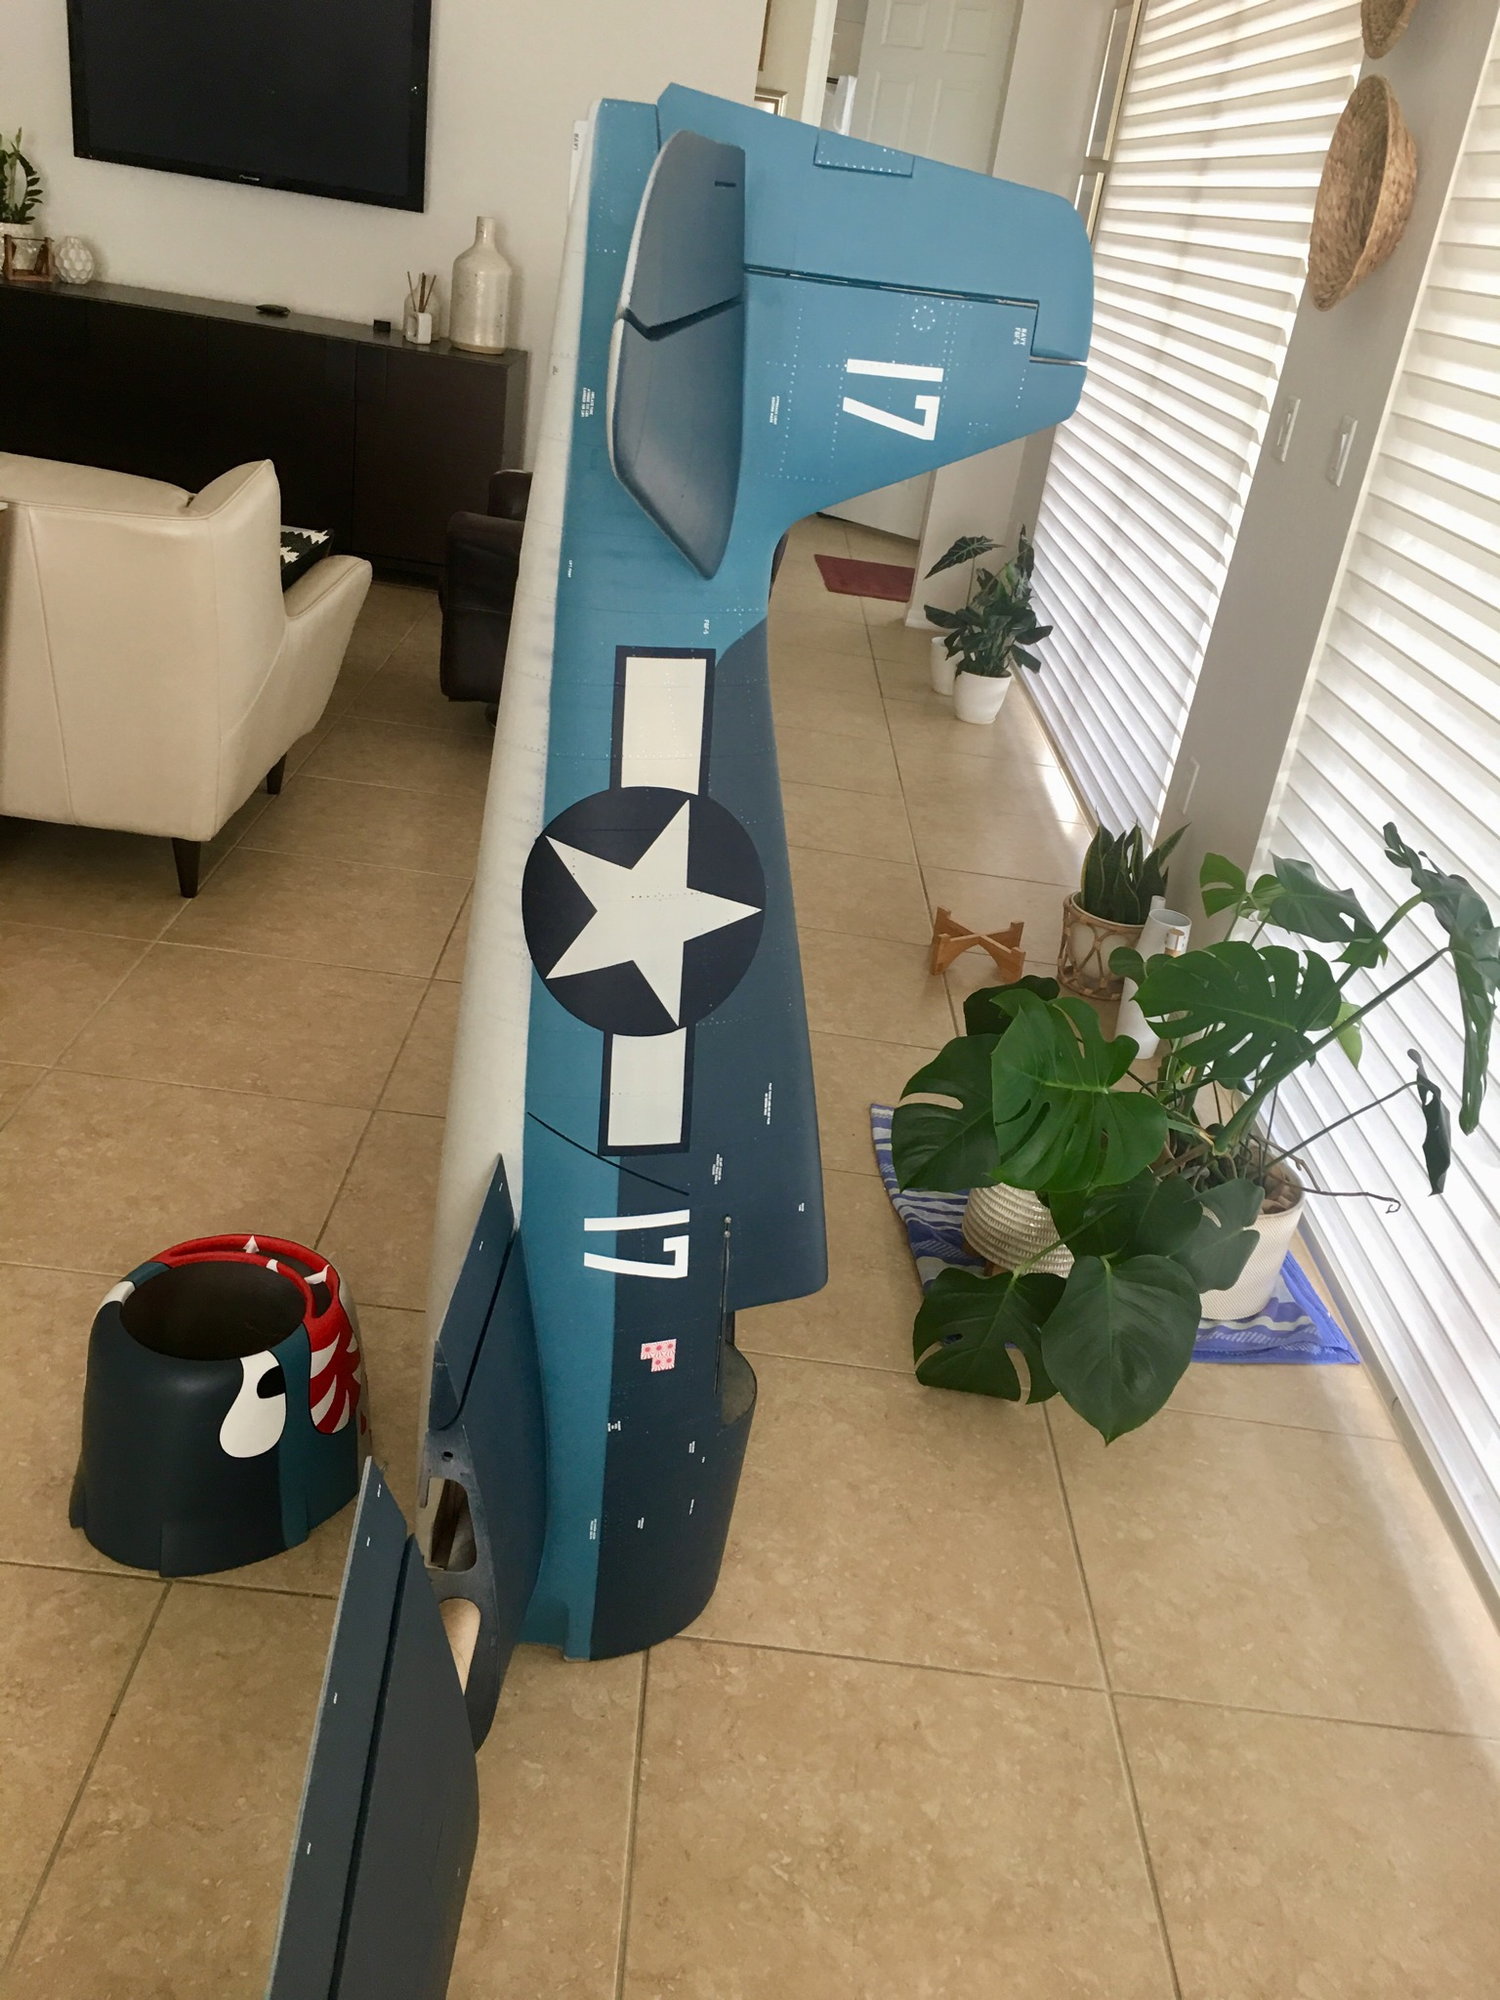
Tasks completed:
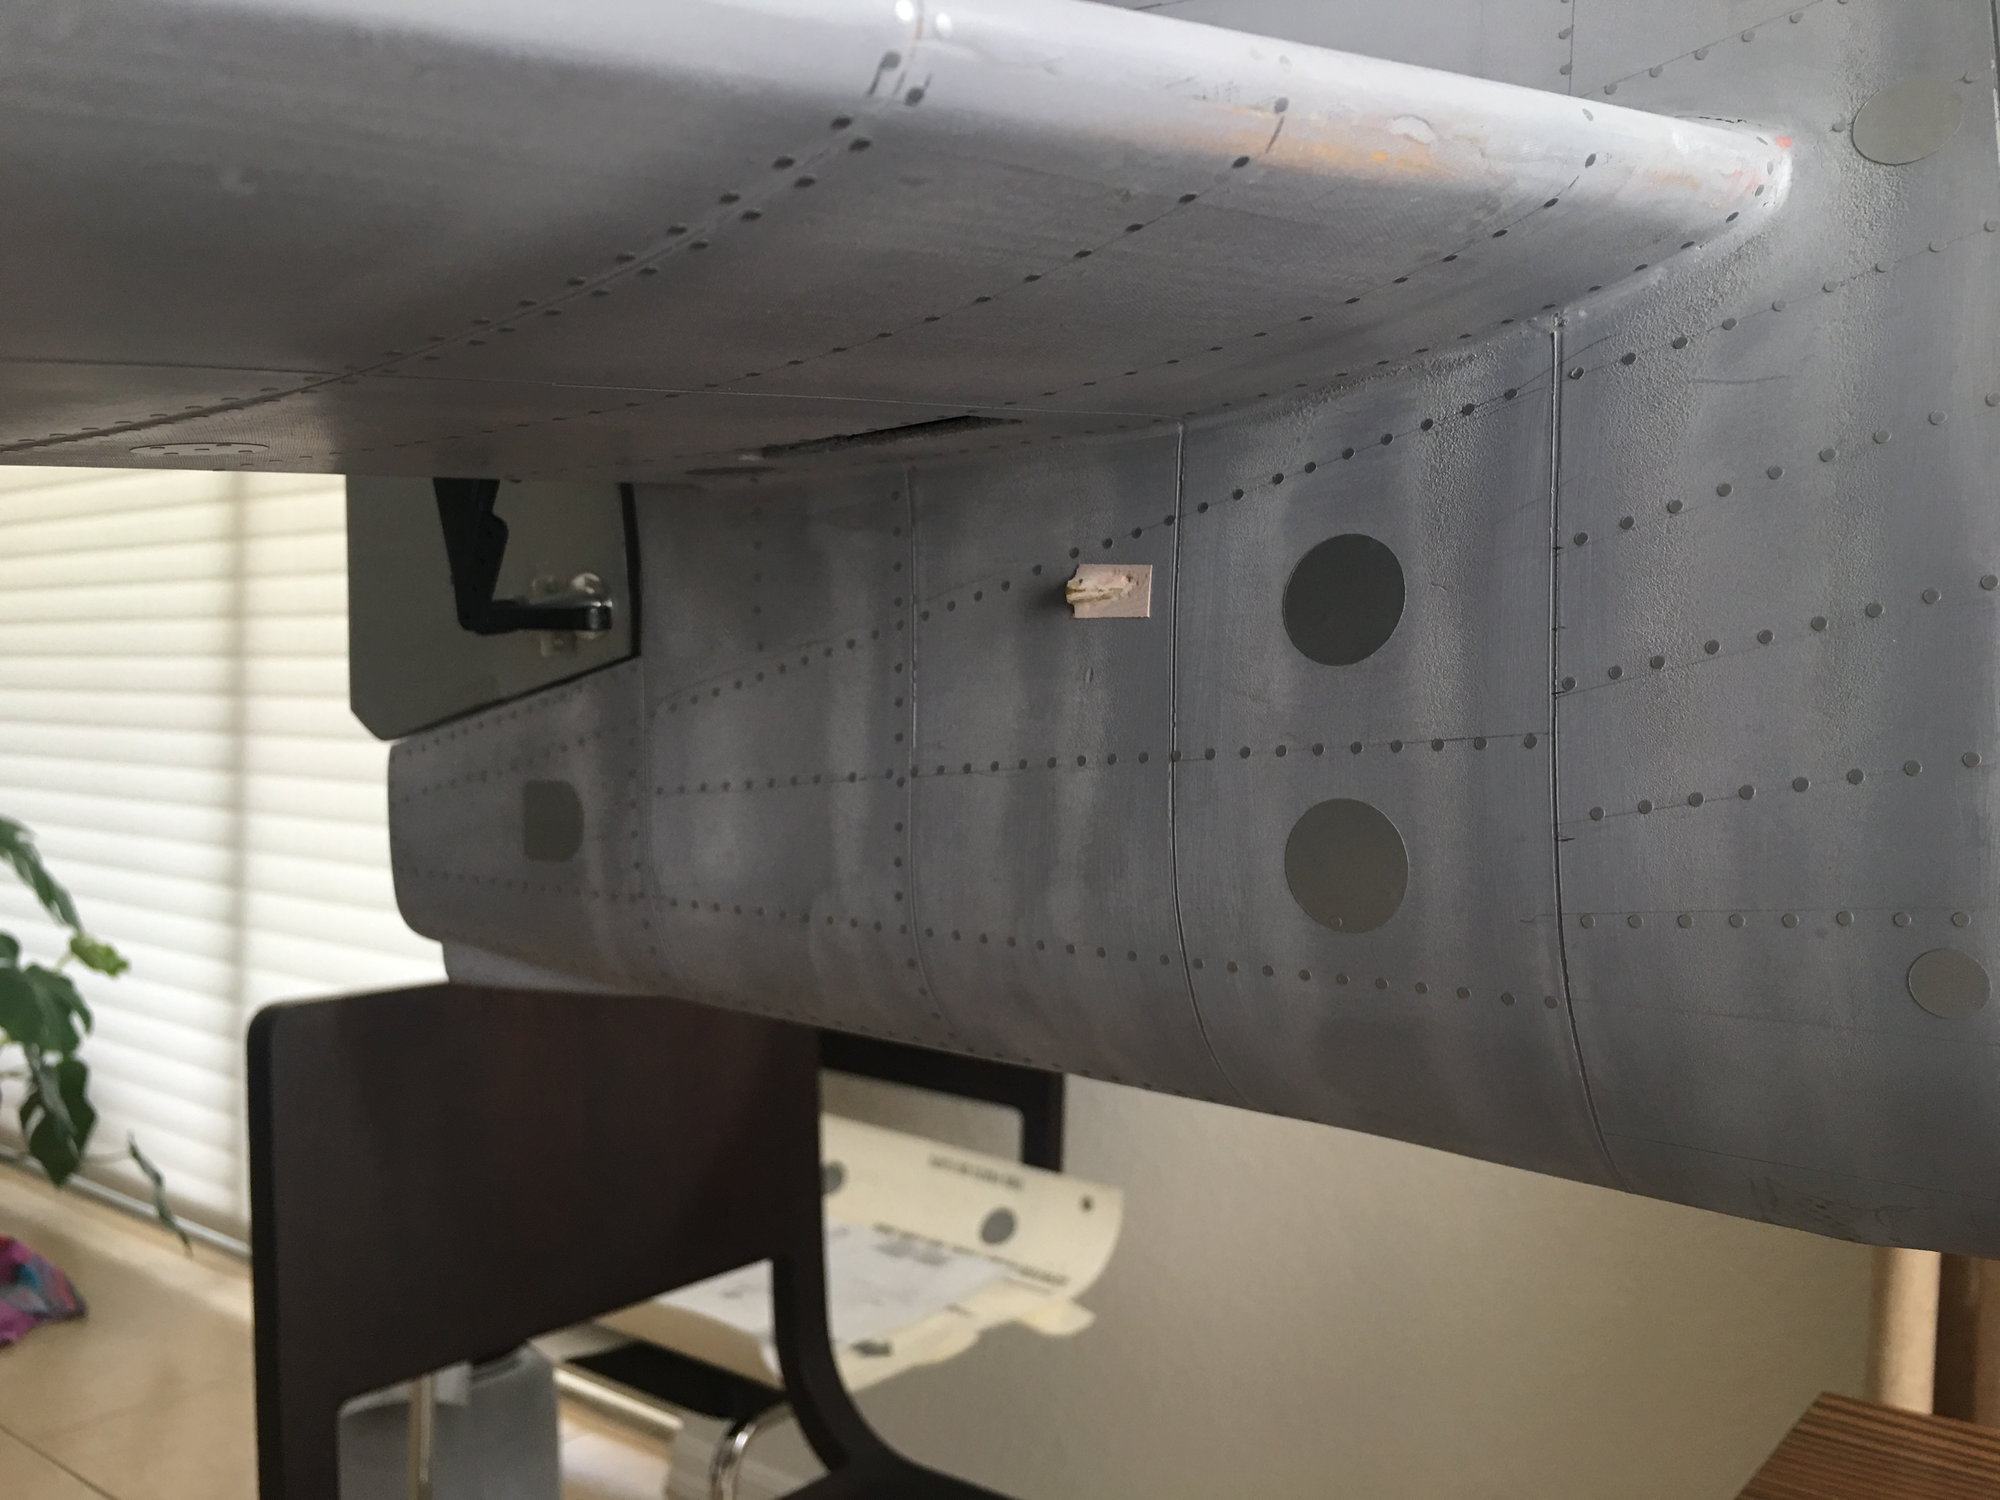
- Underside of outer wing panels sheeted.
- Access holes cut for guns and formation lights
- Leading edge of outer panels installed and rough shaped
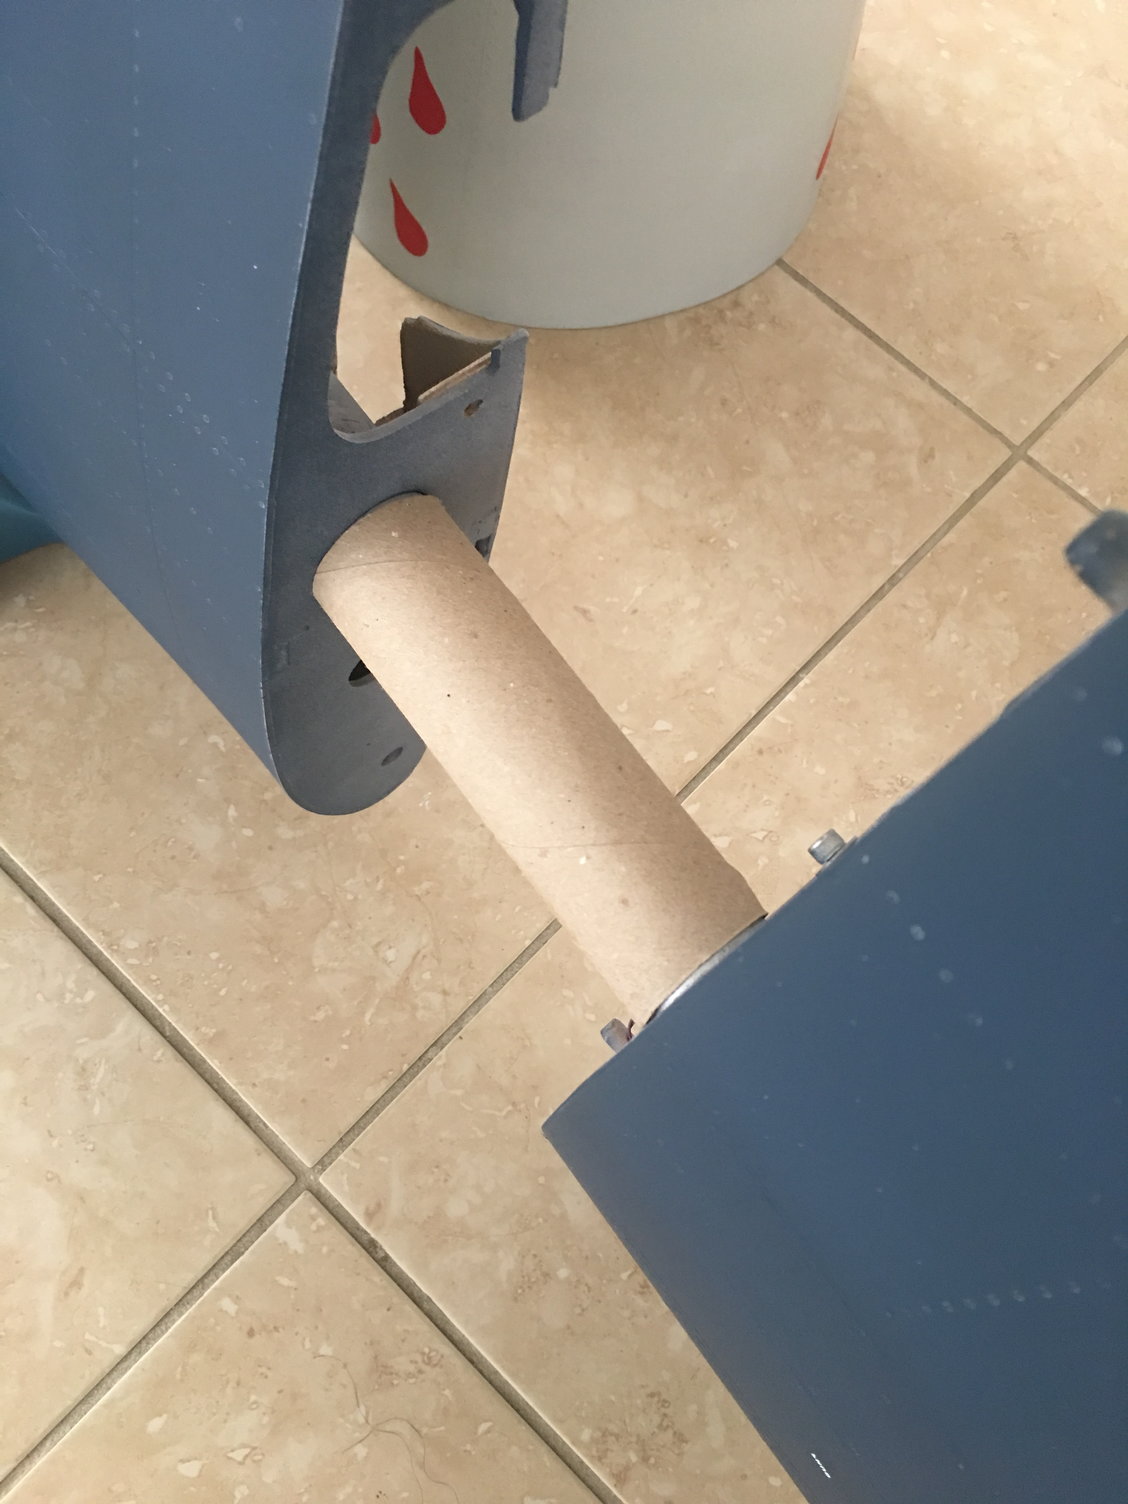
- Openings for gun alumium tube mounts cut, tubes installed and filed to match rough edge shape
- Gun barrels temporarily installed
Tasks remaining for wing:
- Complete the shaping of the leading edge
- Cut/install/shape wing tips
- Cut/install panel covers
- Install outer panel retention solution
...
- Underside of outer wing panels sheeted.
- Access holes cut for guns and formation lights
- Leading edge of outer panels installed and rough shaped
- Openings for gun alumium tube mounts cut, tubes installed and filed to match rough edge shape
- Gun barrels temporarily installed
Tasks remaining for wing:
- Complete the shaping of the leading edge
- Cut/install/shape wing tips
- Cut/install panel covers
- Install outer panel retention solution
...
12-06-2020, 07:50 PM
#269
Thread Starter
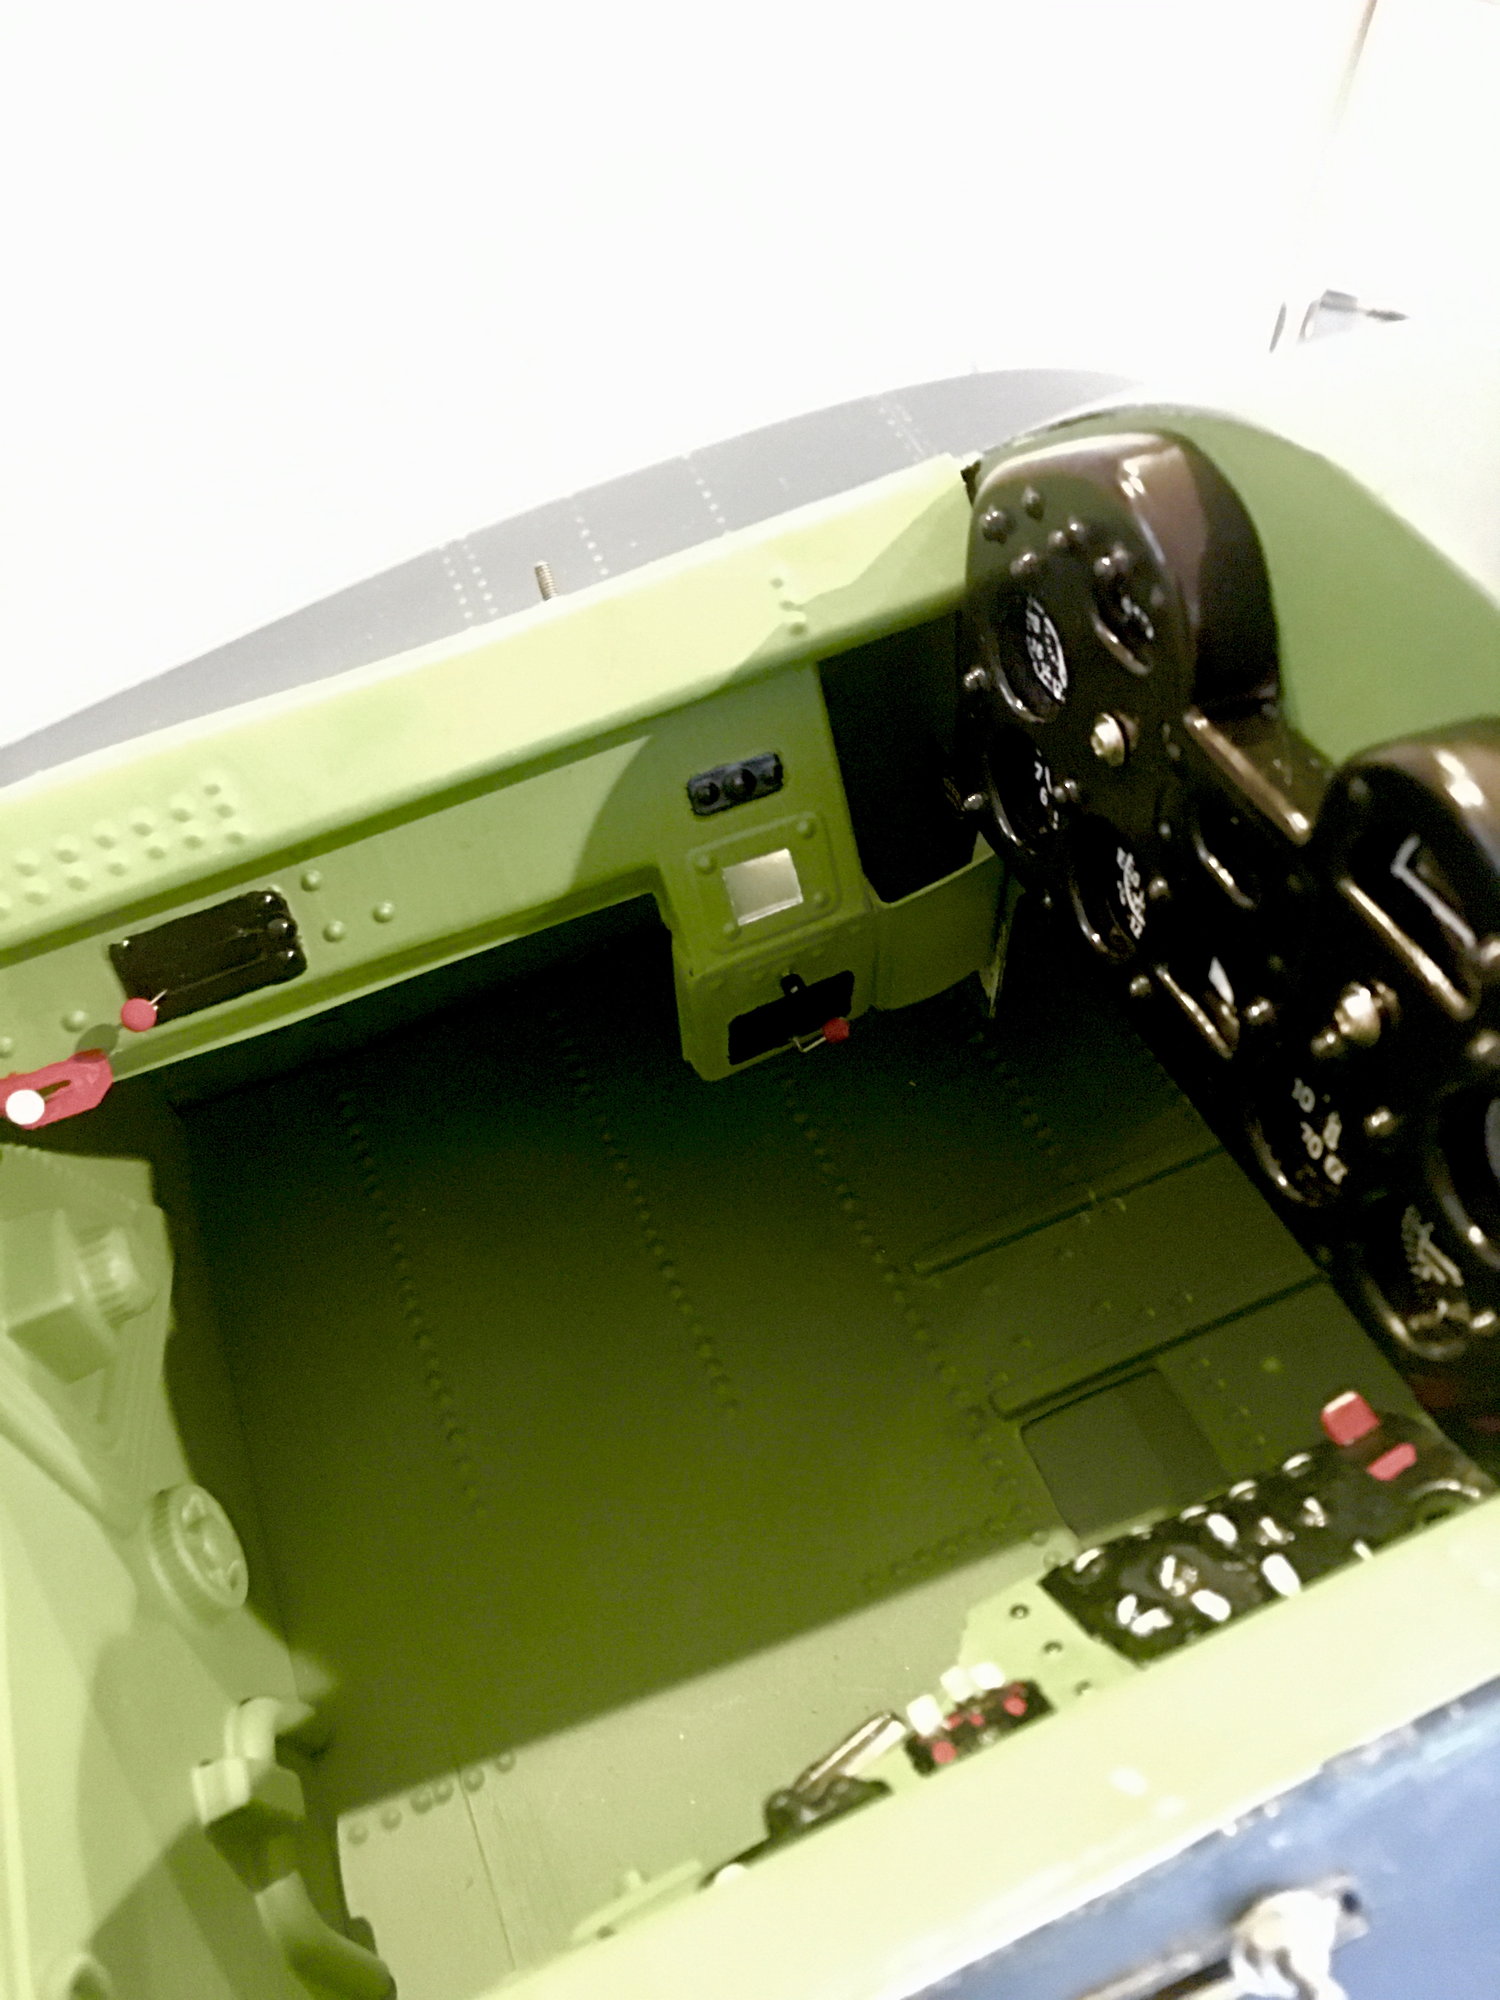
If it would be helpful, I have the instructions from Dynamic Balsa for their Hellcat cockpit. I checked their website, but the PDF links for most of the cockpits aren't showing up, including for the Hellcat. I'll attempt to send you my email via private message. If you are interested, write me back and I'll send you an email with PDF attached. Lot's of text, no pictures. But maybe there is enough their to give you some ideas, or confirm the ones you have.
 01-13-2021, 04:33 PM
#275
Thread Starter
So, what's been done on the Hellcat, lately?
- Leading edges installed and shaped
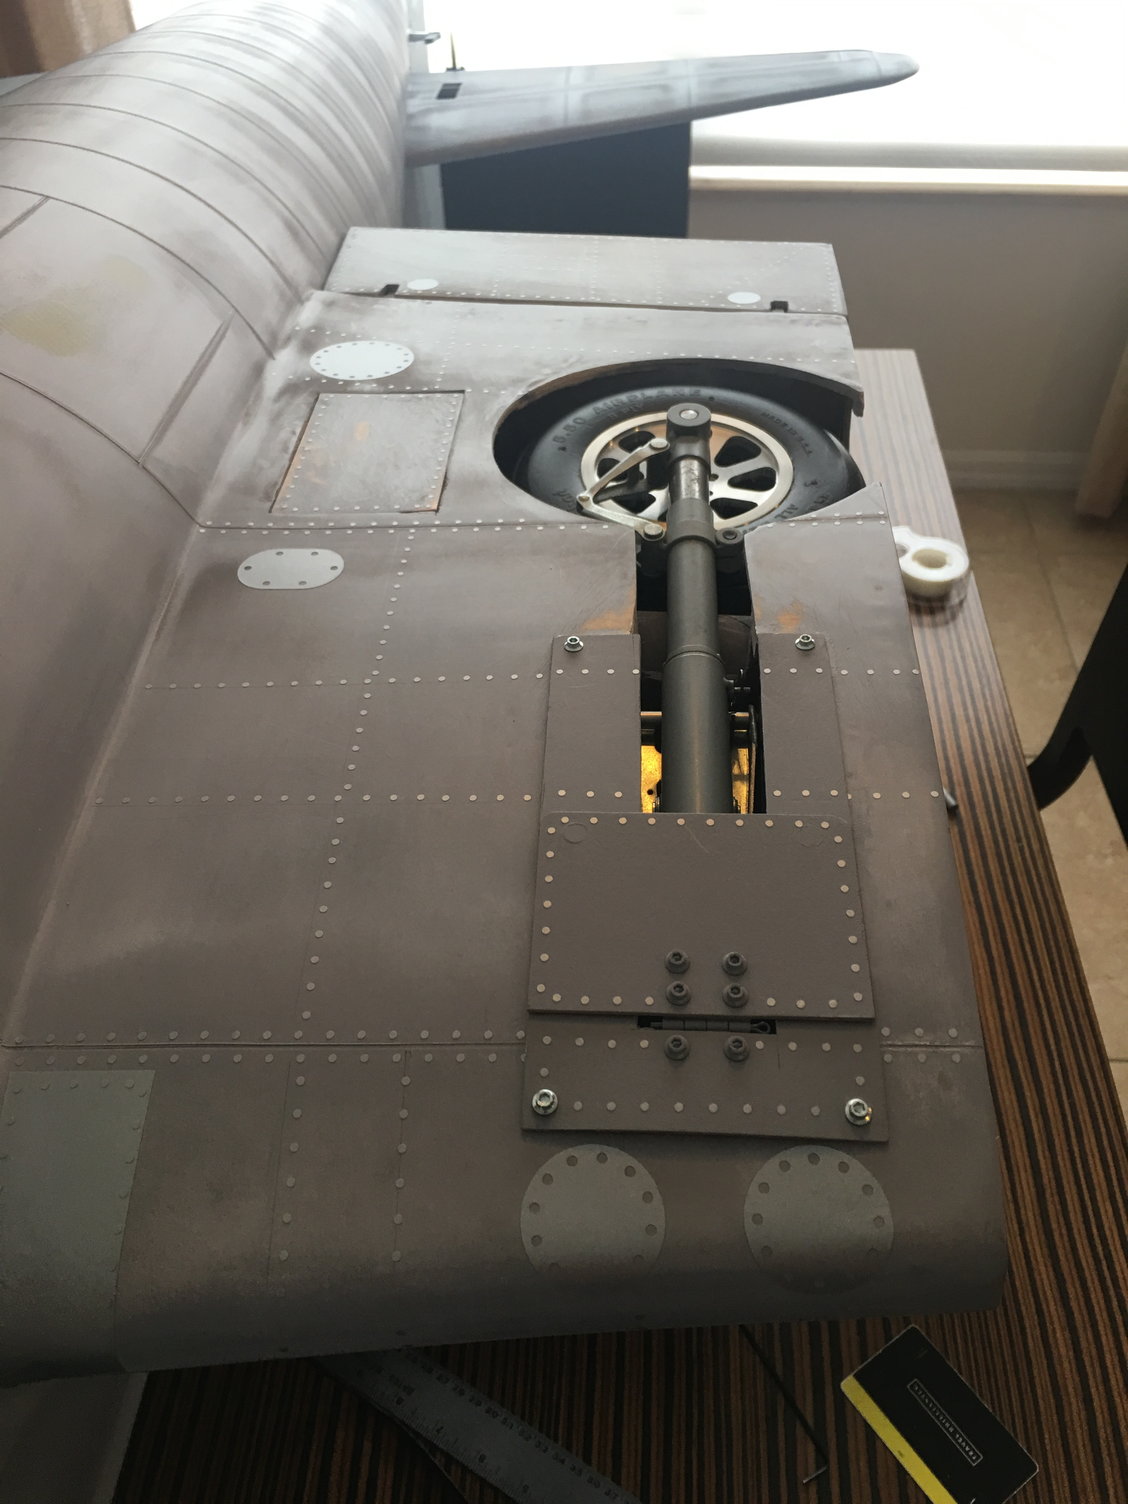
- Ports for simulated 50cals installed through leading edges
- Covers for landing gear bays cutout to provide clearance for upper struts (clearance for wheels had been done, log ago)
- Wing tips installed and rough shaped
- Installed right aileron "cap"
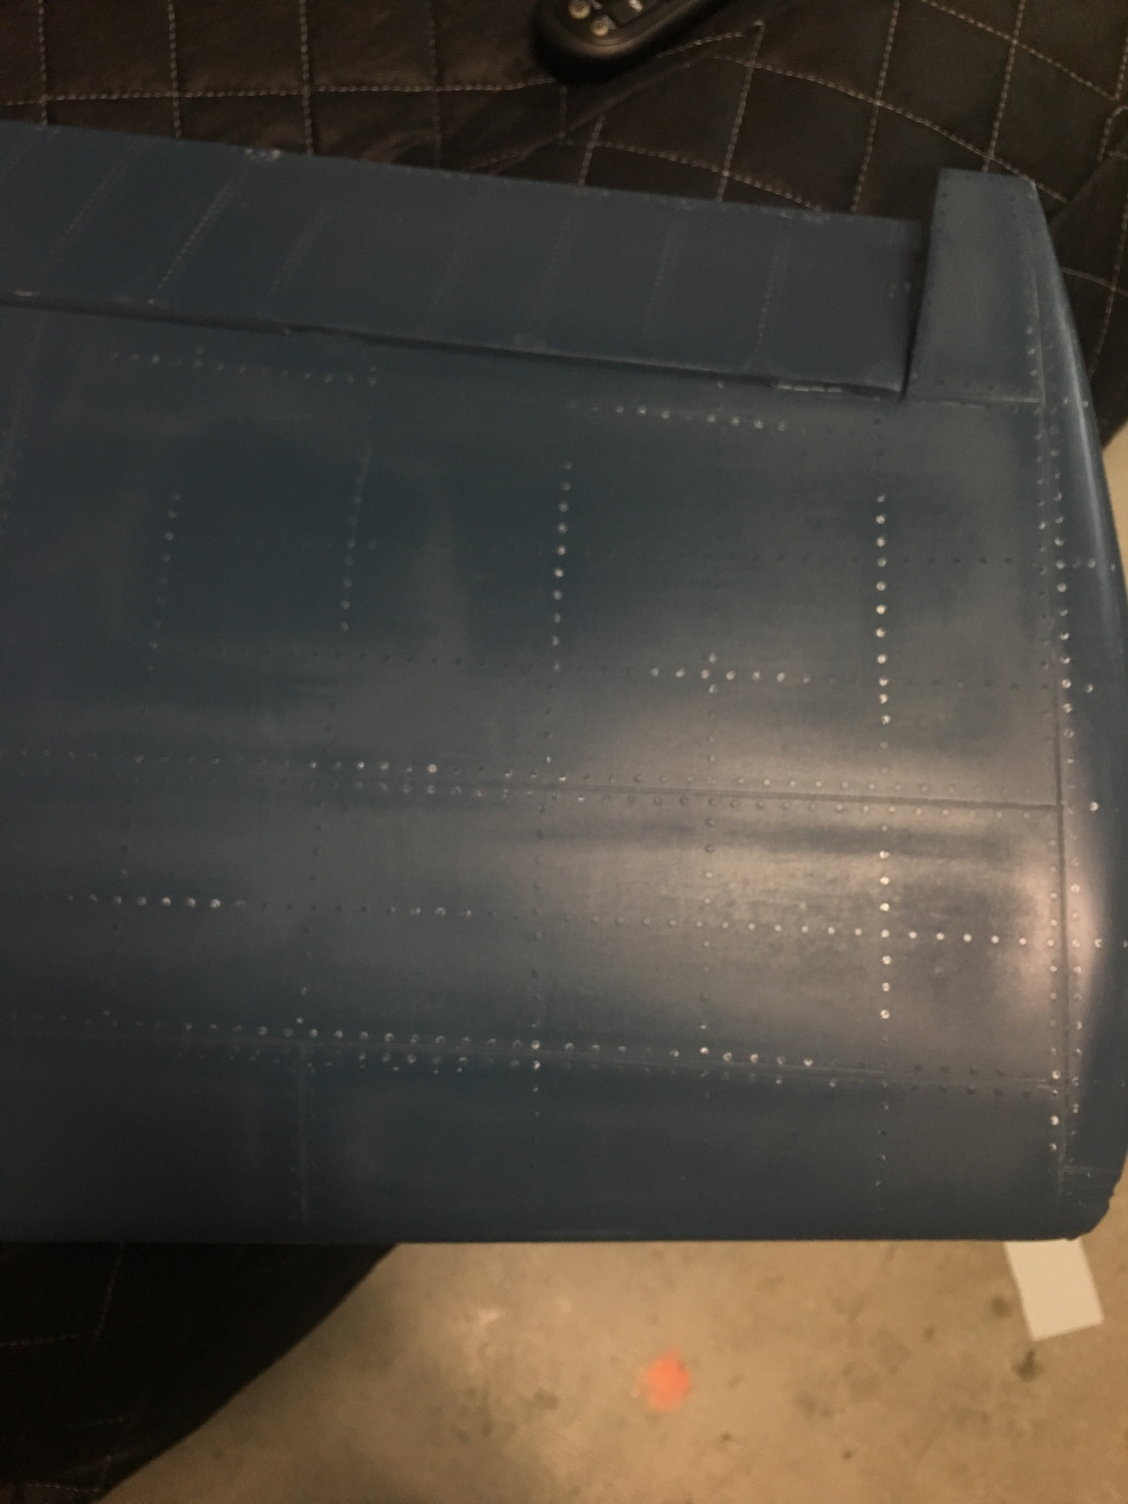
The aileron "caps" are required to fill the gap created by designing scale-like ailerons, rather than the drawings ailerons that hinge from the top of the wing. In the first picture, below, one can see that a scale-like aileron has a wing shape, with a rounded leading edge. This creates a large gap that needs to be filled. I created "caps" with 1/32" ply and 1/16" balsa. This is installed at the back of the wing, overhanging the aileron leading edge, to close the gap. The balsa on the trailing edge side is sanded to a shallow angle, to allow the greatest amount of aileron deflection. The ply provides a strong, thin trailing edge, resistant to hanger rash. I'm sure this is not perfectly to scale, but I like the setup a lot better than the original drawings. The ailerons similar to the full-scale, rib constructed and fabric covered. Scale-like function, too, with custom offset hinges, which allow the leading edge to dip below the wing's lower surface, to create counterbalancing forces against adverse yaw.
I've ordered some rib stitching from "Scale Rib Stitch Tape" - for the price, I couldn't pass it up - may save hours and costs trying to simulate stitches myself. The stitch tape goes on and then the pinking tape can be applied over it - if it works well, the fabric covered control surfaces should look great.
Need to finish the left aileron cap. After this, I'd like to say I'm done with all the big stuff. Lightening installation (if I go forward with this), a few hatch covers to make, re-cut/shape the upper exhaust indents in the fuse, surface prep, glass, prime/panel lines/Mirce's panel & rivet detail kit, paint, cockpit, drop tank, simulated bombs, detailing P&W 2800 dummy engine.... geez, still a ways to go, but a lot less to do than there used to be.
The end is in sight, if still a ways off at my pace...
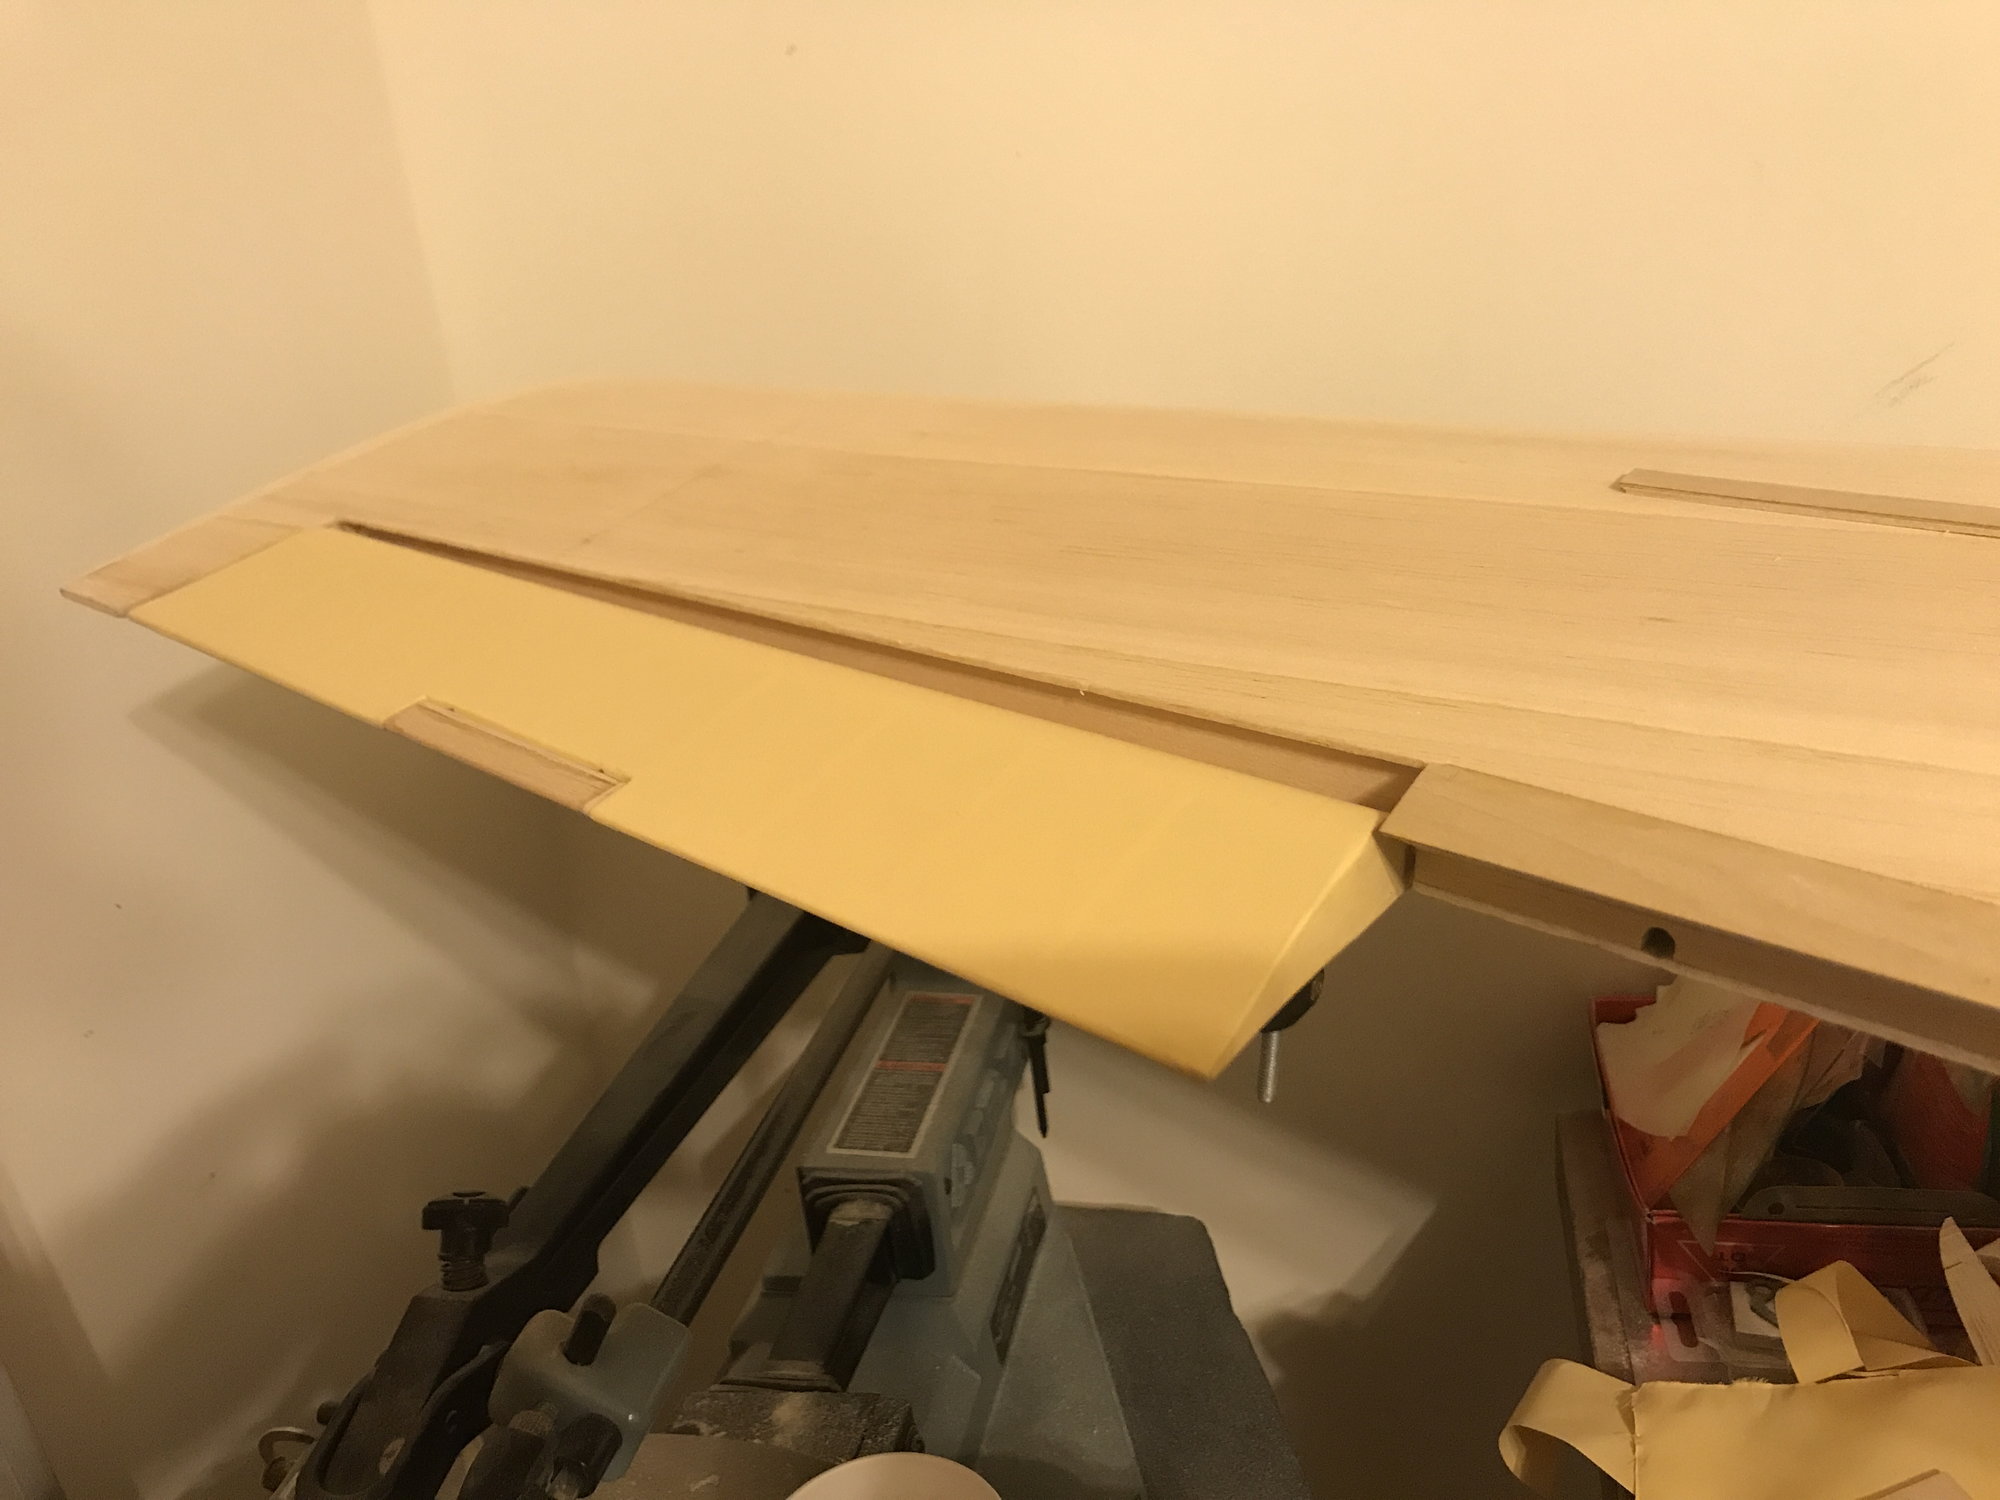
Left aileron - gap created from using scale-like aileron design.

Gap after installing filler cap
- Leading edges installed and shaped
- Ports for simulated 50cals installed through leading edges
- Covers for landing gear bays cutout to provide clearance for upper struts (clearance for wheels had been done, log ago)
- Wing tips installed and rough shaped
- Installed right aileron "cap"
The aileron "caps" are required to fill the gap created by designing scale-like ailerons, rather than the drawings ailerons that hinge from the top of the wing. In the first picture, below, one can see that a scale-like aileron has a wing shape, with a rounded leading edge. This creates a large gap that needs to be filled. I created "caps" with 1/32" ply and 1/16" balsa. This is installed at the back of the wing, overhanging the aileron leading edge, to close the gap. The balsa on the trailing edge side is sanded to a shallow angle, to allow the greatest amount of aileron deflection. The ply provides a strong, thin trailing edge, resistant to hanger rash. I'm sure this is not perfectly to scale, but I like the setup a lot better than the original drawings. The ailerons similar to the full-scale, rib constructed and fabric covered. Scale-like function, too, with custom offset hinges, which allow the leading edge to dip below the wing's lower surface, to create counterbalancing forces against adverse yaw.
I've ordered some rib stitching from "Scale Rib Stitch Tape" - for the price, I couldn't pass it up - may save hours and costs trying to simulate stitches myself. The stitch tape goes on and then the pinking tape can be applied over it - if it works well, the fabric covered control surfaces should look great.
Need to finish the left aileron cap. After this, I'd like to say I'm done with all the big stuff. Lightening installation (if I go forward with this), a few hatch covers to make, re-cut/shape the upper exhaust indents in the fuse, surface prep, glass, prime/panel lines/Mirce's panel & rivet detail kit, paint, cockpit, drop tank, simulated bombs, detailing P&W 2800 dummy engine.... geez, still a ways to go, but a lot less to do than there used to be.
The end is in sight, if still a ways off at my pace...
Left aileron - gap created from using scale-like aileron design.
Gap after installing filler cap