


Jerry Bates P-51B Build "Hell Yes Let's Go!!!"
 01-29-2019, 05:15 AM
#251


Hey guys who are still building this plane, the horizontal stab needs a hard leading edge instead of soft, easy to sand and shape balsa. I have dinged mine numerous times during construction and after. The first damage was when I forgot to duck when I went under it, my nose dented it. Since then it gets hanger rash almost every time I load or unload it in the van. Yesterday it was dented twice getting it into the shop. A helper on the flight line straddled the fuselage while I ran the engine up before flight. When I went to full throttle his ankles dented both sides of the stab. Even the tie downs and restraints provided by the flying club have damaged the stab. I've had to get a helper to hold the plane by the wing's leading edge to take the strain off of the stab.
Since my model has graphics on the tail the repairs involve filling, sanding, masking, and touch up painting. Easy, but time consuming. Substituting hardwood for the balsa called for on the plans might eliminate most of this damage. Other than this issue, I love this plane, it has caused me to get rid of my H9 and several Topflite Mustang airframes to make room for building another J. bates Mustang. I have moved the CG back from the recommended CG 3 times with no apparent effect on flying qualities, only reducing the number of nose overs, broken props, and spinner damage. I have the fuel tank mounted on the CG so fuel weight is not causing the nose overs.
If you haven't finished yours and started flying it you need to get busy , you are missing a great Mustang experience.
 01-30-2019, 04:20 AM
#252
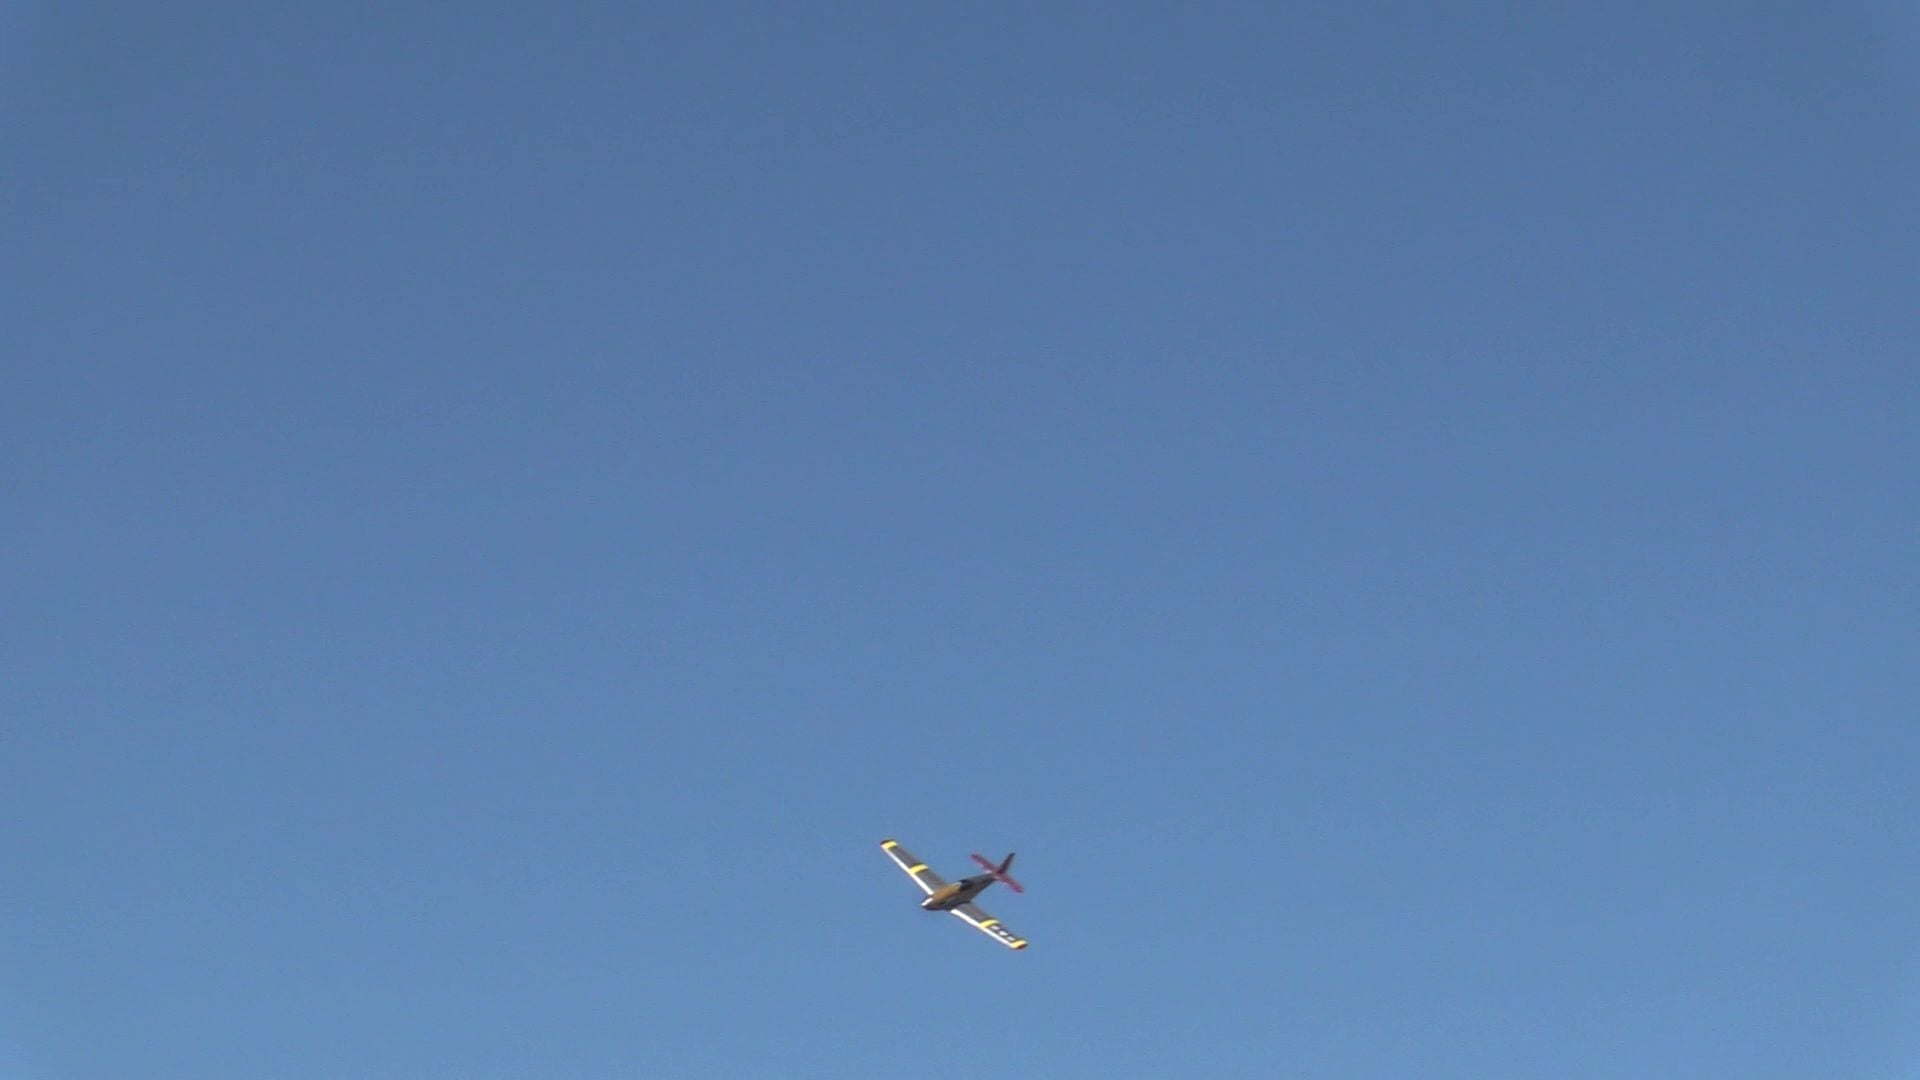

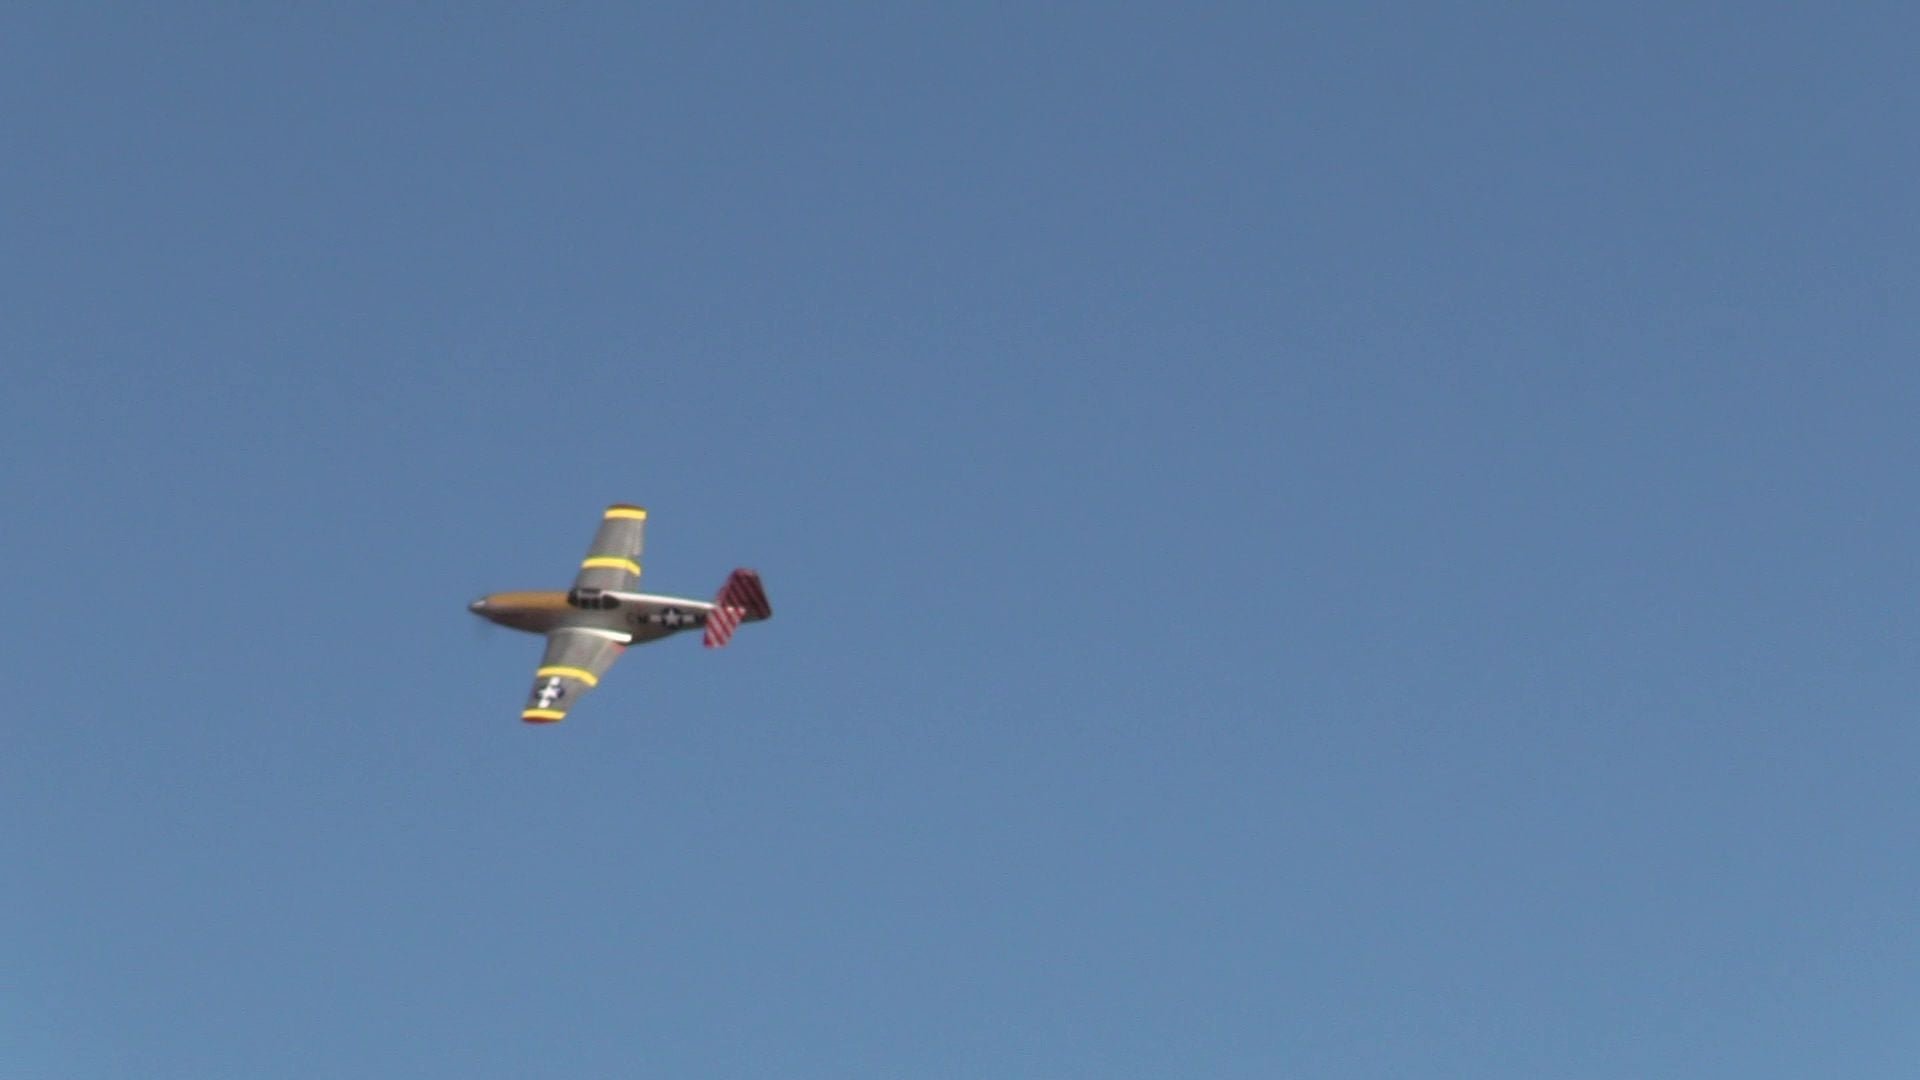
I was able to get someone in my club to hold my camera. A few seconds were clear out of a 10+ minute flight that I managed to extract some in-focus frame grabs from. I have received the Ramoser Varioprop that I ordered for this model. I chose the 2 blade hub with Hamilton Standard paddle blades, except for not having the blade cuffs they are almost scale. The 25 i series 2 blade hub is pitch adjustable on the ground, the 21.6 inch diameter is smaller than scale size (26.25 inch), because the DA 60 engine can't turn the scale 4 blade prop. This prop is manufacturer rated at 7,900 rpm maximum for gas engines, close to the 8,100 rpm that I am getting with a Graupner 22 x 12 Pro. The plane will have to be limited to speeds that don't over-rev the Varioprop, especially in the dive, where prop rip holds the plane's airspeed back when using the Graupner prop.
When I build the second version of this plane I'll static balance all of the control surfaces to help prevent high speed flutter as the Mustang design does not seem to have a reasonable VNE that limits the top speed that can be reached. An attempt to keep the rpms down with increased blade pitch will allow the airframe to accelerate to very high speed, possibly into the flutter range. I have personally witnessed a P-51 D model being abused by diving until the ailerons fluttered, blowing the plane into little pieces.
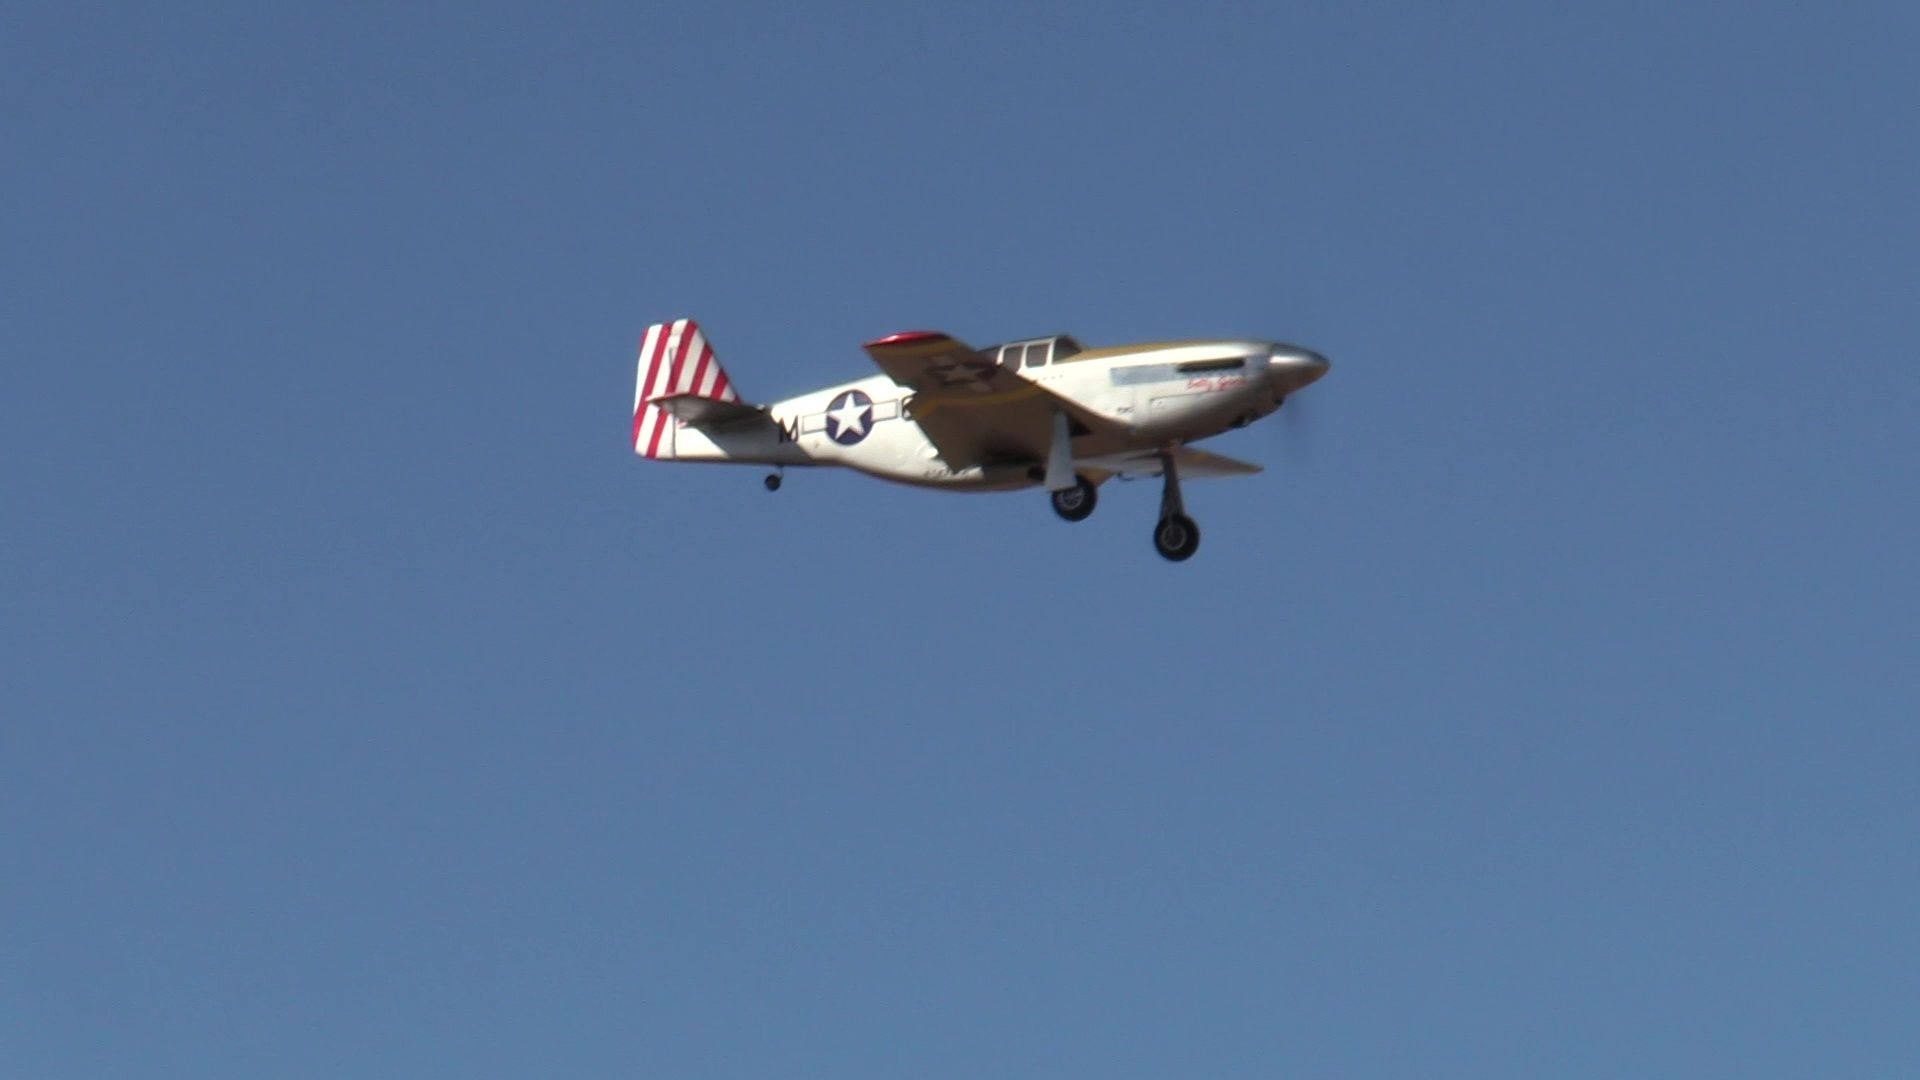
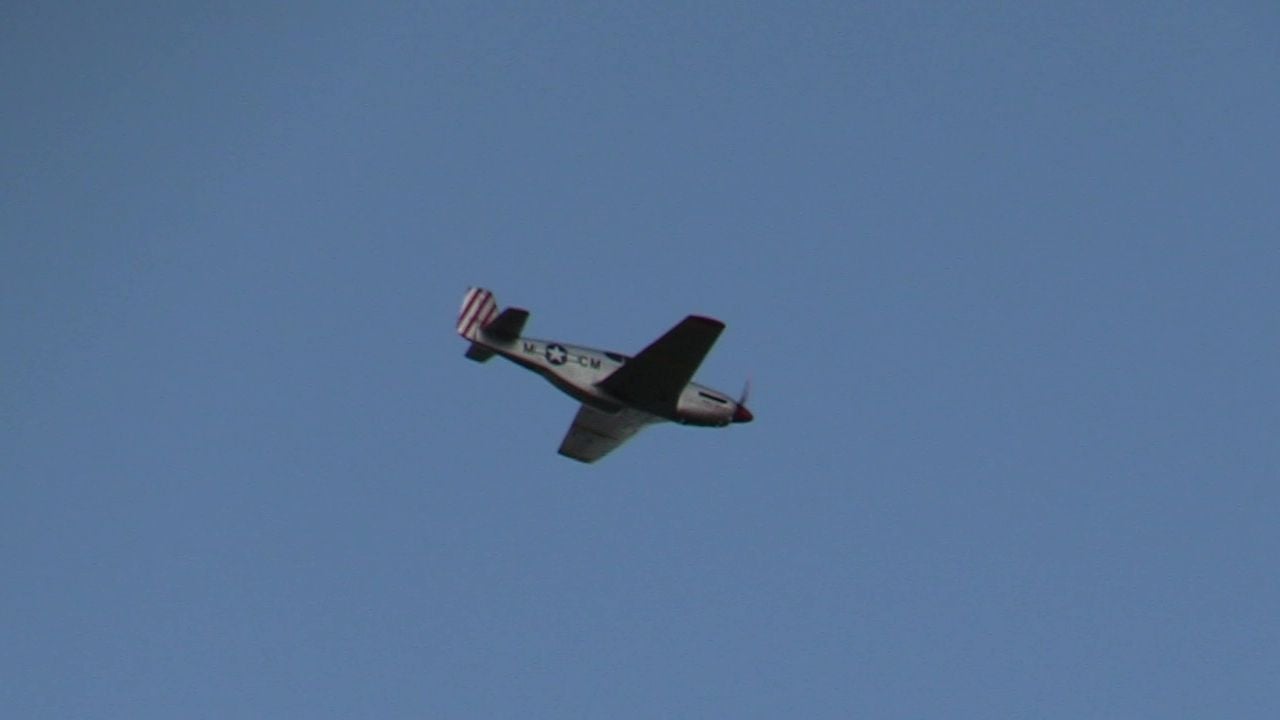
Flight performance of this J. Bates designed B model Mustang is nothing less than spectacular. After wringing mine out in both aerobatic maneuvers and high speed flight, flight testing its low speed and runway manners, it beats every other brand P- 51 that I have owned or flown. If I take care to set it up for slow approaches I can consistently do 3 point landings. I look forward to flying this plane in the warbird gaggles this year.
 02-03-2019, 02:14 AM
#254
I don't remember the exact amount, somewhere around $550 USD. You can contact him at Vic Catalasan [email protected]> for current pricing. It took about 3 weeks to build and ship the fuselage. I also bought the B model canopy, belly scoop, and engine cowling, included in the quoted price. He can recommend several kit cutters for the wood parts. I used Robart retracts for the Hanger 9 60 cc P51 D, however, you should used the Sierra Giant scale retracts instead. The Robarts can be made to fit the J Bates wing but due to the wing cross section being thinner a ground loop bends the Robart's frames causing cracks in the wing sheeting. These cracks have been easy to repair but wouldn't happen with thinner retracts. I will be using the Sierra units in my second plane.
02-04-2019, 09:53 PM
#256
Prekin,
I'm guessing that the price he gave you is in EUROs, I would go with the LAST quote he sent. Without seeing the actual invoices I couldn't tell which should be correct. Ask him to clarify.
I flew the plane with the Ramoser Varioprop installed, pitch set at 14 inches. I had guessed that the DA 60's rpm would be lower turning the varioprop, it sounded like it was turning around 7,000+ rpm in the air. On the ground the varioprop did not stall at high throttle, like the Graupner 22-12 did. Performance was about the same, I got a speed reading of 79 mph at 1/3 throttle, full throttle level speeds were in the 110-114 mph range. I forgot to take my blue tooth speaker so I had to hold the transmitter up to the plane as it flew by to focus on, and READ the tiny display, not easy, and you can't take your eyes off of the plane for more than a half second to read speeds. My nomograph chart gives an rpm of around 7,400 rpm for 114 mph, and subtracting 6 mph to correct for sensor calibration error still gives 7,300 rpm at 108 mph. I didn't try to get dive speeds, and the prop was ripping at times. All around performance was the same except for absolute altitude reached, the Graupner prop pulled over the top better and probably gained 100-150 feet more than the varioprop. The plane still did more than 3.5 vertical rolls, close to the best Graupner performance.
Take off and landing handling seemed to be better with the varioprop, there was no tendency to ground loop as the tail came up, and landing run outs were straight. I use a throttle curve for precise throttle control at low speeds so the liftoff point and climb-out was reached at 1/4 throttle true, below the speed that the speed sensor starts working (around 19-21 mph). It was the first time that I did several touch and go landings and had every one be a grease job. All of the takeoffs and landings were done on the grass except for the last landing on the blacktop, and it was a greaser too. I think the wide blade varioprop makes ME a better pilot. Other guys at the field complimented me for the good flights and especially the landings.
Next, I will paint and decal the prop blades for a more scale appearance (in flight). And I will consider getting a smaller diameter set of blades (19.9 inch) to try a four blade setup that the DA 60 may be able to turn. I had success when I did this with my lower powered 50 cc electric motor setup. The guys also mentioned the plane had better sound with this prop, there is definitely more blade noise in flight below the rip rpm. Cruising by at low altitude at 1/3 throttle and 80+ mph does sound good, the chainsaw exhaust noise is suppressed and the prop noise more audible. I might experiment with mufflers to get less chain saw racket.
02-04-2019, 11:48 PM
#257
Thank you. Unfortunately the price I got from him was in USD. Here is some information about his Spitfire "
"Many years ago" means last summer. All his items are more expensive now.
[QUOTE] Spitfire static prop with static spinner is $65, oil coolers $46 per pair. For the P51B, I can make the chin cowl $65, canopy $30 and belly scoop $30. Shipping to you will be quite expensive probably around $50-$75
Last summer ("many years ago") price list
Here are the prices.
Fuselage $300
Cowl MkIX $50
Canopy frame MkIX$20
Clear canopy MkIX $30
Chin scoop MkIX $22
Guns and wing blister set MkIX $25
Oil Coolers MkIX $30 set
Static Blade and Spinner MkIX $50Depending on shipping address it is around $65-$85 when shipping with fuselage.
$350 is correct and that comes with the front leading edge wing fairing. It was $300 many years ago
[QUOTE] Spitfire static prop with static spinner is $65, oil coolers $46 per pair. For the P51B, I can make the chin cowl $65, canopy $30 and belly scoop $30. Shipping to you will be quite expensive probably around $50-$75
Last summer ("many years ago") price list
Fuselage $300
Cowl MkIX $50
Canopy frame MkIX$20
Clear canopy MkIX $30
Chin scoop MkIX $22
Guns and wing blister set MkIX $25
Oil Coolers MkIX $30 set
Static Blade and Spinner MkIX $50Depending on shipping address it is around $65-$85 when shipping with fuselage.
02-05-2019, 12:39 AM
#258
OK, I understood that he was quoting for P 51 B fuselage and parts, you are asking for Spitfire parts, they probably have different costs. I compared the cost of the P 51 B parts and a wood kit from a kit cutter plus shipping to what I spent for both Topflite and Hanger 9 ARF airframes at $750-850 plus shipping and the fact that a lot of the supplied hardware for these ARFs are JUNK and I had to replace with quality hardware from after-market suppliers like Sullivan and Dubro bought from local hobby shops.
The cost of everything to get the J. Bates Mustang framed up and outfitted with hardware was close to what it cost to assemble an ARF. Even the amount of TIME spent to get this plane to the assembled state compared favorably with the ARFs, AND I had a better airframe at that point. ALL of my ARFs had relatively short lifespans before major repairs and upgrades were necessary for safe flight. No one who buys an ARF considers that the glue (for instance) used by the manufacturer is CRAP, not fit to use for furniture, much less an airplane. When I had gotten my first Hanger 9 Mustang to 20+ flights I discovered that ALL of the control clevises were cracked at the pin holes, needing replacement. Fortunately for me, I was used to kit building, having started in this hobby that way. After many years of ARF assembling I came to the conclusion that it was just too much trouble and expense to continue doing that and went back to kit building.
The cost of everything to get the J. Bates Mustang framed up and outfitted with hardware was close to what it cost to assemble an ARF. Even the amount of TIME spent to get this plane to the assembled state compared favorably with the ARFs, AND I had a better airframe at that point. ALL of my ARFs had relatively short lifespans before major repairs and upgrades were necessary for safe flight. No one who buys an ARF considers that the glue (for instance) used by the manufacturer is CRAP, not fit to use for furniture, much less an airplane. When I had gotten my first Hanger 9 Mustang to 20+ flights I discovered that ALL of the control clevises were cracked at the pin holes, needing replacement. Fortunately for me, I was used to kit building, having started in this hobby that way. After many years of ARF assembling I came to the conclusion that it was just too much trouble and expense to continue doing that and went back to kit building.

 04-06-2019, 04:55 PM
#260
No problem Thomas, email me or PM, when you would need them. Will you build the P-51A?
This year I would like to list also the N3B gunsight.
 08-28-2019, 02:55 AM
#261
This is an update on my progress with this plane. After around 25 flights attempting to get the plane in trim for level flight and having to use all the available left trim for level flight, I did a close evaluation of the wing trying to find the cause of the right roll tendency. I steamed the wing with it weighted down and using a laser incidence angle gauge got the entire wing within 1/2 degree tip to tip. More test flights showed some progress but it still needed way too much left trim. I stopped flying it and bought another wood kit. This time I left the washout tabs on the wing bottom until the sheeting was completed except for the washout tab area, doing the fiberglass of the wing sheeting and letting the wing sit for a week clamped to the work table on its tabs so the resin could harden.
This time it came out perfectly straight so I removed the tabs and completed the wing for flight. This last week end I flew the new wing for the first time and am happy to report it flies straight and level needing only 4 clicks of left for level flight at low speeds, and at high speeds the trim has to be reduced 2 clicks for level flight. The only glitch was the right flap binding at full up, at the field I lowered both flaps enough (about 1/4 inch) to keep the flaps below the bind area. During the set up on the bench I had no binding, but after painting the right flap's upper surface is sticking to the paint. This will take some sanding to eliminate the binding, I may have to move a couple of the flap hinge points also.
Because it needs this correction before any more flight trimming I quit after only one flight. I was still impressed with its slow landing speed, doing a grease job in the grass to end the flight. A strong cross wind about 45 degrees from the left made me choose the grass instead of the hardtop runway for take off and landing. My club field is not suited for grass operations because of lawn rat digging at the east end of the grass, landings have to be short run-out to keep the wheels out of the rough area, but this plane's slow approach and landing speed does the trick.
None of the other fields I visit have this kind of runway issue, most of them are grass only. The Ocala club runway has the black top's near edge about 30 feet from the pit fence, this puts the grass runway out about 75 feet, making approach alignment difficult for tail dragger operations off grass. The only other club field is only 15 miles from my home, but the field itself is unsuitable for giant scale models so I have to drive for 45 minutes to use the Ocala field. Fortunately, all the club events I attend at other club fields around the state are grass only, with the runway next to the pit fence.
I sold all of my other P 51 models and also my new TF P47 Razorback to concentrate on the Jerry bates P 51 model in the future. I have already started construction on the second JB Mustang for a backup model.
09-17-2019, 05:53 AM
#262
Some further work on the wing control surfaces to free up and align them has worked pretty good. I no longer need any trim for level flight. In comparing the two wings I can't find any differences that would cause the first wing's trim problem. I will used it with the new wood fuselage I am building. Having to crank a lot of left trim into it to fly level doesn't make it unusable, and it's flying characteristics are the same as the new wing except for a slower left role rate. It will be nice to have a practice model to fly locally. In the past I have dinged the gear on a bad landing, preventing my attending an event that I was practicing for.
A big benefit to my going with this model is no longer having to deal with the quality issues of the five TF and two H9 Mustangs, and this one flies better and has better performance than the competing brands. The overall cost and time to build the J Bates Mustang is very close to the others, the only hang up being never getting the recommended Sierra landing gear that I ordered many months ago. Fortunately I have landing gear from the previous planes on hand and it is easy to modify the gear mounts to accommodate them. If the sierra gear ever arrives I already have the original mounts for them. It would be nice to have a more robust landing gear in the plane, but I understand why manufacturers no longer have stuff on hand for built up models. I hope that the guys who SETTLE for the ARF crap will go back to building, maybe the crap head who is restricting imports will create a new market for locally built products.
Meanwhile I take pleasure in being able to say I built it from scratch when asked if it is an ARF.
10-02-2019, 11:32 PM
#263
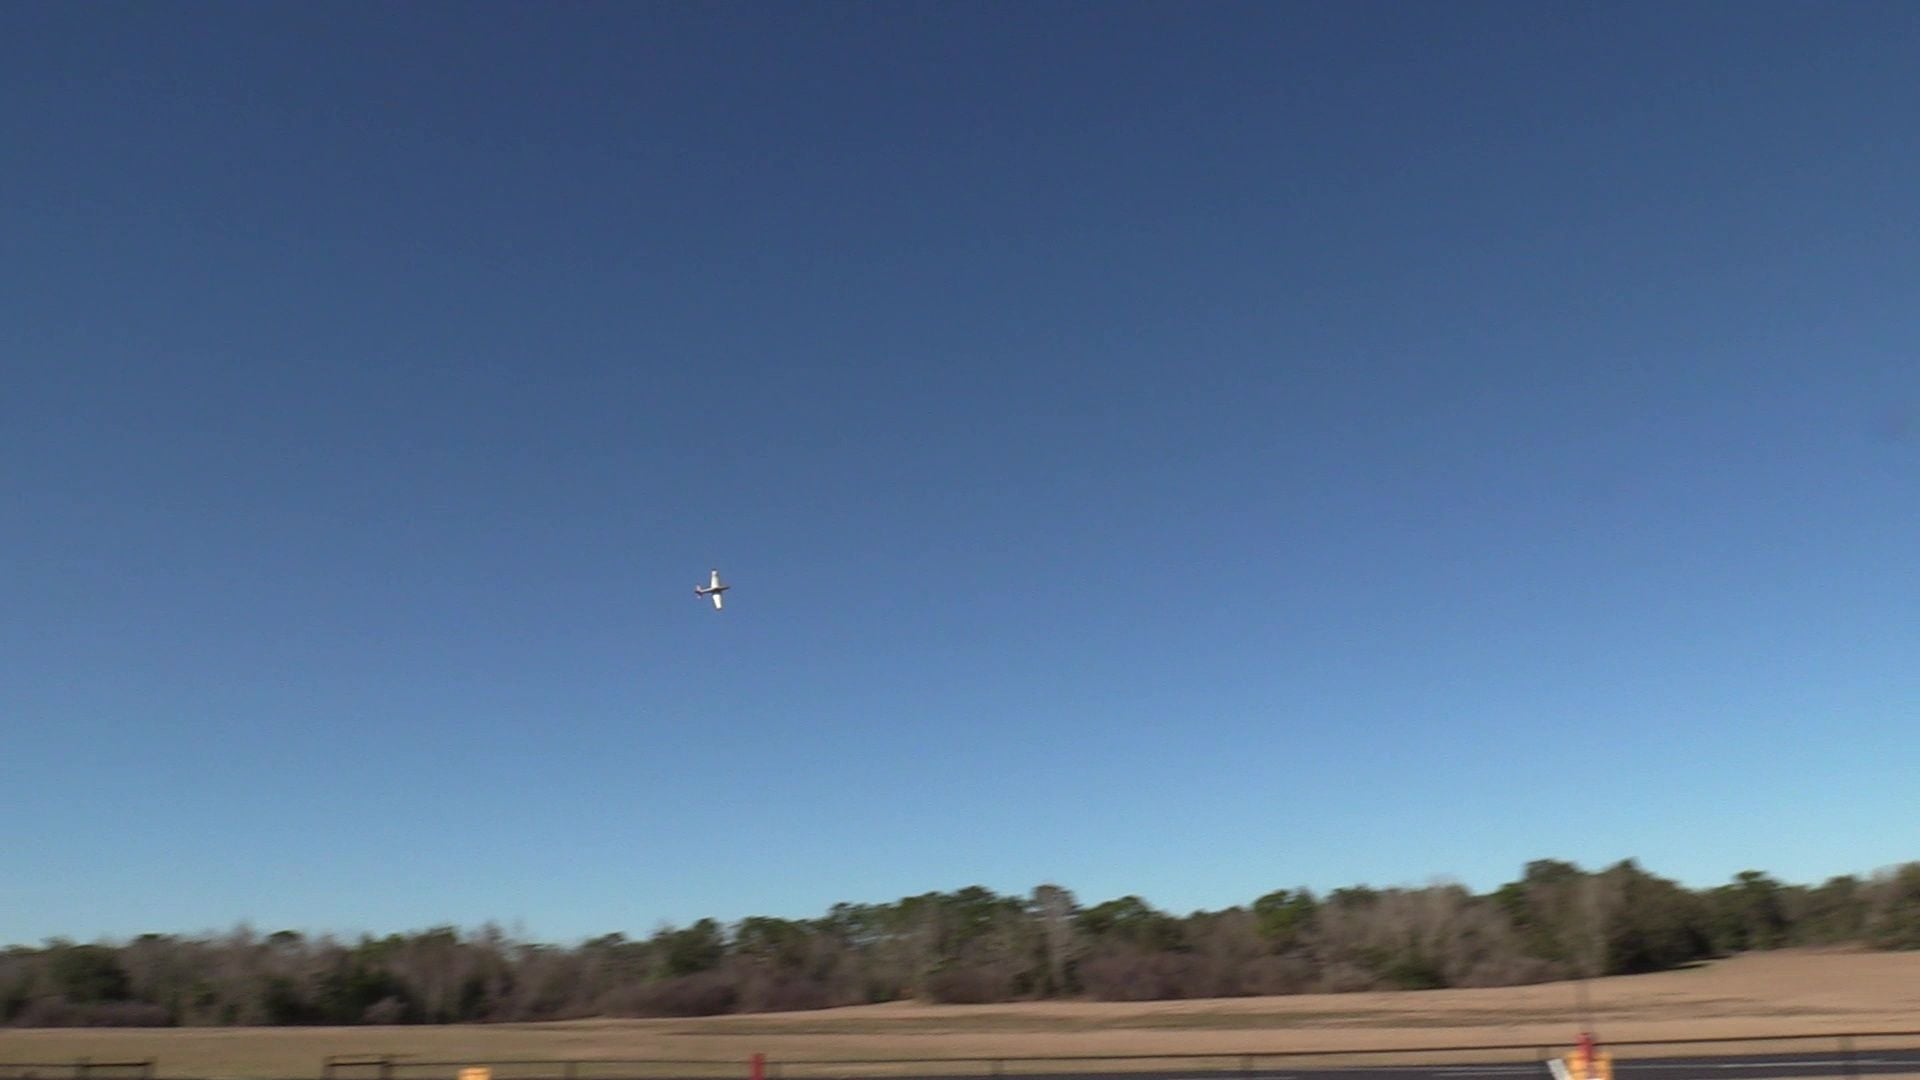
I finally managed to get some video of my plane flying. I Made more than 20 flights earlier in the year trying to work out a trim problem with the wing. As built, it rolled right. A lot of trim adjustments made it fly straight and level, but I could tell it had a lot of trim drag, makes them sluggish. I built a new wing when I couldn't find the error in the first. During all that many flights I got 1 person to hold my camera and point it at the plane. I took off, he zoomed the camera, that was the last time the plane was in the lens. This video is far from perfect, run it at standard speed, and the plane will wear you out, but you can get a good idea of its performance. I use VLC player to slow the frame rate to 67%, youtube has speed adjustment, 75% is available. The sound of the chain saw is lowered in frequency, and actually sounds better, turn it up if you have good speakers. I was forced to cut a couple of shouts out to be able to run it at high volume without blowing speakers. The worst noise is wind, blowing hard from the East at 20 mph, gusting much higher. Towards the end I had to delay landing until a strong thermal passed, then land quickly. The wind stopped at touchdown, I'm slow, should have added power. The bounces didn't hurt it.
The thing I did when building the new wing was leaving the washout tabs on all the way to the finish, glassing all but the strip the tabs occupied. I was checking washout several times a day until I got down to the last, cut the tabs off and finish sheeting and glassing where the tabs were. It seems to have worked, this one wants 5 clicks of left roll at 80-90 mph, then less as it gets towards its top speed (which is prop-rip speed). The model handles well in the wind gust conditions, low level flight took corrections from gust response, you can see some of that in the video. Most of it was during the slow flying, I cut a lot of that out for this shortened version. The 11 minute flight video's file size is around 3 gigabytes, would take hours to upload.
The thing I did when building the new wing was leaving the washout tabs on all the way to the finish, glassing all but the strip the tabs occupied. I was checking washout several times a day until I got down to the last, cut the tabs off and finish sheeting and glassing where the tabs were. It seems to have worked, this one wants 5 clicks of left roll at 80-90 mph, then less as it gets towards its top speed (which is prop-rip speed). The model handles well in the wind gust conditions, low level flight took corrections from gust response, you can see some of that in the video. Most of it was during the slow flying, I cut a lot of that out for this shortened version. The 11 minute flight video's file size is around 3 gigabytes, would take hours to upload.
10-06-2019, 06:11 AM
#264

My Feedback: (56)
I've got a Top Flite G/S P-51 and was thinking about parting it out and building the Bates P-51. Will the retracts in my Mustang fit the Bates. They are Sierra Retracts by-the way, made for the Top Flite ARF. Would make the decision much easier if I could use them.
10-06-2019, 10:19 AM
#265
The Top Flite Robarts fit using a new plate cut to fit, except for the struts which are shorter. You WILL have to make gear mounting plates for the Robarts. I have a mix of Robart parts for both Top Flite and Hanger Nine Mustangs so I use the H9 upper struts (longer) with the Top Flite mechanics, It works, but the Sierra gear are beefier retracts. This plane is designed to use Sierra retracts, which I ordered, but the manufacturer doesn't have them in stock, and won't build any until he has a backlog of orders for them. I will be glad to buy a set or two when they become available, until then I am flying with what I have. I designed my own gear mounting plates to be interchangeable so that when I have the Sierra parts in hand I can just use the original Sierra gear mounts that came with the wood kit. I haven't seen the TF Sierra retracts, but the mounting might be the same as in the J Bates model.
If you go back in this thread to read and see the pictures I posted on this subject you can see how I worked it out. It is mainly using hardwood blocks glued to the rib structure to attach the gear plates for any brand gear instead of gluing it all in permanently. I've been building and flying RC Mustangs since the 70's (control line before then) and the landing gear is always a problem, fragile wing construction along with easily damaged retract parts will spoil your day after a ground loop or botched landing. I always carried spare parts but a damaged gear mount almost always requires wood work.
By making all of the gear parts removable and replaceable with wood parts I carry with me, I can easily have it flying again after a few minutes work.. With the J. Bates Mustang I put every part of the landing gear under removable wing panels, all of it. The air tanks are in the aft fuse of course, and my system requires a separate air control system for the tail retract in the fuse. Only one air line goes to the wing for its air supply, and one plug for the wing flight controls including the gear servo signal plug makes flight line set up quick and easy. If I have to repair or adjust something, removing a few wood screws and the panels gives me easy access to the entire gear installation. This paid off by the ease with which I was able to transfer the entire retract system to the new wing, all I had to do was install the same hardwood blocks in the new wing, I used all of the wing panels I built for the first wing.
The first wing is undamaged, and I plan to use it with the wood fuse I am building to have a practice plane to fly at my local club field. I'll figure out some way to make it fly straight with less roll trim. I can handle flying Mustangs just fine, but I need touch and go landing practice to keep my skill level current. The J. Bates Mustang design is more forgiving and easier to land, but I still have to do it right. A construction detail to consider is the gear door actuation, all of the model designers want us to drive the doors at their trailing edge, this works fine in the shop, but Mustangs easily exceed the air speed limits and slipstream air sucks the doors open at the front edge, sometimes tearing the doors off or damaging the linkage.
Driving the doors with servos is not a good idea, servos can draw 5 amps (each) under load and drain your receiver batteries, an out-of-control crash is the result. If you must use servos, give them their own battery power. We have a similar current draw problem with flap servos, lowering flaps in flight can drain the receiver batteries quickly, and letting a flap servo operate under max current draw for more than a few seconds will overheat the servo and destroy it. I have posted fixes for these problem in this forum thread, at least read them so you can understand a design problem that destroys lots of models. Changing the flap linkage geometry is easy during the assembly phase, just set it up to have the flap servo arm go over center at full down flap, then the current load goes to zero at full down. The flap arm has to be reversed to put the clevis pin BEHIND the flap hinge line at full up, and equal travel both sides of the hinge line prevents air flow from blowing the flaps up under prop blast conditions.
Every Mustang Model on the market has build instructions for us to build the flap linkage geometry to be the same as the aileron linkage, this poor design feature destroys Models! Of course, a powerful retract servo to drive the flaps is required, I have had good success with several brand's servos, just pick one that has full travel control, not an end-to-end servo. I use heavy linkage and metal servo arms of course, With my set up the flap surface is locked in place at any flap position, you can't apply force at the flap trailing edge and make the servo growl, and slipstream deflection (feed back) in flight is not possible. I never thought this detail was important but after losing two planes and several servos (needing a new servo after only a few flights) I got serious with the flap problem and changed the linkage on ALL of my war birds to over-center linkage. End of servo problems!
Last edited by sjhanc; 10-06-2019 at 03:08 PM.
10-08-2019, 03:13 AM
#266
My Feedback: (56)
Thanks for the information. Looking at your pictures, I think I can use my retracts on the Bates. I retire next year, and don't plan on doing building it until then. My current T/F Mustang has a DA-60 so plan on using that plus the retracts and servos. I'm leaning toward the Bates P-51A, with Vic's fuselage.
10-08-2019, 07:21 AM
#267
People seeing this fly keep asking if I have the engine hopped up because of it's outstanding performance. It is bone stock out of the box. I don't even mess with the carb mixture screws. I believe that the difference in performance is due to my attention to detail. I try to keep the slipstream drag to minimum, especially engine cooling drag. This is why I went to the trouble to build another wing when I saw the flight controls adjusted out-of-alignment for level flight. The plane didn't seem to have that effortless ability to fly at high speeds with low throttle settings. The new wing has that now. Once in the air and cleaned up it cruises part throttle at the same speeds as other war birds and still has lots of throttle for high speed acceleration and vertical climbs. In a shallow dive at about 40% throttle it will reach prop rip speed. It isn't going to go any faster than that with full throttle, but having the extra power available for vertical maneuvers makes for spectacular large loops and rolling vertical climbs.
After many years flying all of the other brand Mustangs I finally have the one with a clear performance advantage. Now, if I can quiet the exhaust a little it will be perfect.
After many years flying all of the other brand Mustangs I finally have the one with a clear performance advantage. Now, if I can quiet the exhaust a little it will be perfect.
