Restoration of the CARF P-47 know as Kansas Tonado
 02-02-2017, 05:51 PM
#1


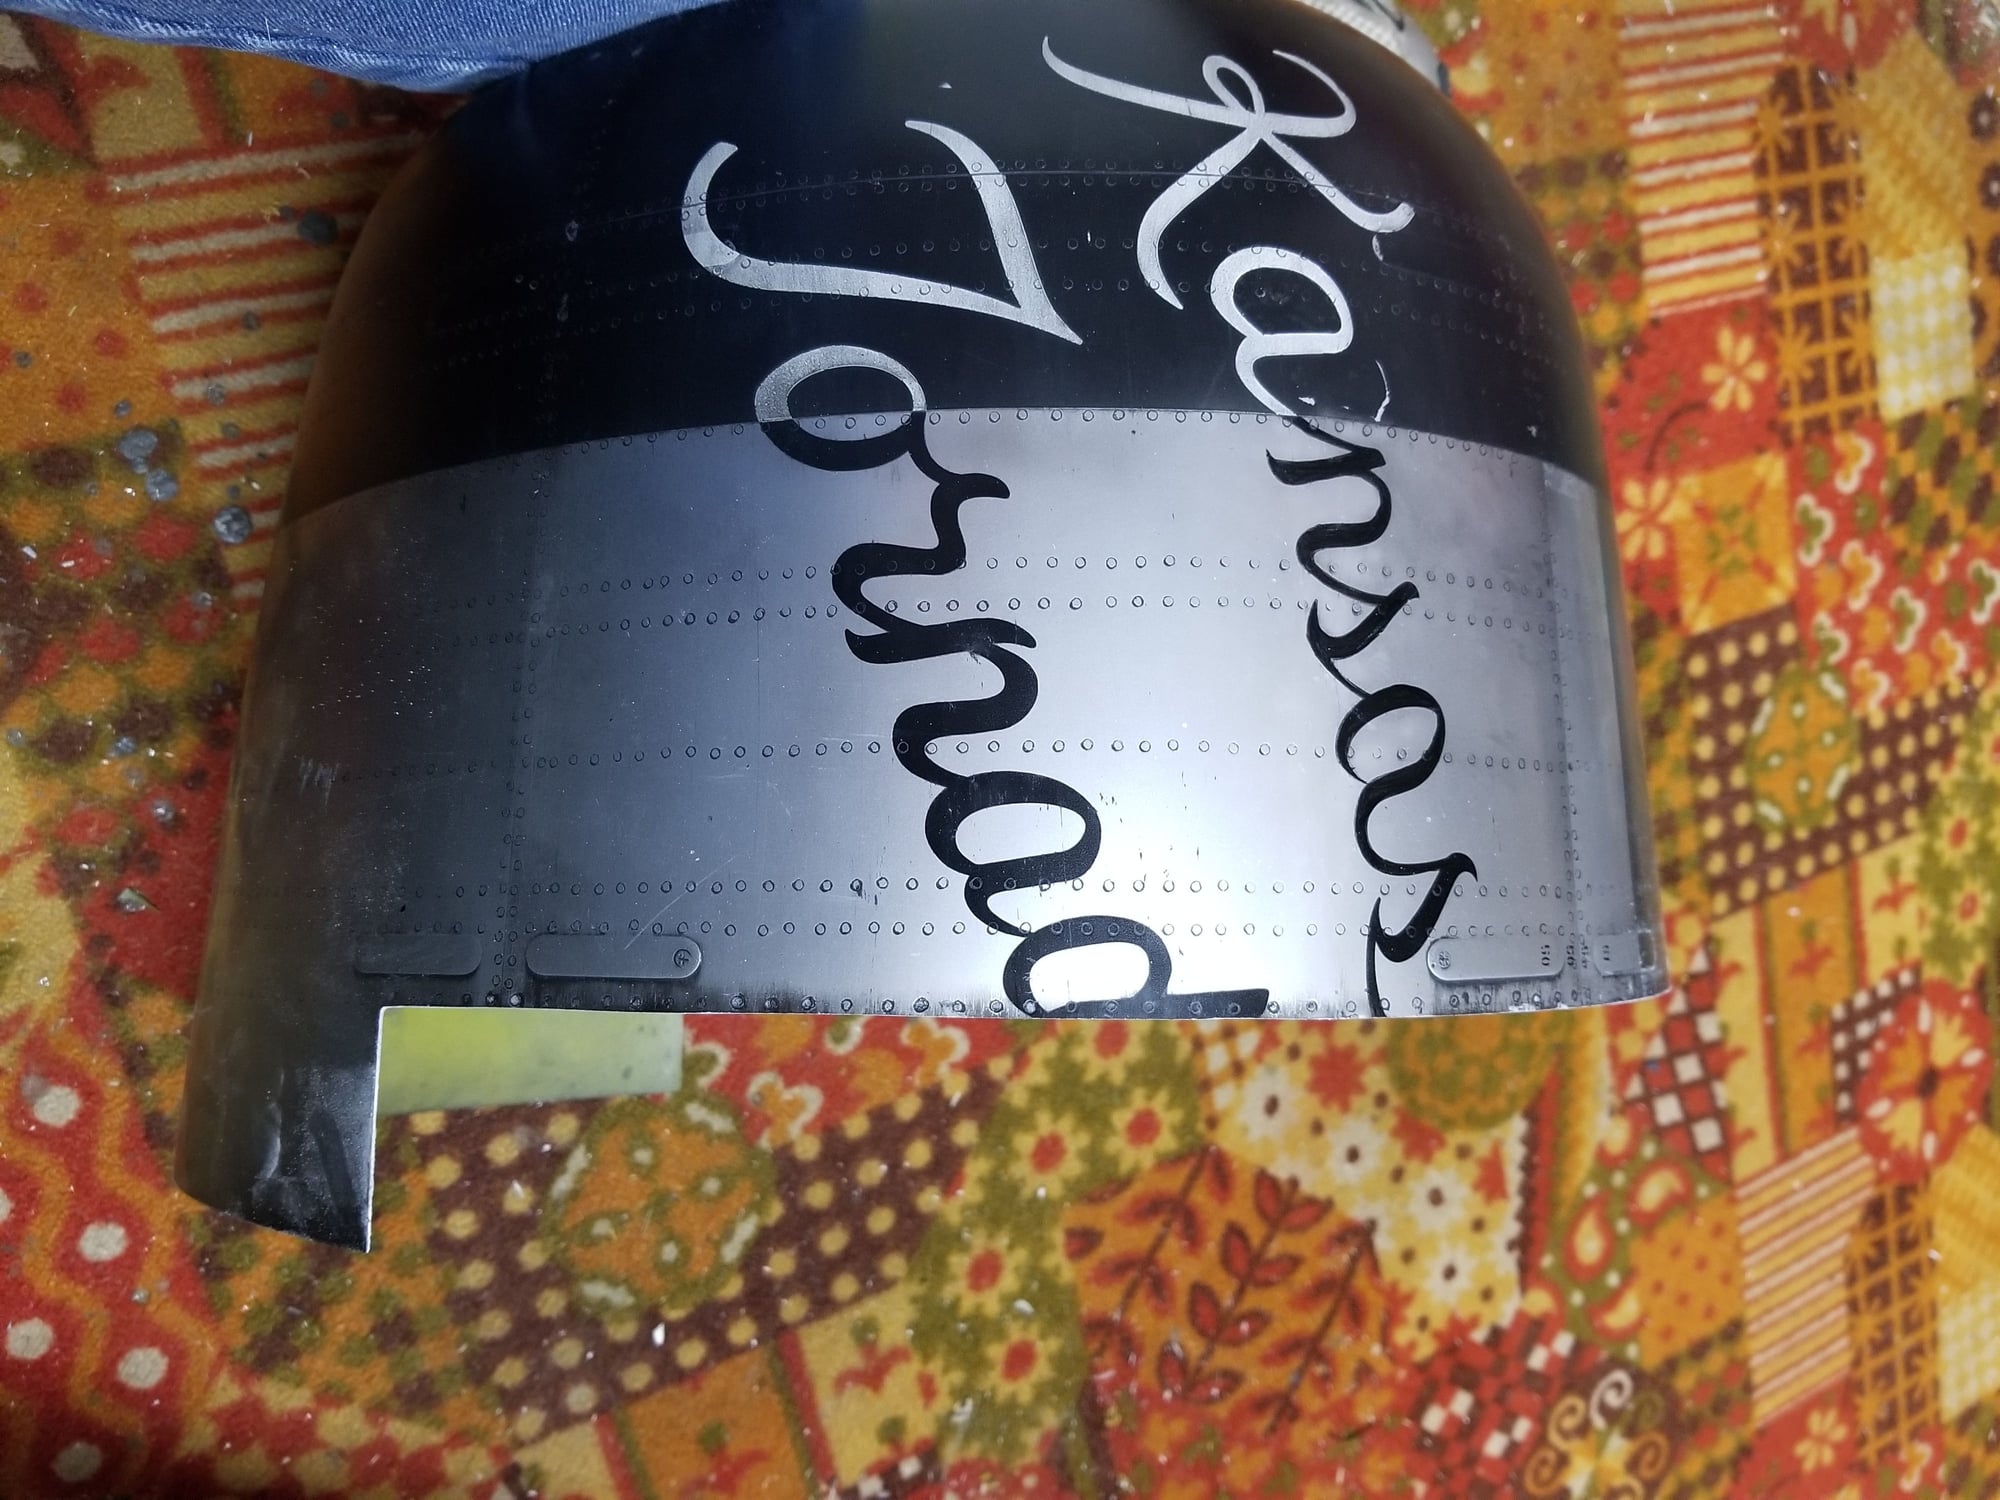
It is my privilege to have the opportunity to work on and restore this wonderful aircraft. This thread will document the work my brother and I do on her to bring her back to the condition she was in when Graeme finished her, with some additions the new owner would like to incorporate. I have been looking forward to this project and am going to fully enjoy this. With out a doubt the most challenging part of the restoration will be the repair to the unique way that the Graeme makes paint look like weathered aluminum. I don't consider myself to be an expert on this procedure, as my brother and I choose to work more with real aluminum in the form of the aluminum foils available to us like Aerofoil by Meister Scale. Having said that, I am going to do this, and do it right. This plane NEEDS to be restored to it's former glory.
I might add that, in an age of 3D printing, CAD design, computer cut graphics, and aircraft that come painted out of the mold, sometimes it just comes down to good old fashion art. Kansas Tornado is my next 'canvas'.
So, very soon it will begin, and the goal is to have it ready by spring for another re-maiden and the new beginning of a long life and many events.
Here she is as she looked before the unfortunate accident.

Here she is today. The nose has been structurally repaired. Indeed, most all of the structural issues have been addressed. She will get a complete going through with all of the systems being touched in some way, some updates, a new radio system, and, of course, the finish totally restored.

Hope you all enjoy this as much as we expect to.
I might add that, in an age of 3D printing, CAD design, computer cut graphics, and aircraft that come painted out of the mold, sometimes it just comes down to good old fashion art. Kansas Tornado is my next 'canvas'.
So, very soon it will begin, and the goal is to have it ready by spring for another re-maiden and the new beginning of a long life and many events.
Here she is as she looked before the unfortunate accident.
Here she is today. The nose has been structurally repaired. Indeed, most all of the structural issues have been addressed. She will get a complete going through with all of the systems being touched in some way, some updates, a new radio system, and, of course, the finish totally restored.
Hope you all enjoy this as much as we expect to.
Last edited by ram3500-RCU; 02-02-2017 at 08:54 PM.


 02-03-2017, 10:13 AM
#6

More background. I belly landed this plane and the nose broke 4" behind the firewall all the way around. If you own a CARF corsair or P-47, I highly recommend you reinforce the nose back to at least the leading edge of the wing. We need the weight up there anyway! I went to behind the canopy on my corsair with a 6" wide bi-di carbon strip. I did the structural work to get it where it is now, the nose is solid as a rock now! Buddy got the bumps smoothed out and I finished all the riveting. It couldn't be in better hands now! Look forward to seeing what you do Gary.


02-03-2017, 03:54 PM
#8
More background. I belly landed this plane and the nose broke 4" behind the firewall all the way around. If you own a CARF corsair or P-47, I highly recommend you reinforce the nose back to at least the leading edge of the wing. We need the weight up there anyway! I went to behind the canopy on my corsair with a 6" wide bi-di carbon strip. I did the structural work to get it where it is now, the nose is solid as a rock now! Buddy got the bumps smoothed out and I finished all the riveting. It couldn't be in better hands now! Look forward to seeing what you do Gary.
02-04-2017, 08:19 AM
#10
Thank you for the post Astro. You are wise indeed. This is a must with this aircraft. I'll post some additional pictures of what Mike did on this one as well. All CARF P-47 owners please take note.
We found a similar weakness on the Corsair as well. It needs reinforced on either side of the cockpit area. Funny, the full scale Corsair was found to need reinforced almost the same place, only one panel forward.
02-14-2017, 07:10 PM
#15

I hope you never have gear problems and have to set her down on her belly pan.
Last edited by ram3500-RCU; 02-15-2017 at 09:07 AM.
10-04-2017, 07:17 PM
#16
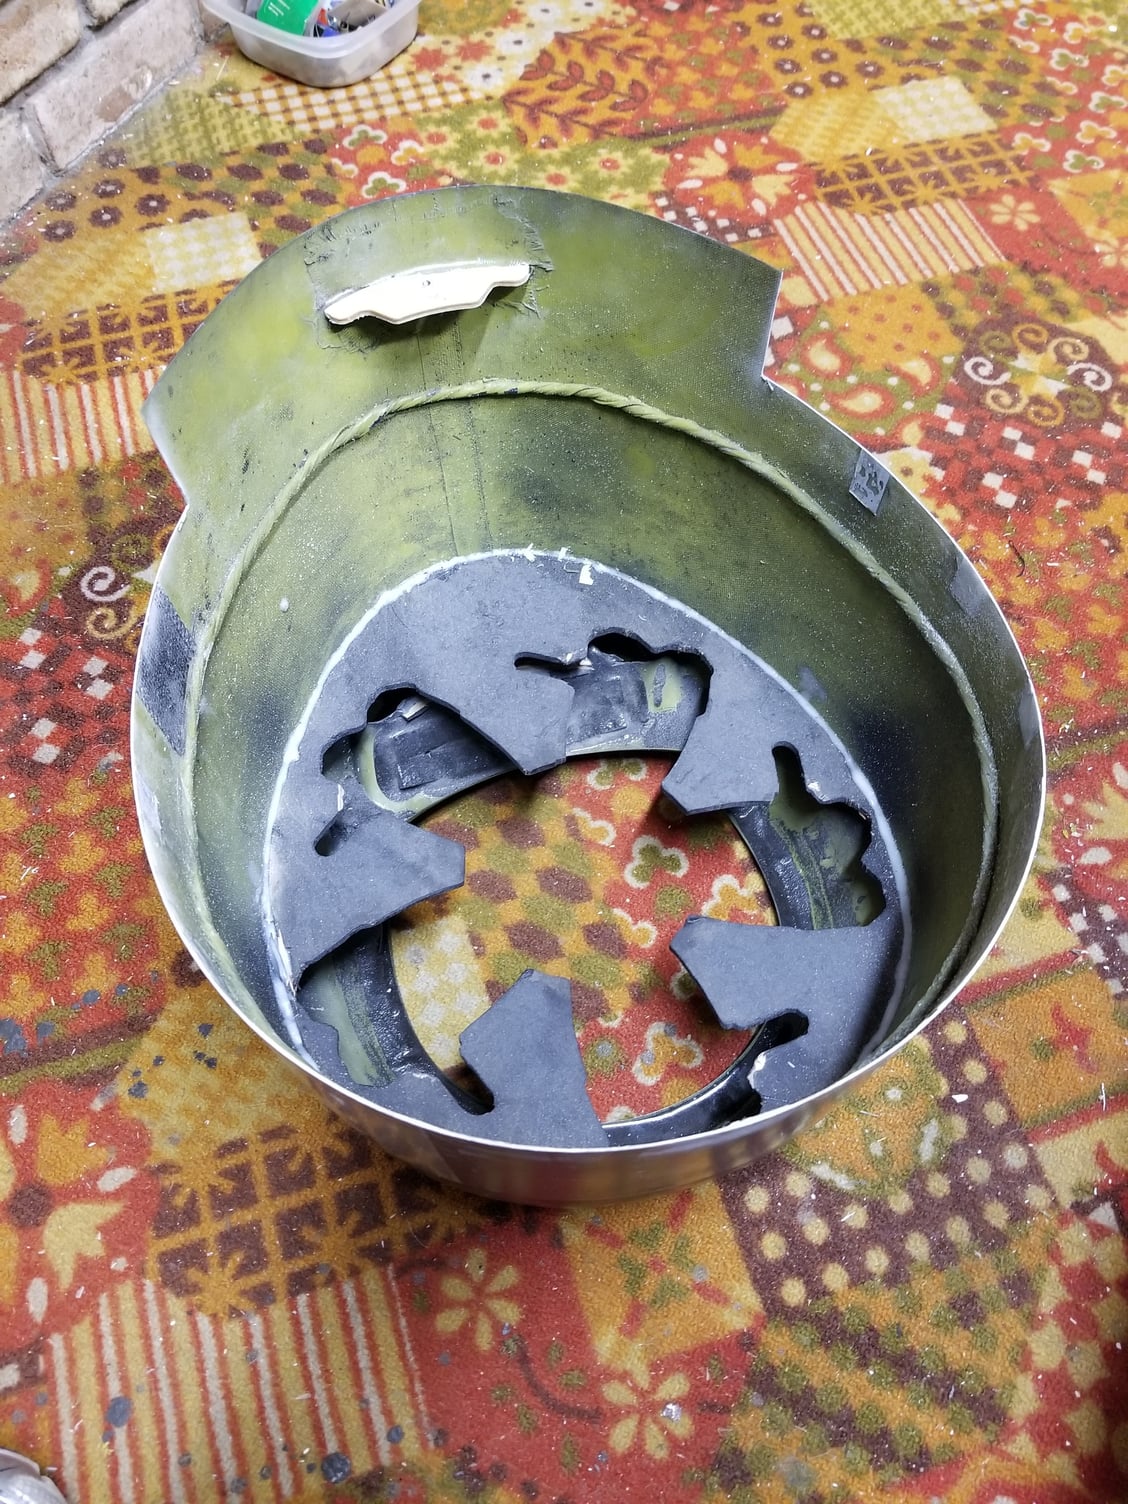
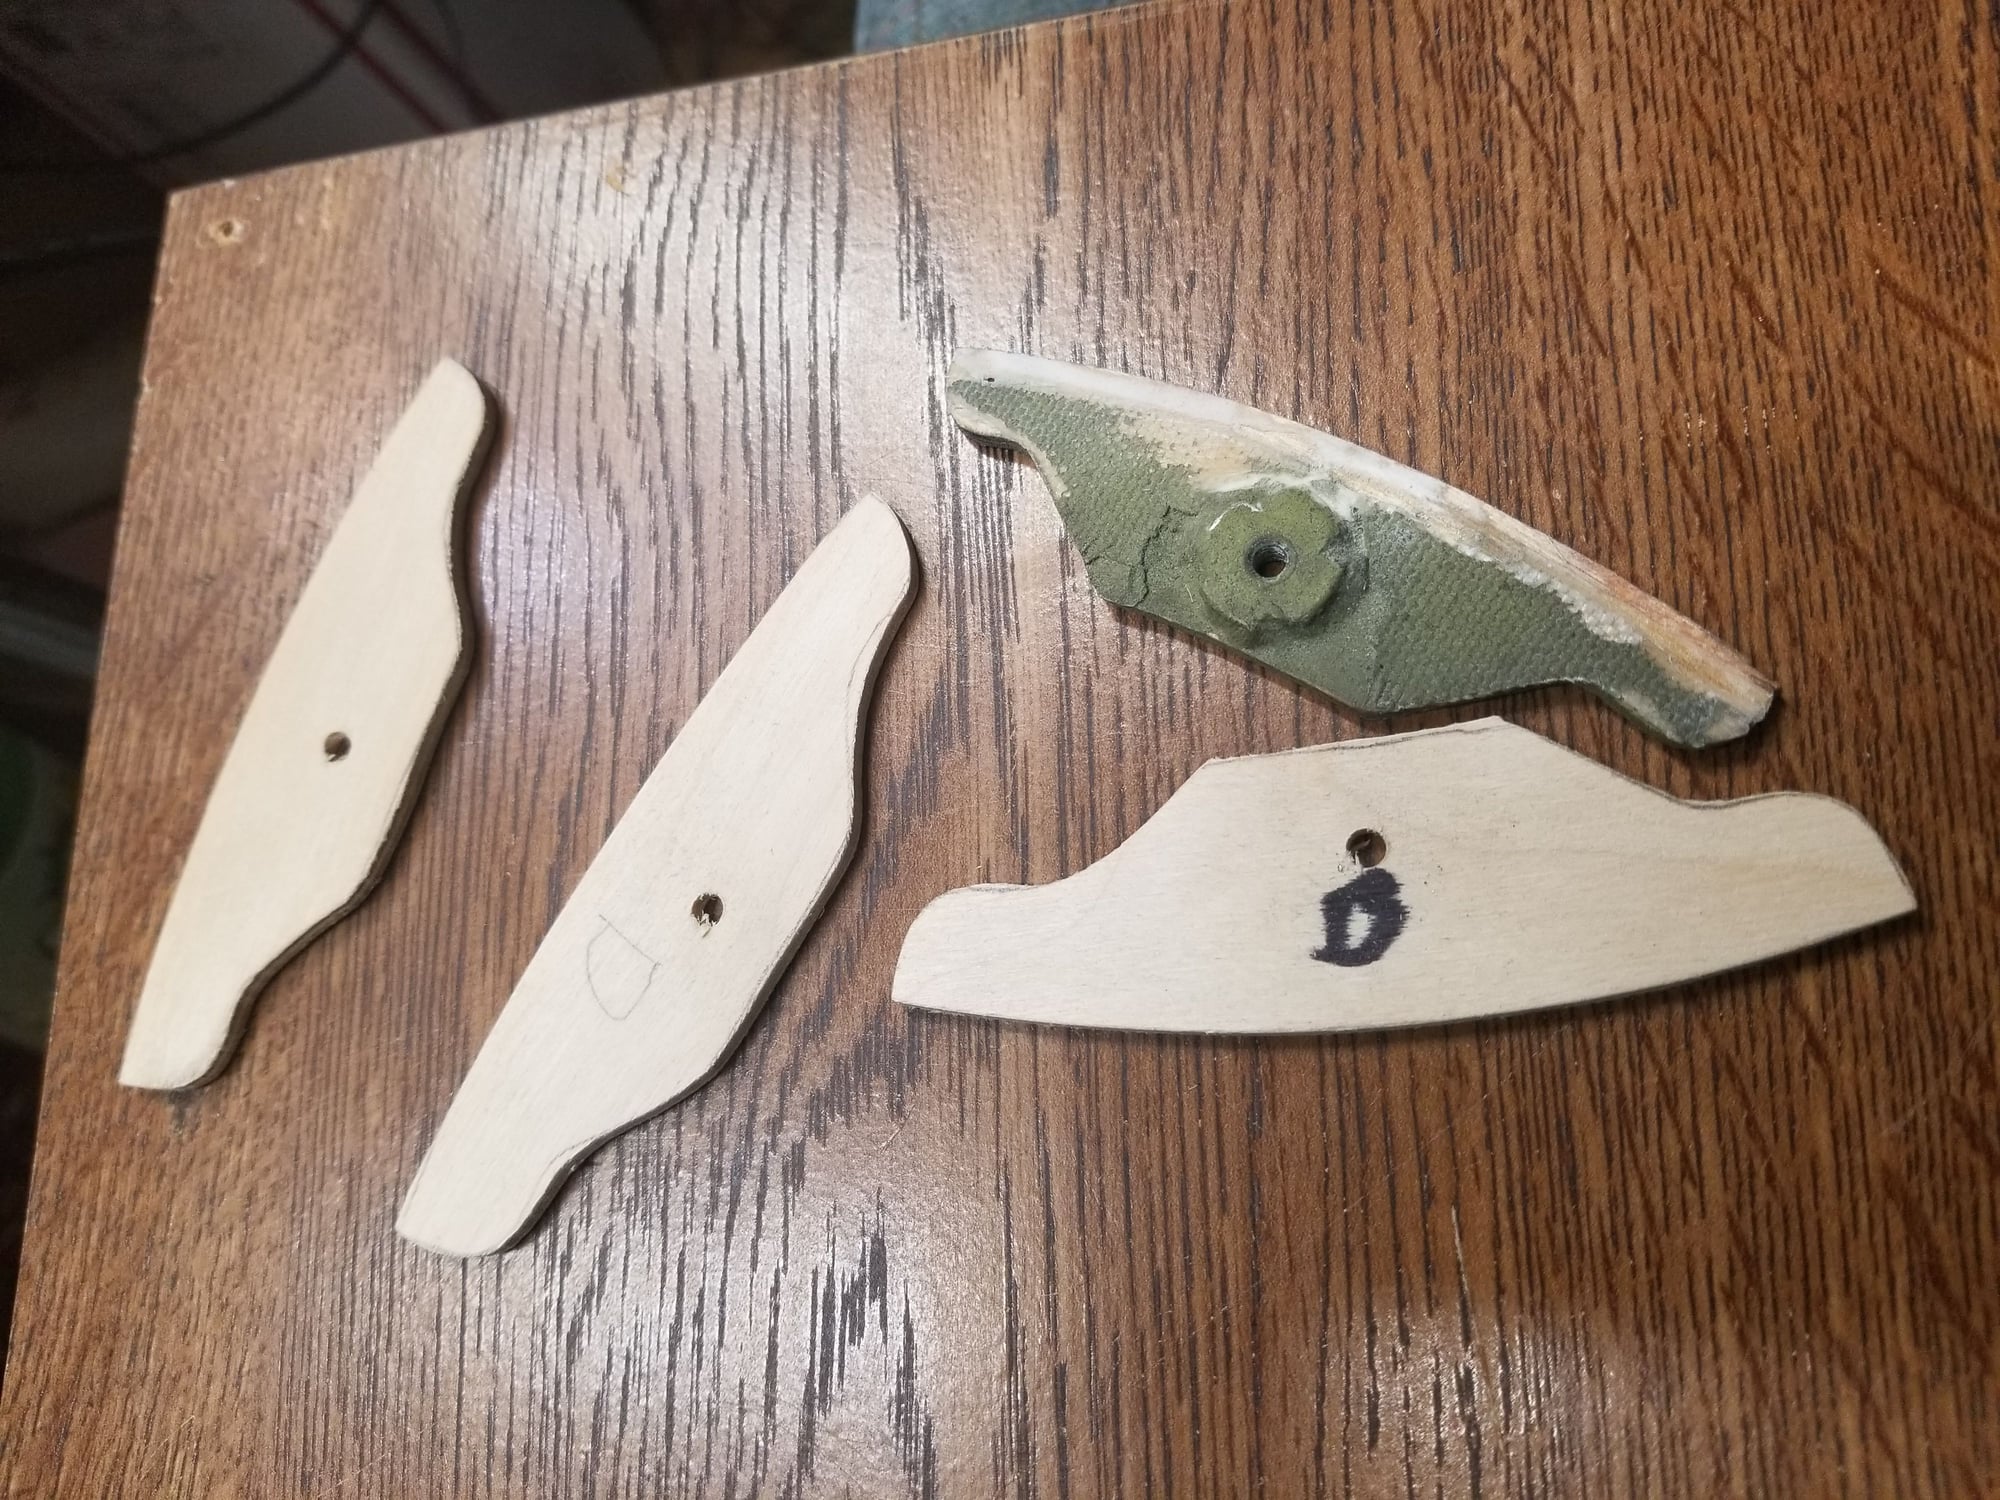
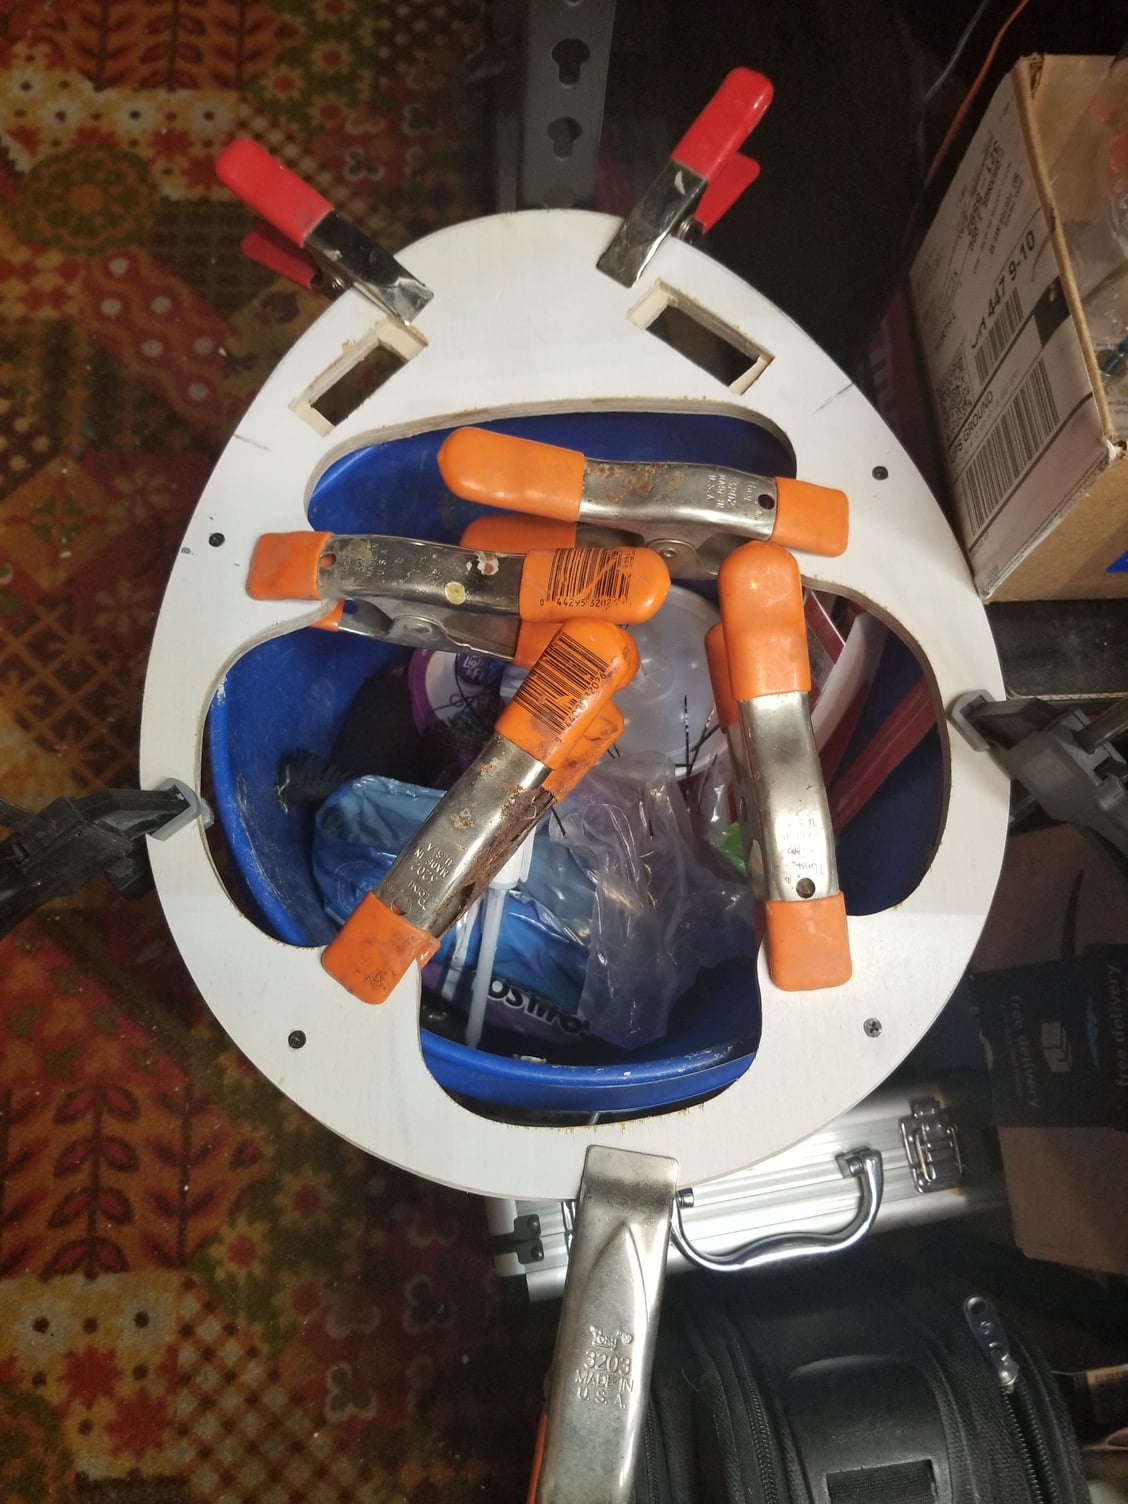
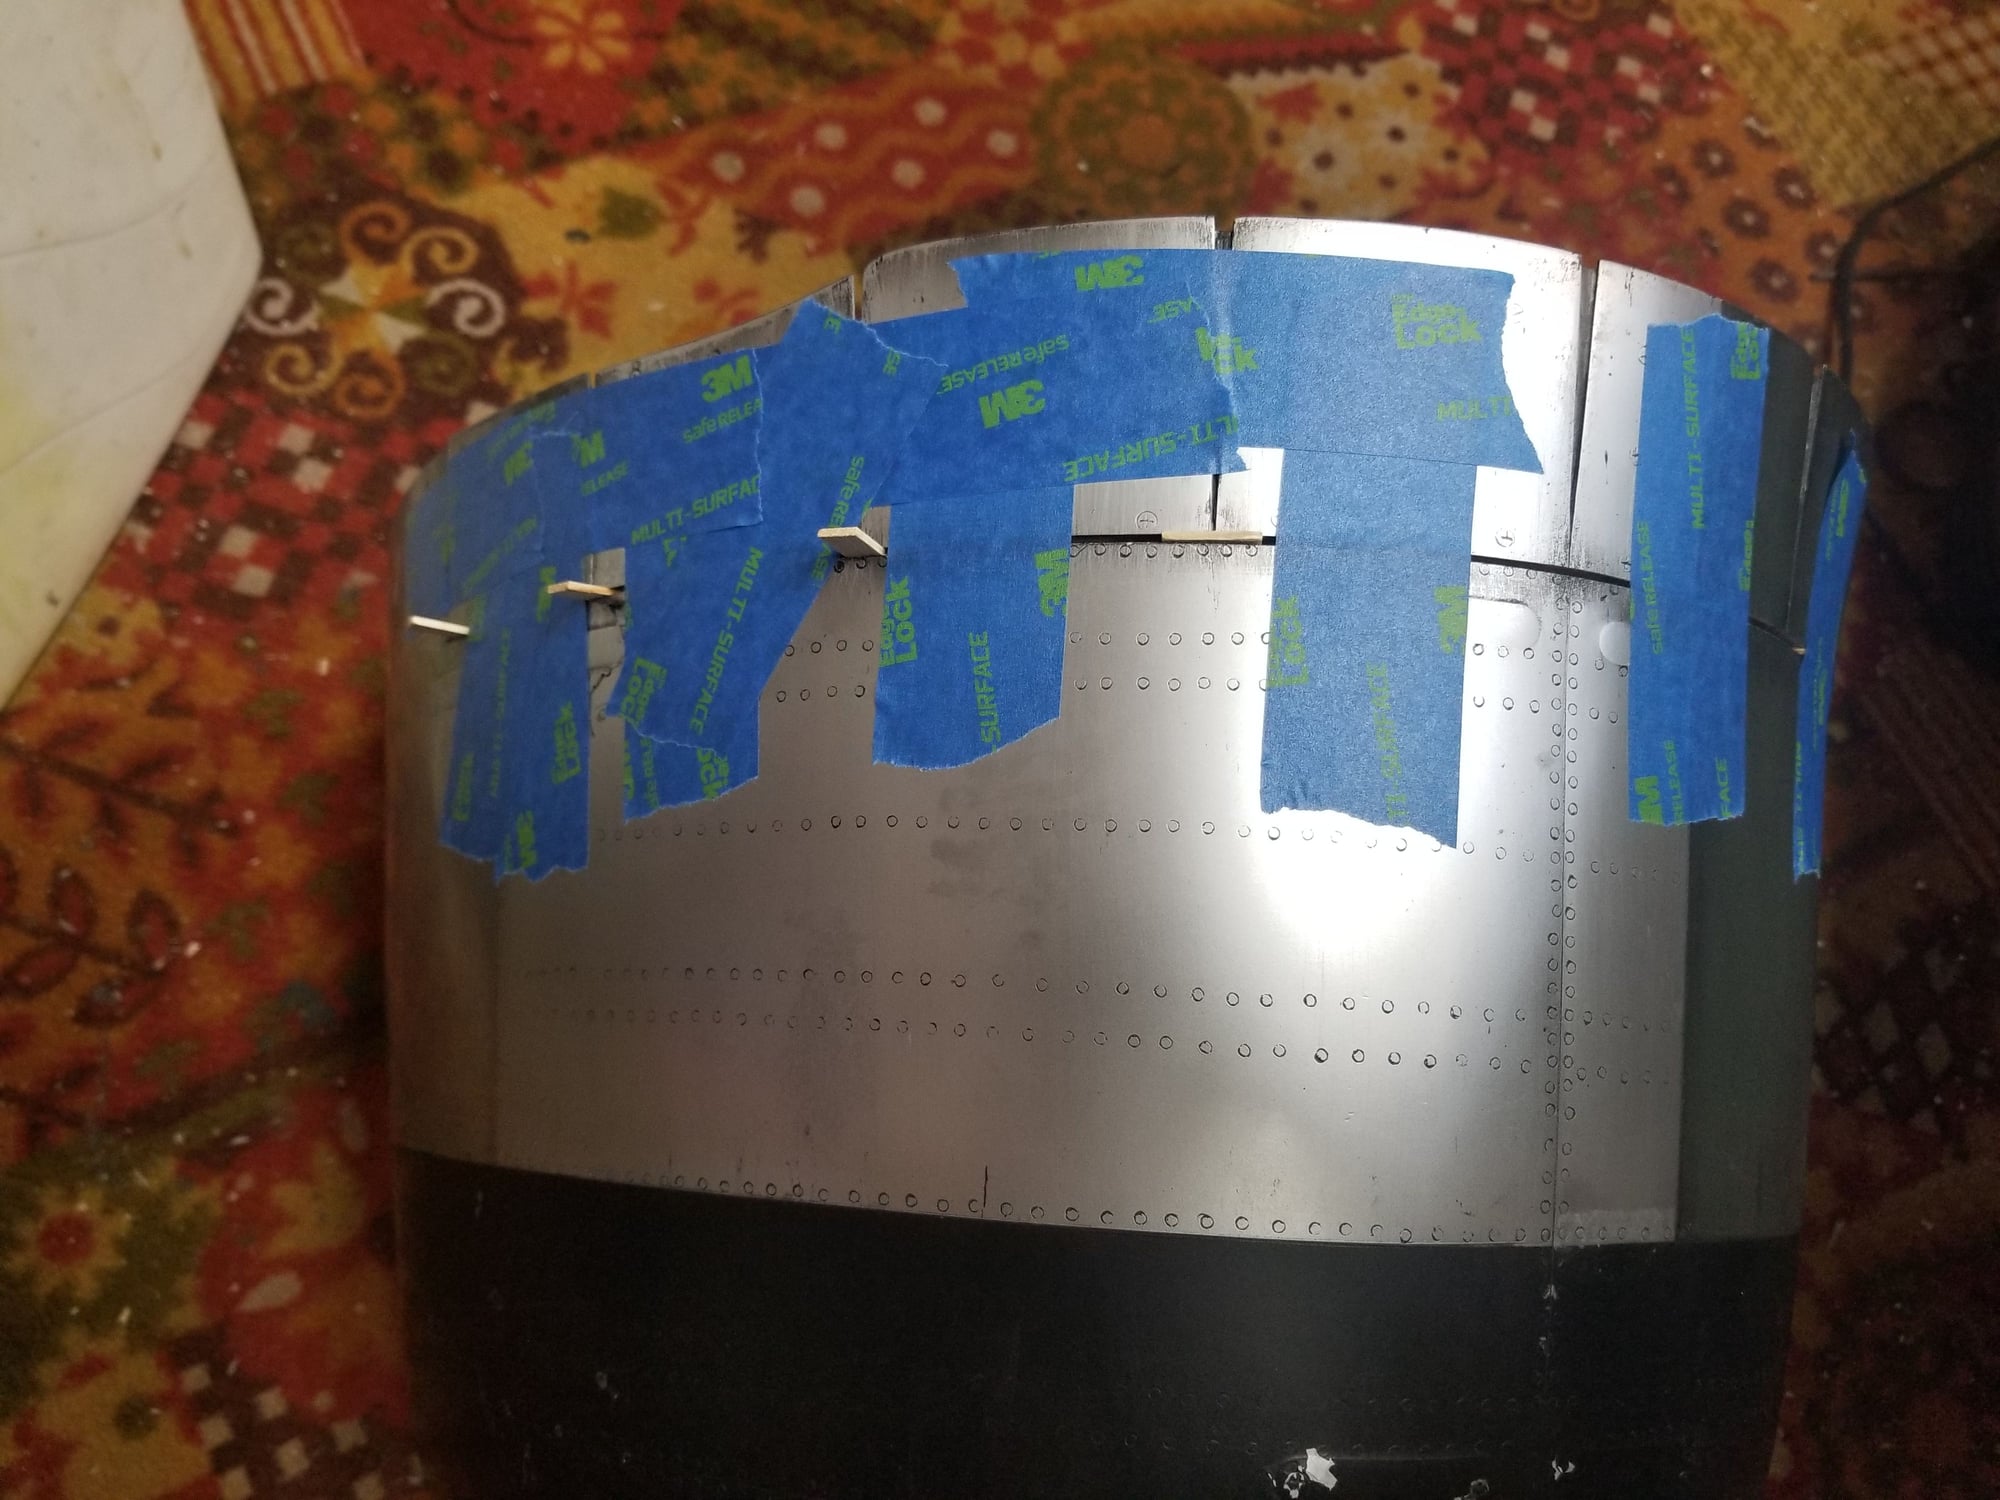
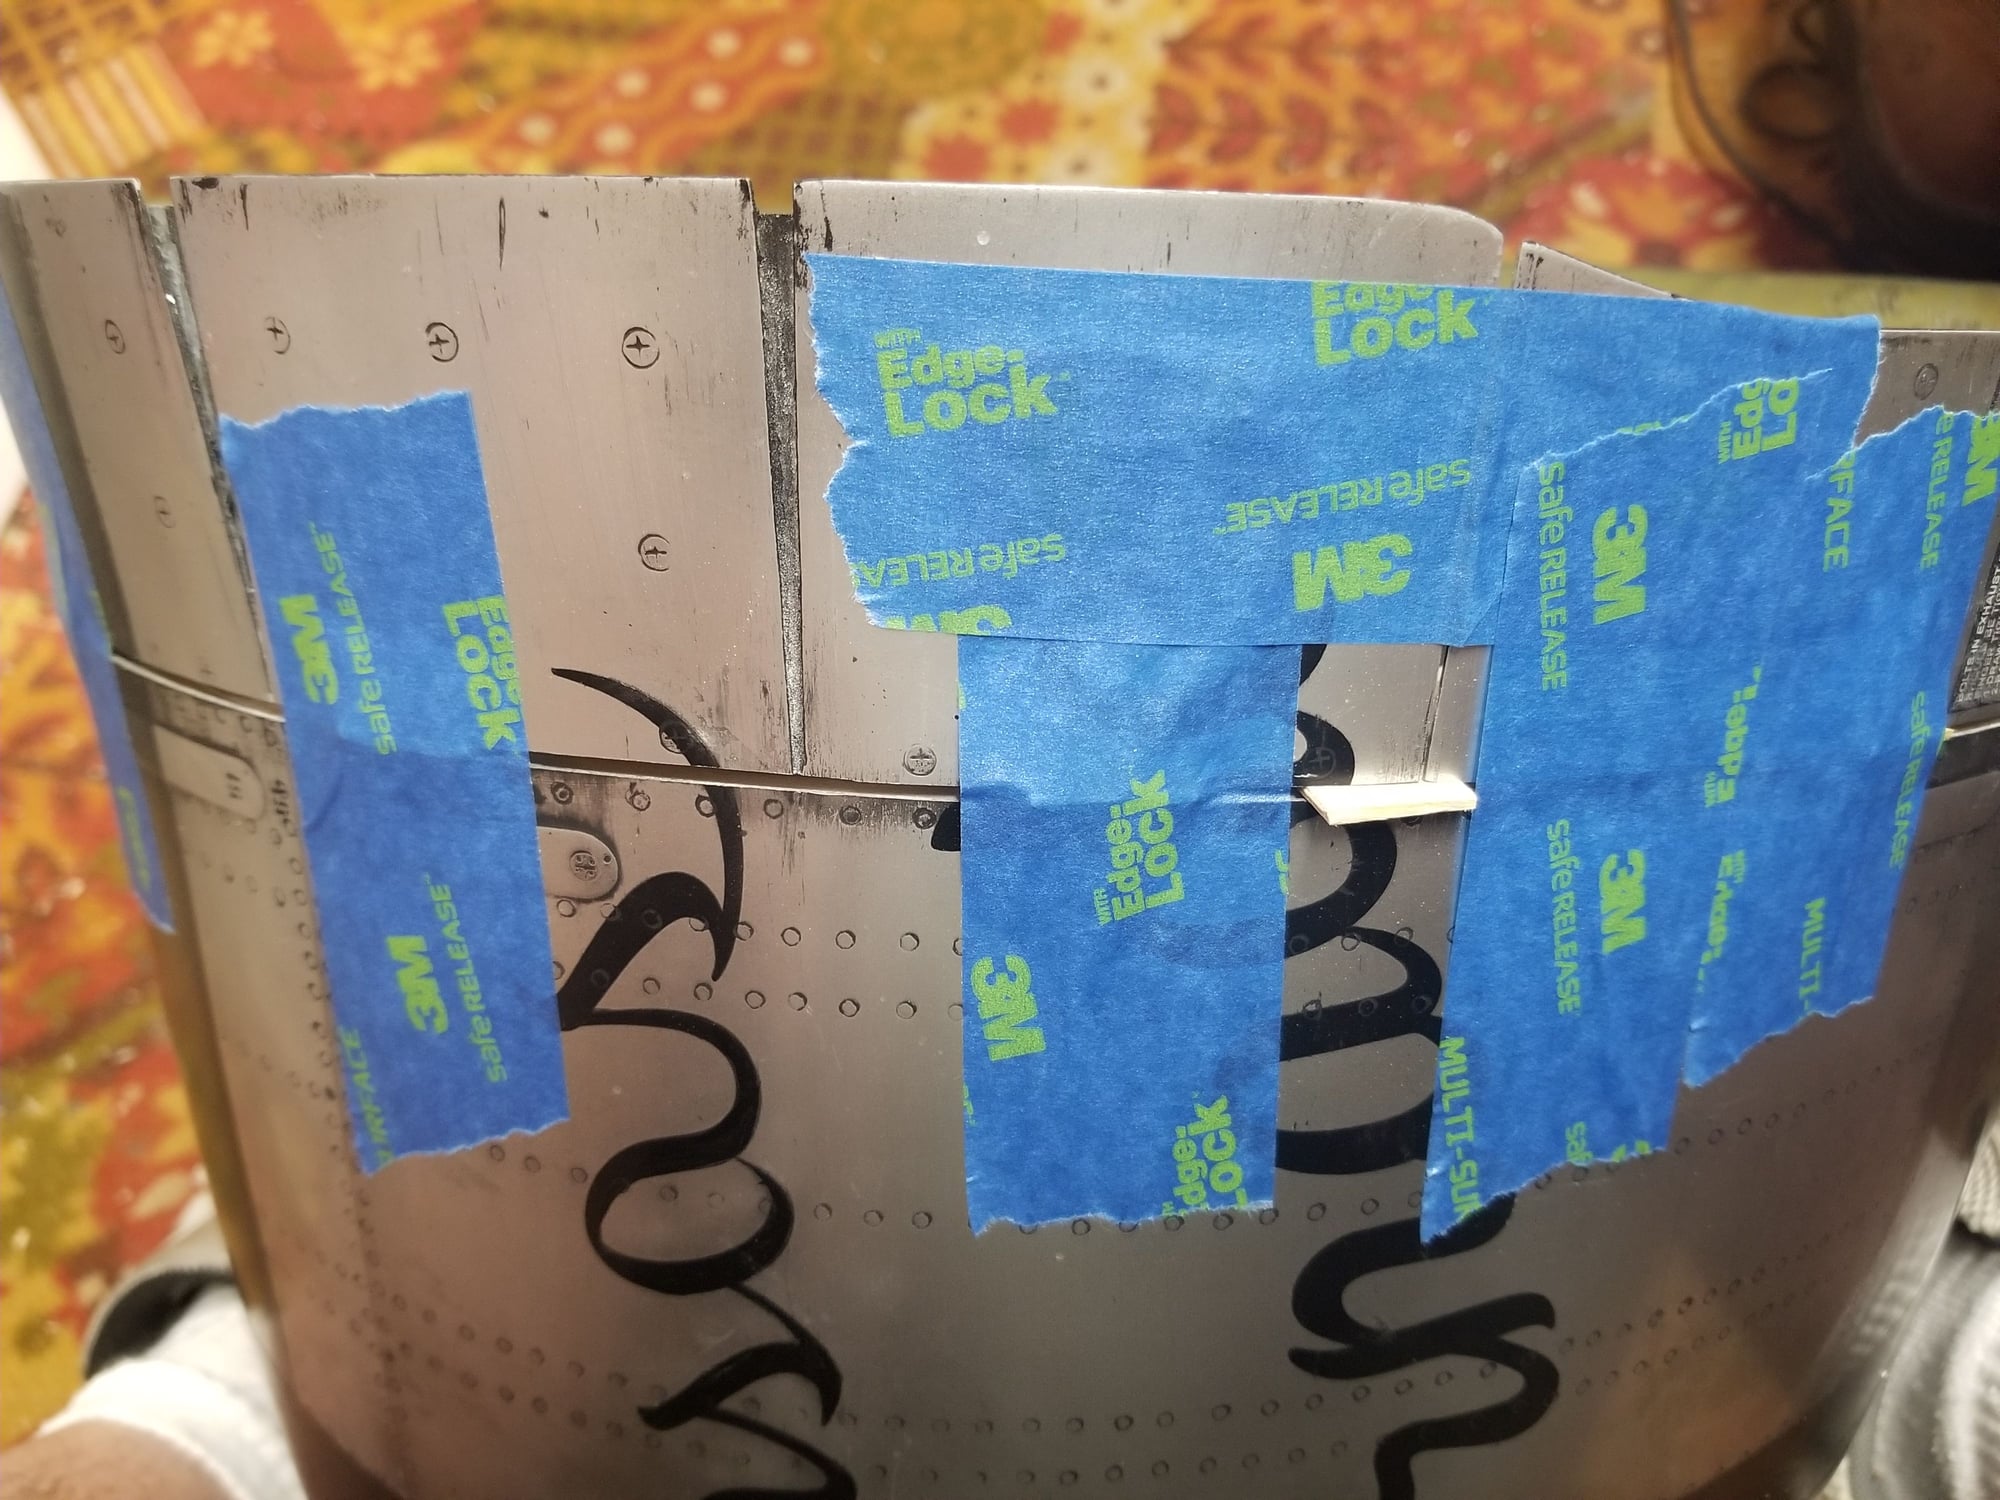
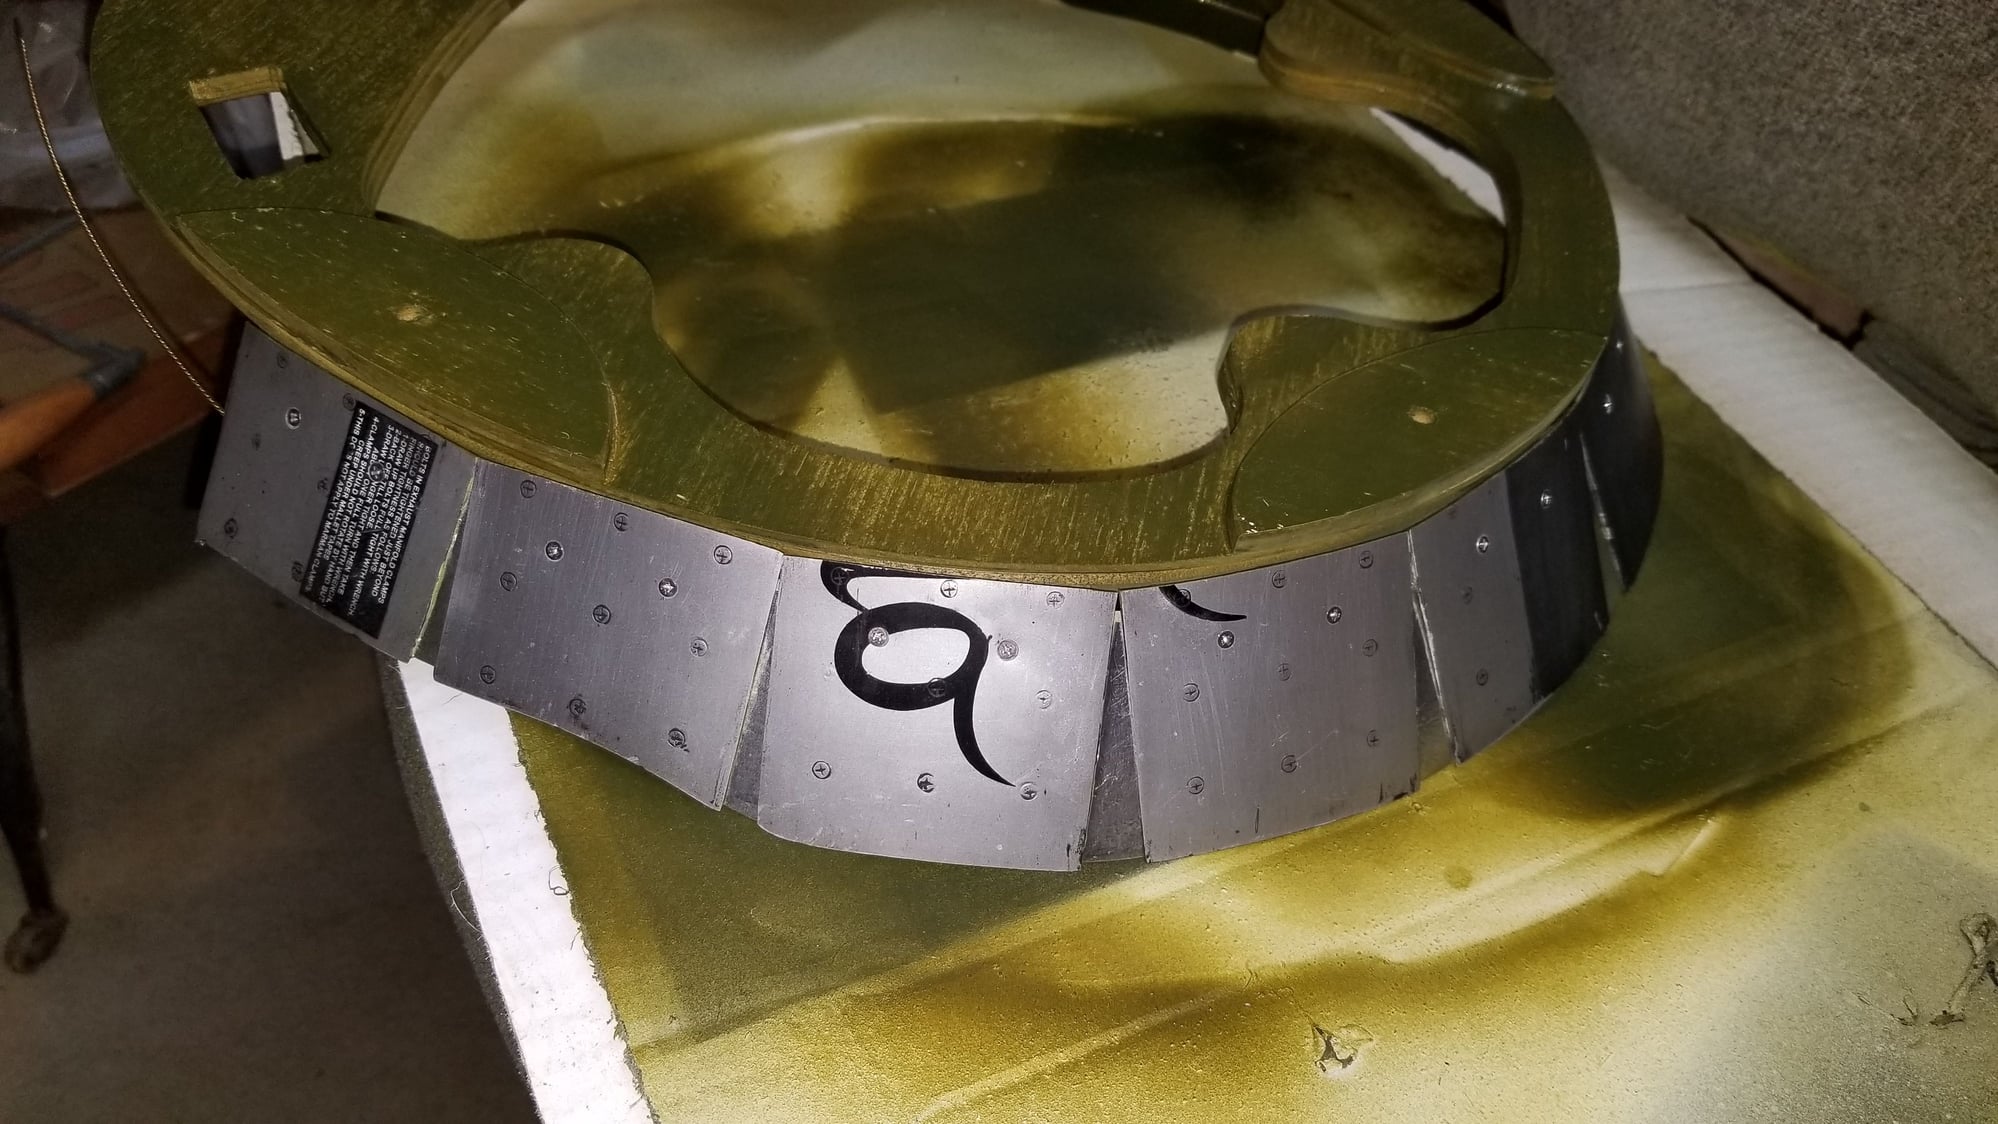
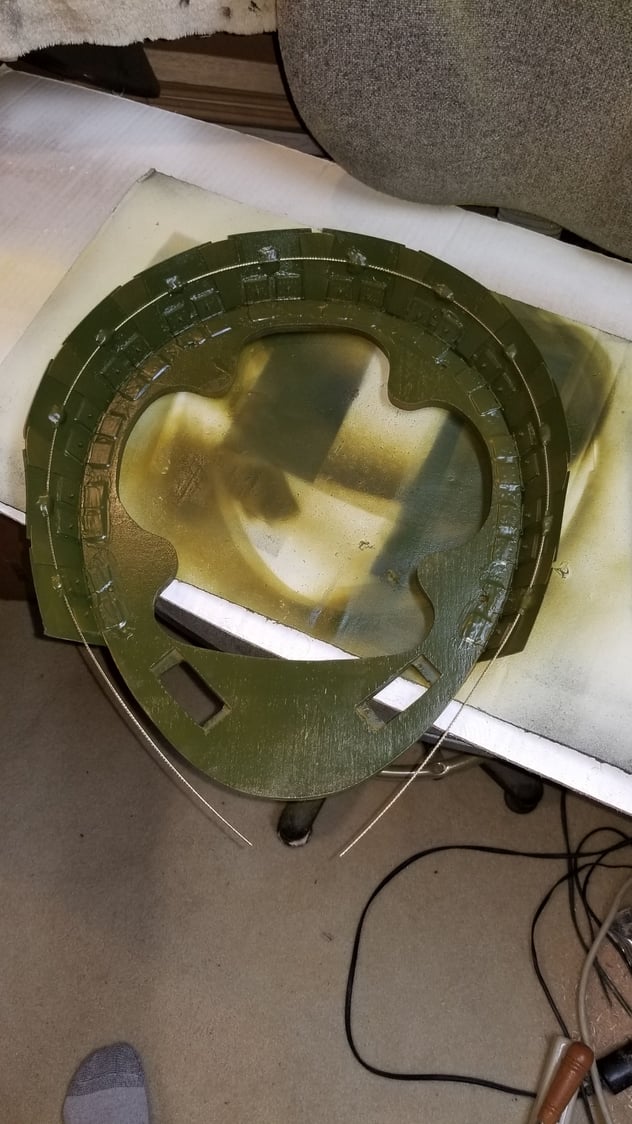
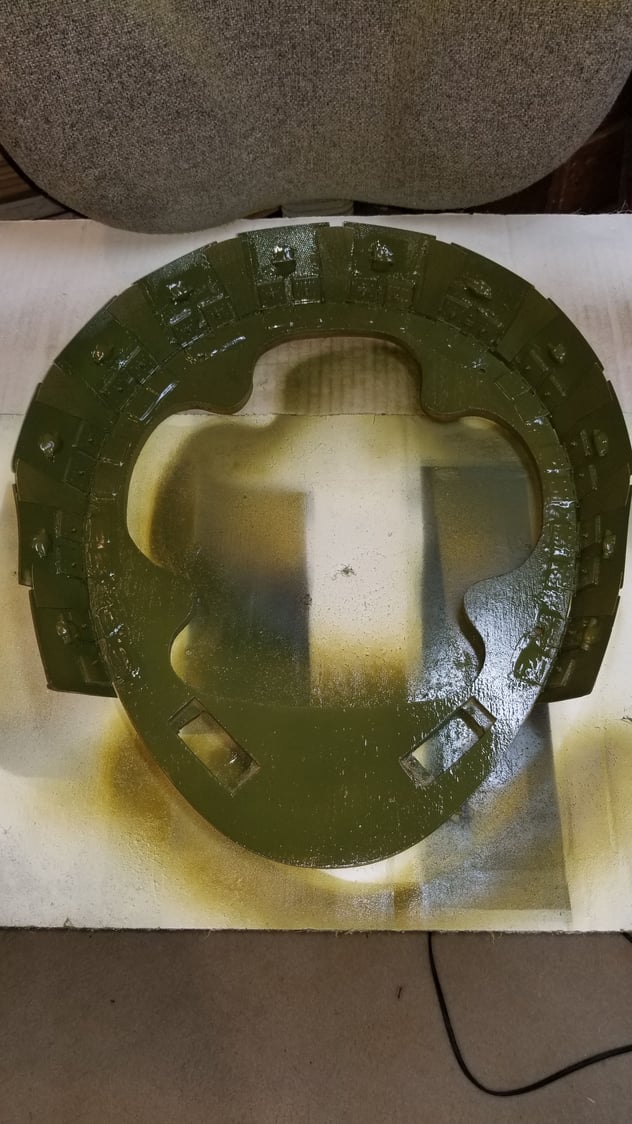
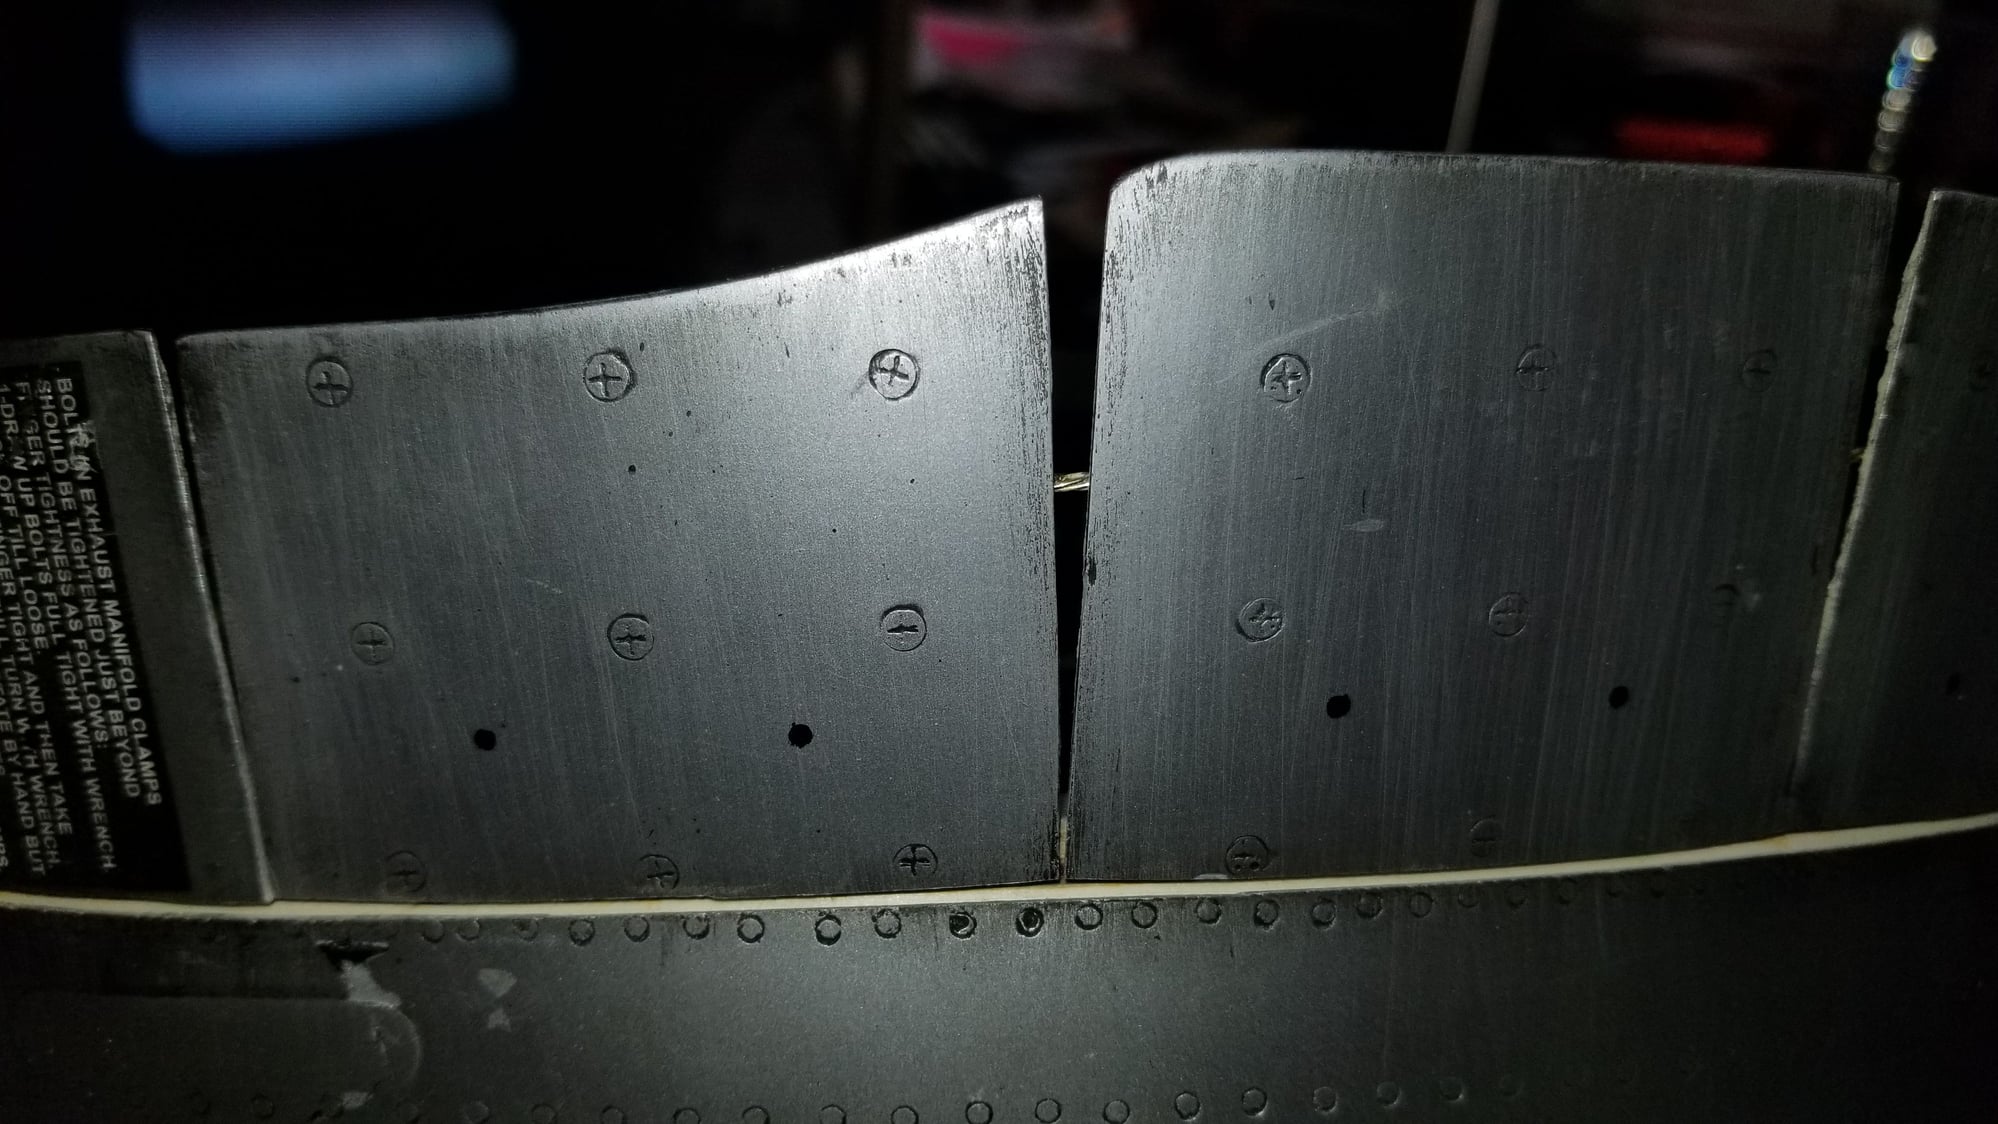
Fixing gear doors, and getting the servos back in. Graham's surface detail is artwork. Seeing it up close is a real privilege. We are getting all the systems back together first. Making a few changes to suit the new owner. Everyone has their preferences, and most of us see no need to change what has worked for us over the years.
10-04-2017, 07:31 PM
#19
KT will have a new fuel system, new servos, new air line, JR aluminum servo arms, operational cowl flaps, new scale guns, new batteries and switches, a freshly serviced MOKI 250, freshly serviced gear, and some other goodies. Then she will get the exterior refurbishing from nose to tail. A fun project.
10-05-2017, 12:40 PM
#20

Besides the firewall when CARF suggests a top speed limit where is the next weakness on either model? When I had my Corsair kit I remember reading the manual and they specified 120mph limit. I'm wondering why and what can be strengthened to extend that. I see guys flying these giants at speeds far above 120mph but never see them break up in flight.
Any ideas?
I plan on getting back to a Corsair in the near future and will improve it as suggested so far.
Any ideas?
I plan on getting back to a Corsair in the near future and will improve it as suggested so far.
10-05-2017, 06:39 PM
#21
Besides the firewall when CARF suggests a top speed limit where is the next weakness on either model? When I had my Corsair kit I remember reading the manual and they specified 120mph limit. I'm wondering why and what can be strengthened to extend that. I see guys flying these giants at speeds far above 120mph but never see them break up in flight.
Any ideas?
I plan on getting back to a Corsair in the near future and will improve it as suggested so far.
Any ideas?
I plan on getting back to a Corsair in the near future and will improve it as suggested so far.
I have thought about this and it has been a subject of conversation among us builders and pilots. These are composite aircraft. Not much in the way of internal superstructure from the factory. We add some as builders where we think it would help, but even this is not near what a build up plane gets. Now, add to this the fact that, in spite of being composite, they are not especially light aircraft due to the scale nature of the designs, and the radial engines we use on them. So, what we have is a fairly heavy scale composite airplane traveling at 120 MPH, and then entering a turn. Can you imagine the G force now exerted on that air frame, just making a turn! Here is where, IMO, the CARF do not exceed speed is born from. I have heard of flutter on some planes. The geometry on the control systems is very good. Good quality servos of sufficient strength, with tight linkage, and I see no issues that could be called inherent. Wing fold failures have occurred and proven to be the result of a loss of pressure in the original hydraulic system.
Just fly scale and fly smart and we should be fine.
10-06-2017, 05:17 AM
#22
All this talk about structural failure and you guys now have me worried!
My first impression of my P-47 when I unpacked it was how light the fuselage was and how heavy the wings were.
My goal with this build is to find a good balance of scale detail, while keeping the weight down as much as possible. It is hard to do on this plane because it just screams to be "loaded" with scale details, and there is plenty of room inside the cavernous fuselage to easily add it!
While I believe the wings of the P-47 to be very well built and structurally sound, I do sometimes question the strength of the fuselage. I have added carbon fiber and glass reinforcement to the firewall and fuse sides back to the front of the wing saddle, but I am wondering if I should add something more around and beyond the wing saddle to help spread the load of these massive (and somewhat heavy) wings?
Anybody have any thoughts or real-world experience with this area of the airframe?
Regards,
Astro
10-06-2017, 04:46 PM
#23
All this talk about structural failure and you guys now have me worried!
My first impression of my P-47 when I unpacked it was how light the fuselage was and how heavy the wings were.
My goal with this build is to find a good balance of scale detail, while keeping the weight down as much as possible. It is hard to do on this plane because it just screams to be "loaded" with scale details, and there is plenty of room inside the cavernous fuselage to easily add it!
While I believe the wings of the P-47 to be very well built and structurally sound, I do sometimes question the strength of the fuselage. I have added carbon fiber and glass reinforcement to the firewall and fuse sides back to the front of the wing saddle, but I am wondering if I should add something more around and beyond the wing saddle to help spread the load of these massive (and somewhat heavy) wings?
Anybody have any thoughts or real-world experience with this area of the airframe?
Regards,
Astro
My first impression of my P-47 when I unpacked it was how light the fuselage was and how heavy the wings were.
My goal with this build is to find a good balance of scale detail, while keeping the weight down as much as possible. It is hard to do on this plane because it just screams to be "loaded" with scale details, and there is plenty of room inside the cavernous fuselage to easily add it!
While I believe the wings of the P-47 to be very well built and structurally sound, I do sometimes question the strength of the fuselage. I have added carbon fiber and glass reinforcement to the firewall and fuse sides back to the front of the wing saddle, but I am wondering if I should add something more around and beyond the wing saddle to help spread the load of these massive (and somewhat heavy) wings?
Anybody have any thoughts or real-world experience with this area of the airframe?
Regards,
Astro