


New construction technique
 03-22-2005, 12:01 AM
#26
Senior Member
Thread Starter
Join Date: Oct 2002
Location: richmond,
BC, CANADA
Posts: 133
Likes: 0
Received 0 Likes
on
0 Posts
I used "NASCO" tape. It comes in 1/2" and 3/4" at the local "dollar Store". Remember that the foam I am using is "insulation" pink foam. I believe it is more dense than regular white foam. Anyway, this tape is amazingly strong. I used it to stick my coro skin wrap to the fuse too. This stuff sticks Foam on foam, foam to gutter pipe and foam to coro. remember to seal the flutes at the firewall, other wise the flutes will just channel the the fuel etc straight to your foam.
see attached pictures of tape..
see attached pictures of tape..
 03-22-2005, 09:29 AM
#27
Member
Join Date: Aug 2002
Location: St.John\'\'s,
NL, CANADA
Posts: 77
Likes: 0
Received 0 Likes
on
0 Posts
Thanks a million Coro. This will cut build times considerably. I think it will also be a perfect "field fix" solution for some of my more aggressive landings. ( fence, tree, straight in etc....)
05-24-2005, 09:50 PM
#28
Senior Member
Join Date: May 2005
Location: , QC, CANADA
Posts: 115
Likes: 0
Received 0 Likes
on
0 Posts
A few Q's...
How do you mount your radio gear for easy access?
Do you make a hatch to access your gear or fuel tank if needed? I cant seem to find any seems for a hatch anywhere.
I ask this because I am currently making a warbird using this technique and am kind of short of ideas on mounting my gear.
Thanks.
How do you mount your radio gear for easy access?
Do you make a hatch to access your gear or fuel tank if needed? I cant seem to find any seems for a hatch anywhere.
I ask this because I am currently making a warbird using this technique and am kind of short of ideas on mounting my gear.
Thanks.
05-25-2005, 04:47 AM
#29

My Feedback: (1)
Join Date: May 2003
Location: Ste-Madeleine,
QC, CANADA
Posts: 150
Likes: 0
Received 0 Likes
on
0 Posts
Maybe it's like the original spitfire!!!
They don't have access to it until a midair or a crash!!!
Probably by the wing saddle.
Dan
They don't have access to it until a midair or a crash!!!
Probably by the wing saddle.
Dan
05-25-2005, 03:17 PM
#30
Senior Member
Thread Starter
Join Date: Oct 2002
Location: richmond,
BC, CANADA
Posts: 133
Likes: 0
Received 0 Likes
on
0 Posts
Most of the gear is mounted through the wing saddle. I mount the elevator servo in the aft fuse and seal it in. It can always be cut out and patched if need be. Not ideal but it makes for a simpler airplane.
 06-03-2005, 12:23 AM
#32
Senior Member
Thread Starter
Join Date: Oct 2002
Location: richmond,
BC, CANADA
Posts: 133
Likes: 0
Received 0 Likes
on
0 Posts
After switching to a FX.45 engine and flying the hell out of the model (its a great machine to throw around and high speed) I finally built the scale FW wing for it. I will fly it tomorrow. This new wing actually turned out to have more surface area that the wing in previous pictures...
06-04-2005, 11:07 PM
#35
Senior Member
Thread Starter
Join Date: Oct 2002
Location: richmond,
BC, CANADA
Posts: 133
Likes: 0
Received 0 Likes
on
0 Posts
Yeah, I agree. It looks like a Zero. Got any more pictures? and what is your construction technique?
the great thing about the Zero is it has LOTS of wing, and will probably fly slow on a scale wing. But I have to admit, you are going to have trouble with the CofG. Or do you have a solution?
Did you know you can now get 2mm coro in all the colours you get 4mm in, and that means Green, for all you Zero fans. I think that will be my next project.
good luck, I'd like to know how she flies!
06-05-2005, 10:36 AM
#36
Senior Member
Join Date: May 2005
Location: , QC, CANADA
Posts: 115
Likes: 0
Received 0 Likes
on
0 Posts
The construction is sort of a mix between the one you have show here and the technique used for Gary's Corsair. Used rounded foam formers for the front fuse and for the aft fuse I stuck on a larger piece of foam that I shaped while using a Guillows Zero as a guide for the shape. I plan on skinning the whole thing in 2mm and sticking a 40la on the nose.
The wing isnt scale actually, I gave it about an inch more chord because I thought it looked too small with a scale wing. What I liked about the Zero was the ample dihedral. The radial fuse is equally simple to construct.
About the CG, the wing saddle isnt permanent yet, and I can lengthen the nose a bit without it looking too odd. If it needs be, I can attach the battery pack wrapped in foam on the firewall under the engine...test fitting shows that its possible.
Only thing I need to figure out right now is how to make a proper canopy.
06-05-2005, 05:39 PM
#37
Senior Member
Thread Starter
Join Date: Oct 2002
Location: richmond,
BC, CANADA
Posts: 133
Likes: 0
Received 0 Likes
on
0 Posts
Muldoer, the Zero looks great. I am sure the Gutterpipe core will add lots of strength.
As for the Canopy, I once made a Me-109 canopy from a carved wood block and a 2l coke bottle. see pictures..
Glue a bunch of balsa sheets together to form a nice big balsa block, then take your time carving and sanding the block into the shape of the zero canopy. These 2l bottles shrink quite a lot when heated with a heat gun!
After you have cut the canopy to size add vinyl strips to the inside to simulate the metal structure of the canopy.
06-06-2005, 10:55 PM
#39
Senior Member
Thread Starter
Join Date: Oct 2002
Location: richmond,
BC, CANADA
Posts: 133
Likes: 0
Received 0 Likes
on
0 Posts
Abot 8 oz. I tried using a old viamin container (it was square) and it protruded into the wing (space was tight!)
06-14-2005, 03:05 PM
#40
Senior Member
Join Date: May 2005
Location: , QC, CANADA
Posts: 115
Likes: 0
Received 0 Likes
on
0 Posts
I've never cowled an engine before...how do you fuel these puppies?
Does it even look like a Zero? I find it to be quite ugly...perhaps because its a prototype so to speak, and I have it up close...and my webcam slightly grains the image.
[sm=angry.gif]
Does it even look like a Zero? I find it to be quite ugly...perhaps because its a prototype so to speak, and I have it up close...and my webcam slightly grains the image.
[sm=angry.gif]
07-07-2005, 03:21 AM
#42
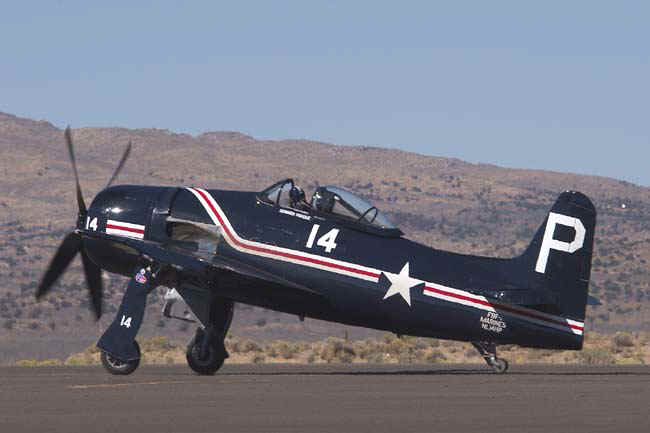
This idea worked out good, A friend and I decided to build two Bearcats together and so far so good BUT however what a PITA it was wrapping a Bearcat in 2mm, Look at all these angles AARRRGGGGG!!!!! took me 3 hours to get one wrapped LOL They are at my friends house so I'll get pics for you guys this weekend. OH and do you know how hard it was to find a 3-view of this puppy, Here it is if anyone else wants it, The website I found it on removed it for some reason....Good thing I saved it on my hard drive.
Dauntae
Dauntae
