


2014 race season
 01-05-2014, 05:57 PM
#1

Well before you know it April will be here and it will be race time again. I'm looking forward to an overall better year. Last year had some setbacks for Team Speed but 2014 is looking better so far. While I have been pretty quiet the past few months I have been working on a new airplane. I am looking forward to getting back to racing and re kindling friendships. I know I have been teasing people about my use of a YS. Well this is going to be the year it happens. Wing and tail are about 80% done and the fuse plug is waiting to have a mold made from it.
 01-07-2014, 08:21 PM
#2
Junior Member
My Feedback: (2)
Join Date: Nov 2004
Location: vacaville,
CA
Posts: 26
Likes: 0
Received 0 Likes
on
0 Posts
Looking very nice. Pointy in front and pointy in back, high aspect wing, looks like it will be very slippery. And a Y.S. ? Are you planning to bracket race this machine or are you going head hunting?
 01-08-2014, 10:32 PM
#4

I was wondering when someone was going to start up a build thread for the upcoming season. This forum's been rather slow, lately. Thanks for helping to get the ball rolling, again.
Don't you love it when the plug is polished to such a degree that the reflection is so precisely detailed, it's nearly like looking into a mirror? Great work, Speed! You're making me want to make more new projects, when I already have too many old ones to try to finish up, first!
I have a new P-47 ready to cover, and an older designed P-47 ready to re-paint. I've also got my prototype true-scale-outline P-51 race wing panels framed-up, retracts and wheel wells installed, and one with the bottom sheeting glued on. So, hopefully "The Ghost" will be back in the air in the not too distant future. "007" has his wing halves, of the same P-51 wing design, built and joined. Leadfoot has one panel framed. With three of us running it this season, I can't wait to see what this new wing design will be capable of.
Looking forward to re-connecting with you, Trixie, and the family. What about Ali? Are you going to get her racing this season?
01-09-2014, 09:35 AM
#6
True scale outline is actually encouraged. The Ghost had very clipped wings. If Iron Dogs clipped wings are 515 Sq inches or better then it will be perfectly legal. IMO low aspect ratio wings don't work as well as high aspect, that's why my airplane of choice is the Macchi. Ollie's Ghost is plenty fast for silver even with the handicap in the turns.
01-09-2014, 11:19 AM
#7
Junior Member
My Feedback: (2)
Join Date: Nov 2004
Location: vacaville,
CA
Posts: 26
Likes: 0
Received 0 Likes
on
0 Posts
Speed, That was an attempt at humor on my part. It will be nice to see a mustang out there that looks like a mustang. I bet that Macchi will run the gold number on 20 -30%
01-09-2014, 08:05 PM
#9
True scale outline is actually encouraged. The Ghost had very clipped wings. If Iron Dogs clipped wings are 515 Sq inches or better then it will be perfectly legal. IMO low aspect ratio wings don't work as well as high aspect, that's why my airplane of choice is the Macchi. Ollie's Ghost is plenty fast for silver even with the handicap in the turns.
I get the joke . . . that's kinda why I felt it necessary to redesign the wing. The stock WM wing is actually a lower aspect ratio than one that is true-to-scale. I felt that I could put in a faster airfoil & slightly increase the aspect ratio, both of which would improve performance for racing; while simultaneously improving the scale fidelity of the plane. The best part was that inputing the wingspan, scaled to the length of the stock WM fuse gave me a 555 sq." wing. Big enough for the Bay Area's Triangle Series Unlimited class; or for inserting the larger YS 120 and still being within the SAM Engine/Wing Area chart. The wing, if clipped to exactly replicate that of the "Galloping Ghost", yielded a wing area of 519 sq."; readily meeting the 515" needed to accommodate the family of YS engines in the 110 through 115 range.
If it works as well as expected, I'll reconfigure my relatively new scale P-39 wing, to the new airfoil, as well. Even with the fatter sport airfoil, and "draggy" fixed landing gear, my last P-39 was really fast. I personally believe the P-39 and the Macchi to be among the most "clean" scale outlines.
Last edited by Iron Dog; 01-09-2014 at 08:13 PM.
01-11-2014, 02:03 PM
#10
Yes it will be very interesting to see what your new wing will do. The airfoil is quite different then mine. I think we may end up proving my theory that given the choice between aerodynamics and horsepower go with horsepower. Then again I think I have done pretty well with limited horsepower. I guess we are going to find out. Spent a bit of time working on a parting flange today. I like to use 1/4" balsa for this as it is pretty easy to work with. The next step is to clean it up a bit and cover with iron on film. Ollie may notice that this is going to be a 3 part mold with the wing saddle being the 3rd part. This is done to make the wing fillets easier to remove from the mold. The plug still needs to be sanded with 2000 grit and polished. If you guys are interested I will post pictures of each step of the mold production.
01-11-2014, 05:28 PM
#12
Ok more details on the splitter plates. Super ugly on the back side. Notice supports on the back that will support the plug and hold it at the proper location. This one is a little different then the other molds I have done. To be honest this will only be my 3rd fuse mold. My first was a F3C helicopter fuse and the second was a F3B sailplane fuse that I used in the 1996 team selection finals. If it weren't for the wing fillets this one would be a two piece mold. Being that the fillets are sharp and fairly deep making them part of the fuse mold would create a few issues. The first would be getting the plug out of the mold. After that hurtle would be prepping the mold deep down in the fillets and lastly would be doing the layup. Half of the fillet would have to be resin and cabosil. That's extra weight. Making a separate mold for the wing saddle will help keep weight down and will allow for future airfoil changes. The next step will be to cover the splitter plates with iron on film and polish the plug. The plug will be wet sanded with 2000 grit and let stand for a couple days. This will let the paint gas off a little more. I won't polish out to mirror finish as I think a slightly porous surface will accept wax a little better. Once that's done the plug will go into the splitter plate, any gaps will be filled with modeling clay. After that the whole thing will get multiple coats of Partall #2 wax and then a coat of PVA.
01-15-2014, 08:13 PM
#15
. . . Ollie may notice that this is going to be a 3 part mold with the wing saddle being the 3rd part. This is done to make the wing fillets easier to remove from the mold. The plug still needs to be sanded with 2000 grit and polished. If you guys are interested I will post pictures of each step of the mold production.
I am definitely interested in seeing pictures posted of each step of your mold production. You already showed an interesting method for your parting surface. I've always used acrylic, but this is much too difficult to cut, sand, and shape accurately to the outline of the plug. I avoided wood due to the porous nature of it. I never thought to use scrap iron-on plastic covering for the "plastic" aspect of my parting flange. I hope to pick-up another little "nugget" from you, as you hopefully continue sharing your methods.
Thanks,
Ollie
Last edited by Iron Dog; 01-15-2014 at 08:16 PM.
01-15-2014, 09:13 PM
#16
Thanks Ollie, I started applying wax today. I figure the more the better so the plan is 2 coats of wax per nite for the rest of the week. I would have loved to get the mold surface coat done this weekend but I will be happy if come Monday I have it all prepped and ready for PVA. Once waxed the plug will go into the parting flange. I will spot glue it in place with some spots of RTV on the bottom. Any gaps will be filled with clay, one more coat of wax and then PVA. The surface resin I'm using is a Hysol product infused with aluminum. I'm still trying to sort out the actual fuse layup in my head. I keep wanting to have a core material in the mix like 1/32 balsa but that would require me to bag the mold after the layup. In other words double the work and another one third cost. One thing that I am sure about is the engine mount. No firewall, the mount will be 3/16 6061 plate that will be bonded in when the fuse halves come together. It will run from the nose ring and taper to an end at the wing LE.
Virginia wanted me to ask you if you can take a picture of the Gee Bee stone art you got at the Trashman. She says. Pleeeeezzzzz Ollie. Lol.
Virginia wanted me to ask you if you can take a picture of the Gee Bee stone art you got at the Trashman. She says. Pleeeeezzzzz Ollie. Lol.
Last edited by speedracerntrixie; 01-15-2014 at 09:17 PM.
01-15-2014, 10:01 PM
#17

My Feedback: (2)

Join Date: Jun 2008
Location: Merlin, Oregon
Posts: 73
Likes: 0
Received 0 Likes
on
0 Posts
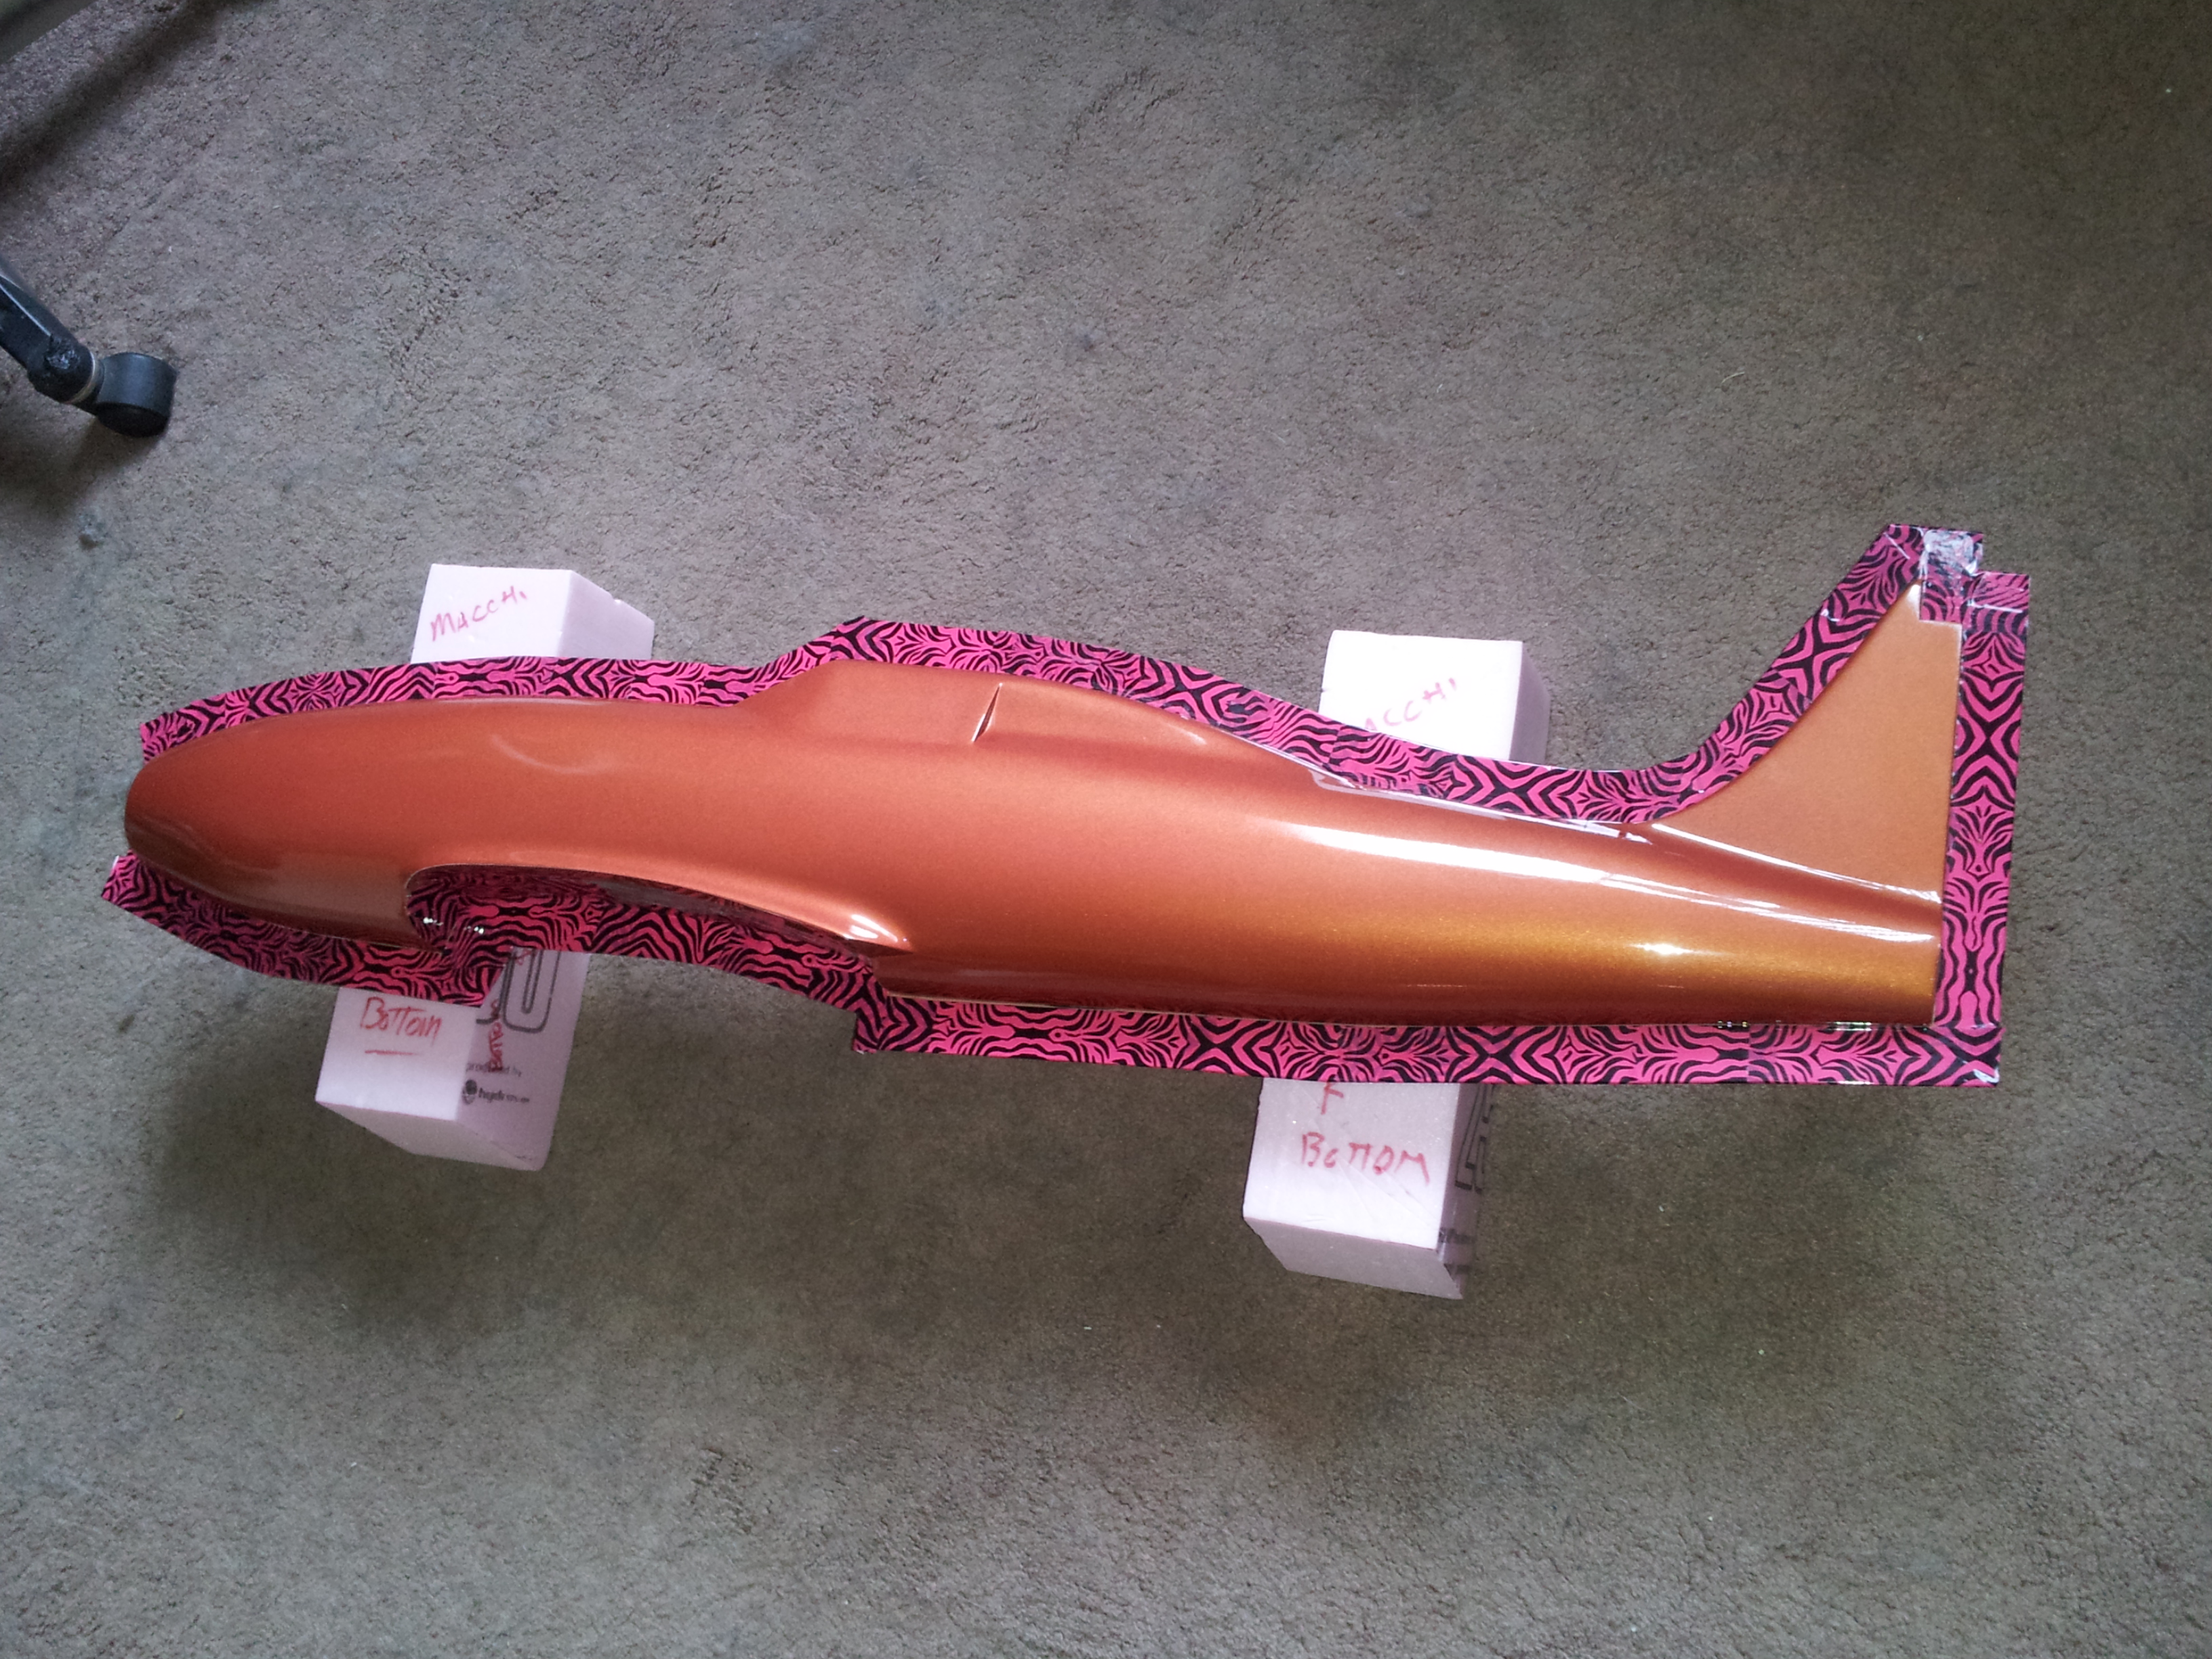
Here's my new Macchi which is scale looking, I use tape on my fence instead of Monekote, epoxy won't stick to it and it's easy to apply. Hopefully I'll be pulling the first one out tomorrow morning
Last edited by Racewizard; 01-15-2014 at 10:05 PM.
 01-17-2014, 10:35 PM
#23
"As you wish."
It is proudly displayed on the window sill of my smaller workshop. Just below it is the new wing I am currently working on for The Galloping Ghost.
Last edited by Iron Dog; 01-17-2014 at 10:42 PM.
01-25-2014, 04:13 PM
#24
Work is going a bit slow, I've been having to put in some extra hours at work so I really only have time for models on the weekends. The first picture is after the PVA has been applied and given a few hours to dry. I like to apply the PVA with a foam craft brush. This allows me to apply it fairly thick and evenly. Once the PVA is dry the surface coats can be applied. Pictured is after 2 coats, the surface resin is pretty thick so lots of brush marks. The next step will be some thickened laminating resin and light cloth followed by 4 layers of 12oz tooling cloth.
01-26-2014, 02:53 PM
#25
It was a fairly productive day today. After raid using the corners and smoothing out the surface with a mixture of epoxy and cabosil I brushed on a thickened coat of epoxy. This filled in all the brush strokes from the surface resin really well. I then applied 2 layers of 3.7 oz cloth. I allowed the resin to kick to the point of being just slightly tacky. Then I applied 4 layers of 12 oz tooling cloth. This will set until tomorrow nite and I will remove the balsa parting flange. Over the course of this week I will prep the other side and apply the surface resin. My goal is to be done with the mold and have a first article fuselage in 2 weeks and a flying airplane 2 weeks after that. Our race season starts off March 22 with a Triangle series race in Fresno Ca. Lots to do in a short amount of time.