


Polikarmov I-16 Project
 11-24-2013, 02:04 AM
#1
Junior Member
Thread Starter
Join Date: Sep 2007
Location: , NY
Posts: 7
Likes: 0
Received 0 Likes
on
0 Posts
Hello everybody.
I do a lot of depron building and for quite a while I have been eyeing the Polikarpov i 16 (Rata).
Finally I decided I will go ahead and start the process. Anyone is welcome to join and document their build as a build-off. The link to the plane is this:
I took the file from a Polish guy who puts them online and enlarged it to get a 1.05m wingspan. These are the PDF's with for paper:
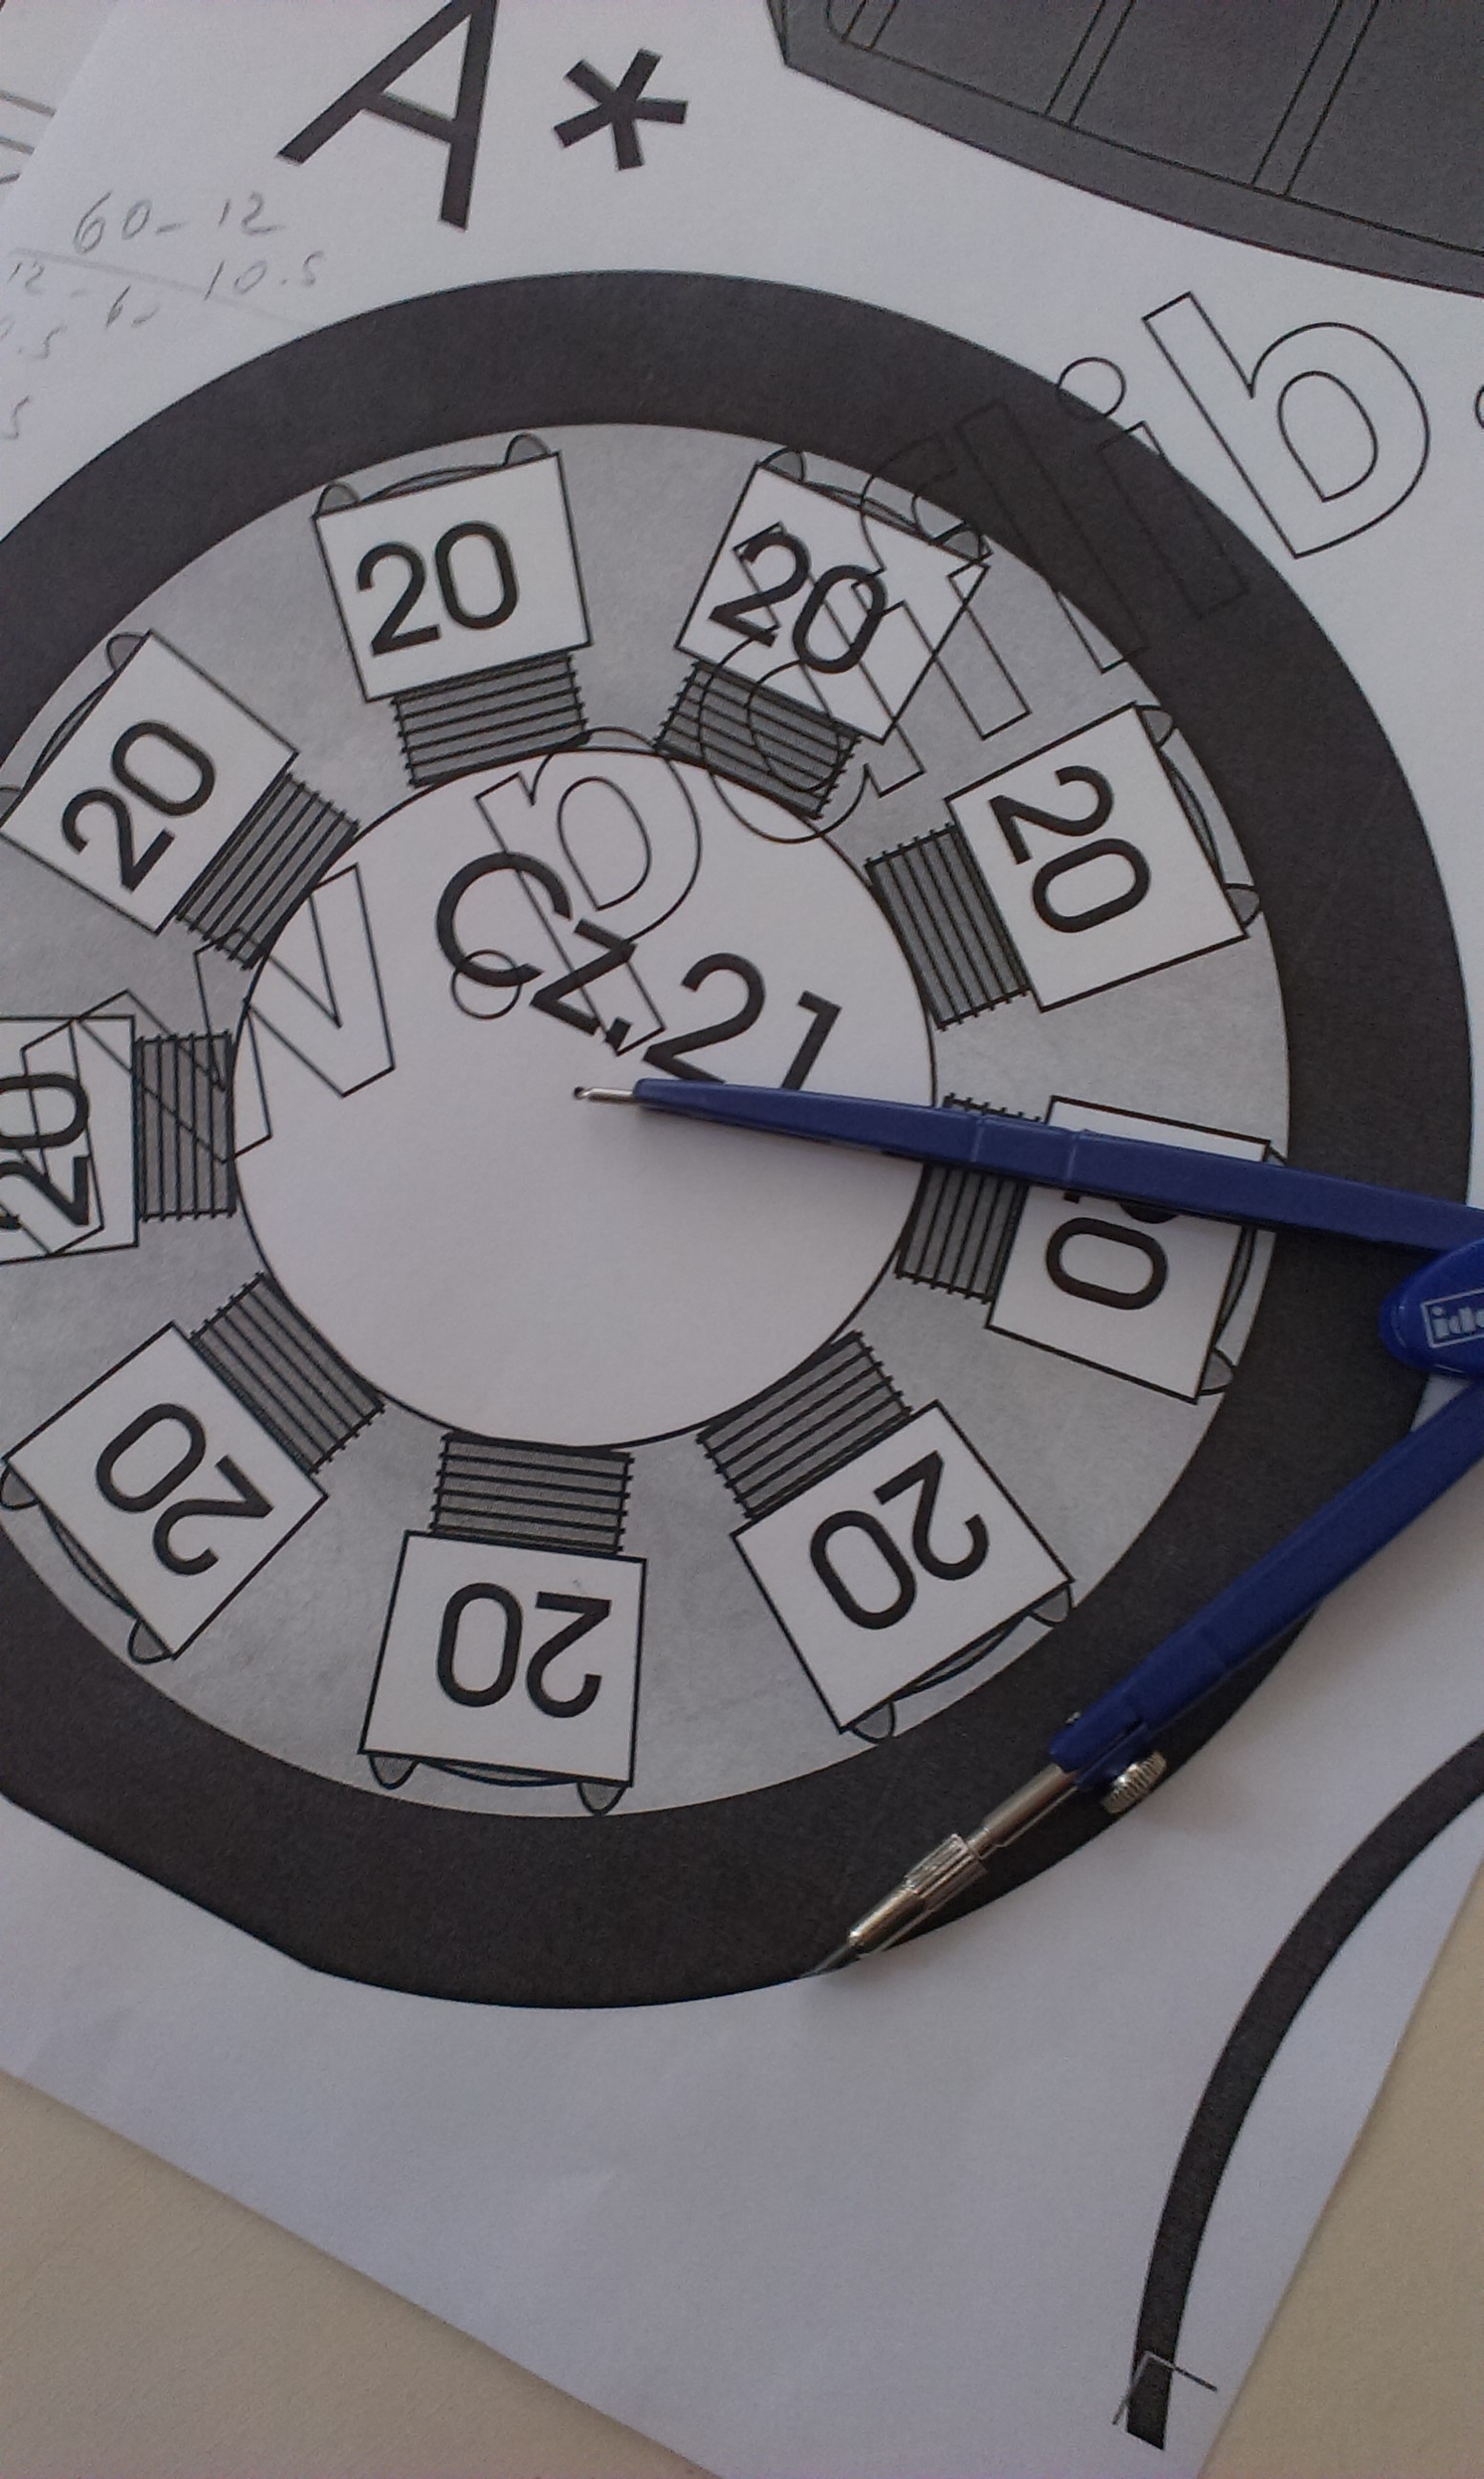
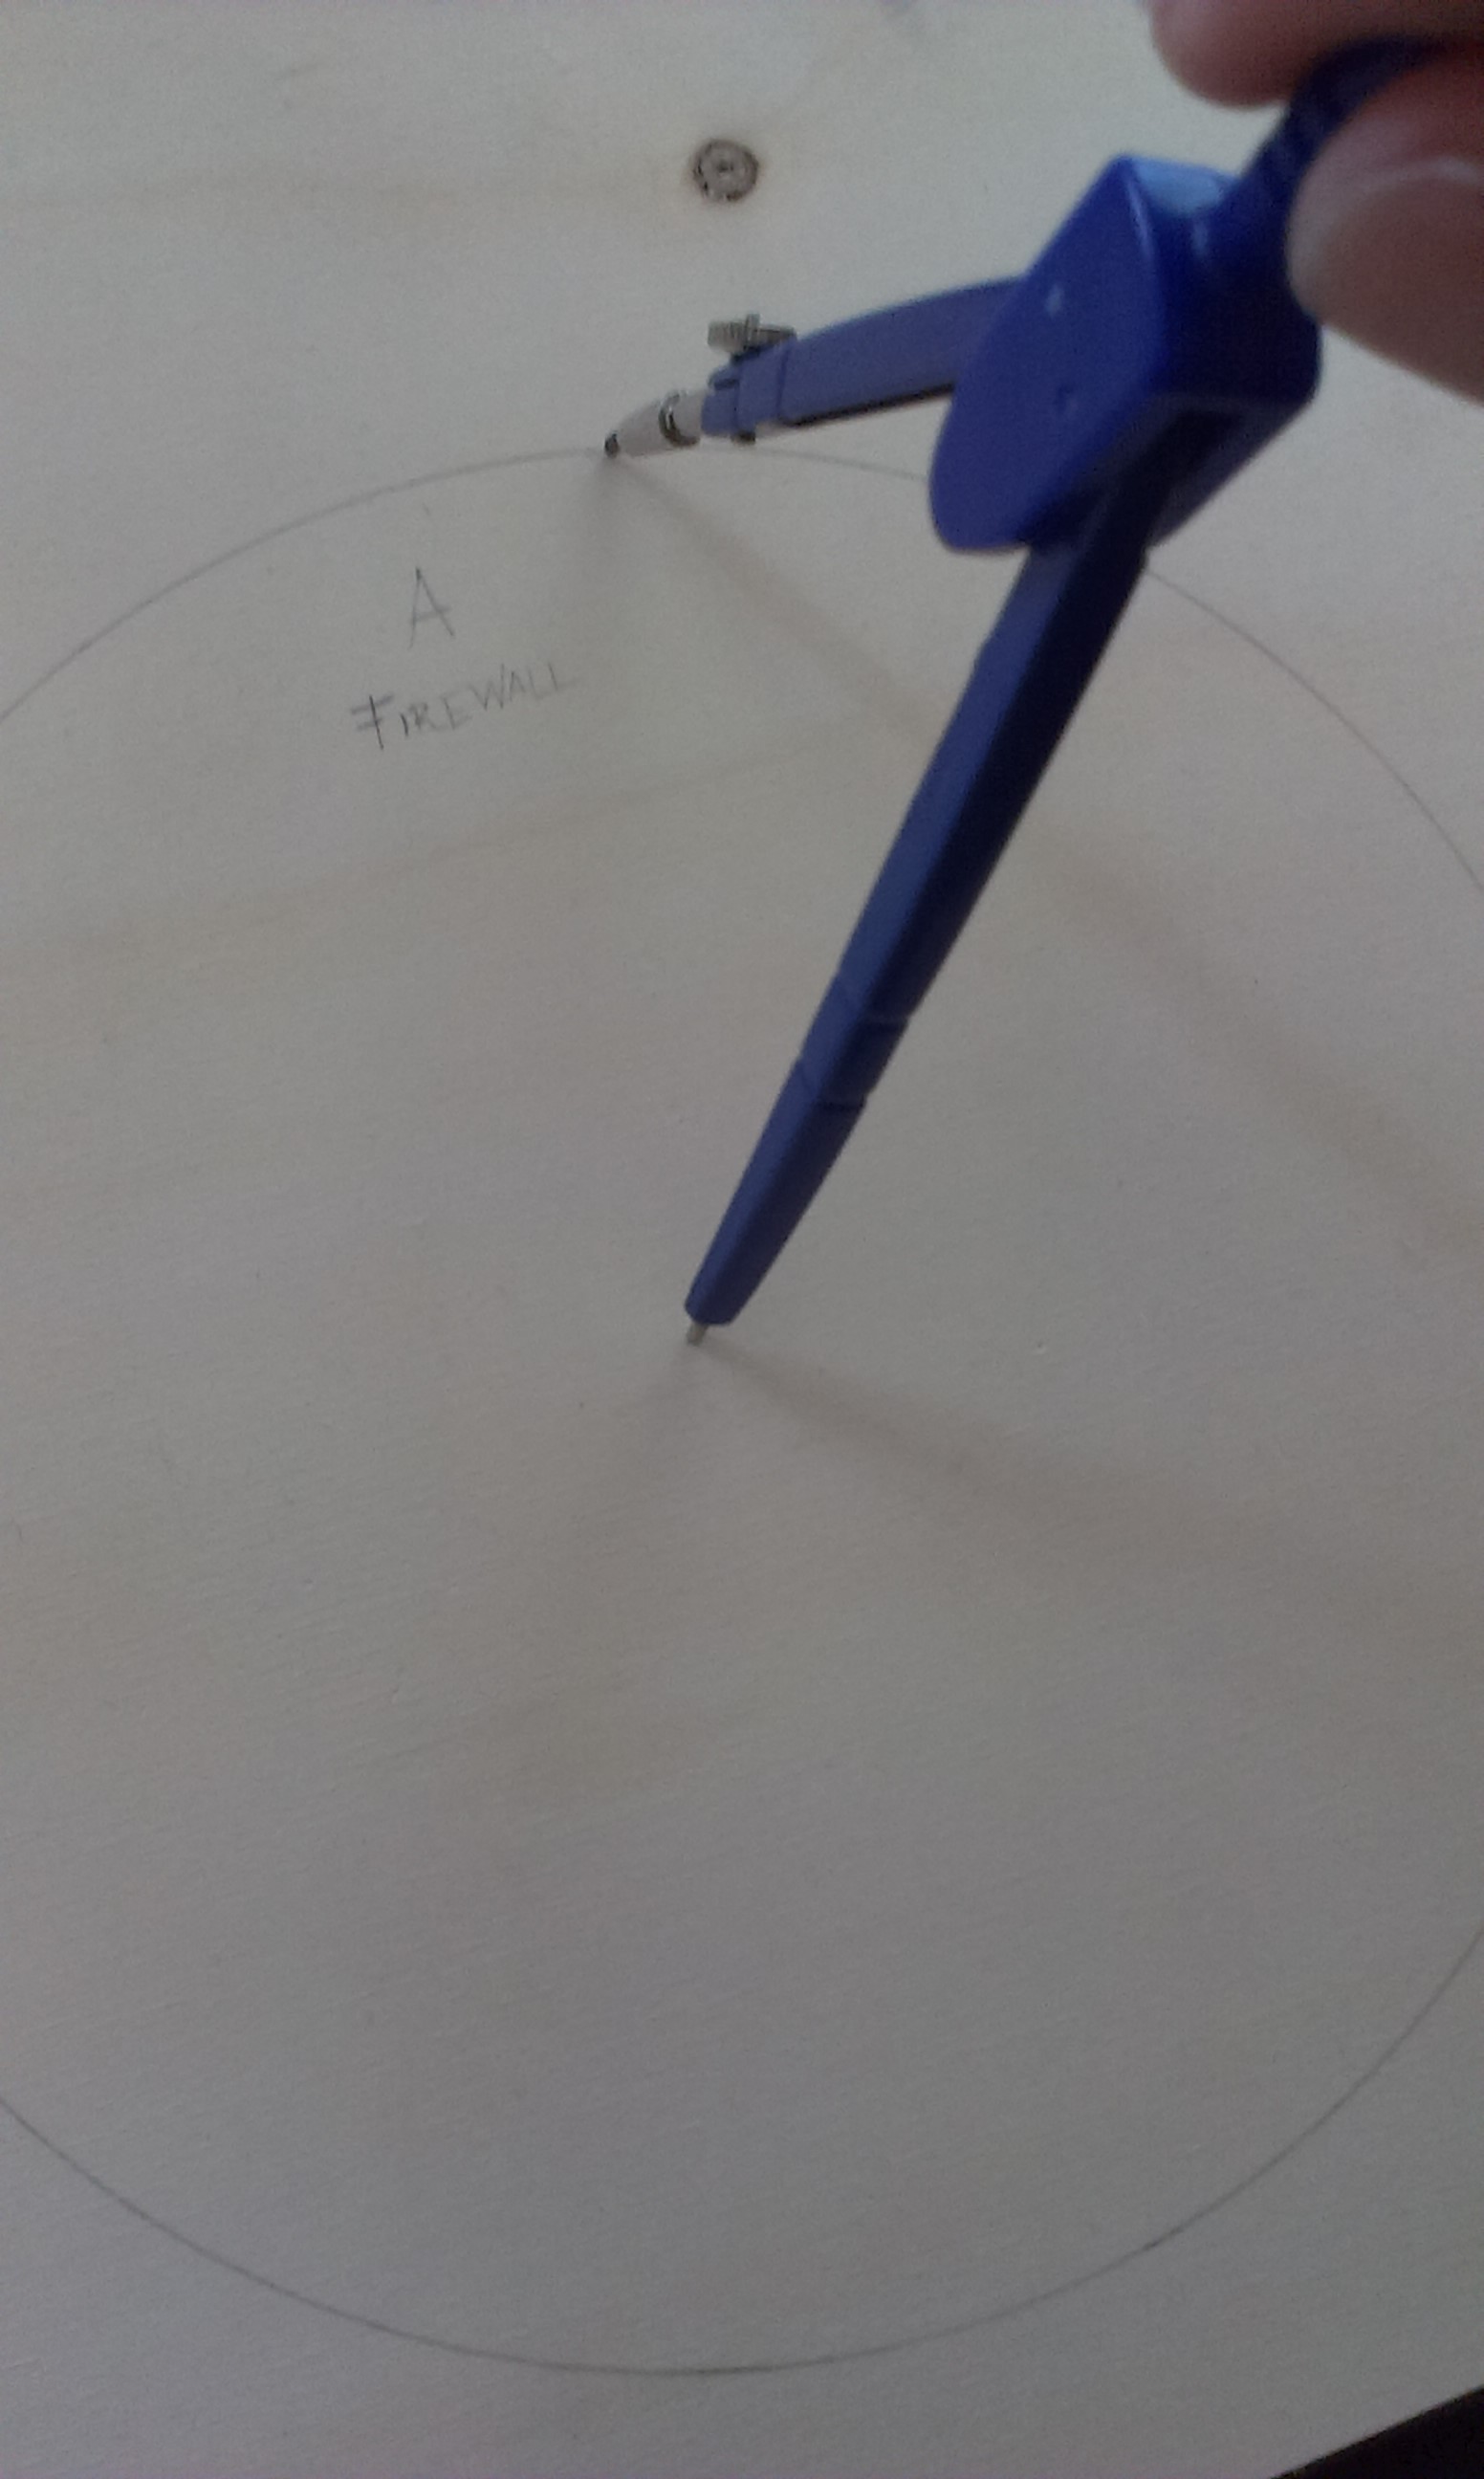
The first step will be to cut the firewall (4mm plywood) and the formers of the fuselage (2mm Balsa).
I took a cheap compass plased the sharp tip at the center and the lead on the permitrical line of former A (PDF 1) and marked the circle on the plywood. Next I will cut with a hand copping saw. Not today though.
Here are the pictures:
I do a lot of depron building and for quite a while I have been eyeing the Polikarpov i 16 (Rata).
Finally I decided I will go ahead and start the process. Anyone is welcome to join and document their build as a build-off. The link to the plane is this:
I took the file from a Polish guy who puts them online and enlarged it to get a 1.05m wingspan. These are the PDF's with for paper:
[ATTACH]1941720[/IMG]
[ATTACH]1941721[/IMG]
[ATTACH]1941722[/IMG]
[ATTACH]1941723[/IMG]
[ATTACH]1941724[/IMG]
[ATTACH]1941721[/IMG]
[ATTACH]1941722[/IMG]
[ATTACH]1941723[/IMG]
[ATTACH]1941724[/IMG]
The first step will be to cut the firewall (4mm plywood) and the formers of the fuselage (2mm Balsa).
I took a cheap compass plased the sharp tip at the center and the lead on the permitrical line of former A (PDF 1) and marked the circle on the plywood. Next I will cut with a hand copping saw. Not today though.
Here are the pictures:
Last edited by vuoladodo; 11-24-2013 at 03:12 AM.
 11-30-2013, 10:54 AM
#2
Junior Member
Thread Starter
Join Date: Sep 2007
Location: , NY
Posts: 7
Likes: 0
Received 0 Likes
on
0 Posts
Chapter 2: Cutting the Formers.
So, I finally managed to get back to the Polikarpov. I took the plywood with the firewall marked on it and using a coping saw, I cut it and did some light sanding.


I took two pieces of 100 cm x 2mm x 10cm balsa wood and glued them together along the long edge with crazy glue getting a 100cm x 2mm x 20cm board.

This can accomodate now all the formers. So I cut formers B, C, D, E and F from the paper plan.

Then I taped it to the balsa and marked each with a sharp B pencil. Then I cut each piece of balsa ending with 5 balsa formers (+ the plywood firewall).


The paper plan calls for two formers per letter. I think I will add to each former a depron doubler. though I am not yet sure. Much depends on how i decide to resolve the skin in this project. As you can see in the plan, the skin is sectioned and attaches to each former. I am not sure how I will modify this, if anyone has any suggestions, I would love to hear them.
OK that's all for now.
VD
So, I finally managed to get back to the Polikarpov. I took the plywood with the firewall marked on it and using a coping saw, I cut it and did some light sanding.
I took two pieces of 100 cm x 2mm x 10cm balsa wood and glued them together along the long edge with crazy glue getting a 100cm x 2mm x 20cm board.
This can accomodate now all the formers. So I cut formers B, C, D, E and F from the paper plan.
Then I taped it to the balsa and marked each with a sharp B pencil. Then I cut each piece of balsa ending with 5 balsa formers (+ the plywood firewall).
The paper plan calls for two formers per letter. I think I will add to each former a depron doubler. though I am not yet sure. Much depends on how i decide to resolve the skin in this project. As you can see in the plan, the skin is sectioned and attaches to each former. I am not sure how I will modify this, if anyone has any suggestions, I would love to hear them.
OK that's all for now.
VD
12-01-2013, 02:21 AM
#3
Junior Member
Thread Starter
Join Date: Sep 2007
Location: , NY
Posts: 7
Likes: 0
Received 0 Likes
on
0 Posts
And one more. I taped together the print-out with the skin sections and cut them out.

Then marked the center of the former's circle. Some of them are themselves circles like B and F and some others D and E, especially, have circles marked on them to show the point of alignment with other formers.
I then used the center point to mark a 2cm x 1cm rectangle and cut through it. Marked the end of each skin on a 2cmx1cm balsa and put the formers through. This is the placement of the fuse core.

VD
Then marked the center of the former's circle. Some of them are themselves circles like B and F and some others D and E, especially, have circles marked on them to show the point of alignment with other formers.
I then used the center point to mark a 2cm x 1cm rectangle and cut through it. Marked the end of each skin on a 2cmx1cm balsa and put the formers through. This is the placement of the fuse core.
VD
12-01-2013, 09:28 PM
#5
Senior Member

Join Date: Jul 2003
Location: Brisbane, AUSTRALIA
Posts: 486
Likes: 0
Received 0 Likes
on
0 Posts
Nice project  I don't know how accurate are those paper templates but it all depends how far you want to go. First of all, by now you should have a pretty good idea how heavy it's going to be and what motor you want to use. Keep doing it and don't get discouraged. The end result can be very rewarding.
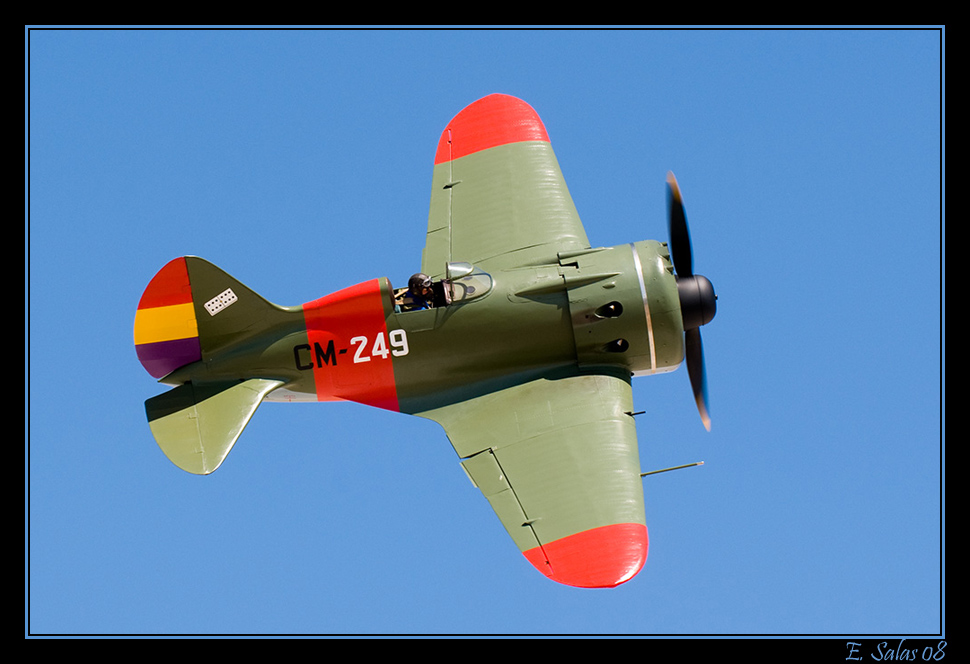
I build my rata about 10 years ago. There were absolutely no plans, so I found a 3 view drawing on some russian web site. Ended up making my own plans. It was a great flyier. Powered by OS120 four stroke. and 70 inch wingspan.
Made my own retracts as well. Yes, it was a lot of headache at times but the plane itself used to turn heads on every occassion. Here are couple of pics. One in flight and landing. I hope it will go as well for you as it did for me. Btw, the plane is made by Mr. Polikarpov. [ATTACH]1944092[/IMG]
I don't know how accurate are those paper templates but it all depends how far you want to go. First of all, by now you should have a pretty good idea how heavy it's going to be and what motor you want to use. Keep doing it and don't get discouraged. The end result can be very rewarding.I build my rata about 10 years ago. There were absolutely no plans, so I found a 3 view drawing on some russian web site. Ended up making my own plans. It was a great flyier. Powered by OS120 four stroke. and 70 inch wingspan.
Made my own retracts as well. Yes, it was a lot of headache at times but the plane itself used to turn heads on every occassion. Here are couple of pics. One in flight and landing. I hope it will go as well for you as it did for me. Btw, the plane is made by Mr. Polikarpov. [ATTACH]1944092[/IMG]
Last edited by fredo; 12-01-2013 at 09:39 PM.
12-02-2013, 01:35 PM
#6
Junior Member
Thread Starter
Join Date: Sep 2007
Location: , NY
Posts: 7
Likes: 0
Received 0 Likes
on
0 Posts
Hi, given the rather meagre response I am moving the thread to Watt Flyers, if you are interested you can follow the rest here:
http://www.wattflyer.com/forums/showthread.php?t=72695
http://www.wattflyer.com/forums/showthread.php?t=72695
