


Scratch building a Goldberg Ultimate bipe

 09-04-2025 | 09:13 AM
#27

Well, it turned out to be yet another nightmare that I caused. Despite my checking of the balance during framing, and it seemingly being ok, it ended up where it would have taken 7 oz of lead on the firewall to get it to balance at the rear CG limit. The worst part was that to get down to a mere 7 oz, I lightened the tail as much as possible without surgery. I can't force myself to add lead to an airplane, and I didn't want to buy a heavier engine (either a 1.25 or 1.5 glow, or a small gasser). I was sick of dealing with it, so I sold it for way, way less than the $700+ of materials I had in it. I sold the Saito separately. Over $400 for just the wood for this plane.
It was an epic failure, and my fault. Lesson learned (I think). But at 9 lb, 4 oz, it would have flown extremely well on that Saito 100, if it had balanced.
But if you build it out of lite-ply like the original, then it would balance just fine. It was quite fun and very challenging to build from just the plans.
I've read and seen the mounting of the center cabane to the fuse sides with the nylon bolts. DId you use the thin wire per the plans on the upper wing, or mount in a different fashion? Didn't see the wire in your framed pic....
I had a couple of these back in the 90's ... I've got the bug to build something, and I already have most of the wood. We'll see...
09-04-2025 | 09:17 AM
#28
09-04-2025 | 02:30 PM
#29

Ugh...sorry to hear after so much invested. Yours was a great looking plane!!!
I've read and seen the mounting of the center cabane to the fuse sides with the nylon bolts. DId you use the thin wire per the plans on the upper wing, or mount in a different fashion? Didn't see the wire in your framed pic....
I had a couple of these back in the 90's ... I've got the bug to build something, and I already have most of the wood. We'll see...
I built the original kit when they first came out in the 90's, and it was one of the best flying planes I have ever owned.
 09-05-2025 | 04:22 AM
#31
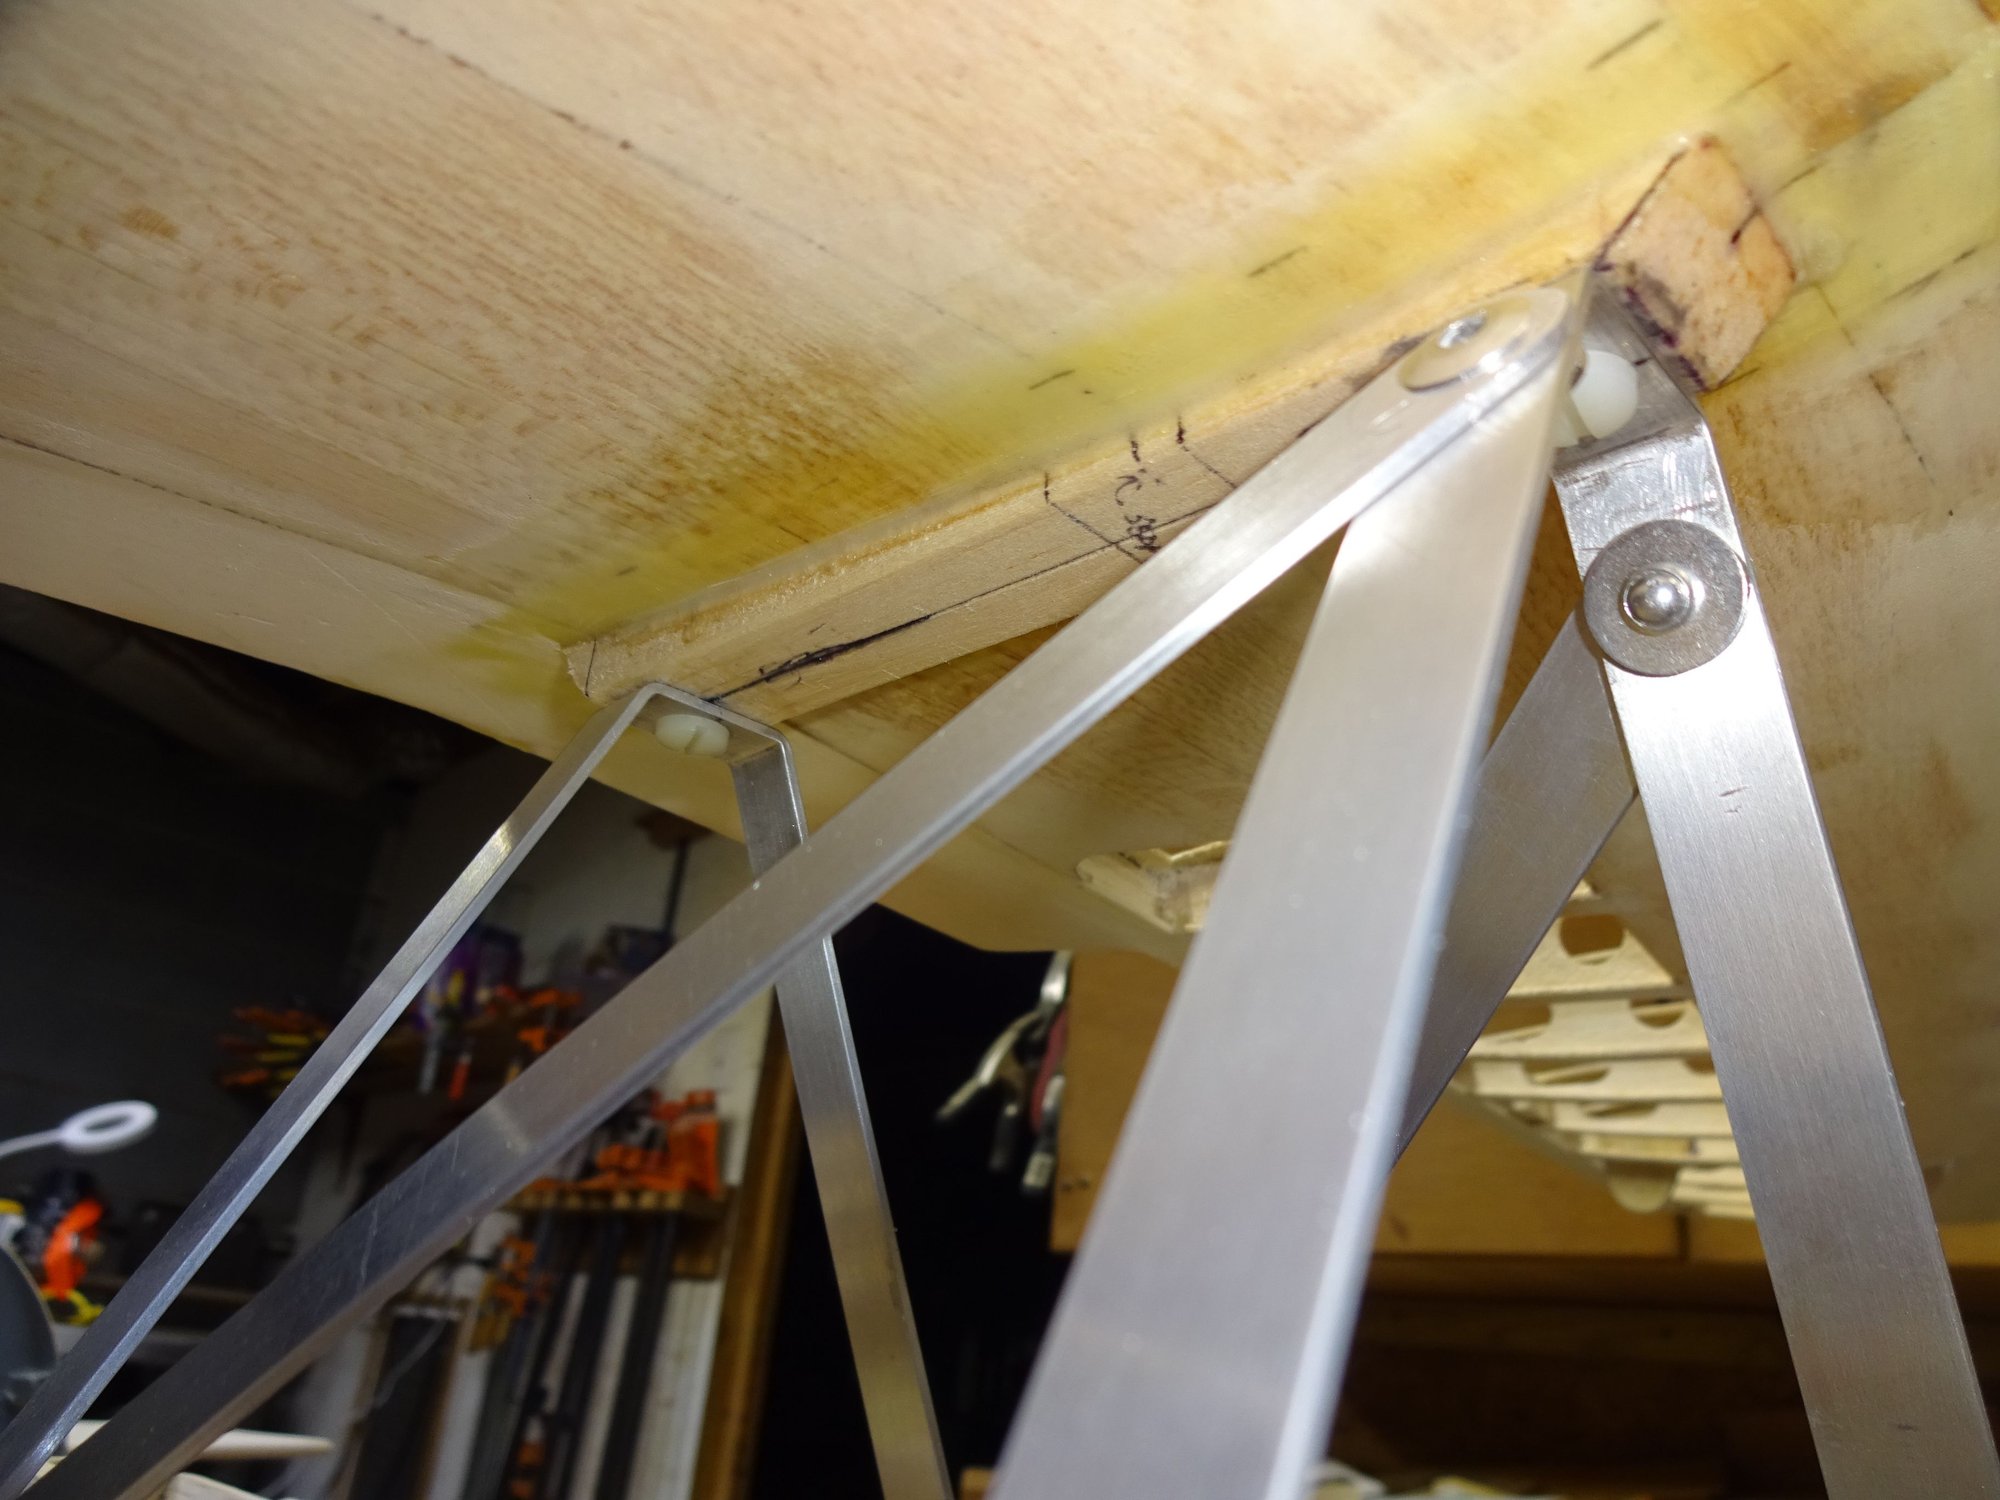
On that one, the top wing attached with (2) #10 or 1/4" (I don't recall which) nylon screws going up through the top of the cabane, vertically into the wing. I had solid balsa "meat" there, with which to tap threads into.
I built the original kit when they first came out in the 90's, and it was one of the best flying planes I have ever owned.
I built the original kit when they first came out in the 90's, and it was one of the best flying planes I have ever owned.
Yes! I like this...thanks for posting the photo! That helps a lot.
Brian
11-05-2025 | 06:52 AM
#32
On that one, the top wing attached with (2) #10 or 1/4" (I don't recall which) nylon screws going up through the top of the cabane, vertically into the wing. I had solid balsa "meat" there, with which to tap threads into.
I built the original kit when they first came out in the 90's, and it was one of the best flying planes I have ever owned.
I built the original kit when they first came out in the 90's, and it was one of the best flying planes I have ever owned.
Hi Outrider,
I jumped in on scratching an ultimate. I had quite a bit of balsa and light ply (not enough tho I'm finding out).
So far so good though....tail is done, wings done except ailerons/trailing edge. Guess I'm going to bite the bullet and order the ailerons...
Fuse is boxed in, but I can't go much further til bottom wing is ready to mount. Built it out of traditional light ply.
I haven't built a kit in years, so this has been fun.
You are correct though...by the time you buy all the odds and ends that come in a kit...you've easily paid the current price of a kit, without the headaches of the work arounds.
Now I'm trying to source a landing gear that will be close... (and look good) : )
01-27-2026 | 07:16 AM
#33
Hi Outrider,
Posting a couple pics of progress....thanks for answering my questions on your experience with the ultimate scratch build!
Cleaning up a few loose ends and starting to cover...


Posting a couple pics of progress....thanks for answering my questions on your experience with the ultimate scratch build!
Cleaning up a few loose ends and starting to cover...
01-28-2026 | 09:34 AM
#36
Looks fantastic. I recommend adding a few more hinges to the elevator and rudder and if the ones in are the fabric "easy" type, I would ditch them for Dubros or something similar. That Rudder is pretty big.
Carl
Carl
01-28-2026 | 11:28 AM
#37


