


Painting... suggestions on how to fix this spot
 11-16-2014 | 01:13 PM
#1
Thread Starter

My Feedback: (9)
Joined: Feb 2009
Posts: 304
Likes: 0
Received 0 Likes
on
0 Posts
From: The Colony,
TX
I'm in the process of painting parts for a 33% Lanier Laser and all has been going well, until this:
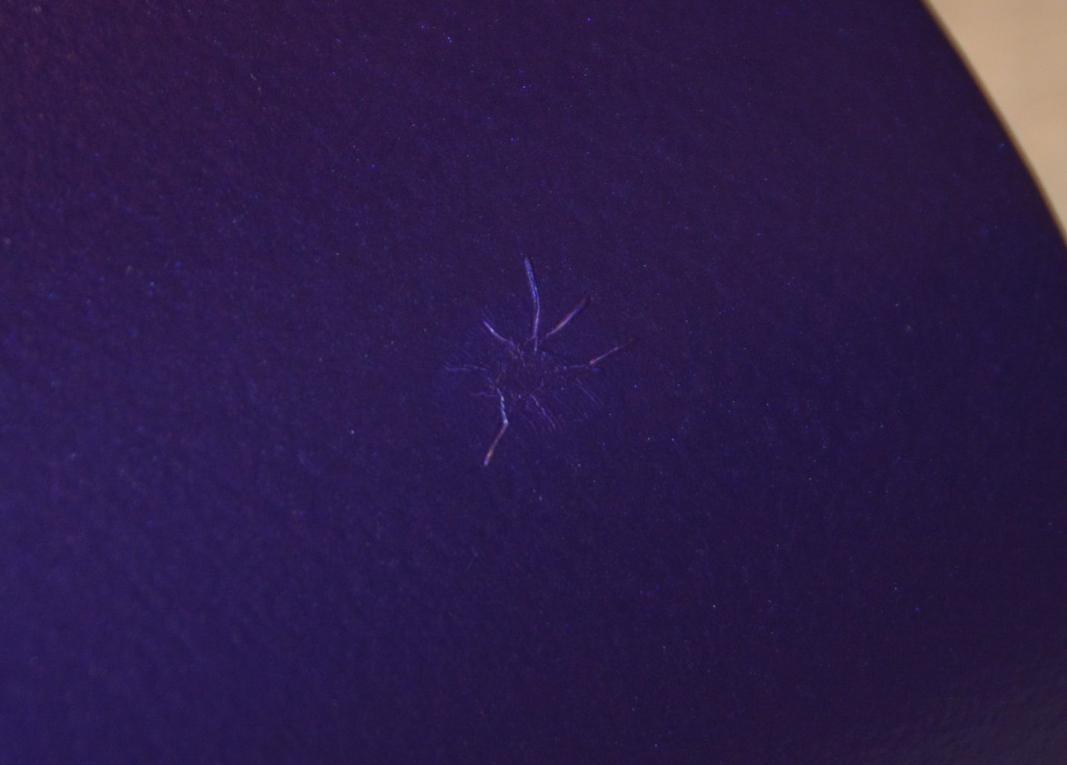
That is front the canopy/hatch. Note that what looks like a finger print is just that, a finger print. However it is on top of the paint and wipes off with a cloth. The spider web, on the other hand....
Here are the details. This is a "new" vacuum formed clear canopy/hatch, not the original ABS one that comes with the kit. I primed it with white rustoleum primer for plastic, sanded, primed, sanded, primed.... well, you get the picture. Final sanding was with an 800 grit sanding pad. From that point, it set for at least three weeks. The paint is from Wings West RC. It is their pre-reduced urethane based paint that is matched to Monokote colors. The color above is the metallic plum. The rest of the hatch looks wonderful, even the spots along the corners where I got the paint too heavy and let it run. Those were sanded down and repainted. No problems matching the repaint to the original. This spot is different. It started, I think, as a solid contamination on the primer, perhaps a piece of lint. Whatever it was, I noticed it when the original paint dried and it "poking" at it to try and figure out what it was, it dislodged, leaving a small irregular line that showed through to the primer. I sanded it lightly to feather the edges and repainted. This time left a little bit of a spider web, but nothing like the above. So, I re-sanded, down to primer and a larger area, perhaps the size of a quarter. Again, re-painted and now I get the above.
So, what am I missing? How the heck do I fix this? I'm pretty positive it's not an interaction with the primer and paint as the rest of the hatch is gorgeous as is the cowl, also primed with the same primer and painted in the same (different colors) paint. This last pass was done with the ambient temperature pretty low, probably lower that I should paint (low 60s F), but given the time of year, options are limited. Unless someone has better suggestions, my current plan is to sand off the ridges, but not go through to primer if I can help it then shoot a couple of light coats to match the surface to the surrounding area as best I can. The whole thing will be clear coated in the end and I'm afraid that whatever is causing this spot will do the same to the clear coat.
 11-16-2014 | 04:40 PM
#2


It looks like a reaction between the paint and primer. The low temp may have been the culprit as the low temp let the solvents stay in the paint longer giving more time for a reaction to occur. You have nothing to lose by sanding and reshooting that spot, so give it a whirl. FWIW I never go finer than 400 grit before paint. IMO the 400 is fine enough and gives a better bond between paint and primer.
Ken
Ken
11-17-2014 | 03:29 AM
#3

I feel that it's the primer, too. Most likey, a thin spot in the primer, caused by sanding.
If it were mine, I'd strip, and start over. Failing that, I suggest that you sand, as Ken suggests, and dust you first few coats, giving the paint time to flash off, between coats. Make you final color coat a normal. "wet", coat.
Next time, take a look at automotive primers. If you prefer aerosol, Duplicolor would be my choice.
11-17-2014 | 03:46 AM
#4

Your euro top coat appears to be chemically hotter than your primer, as already stated possibly a thin or contaminated spot in your primer and the extended flash time of your top coat due too colder temperatures got the best of the situation. It is just my experience but once a burn area starts it can be very difficult to stop, so as Tom stated I would be inclined to start over and use a primer more suitable for a euro topcoat.
Bob
Bob
Last edited by sensei; 11-17-2014 at 04:16 AM.
12-06-2014 | 09:59 AM
#5
Thread Starter
My Feedback: (9)
Joined: Feb 2009
Posts: 304
Likes: 0
Received 0 Likes
on
0 Posts
From: The Colony,
TX
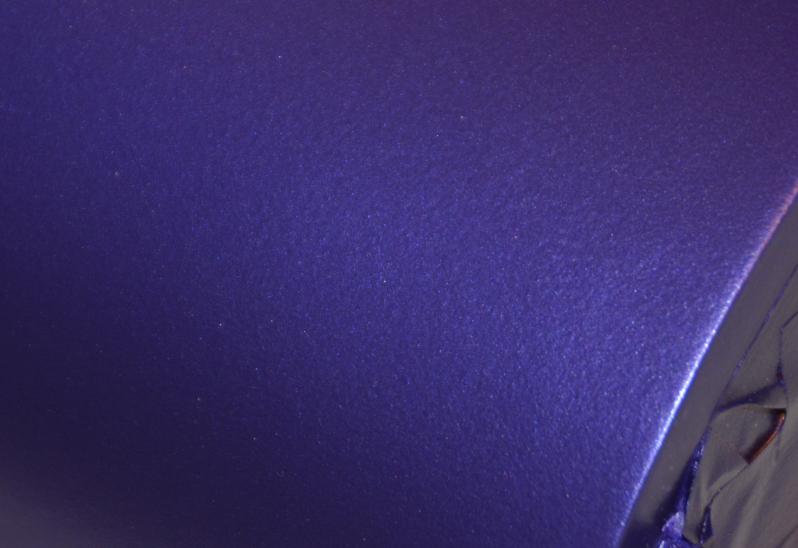
Just wanted to post a follow up. I sanded the ridges down, put several dustings over it, put a wet coat on, then sanded it again and repeated the painting. In just the right light, you can catch a hint of original spider web but, all in all, it came out looking pretty good.
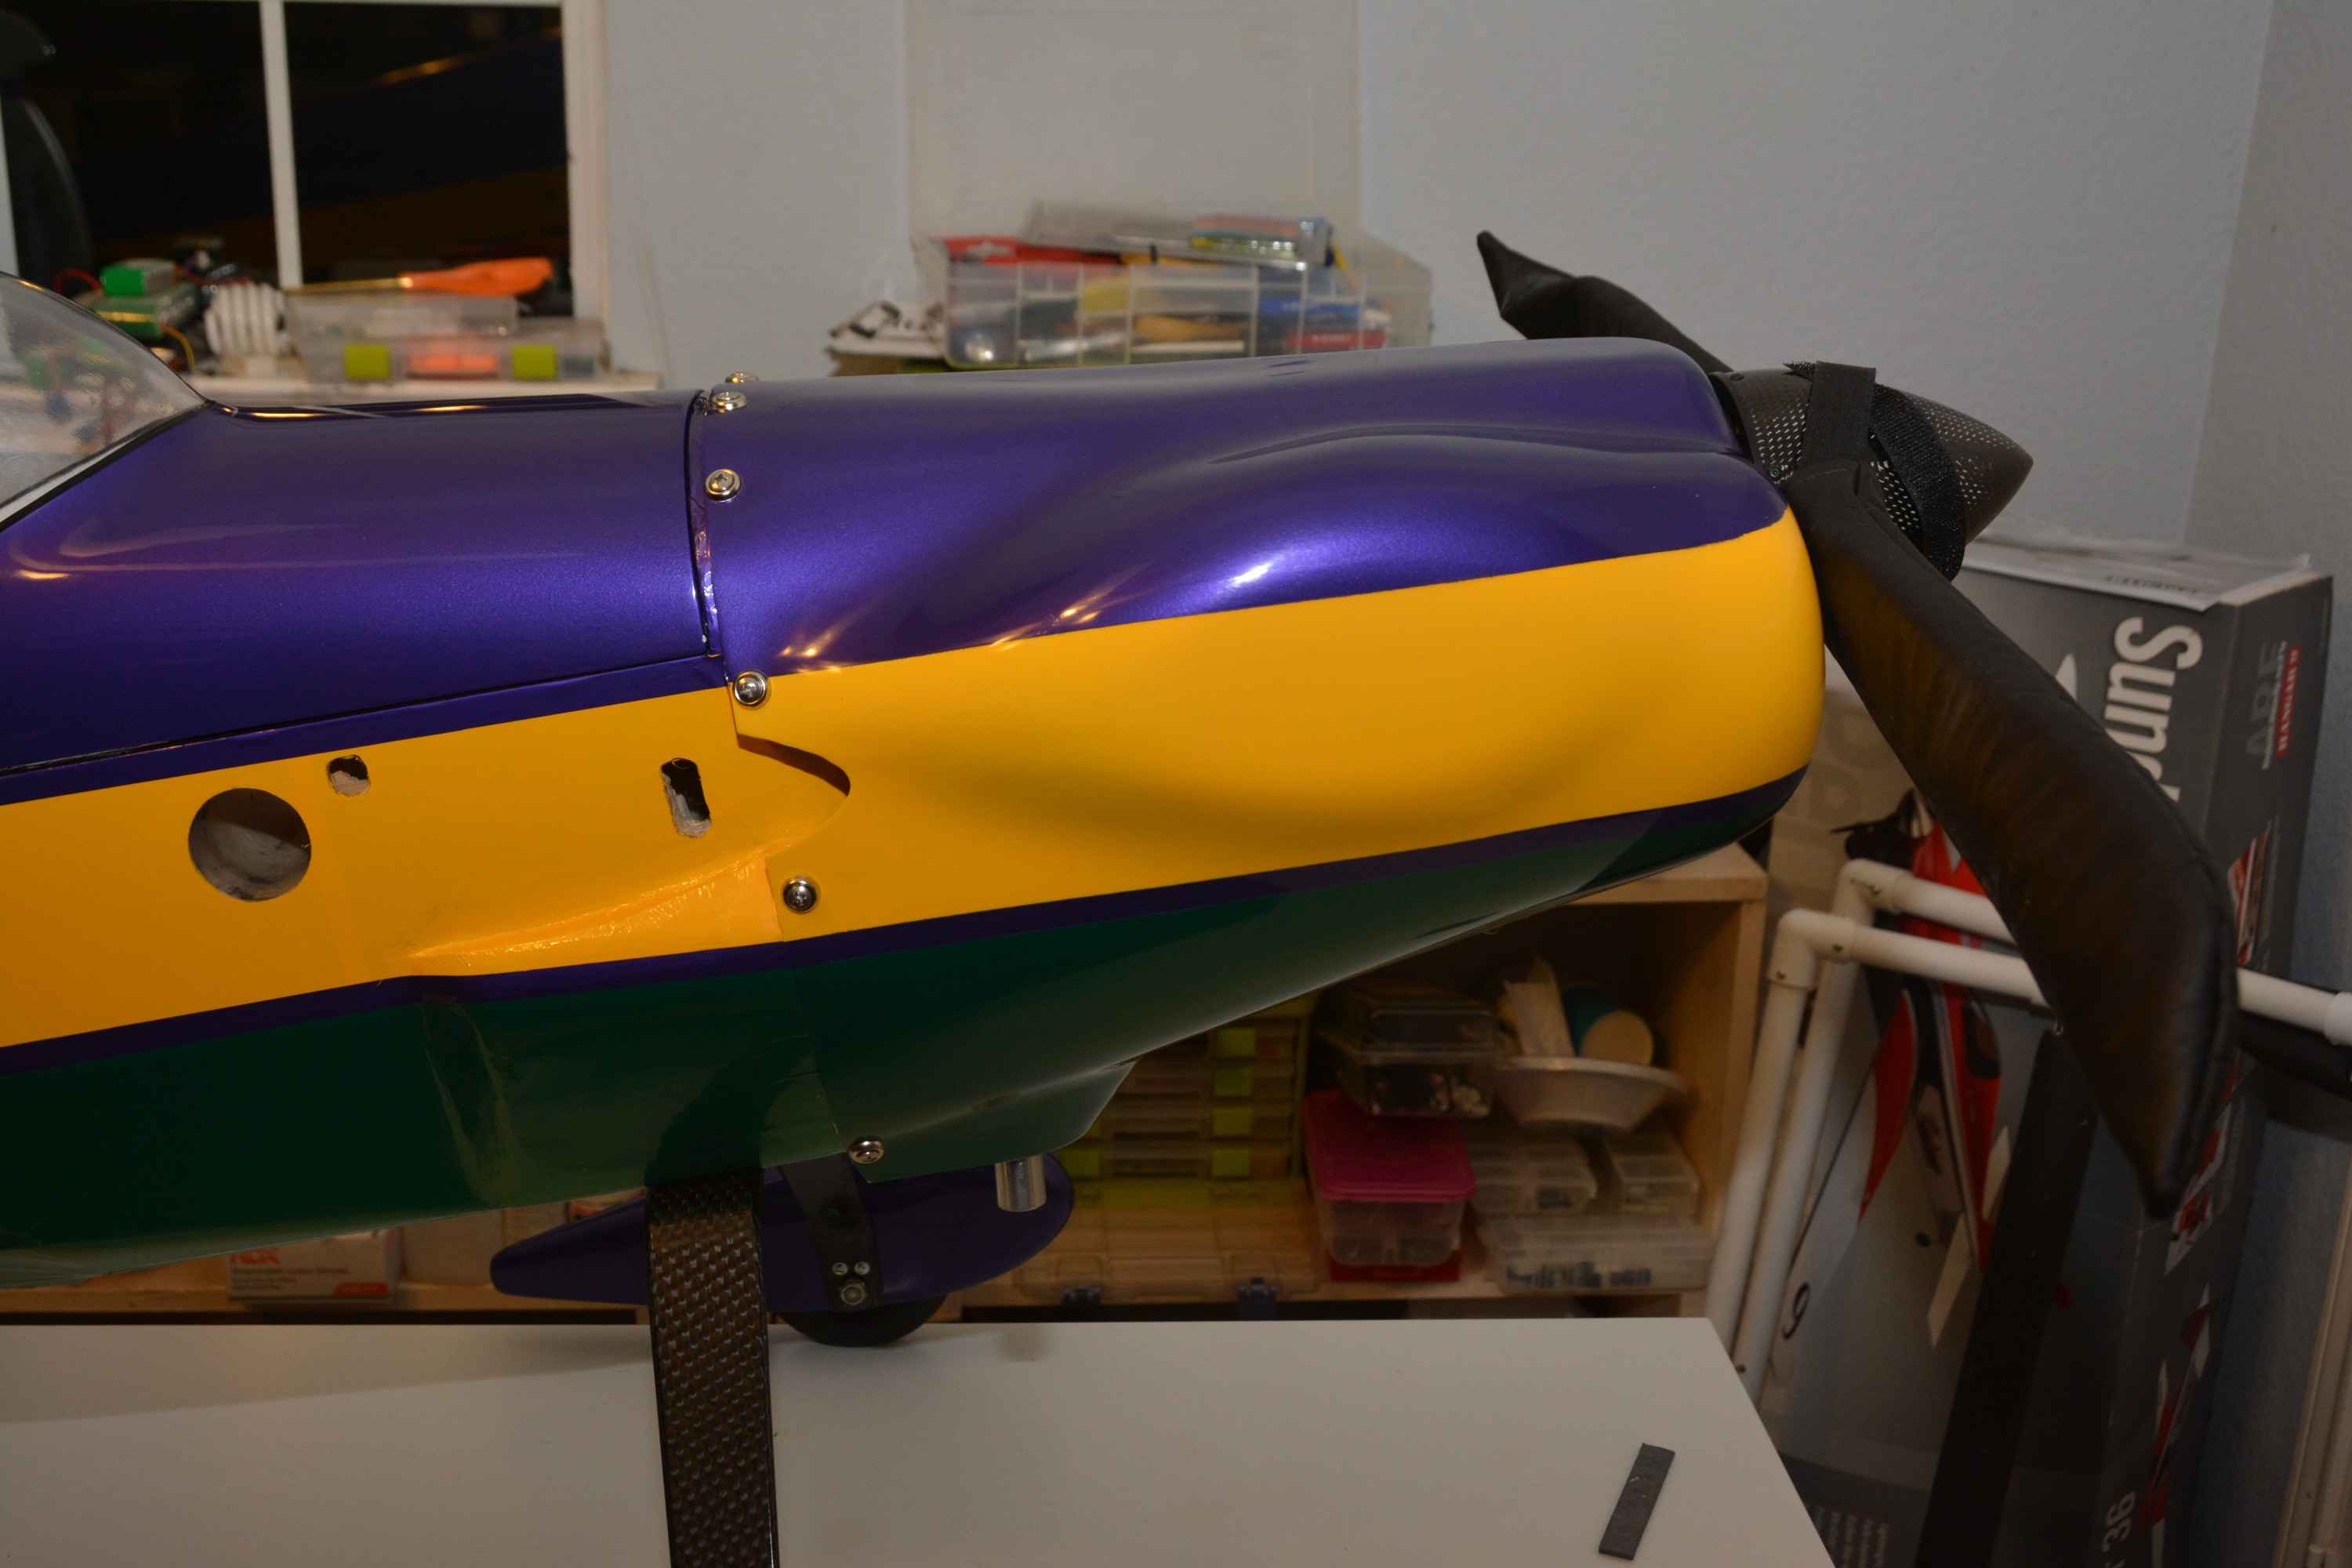
The cowl came out just fine as far as the surface goes. I have a couple of lines I need to clean up, but that was just bleed under the tape.
The cowl came out just fine as far as the surface goes. I have a couple of lines I need to clean up, but that was just bleed under the tape.
Last edited by wpmcnamara; 12-06-2014 at 05:12 PM. Reason: correcting image
12-20-2014 | 12:35 PM
#7
You won! Looks good. It looks "not as good as it could" 'cause you know where the repair is. Don't tell anybody about the repair and they will never see it.
Ken
PS. Remember don't tell anybody
Ken
PS. Remember don't tell anybody
12-21-2014 | 12:18 PM
#8
Thread Starter
My Feedback: (9)
Joined: Feb 2009
Posts: 304
Likes: 0
Received 0 Likes
on
0 Posts
From: The Colony,
TX
I have since clear coated it and even I can't really find the spot, so I am happy there. Getting the clear coat right has been a royal PIA, but that's another story... I'll post a picture of it after clear coat shortly.
12-21-2014 | 01:36 PM
#9

Incredible repair work ! I think you should have signed the repair it was done so well I have done a little painting and some times its easier to add something or change the design a little on a spot like that.. but you have it well under control.
I have done a little painting and some times its easier to add something or change the design a little on a spot like that.. but you have it well under control.
01-10-2015 | 08:14 PM
#10
Thread Starter
My Feedback: (9)
Joined: Feb 2009
Posts: 304
Likes: 0
Received 0 Likes
on
0 Posts
From: The Colony,
TX
I was a bit slow in posting the clear coated pictures, mainly because I have been sanding and polishing and waxing. Meguiars and I are good friends now... Anyway, here is a shot of the problem area after clear coating. If you look just about dead center in the image, you can find the spot where I had paint problems. The picture makes it look worse than it is. It took me about 10 images to get that one. You couldn't see it in any of the rest.
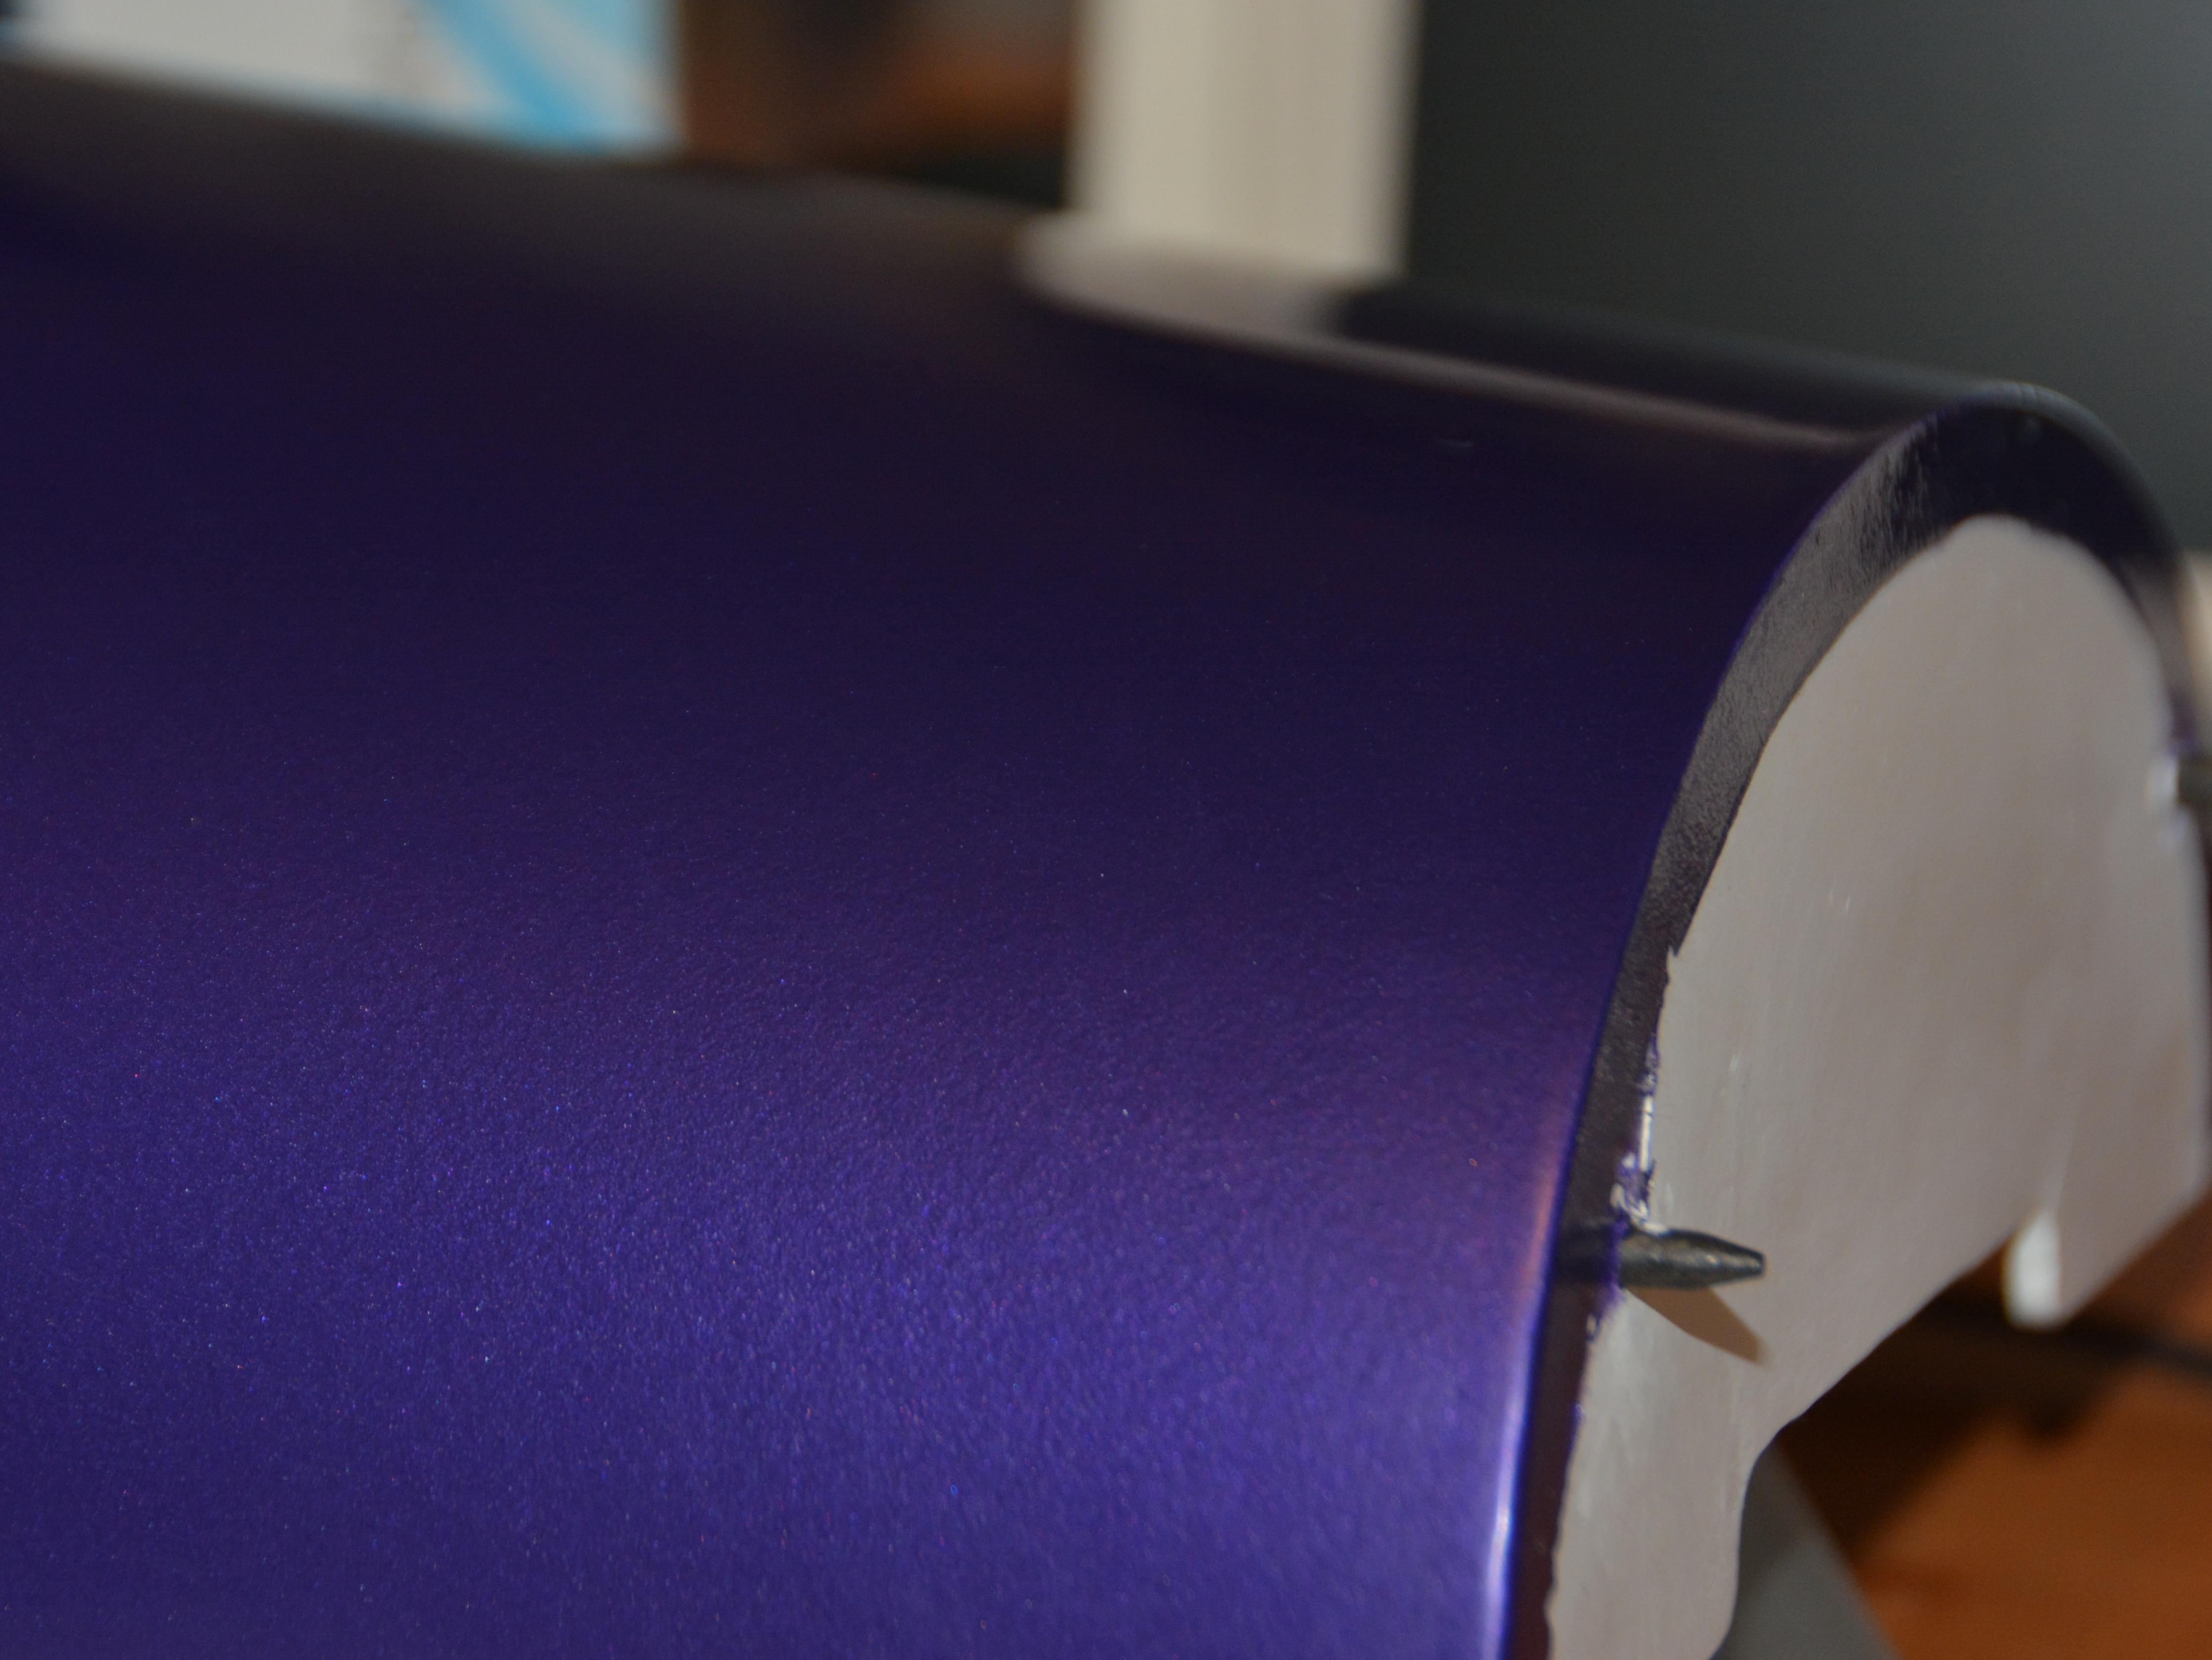
I do want to give a shout out to the guys at Wings West RC. Their color match is damn near perfect. While not my first paint job, I certainly made plenty of mistakes, some visible, some not. But all in all, it looks really good.
I do want to give a shout out to the guys at Wings West RC. Their color match is damn near perfect. While not my first paint job, I certainly made plenty of mistakes, some visible, some not. But all in all, it looks really good.


