Laminating a Static Prop for a WWI Warbird
 02-22-2016 | 07:57 PM
#1

Thread Starter

My Feedback: (122)
Joined: Mar 2002
Posts: 361
Likes: 0
Received 0 Likes
on
0 Posts
From: Seaford,
DE
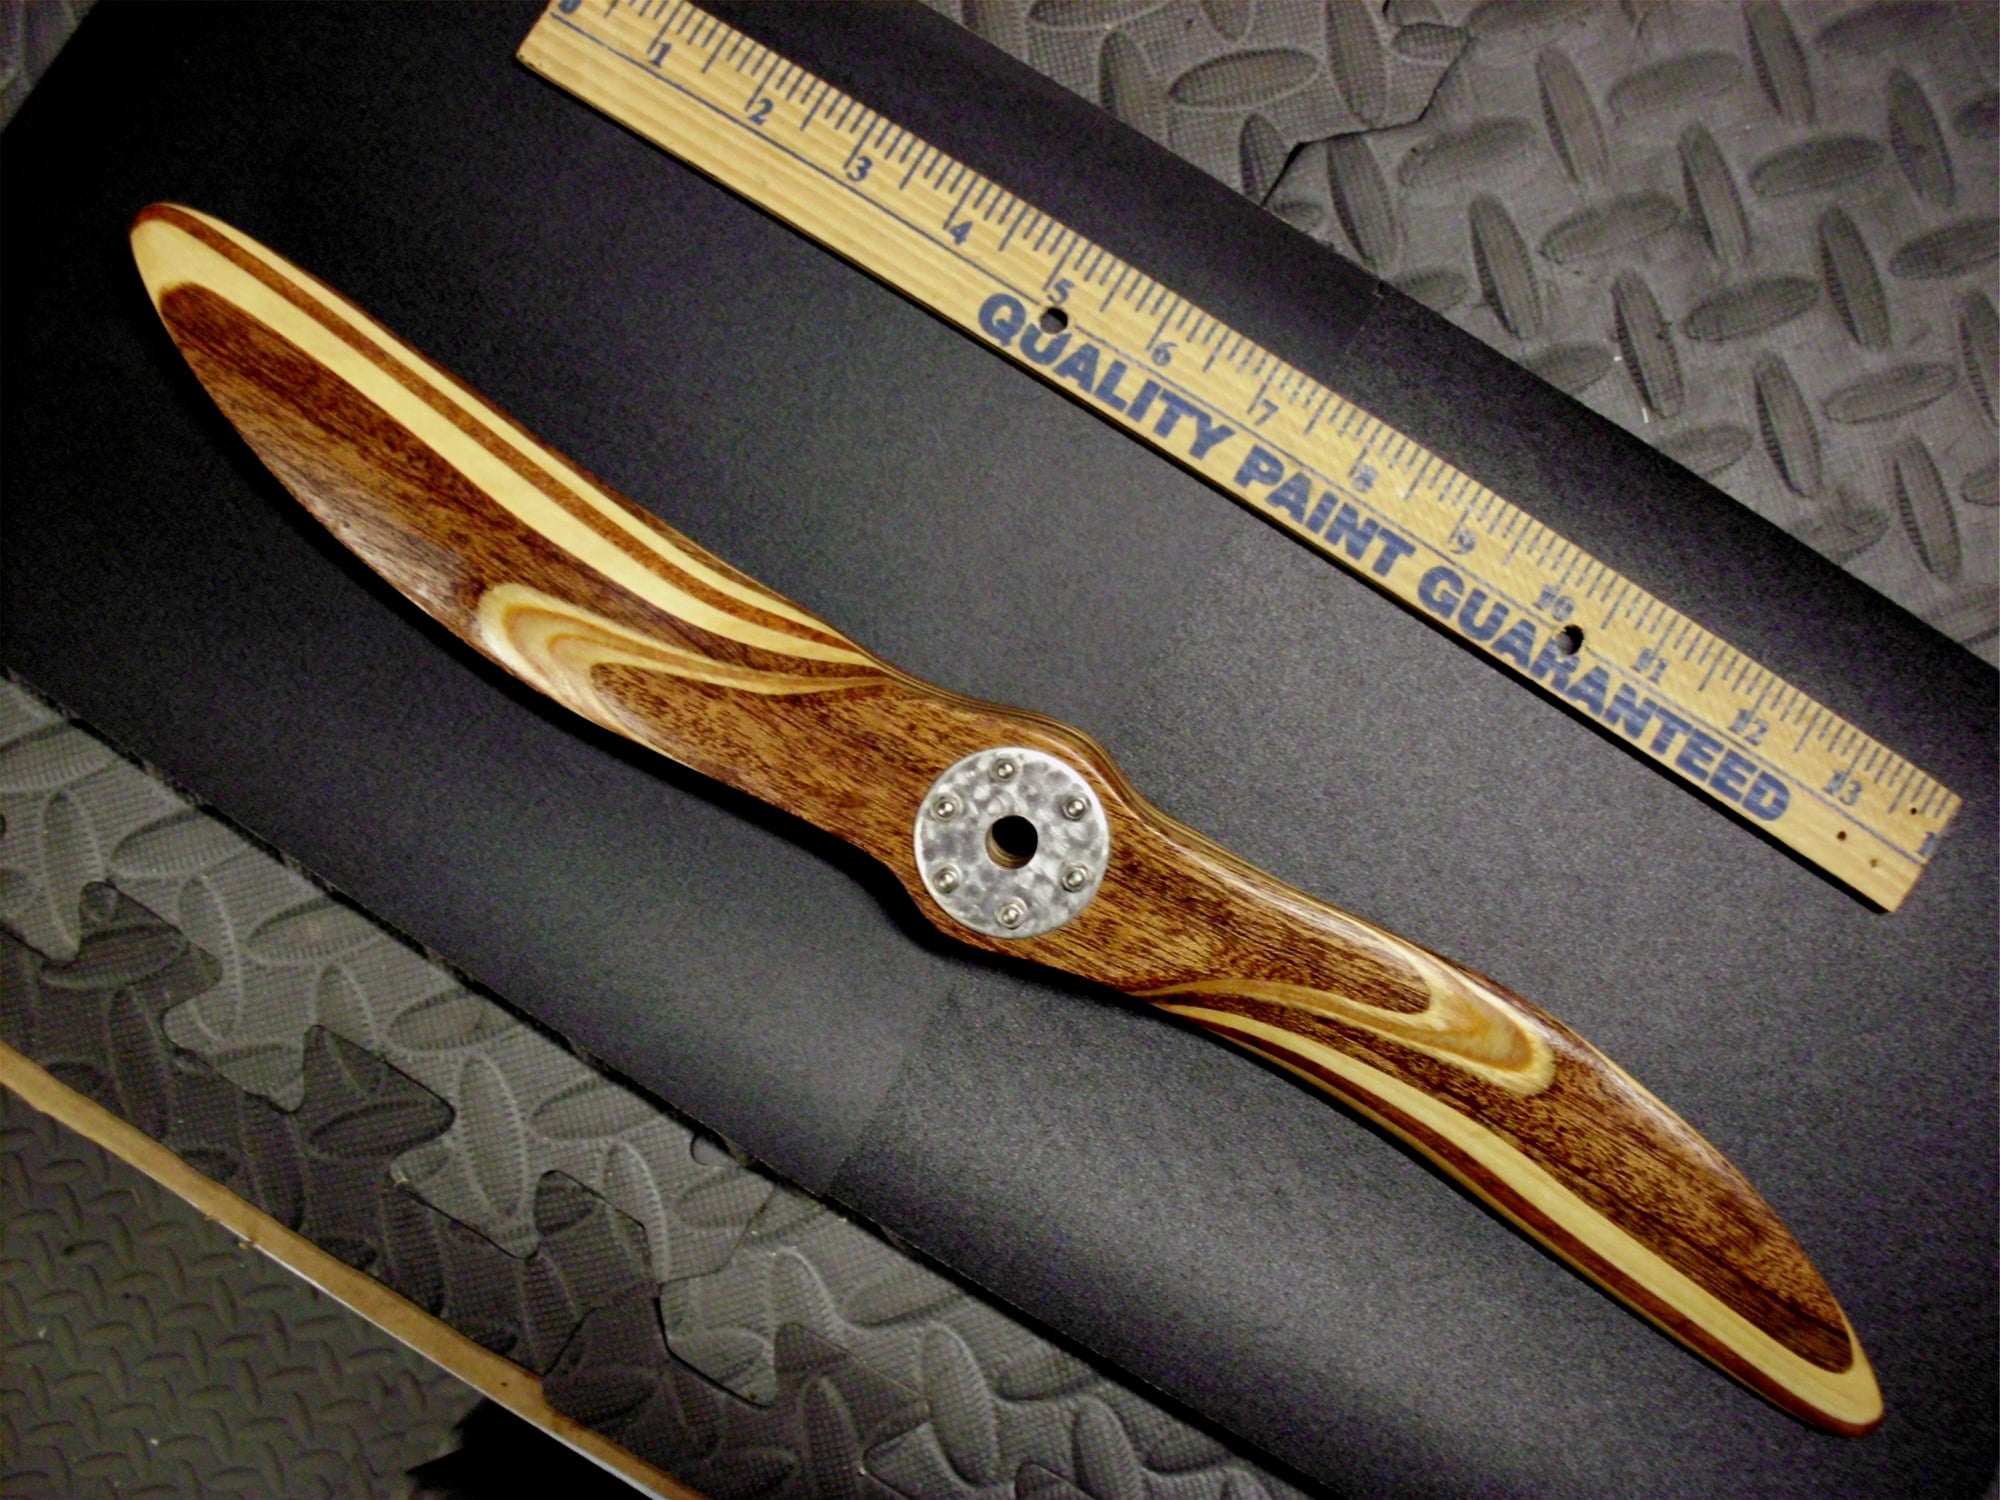
I have band-sawed a number of 18 inch "scimitar-shaped" layers cut from 3/32" mahogany and basswood. Discussing the next proposed steps with one of my buddies, he said it would have been better to glue all the plies into one block and cut out the shape once, then begin the daunting tasking of carving from there. I had planned on gluing the pieces, splayed out around their common center (similar to fanning a hand of cards.) That way at least I would have the basic pitch already started. I hate to admit it but I think my friend is correct. Just in case though...has anyone out there made one or more laminated props? How did you make yours? Has anyone ran into any articles on such projects? Thanks!
 02-22-2016 | 08:58 PM
#2
Splaying the lams is not the way, stack them and carve what you can and then bring out the files, flat ones you don't want unless the back is rounded, use them like you would a plane, strokes toward the tip. Back of blade is flat the front has a foil on it. Once you get the shape roughed out switch to course sand paper glued to a large dowel. You should have a picture of the prop your making so you can mark the way the hub flairs into the blade both front and back, cut the blade shape with a band saw before you start, that will save a lot of work.
As you get close you will find high spots, they can be taken off with a short 3/4 square block and 2 or 3 different papers glued to them, it only works on the main part of the blades outside of the main shank. Make one from balsa first to get the feel of how it's done. When you glue up the lams don't use CA or epoxy, use white glue like Tightbond which sands nicely.
Back in the time of those old planes the props were carved with draw knifes, rasps and heavy wood files and hand sanded and brass leading edges were hand formed on many of them. You can duplicate that with Flight-Metal on yours, it only takes time.
The last static prop I made was a 25" scale 4 blade for a mustang, yours would be easier.
Leroy
02-23-2016 | 07:57 AM
#3
Thread Starter
My Feedback: (122)
Joined: Mar 2002
Posts: 361
Likes: 0
Received 0 Likes
on
0 Posts
From: Seaford,
DE
Leroy, Thank you very much for the benefit of your experience. I promise to post pix of my attempt after it's finished. My next project is another T.F. P-51 1/5th scale kit...You've inspired me! :>))
Jerry
Jerry