


Gilmore Red Lion Build


 10-20-2015, 03:12 AM
#577

Thread Starter

Join Date: Jul 2012
Location: Missouri
Posts: 1,127
Likes: 0
Received 0 Likes
on
0 Posts
Hi Downer Actually I have a mold of cowl without blisters and a mold for four blisters. The reason for not molding the cowl with blisters is the cowl was my first attempt at mold making. The blisters would have made it much to complex for my novice experience. After getting my feet wet. If I were to do it again I would mold them all together. That said, it is tempting to make a mold of completed cowl. Maybe before this build is done I will. But for now I will press on. After primer I intend to do rivets. Also considering a split cowl just like the replica.Kevin


") 10-20-2015, 04:37 PM
10-20-2015, 04:37 PM
#585
Thread Starter
Join Date: Jul 2012
Location: Missouri
Posts: 1,127
Likes: 0
Received 0 Likes
on
0 Posts
These two video's were originally included in post 575, only as links. Since there were no views on the links I think most weren't aware they were there. So If interested these are circular walk arounds of the cowl. One from the front one from behind. I did these cause it's hard to get a full view with just a couple of pictures.
Now there in an easy button.
https://www.youtube.com/watch?v=m7TSYimUz3A
https://www.youtube.com/watch?v=-A7SnW6O3tc Kevin
Now there in an easy button.
https://www.youtube.com/watch?v=m7TSYimUz3A
https://www.youtube.com/watch?v=-A7SnW6O3tc Kevin
10-21-2015, 02:59 AM
#587
Thread Starter
Join Date: Jul 2012
Location: Missouri
Posts: 1,127
Likes: 0
Received 0 Likes
on
0 Posts
Yep, also with my slow connection it took me forever to upload them. Didn't want to have waisted that time. Besides, with my connection it takes alot of stamps.  Kevin
Kevin
Kevin
10-25-2015, 02:41 PM
#591
Thread Starter
Join Date: Jul 2012
Location: Missouri
Posts: 1,127
Likes: 0
Received 0 Likes
on
0 Posts
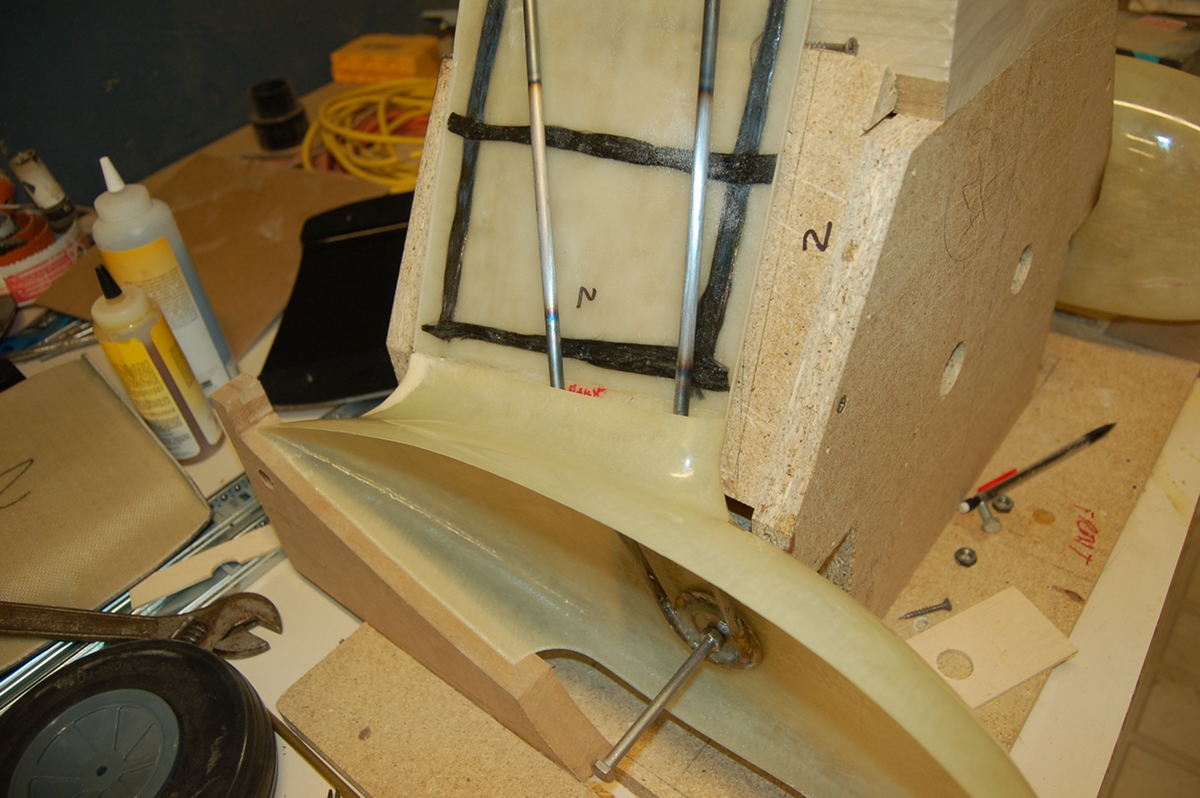
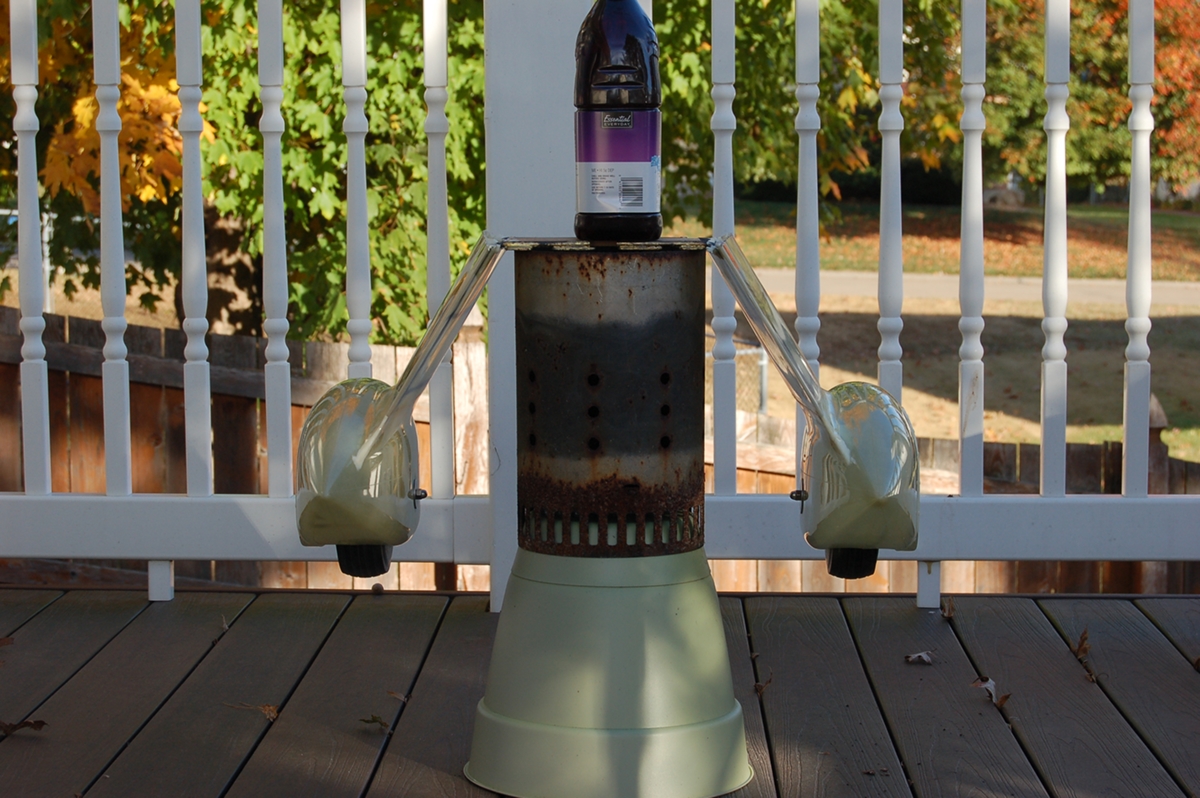
Finally got the landing gear matted to the spats and fairings. This had been a builder block for me. I set this aside along time ago cause I was stuck. Got back to it yesterday and was stuck again. Then I applied the game plane I use at work when the big picture on a job is out of focus. Start with what you can and the rest will fall into place. Bingo.
Hat tip to Robert aceRC, He suggested to use expanding insulation foam to lock the gear wire into the fairings and that is what I did. Caution if you use this method. It can blow your stuff up like microwave popcorn if you use to much. My fairings just got fat. Robert warned me about this. Use less than you think you need. I had to dig some out while it was still green till the fairings returned to there normal thin self. Captain lucky came ridding in and saved the day. It could have been a mess.
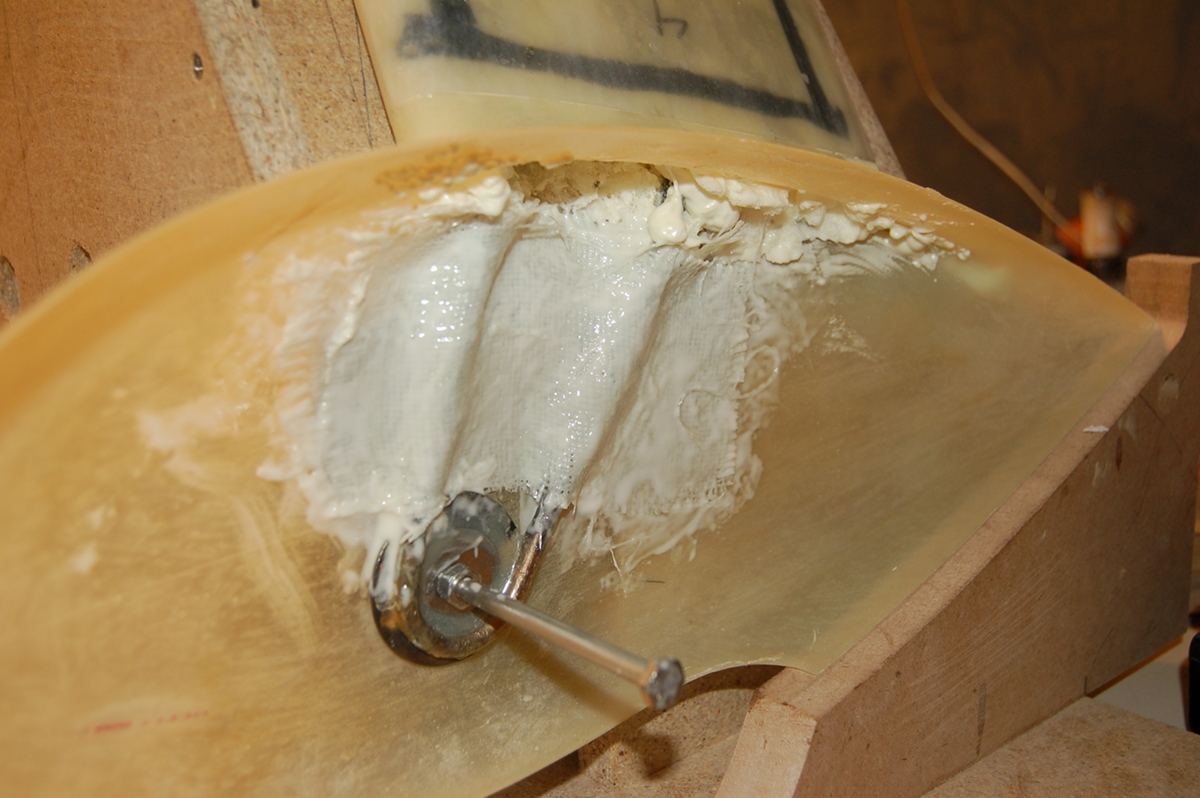
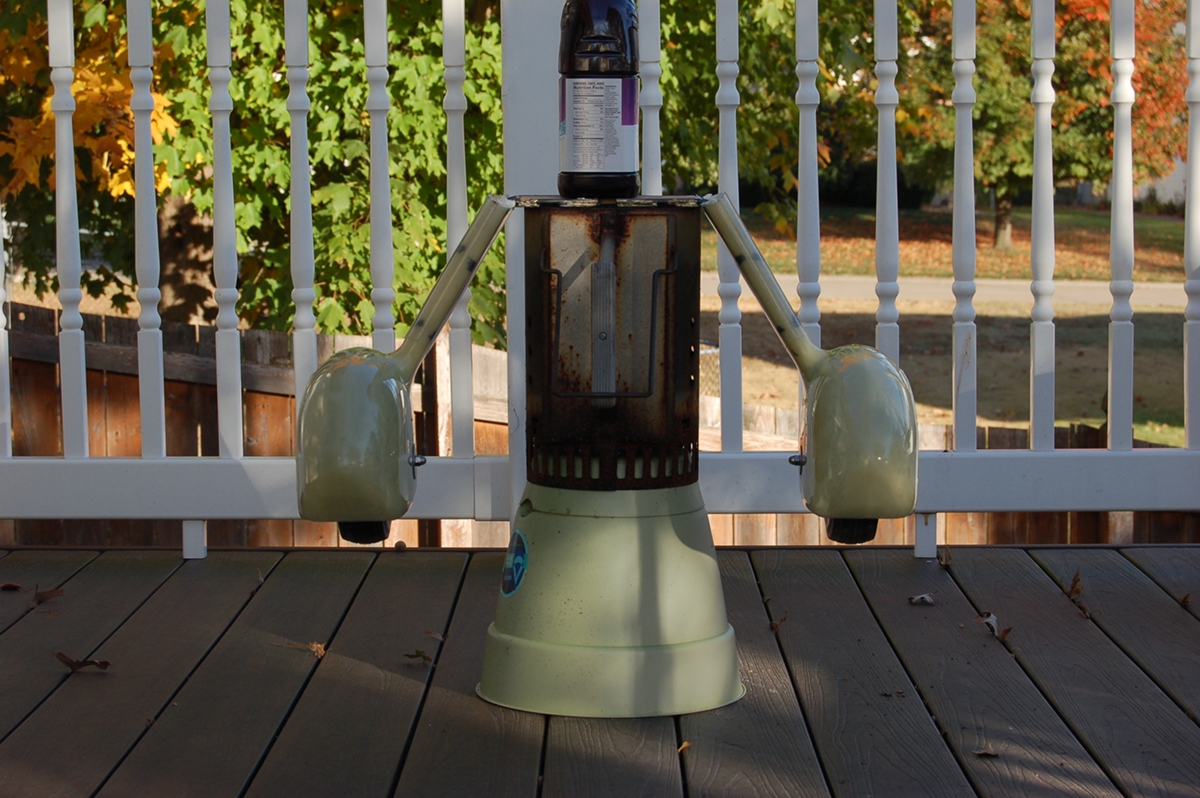
With the gear wire positioned in the jig (could not have done this without a jig) the inner spat half's and axils were put into place. Then the inside fairing half was bonded to the spat. Next the outer half was bonded to its mate and spat. Then expanding foam was let in carefully, Everything looked fine so went and watched tv for half an hour, Came back to check and the fairings were plump, then franticly dug foam out till the fairings returned to normal. Then gave micro squirts around the wire to make sure it was locked in. Then all was well. Then the lower end of the gear wire was locked to the inner spat with glass and a thickened epoxy mix.


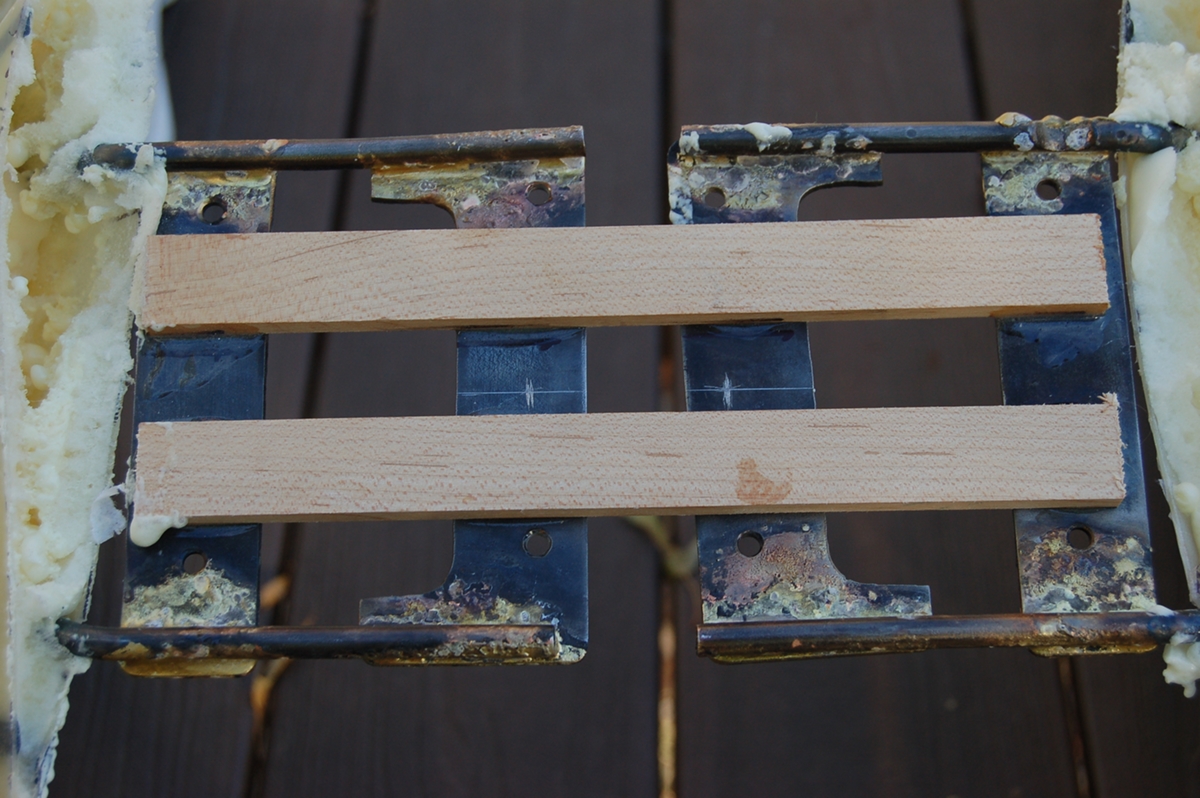
Then maple strips were epoxied to the top of the gear mount being careful not to cover the mounting holes.
The maple strips will hold the gear in alignment so it can be set into the fuse and lined up when time comes.Mounting holes will be drilled then the maple strips will be ground off and gear set in it's home. Easy peasy.
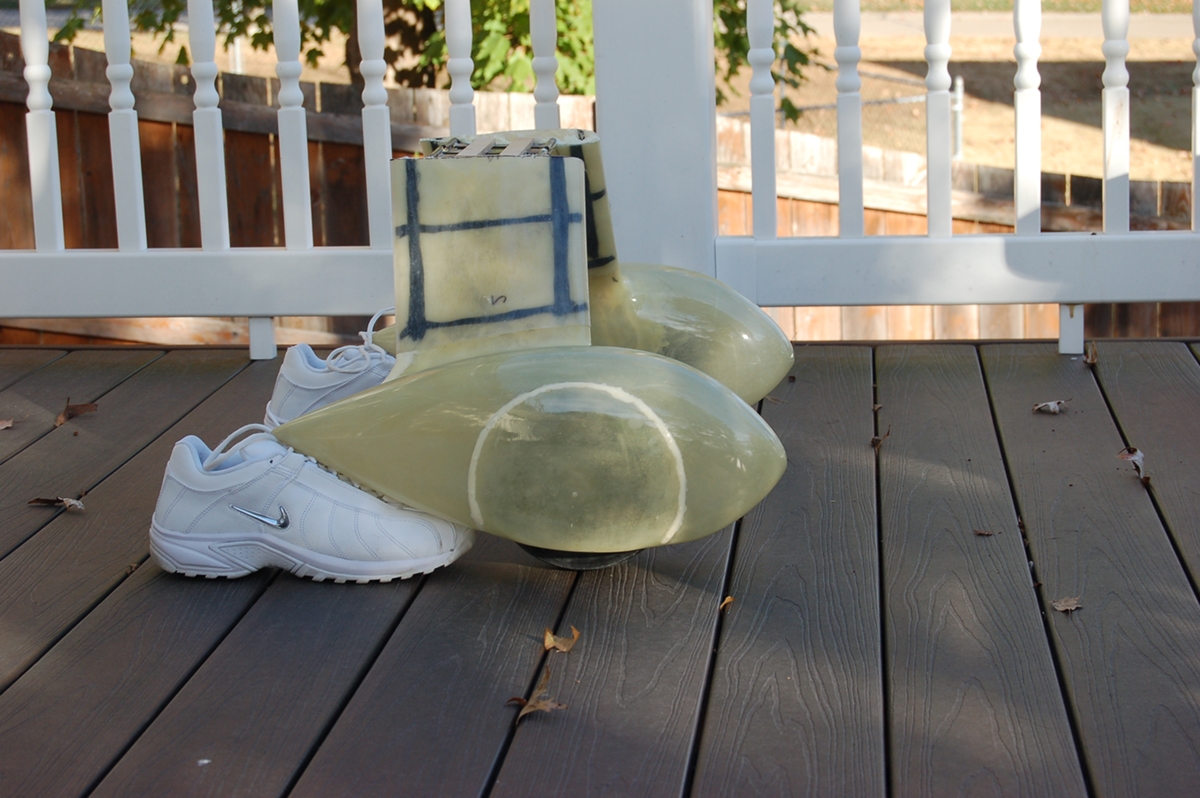
This morning when all was cured the gear was removed from it's jig for the last time. Wheel and axle clearance was then determined. The opening is larger than I wanted but needed every bit to insert wheel with axle for mounting.
Once it was sure the clearance was going to work, then the outer half of the spat was bonded to the inner half. Then then reinforcing glass was laid on the inside spat seem. When that cured wheels were installed.


Eventually they will get panel lines and rivets.
Will be going back to building the air frame next. So glad the glass work is complete. Ready to move on.
Kevin
Hat tip to Robert aceRC, He suggested to use expanding insulation foam to lock the gear wire into the fairings and that is what I did. Caution if you use this method. It can blow your stuff up like microwave popcorn if you use to much. My fairings just got fat. Robert warned me about this. Use less than you think you need. I had to dig some out while it was still green till the fairings returned to there normal thin self. Captain lucky came ridding in and saved the day.
It could have been a mess. With the gear wire positioned in the jig (could not have done this without a jig) the inner spat half's and axils were put into place. Then the inside fairing half was bonded to the spat. Next the outer half was bonded to its mate and spat. Then expanding foam was let in carefully, Everything looked fine so went and watched tv for half an hour, Came back to check and the fairings were plump, then franticly dug foam out till the fairings returned to normal. Then gave micro squirts around the wire to make sure it was locked in. Then all was well. Then the lower end of the gear wire was locked to the inner spat with glass and a thickened epoxy mix.
Then maple strips were epoxied to the top of the gear mount being careful not to cover the mounting holes.
The maple strips will hold the gear in alignment so it can be set into the fuse and lined up when time comes.Mounting holes will be drilled then the maple strips will be ground off and gear set in it's home. Easy peasy.
This morning when all was cured the gear was removed from it's jig for the last time. Wheel and axle clearance was then determined. The opening is larger than I wanted but needed every bit to insert wheel with axle for mounting.
Once it was sure the clearance was going to work, then the outer half of the spat was bonded to the inner half. Then then reinforcing glass was laid on the inside spat seem. When that cured wheels were installed.
Eventually they will get panel lines and rivets.
Will be going back to building the air frame next. So glad the glass work is complete. Ready to move on.
Kevin
 10-25-2015, 05:05 PM
#594
Thread Starter
Join Date: Jul 2012
Location: Missouri
Posts: 1,127
Likes: 0
Received 0 Likes
on
0 Posts
Thanks Steve.
Yes I am very pleased with how they turned out. Believe me, this gear was a bugger for me. That's why I sat it aside for so long.
Makes me appreciate the few guys who put this stuff out commercially. Or the kits that have been engineered and go together well.
Thank you Robert, yes you did . If I hadn't been forewarned I'd of probably gone to bed thinking all was well. So glad I didn't. Can't tell you how glad.
Kevin
Yes I am very pleased with how they turned out. Believe me, this gear was a bugger for me. That's why I sat it aside for so long.
Makes me appreciate the few guys who put this stuff out commercially. Or the kits that have been engineered and go together well.
Thank you Robert, yes you did
. If I hadn't been forewarned I'd of probably gone to bed thinking all was well. So glad I didn't. Can't tell you how glad. Kevin
Last edited by Melchizedek; 10-25-2015 at 05:11 PM.
10-25-2015, 06:01 PM
#595


Join Date: Sep 2006
Location: The Sunshine state, when it's not raining!
Posts: 8,131
Likes: 0
Received 2 Likes
on
2 Posts
I told you about the Jacuzzi. But filling a tractor tire was the worst thing one could imagine, it ended with a seriously huge bang in the middle of the night.
11-11-2015, 08:34 PM
#598
Kevin your glass work is impeccable, there's no way you could buy any thing even close to what you have done. One can only imagine what the rest of your plane will look like. You have wonderful skills many would like to have, self included. I guess there is no reason to say, keep up the good work, have a feeling you wouldn't have it any other way.
Leroy
Leroy
11-12-2015, 06:13 AM
#600
Thread Starter
Join Date: Jul 2012
Location: Missouri
Posts: 1,127
Likes: 0
Received 0 Likes
on
0 Posts
Thank you Leroy.
So you know , I sweated it the whole way. This was uncharted waters for me. But that's the way I like it. Kind of like the runners high. You don't get the high without sweat and elbow grease.
Domer
I have been following your travel air mystery ship. Your gear is amazing. That gear would have deterred me from attempting that model. You made short work of it. It looks fabulous.
I will ask Captain Lucky to ride your way for your spats
And will be following along as well.
Kevin
Last edited by Melchizedek; 11-12-2015 at 06:19 AM.