


TF Beechcraft Bonanza F33A Build


 11-24-2019, 03:44 AM
#477

Thread Starter

 11-24-2019, 01:03 PM
#483
Thread Starter
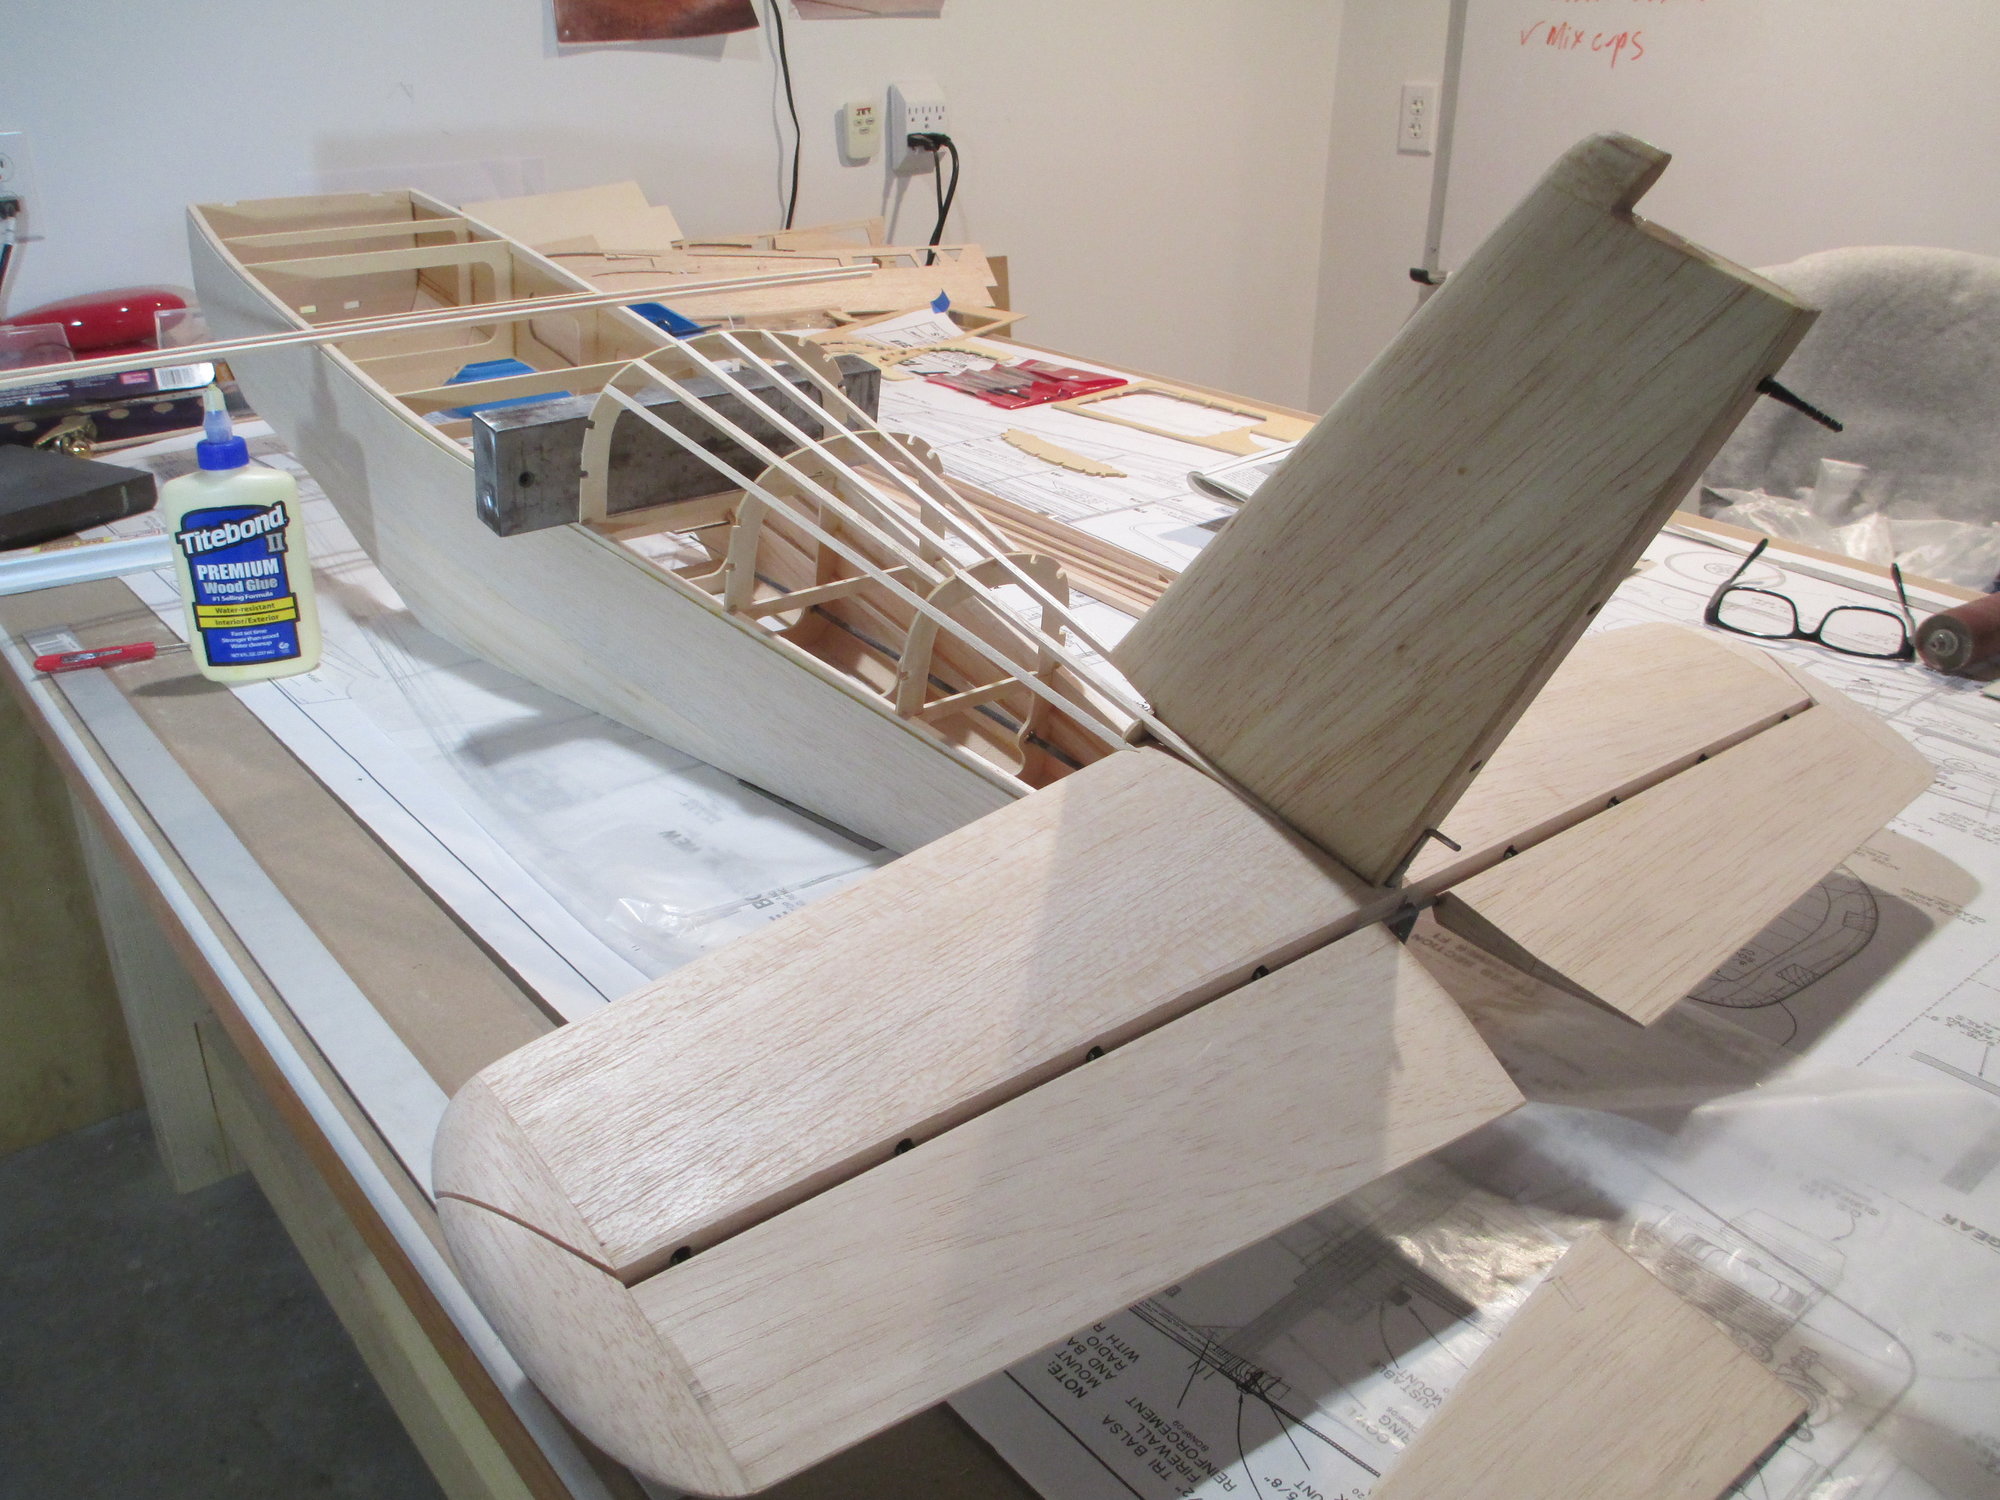
I'm excited to do something that I really enjoy doing. Fiberglassing! I thought this may be a good time to show you my method since the fin will need to be glassed before it's epoxied into position. I'll be using 1/2 ounce fiberglass cloth. Many dislike using 1/2 ounce cloth, they find it too hard to spread on the resin mixture without distorting the weave of the cloth. This is because of the method that they use to spread the resin. 1/2 ounce cloth is the perfect weight to cover your project. If done properly, it will give your model the strength and protection that you're looking for without adding on weight that is traditionally thought of when fiberglassing. Give my method a try, I promise you that you will be more than pleased with the results...
Note: The amount mixed can vary as long as the ratio given stays the same.
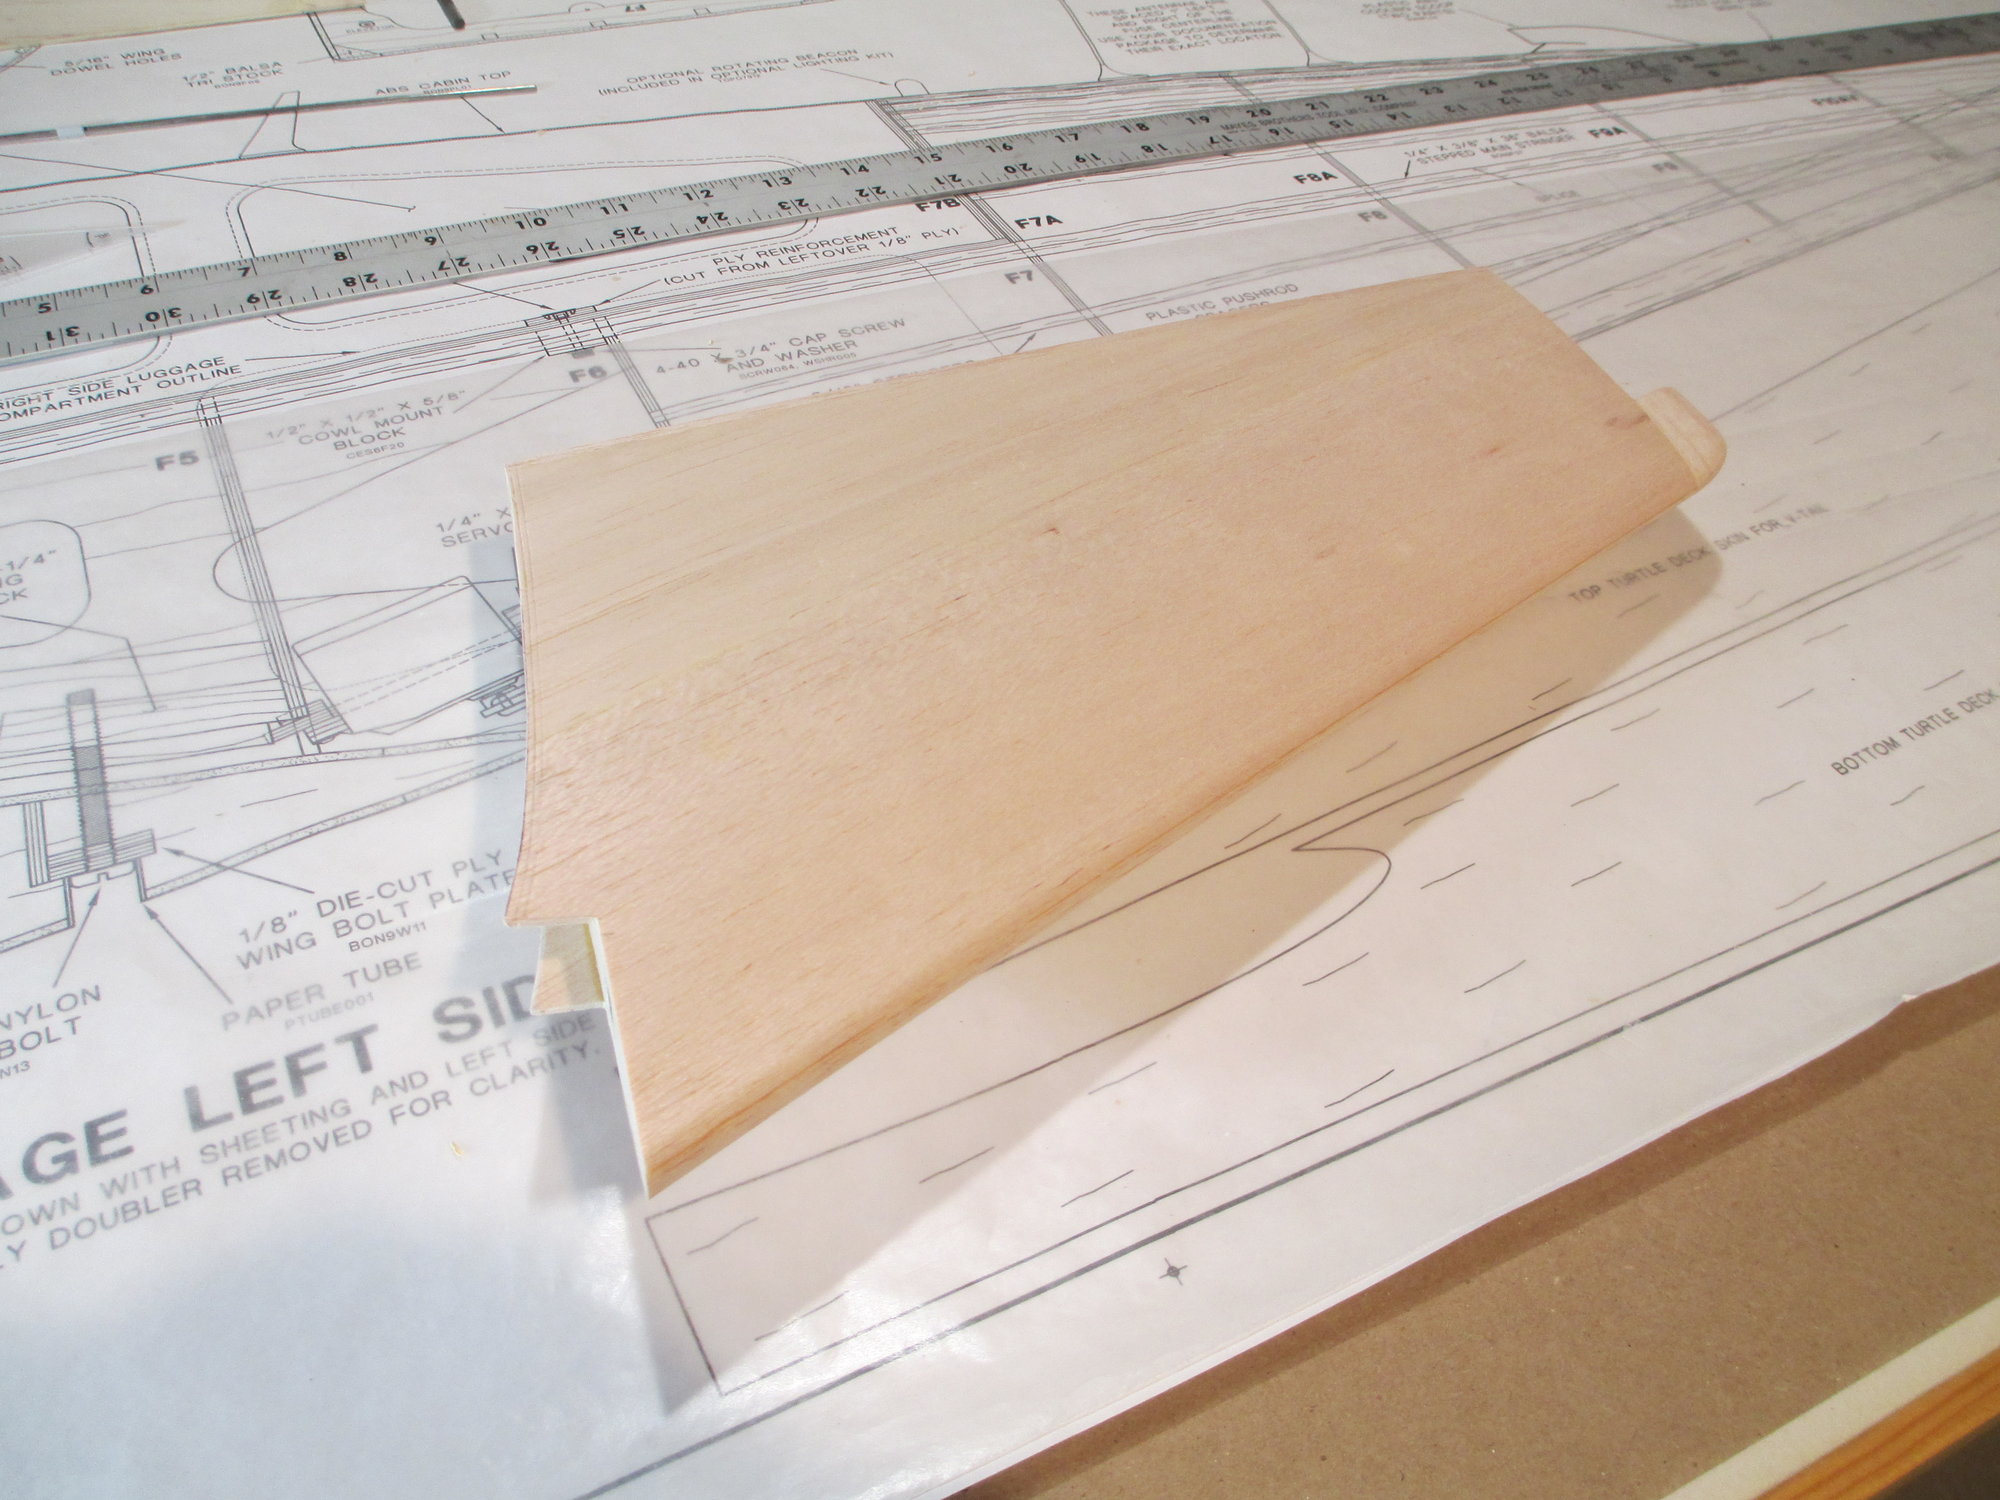
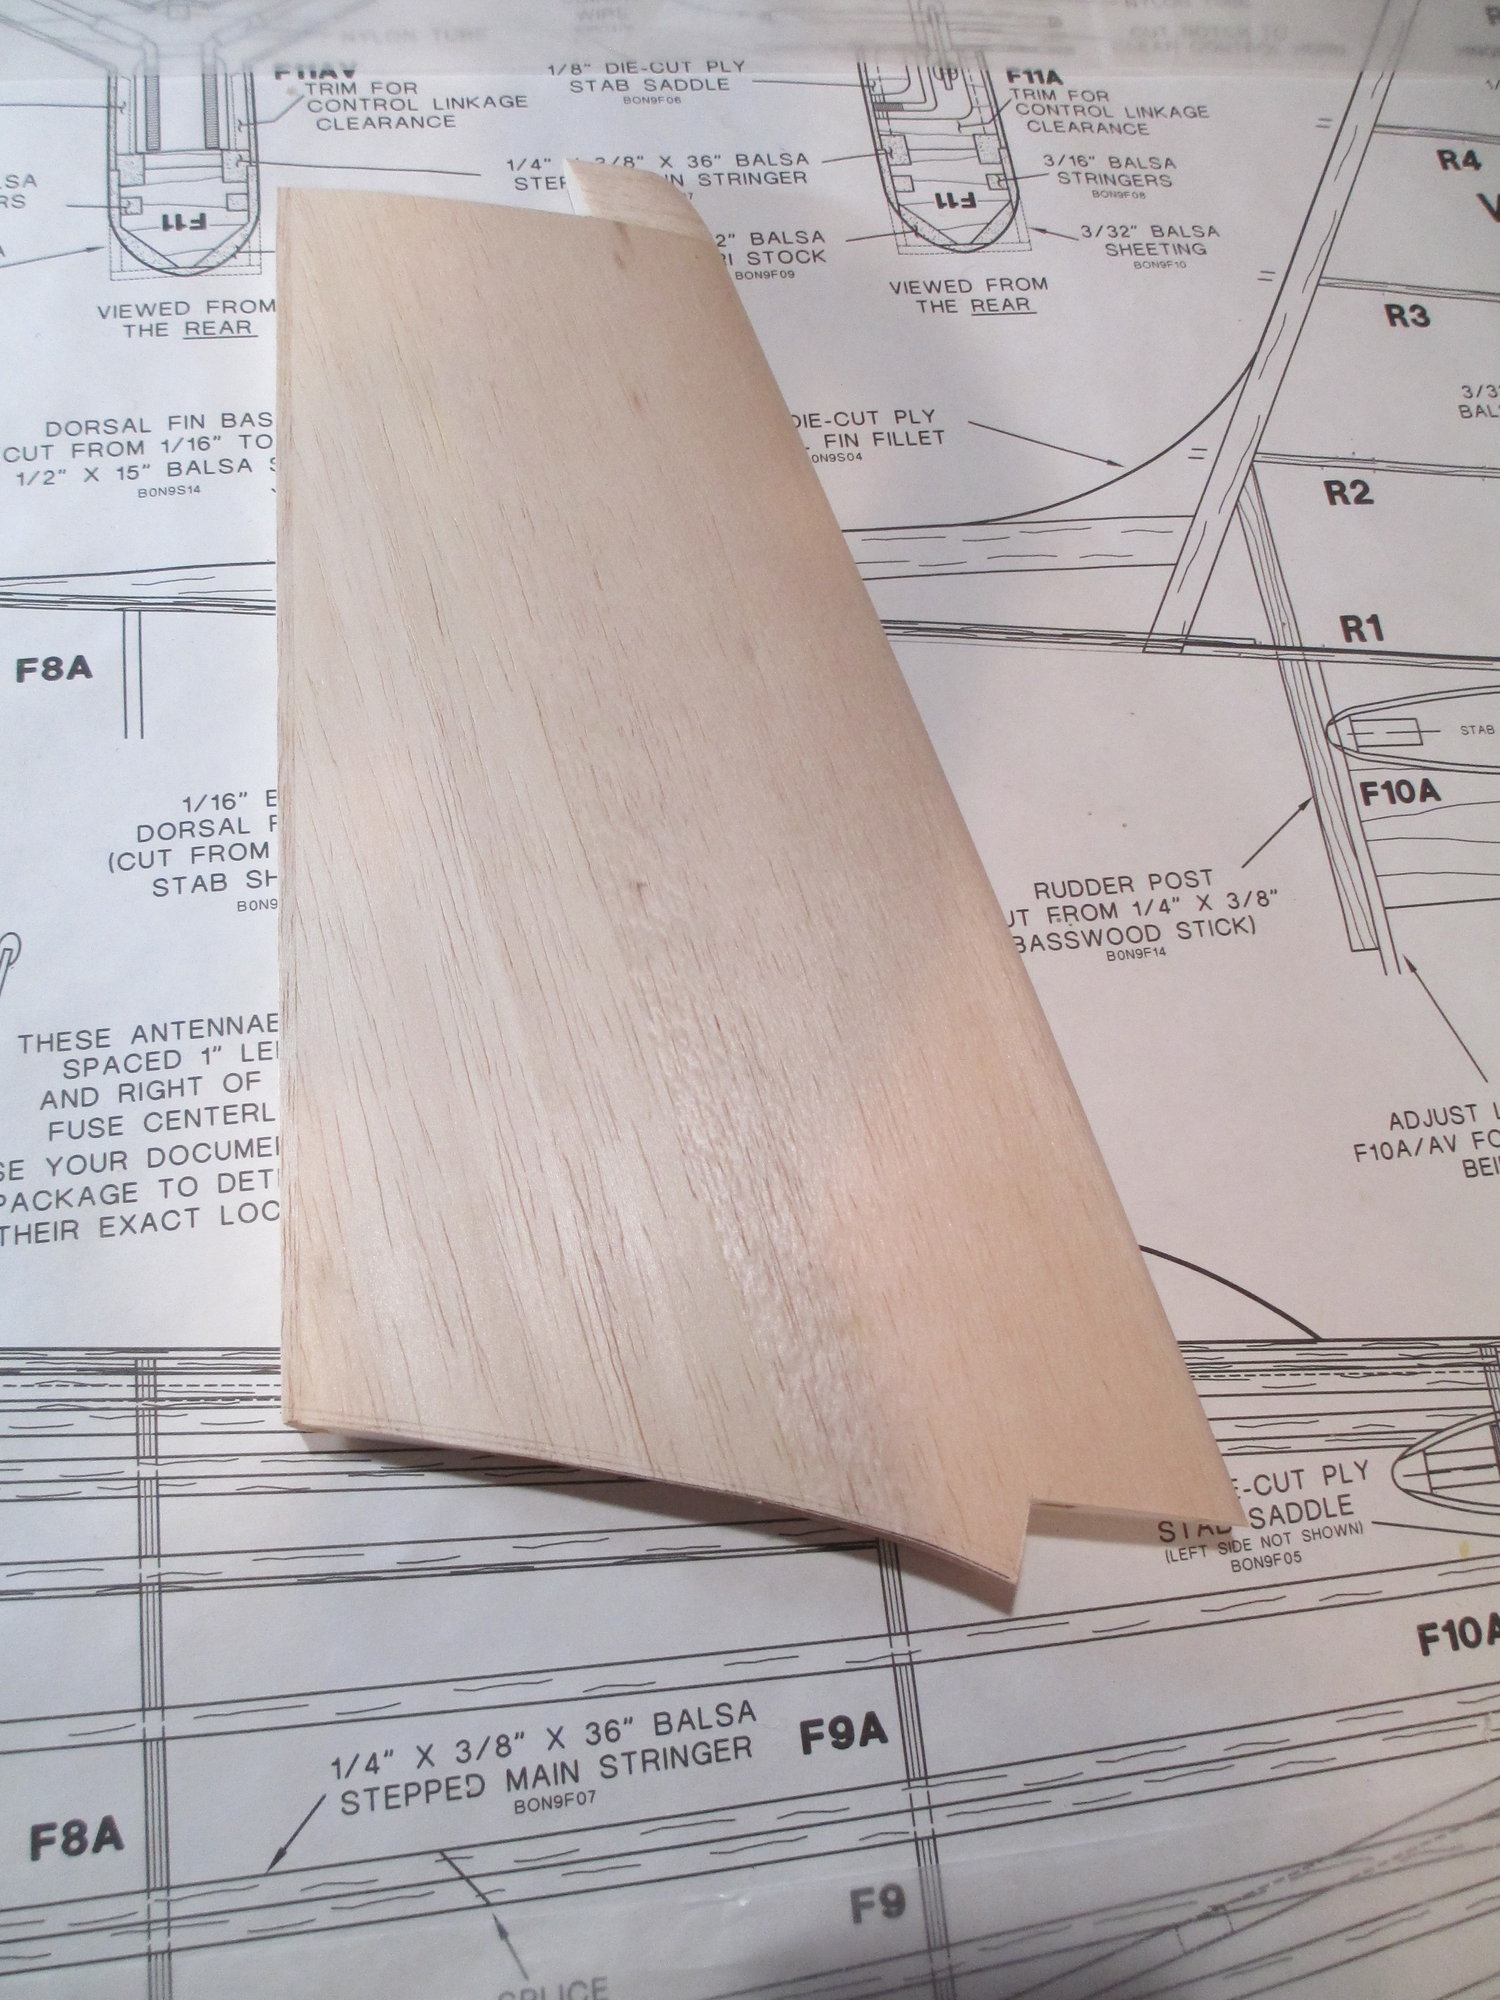
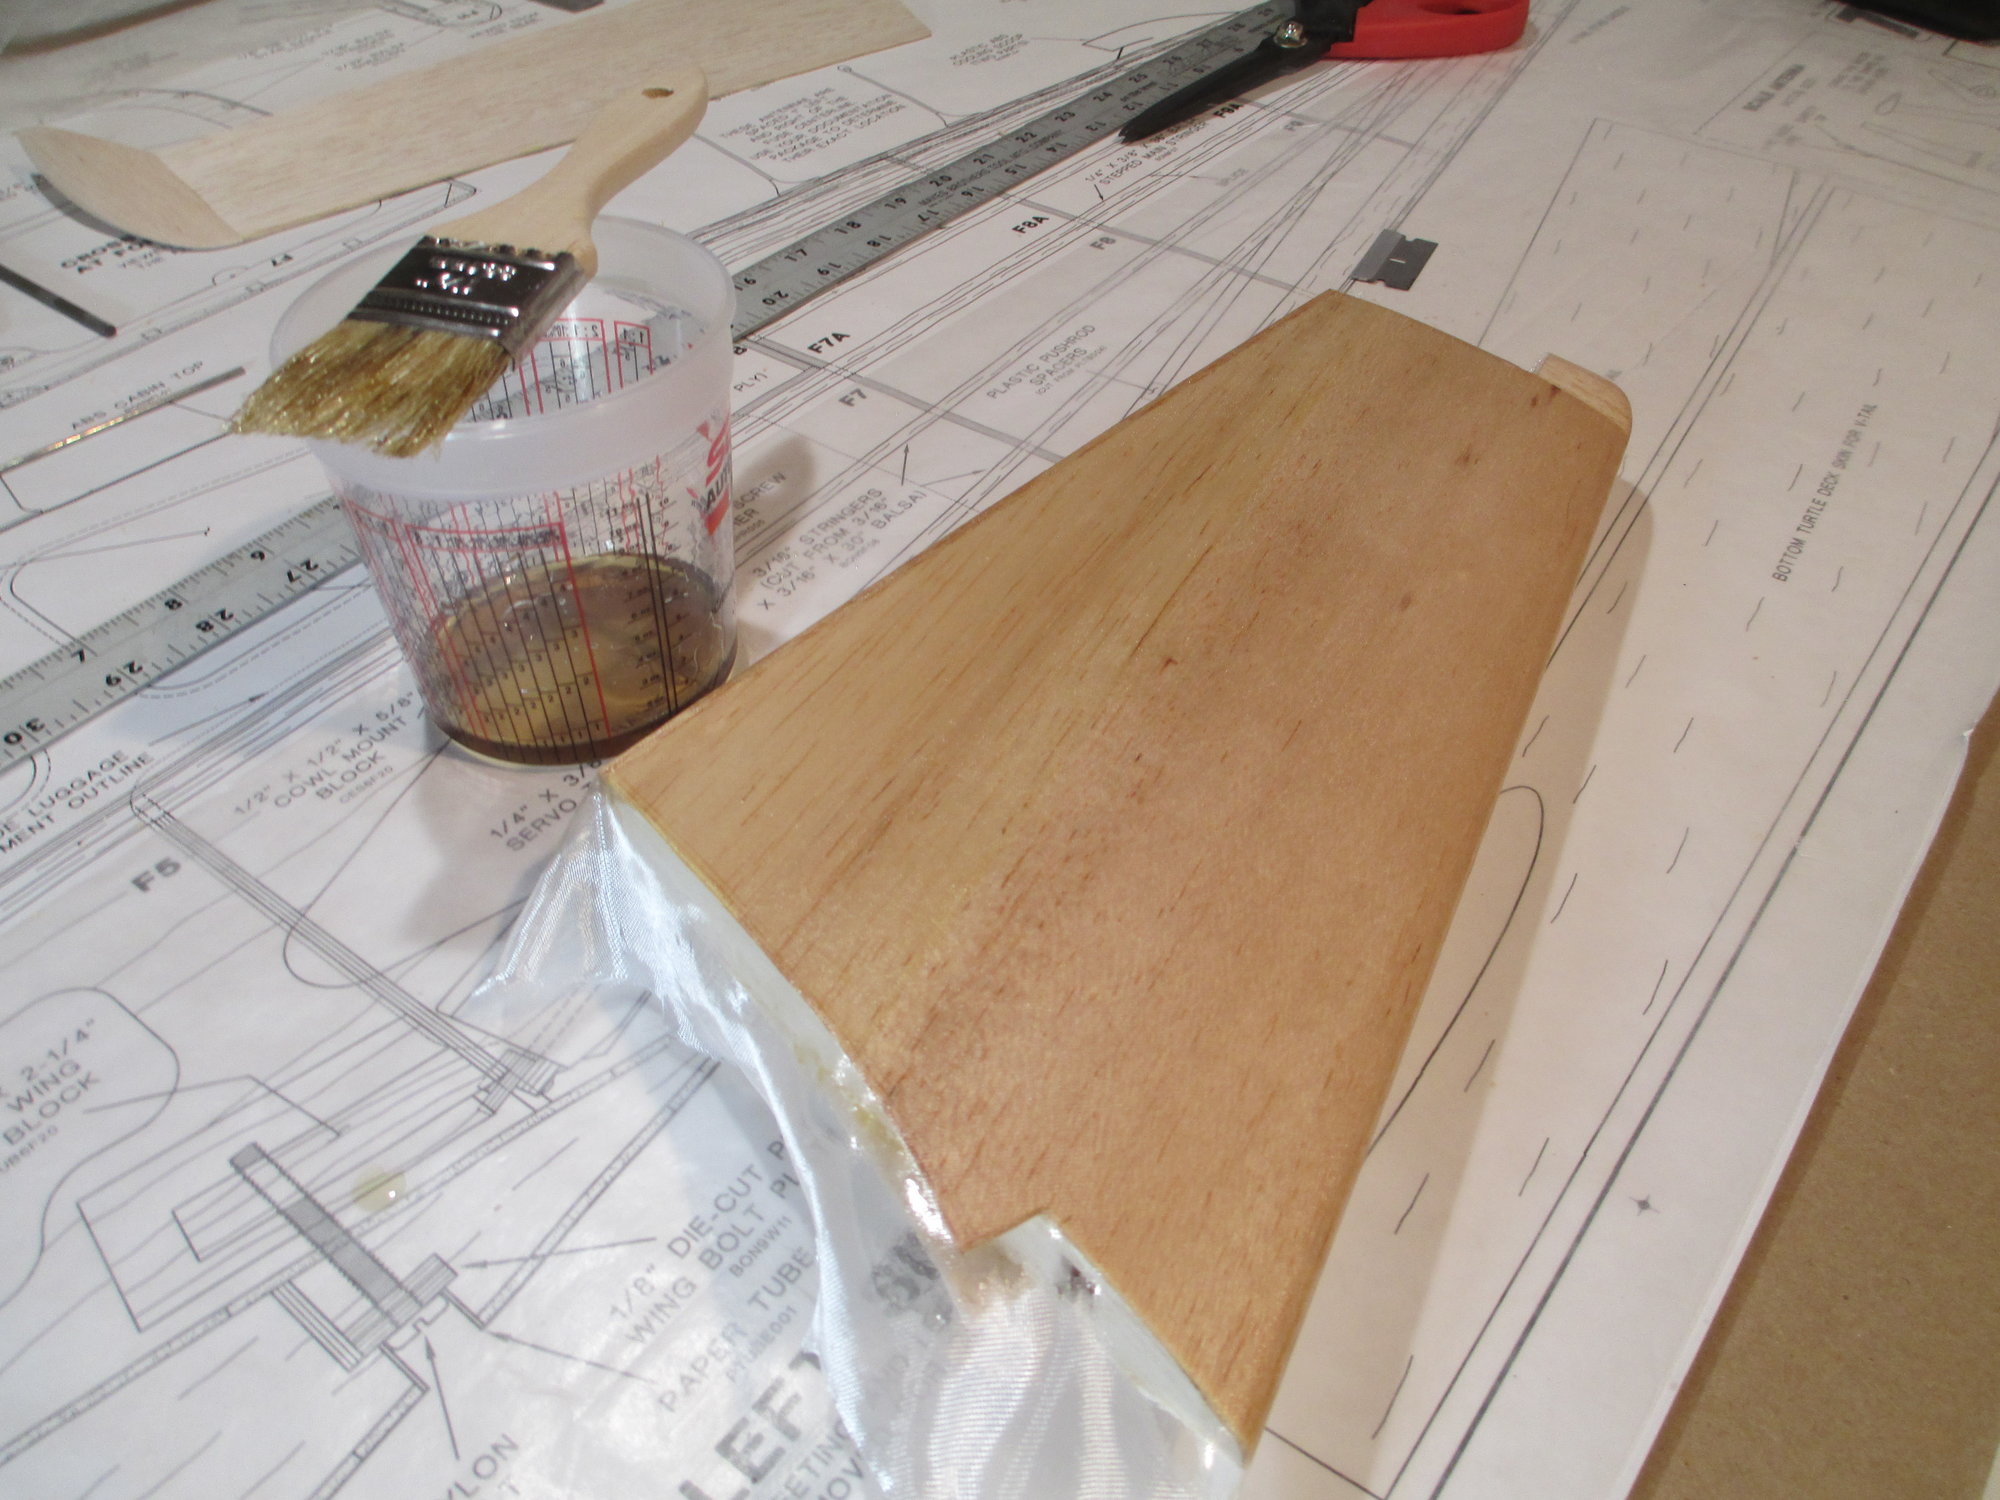
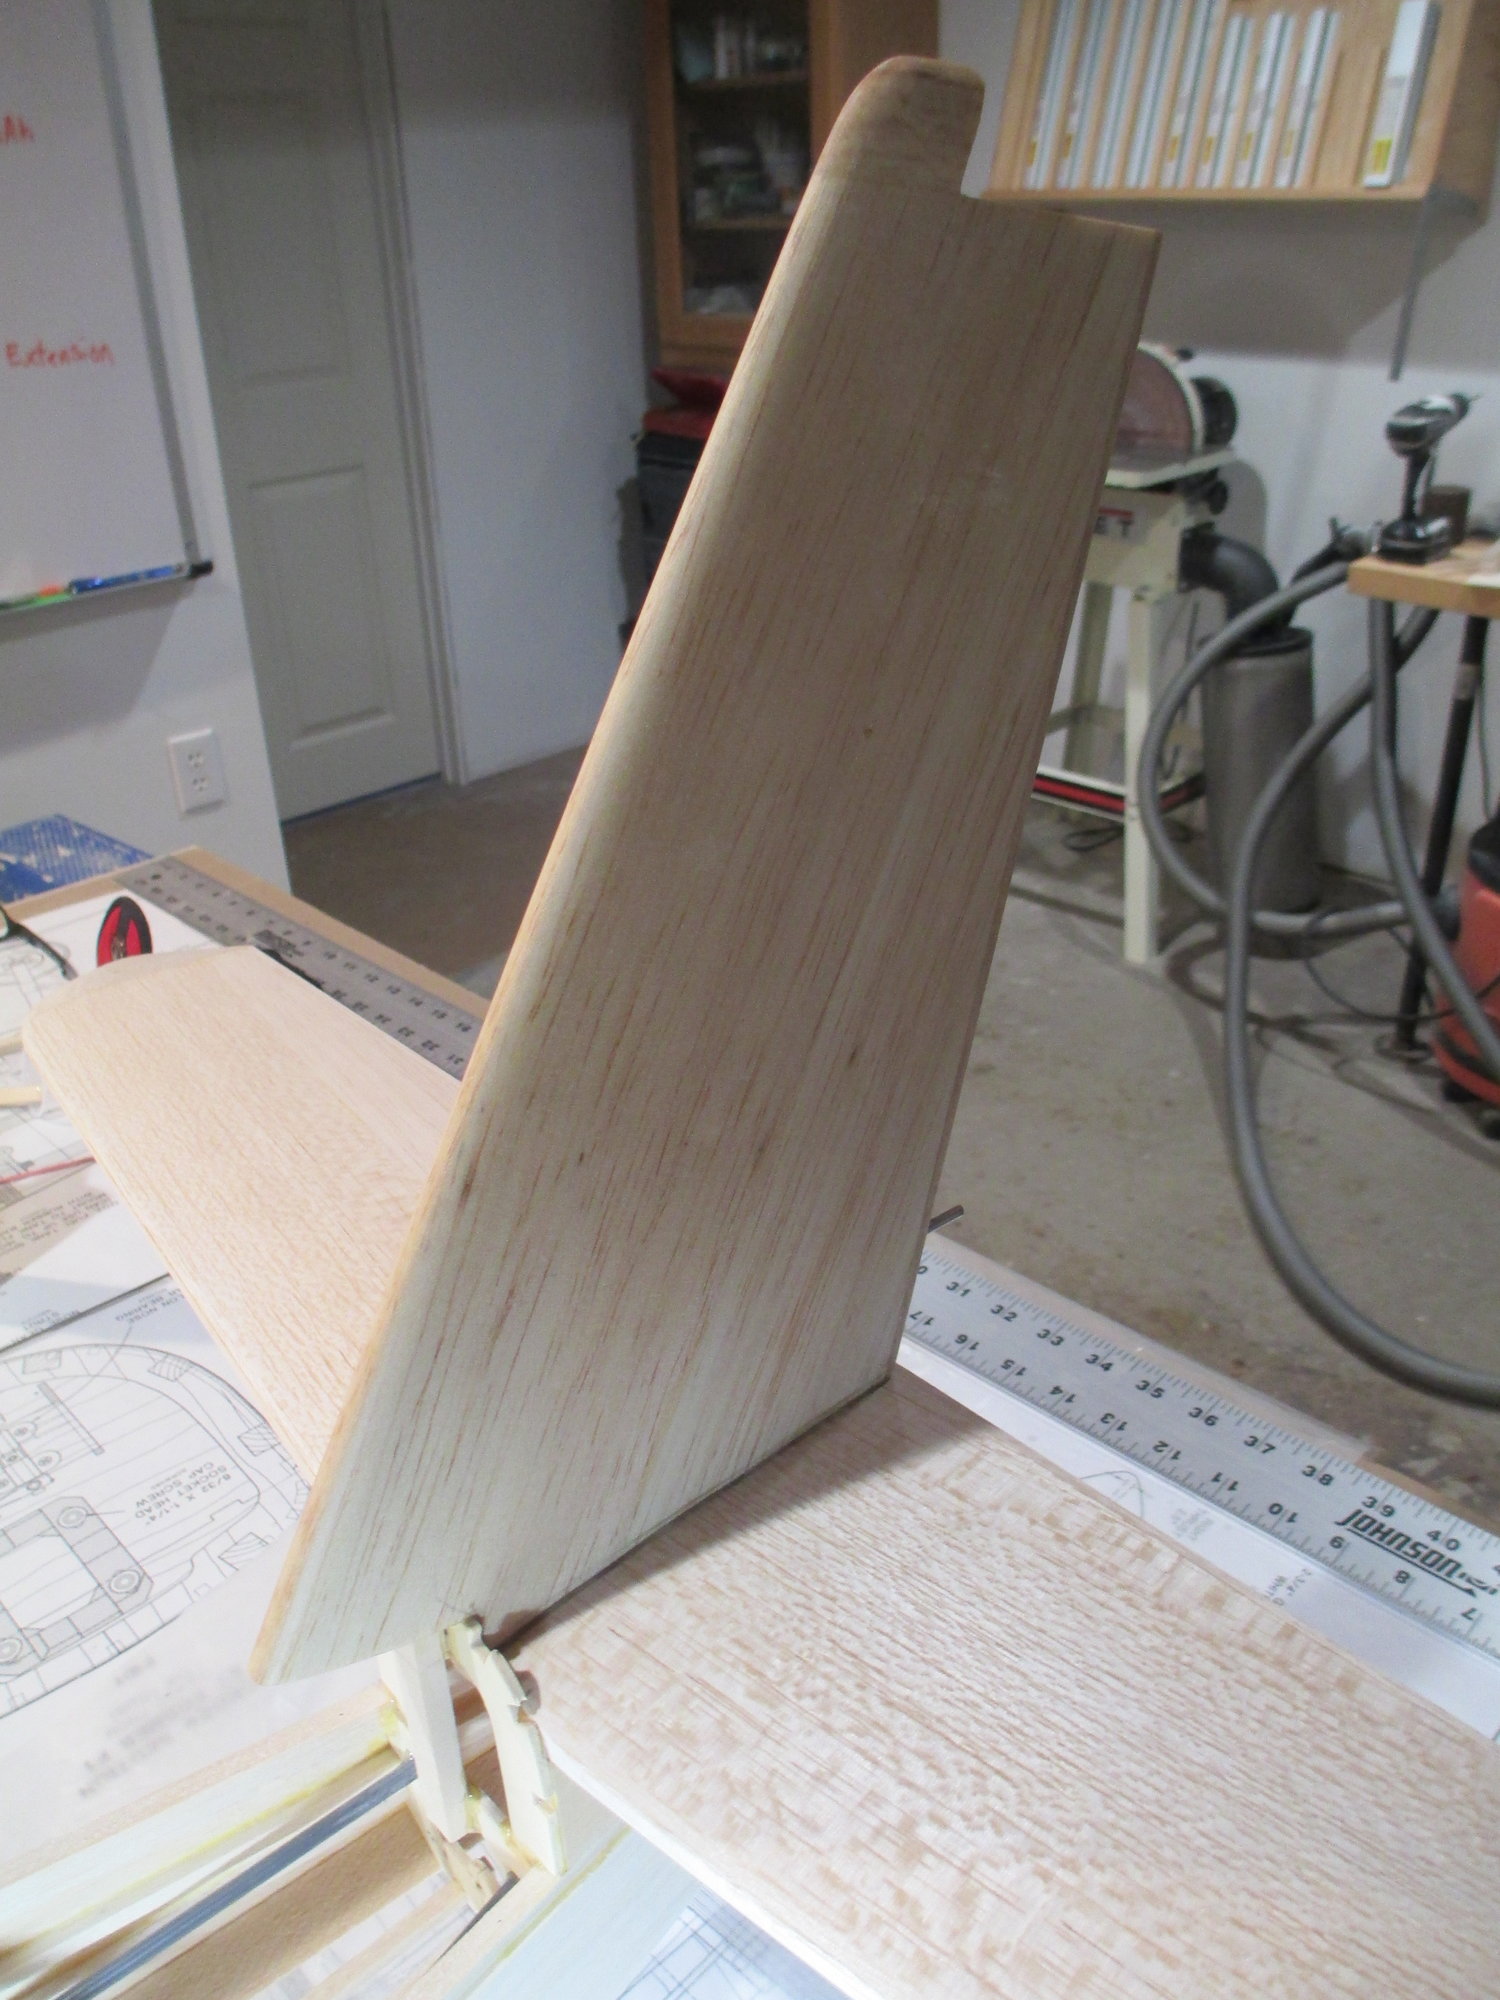
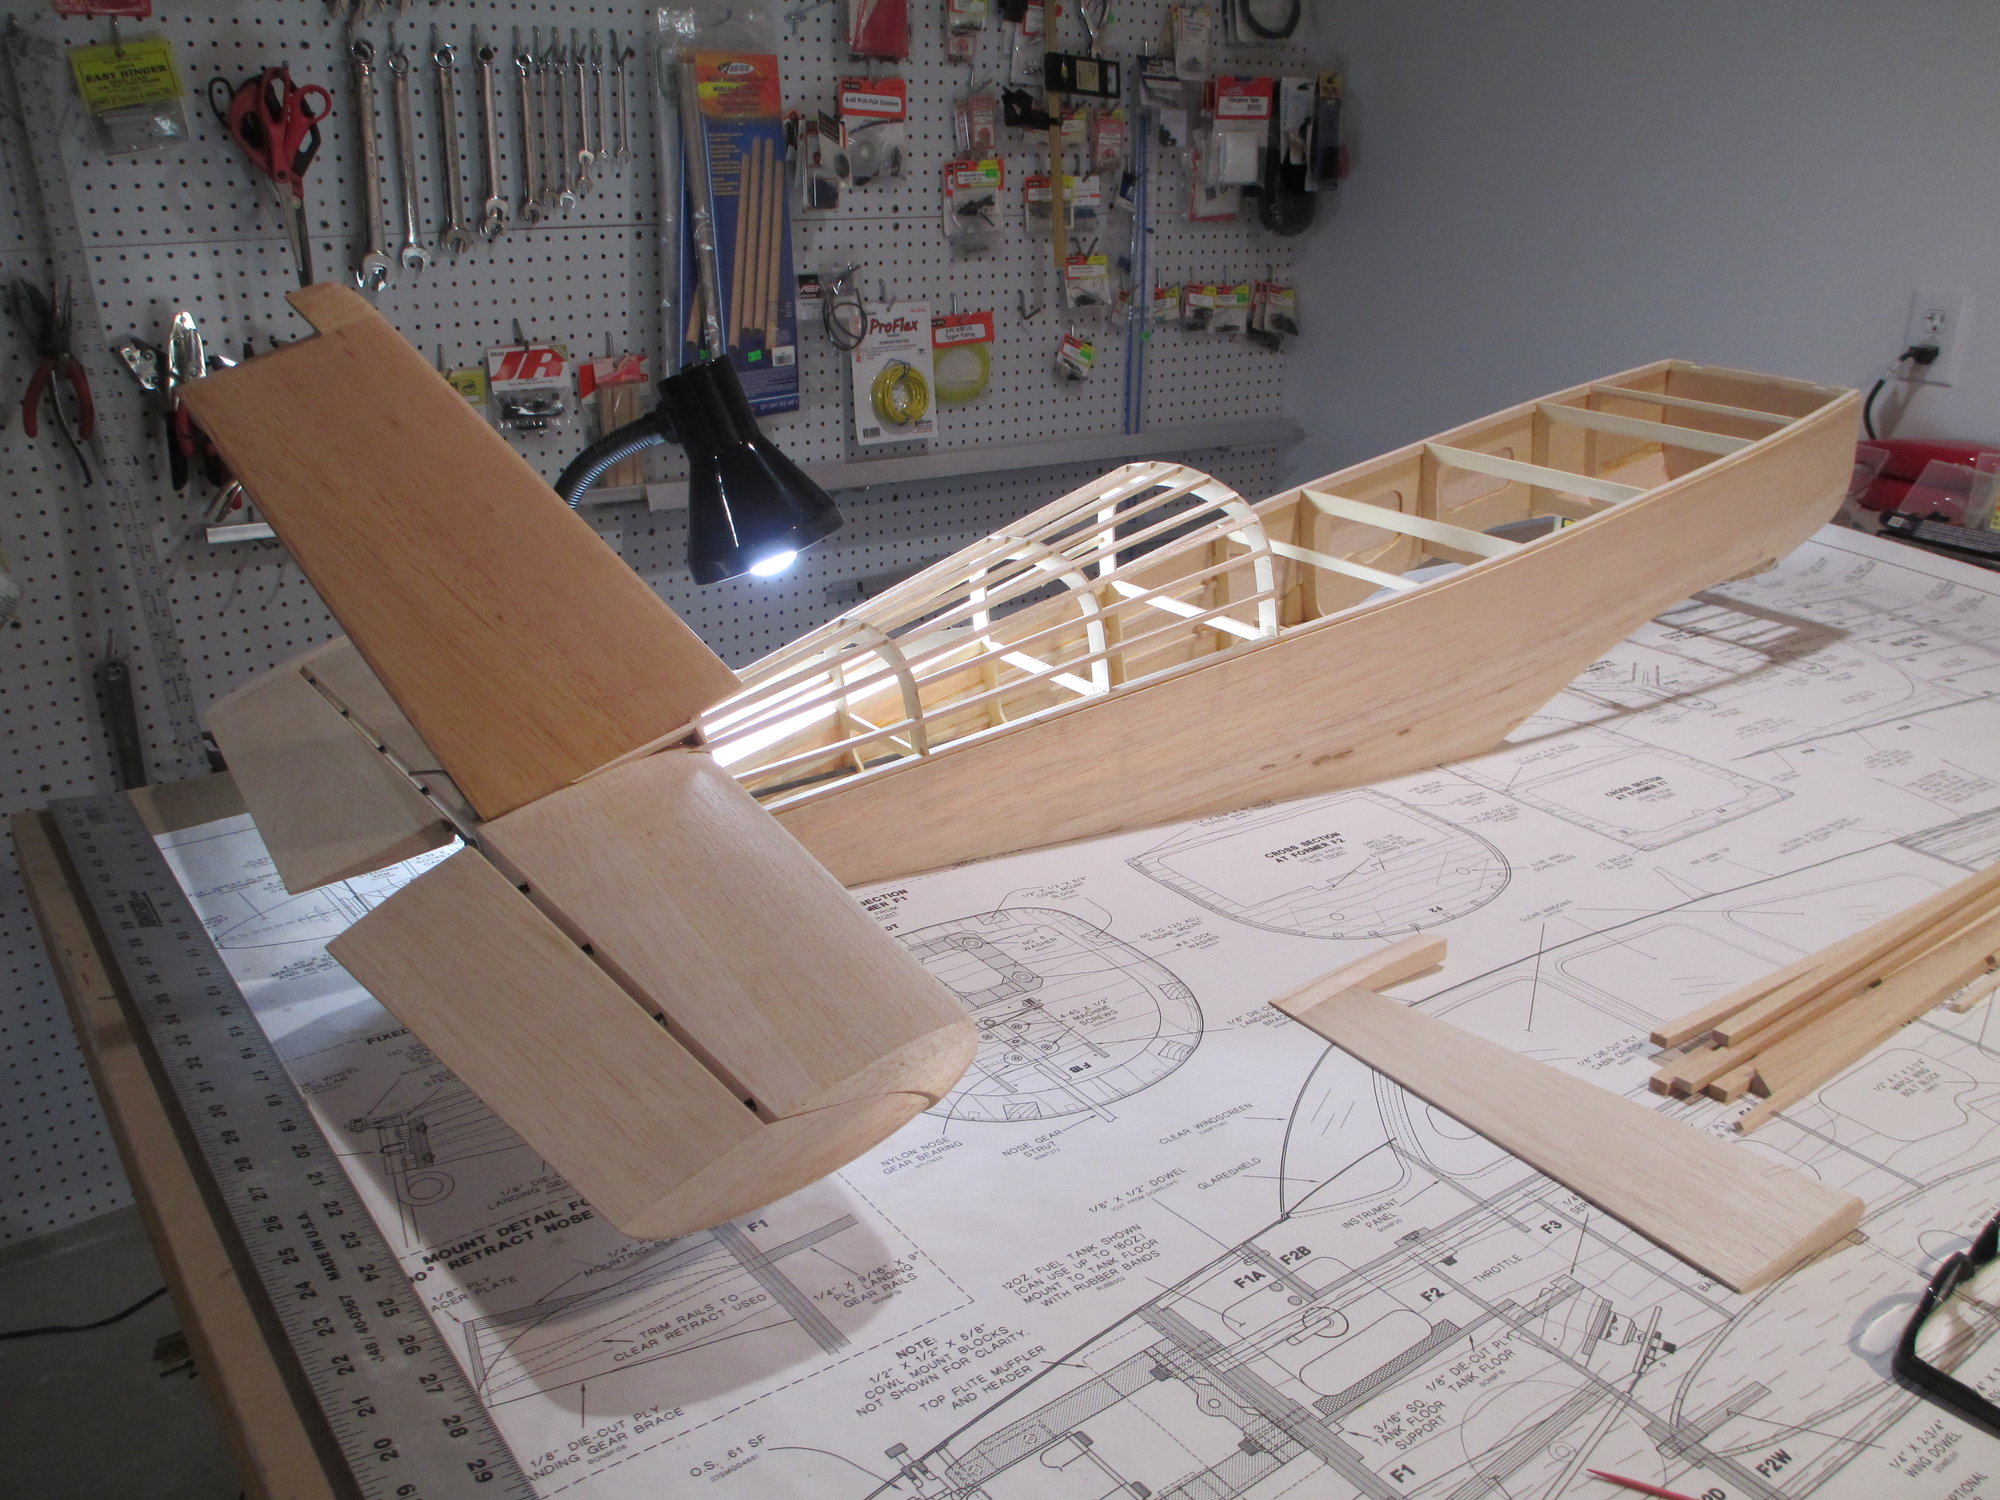
Make sure to elevate the part that is going to get glassed. I propped the fin up with a couple of wood blocks. Also, be sure to have your work table covered as you're bound to drip and splash a bit...
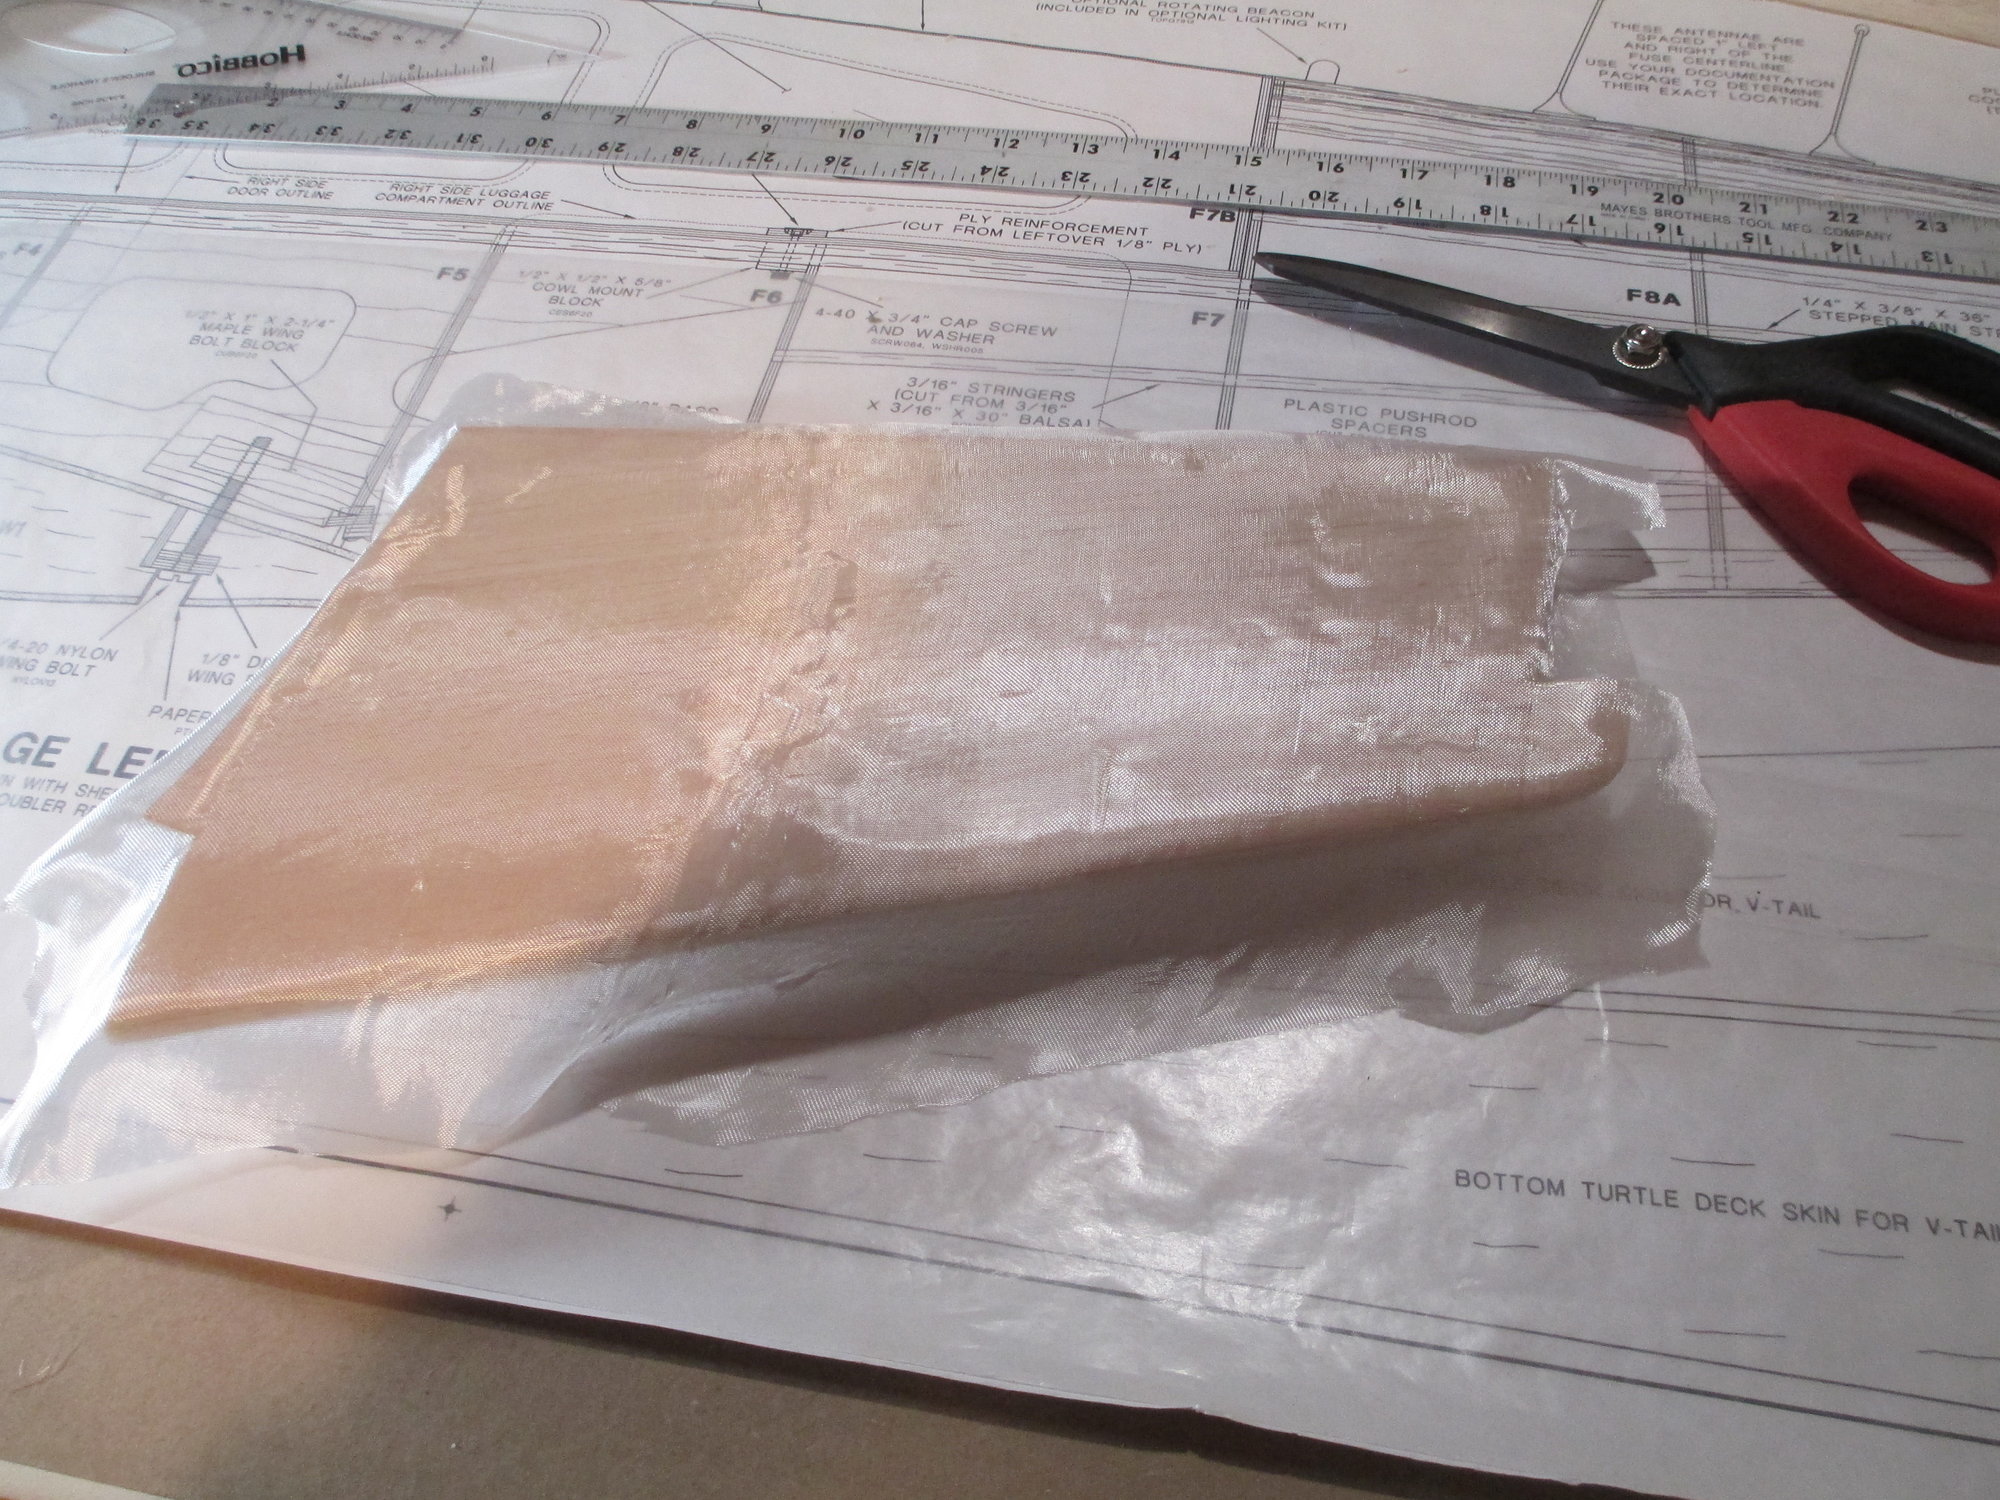
I'm using 1/2 ounce cloth which has been cut using a sharp pair of scissors. The scissors shown are used only for this purpose.

These are the products that I'll be using. I love, love,love, Zap Z-Poxy Finishing Resin. No odor and sands extremely well. You'll also need Denatured Alcohol as well as a graduated mixing cup.
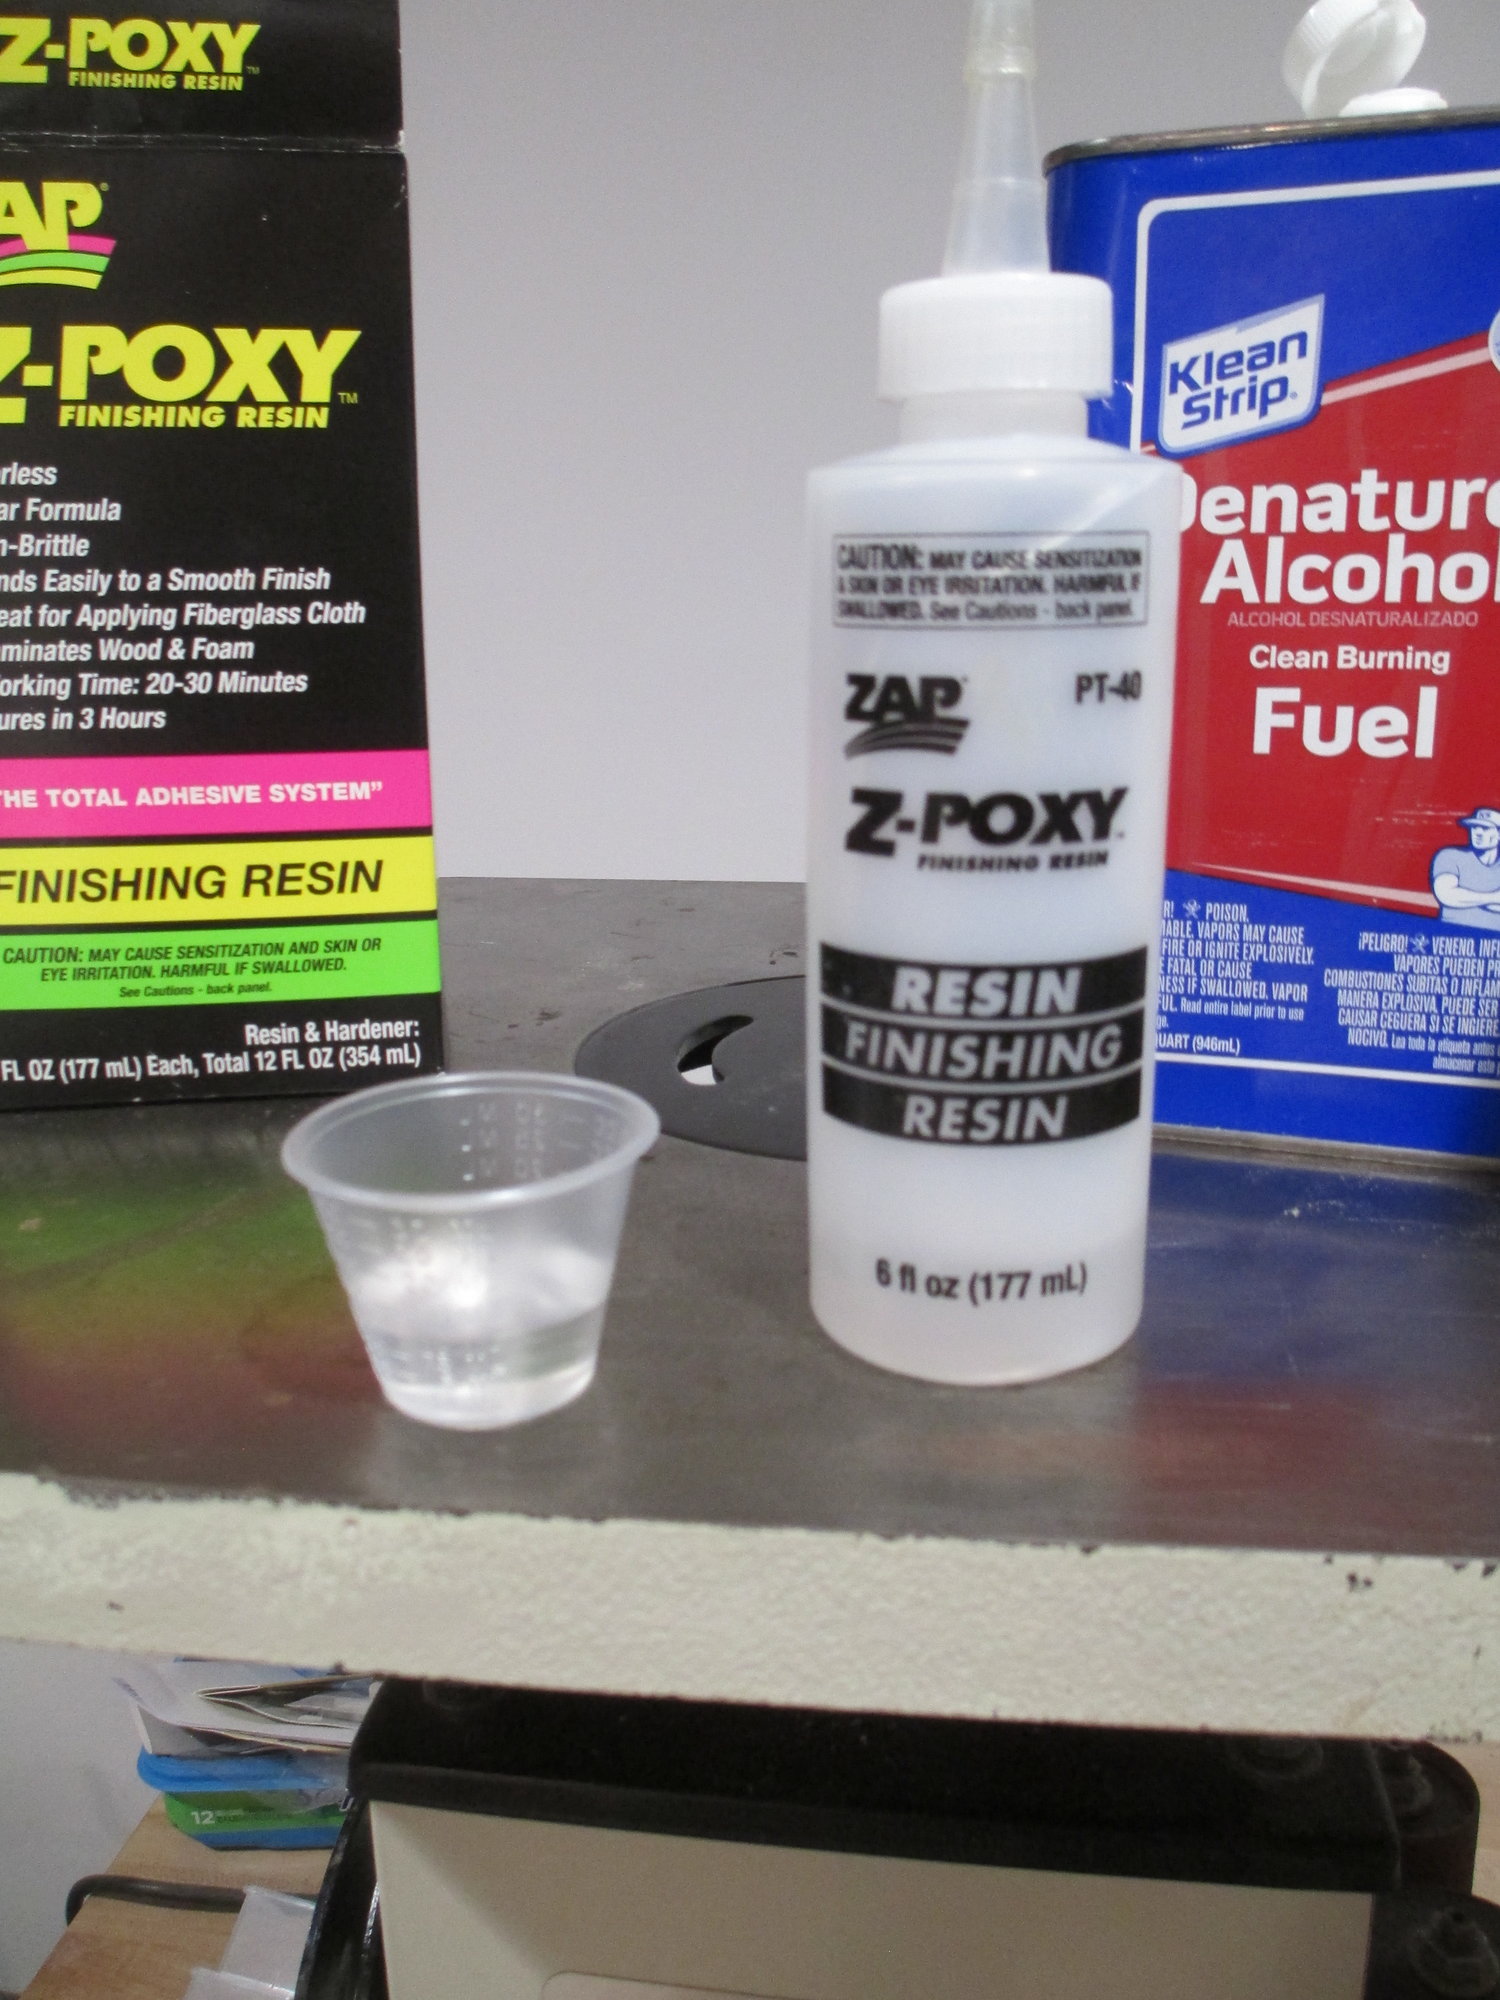
I start by drawing 10 cc's of Resin in the mixing cup.
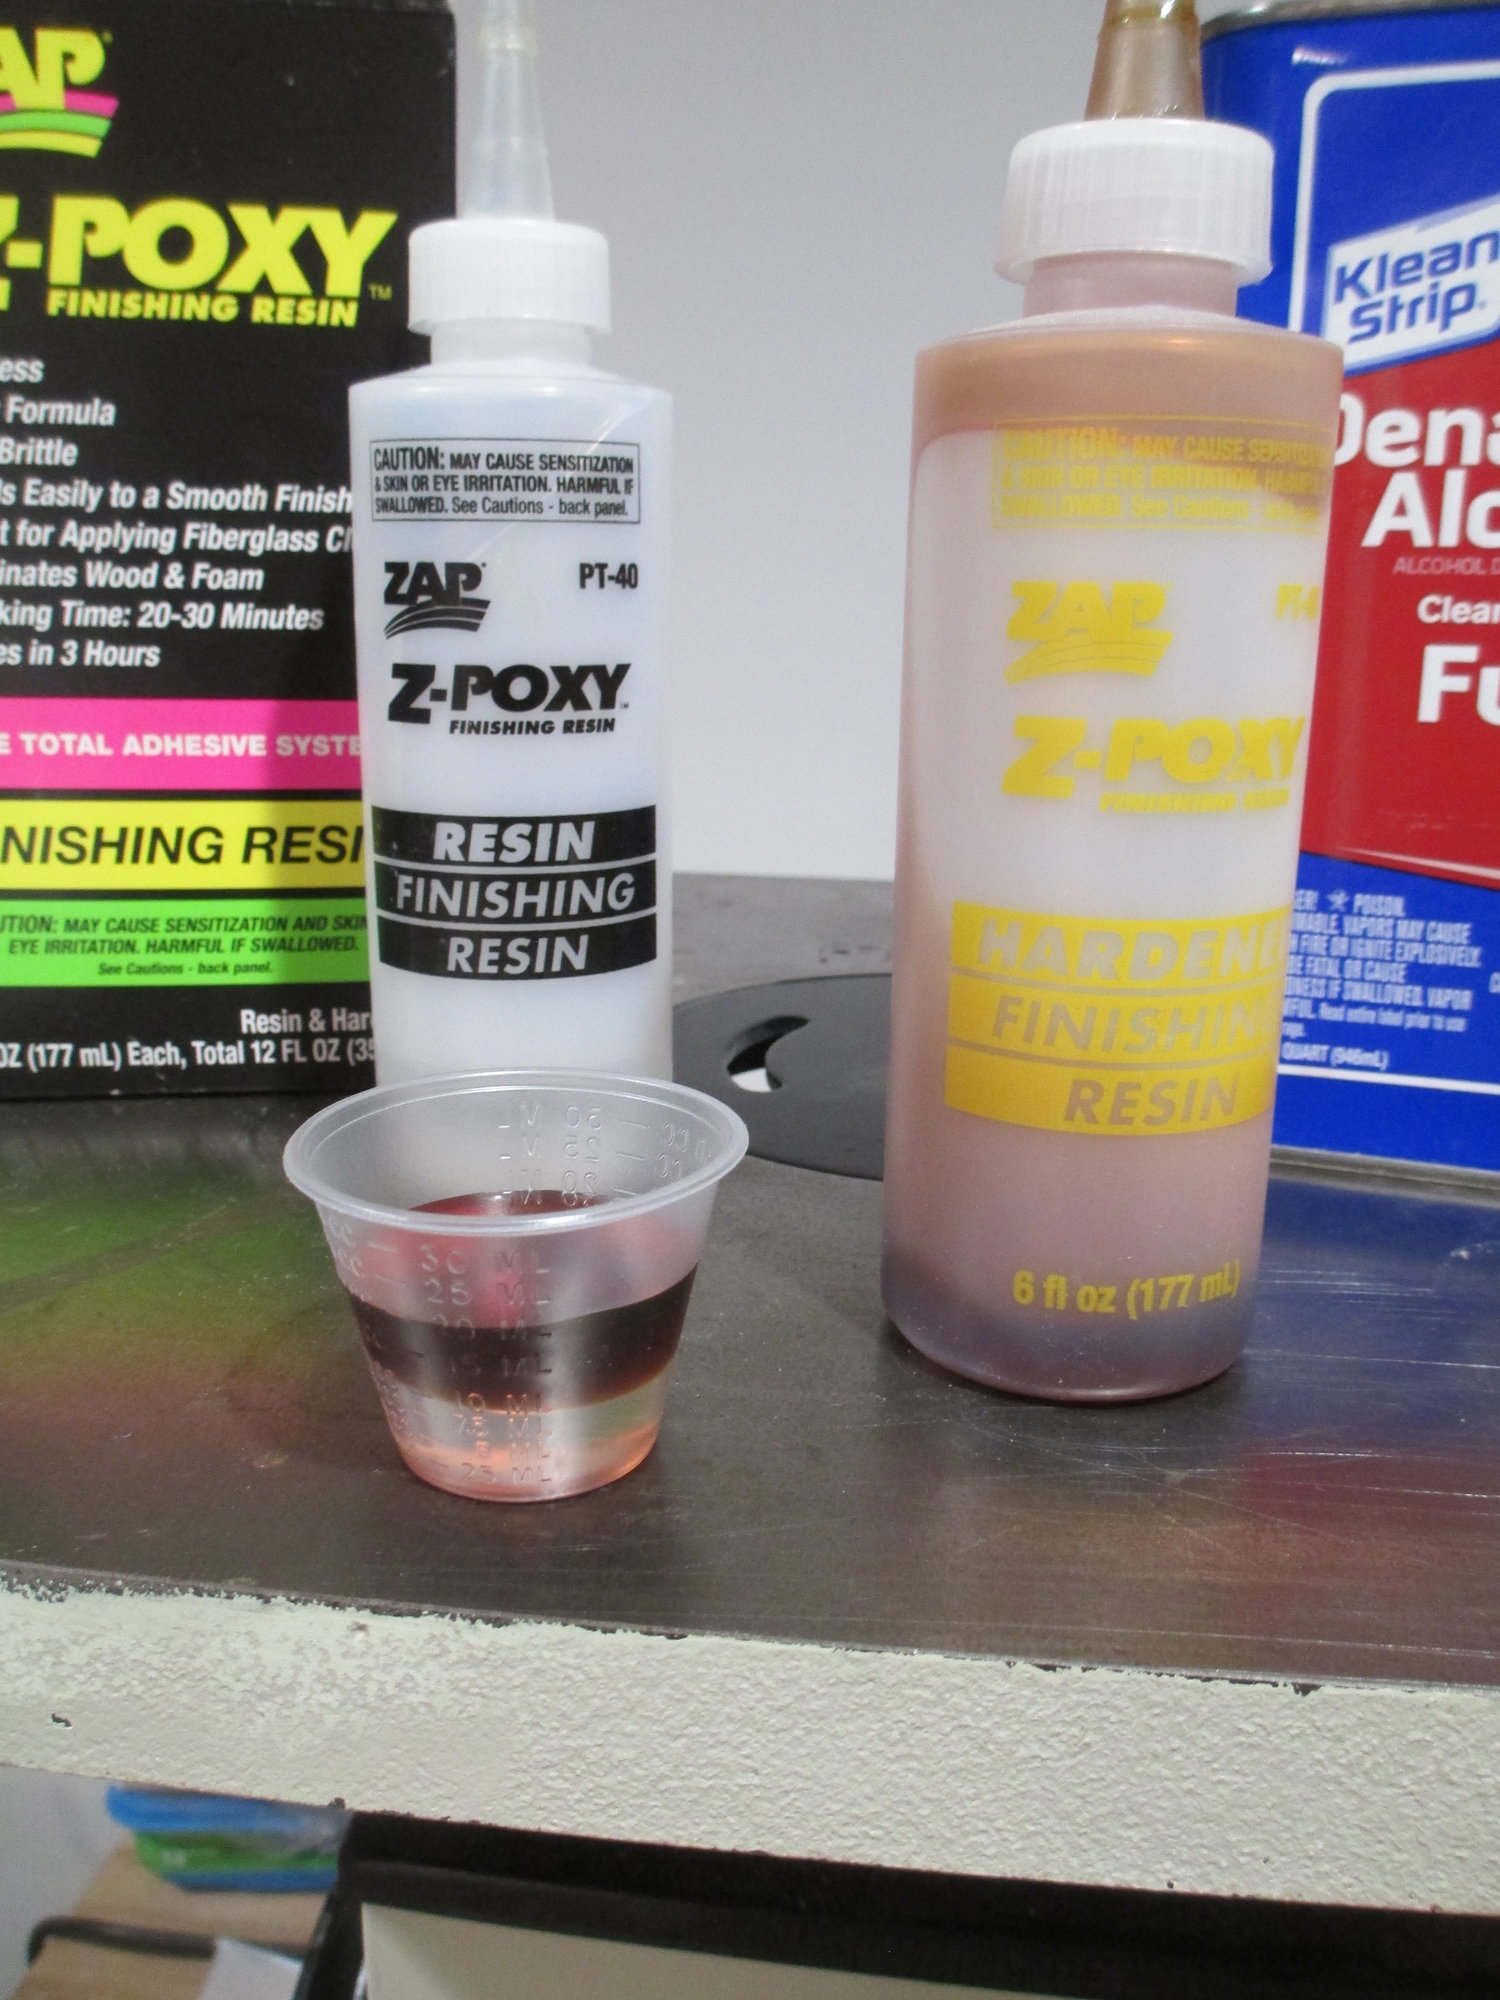
To that, I add another 10 cc's of Hardener, then give it a quick mix. Pour the mixed 20 cc's into a larger cup.

Pour 20 cc's of Denatured Alcohol, then add it to the first 20 cc mixture and mix together thoroughly. You should have a total of 40 cc's in your cup.
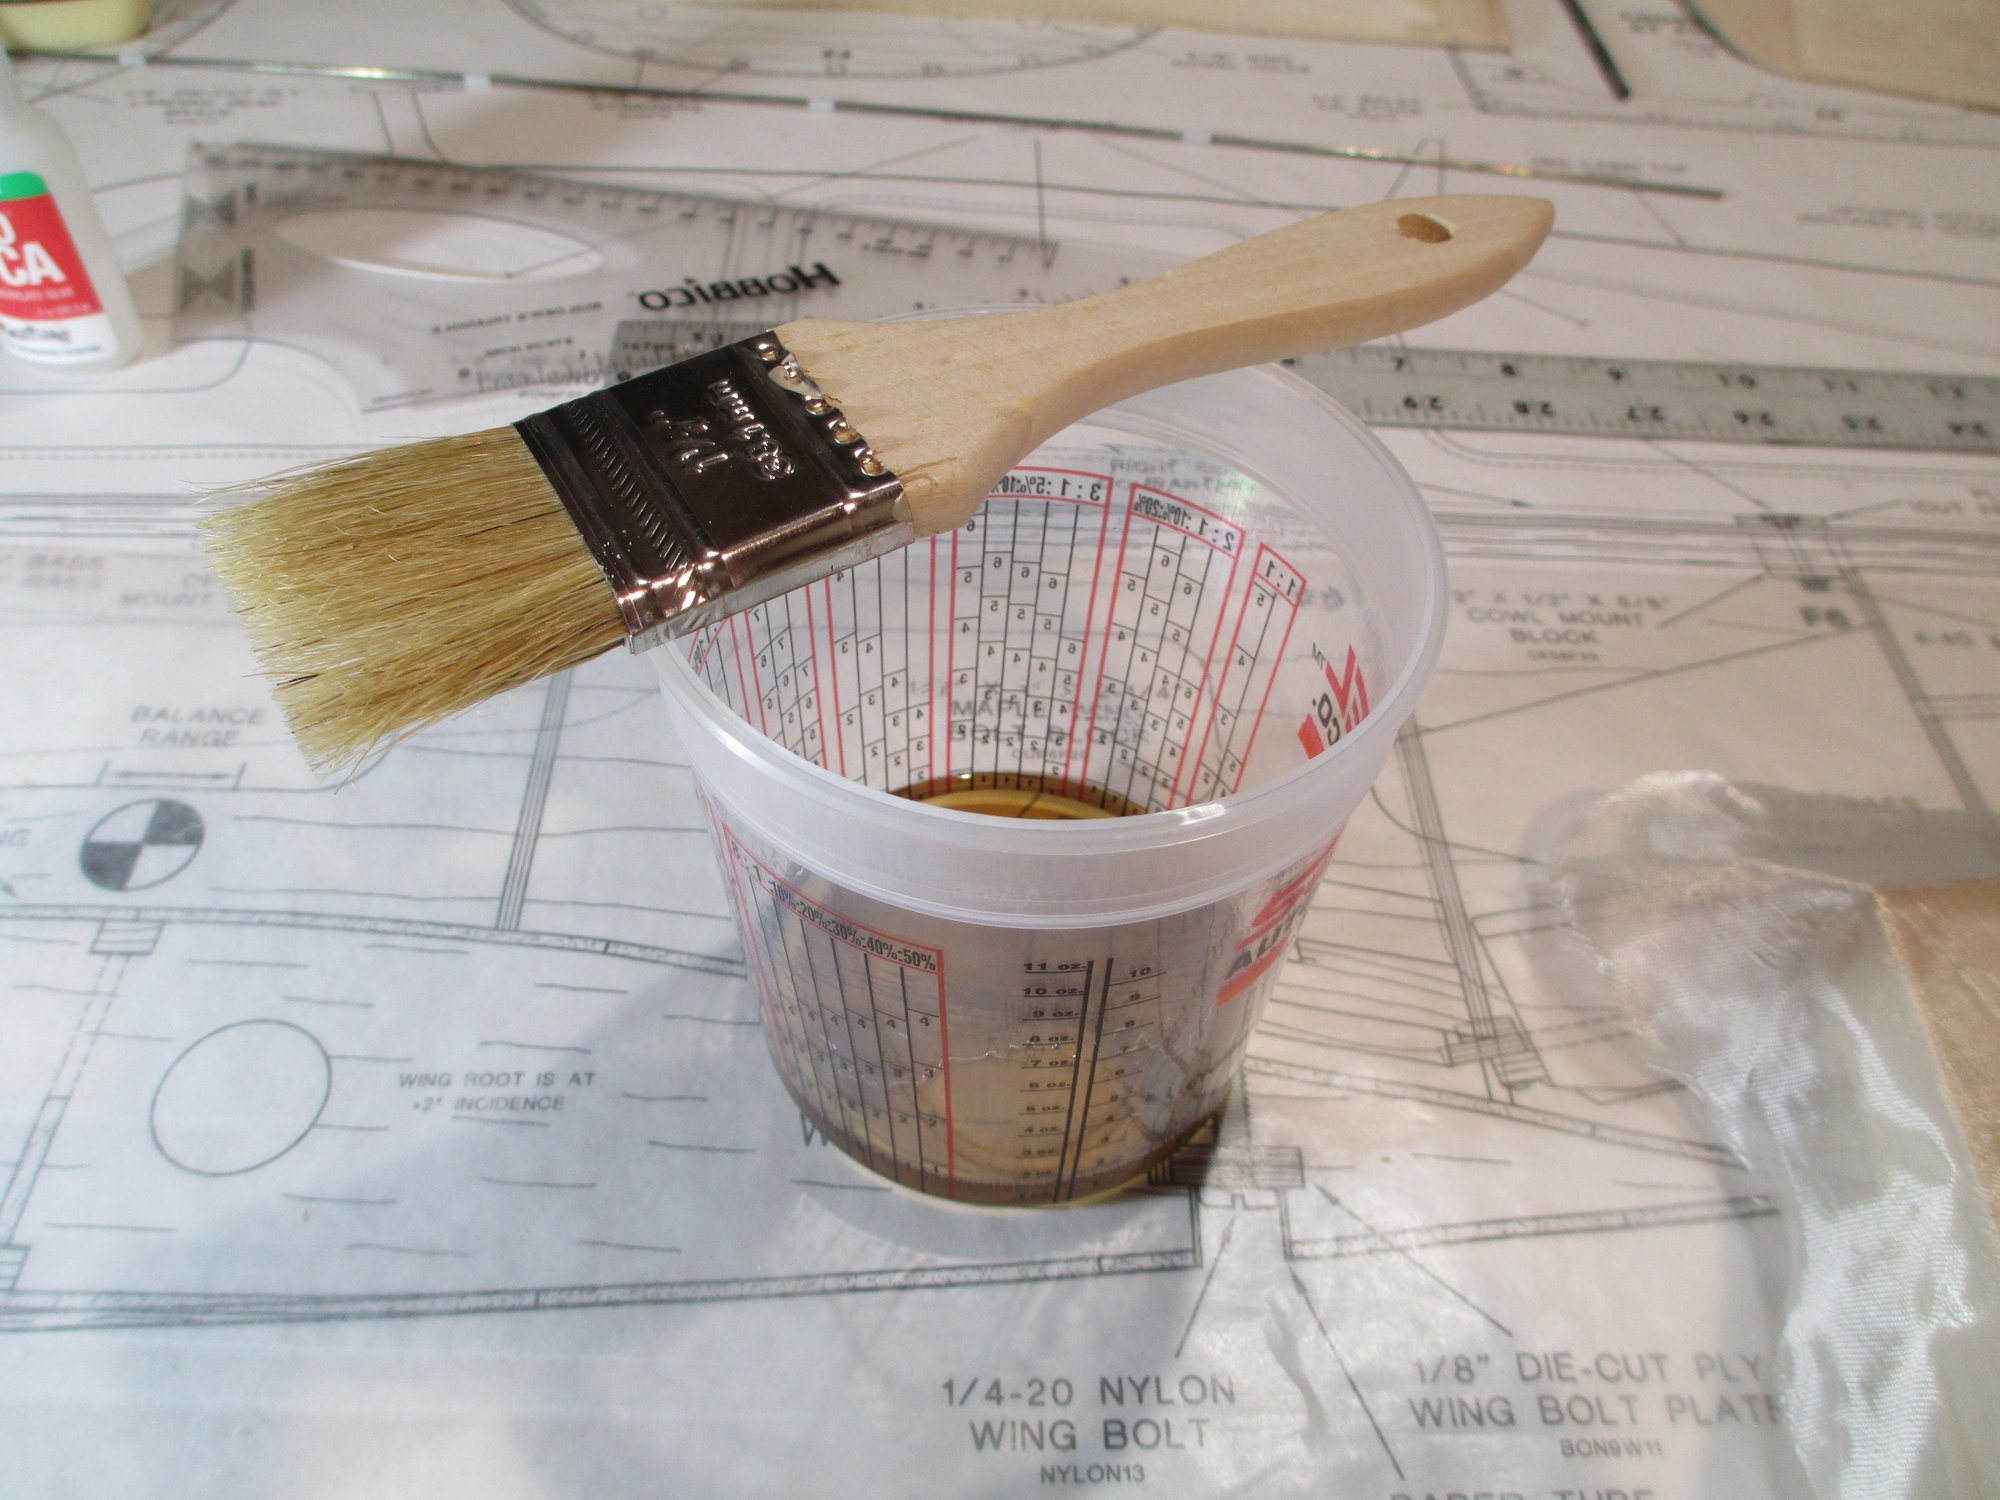
I have a variety of these inexpensive disposable chip brushes to apply the resin. These can be purchased at your local hardware or Harbor Freight store. The mixture should be very thin, almost like water if you got the ratio right.
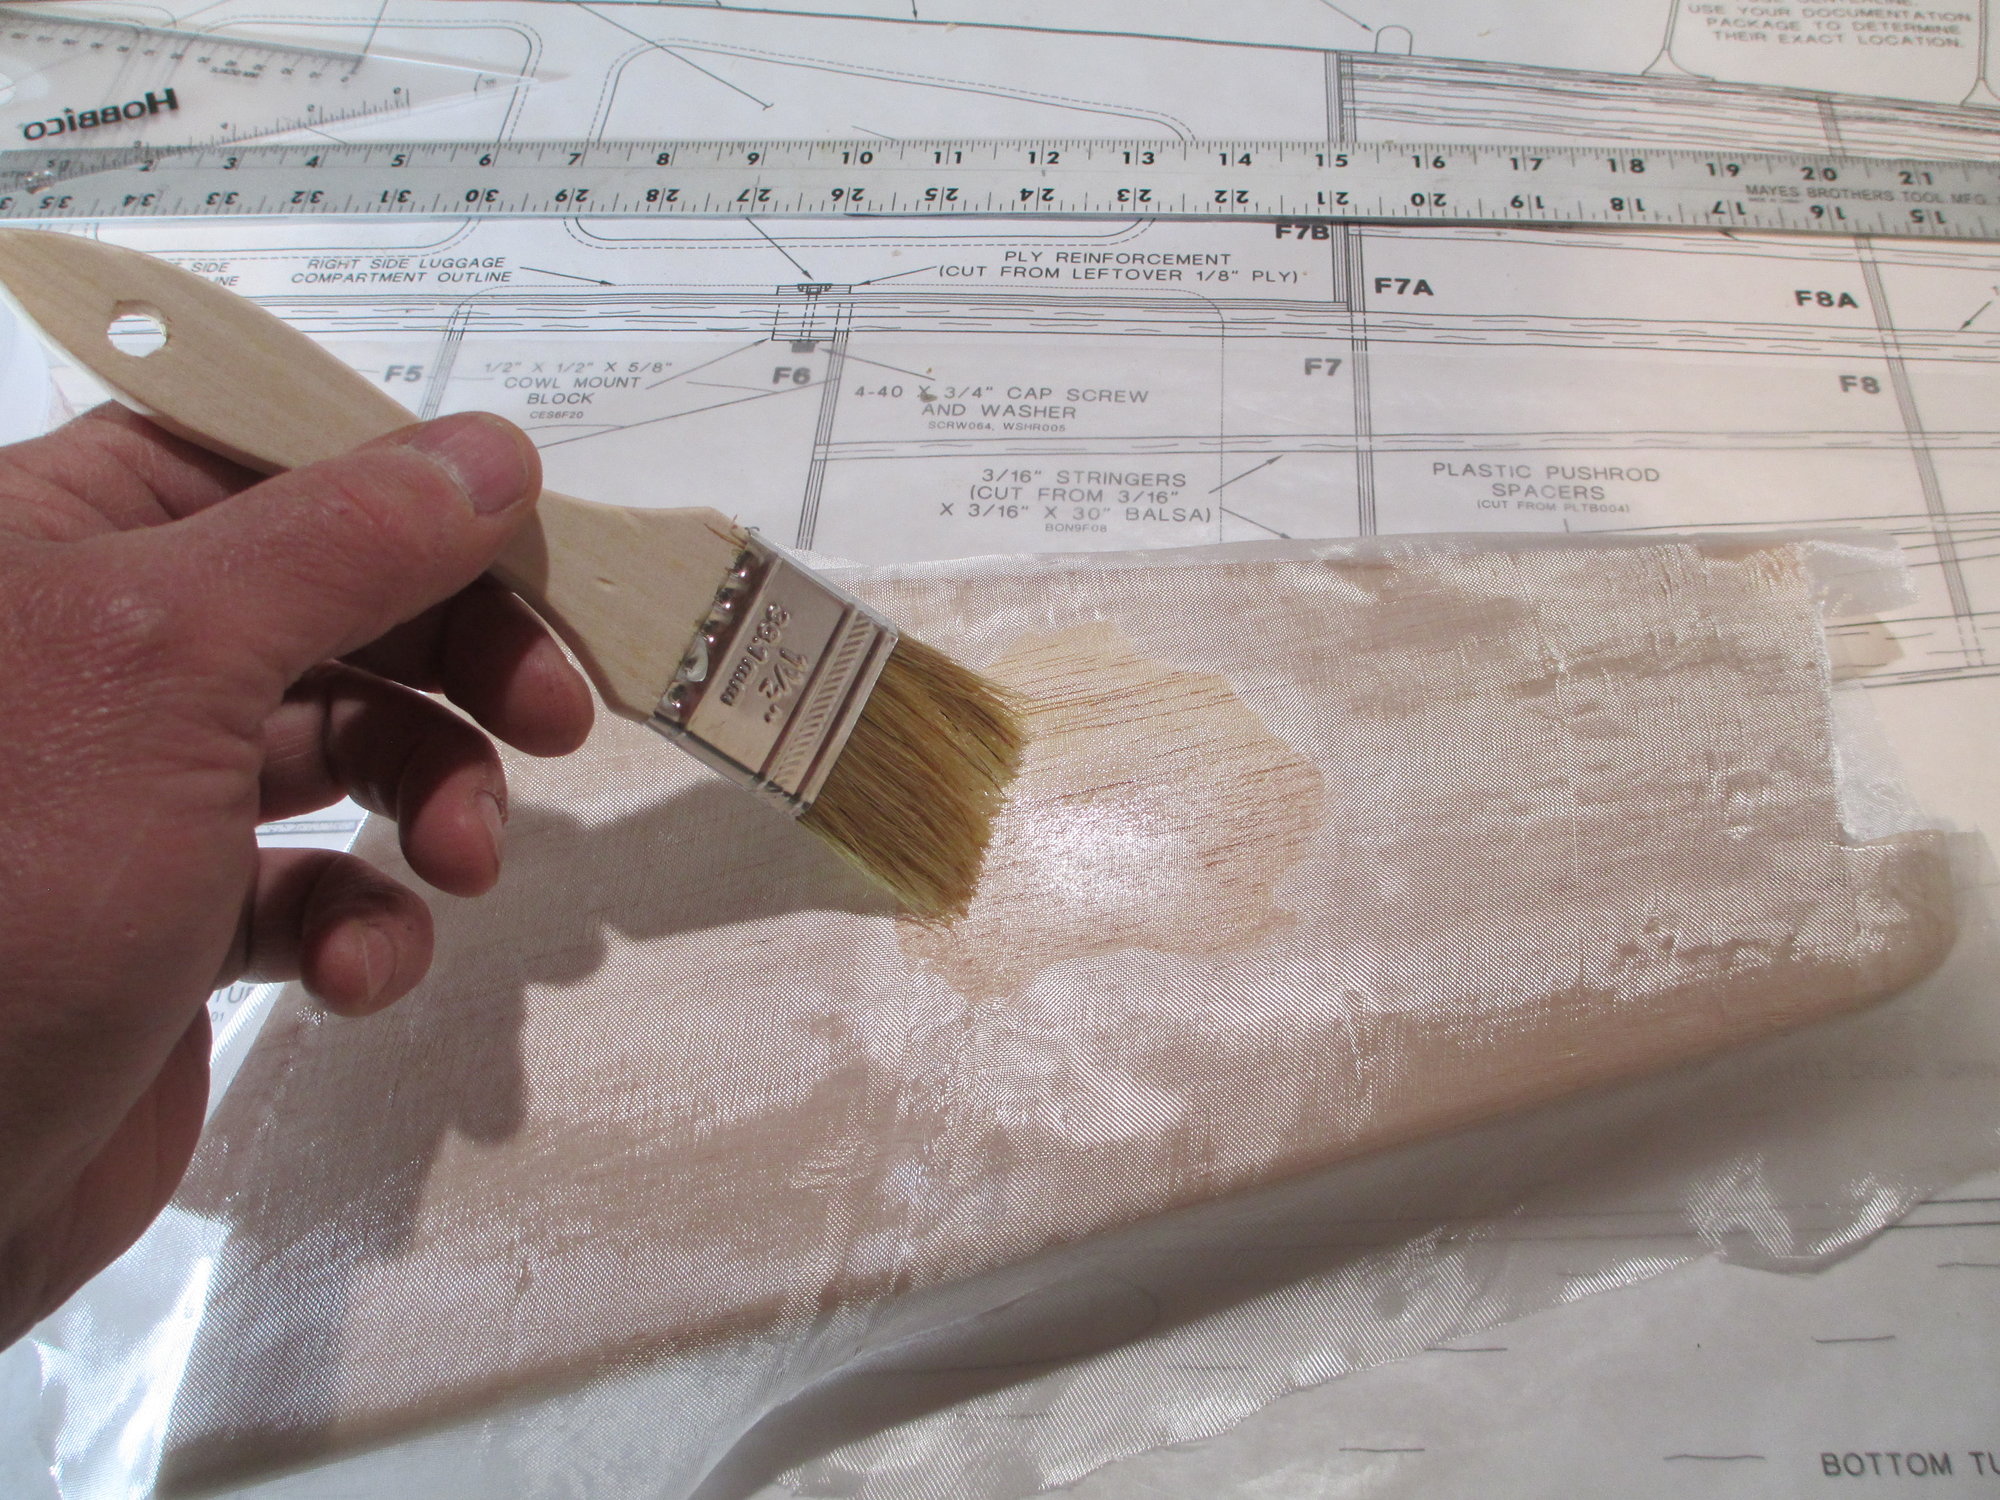
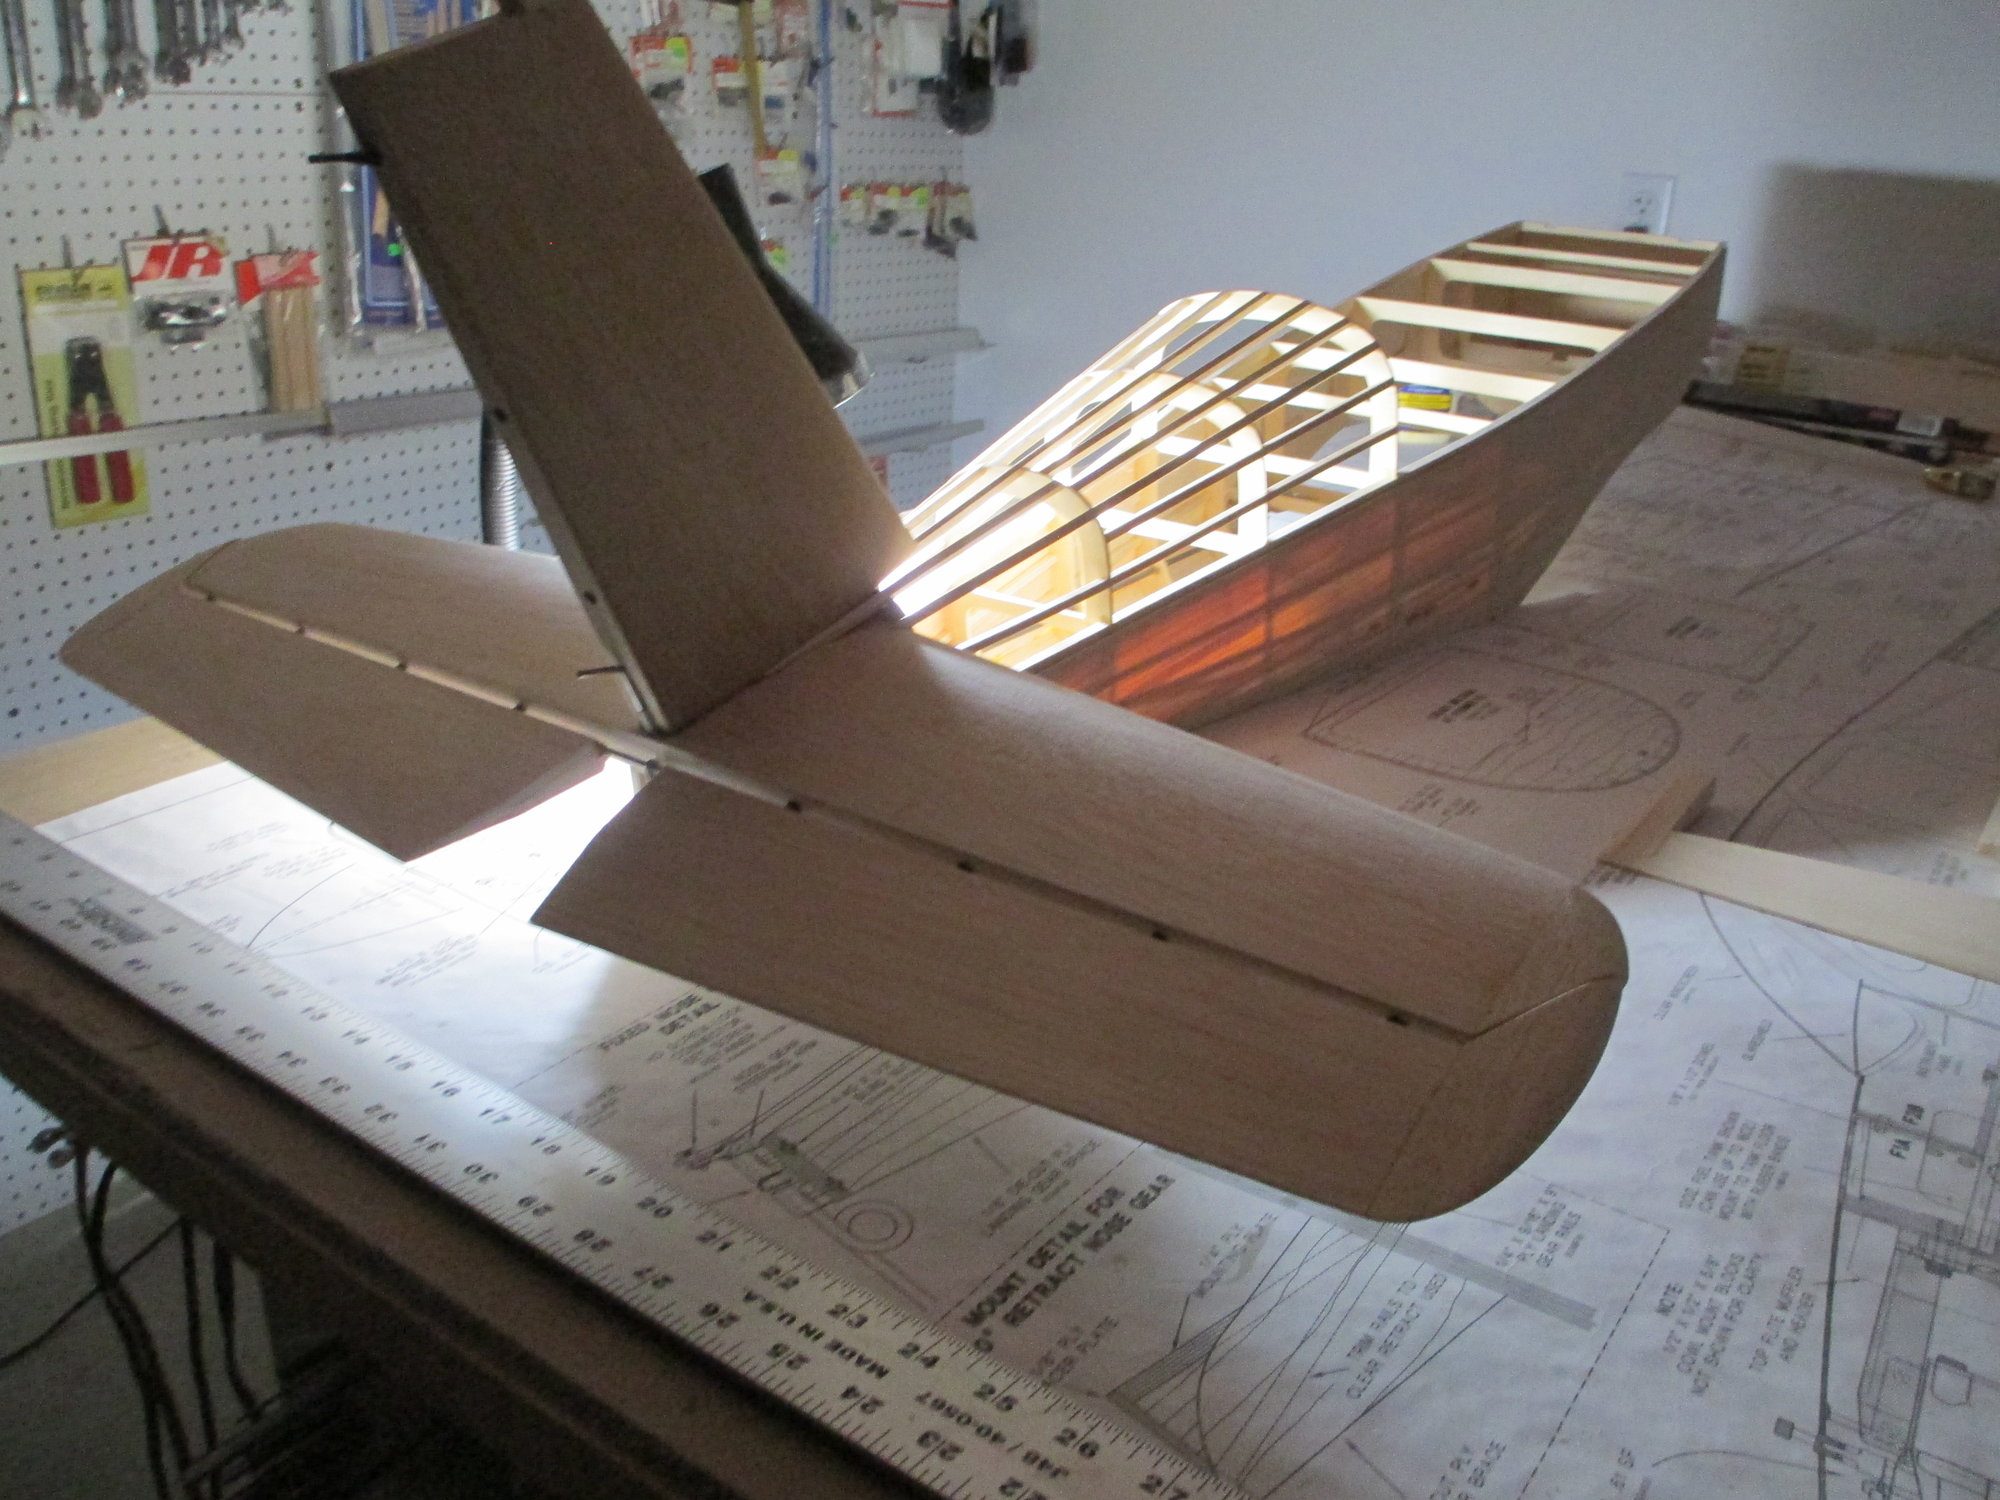
Brush the resin over your work piece. Be generous applying the resin as it will soak into the wood. Start from the center and work your way toward the edges. The cloth will lay down beautifully and the weave will not distort.
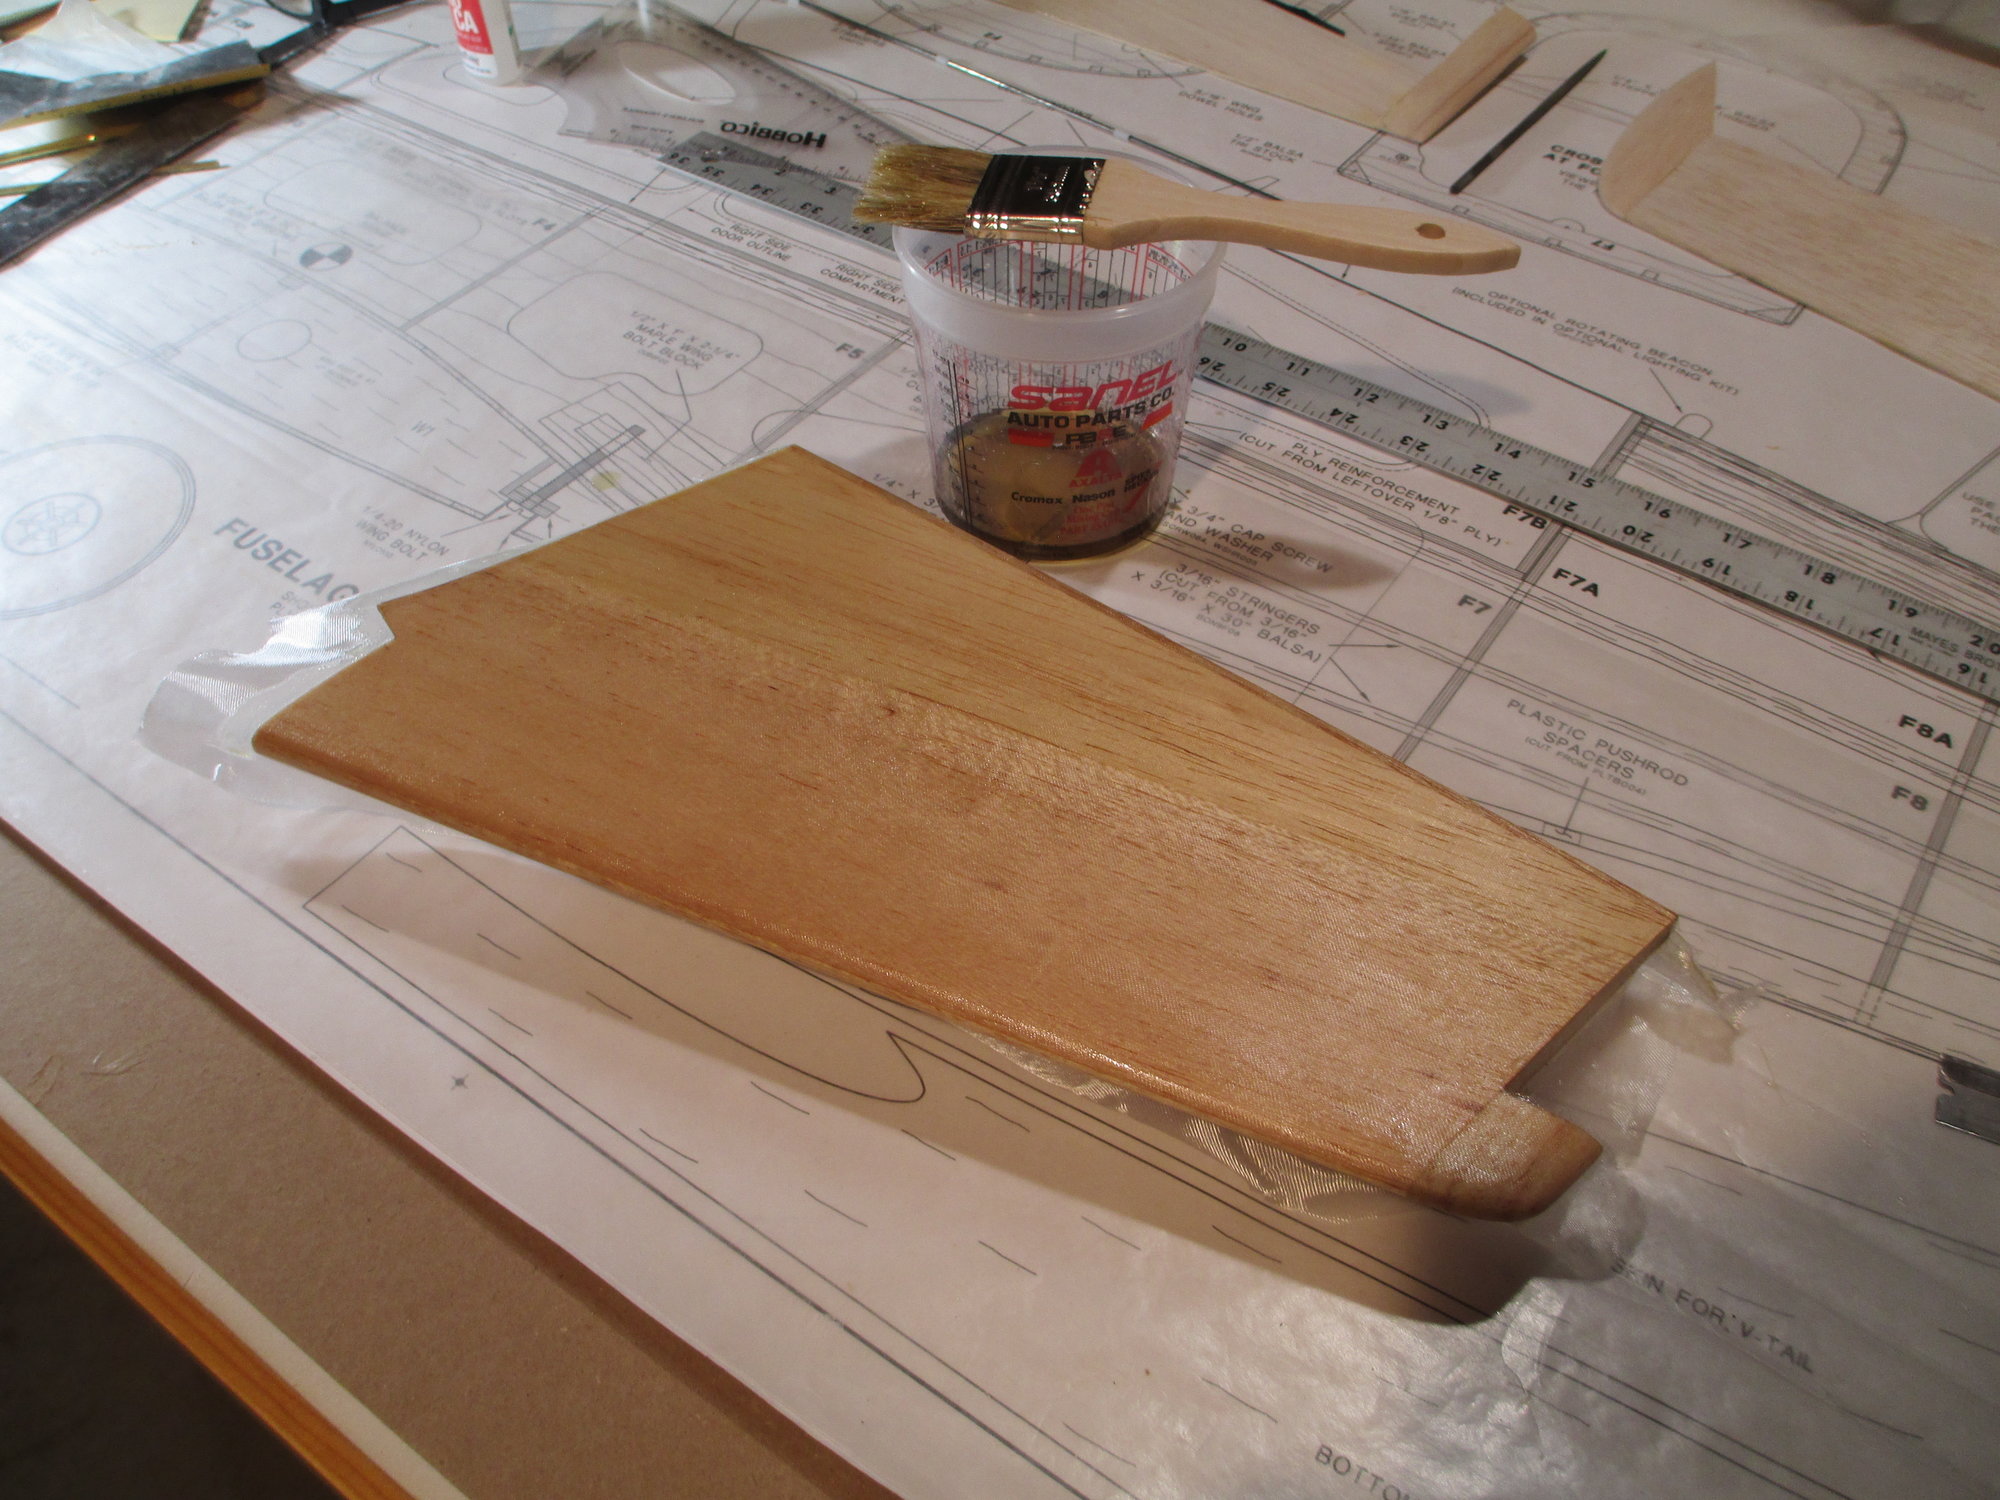
The first coat is completed. I mixed far too much. Next batch I'll reduce the mixture so I won't have so much waste.
Note: The amount mixed can vary as long as the ratio given stays the same.
Make sure to elevate the part that is going to get glassed. I propped the fin up with a couple of wood blocks. Also, be sure to have your work table covered as you're bound to drip and splash a bit...
I'm using 1/2 ounce cloth which has been cut using a sharp pair of scissors. The scissors shown are used only for this purpose.
These are the products that I'll be using. I love, love,love, Zap Z-Poxy Finishing Resin. No odor and sands extremely well. You'll also need Denatured Alcohol as well as a graduated mixing cup.
I start by drawing 10 cc's of Resin in the mixing cup.
To that, I add another 10 cc's of Hardener, then give it a quick mix. Pour the mixed 20 cc's into a larger cup.
Pour 20 cc's of Denatured Alcohol, then add it to the first 20 cc mixture and mix together thoroughly. You should have a total of 40 cc's in your cup.
I have a variety of these inexpensive disposable chip brushes to apply the resin. These can be purchased at your local hardware or Harbor Freight store. The mixture should be very thin, almost like water if you got the ratio right.
Brush the resin over your work piece. Be generous applying the resin as it will soak into the wood. Start from the center and work your way toward the edges. The cloth will lay down beautifully and the weave will not distort.
The first coat is completed. I mixed far too much. Next batch I'll reduce the mixture so I won't have so much waste.
Last edited by VincentJ; 11-25-2019 at 03:32 AM.


 11-28-2019, 03:00 AM
#488
Thread Starter
These past few posts I haven't included any narratives as I thought the pictures were pretty self explanatory (including these). If there is something that you would like to see or would like an explanation, all you need to do is ask and I will try my best to answer your questions...
I would like to take a moment to wish each and every one of you following along this thread a Happy Thanksgiving. I would also like to acknowledge Bob, my friend and partner in this project. Without his generosity, this project would have never come to light. Bob, thank you!
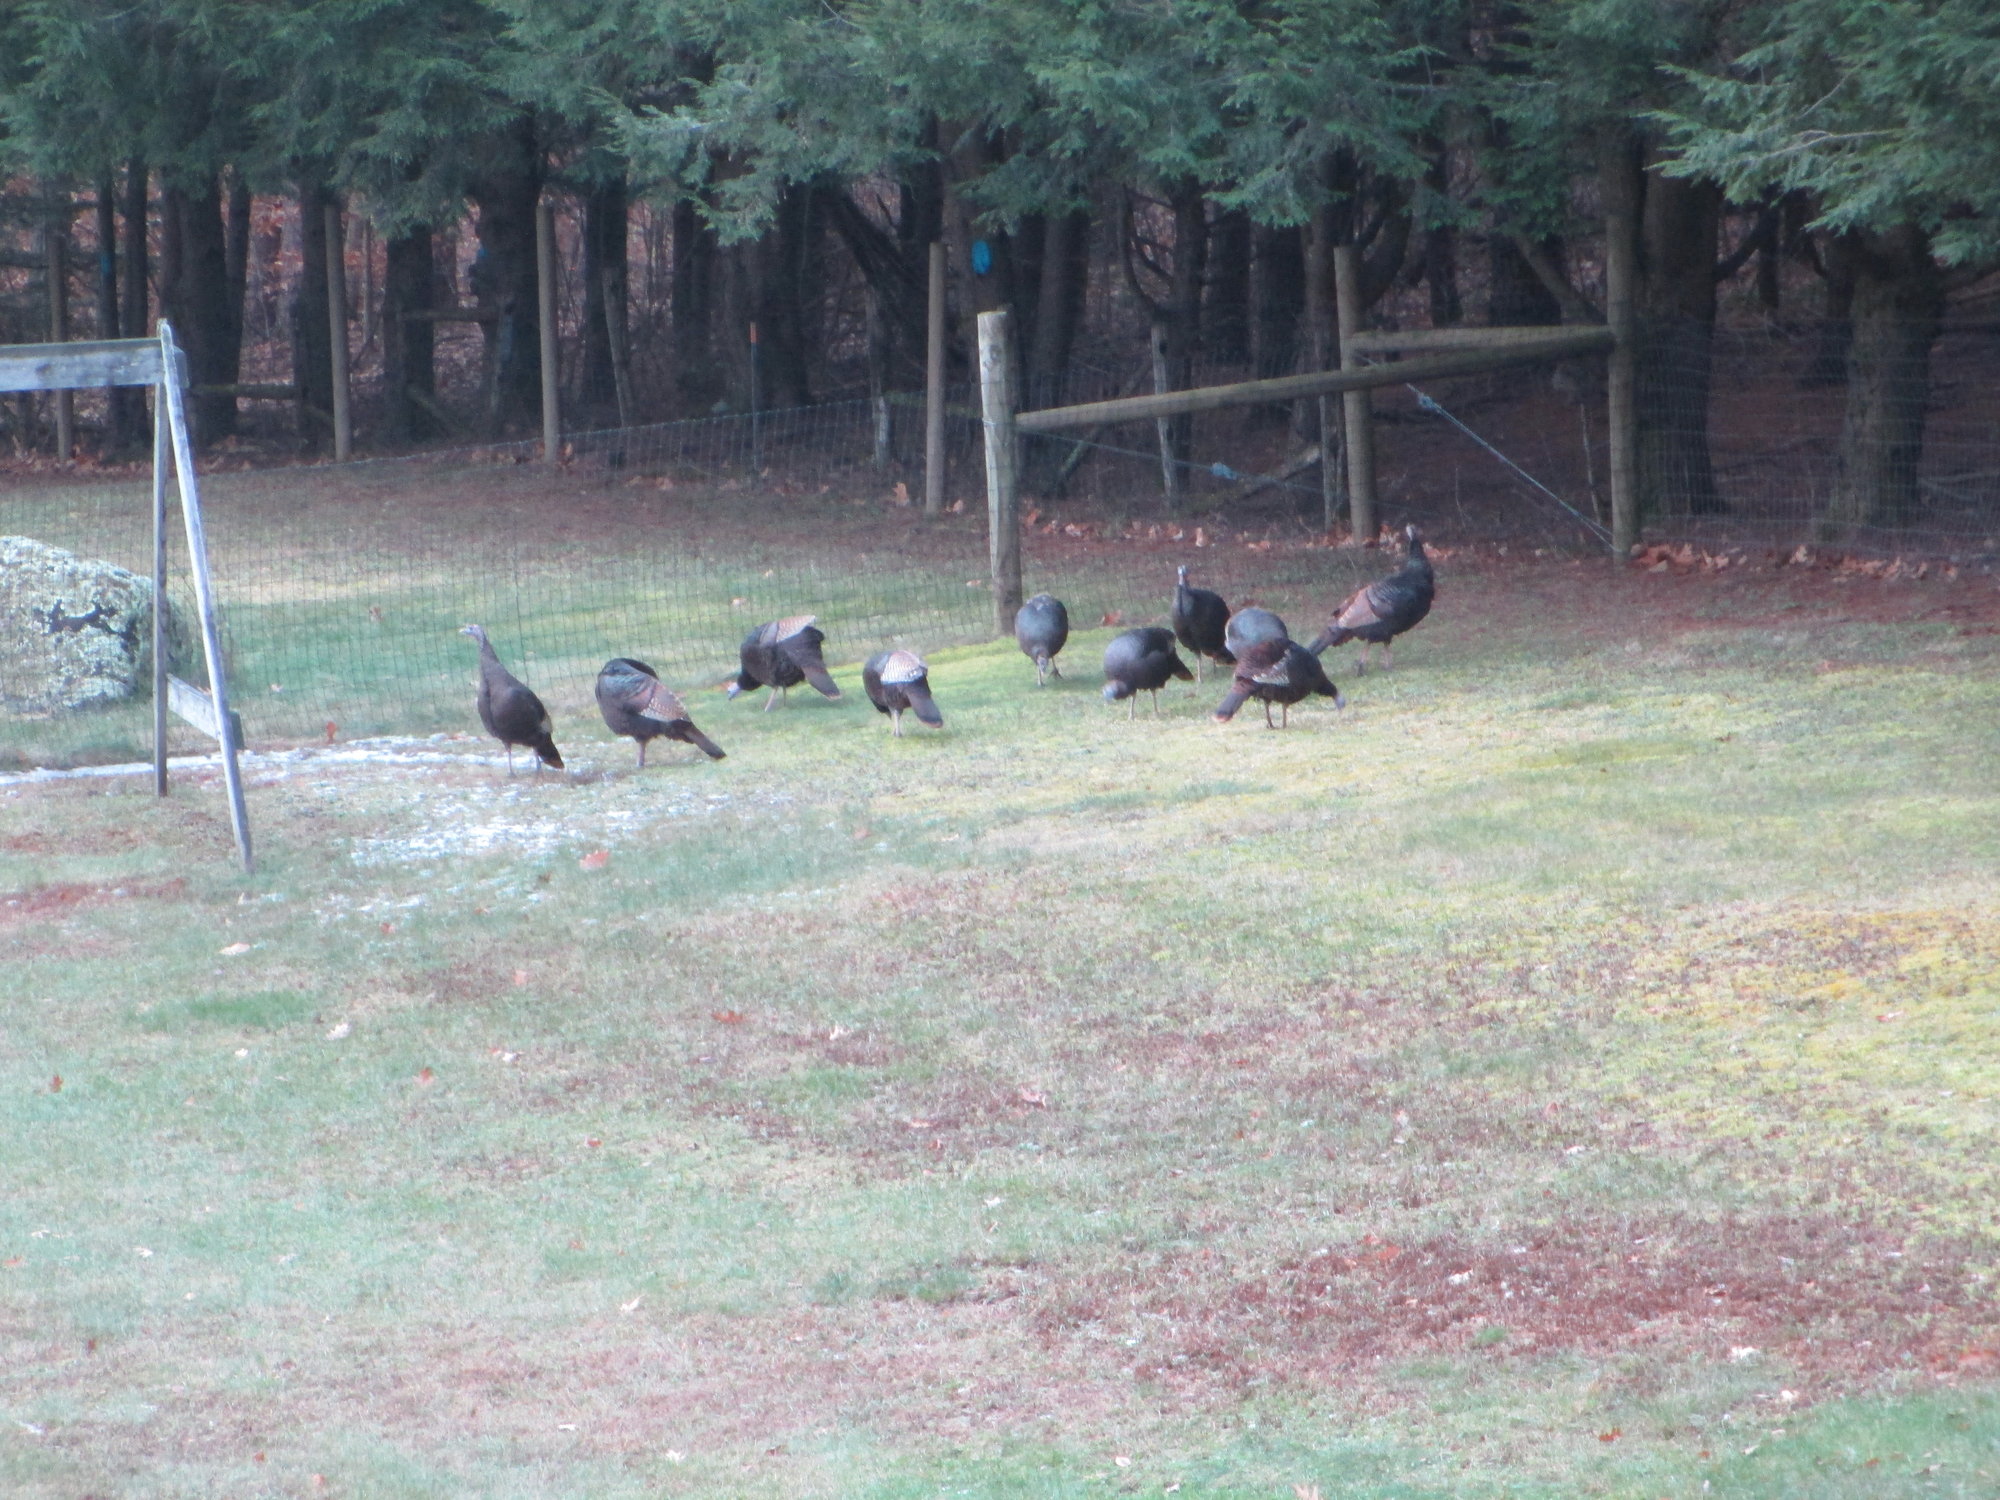
Took this picture yesterday in my backyard, I wonder if they know what day it is...


I would like to take a moment to wish each and every one of you following along this thread a Happy Thanksgiving. I would also like to acknowledge Bob, my friend and partner in this project. Without his generosity, this project would have never come to light. Bob, thank you!
Took this picture yesterday in my backyard, I wonder if they know what day it is...
11-29-2019, 01:47 AM
#490
Thread Starter
11-29-2019, 06:23 AM
#491
Thread Starter
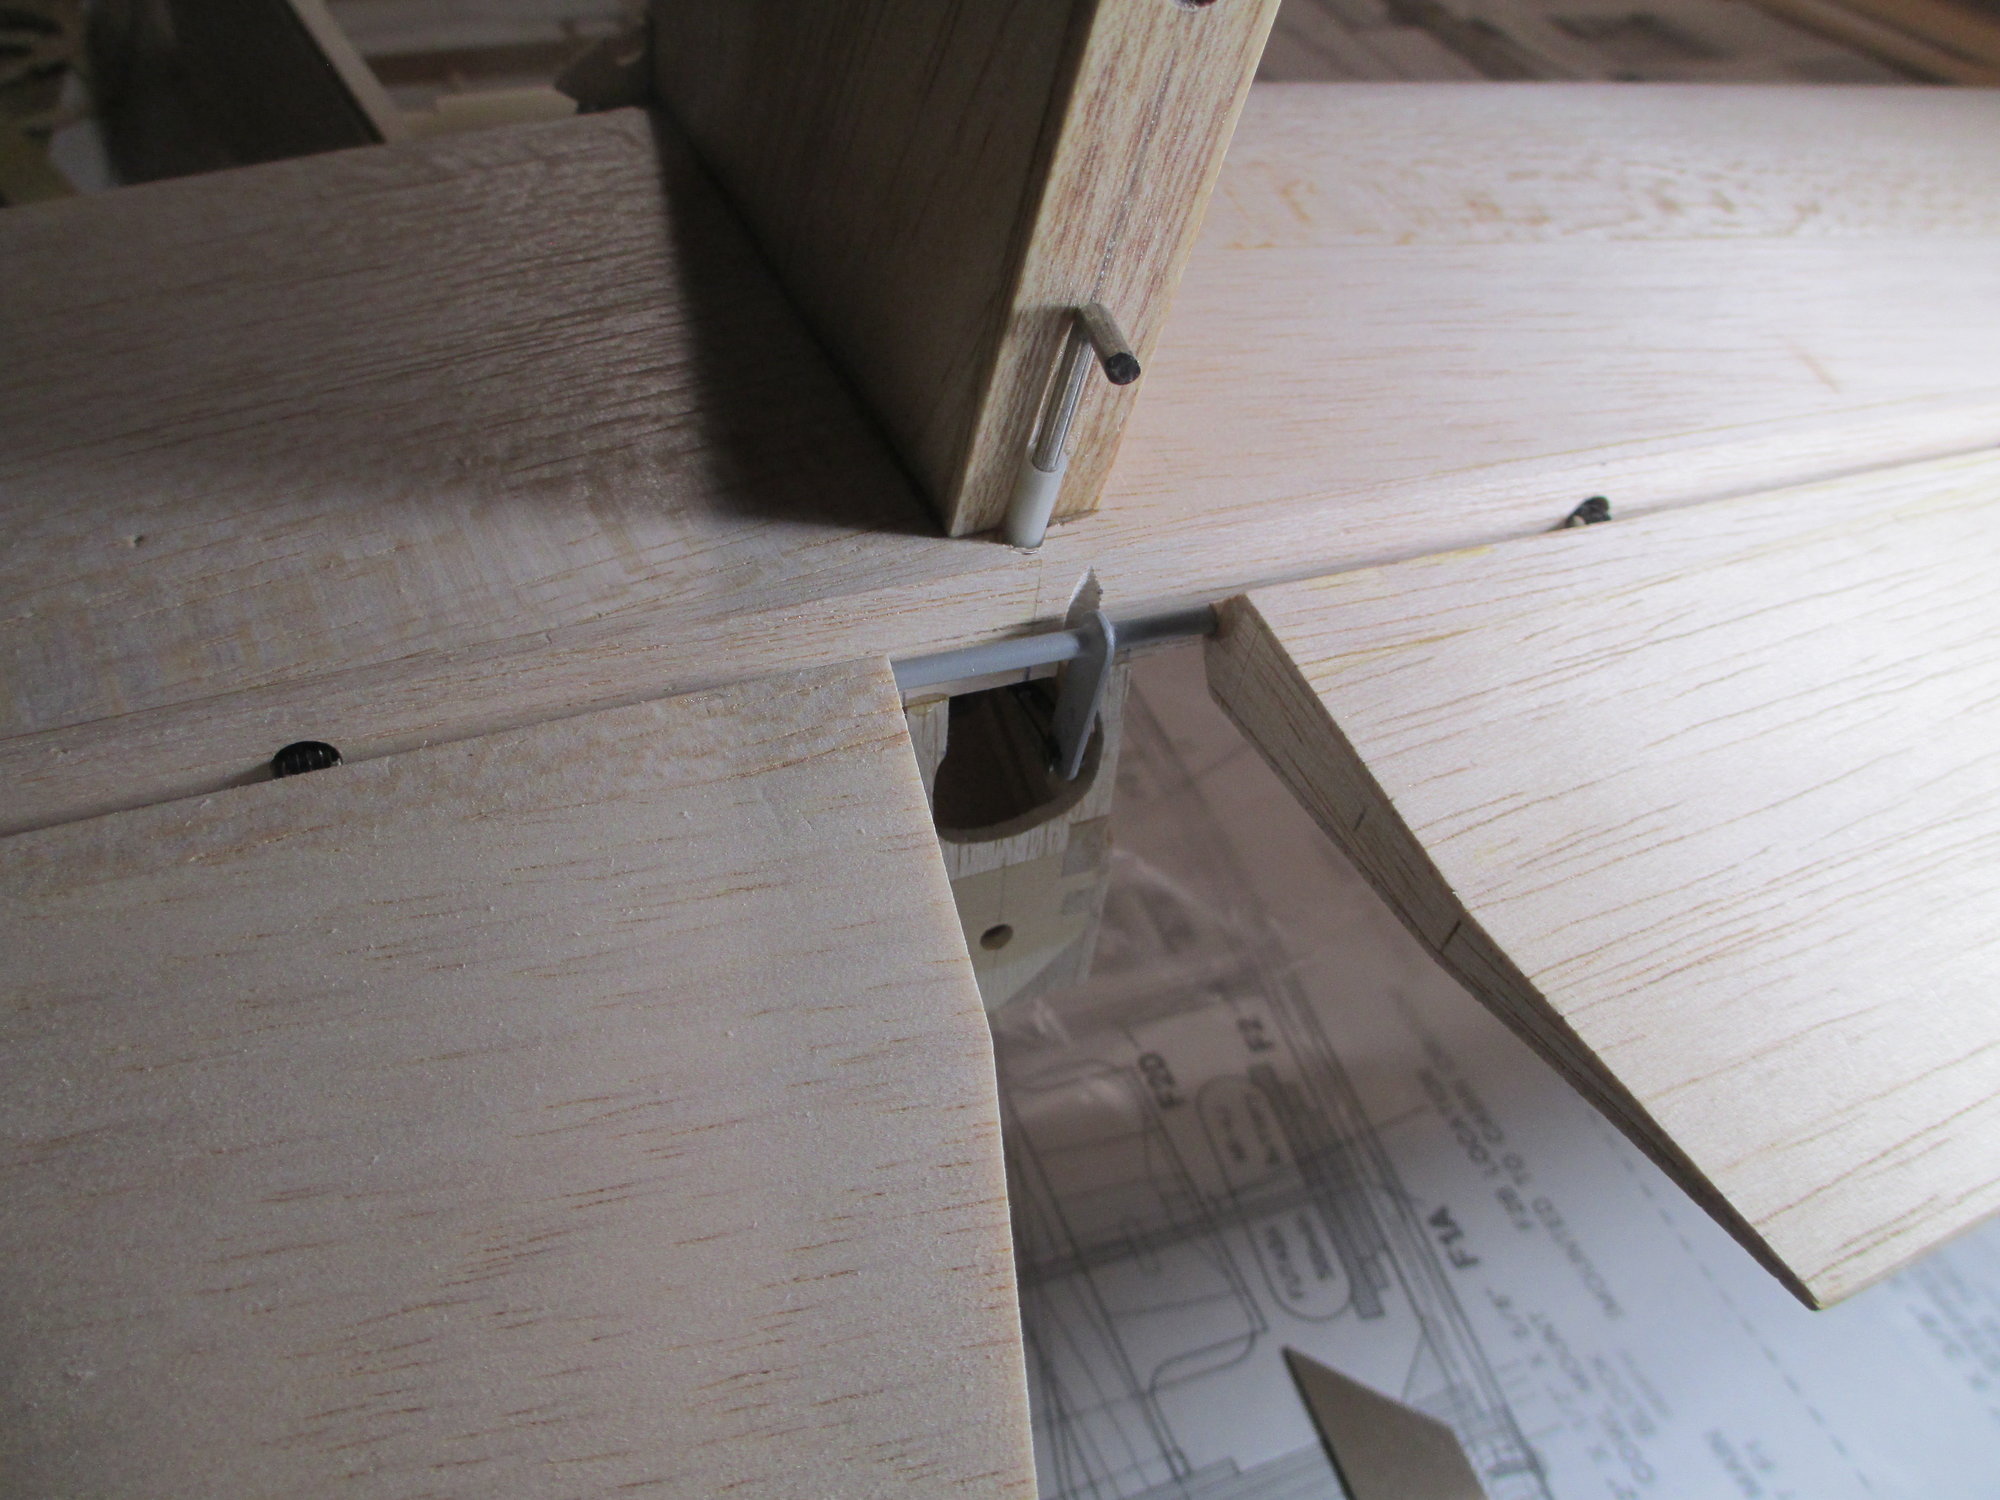
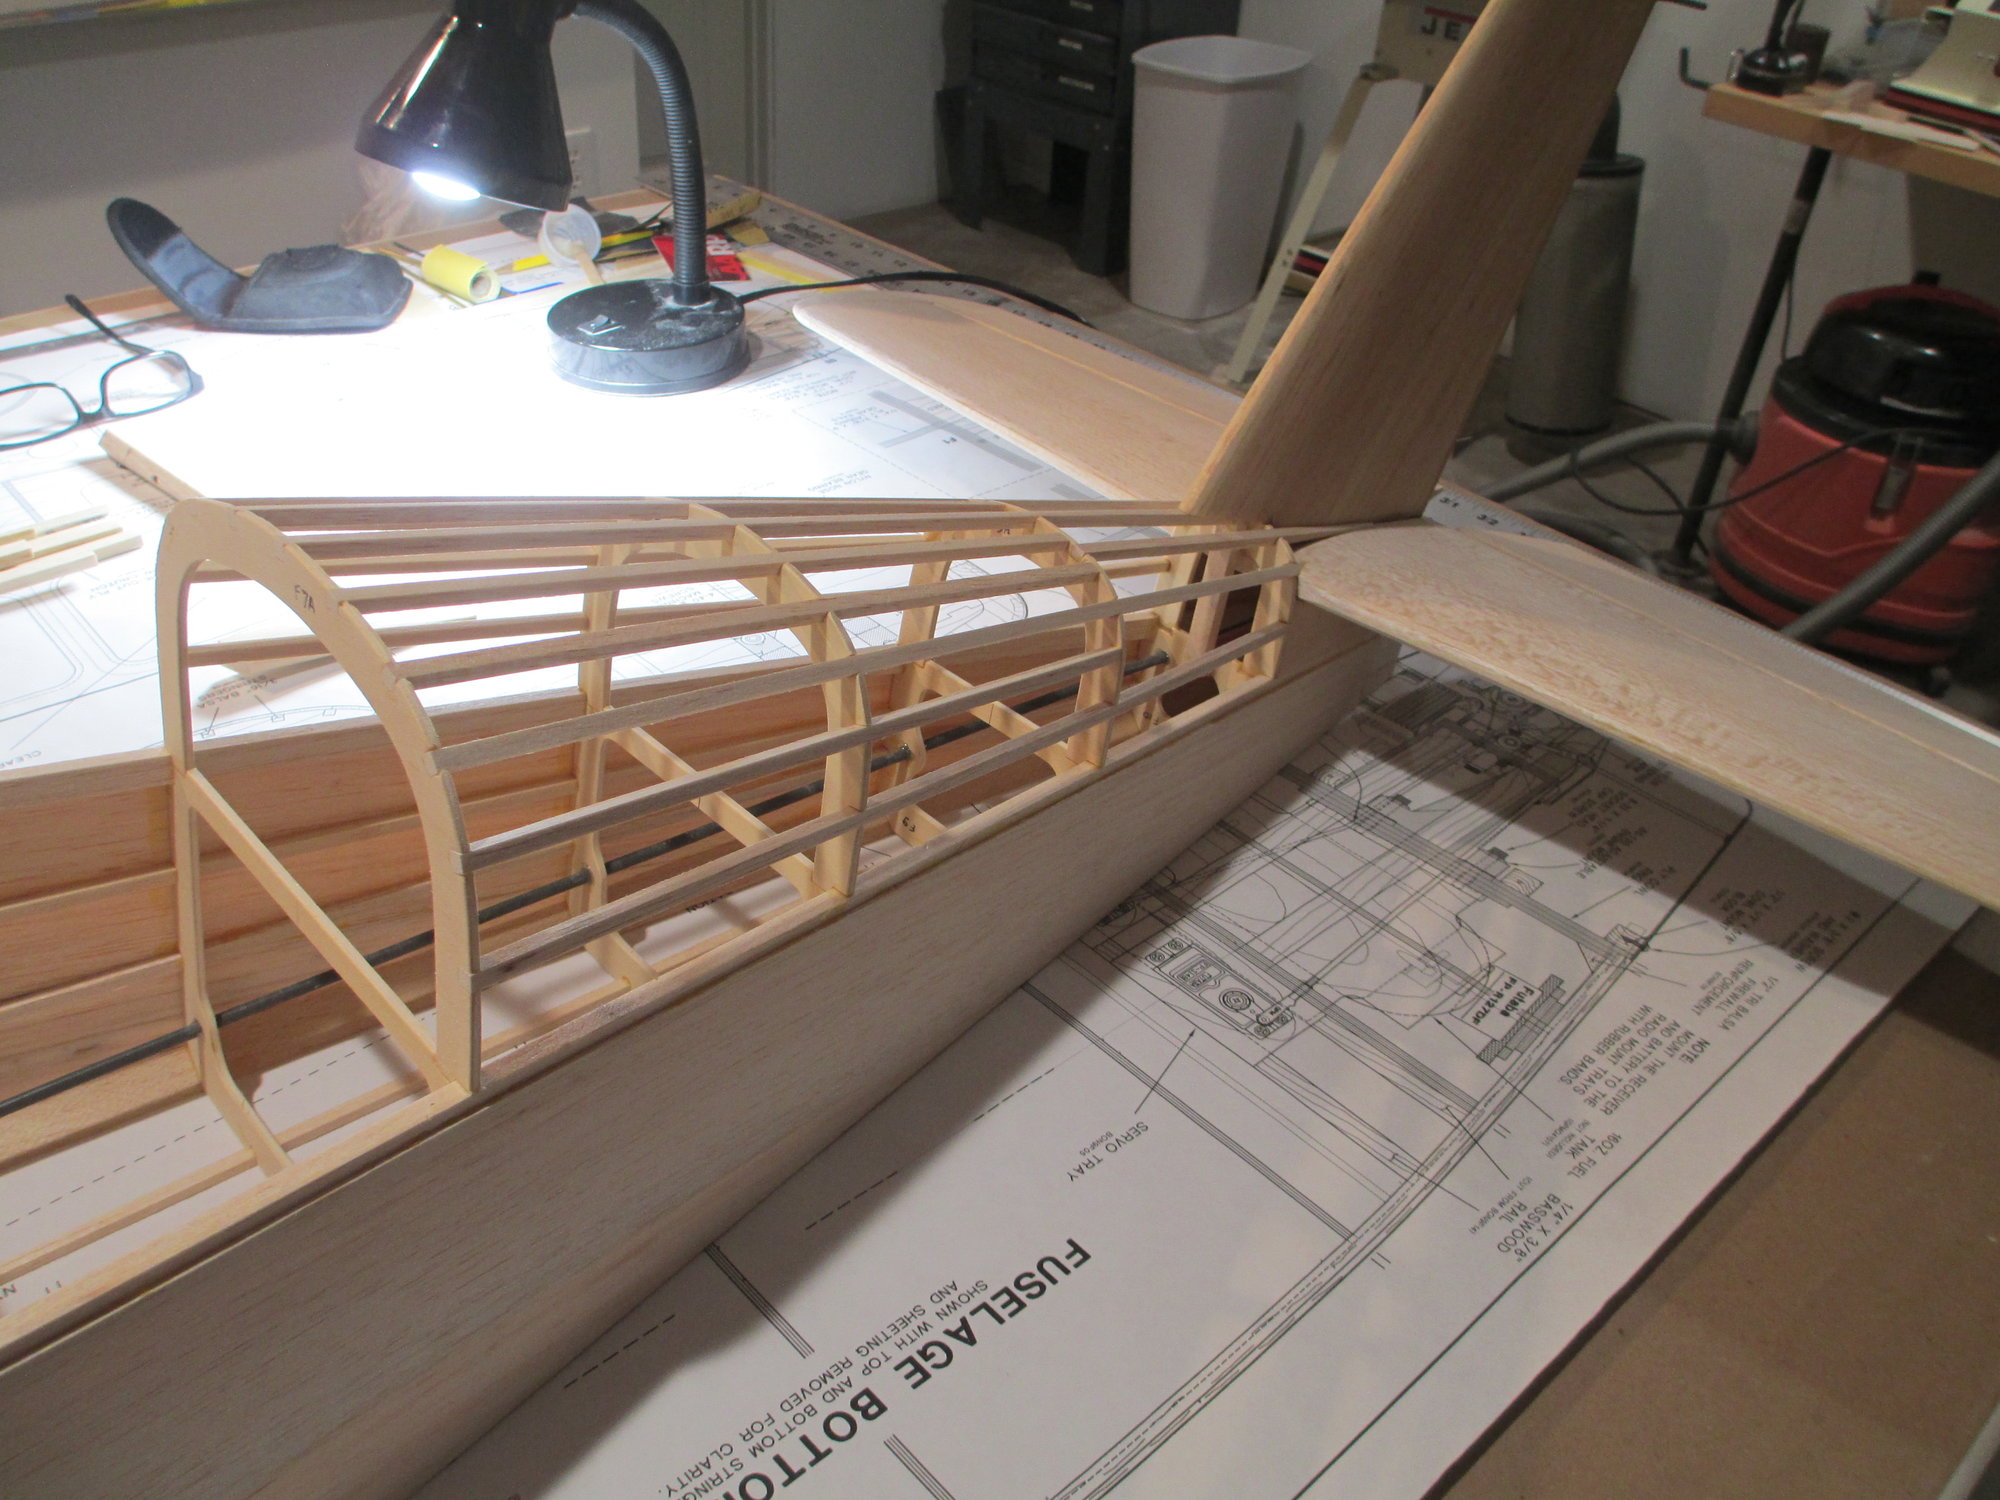
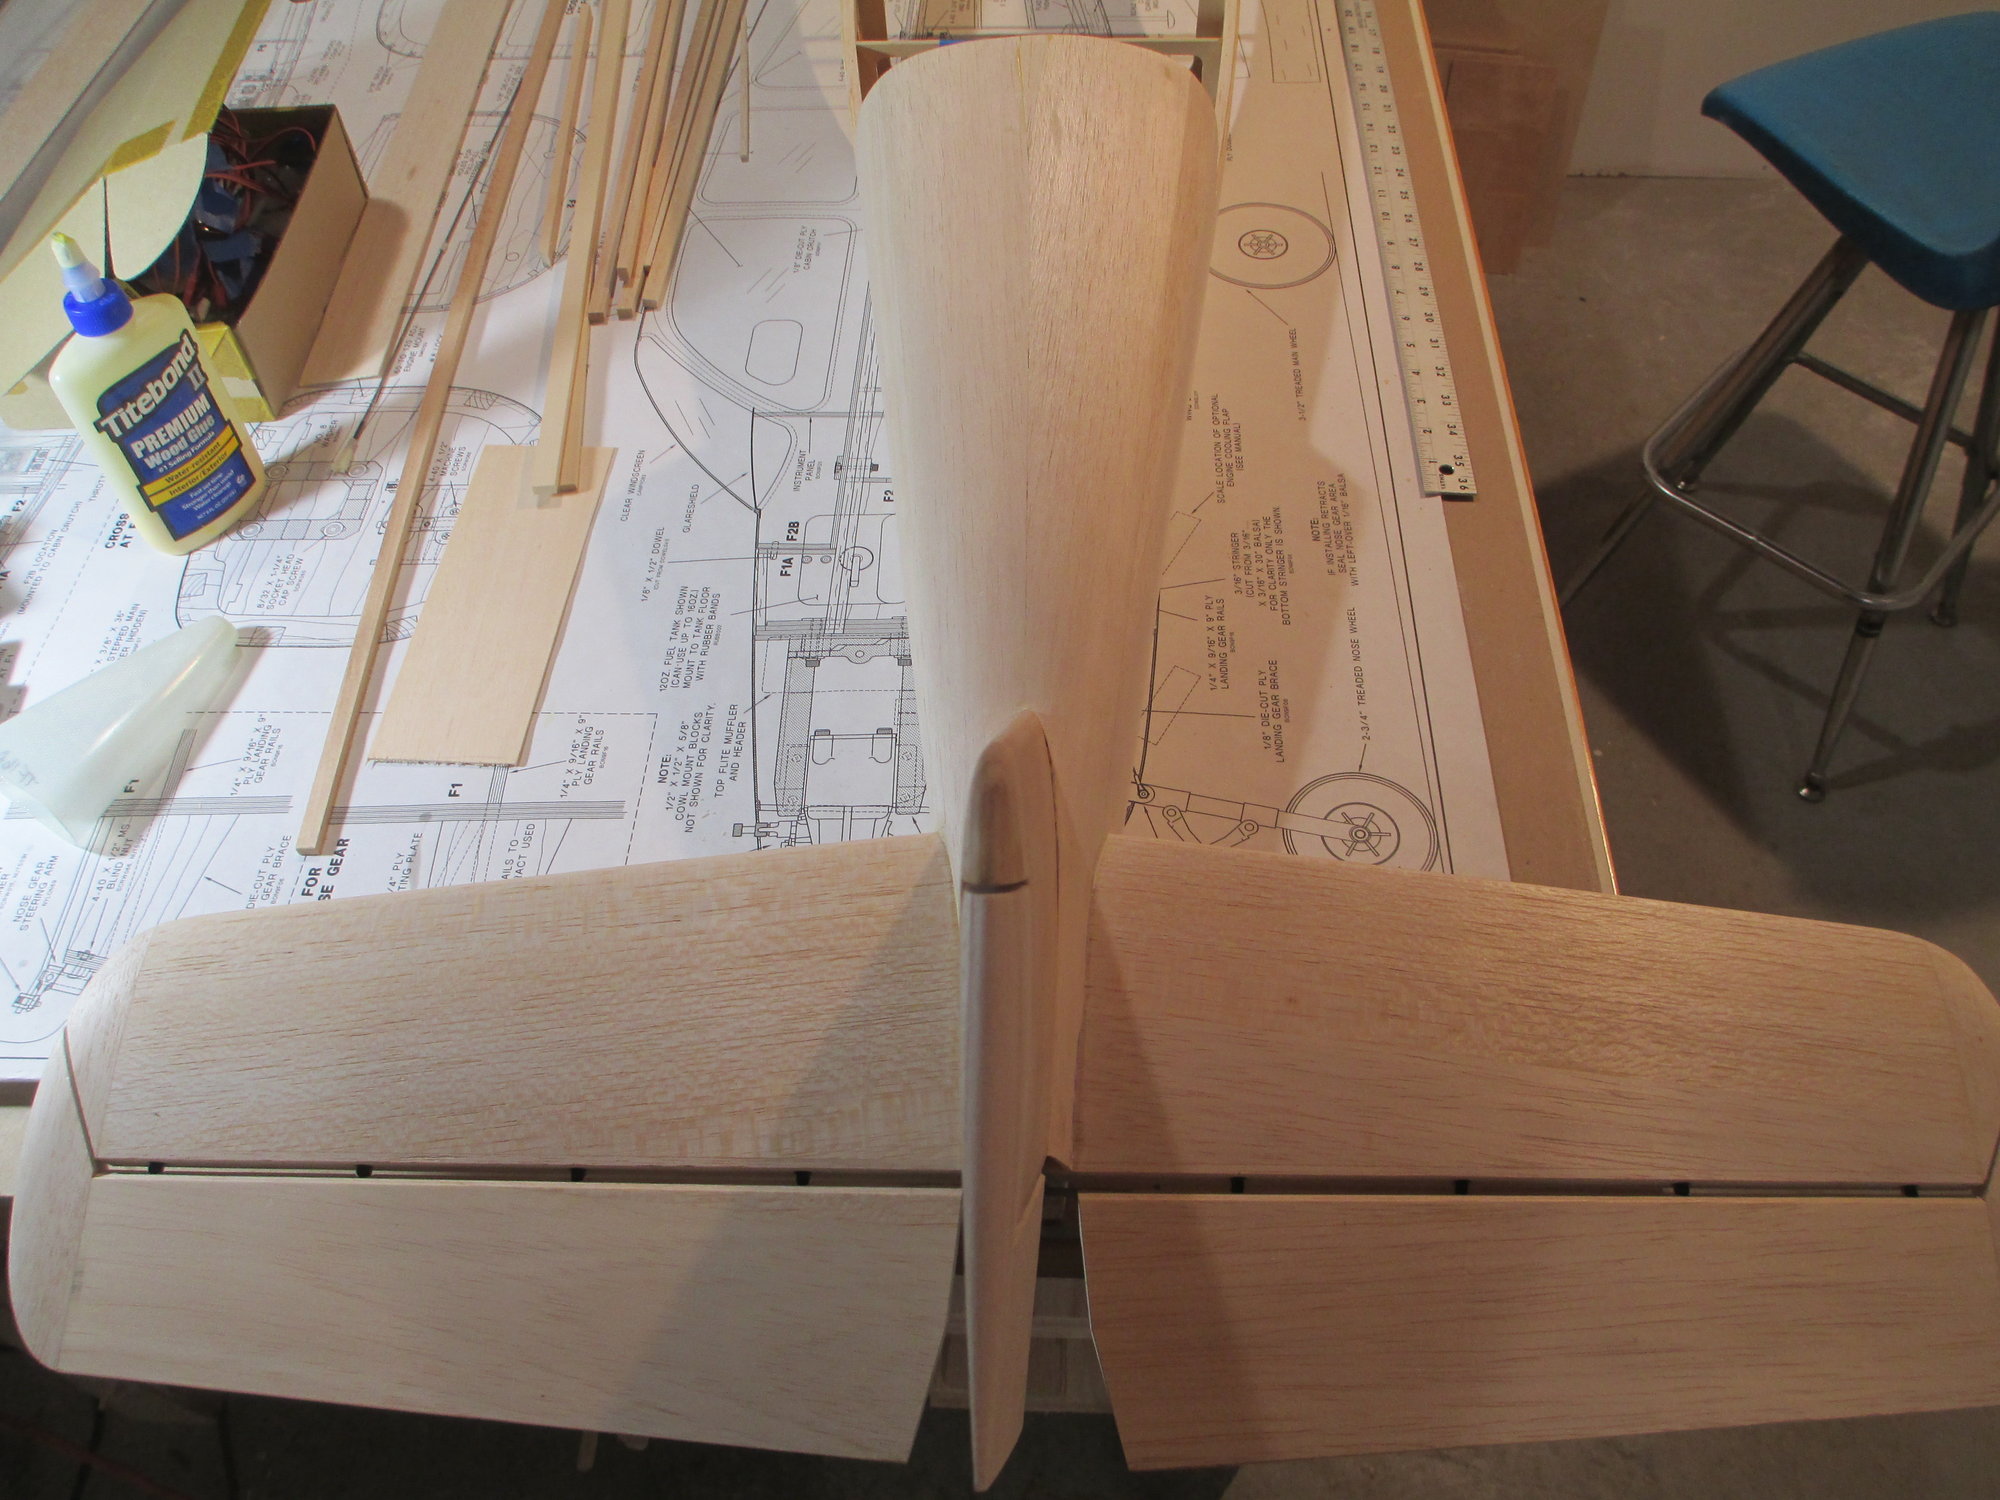
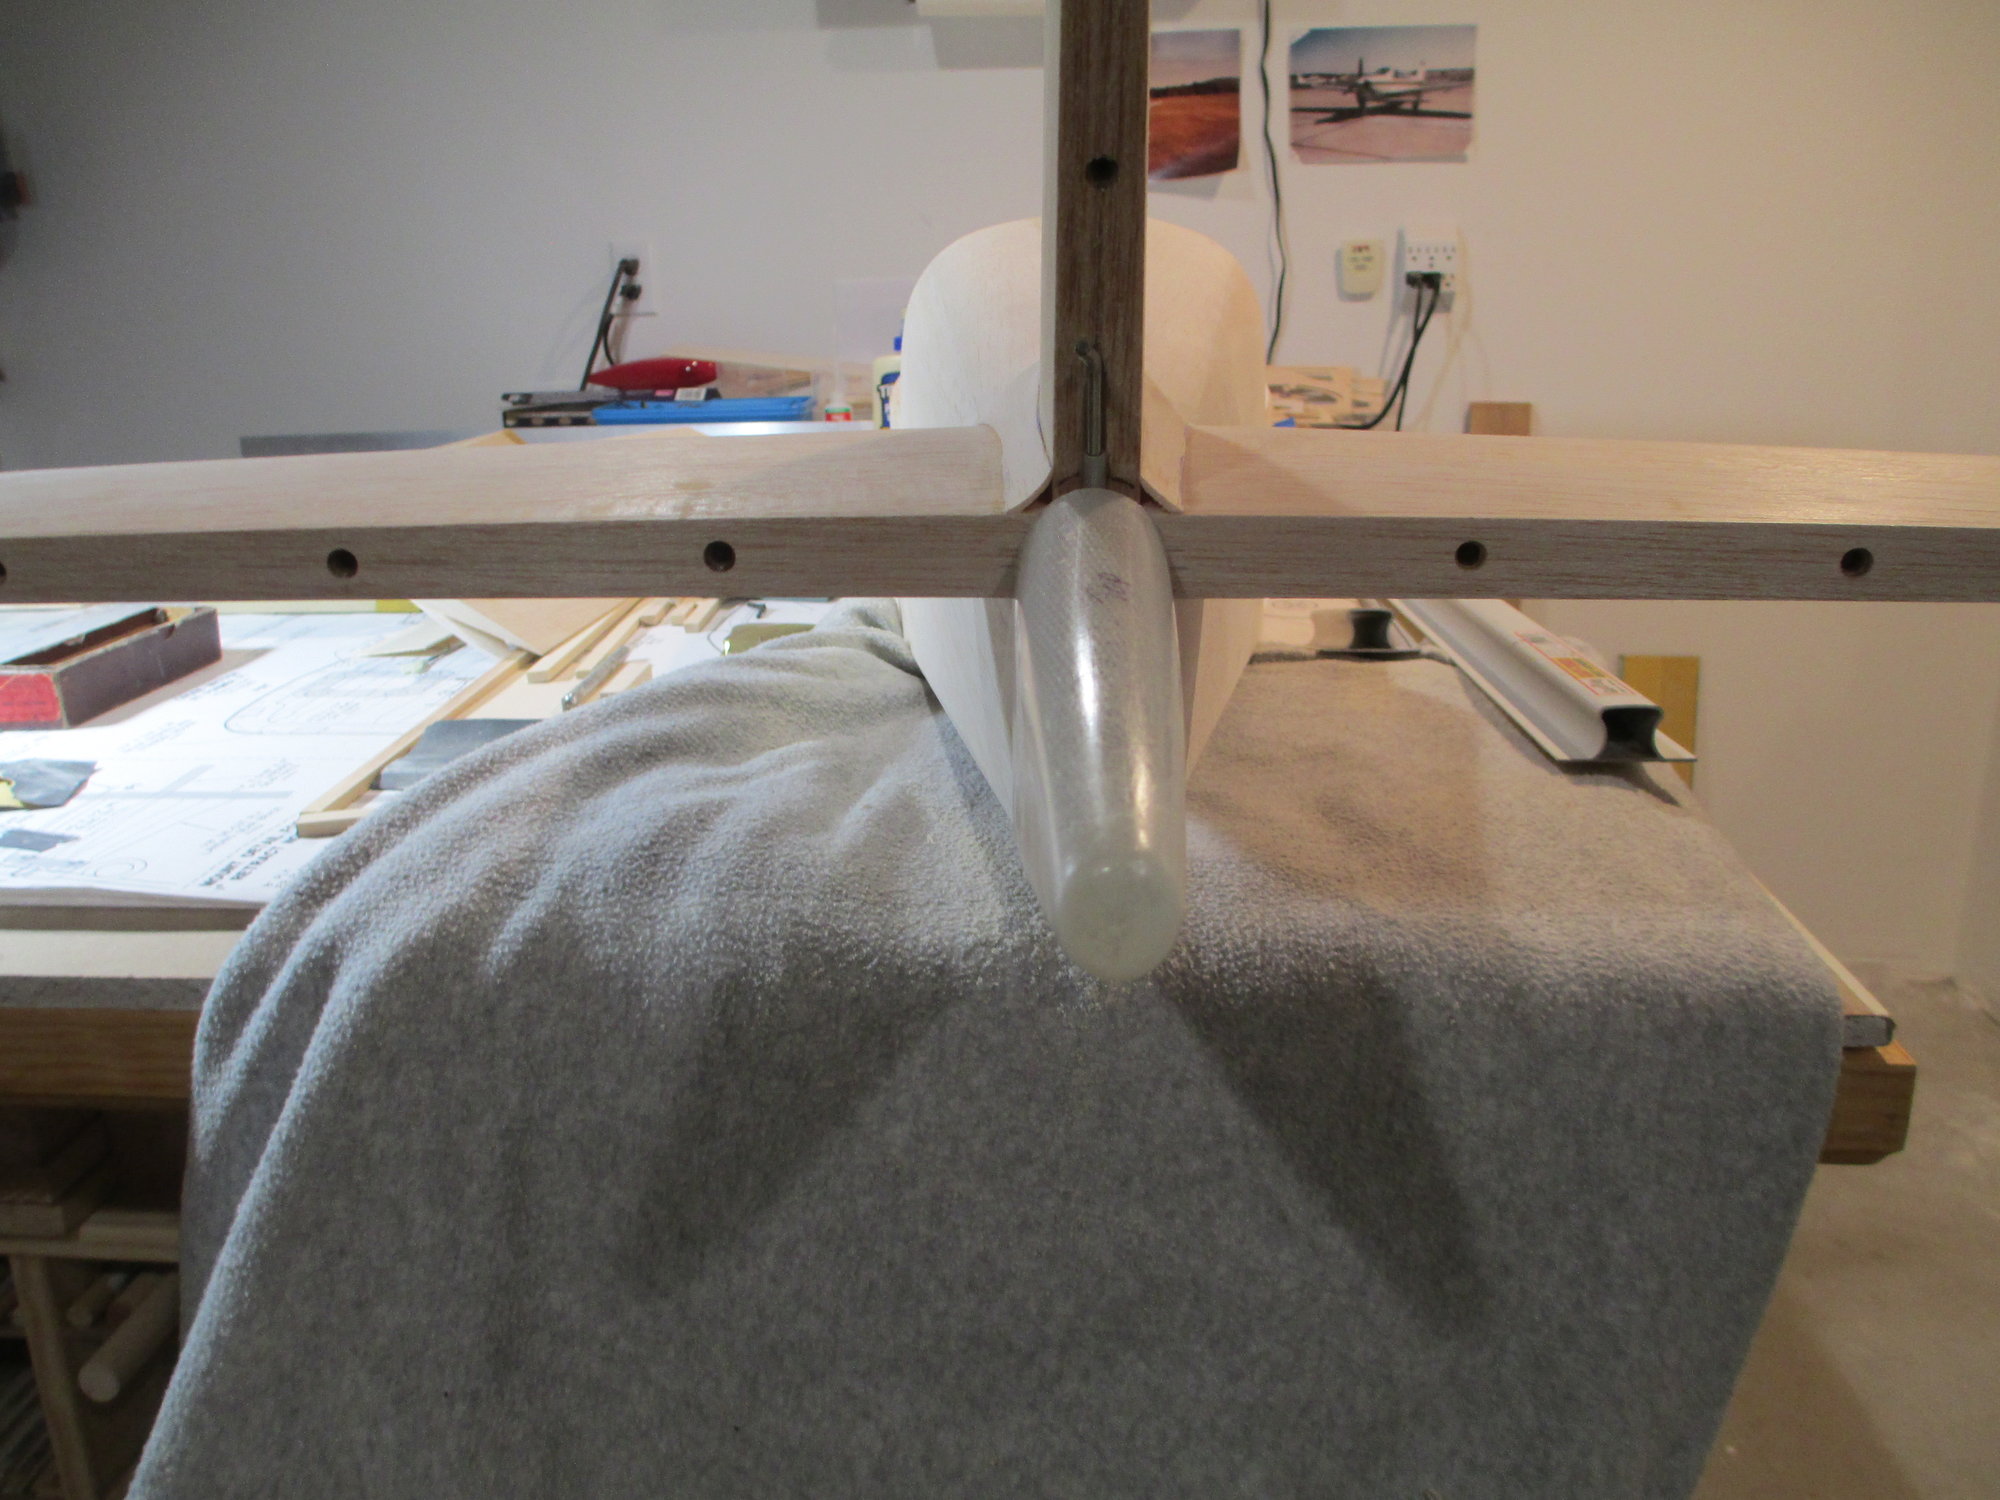
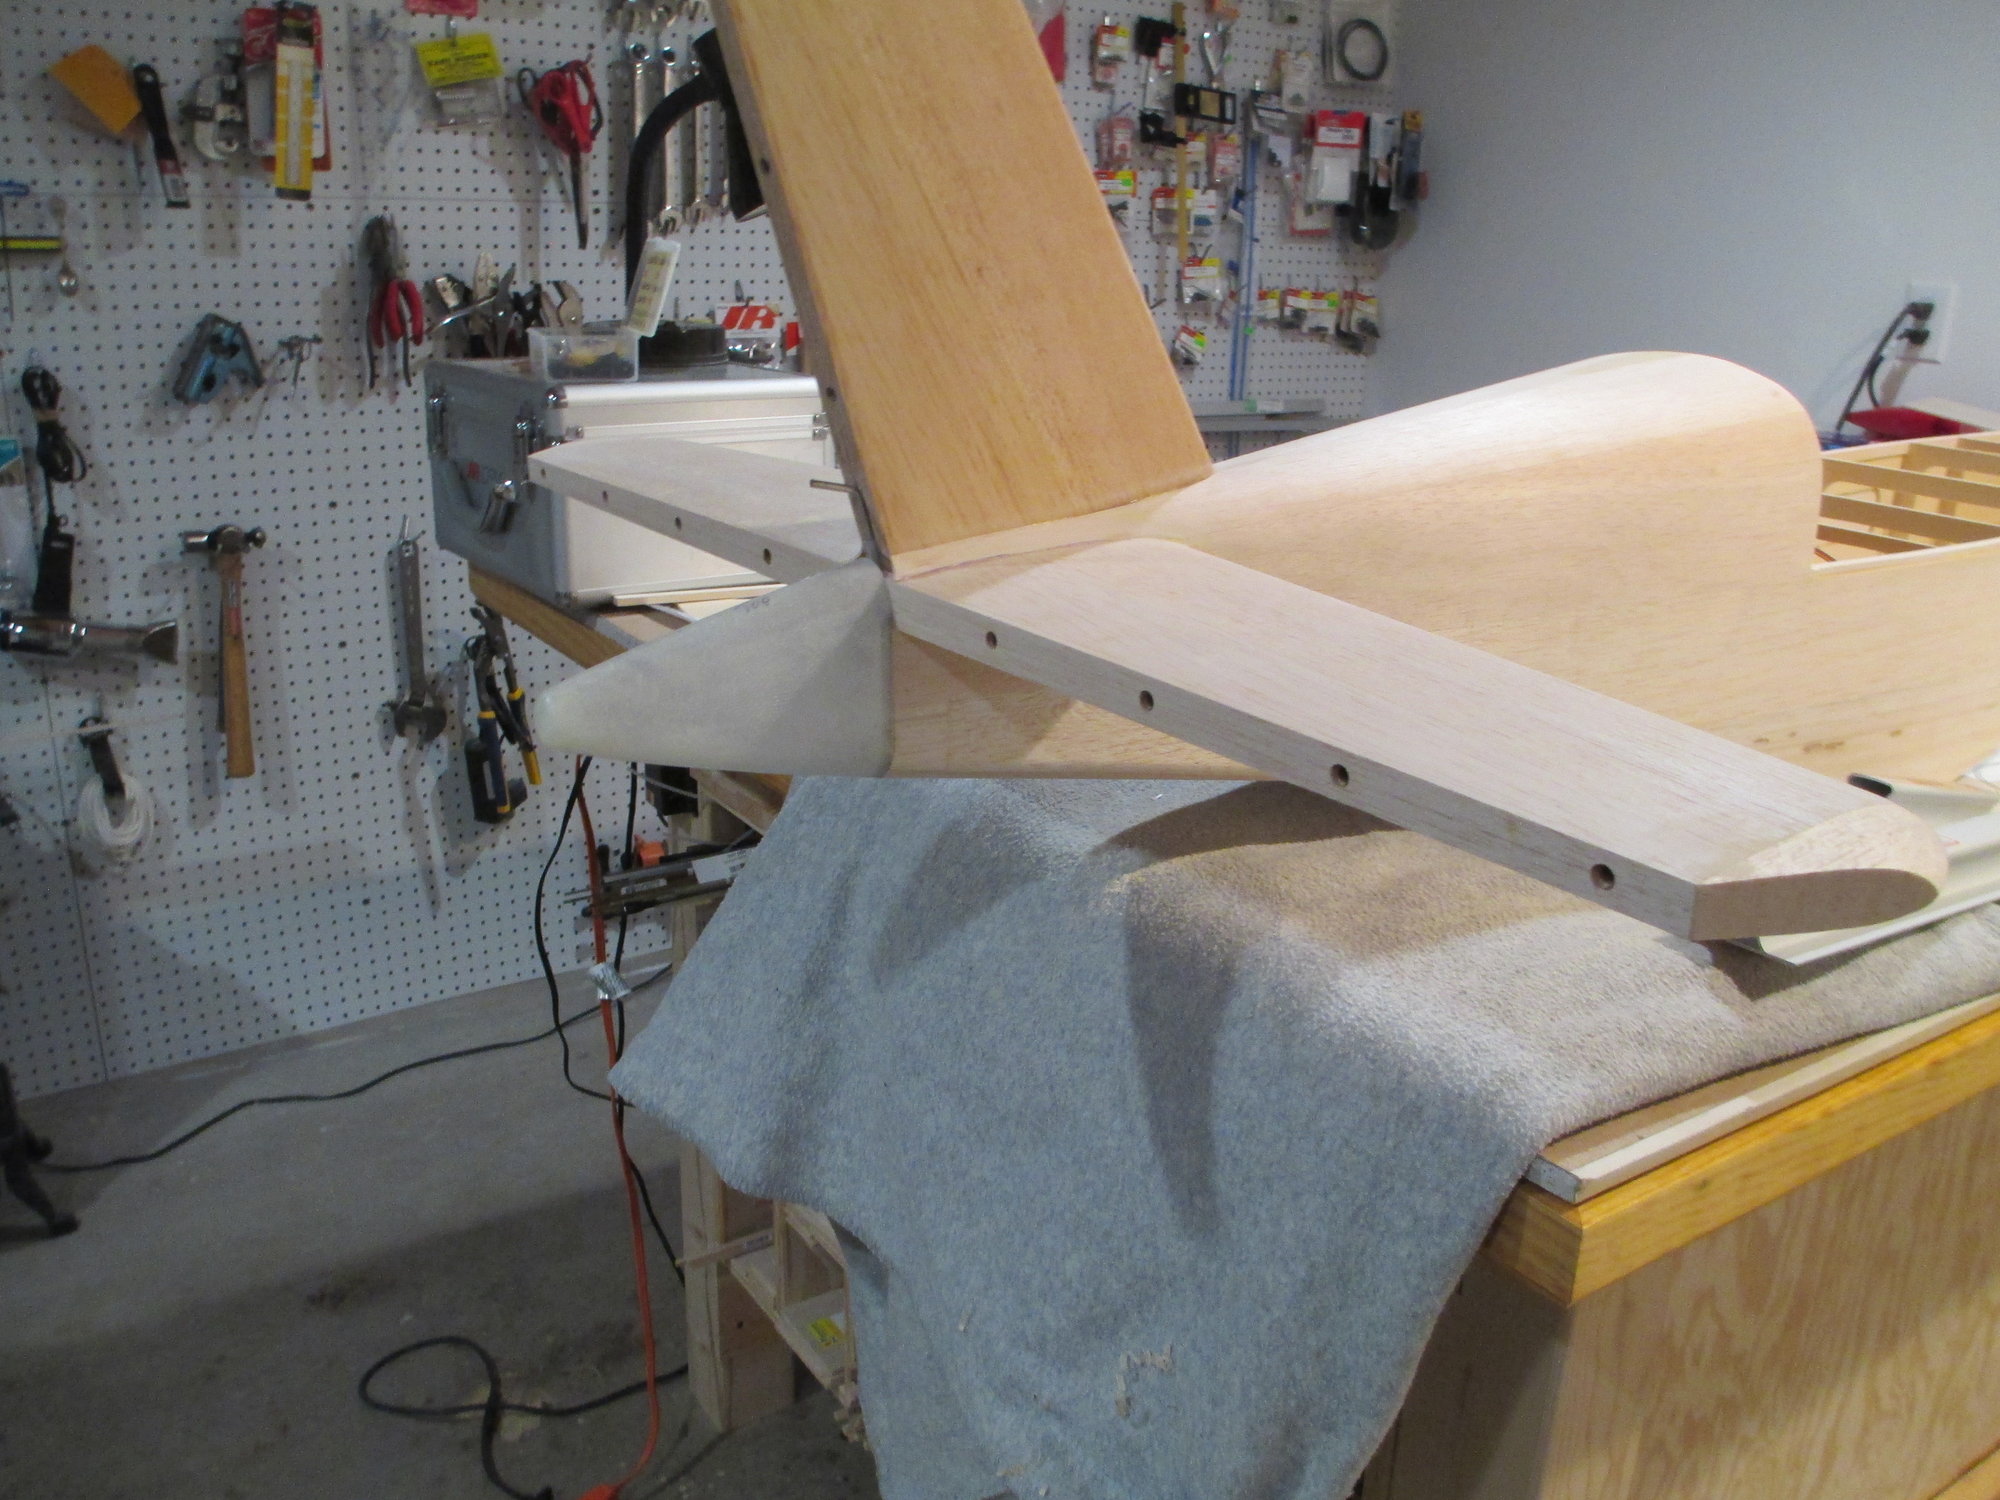
Pretty exciting day for me as I am going to see the rudder and elevator come to life actuated by their servos today, but first let me show you how I determine the correct length pushrods.
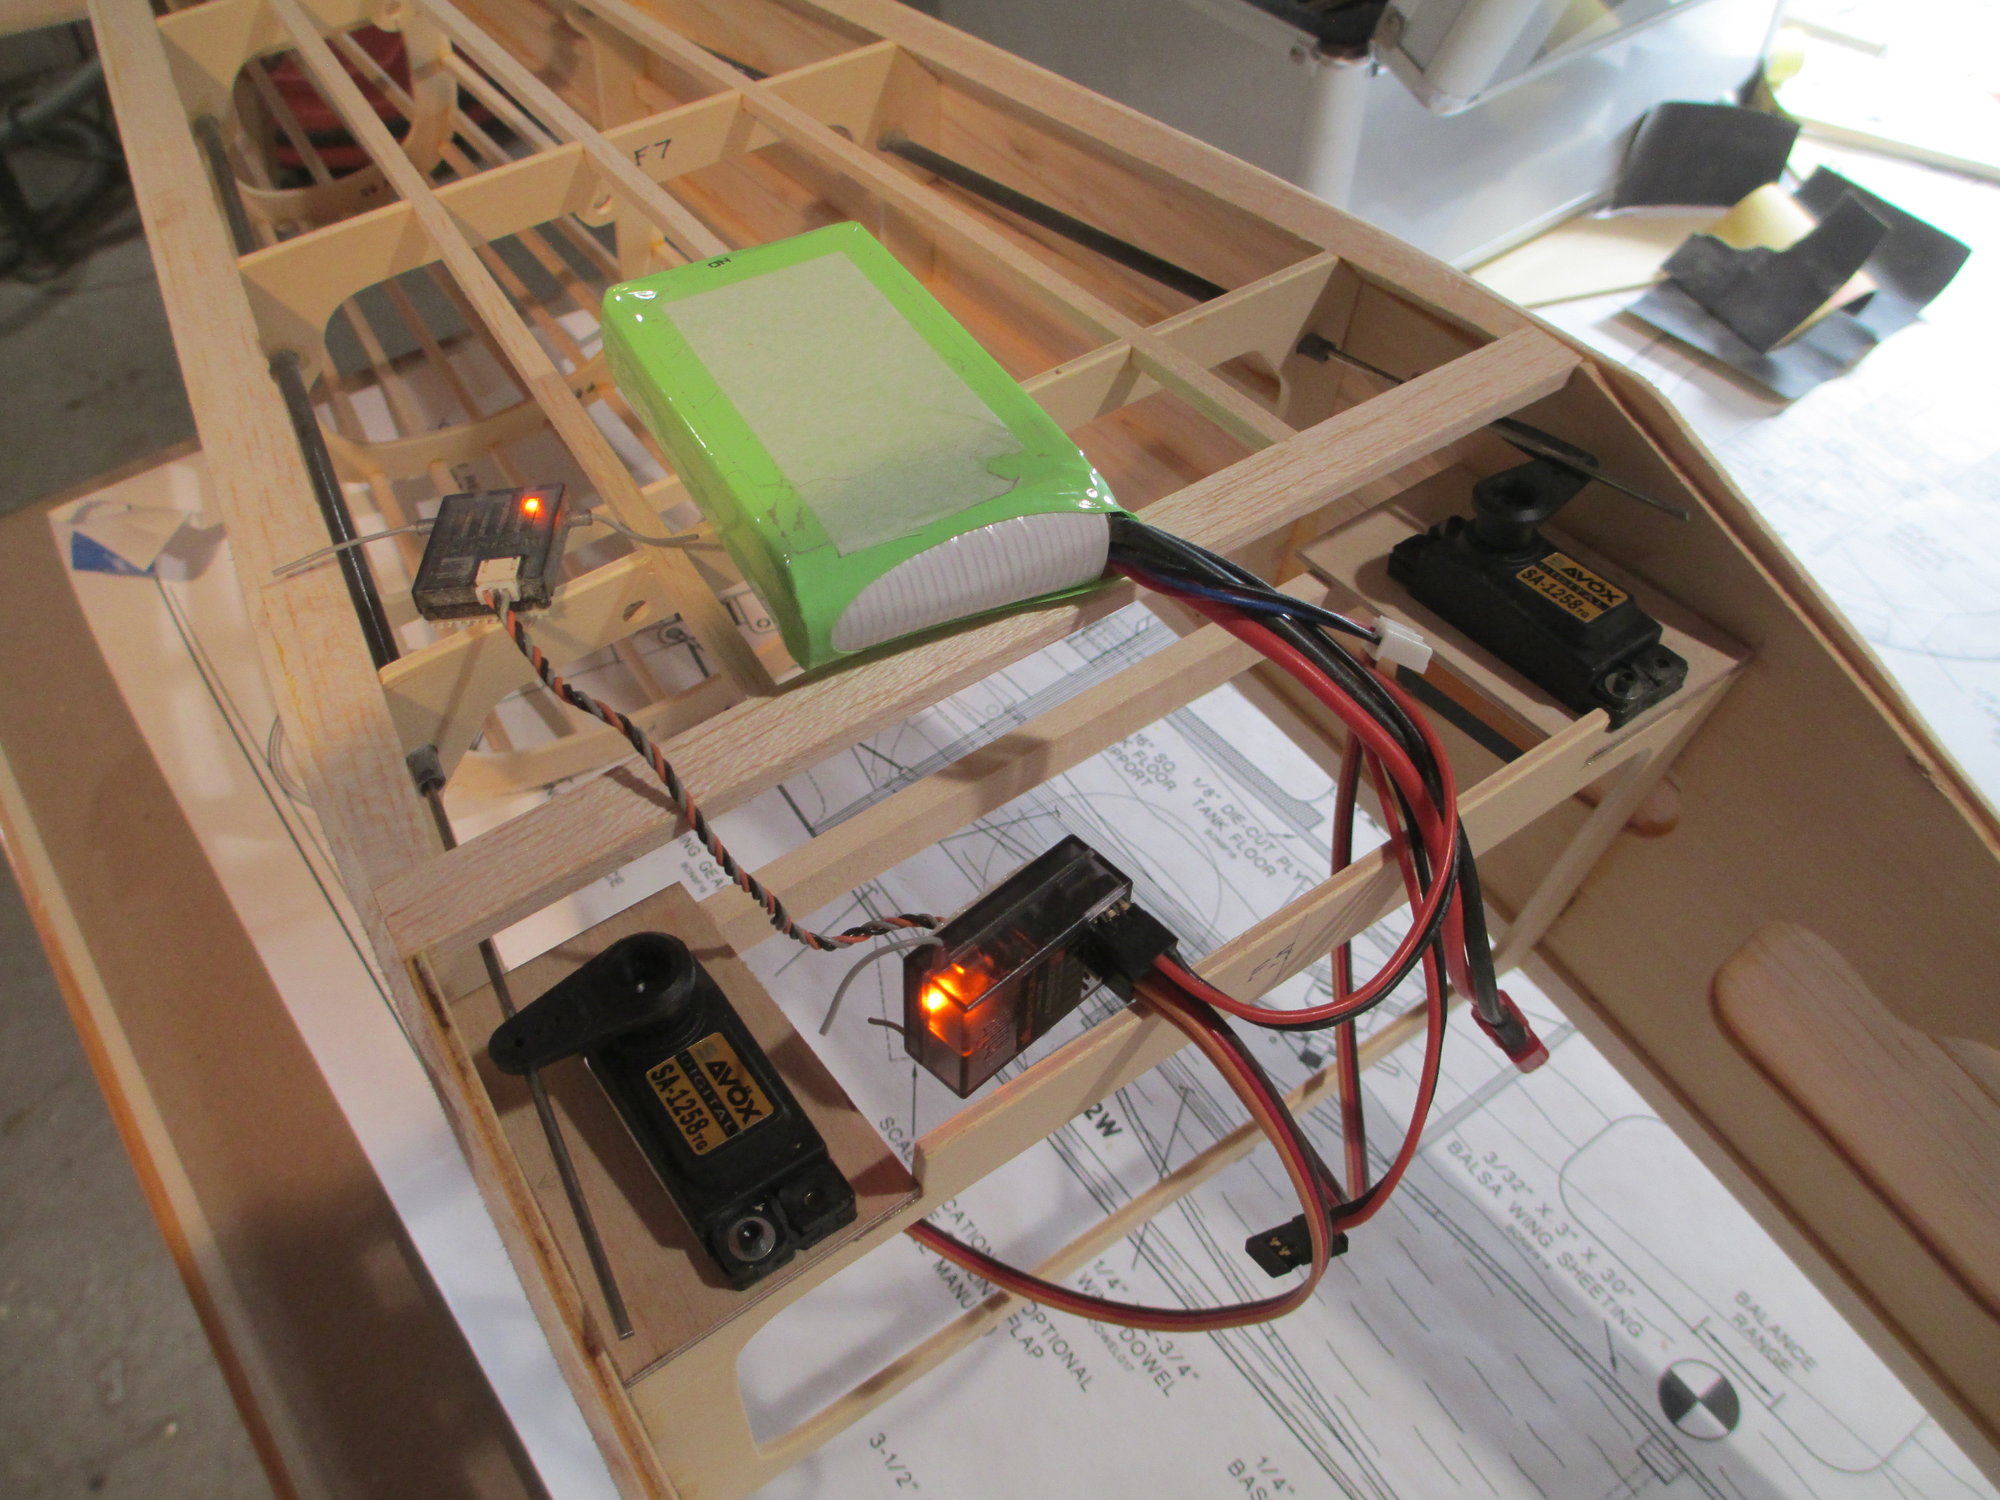
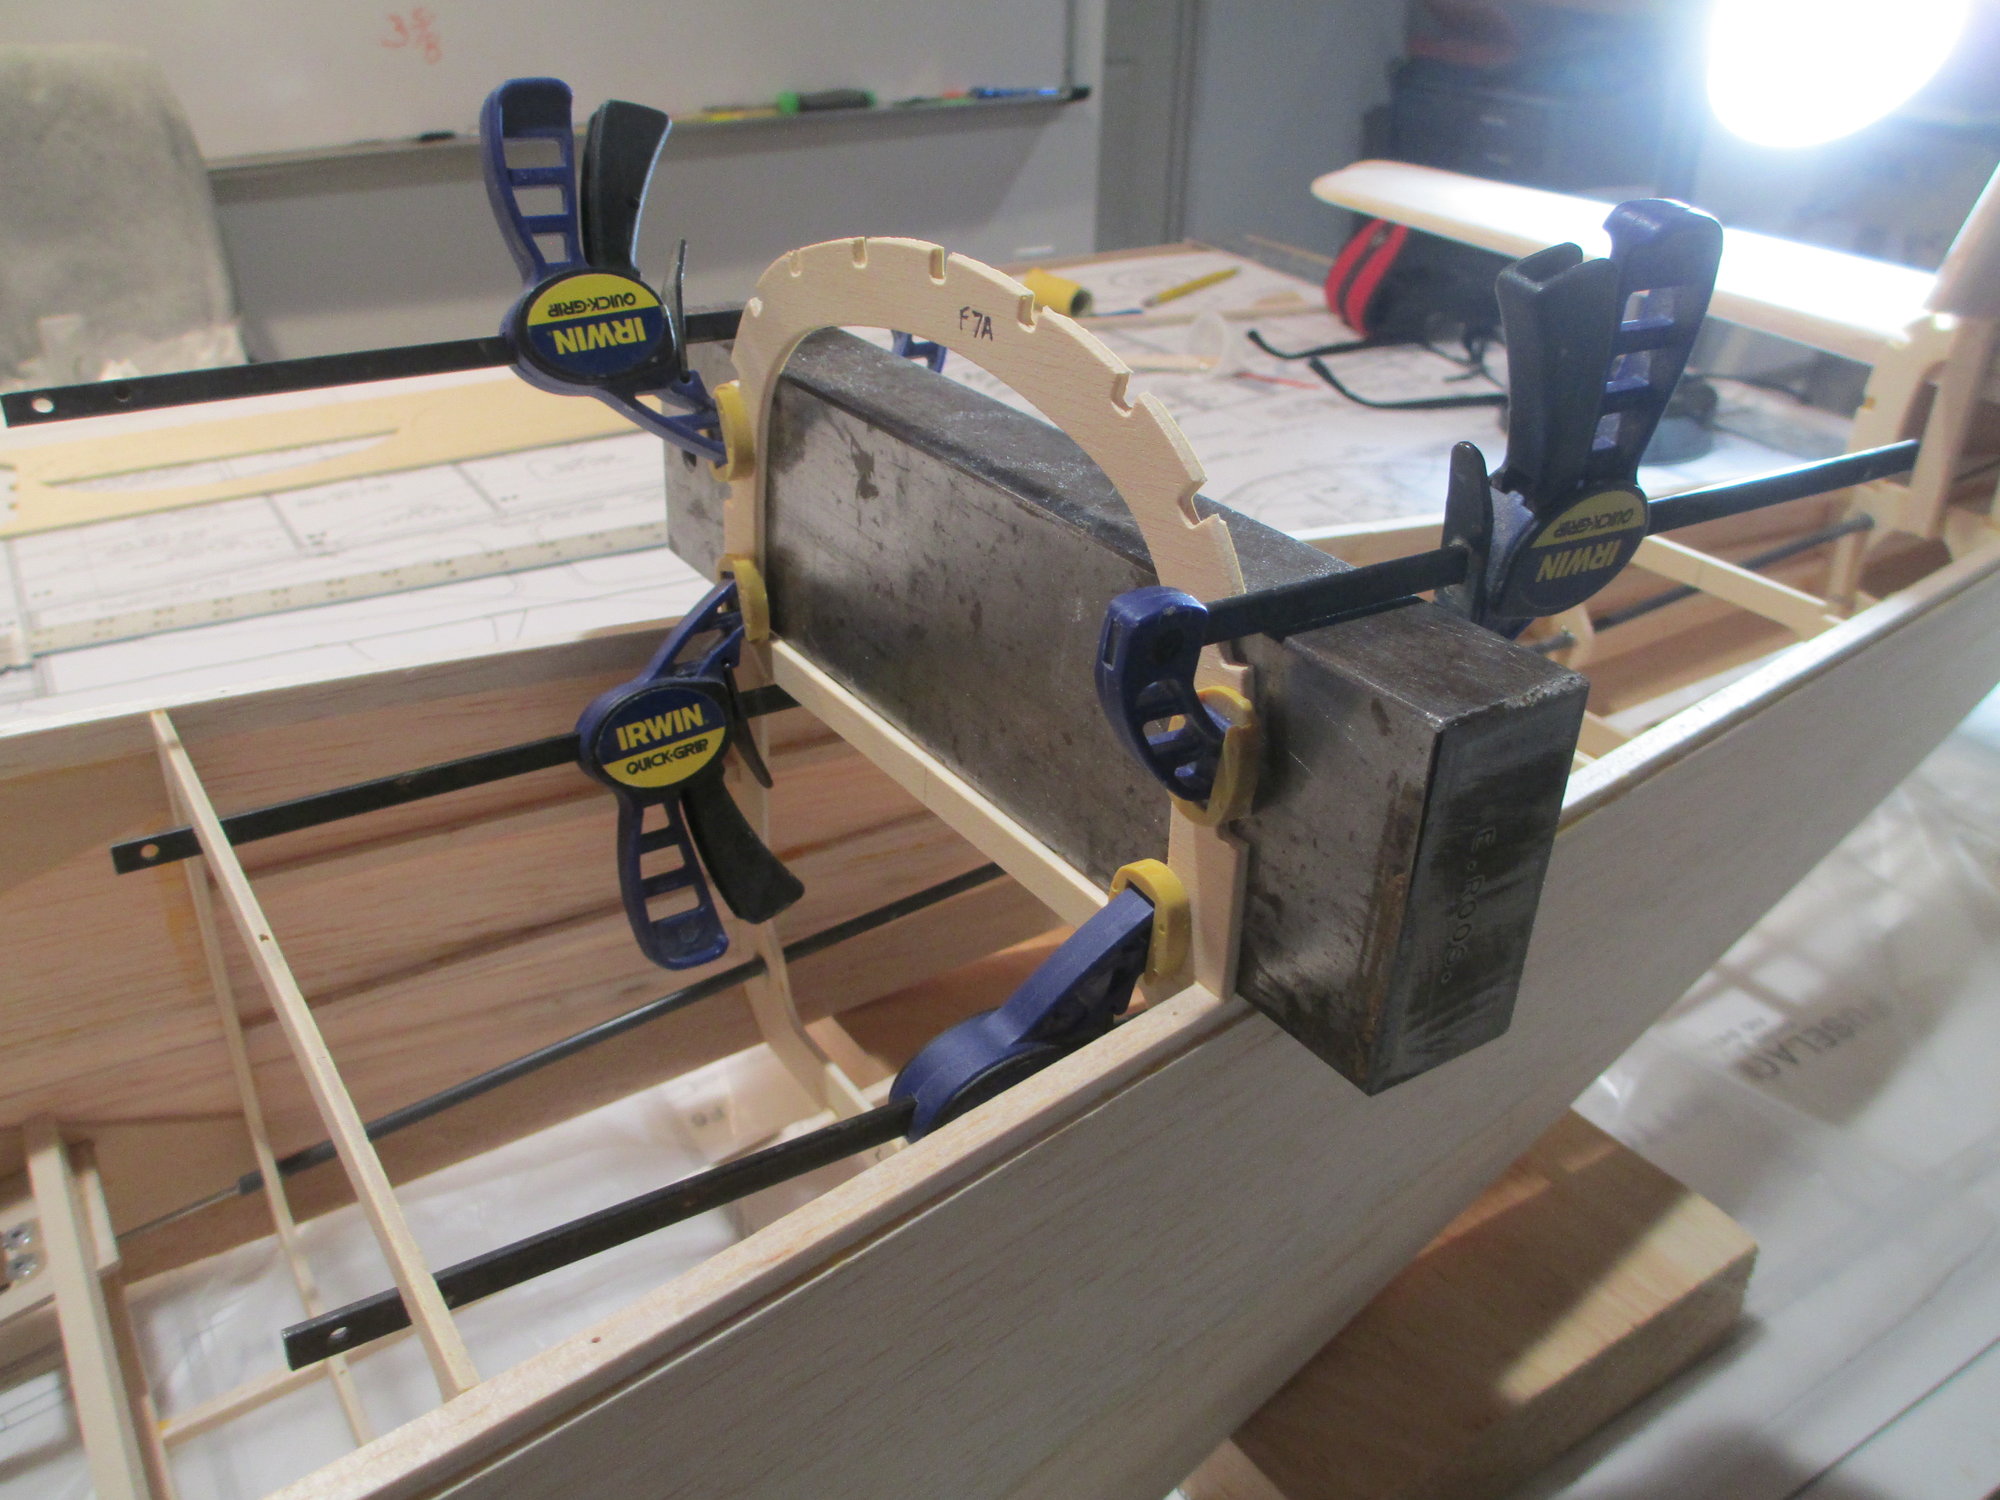
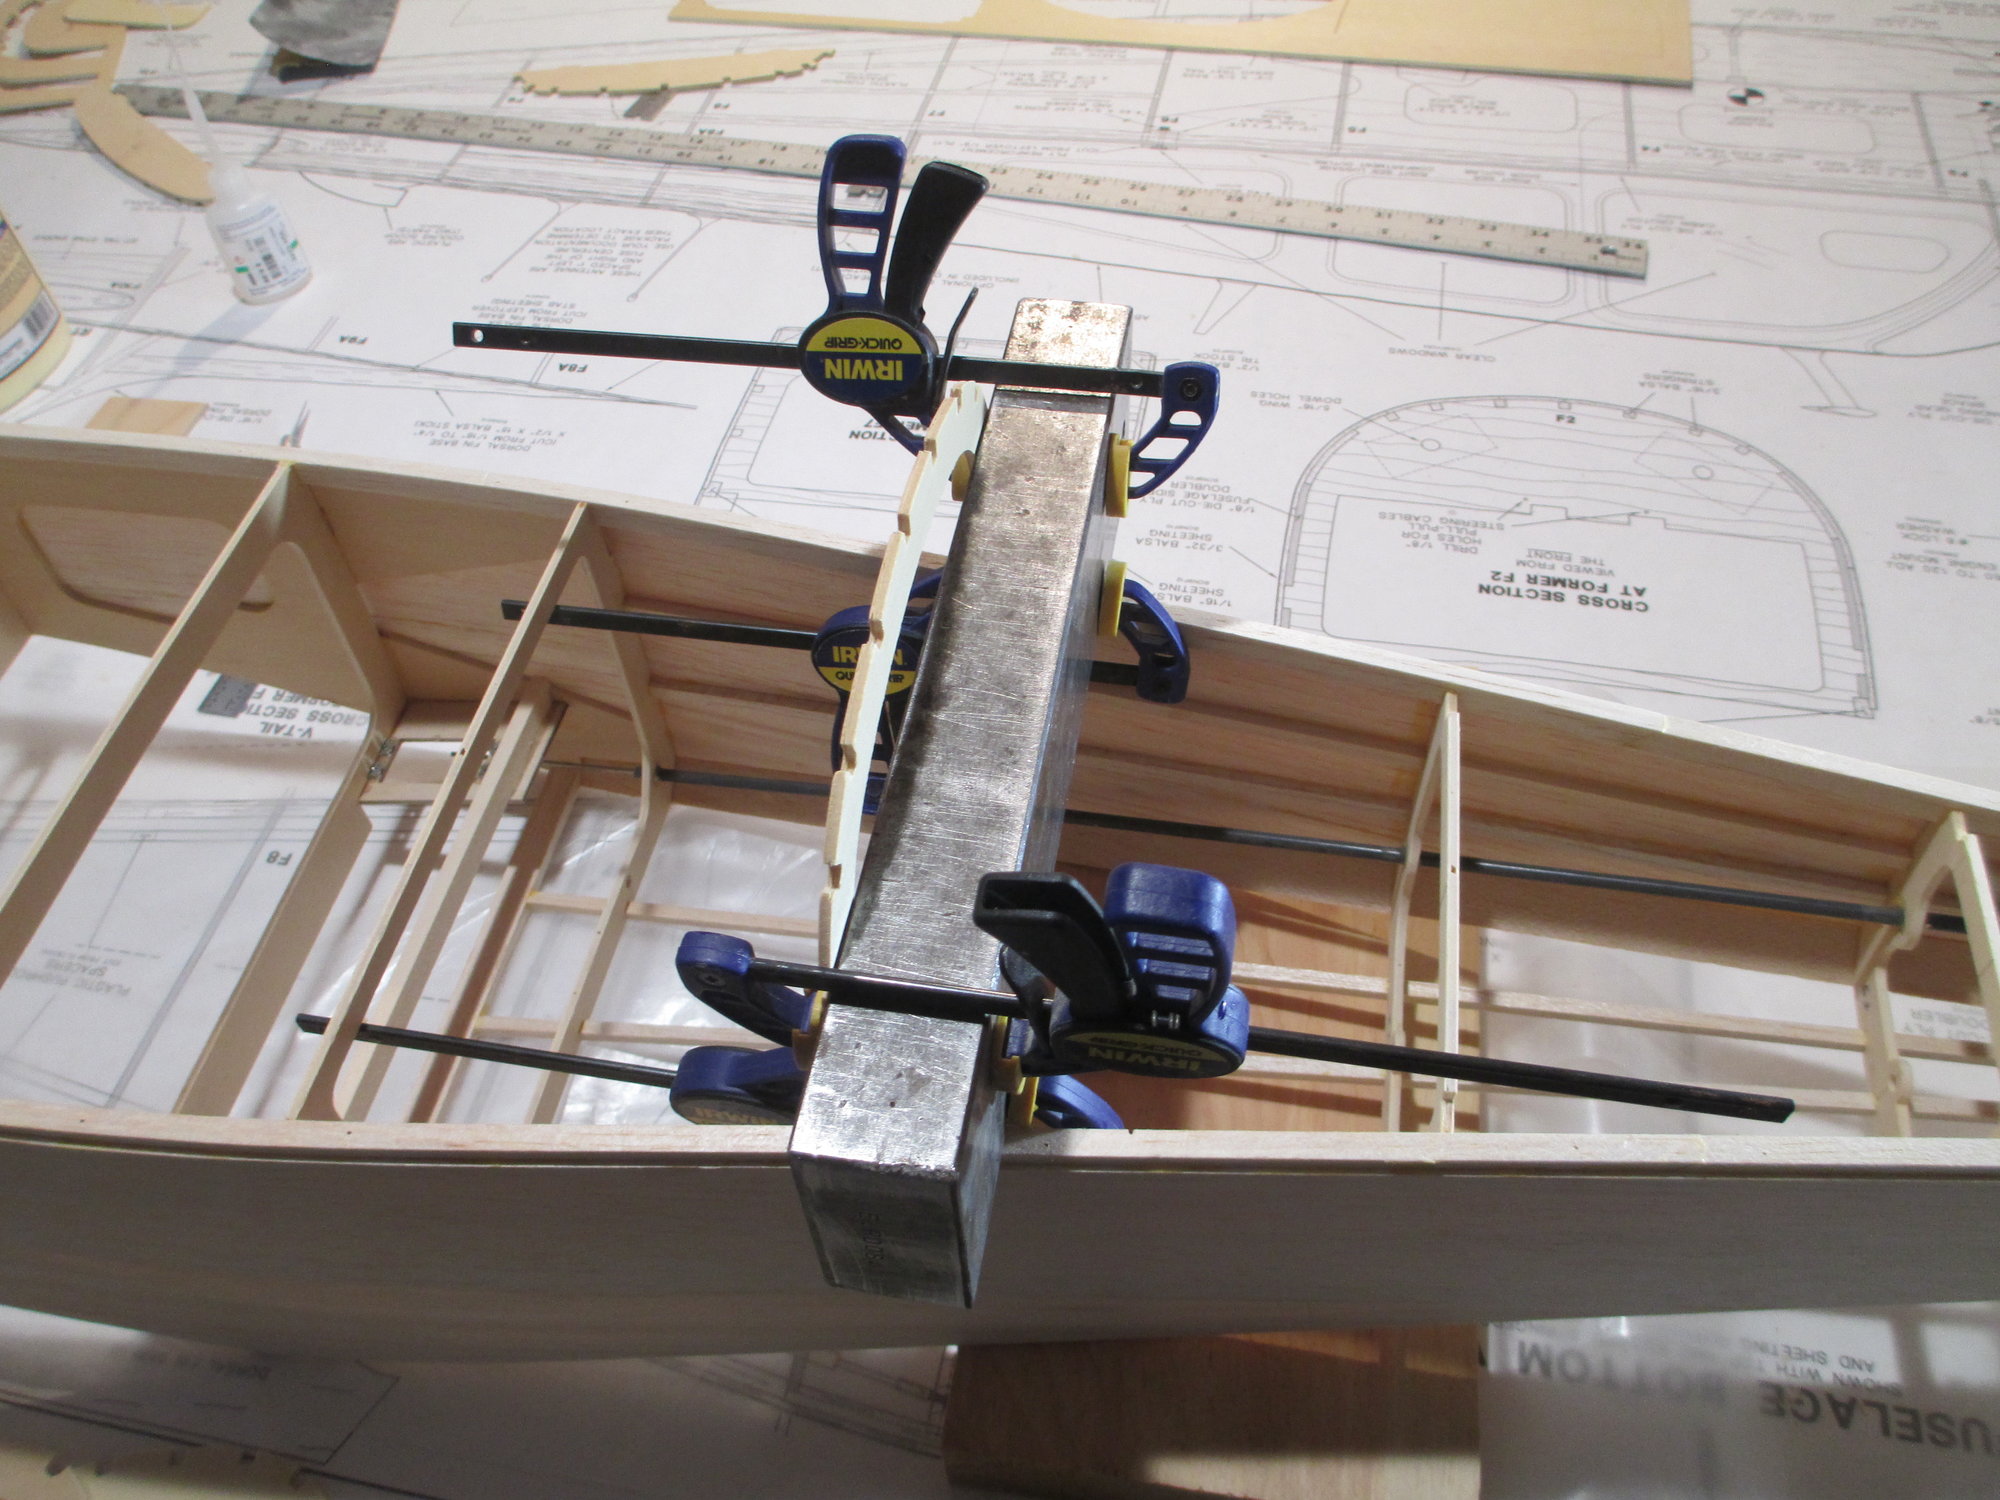
The first step in the process is to center the servo. I use an old temporary receiver just for this purpose.
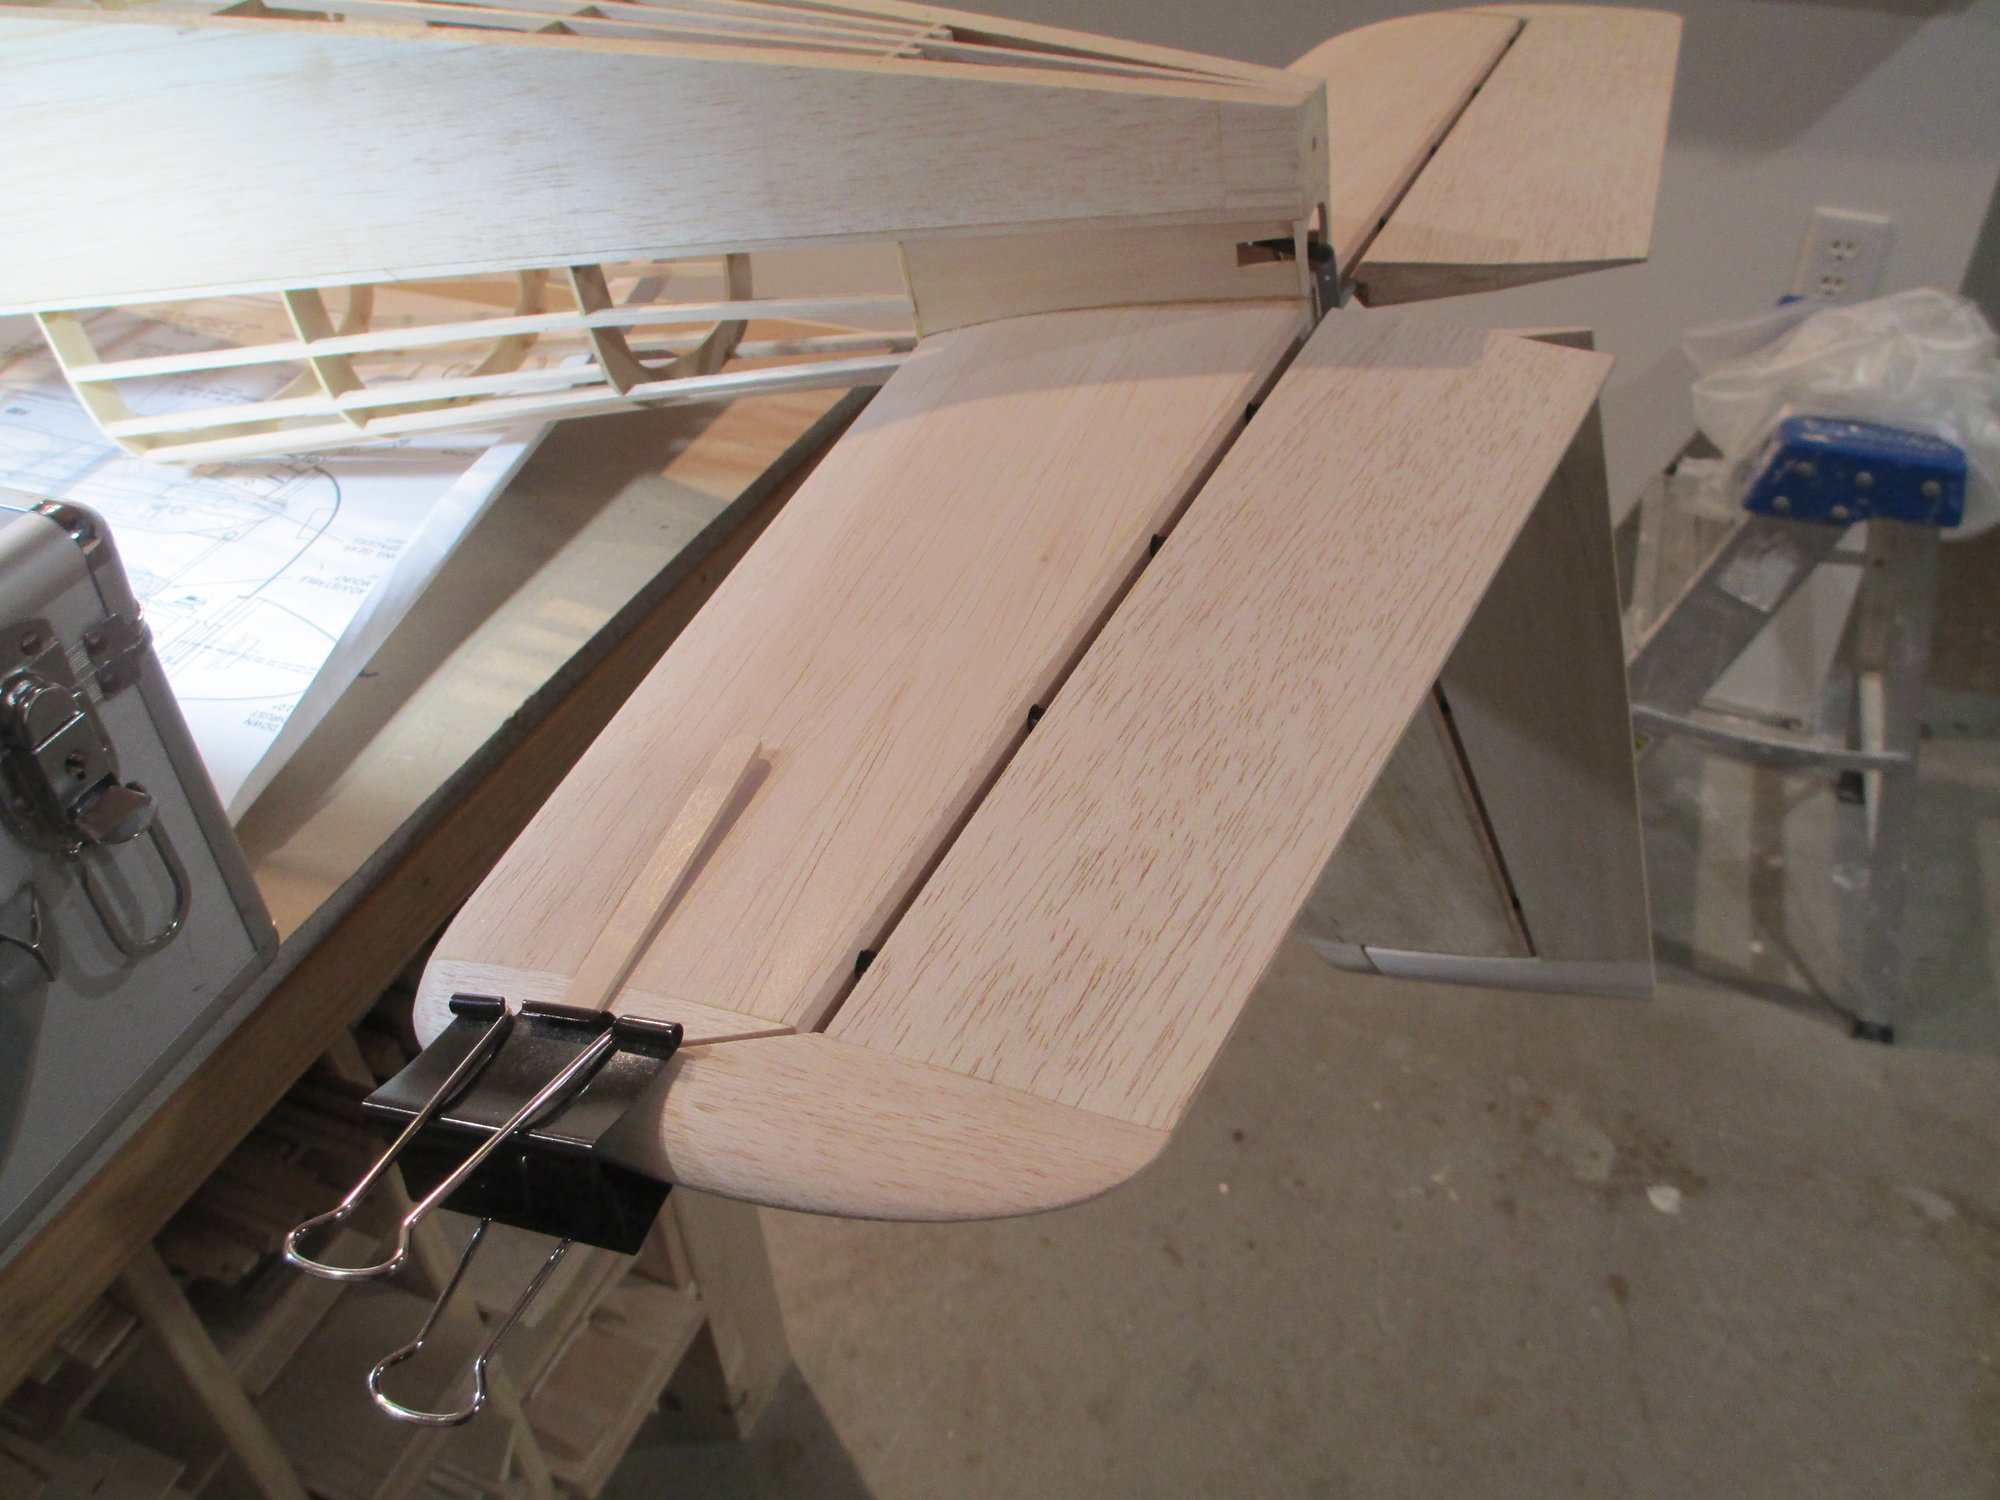
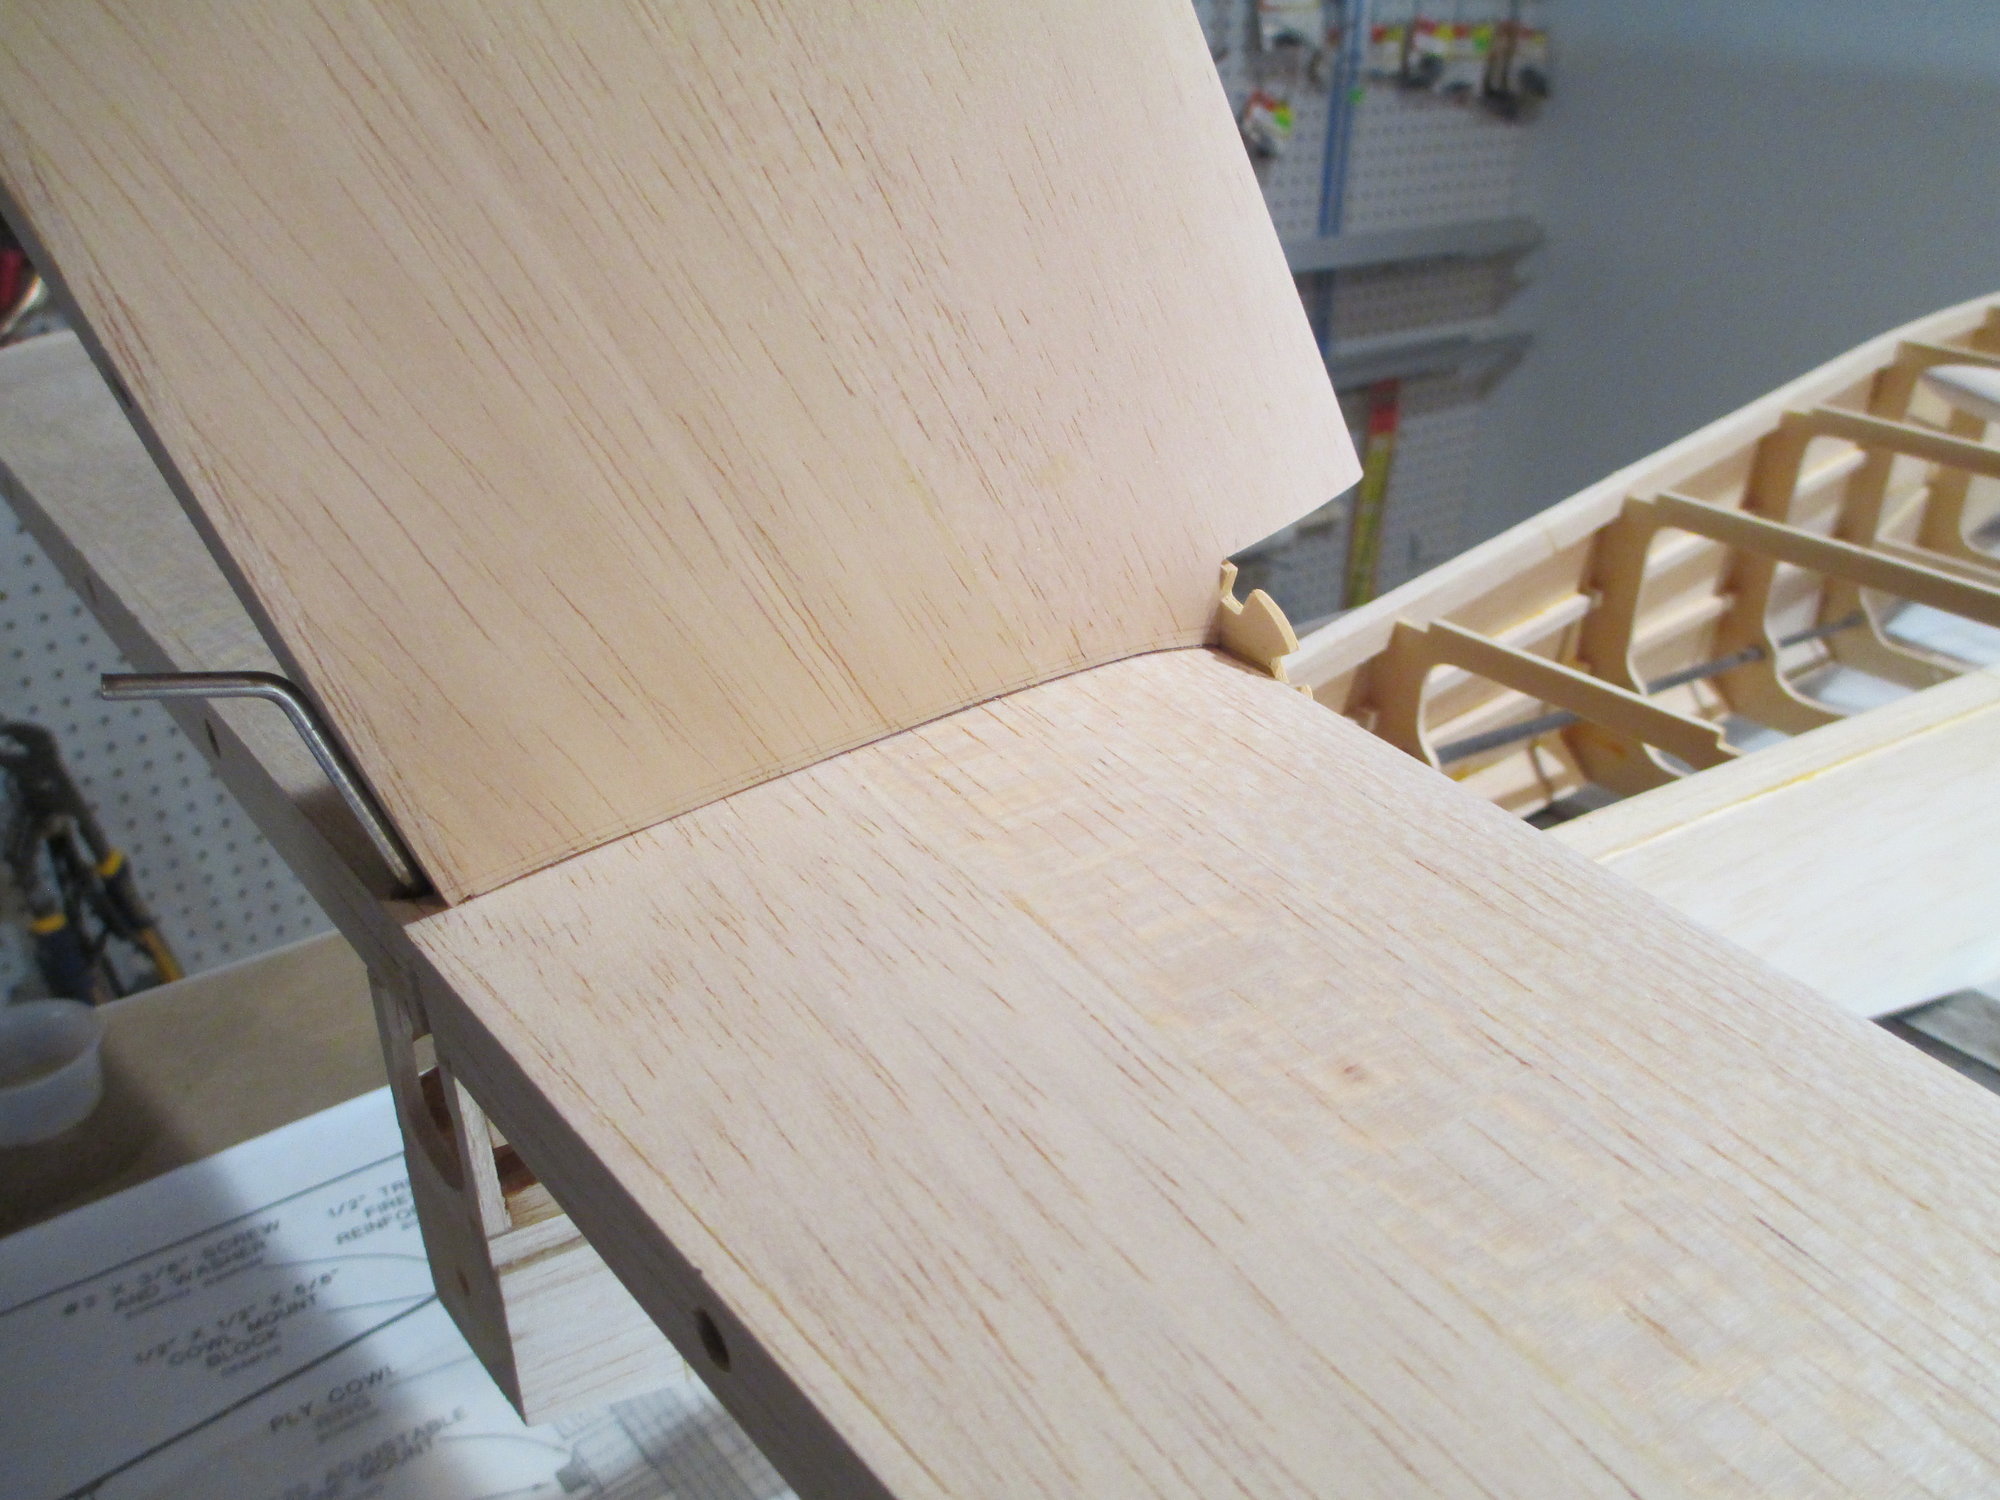
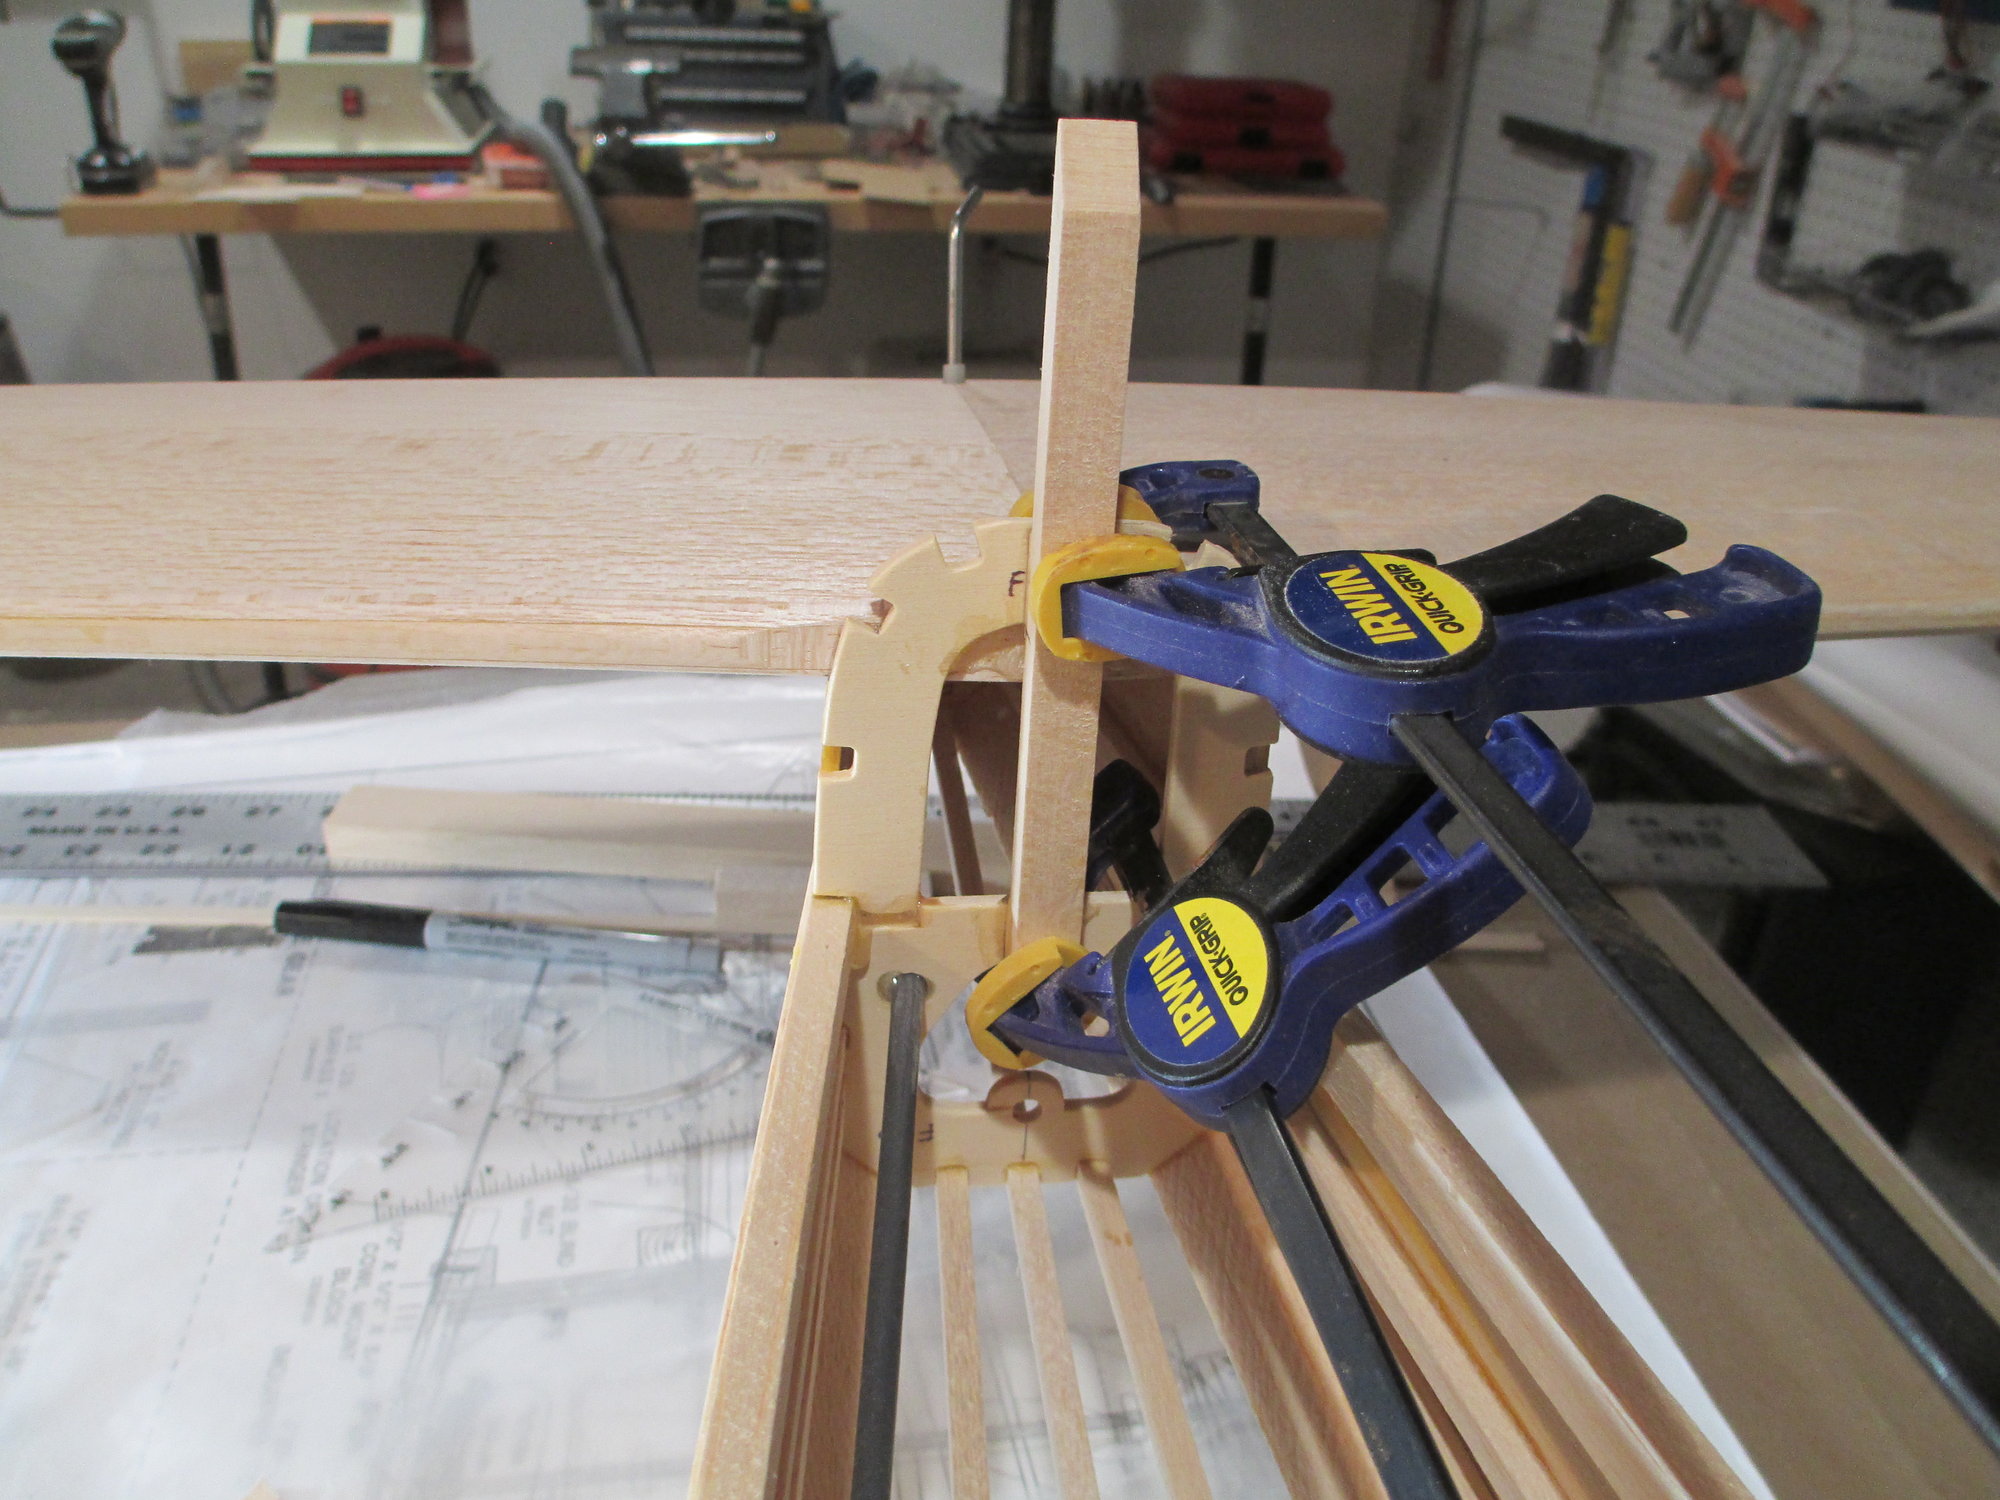
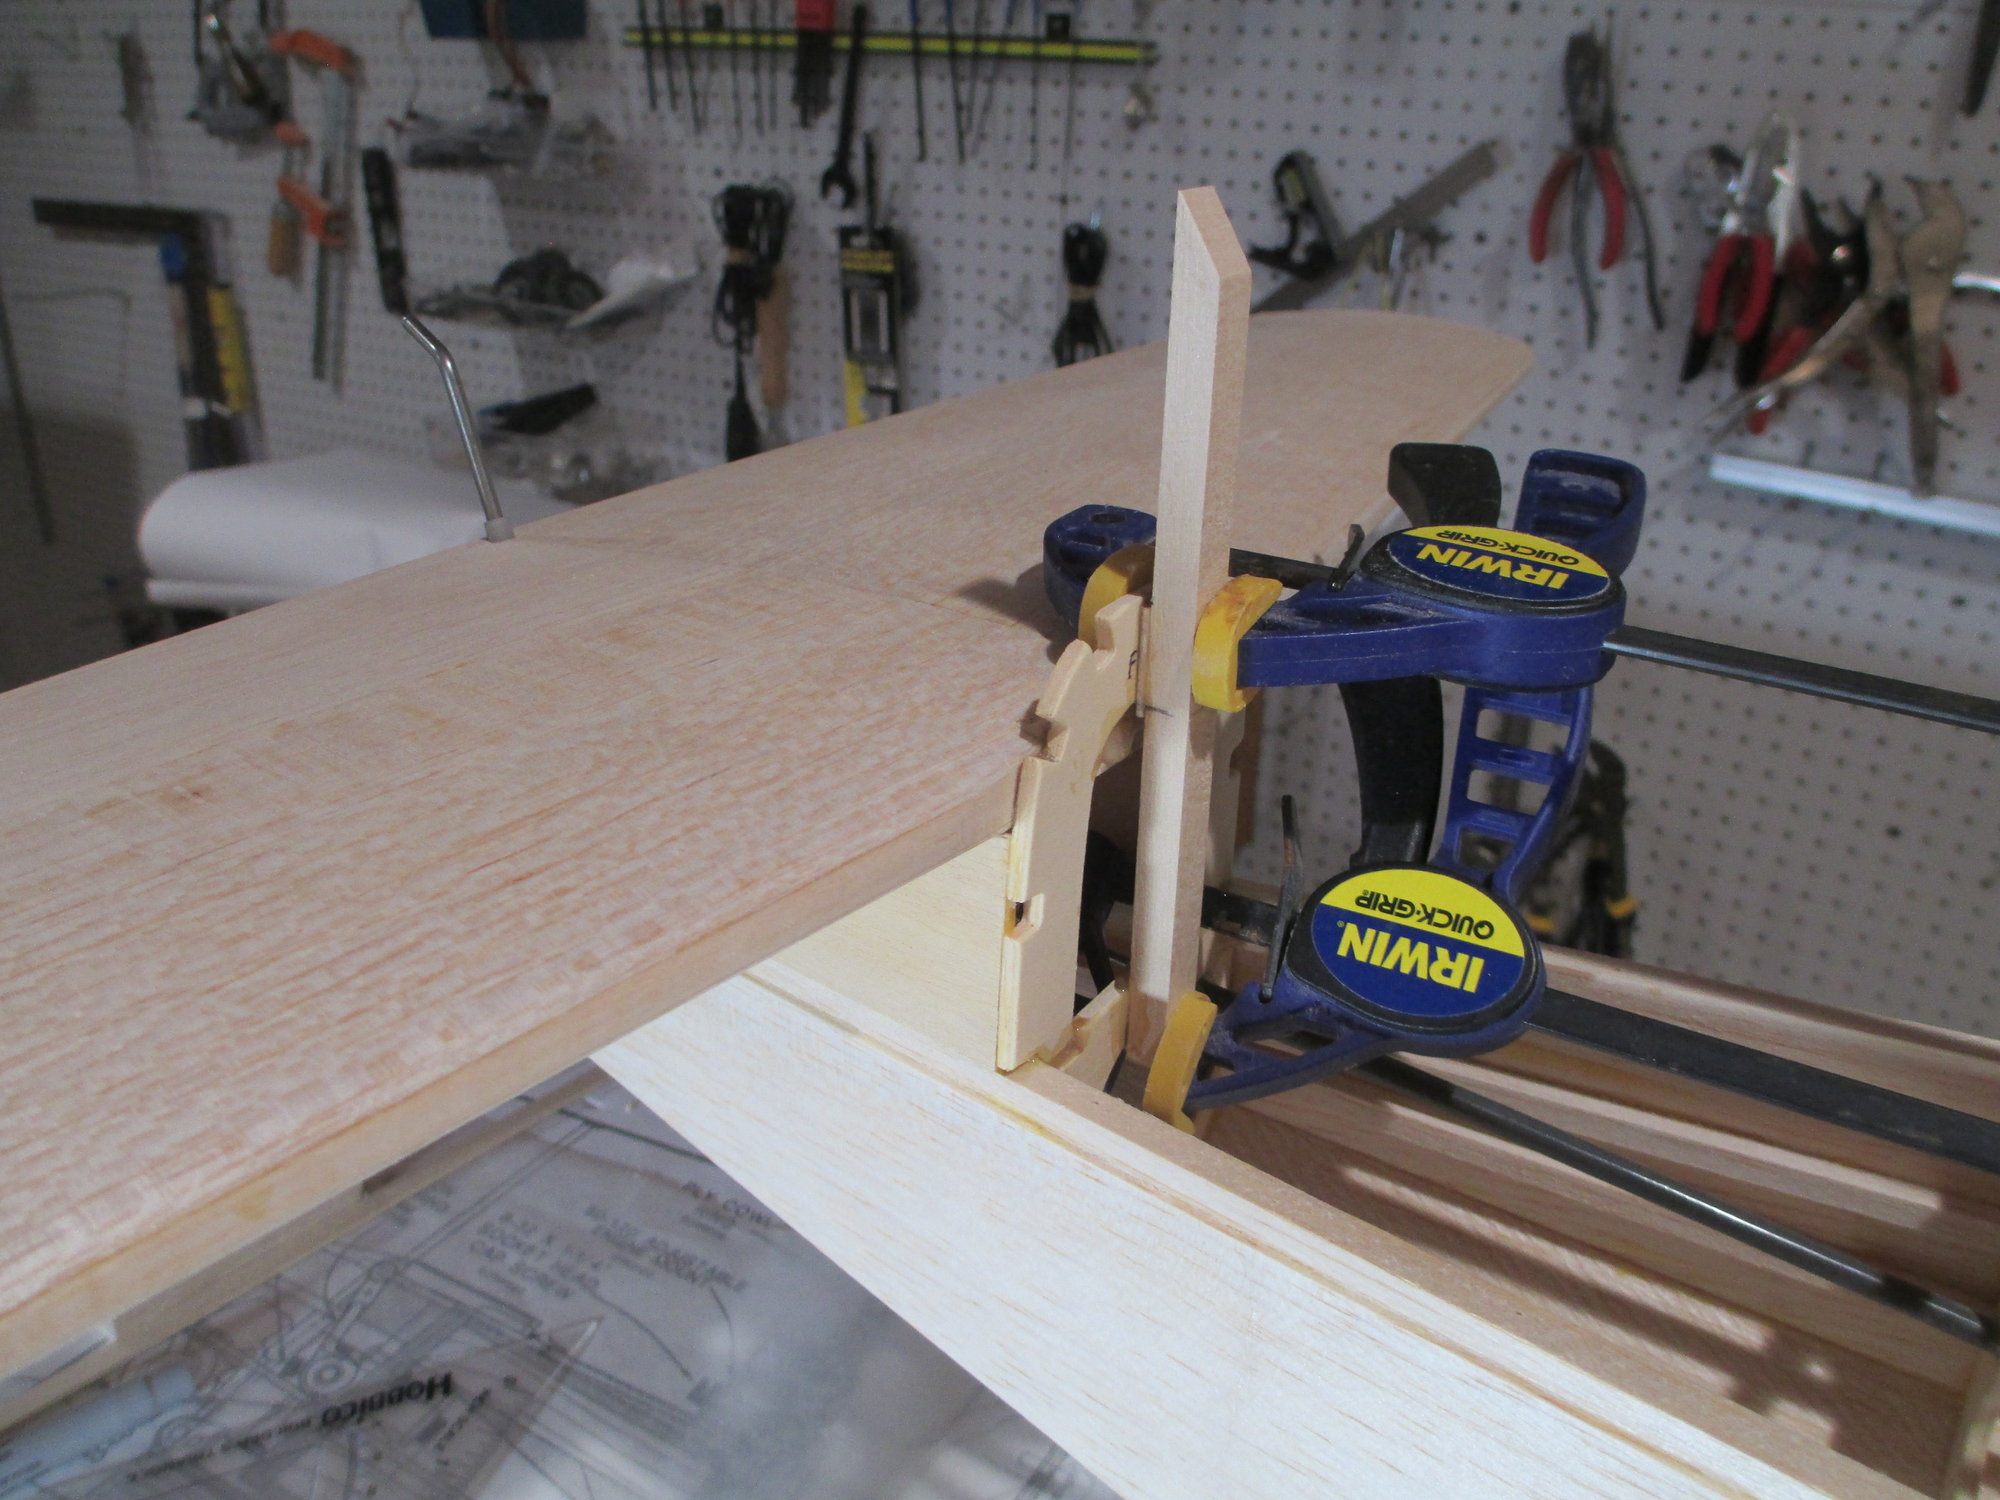
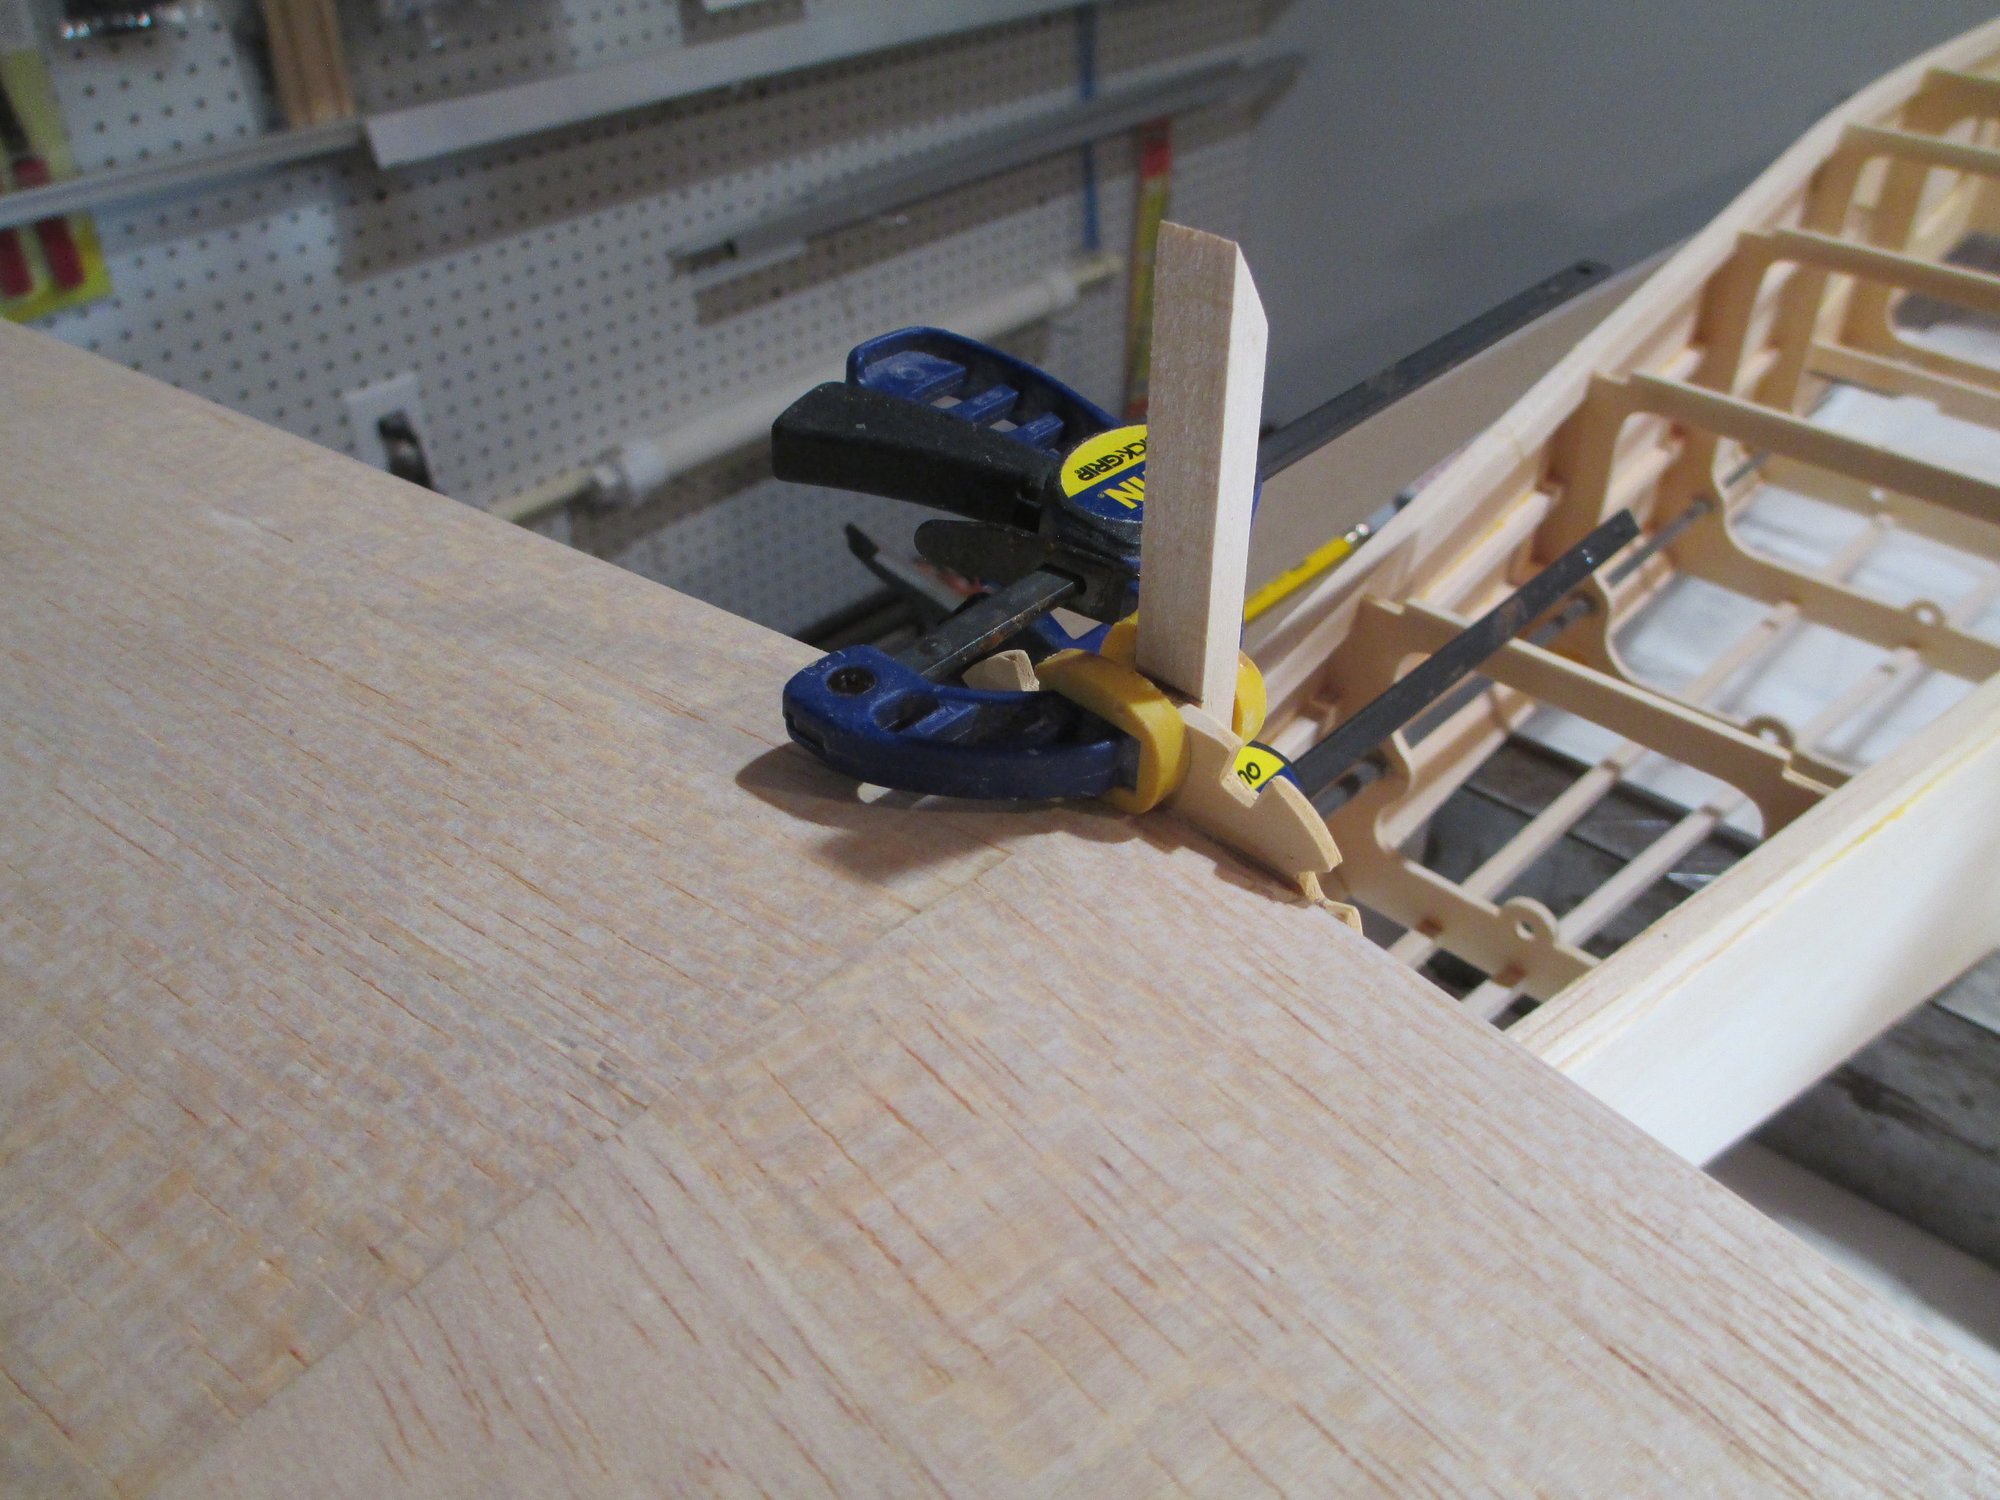
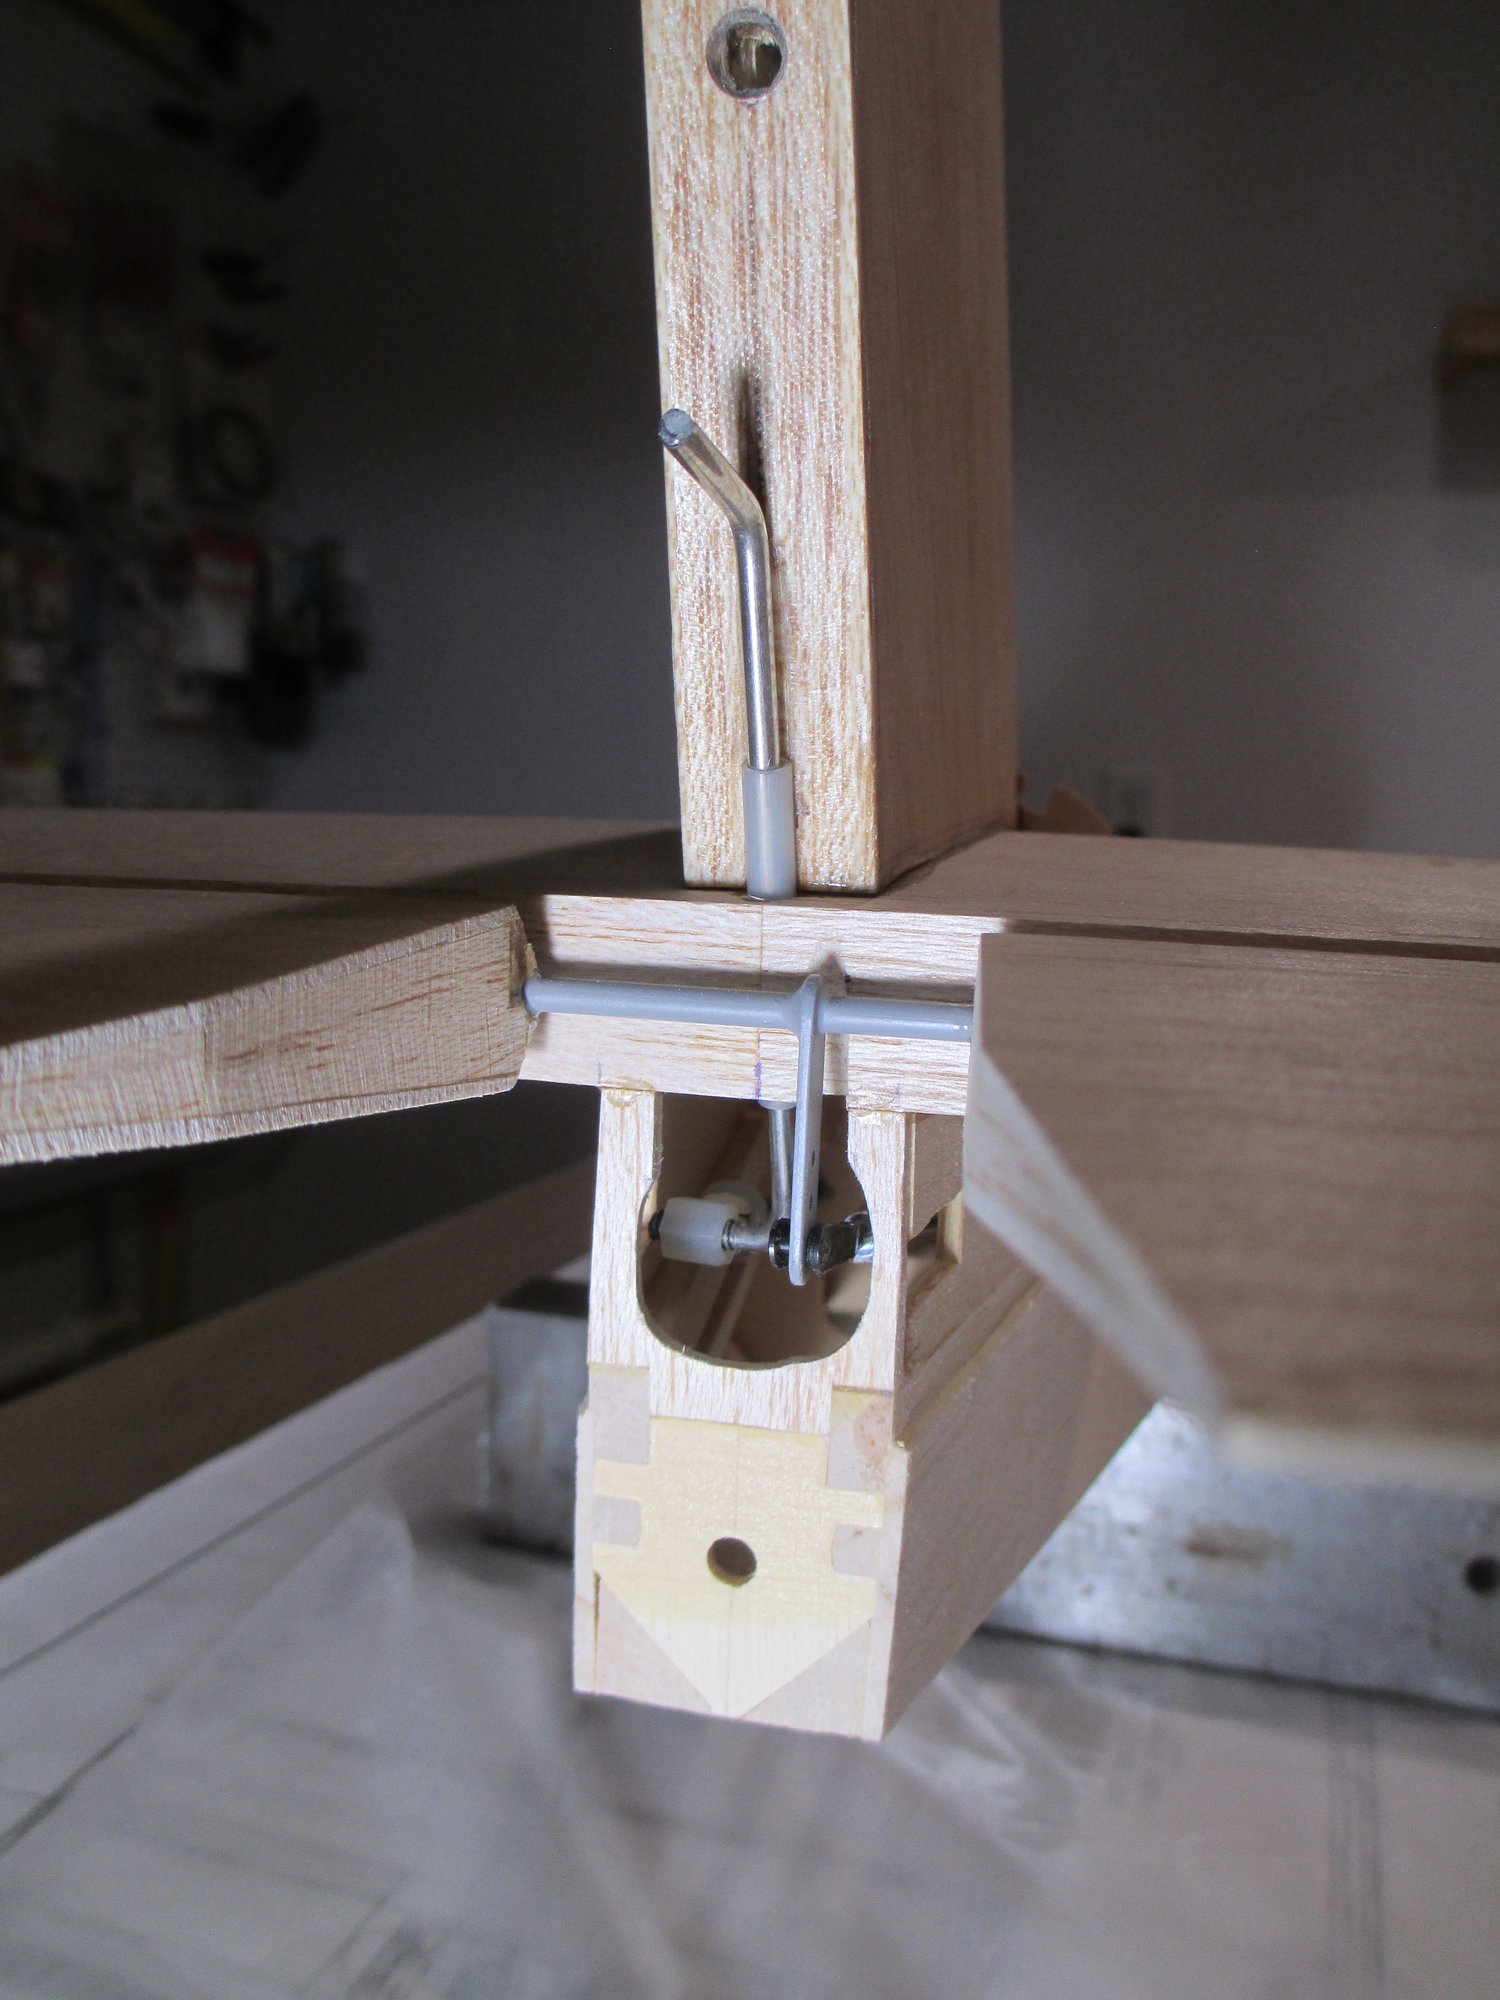
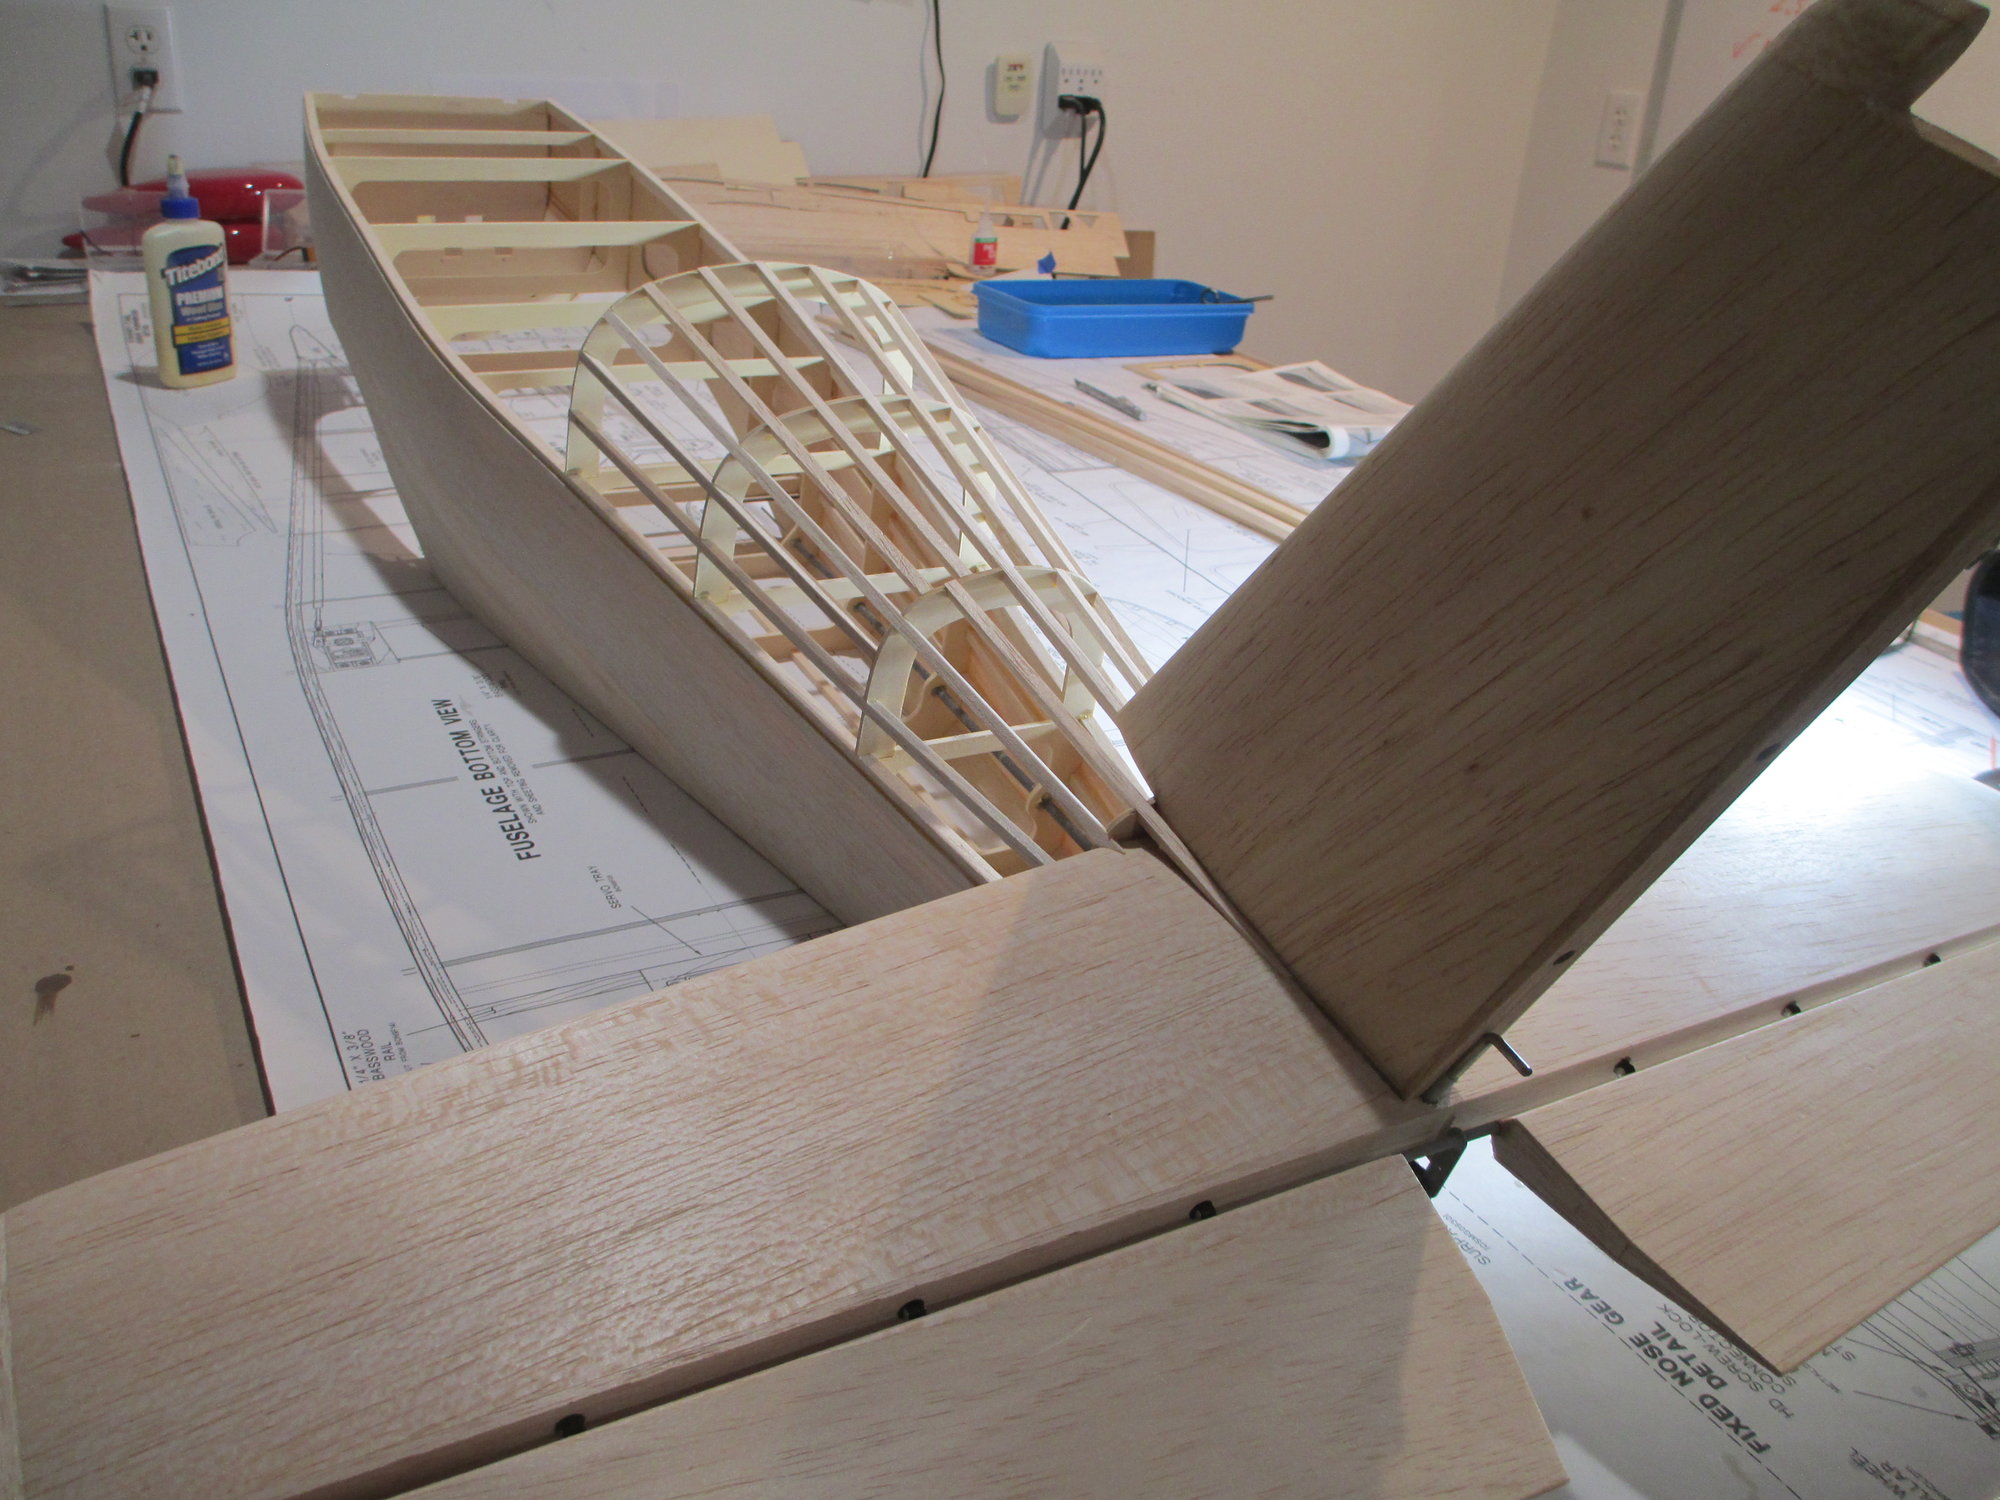
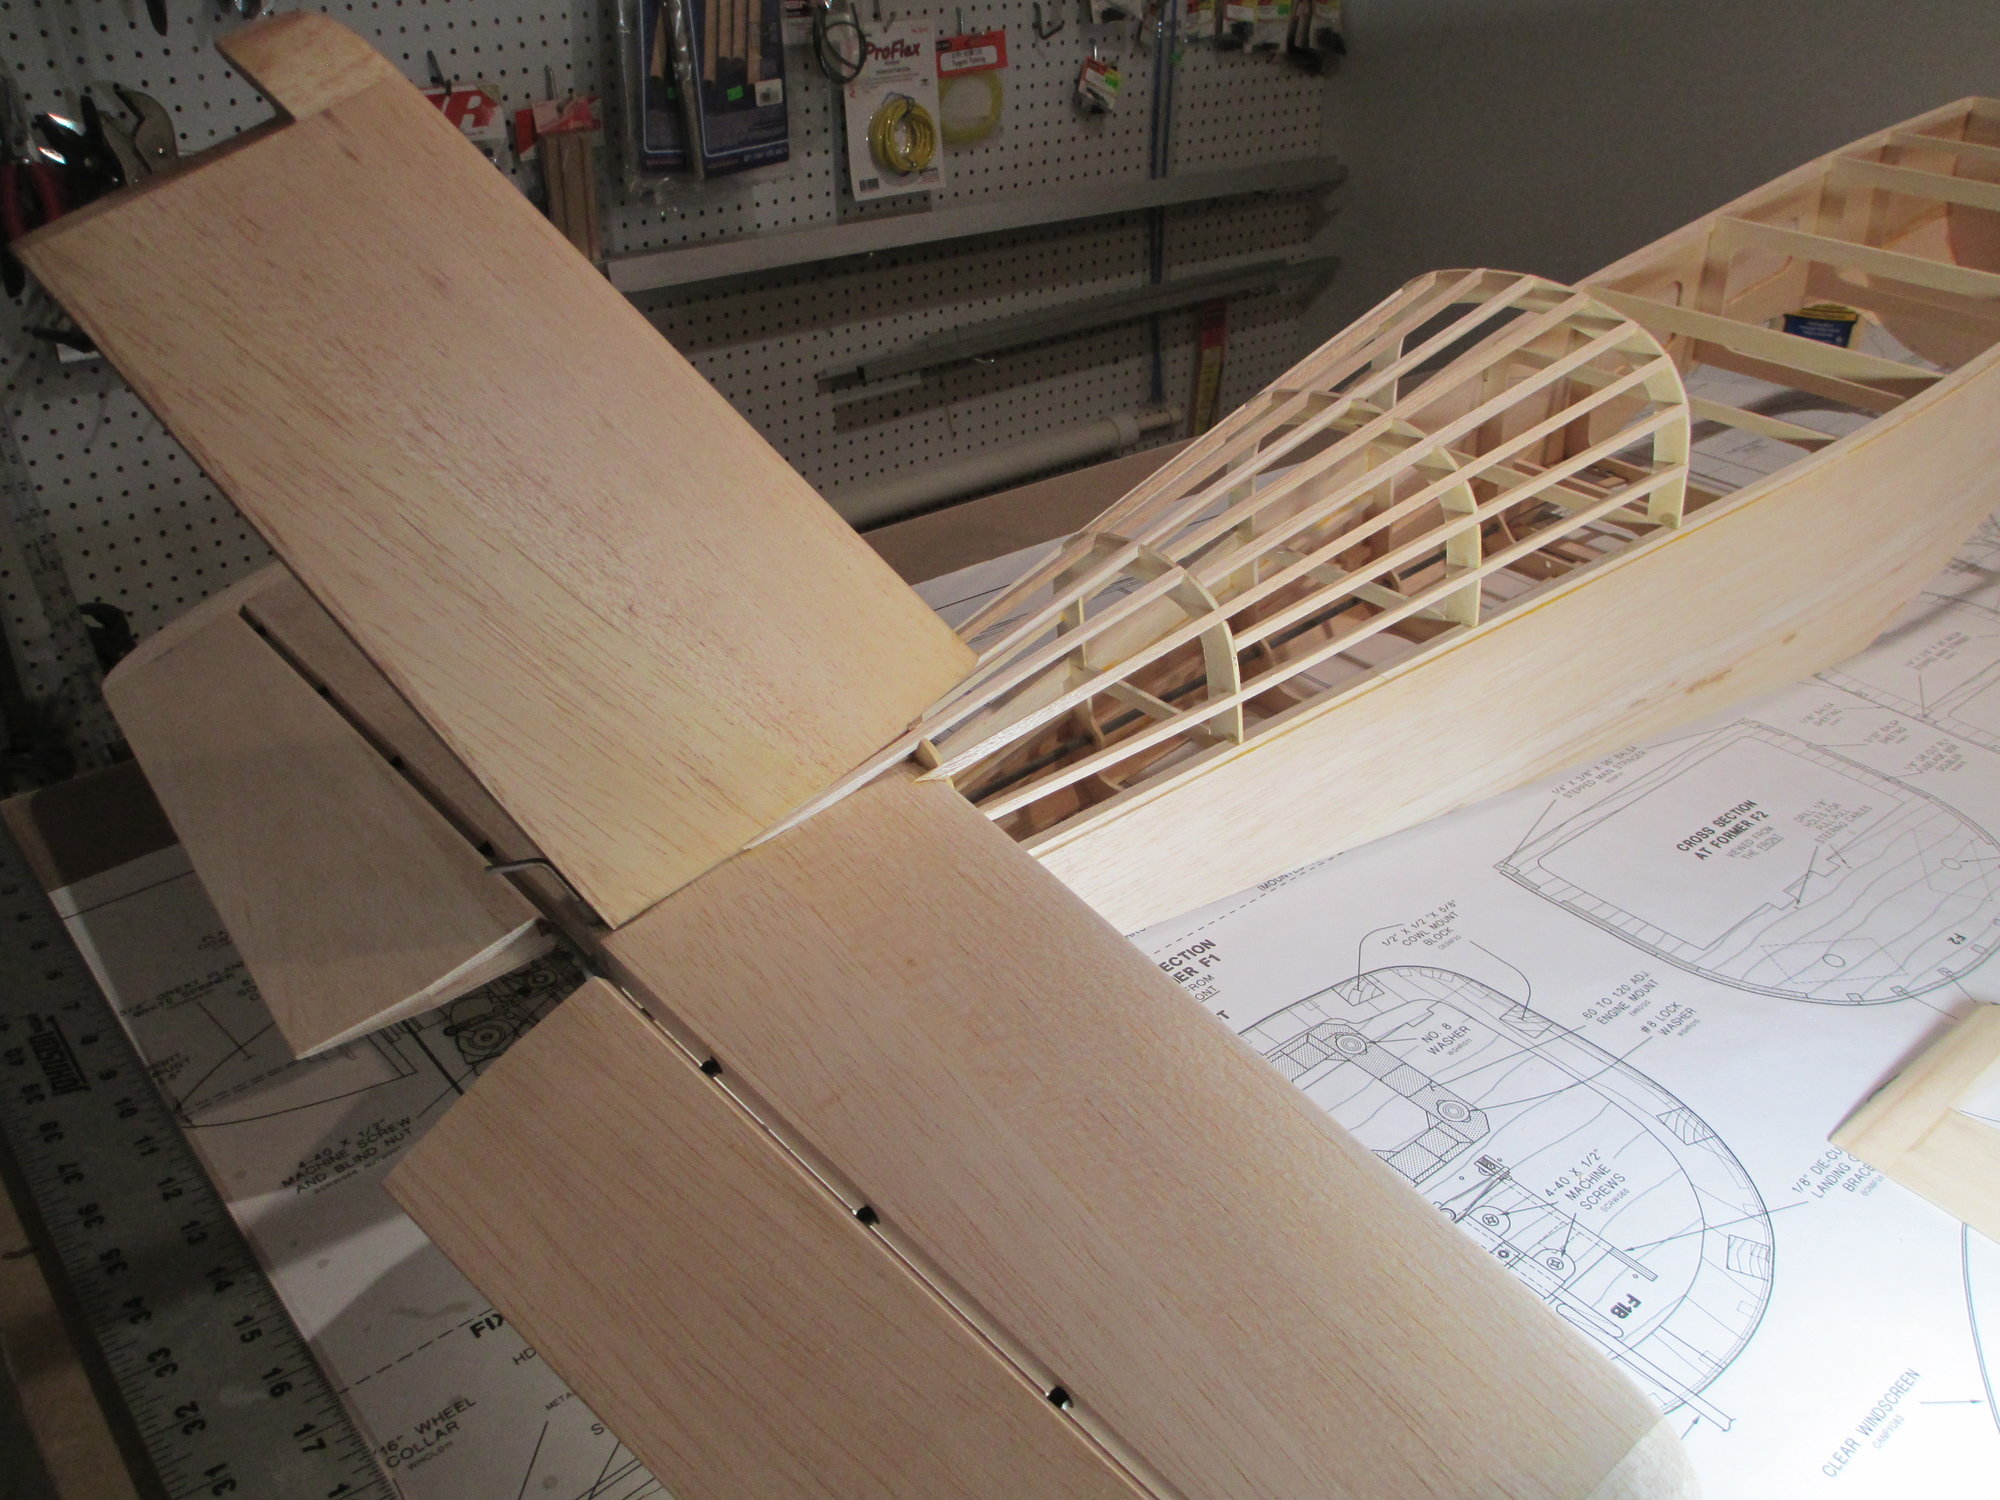
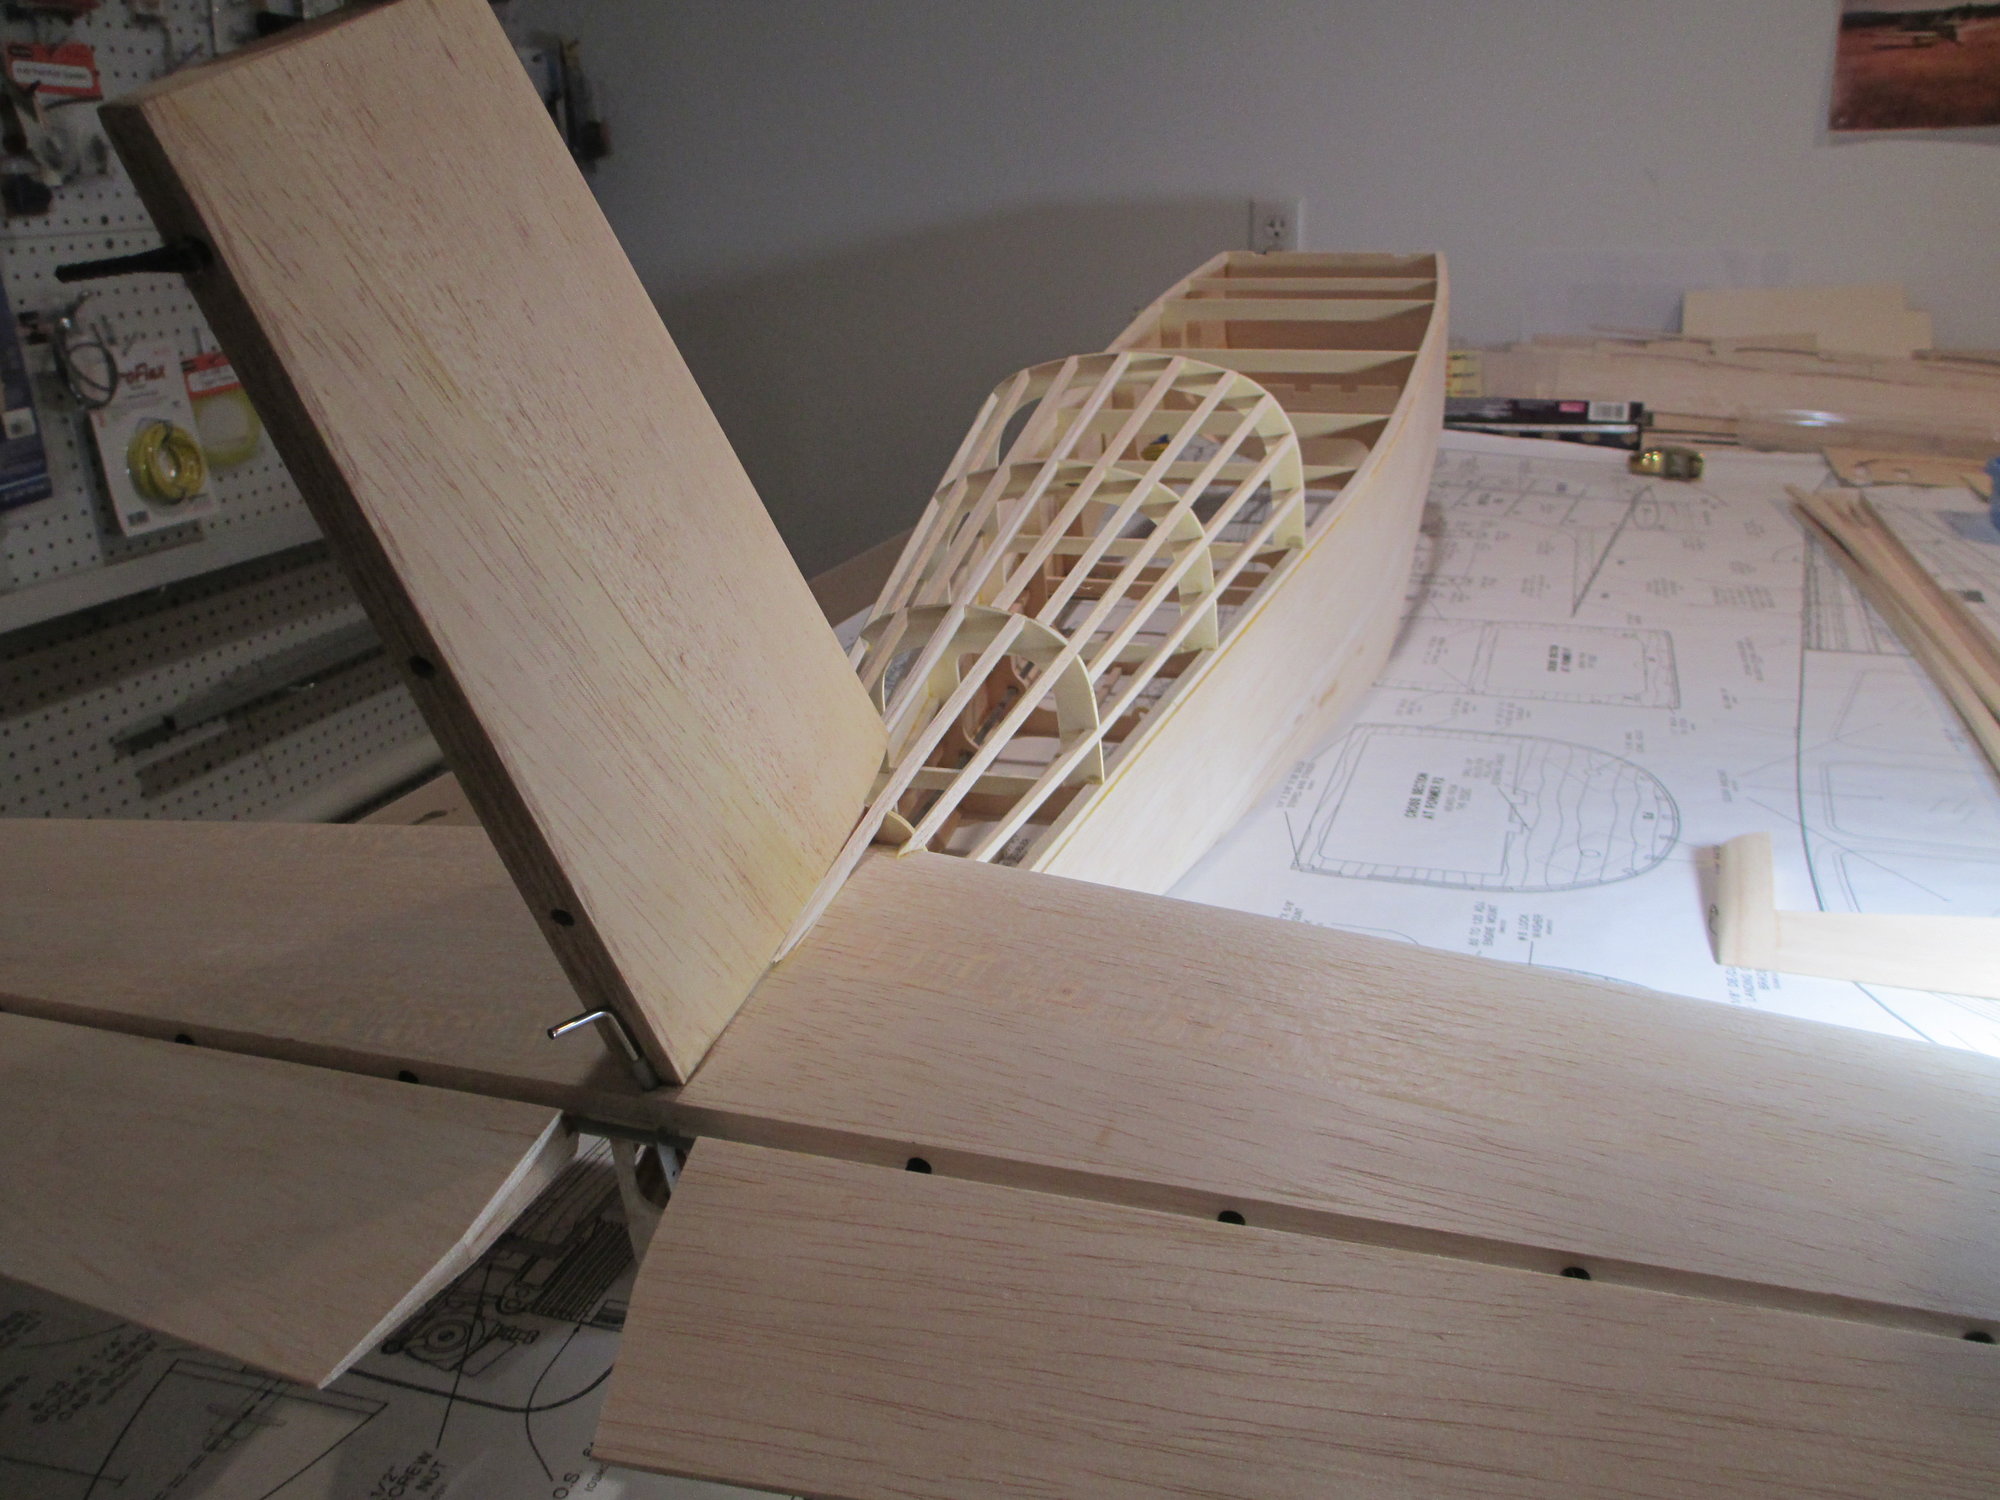
Second step is to make sure the control surface is also centered. I'm using a couple of mixing sticks and a spring clamp to keep the elevator from moving.
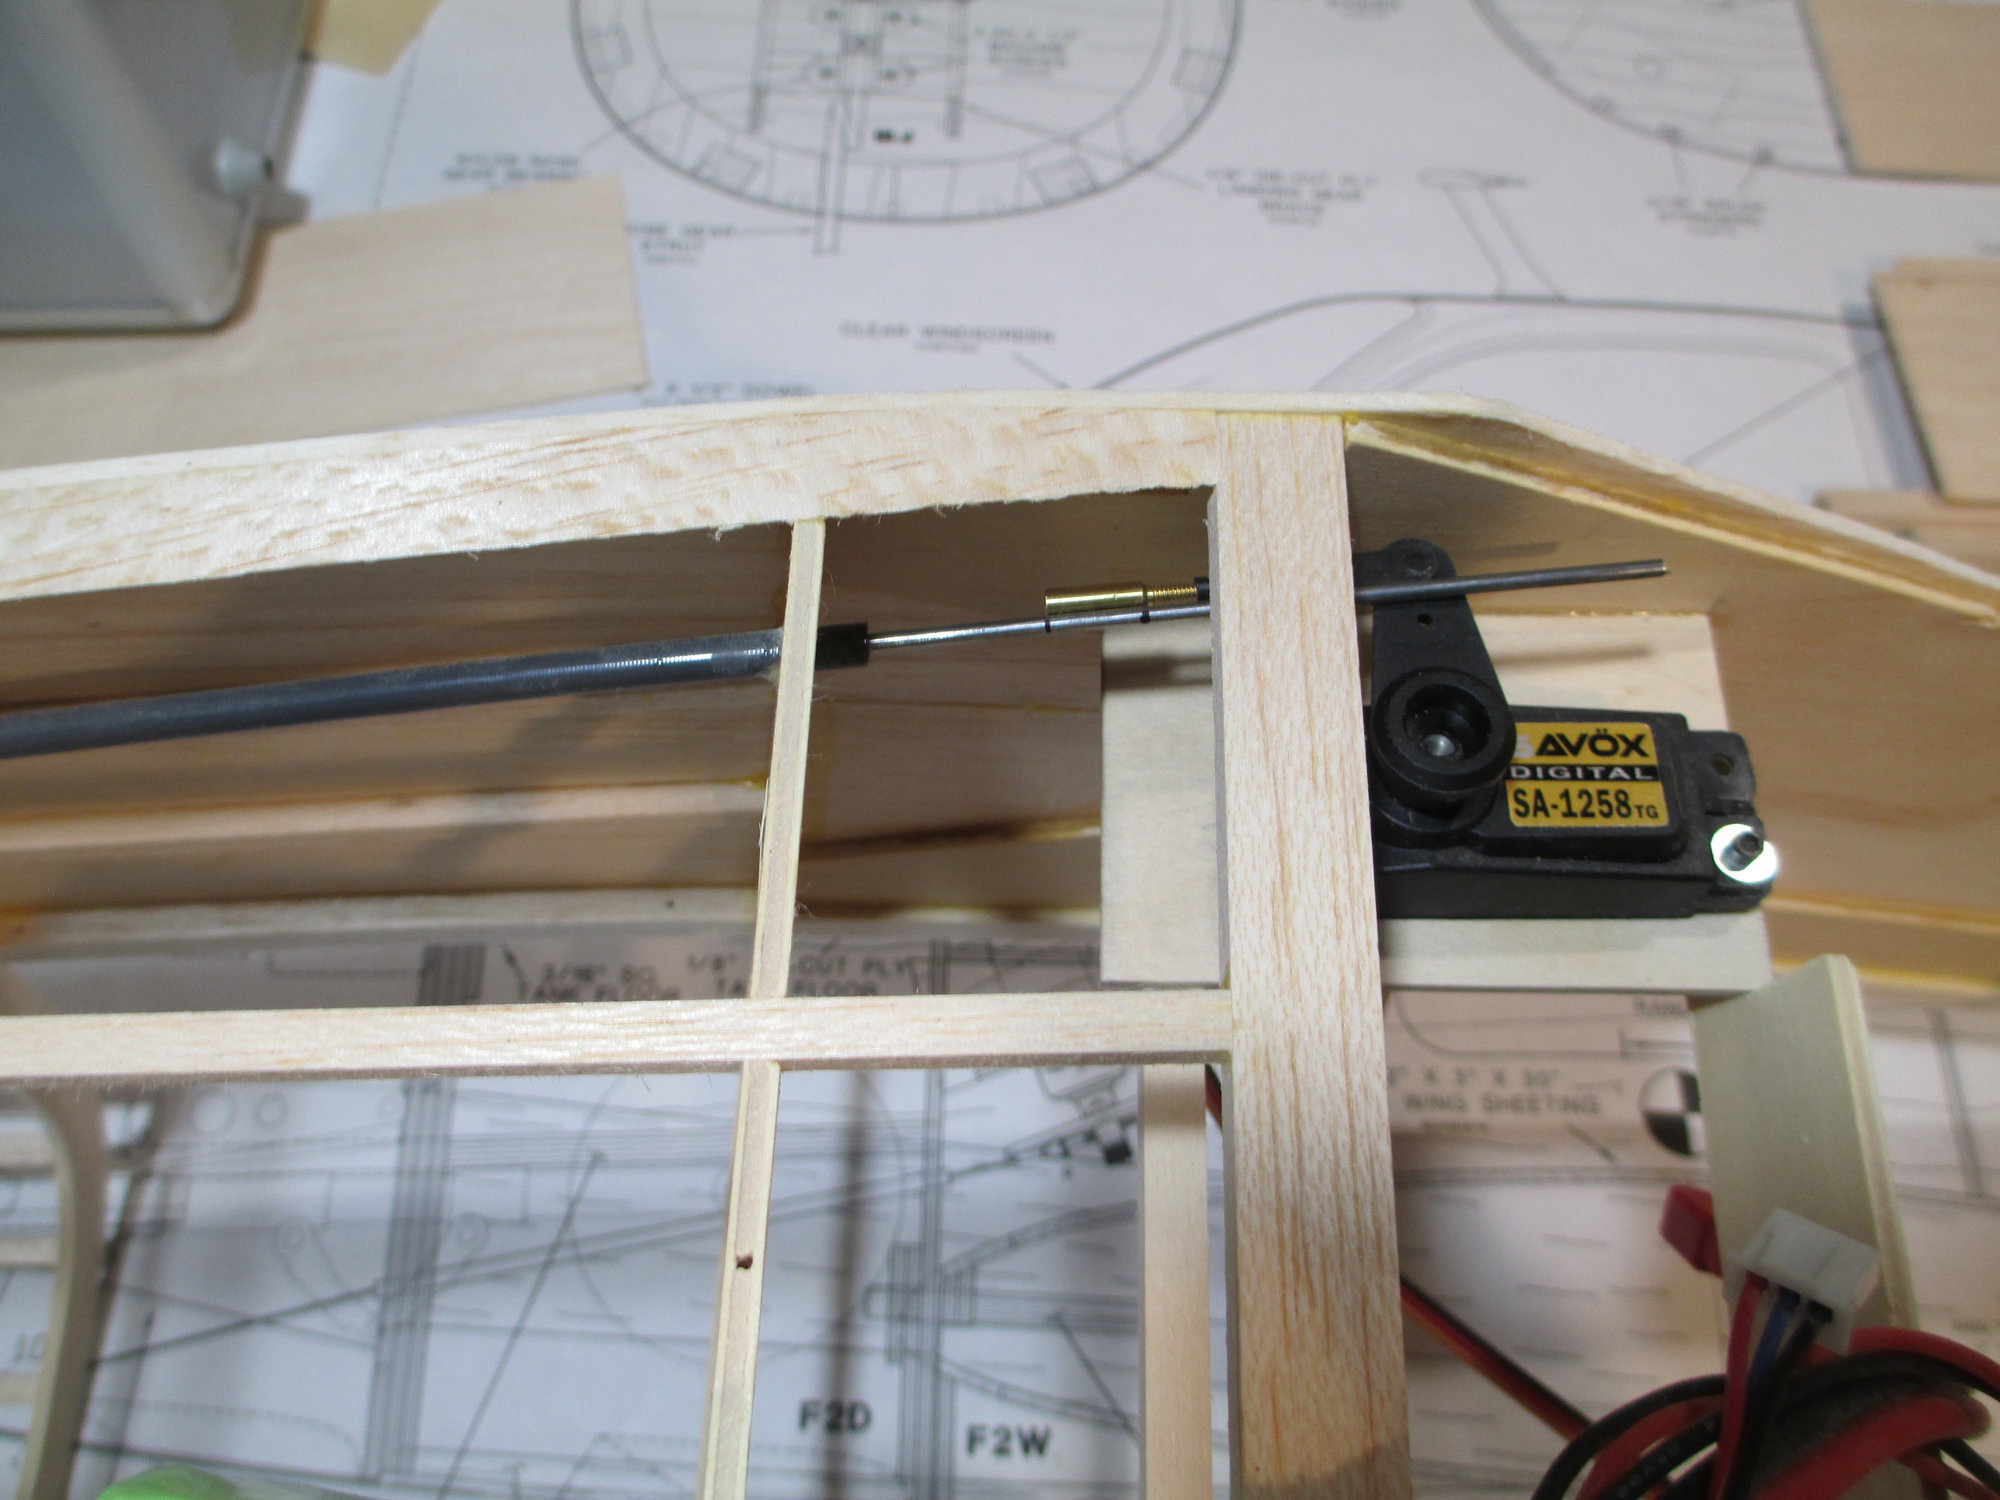
With the pushrod connected to the elevator horn, I'm marking the length of the pushrod that I will need. I have a brass threaded coupler threaded into spring steel threaded coupler which is attached to the servo horn (not visible).
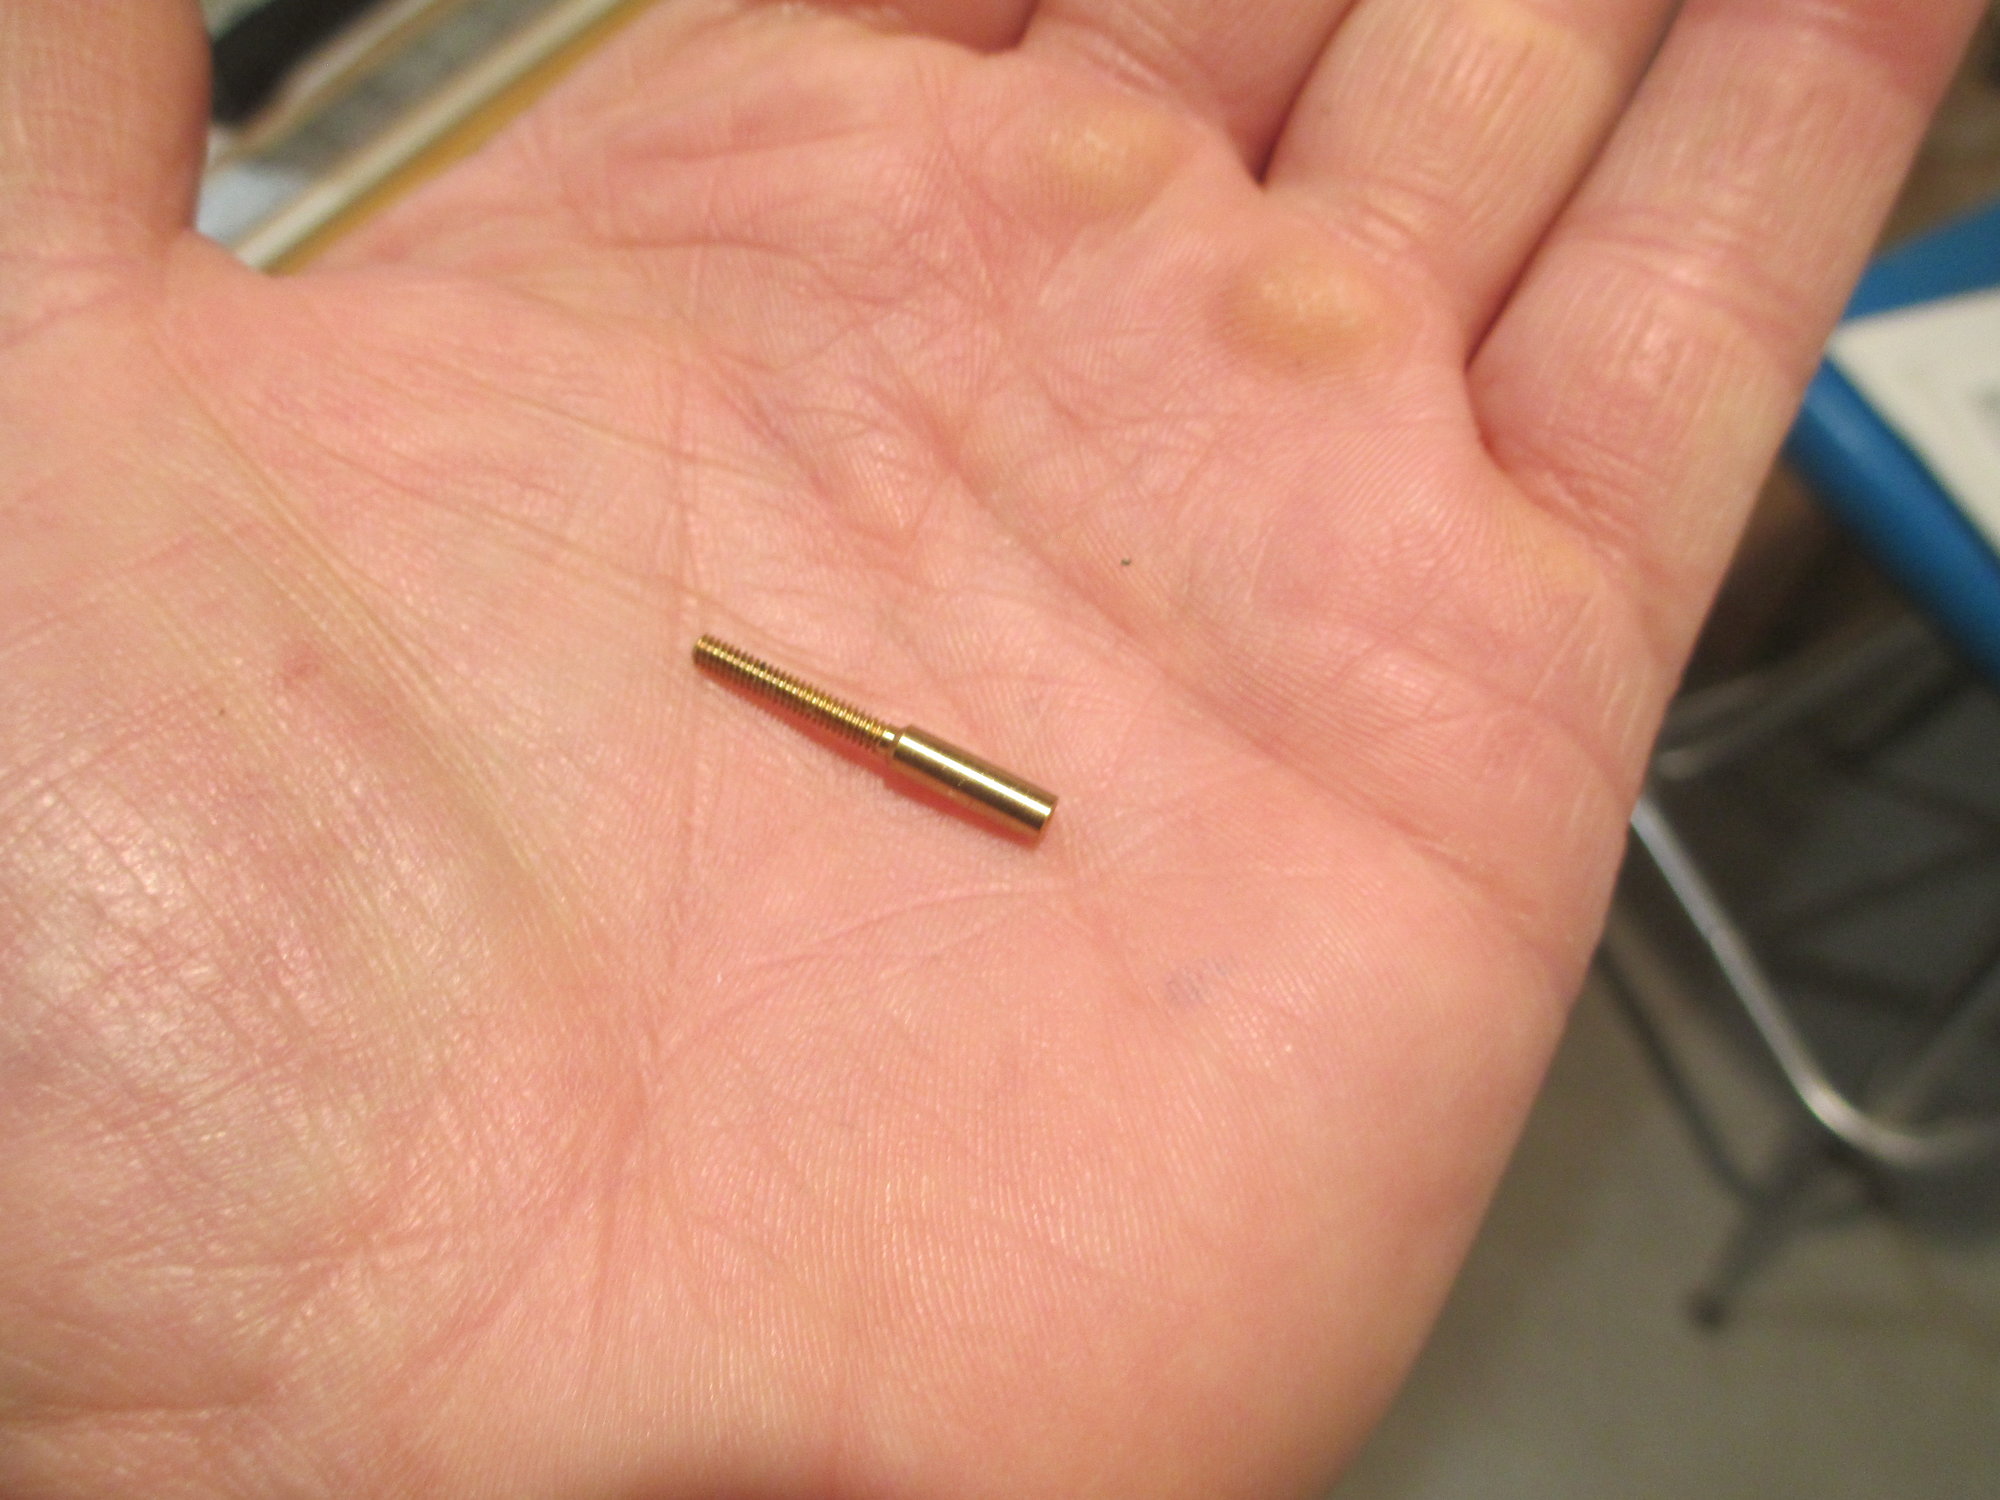
Here's what the threaded brass coupler looks like. This one is for a 2-56 pushrod, they also come in 4-40 sizes as well. The pushrod will be soldered into the end of the coupler.
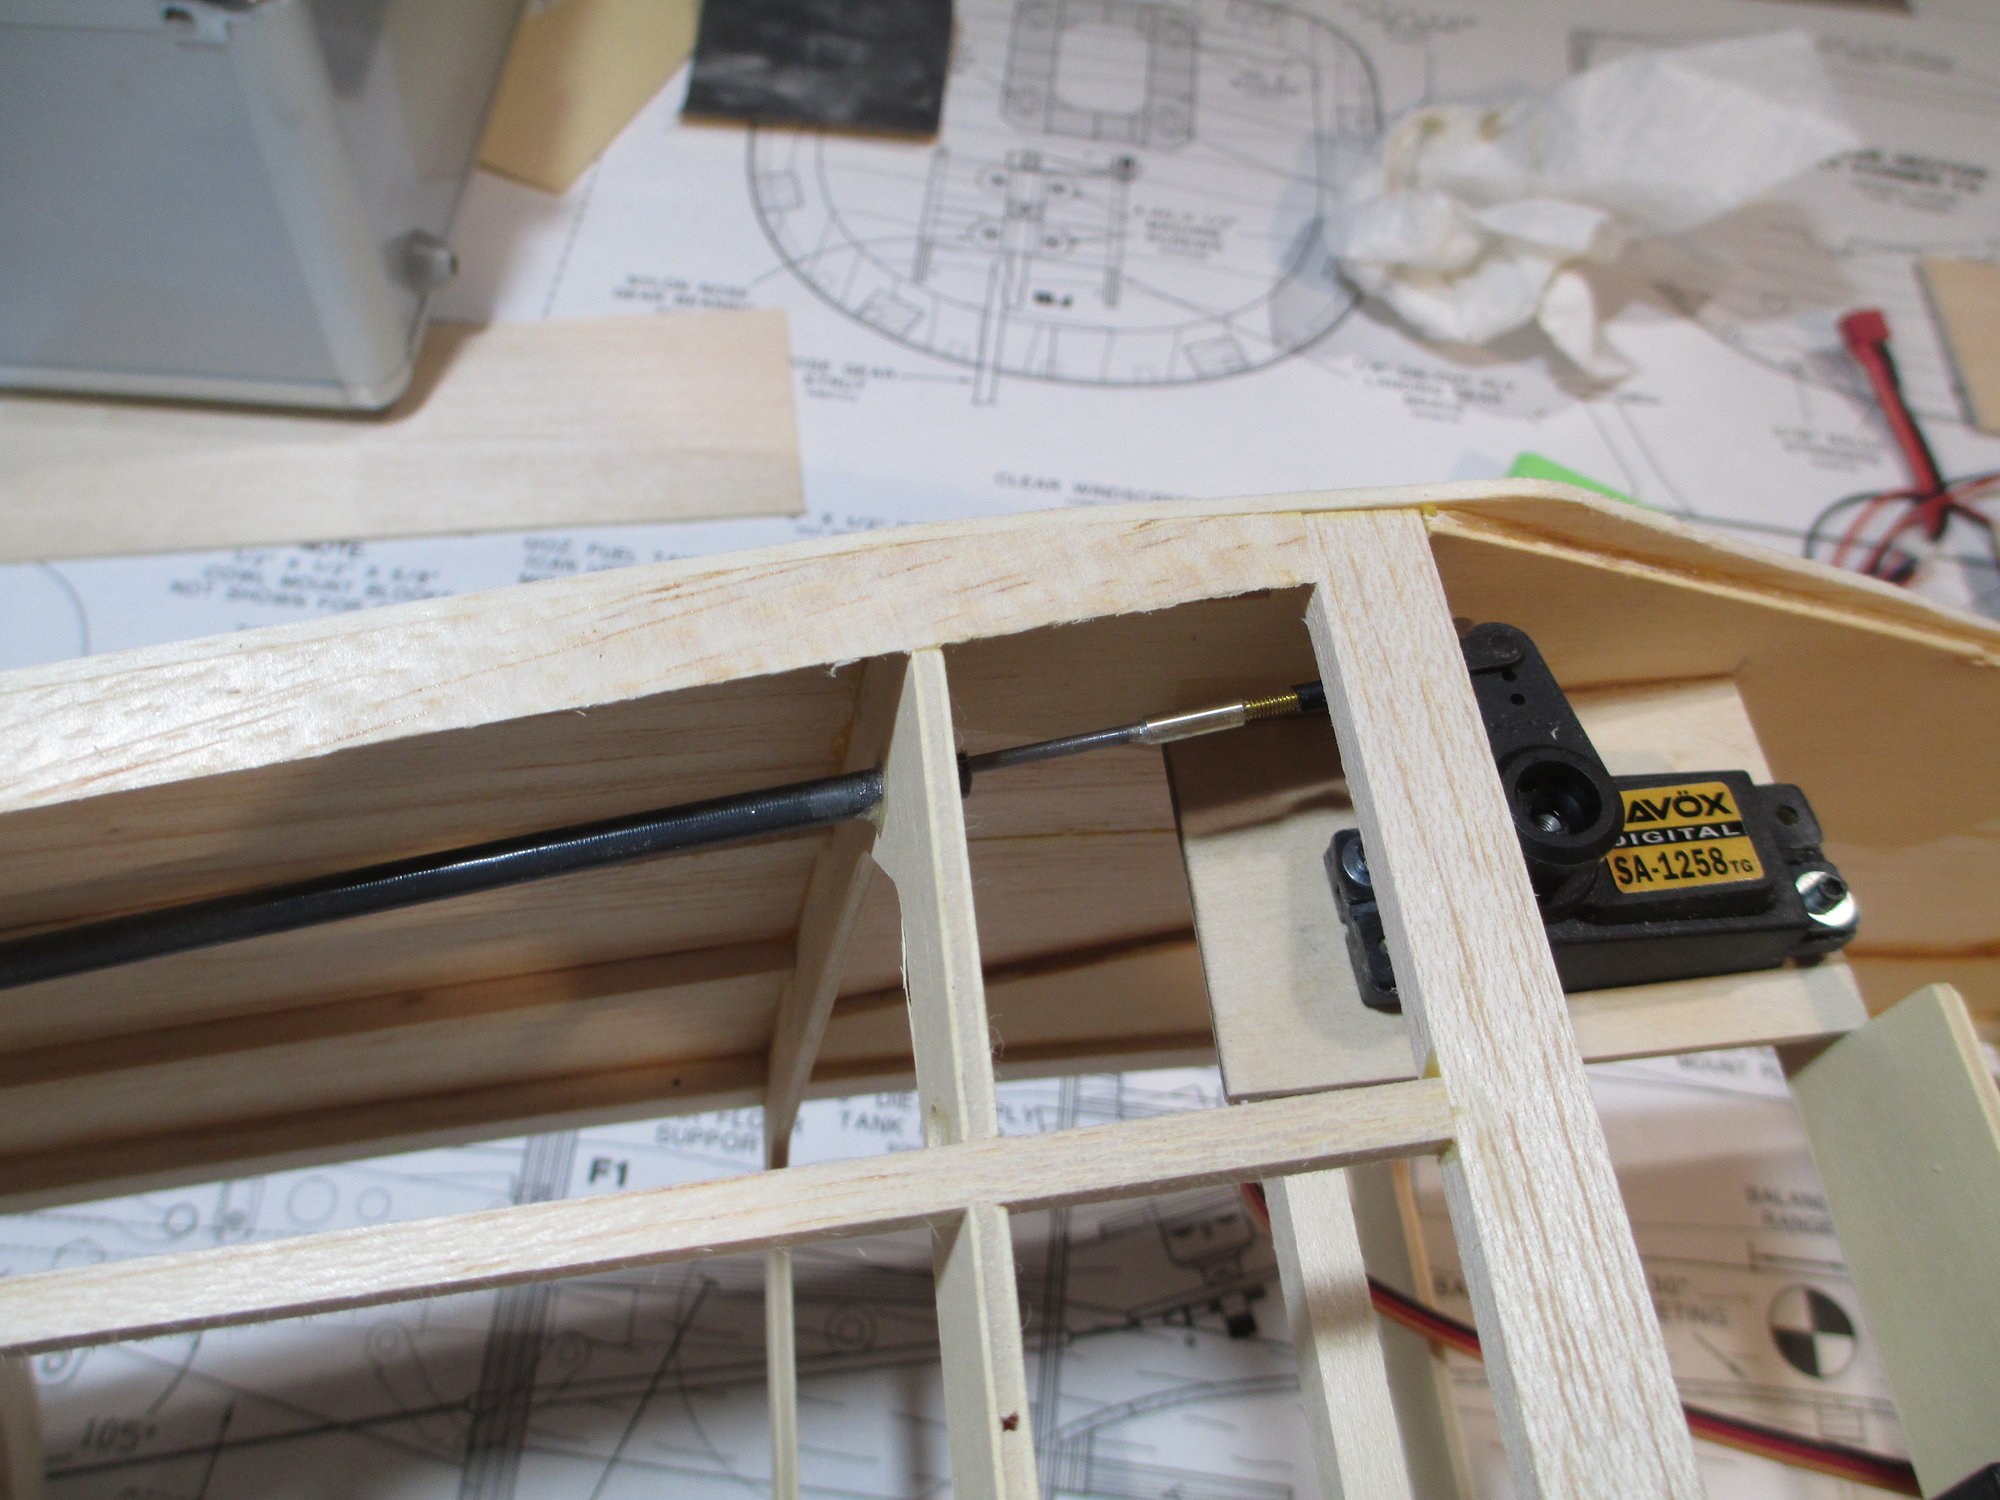
Finished product. I used silver solder for a stronger joint. I will do the same steps for the rudder next...
The first step in the process is to center the servo. I use an old temporary receiver just for this purpose.
Second step is to make sure the control surface is also centered. I'm using a couple of mixing sticks and a spring clamp to keep the elevator from moving.
With the pushrod connected to the elevator horn, I'm marking the length of the pushrod that I will need. I have a brass threaded coupler threaded into spring steel threaded coupler which is attached to the servo horn (not visible).
Here's what the threaded brass coupler looks like. This one is for a 2-56 pushrod, they also come in 4-40 sizes as well. The pushrod will be soldered into the end of the coupler.
Finished product. I used silver solder for a stronger joint. I will do the same steps for the rudder next...
Last edited by VincentJ; 11-29-2019 at 06:29 AM.
11-29-2019, 01:26 PM
#492

Just an FYI Vincent, the gas engine will vibrate a bit more then a glow engine. I have seen those brass solder couplers fracture from vibration. I would suggest you go up to 4-40. A better solution would be to use a brass sleeve soldered in place to couple a short section of threaded steel rod.
11-29-2019, 03:13 PM
#493
Thread Starter
Just an FYI Vincent, the gas engine will vibrate a bit more then a glow engine. I have seen those brass solder couplers fracture from vibration. I would suggest you go up to 4-40. A better solution would be to use a brass sleeve soldered in place to couple a short section of threaded steel rod.
Last edited by VincentJ; 11-29-2019 at 03:18 PM.


 12-01-2019, 12:25 PM
#497
Thread Starter
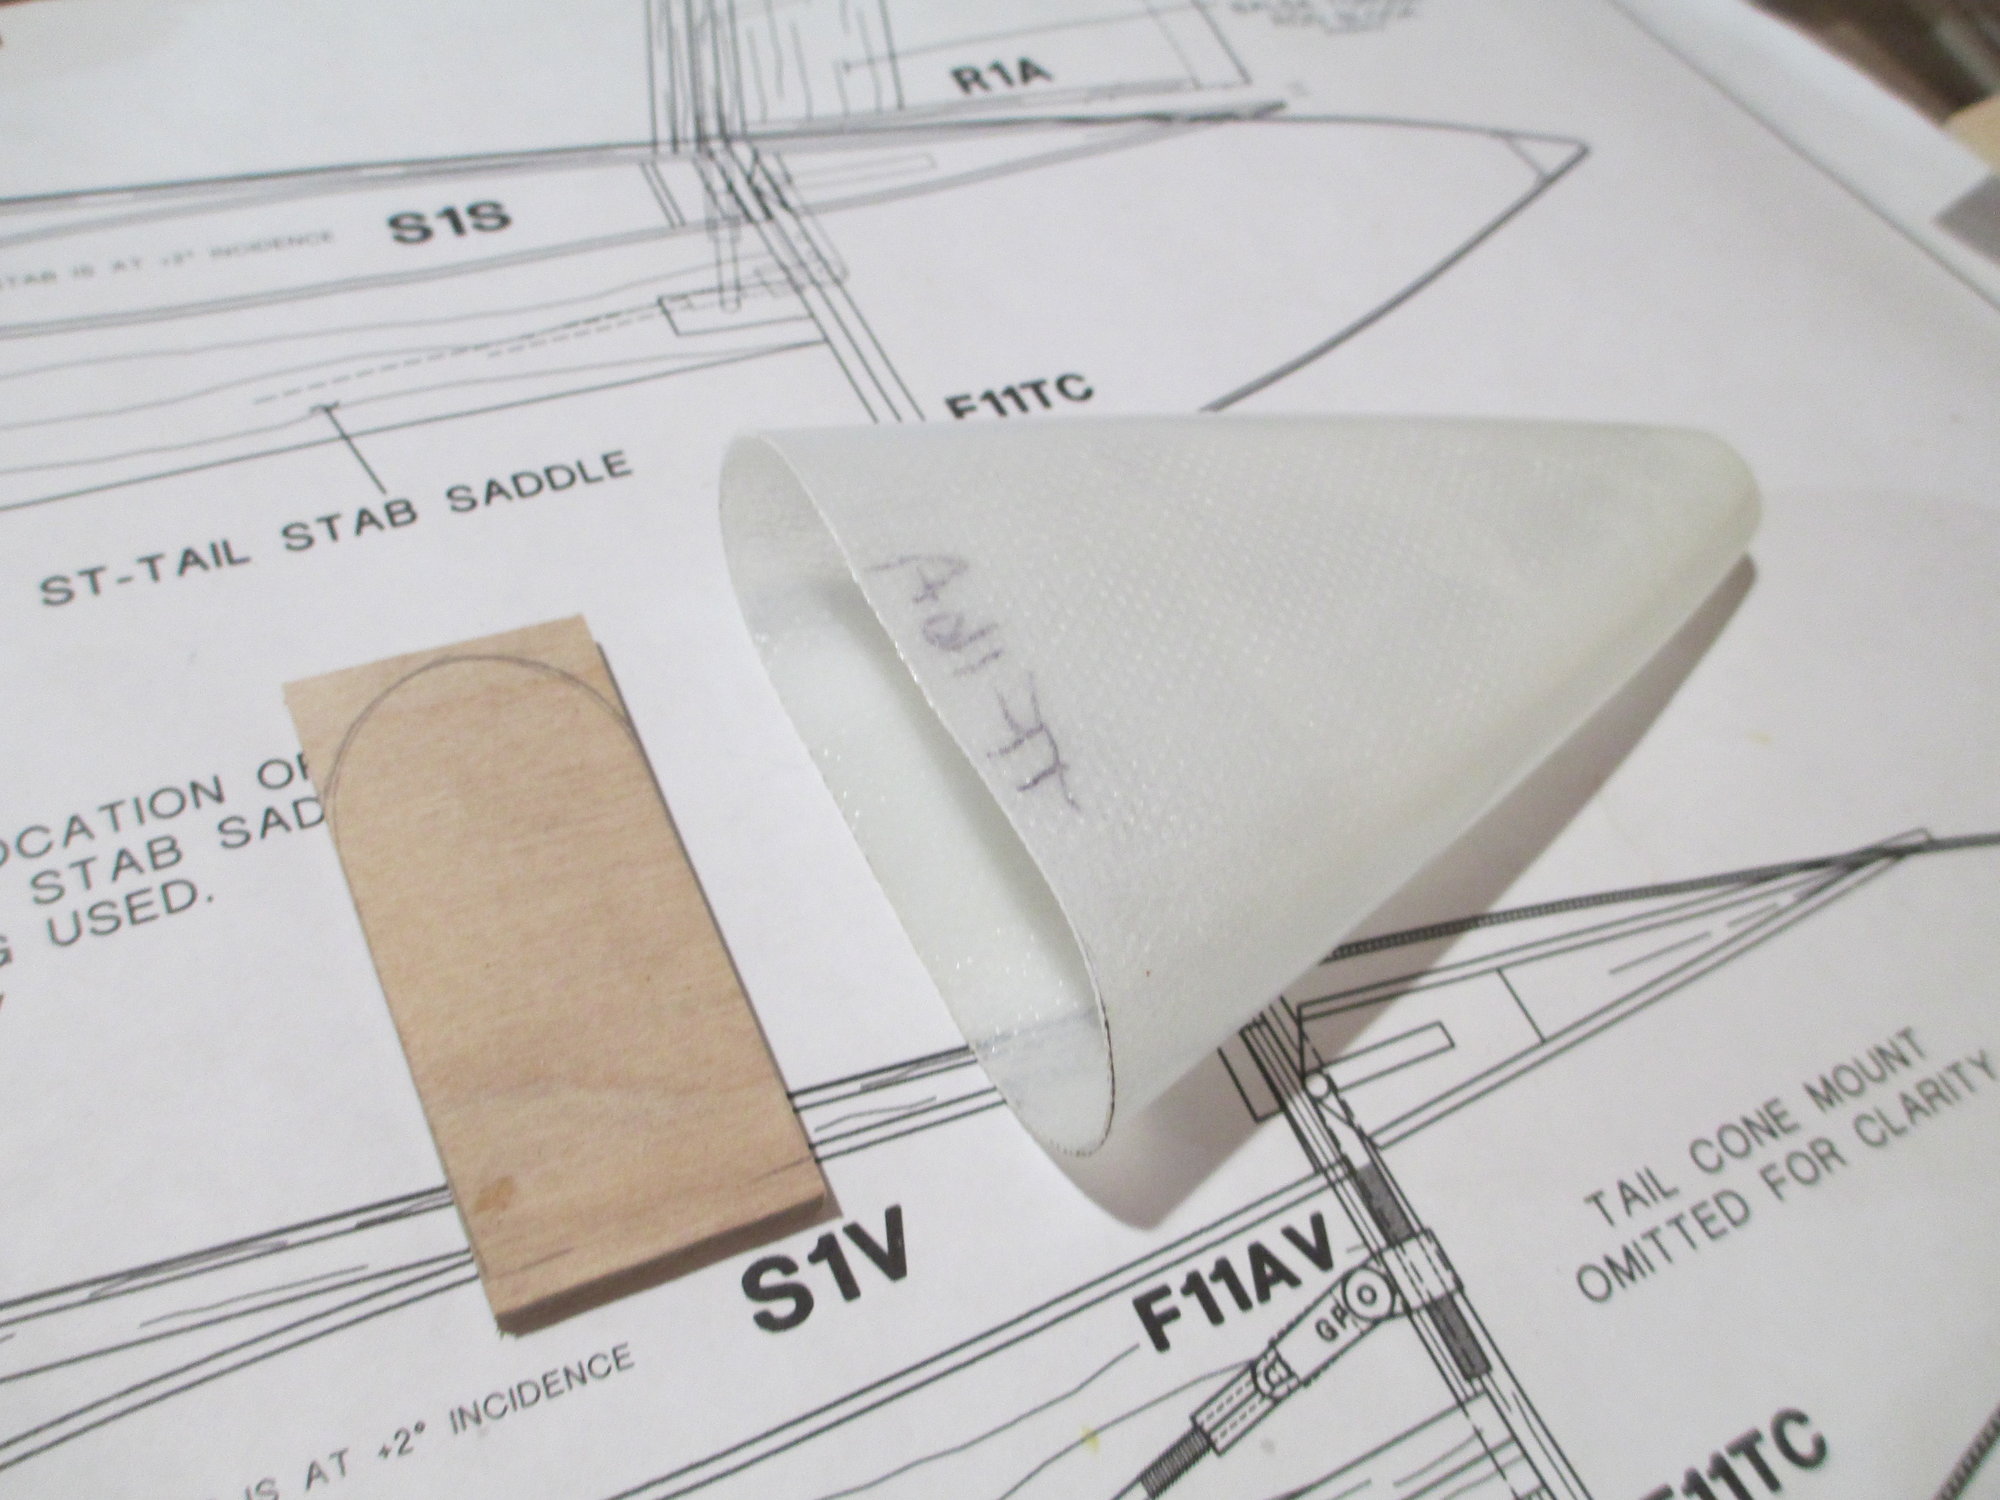
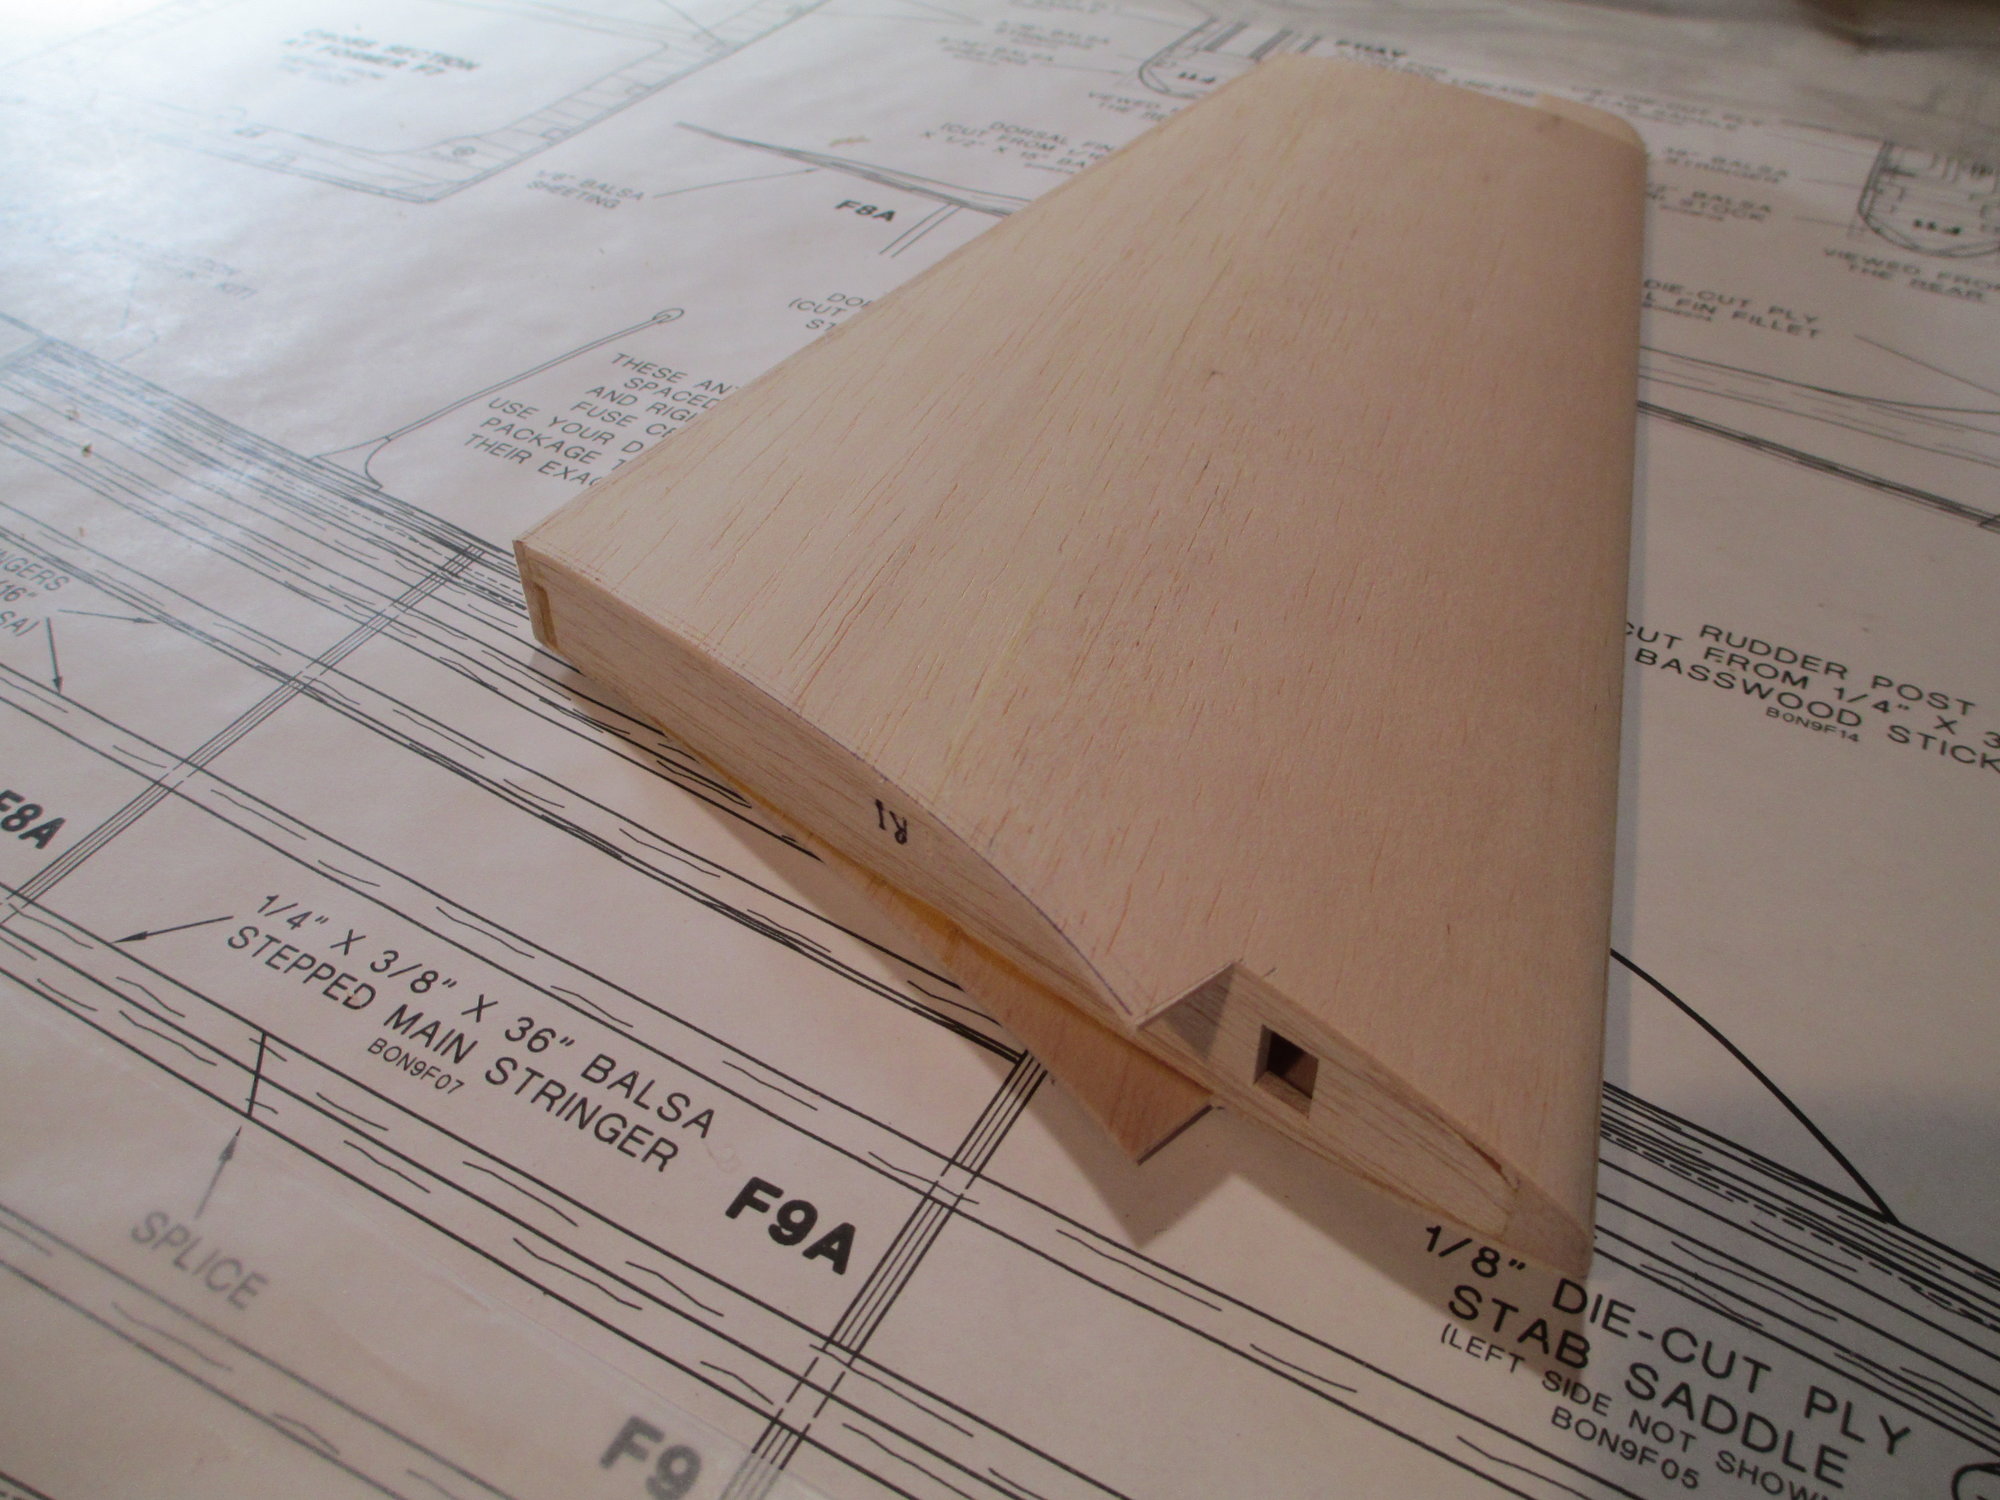
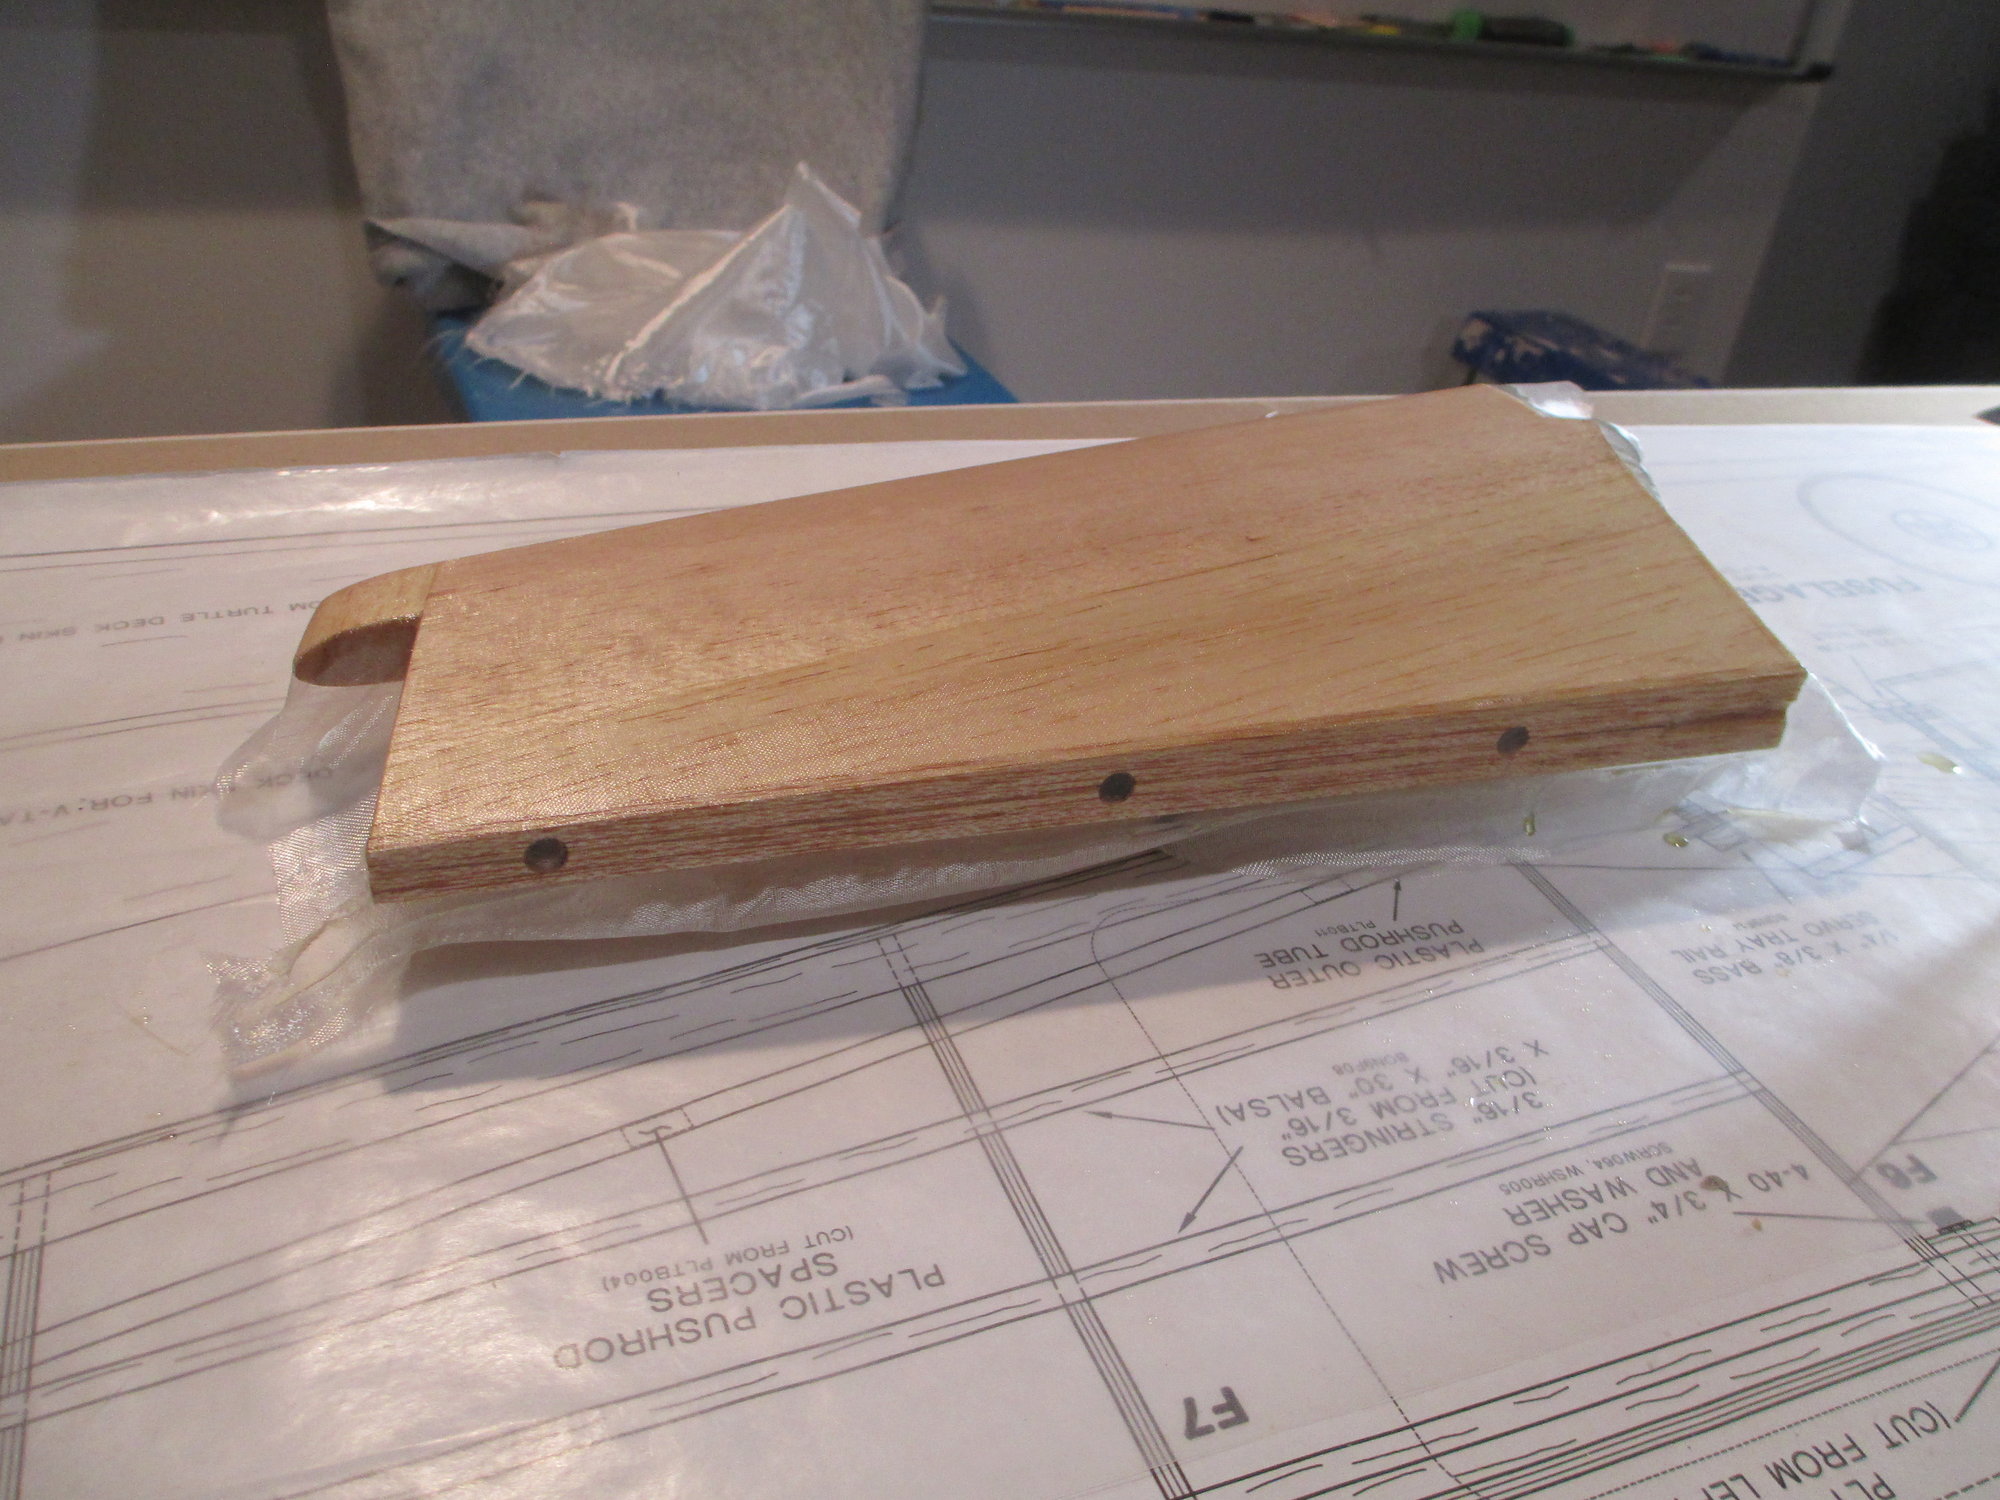
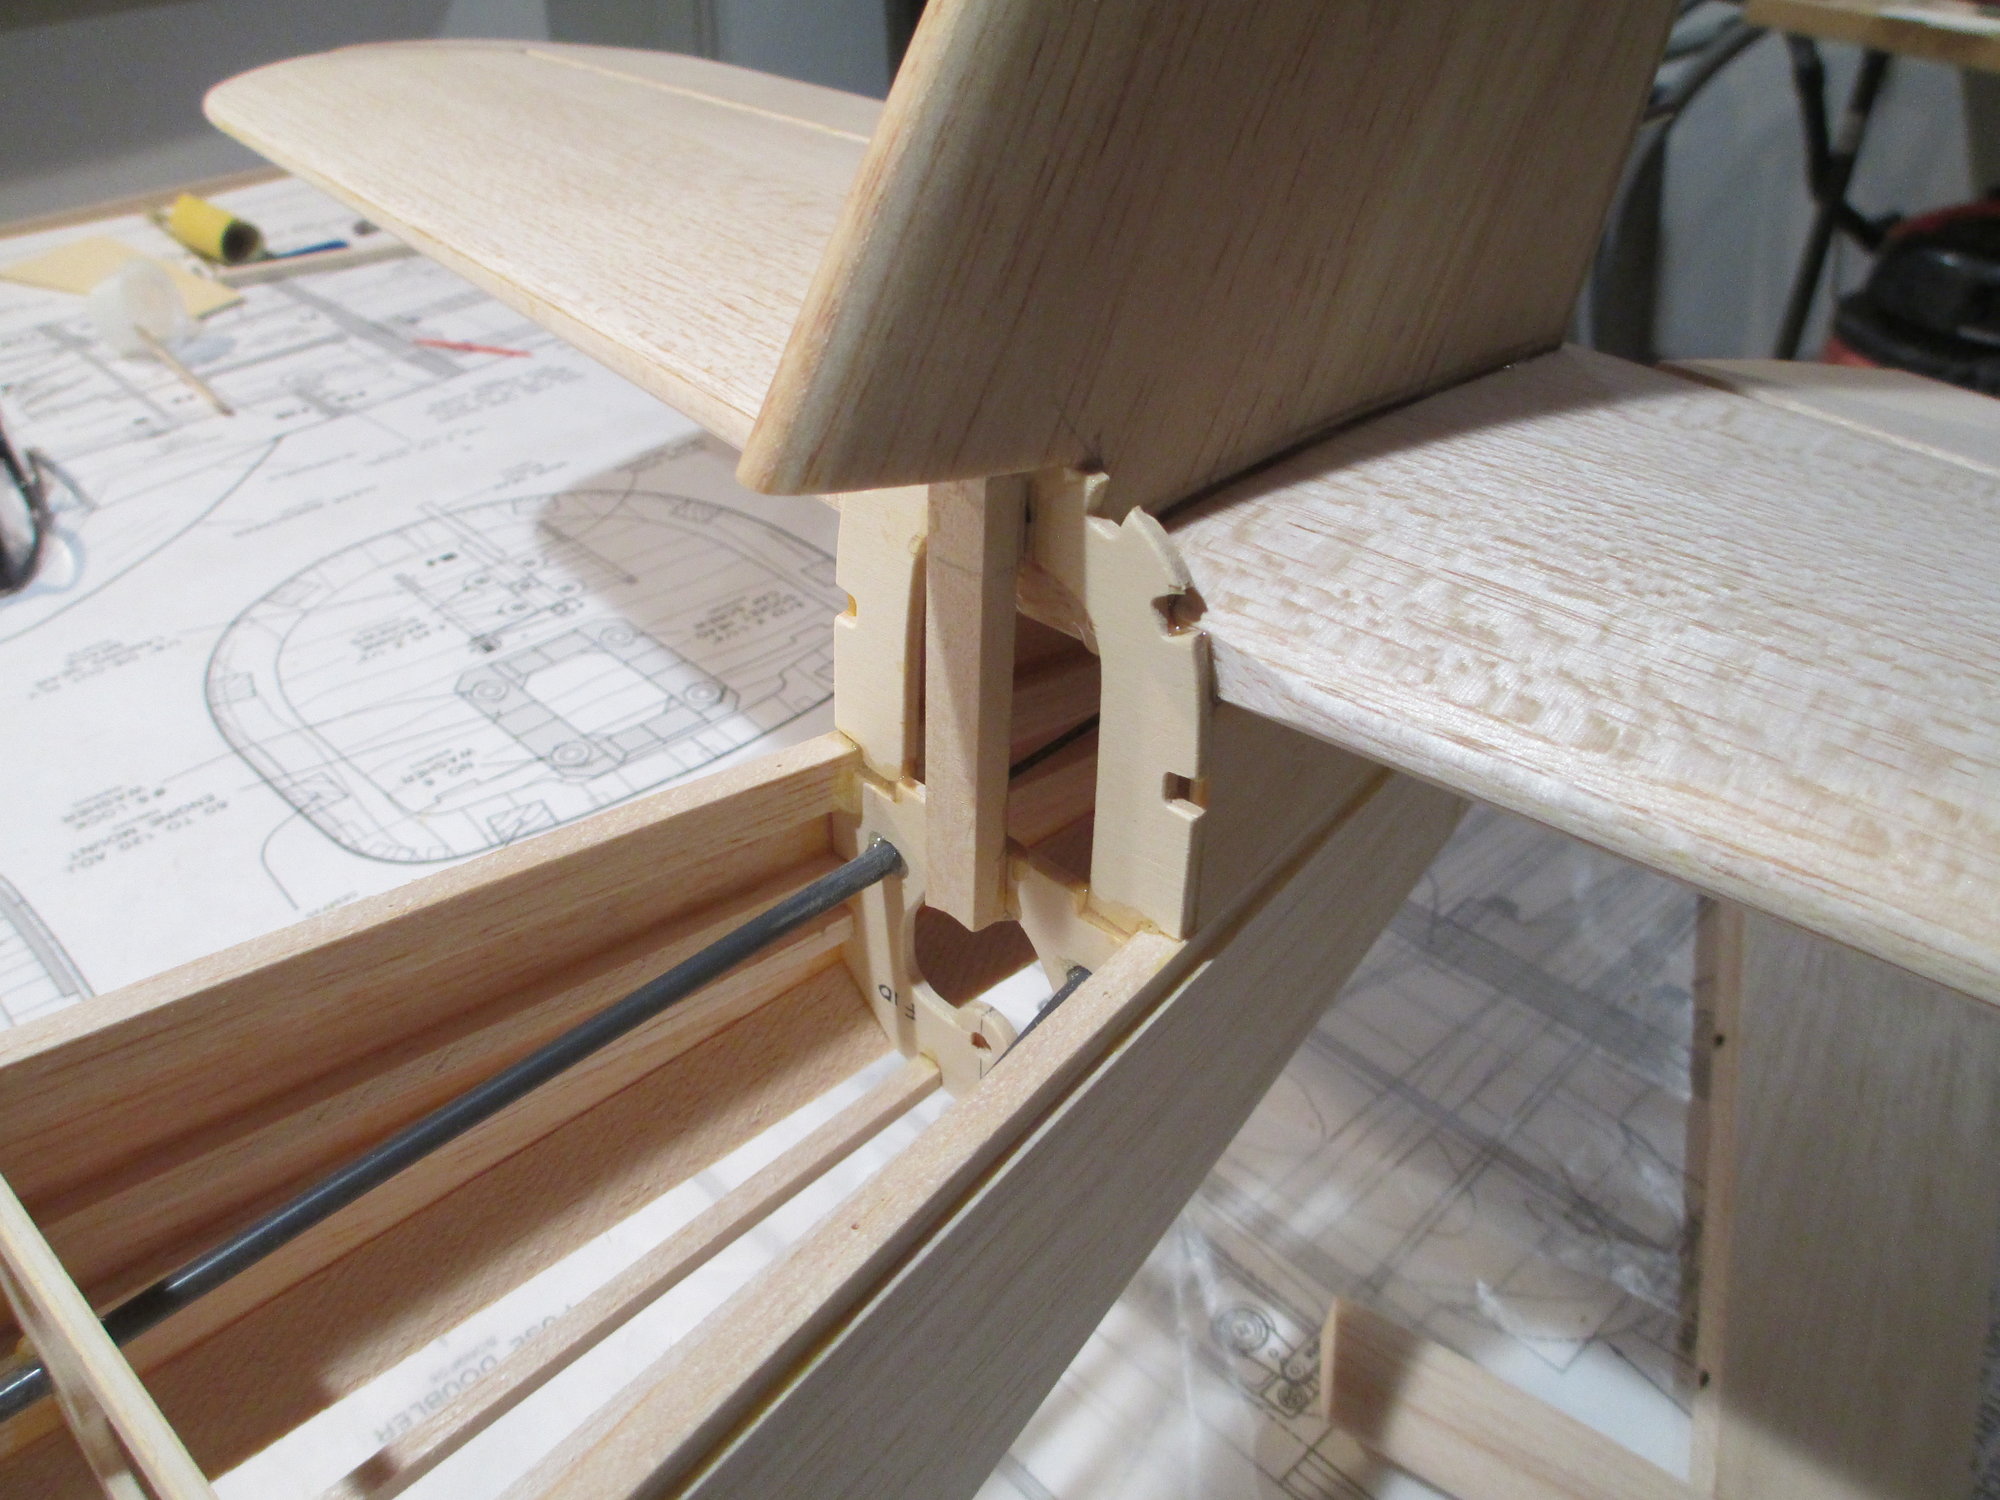
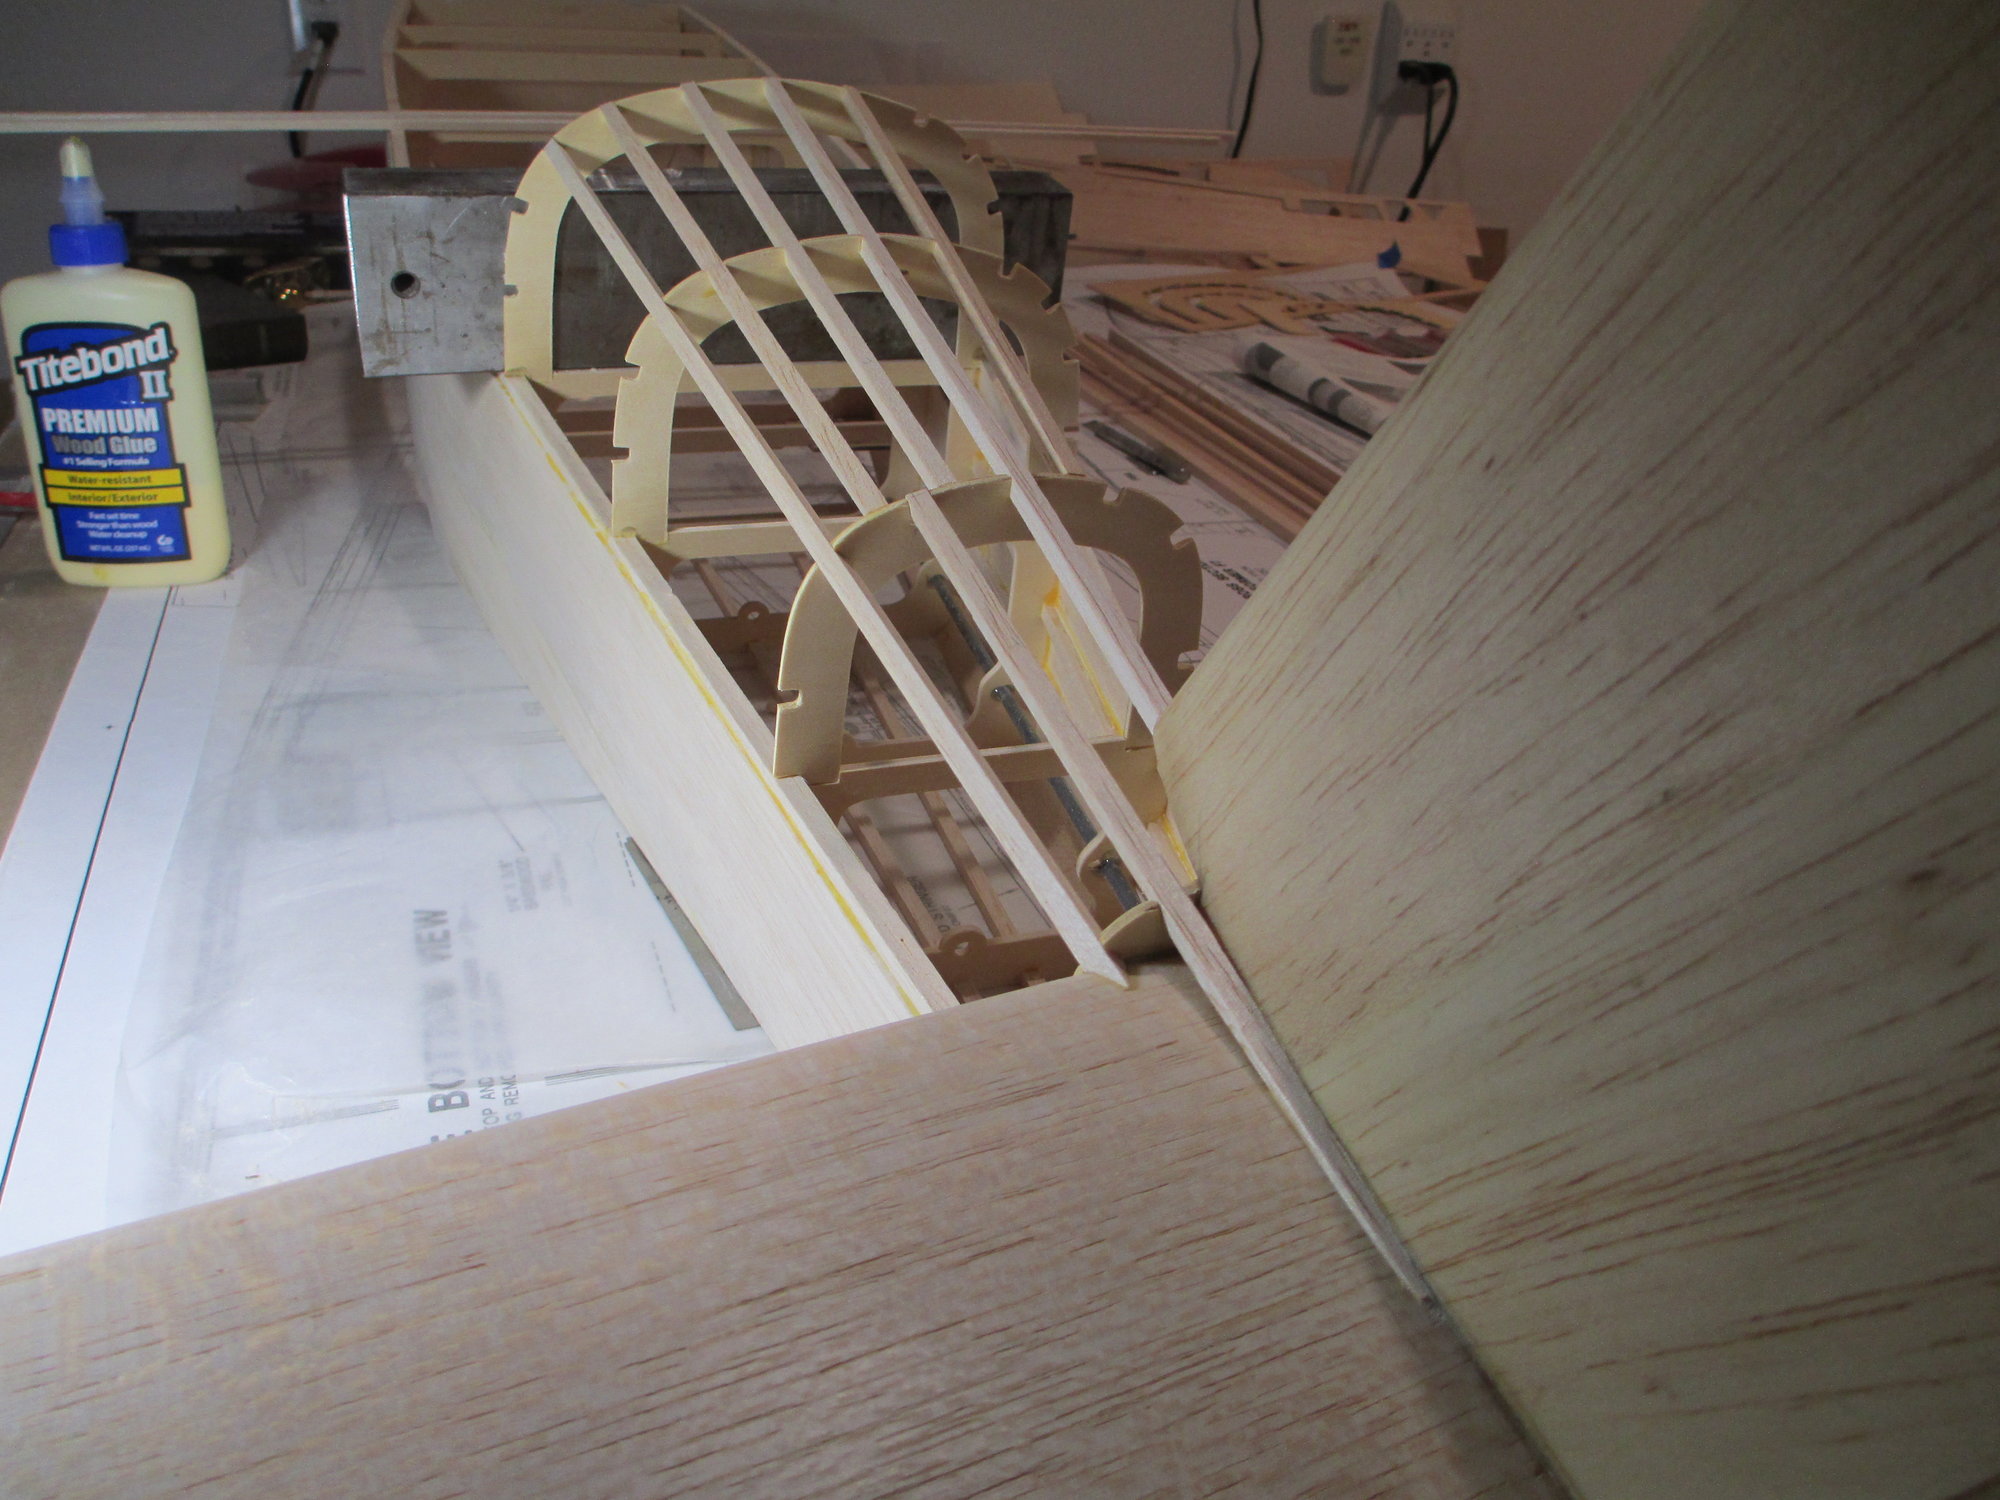
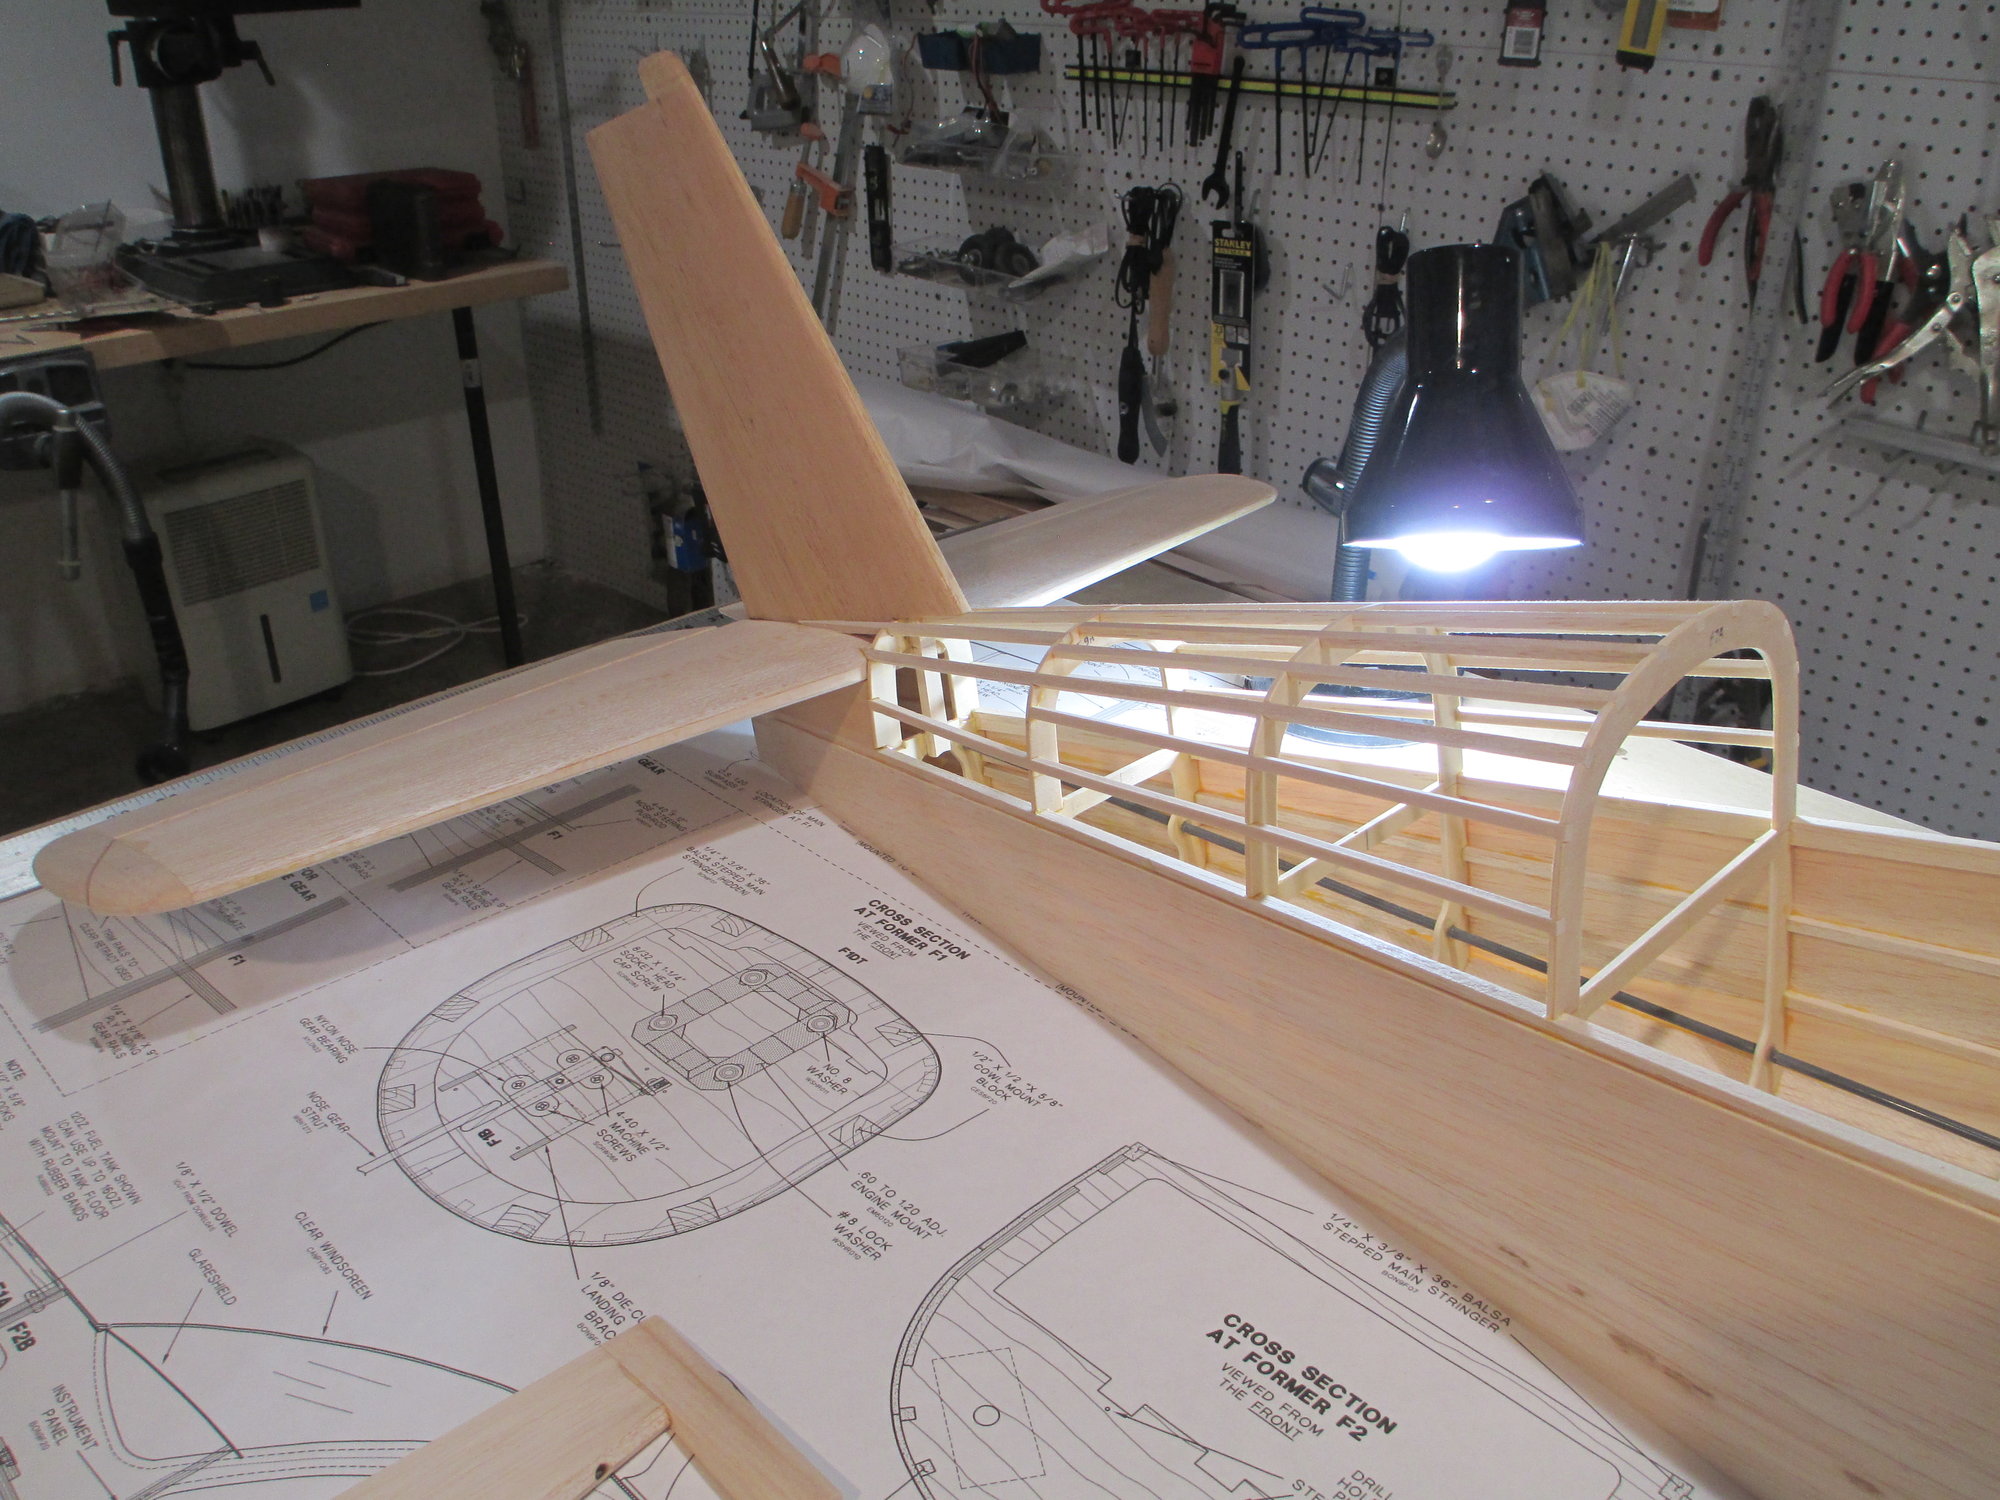
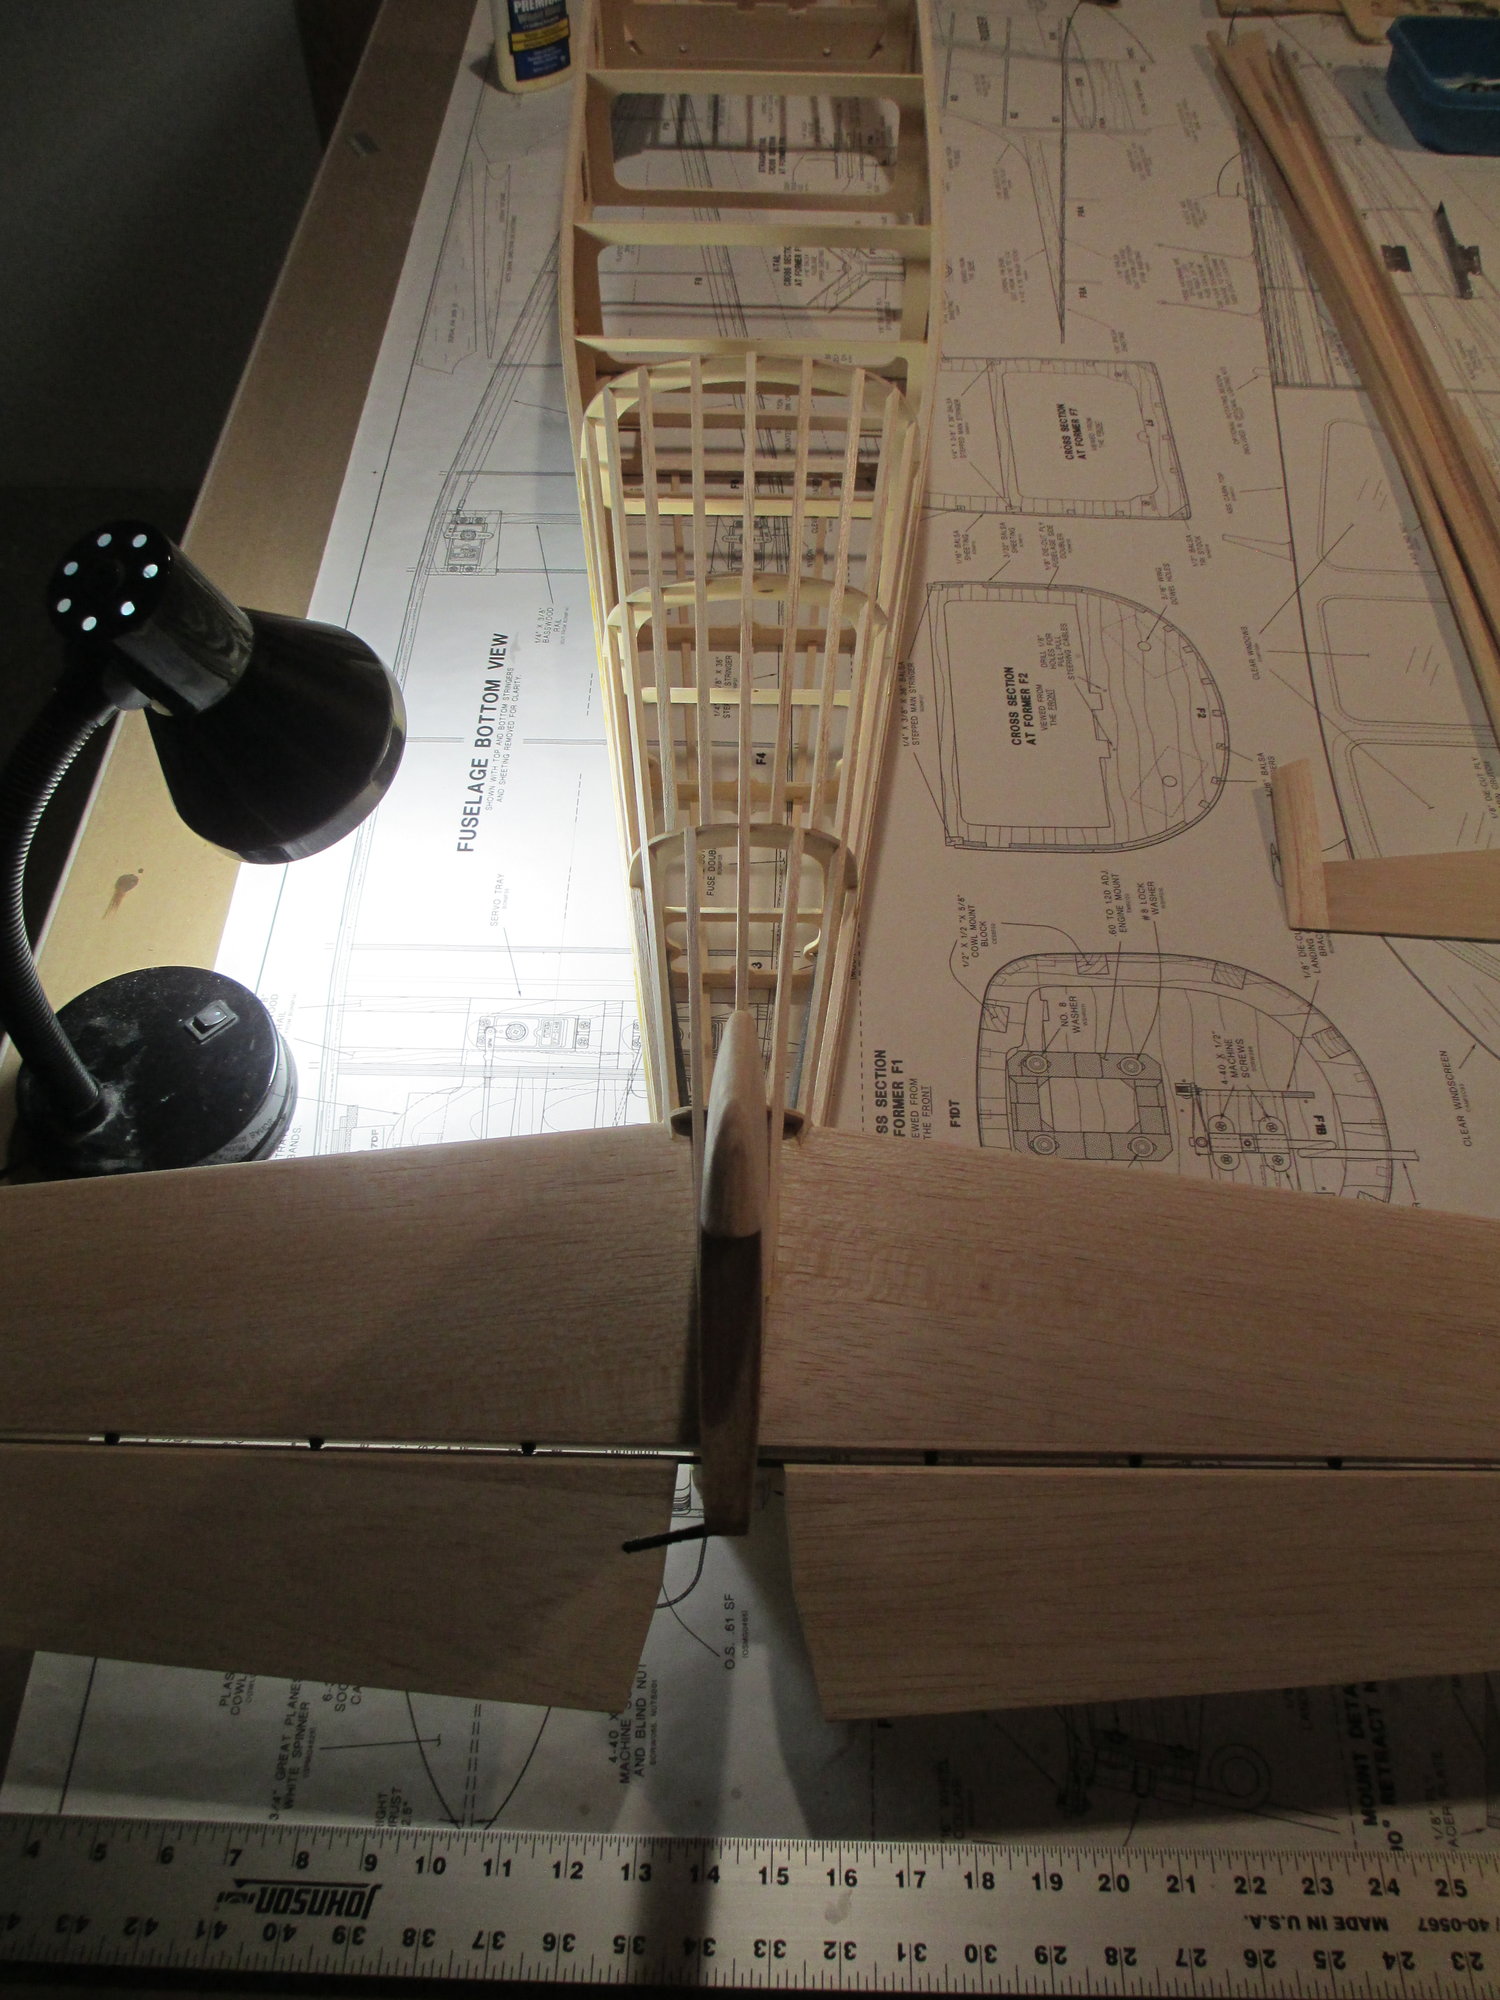
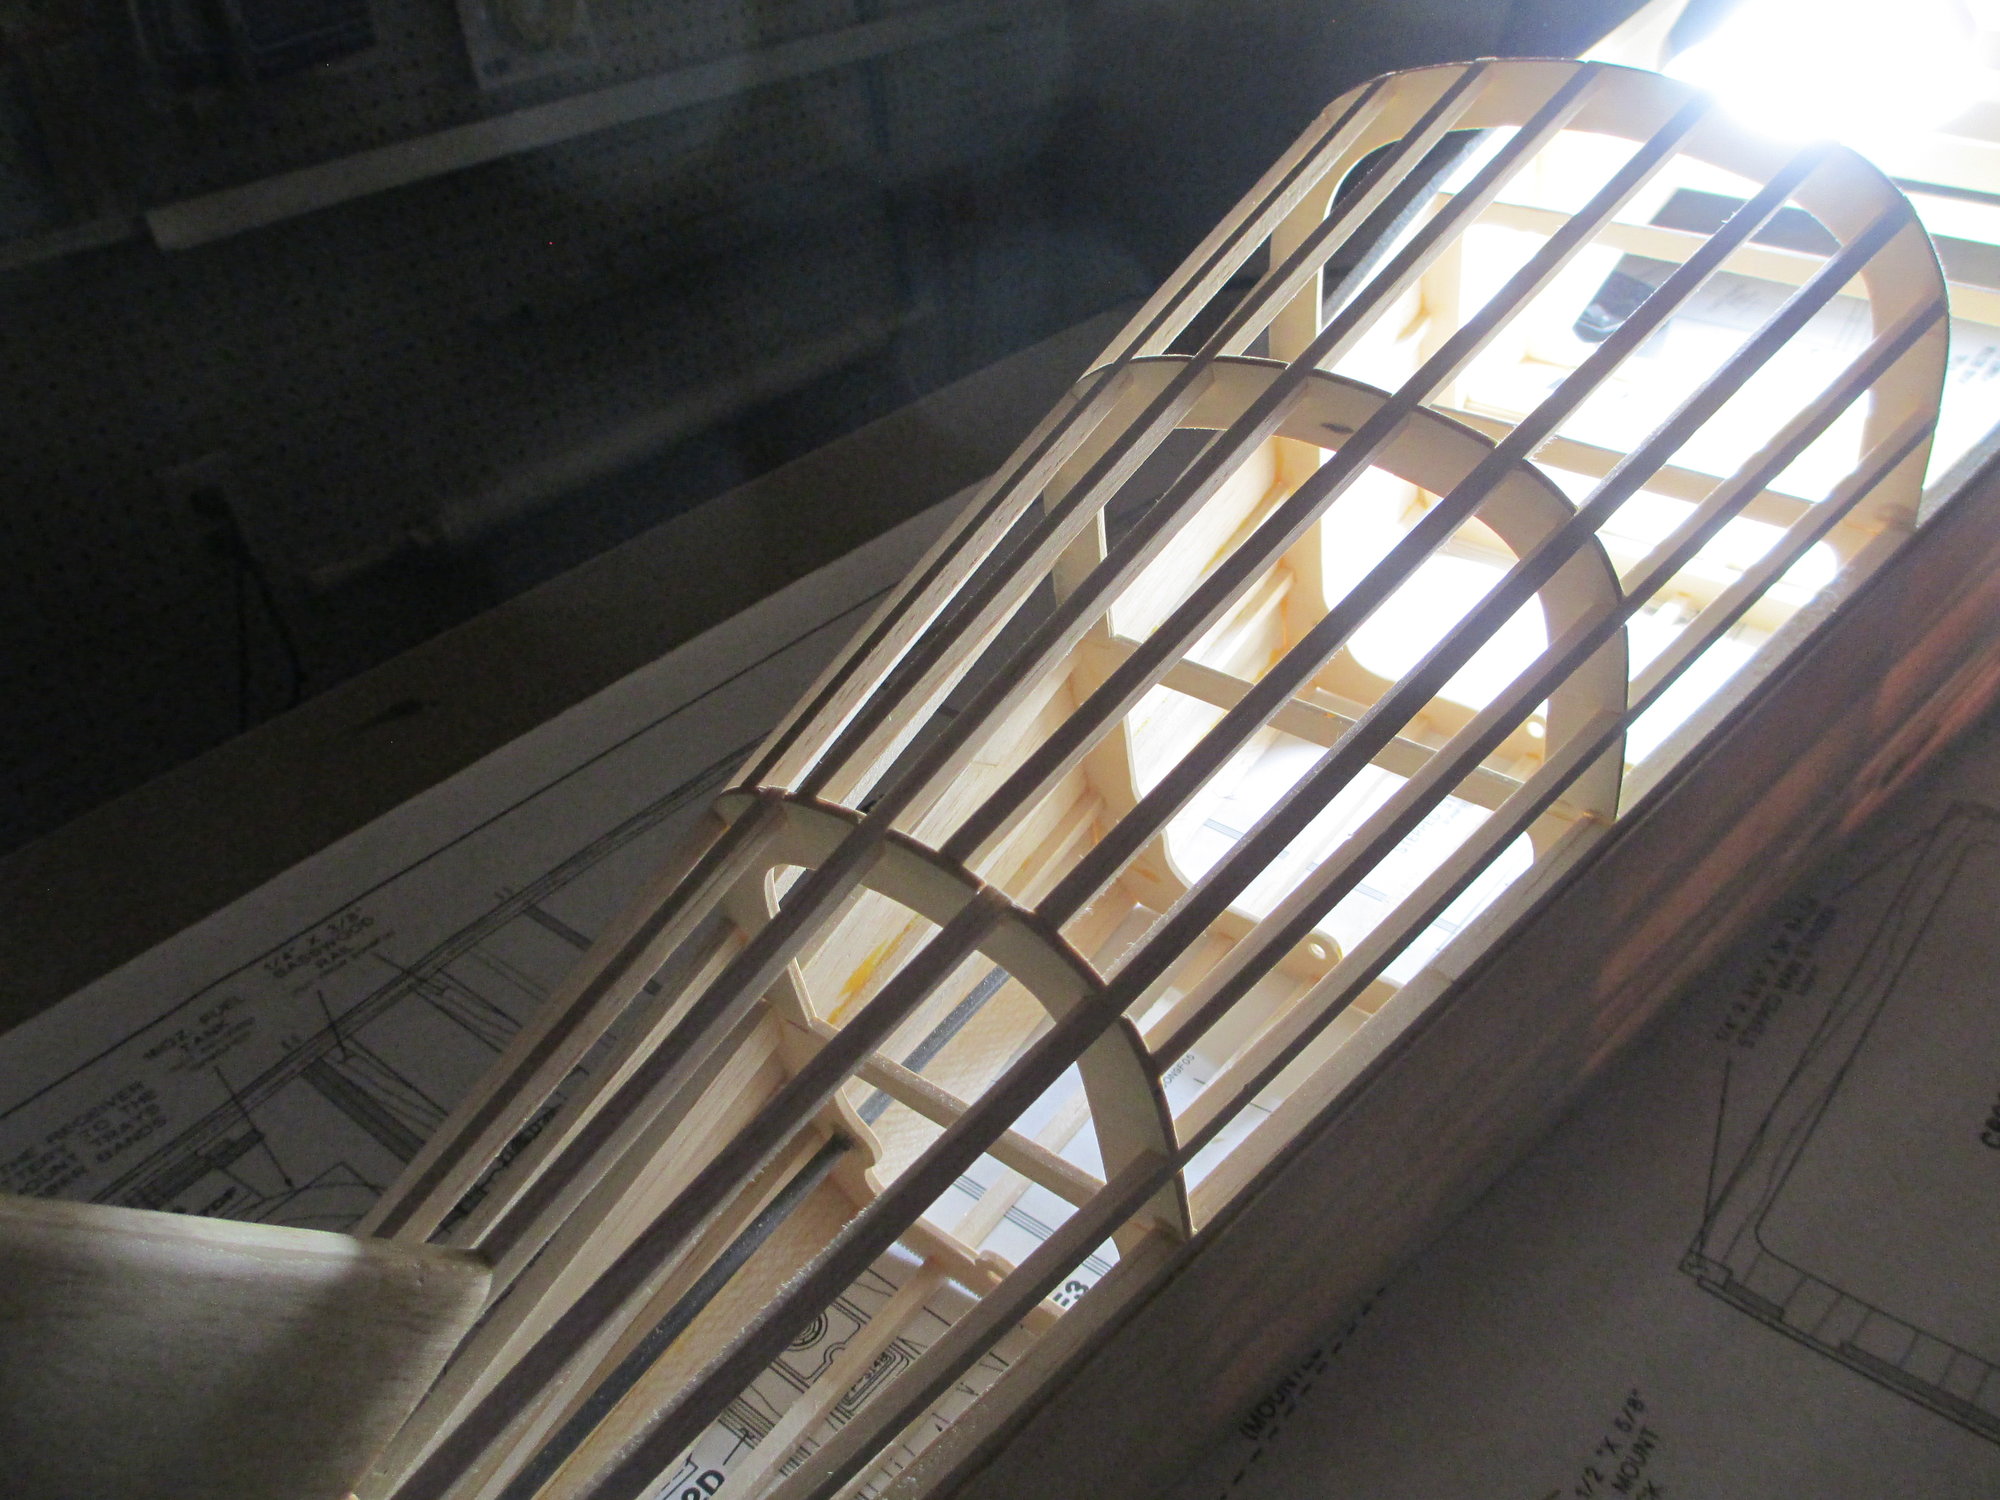
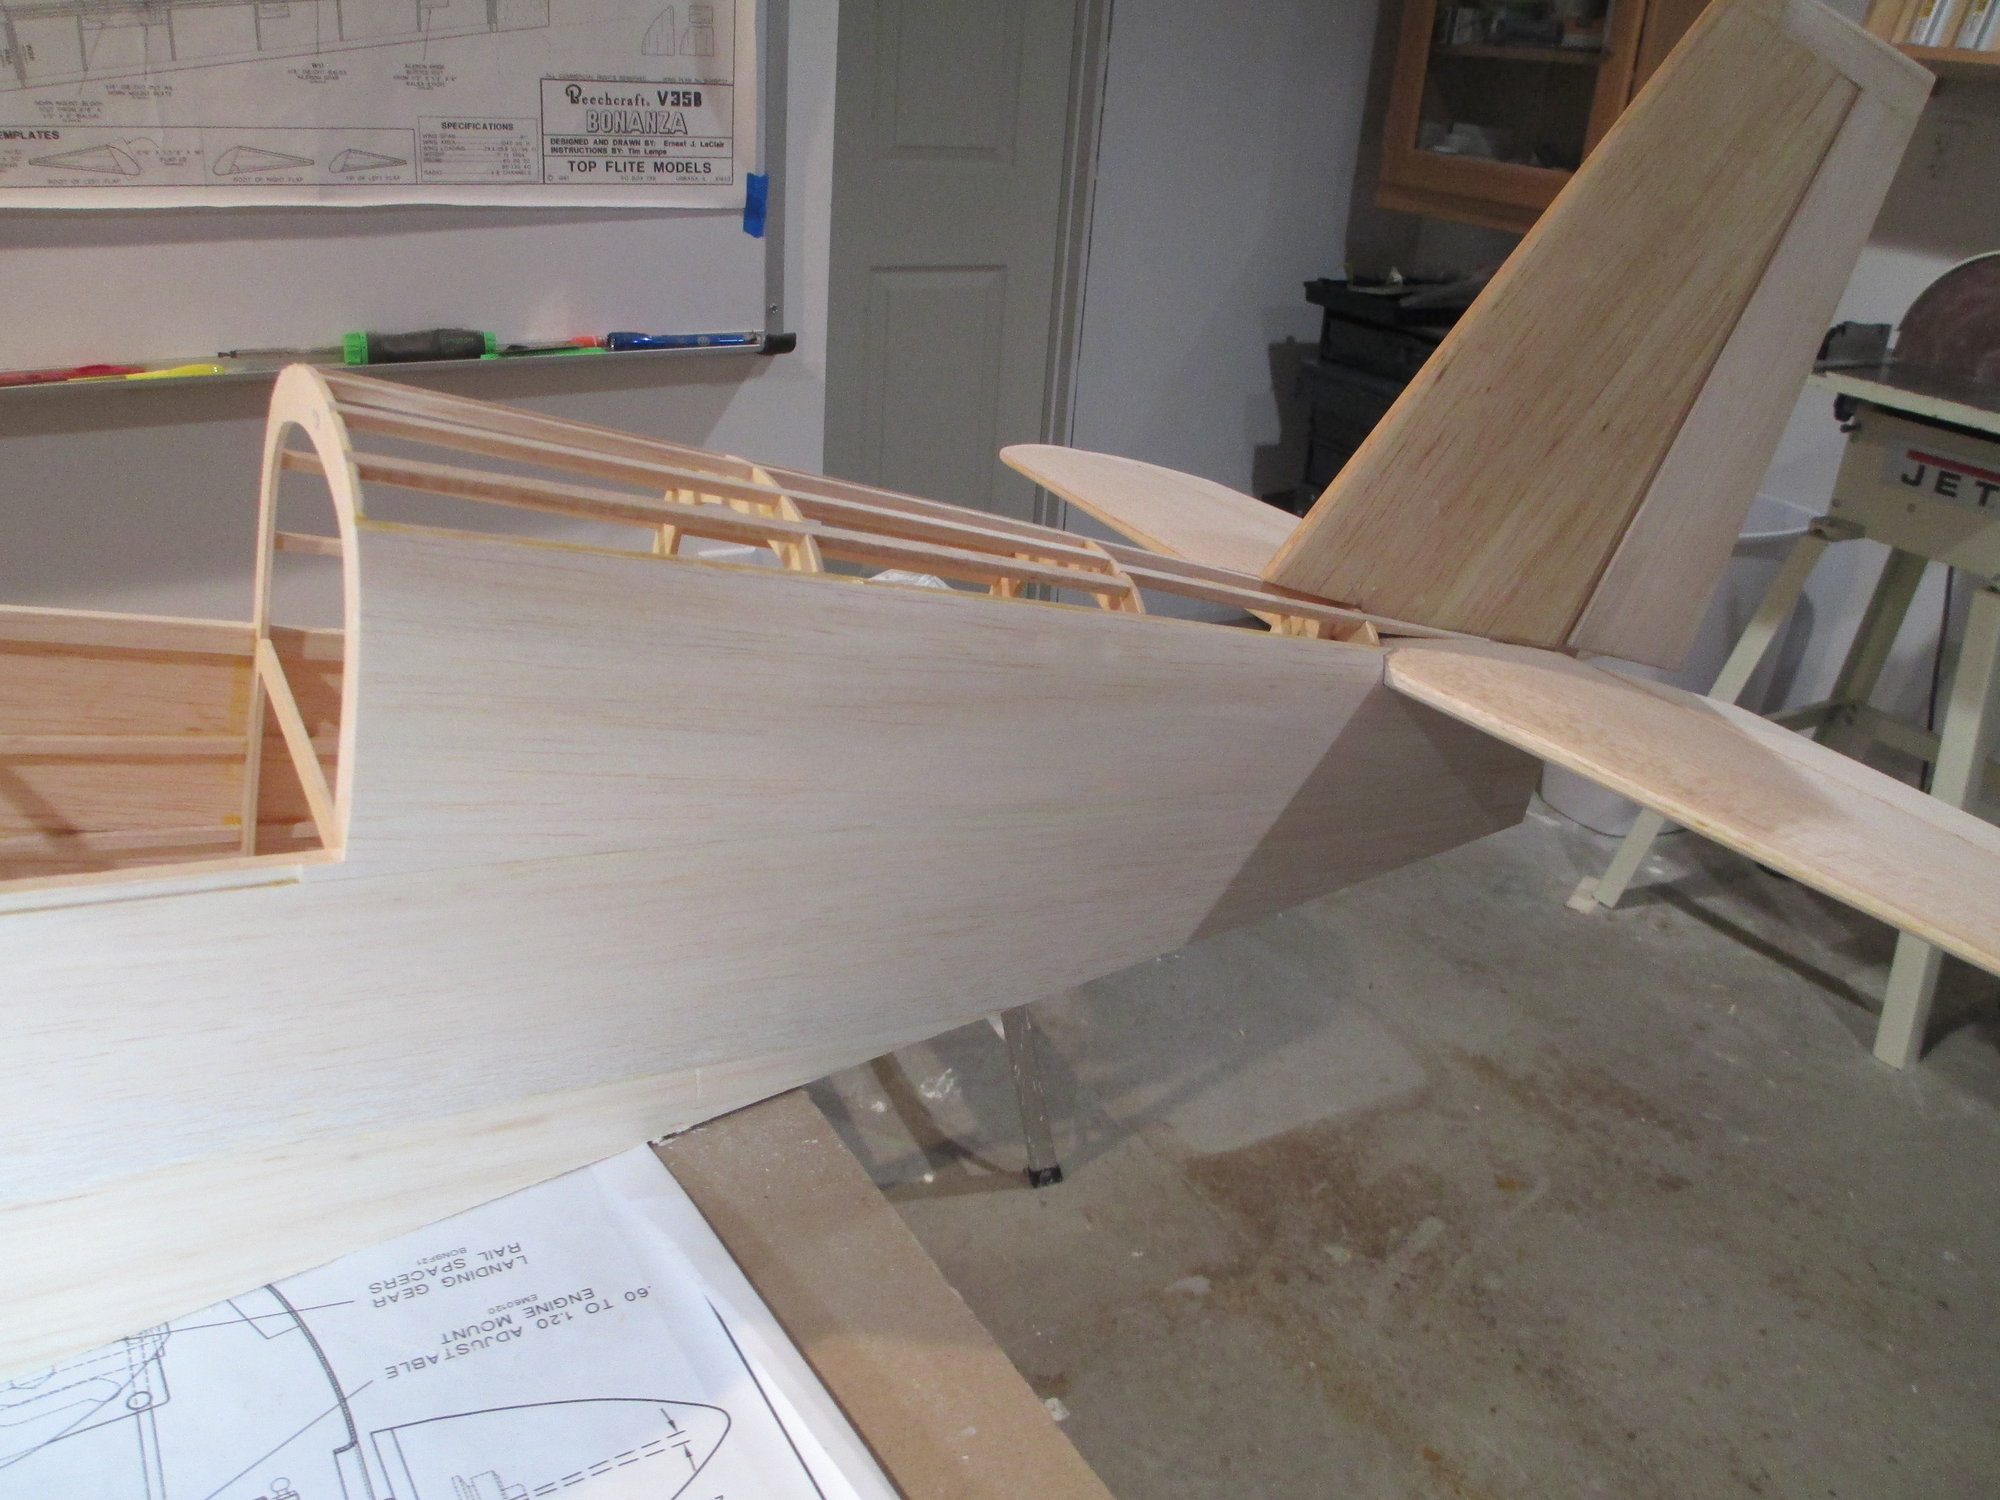
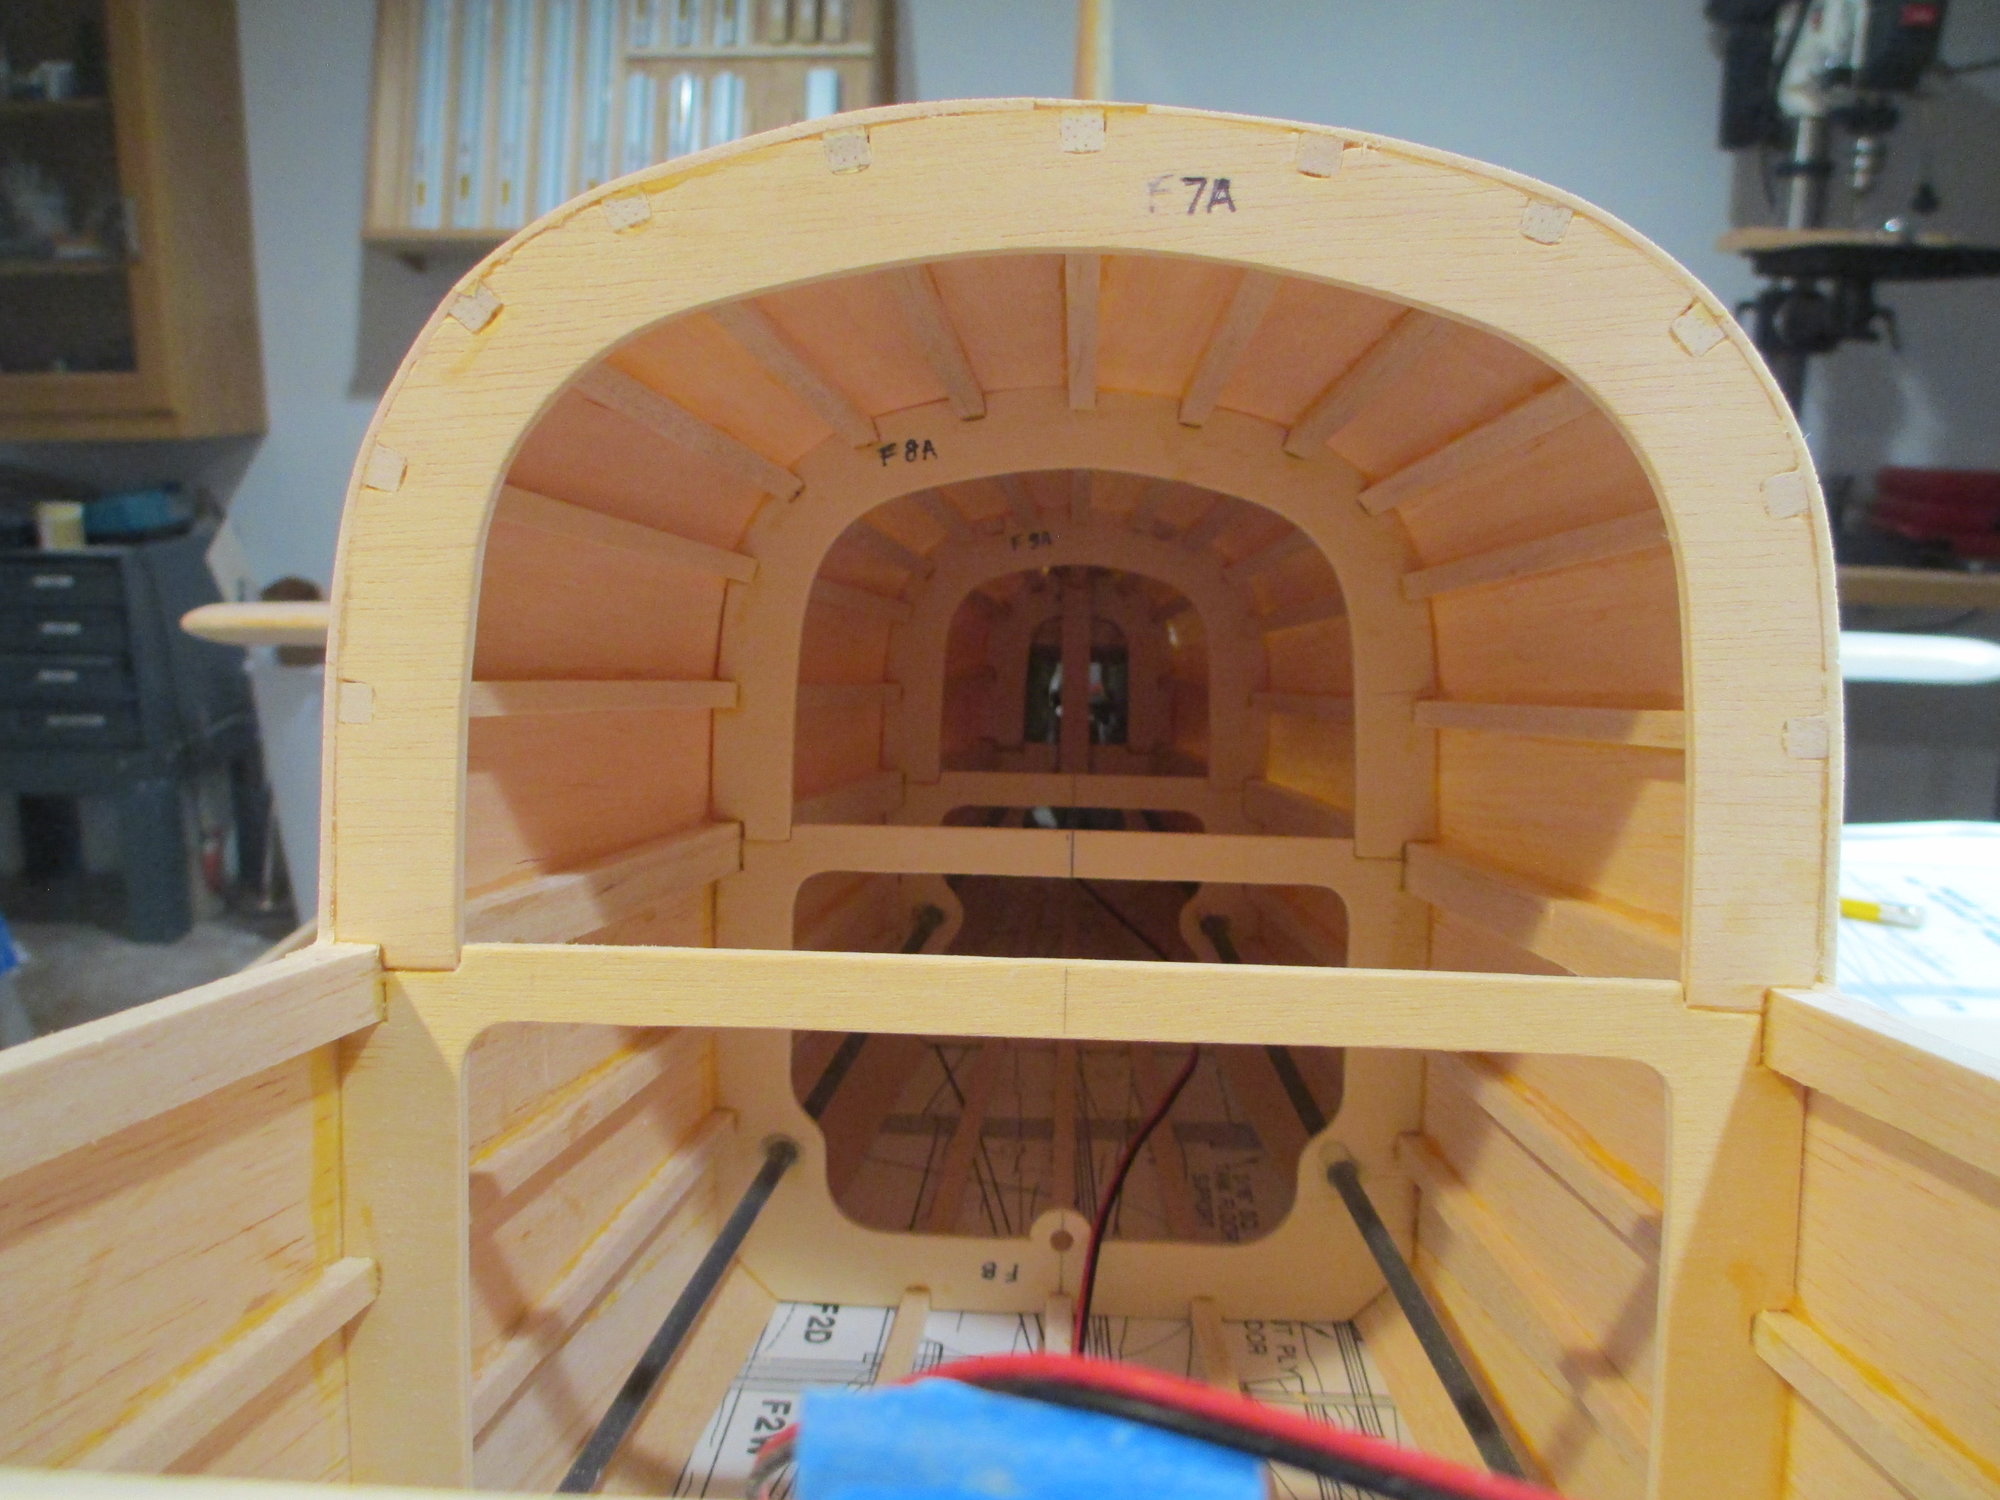
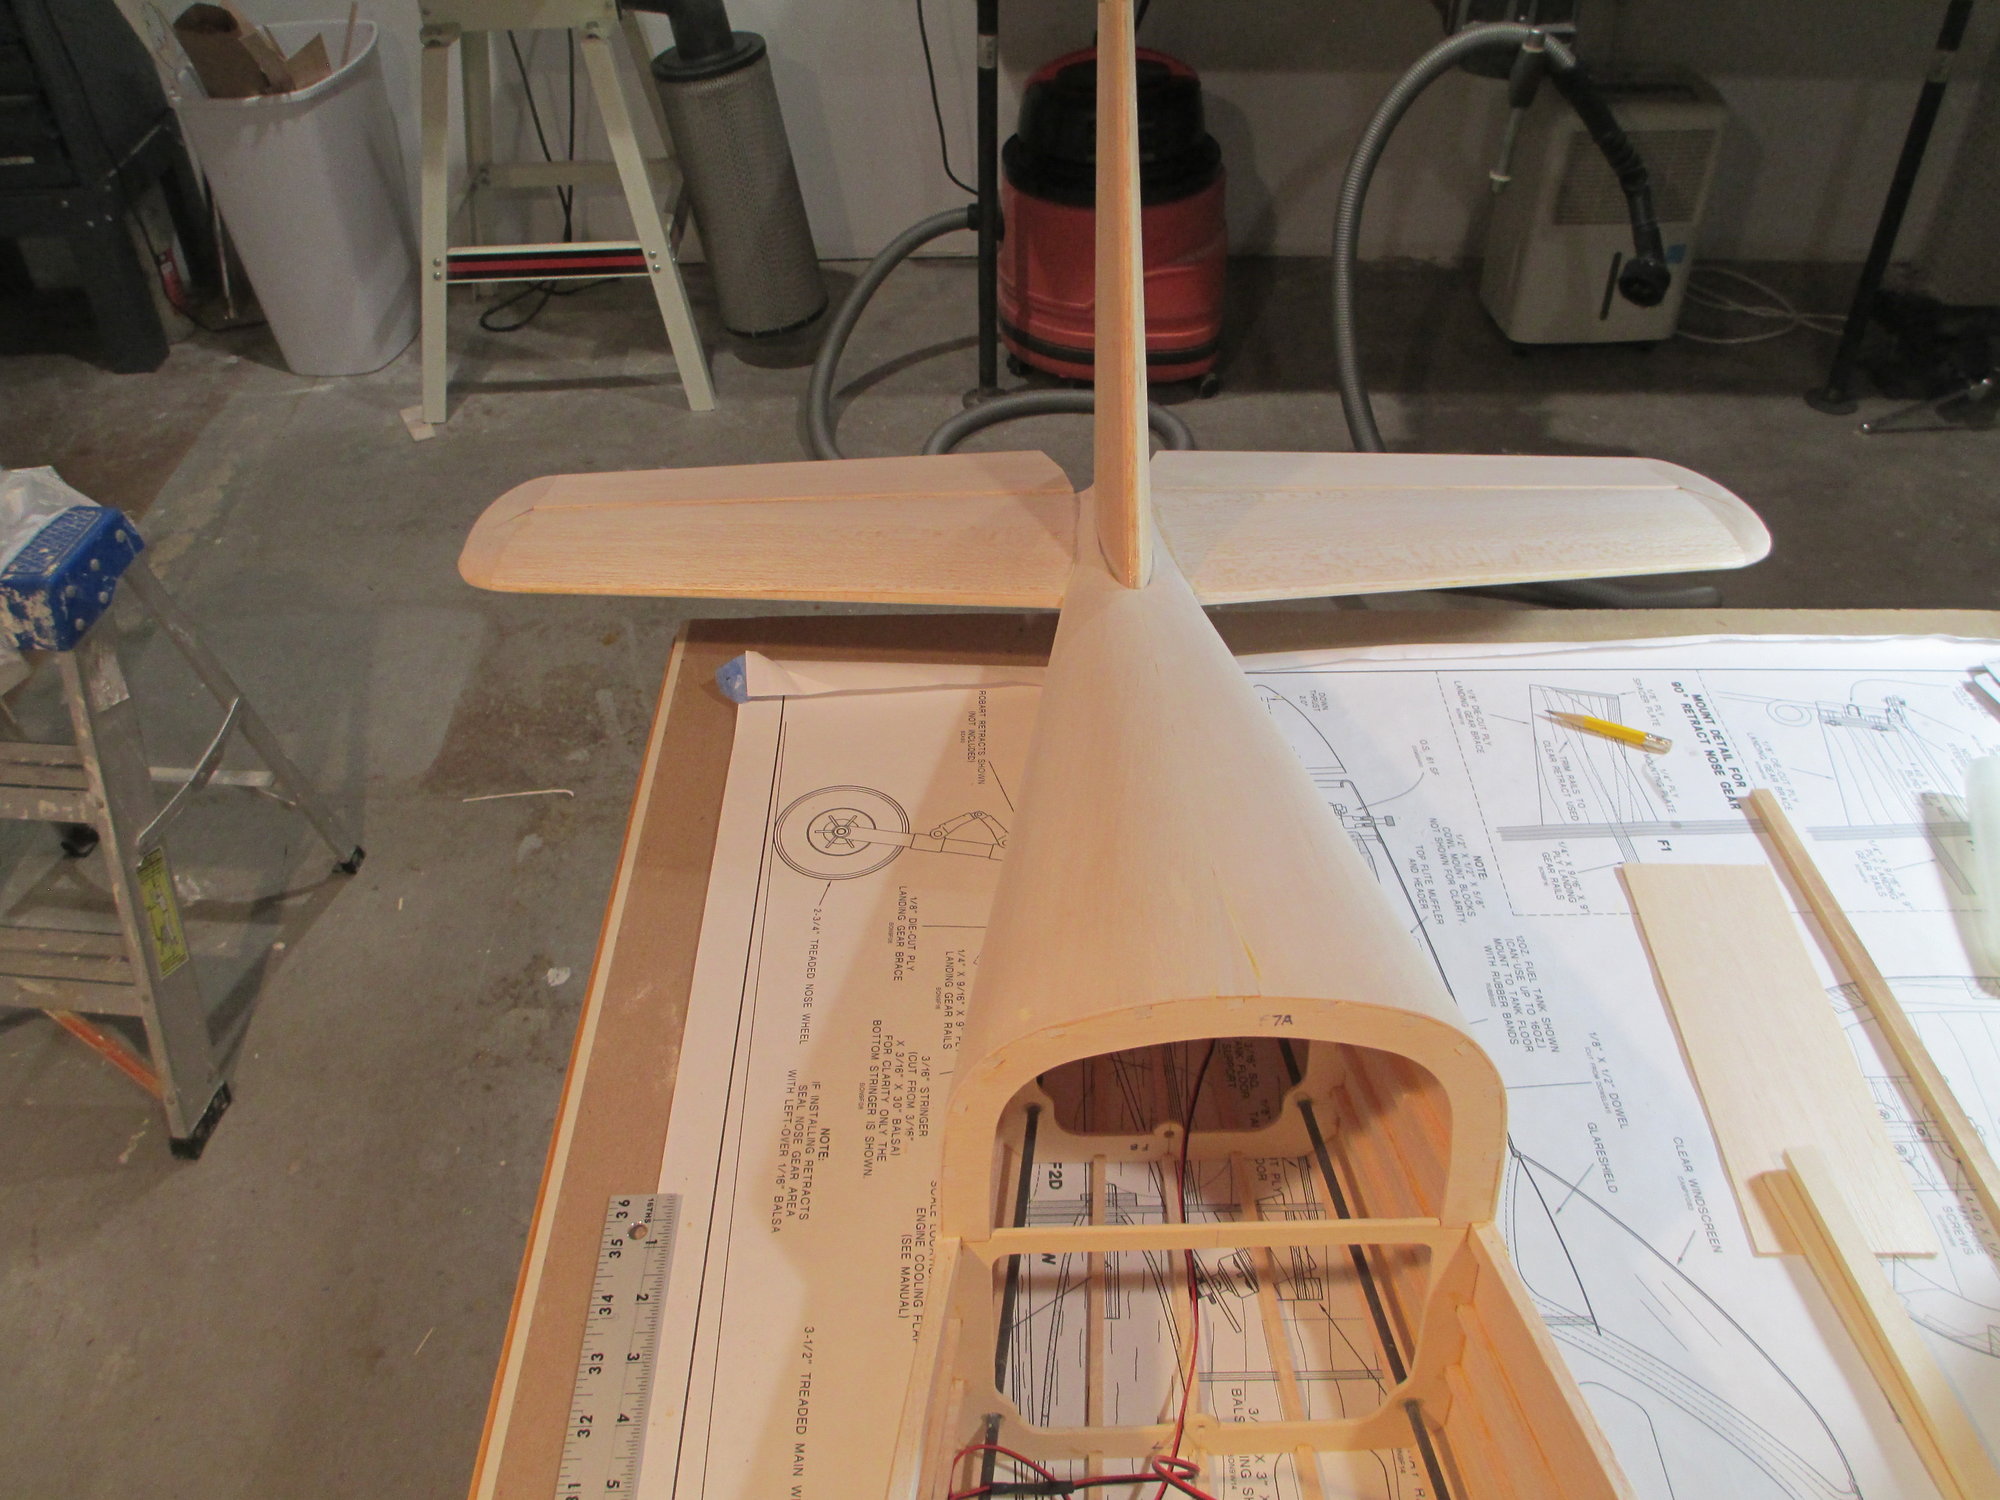
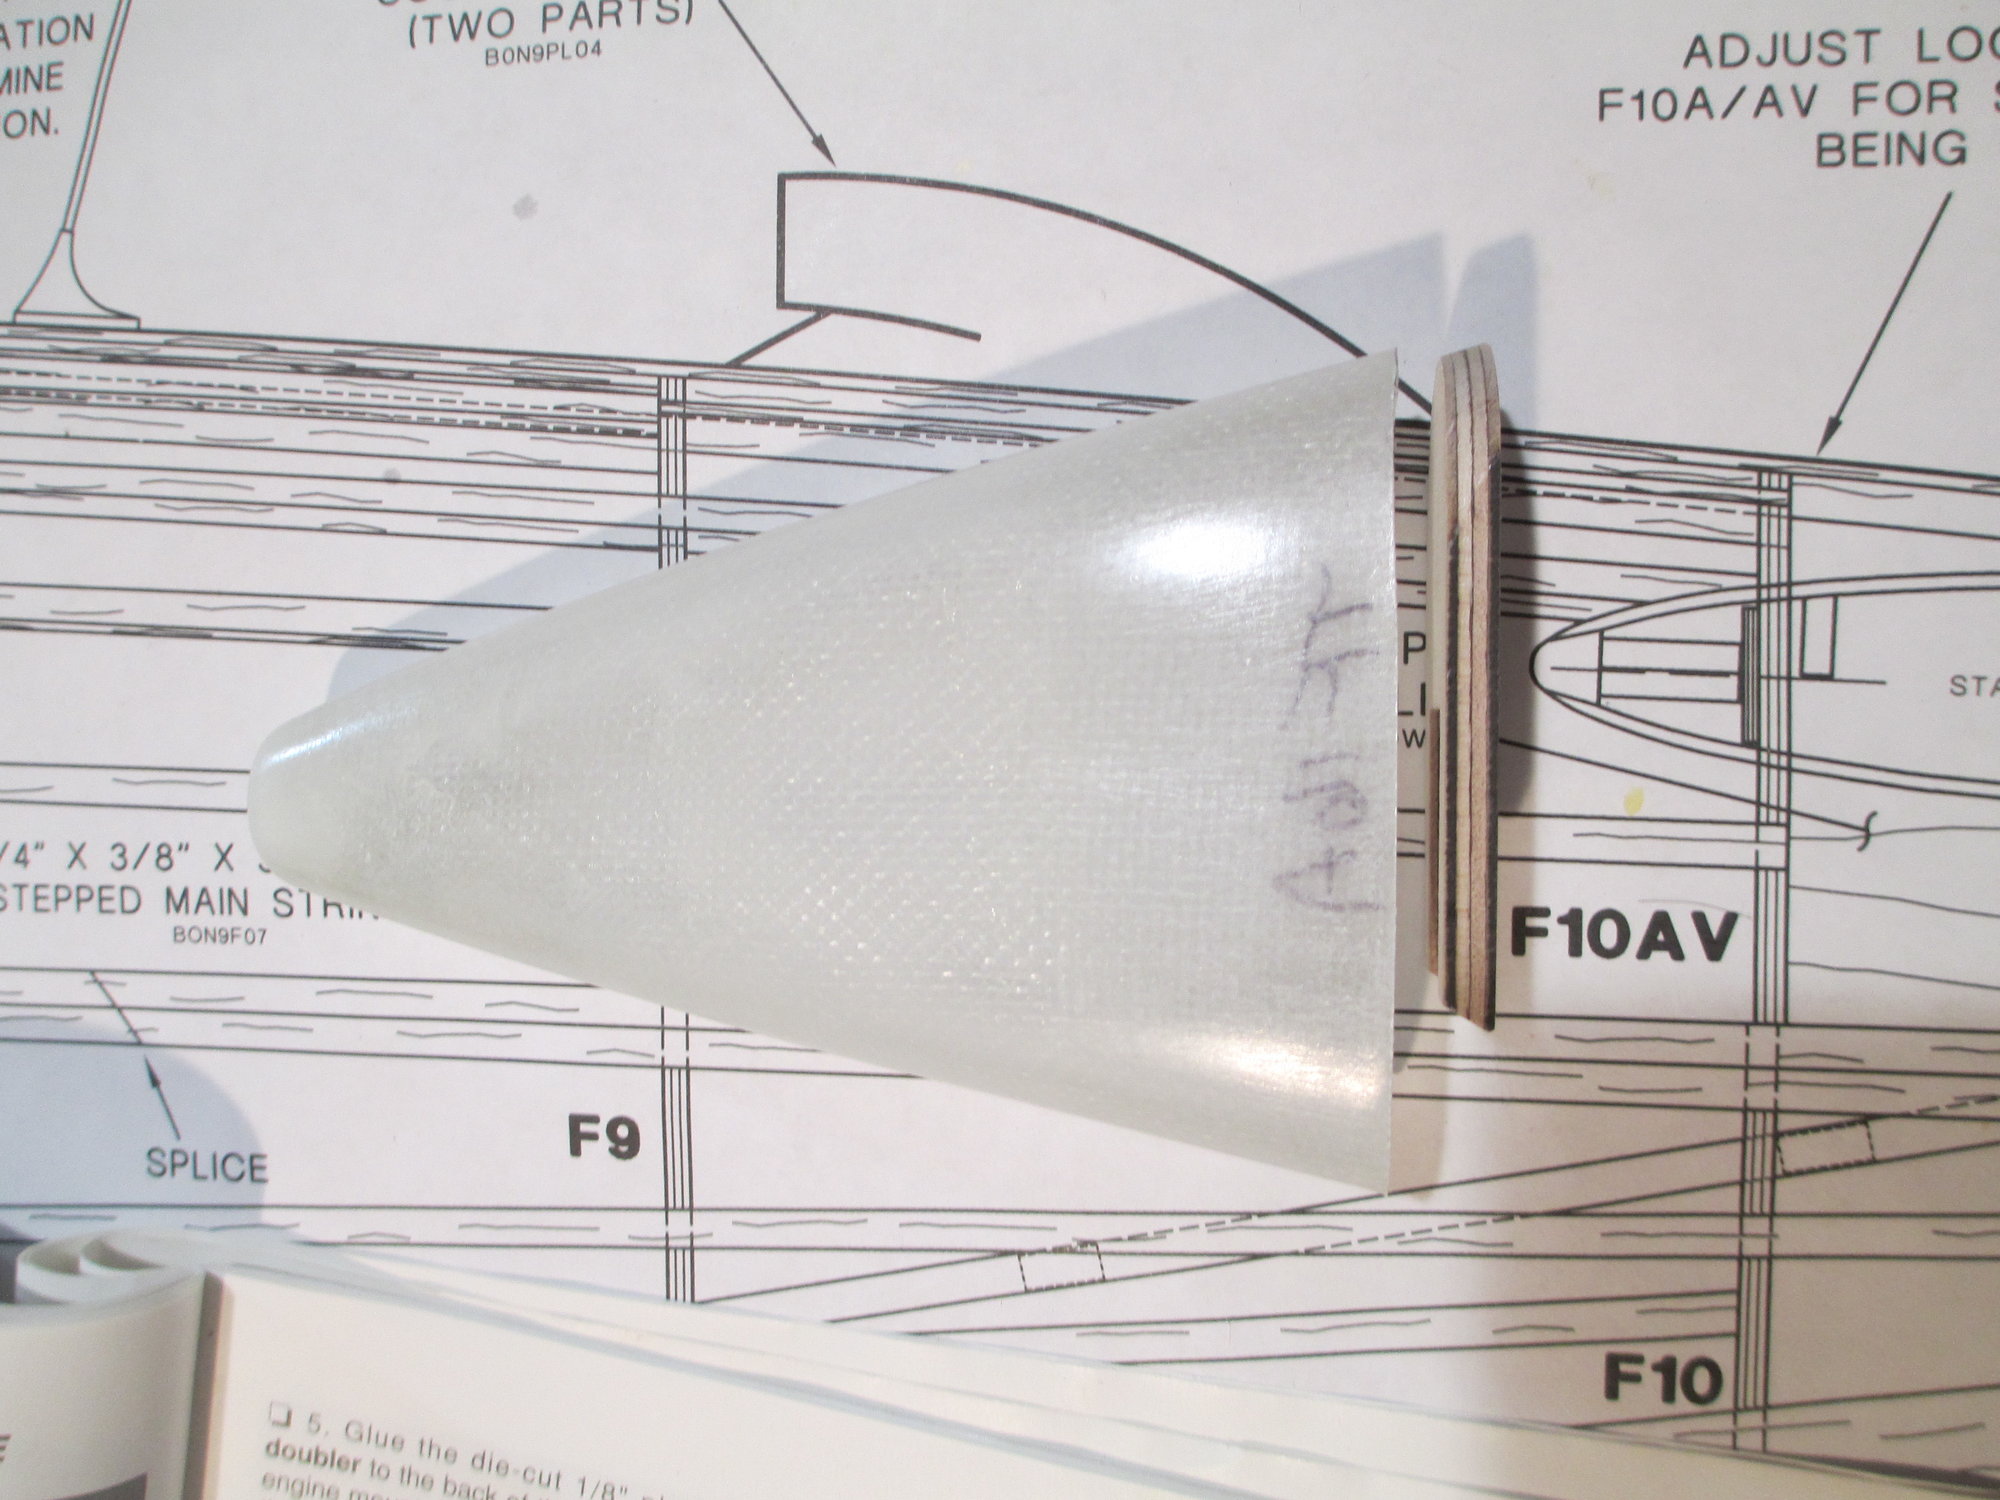
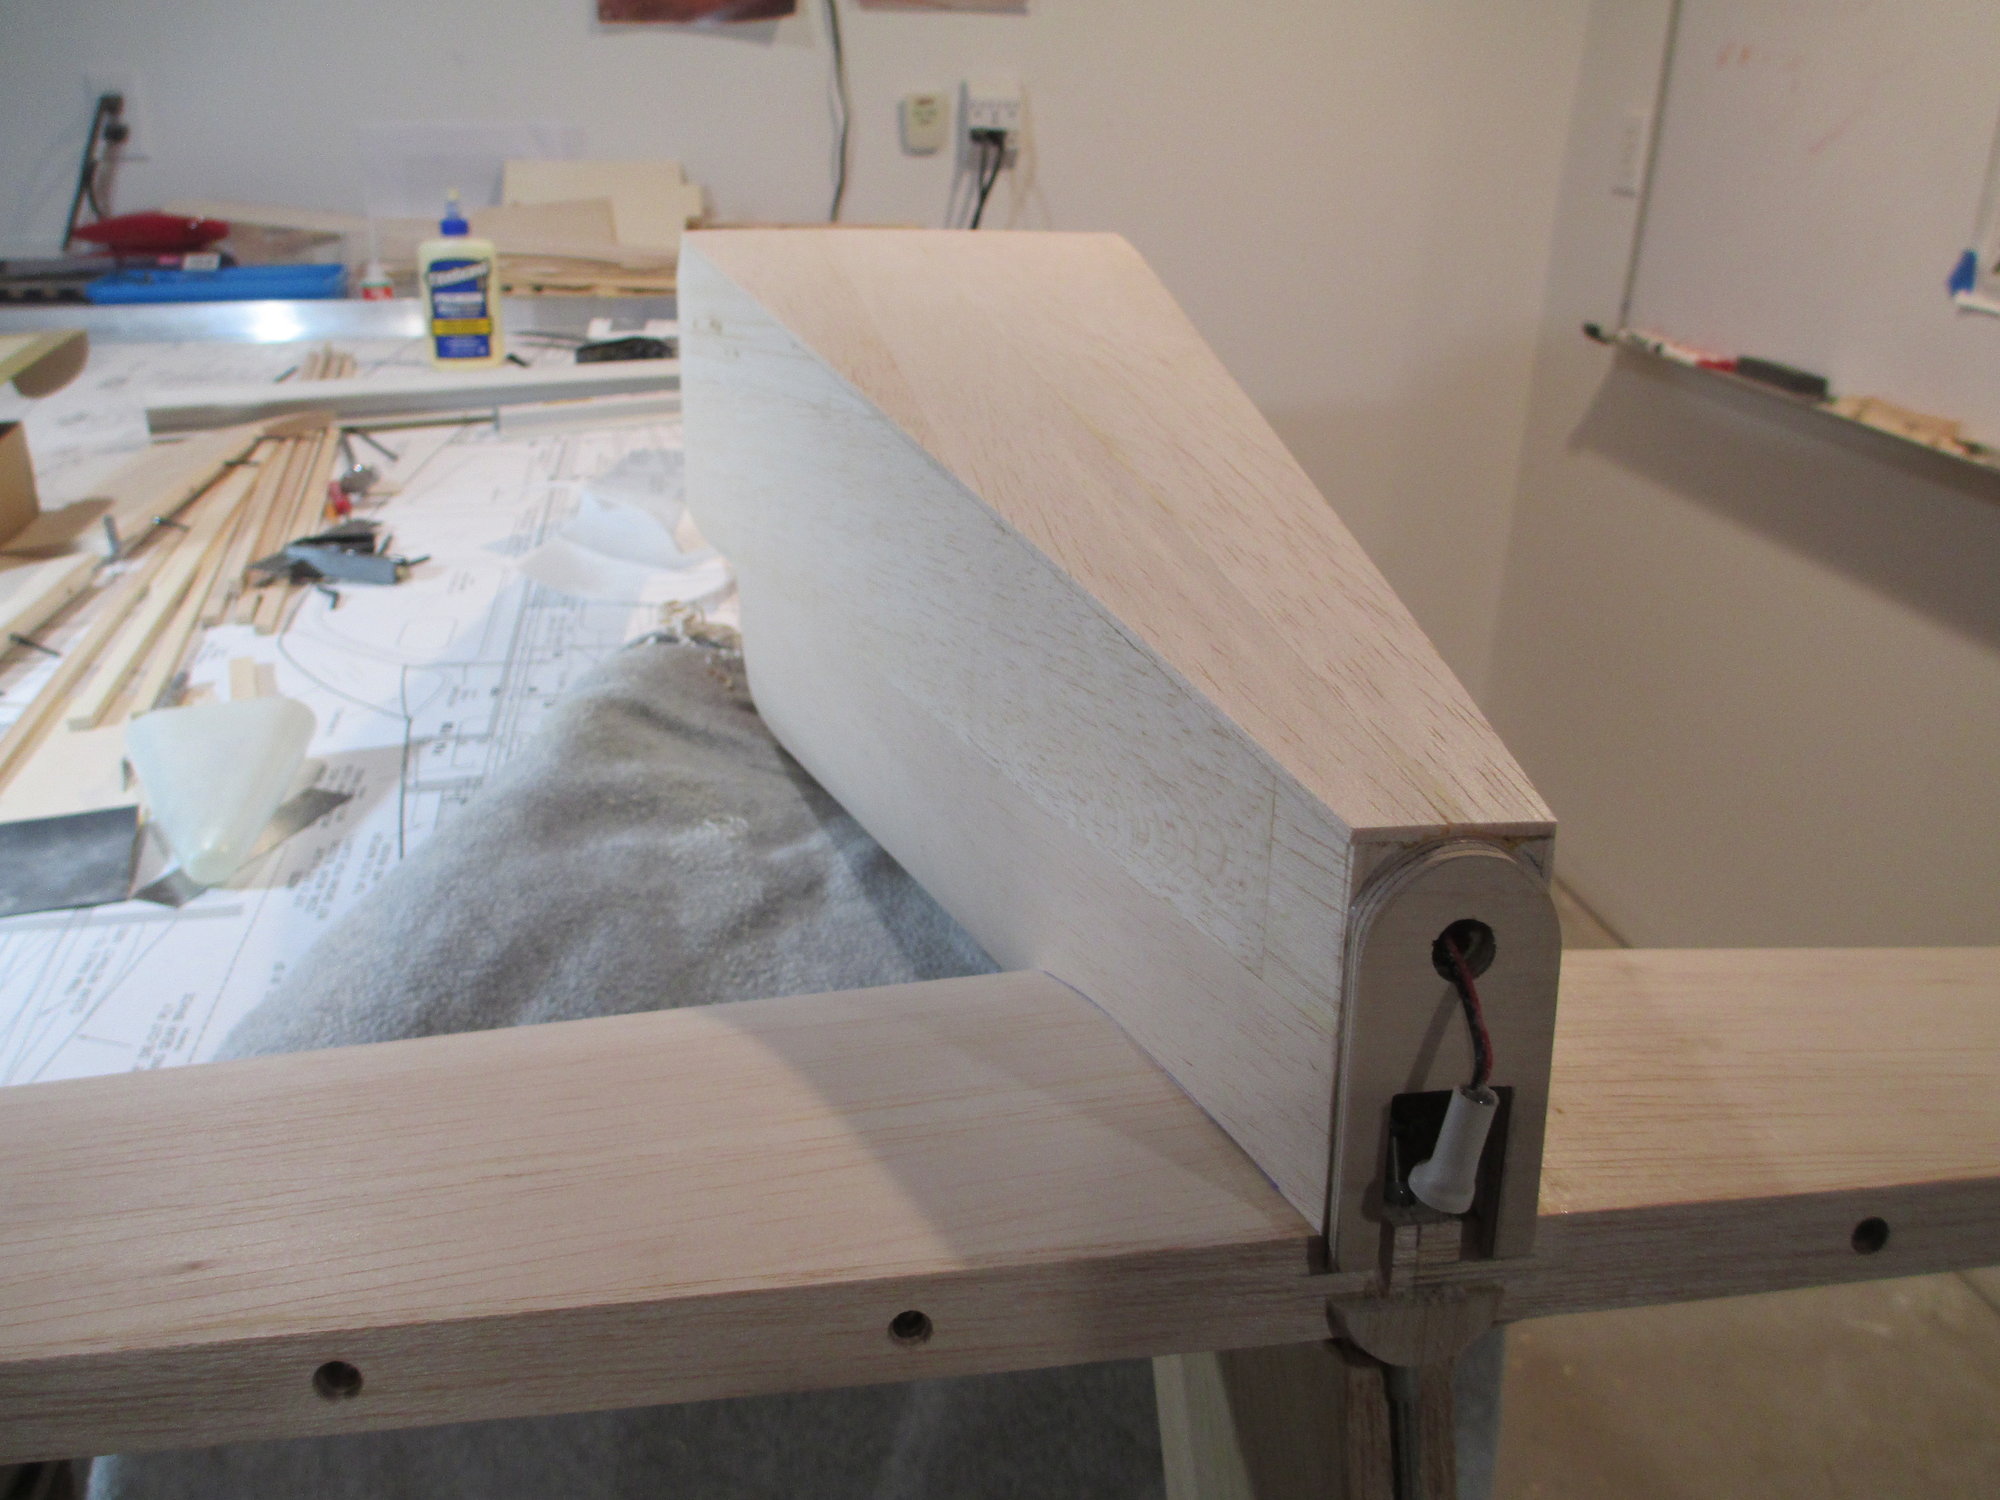
The plans called for a 1/8" thick balsa tail cone former (FT11TC) which fits inside of the tail cone. I ditched the 1/8" balsa tail cone former and substituted it with 3/16" birch ply. I will be using small screws to hold the tail cone in position.
Note: There is a difference between the TOP and BOTTOM of the tail cone, the difference is very subtle and can be installed upside down very easily.
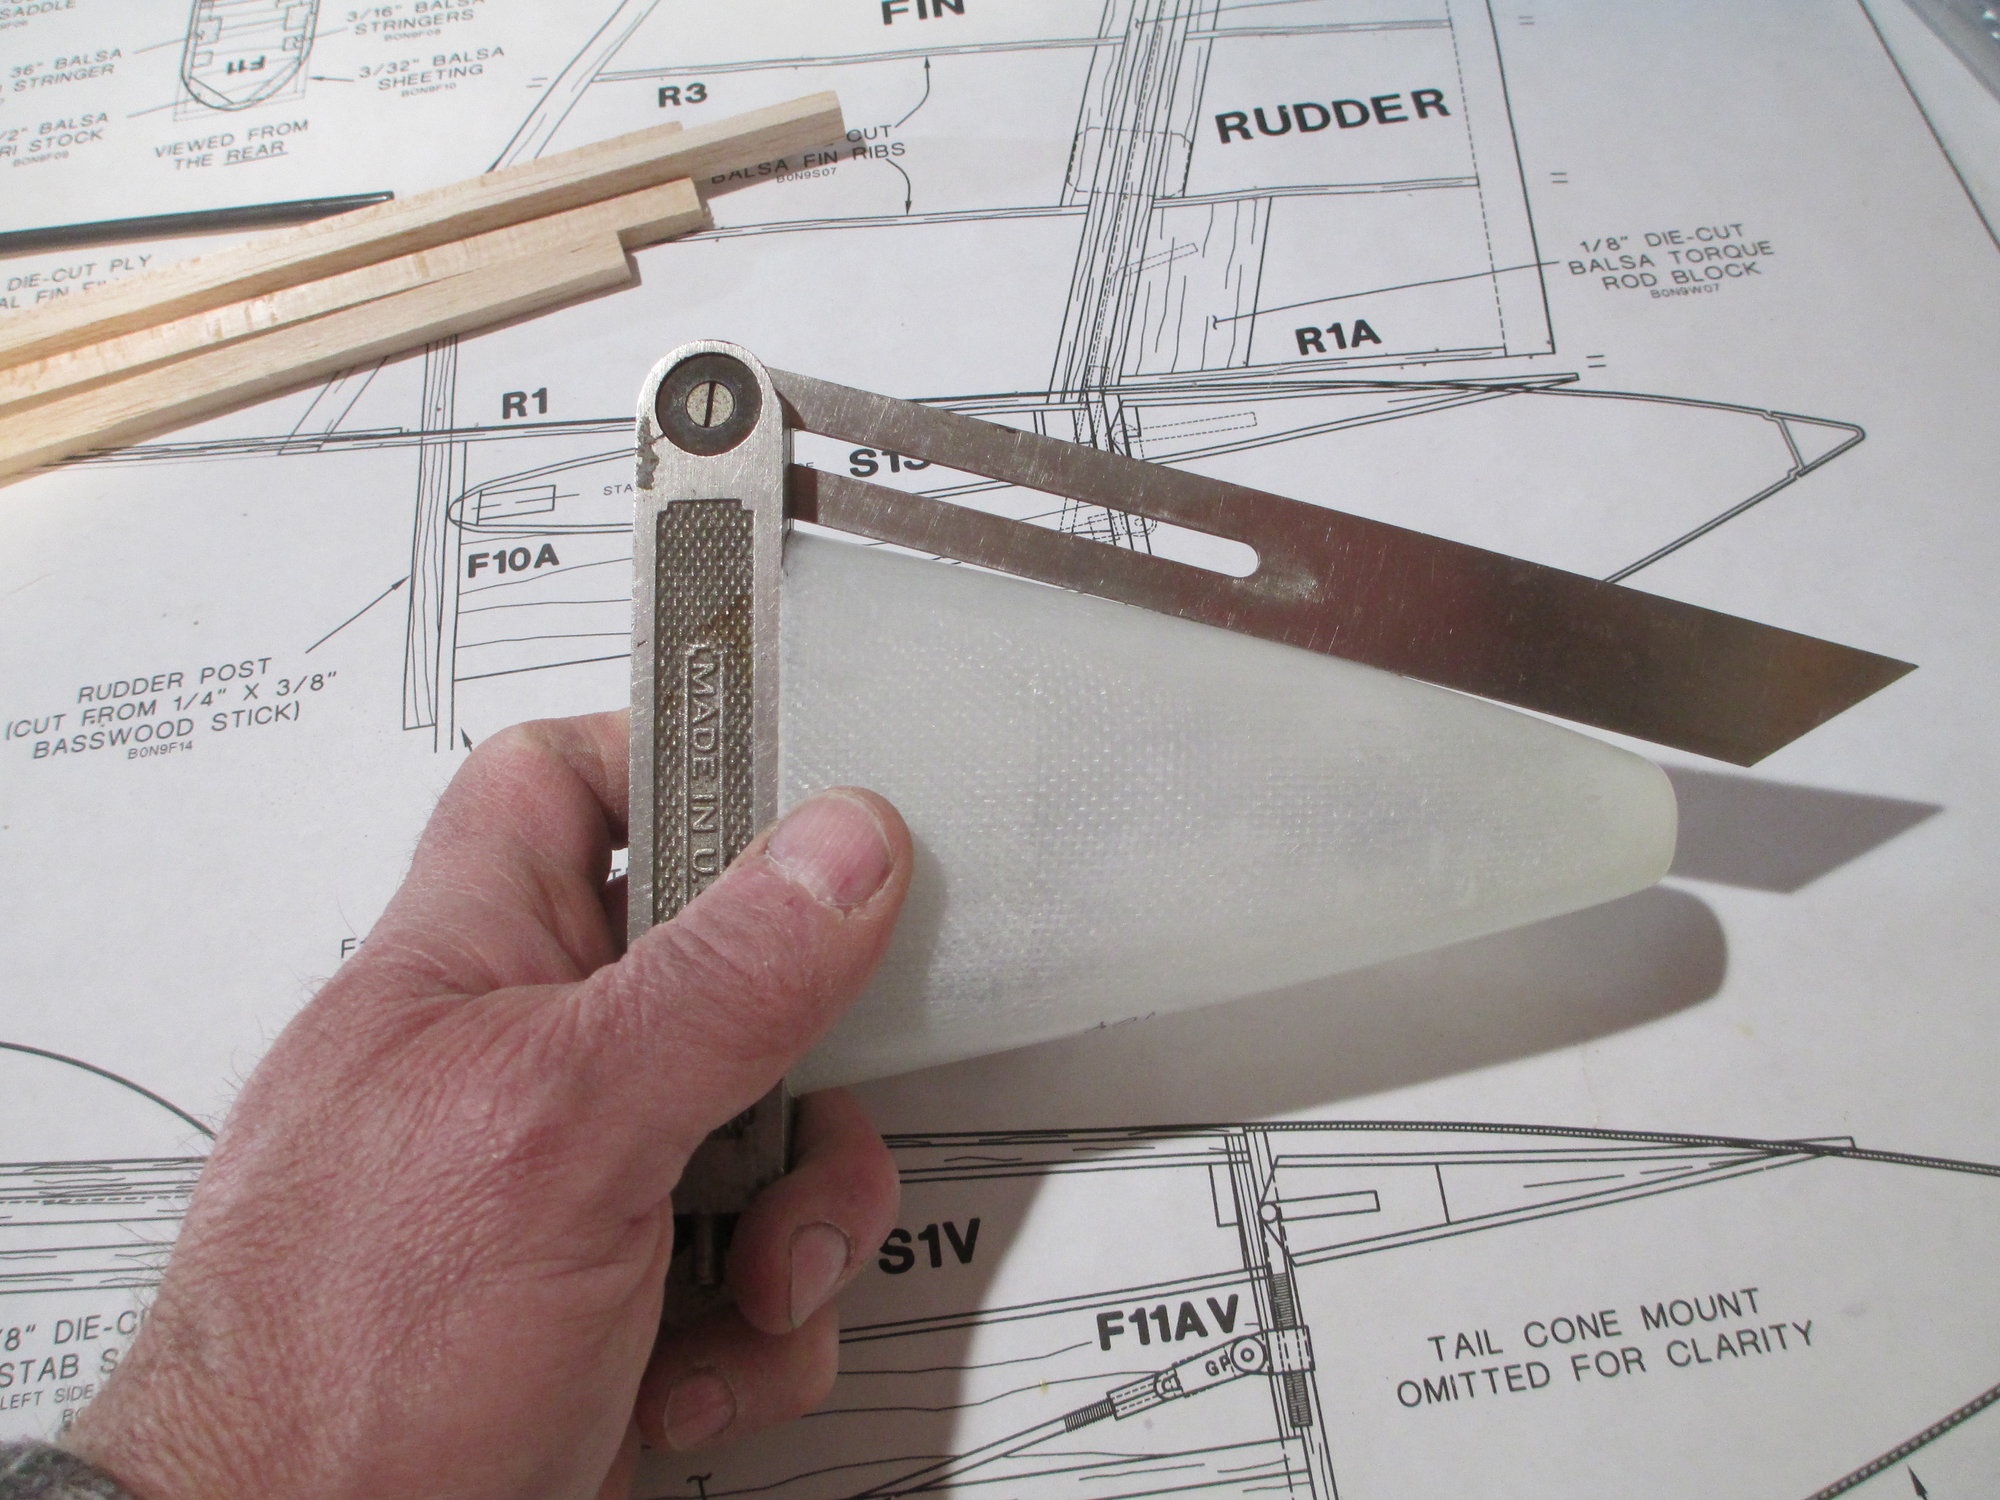
I want the tail cone former to fit like a bung, so I duplicated the inside angle of the tail cone with my bevel Gage. I always love it when I can use tools that once belonged to my grandfather...
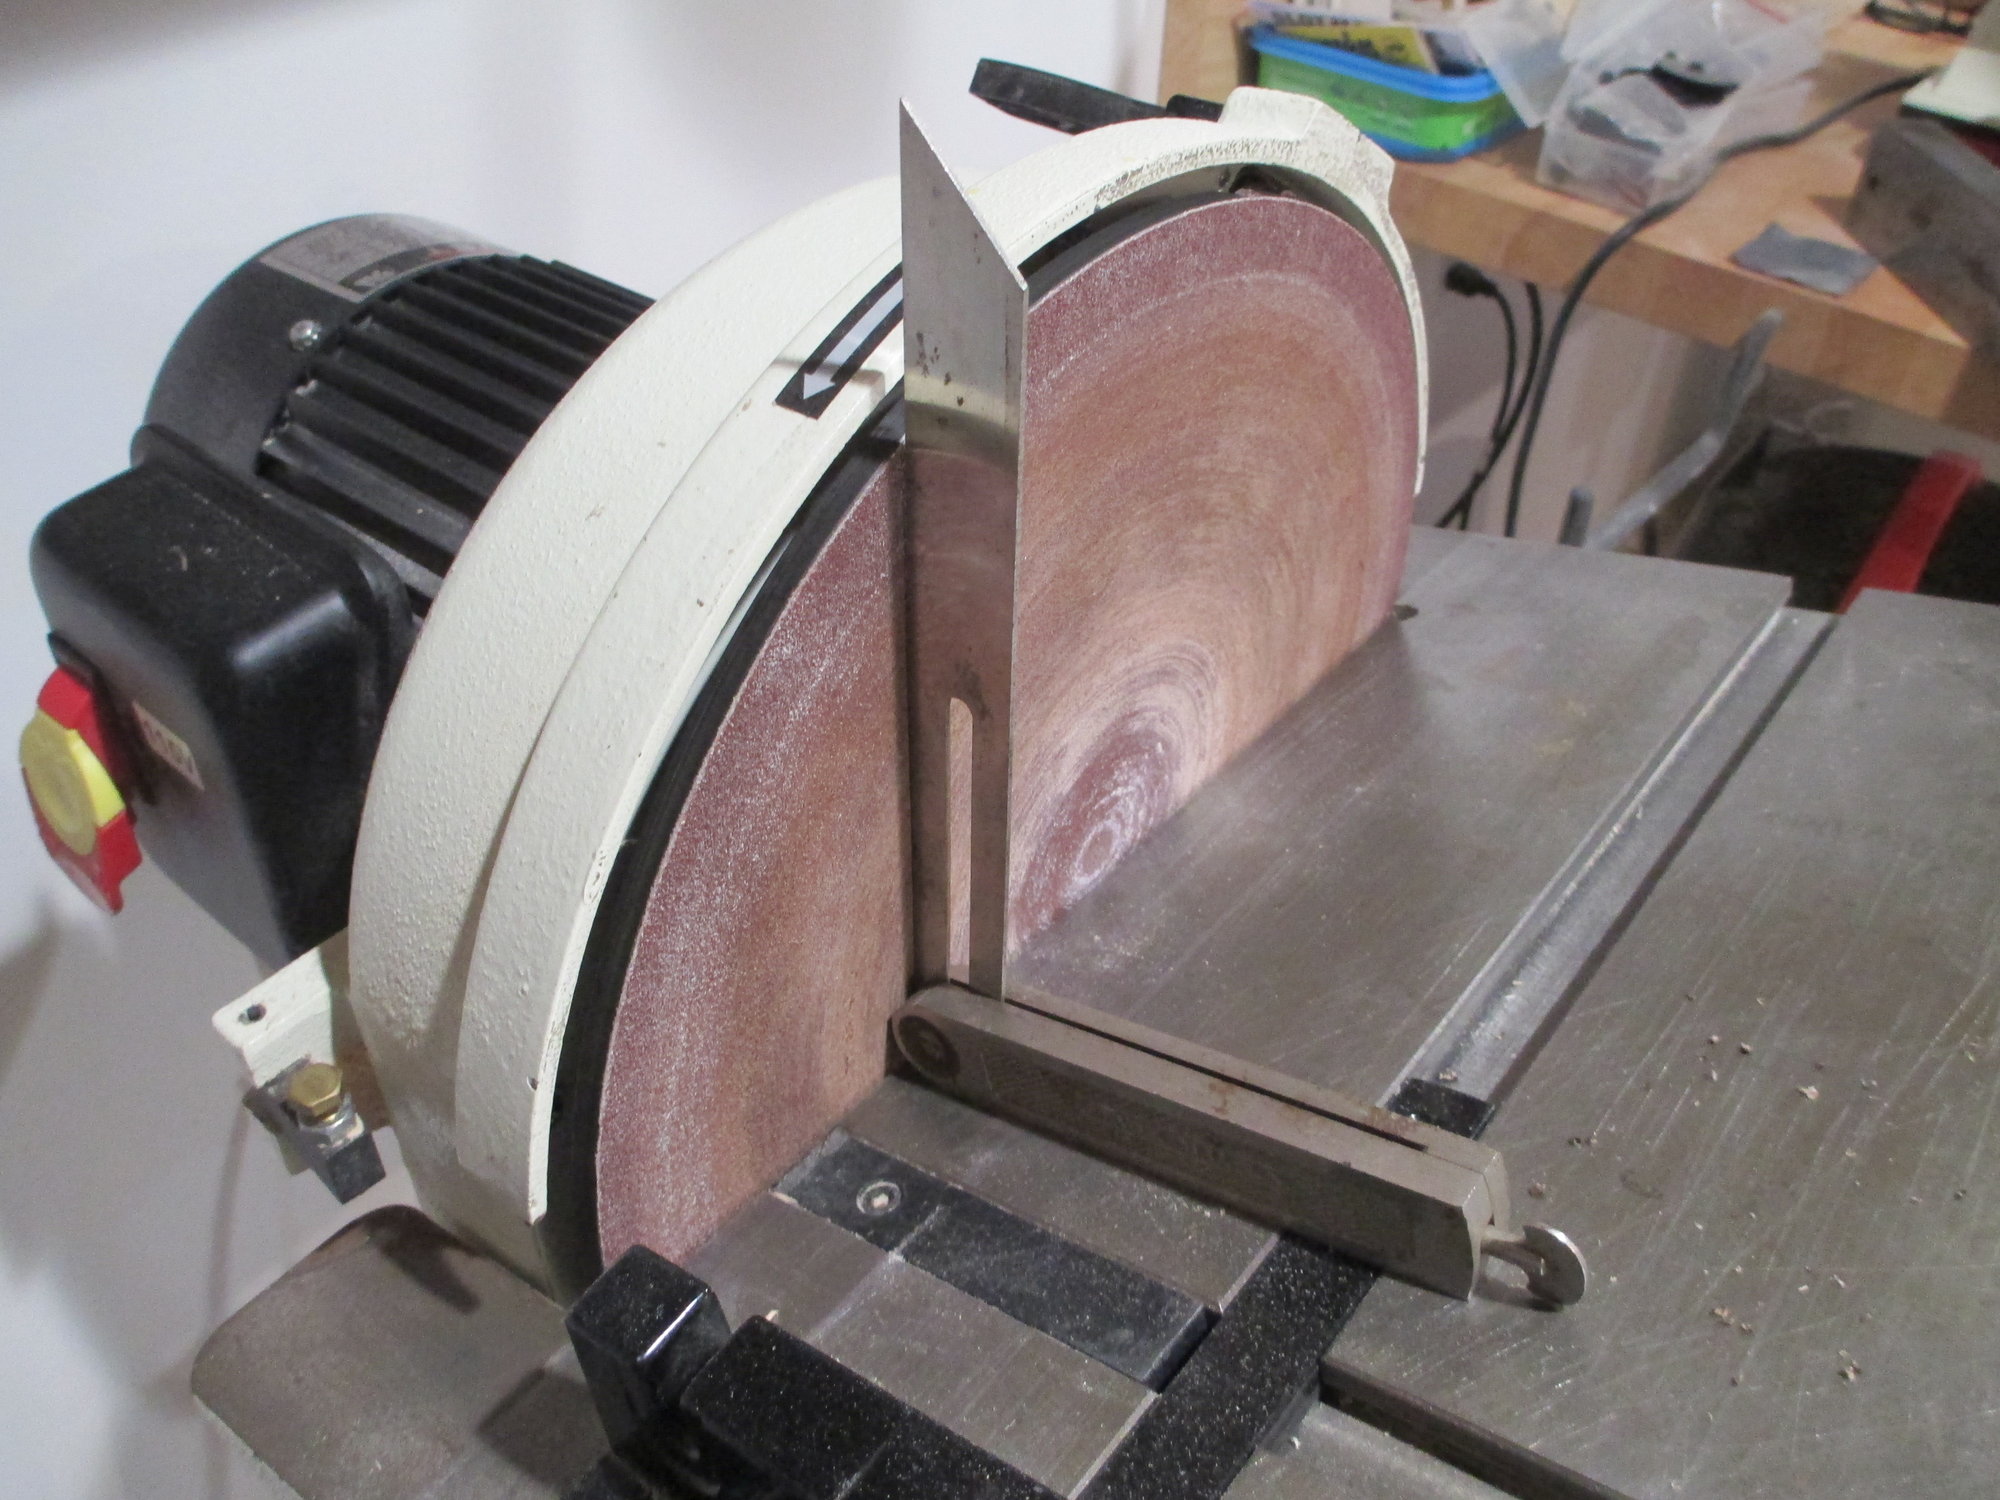
The table on my 12" disc sander is set to that angle.
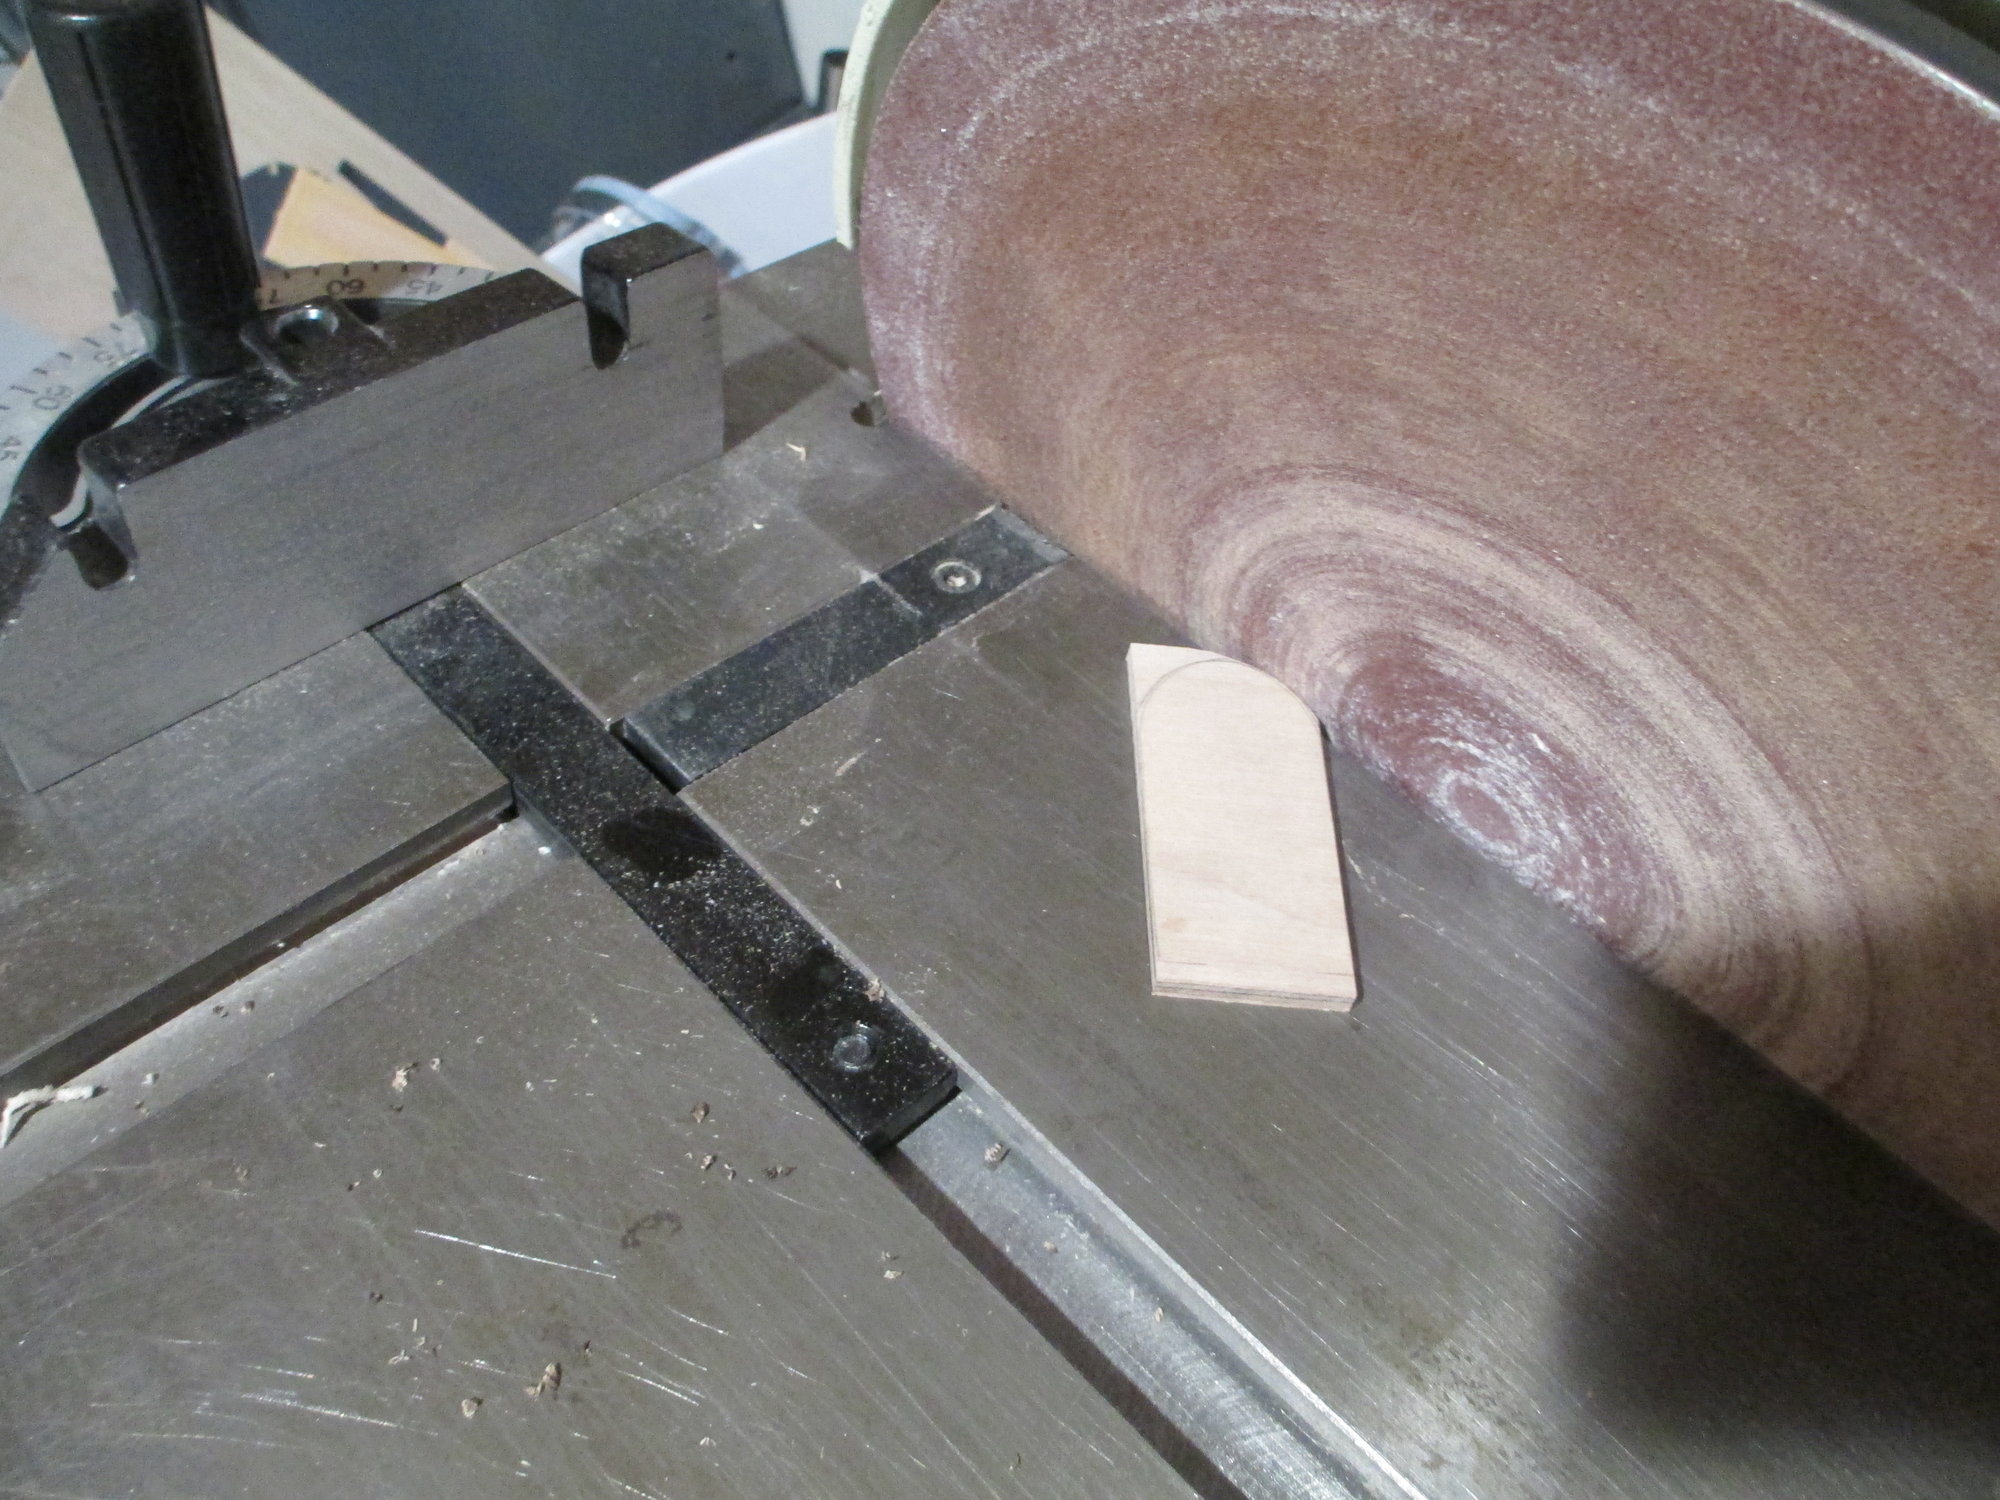
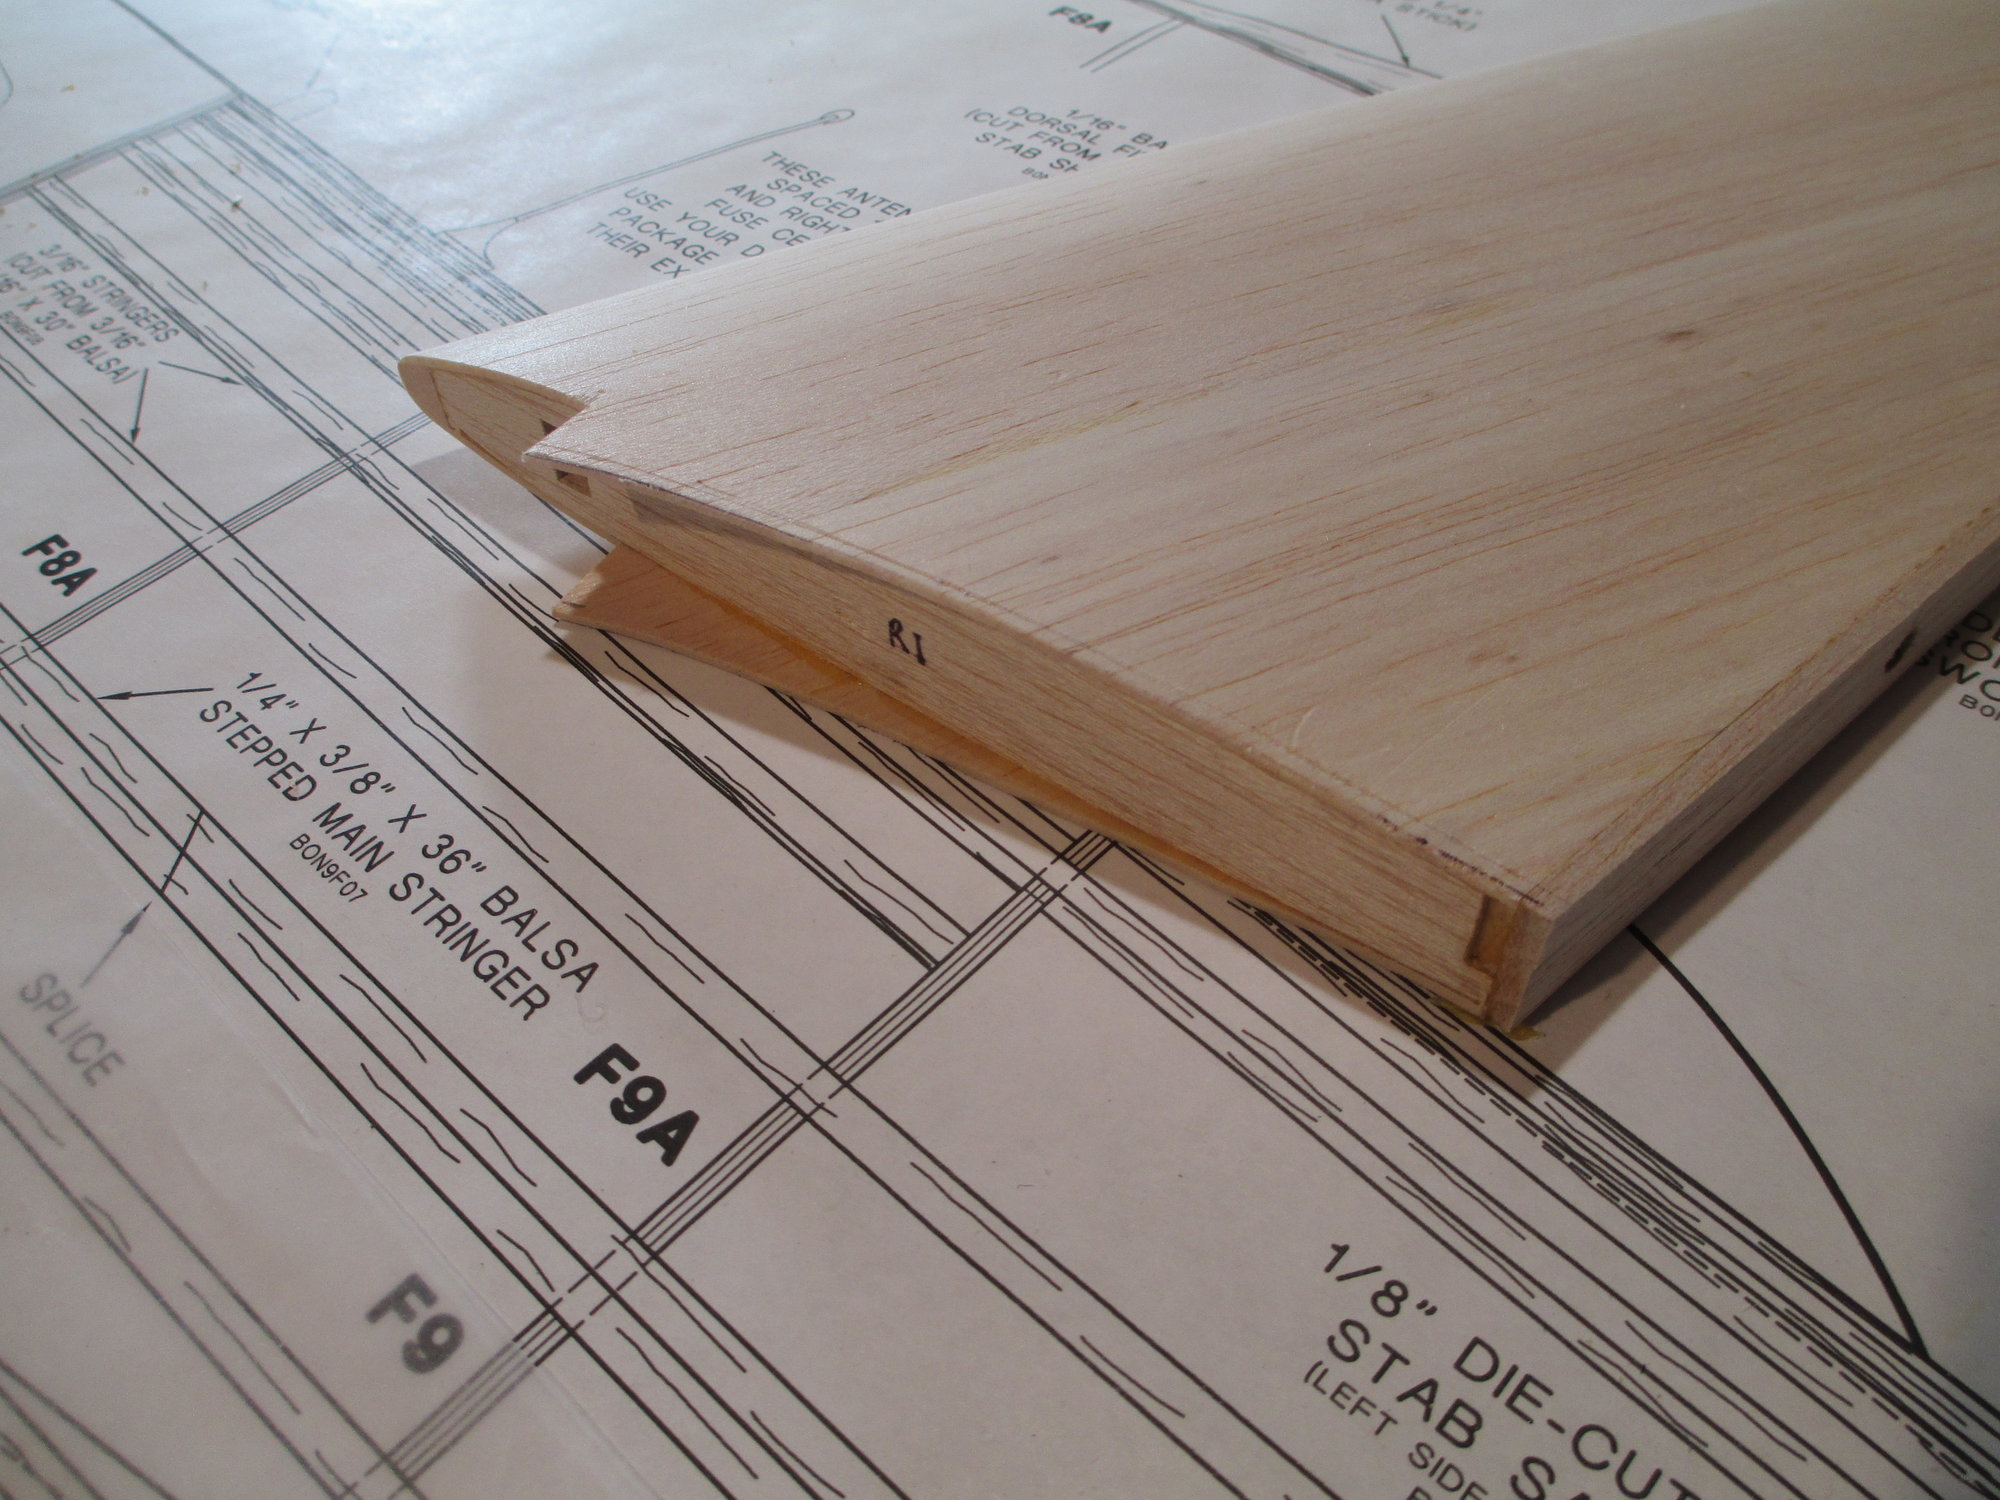
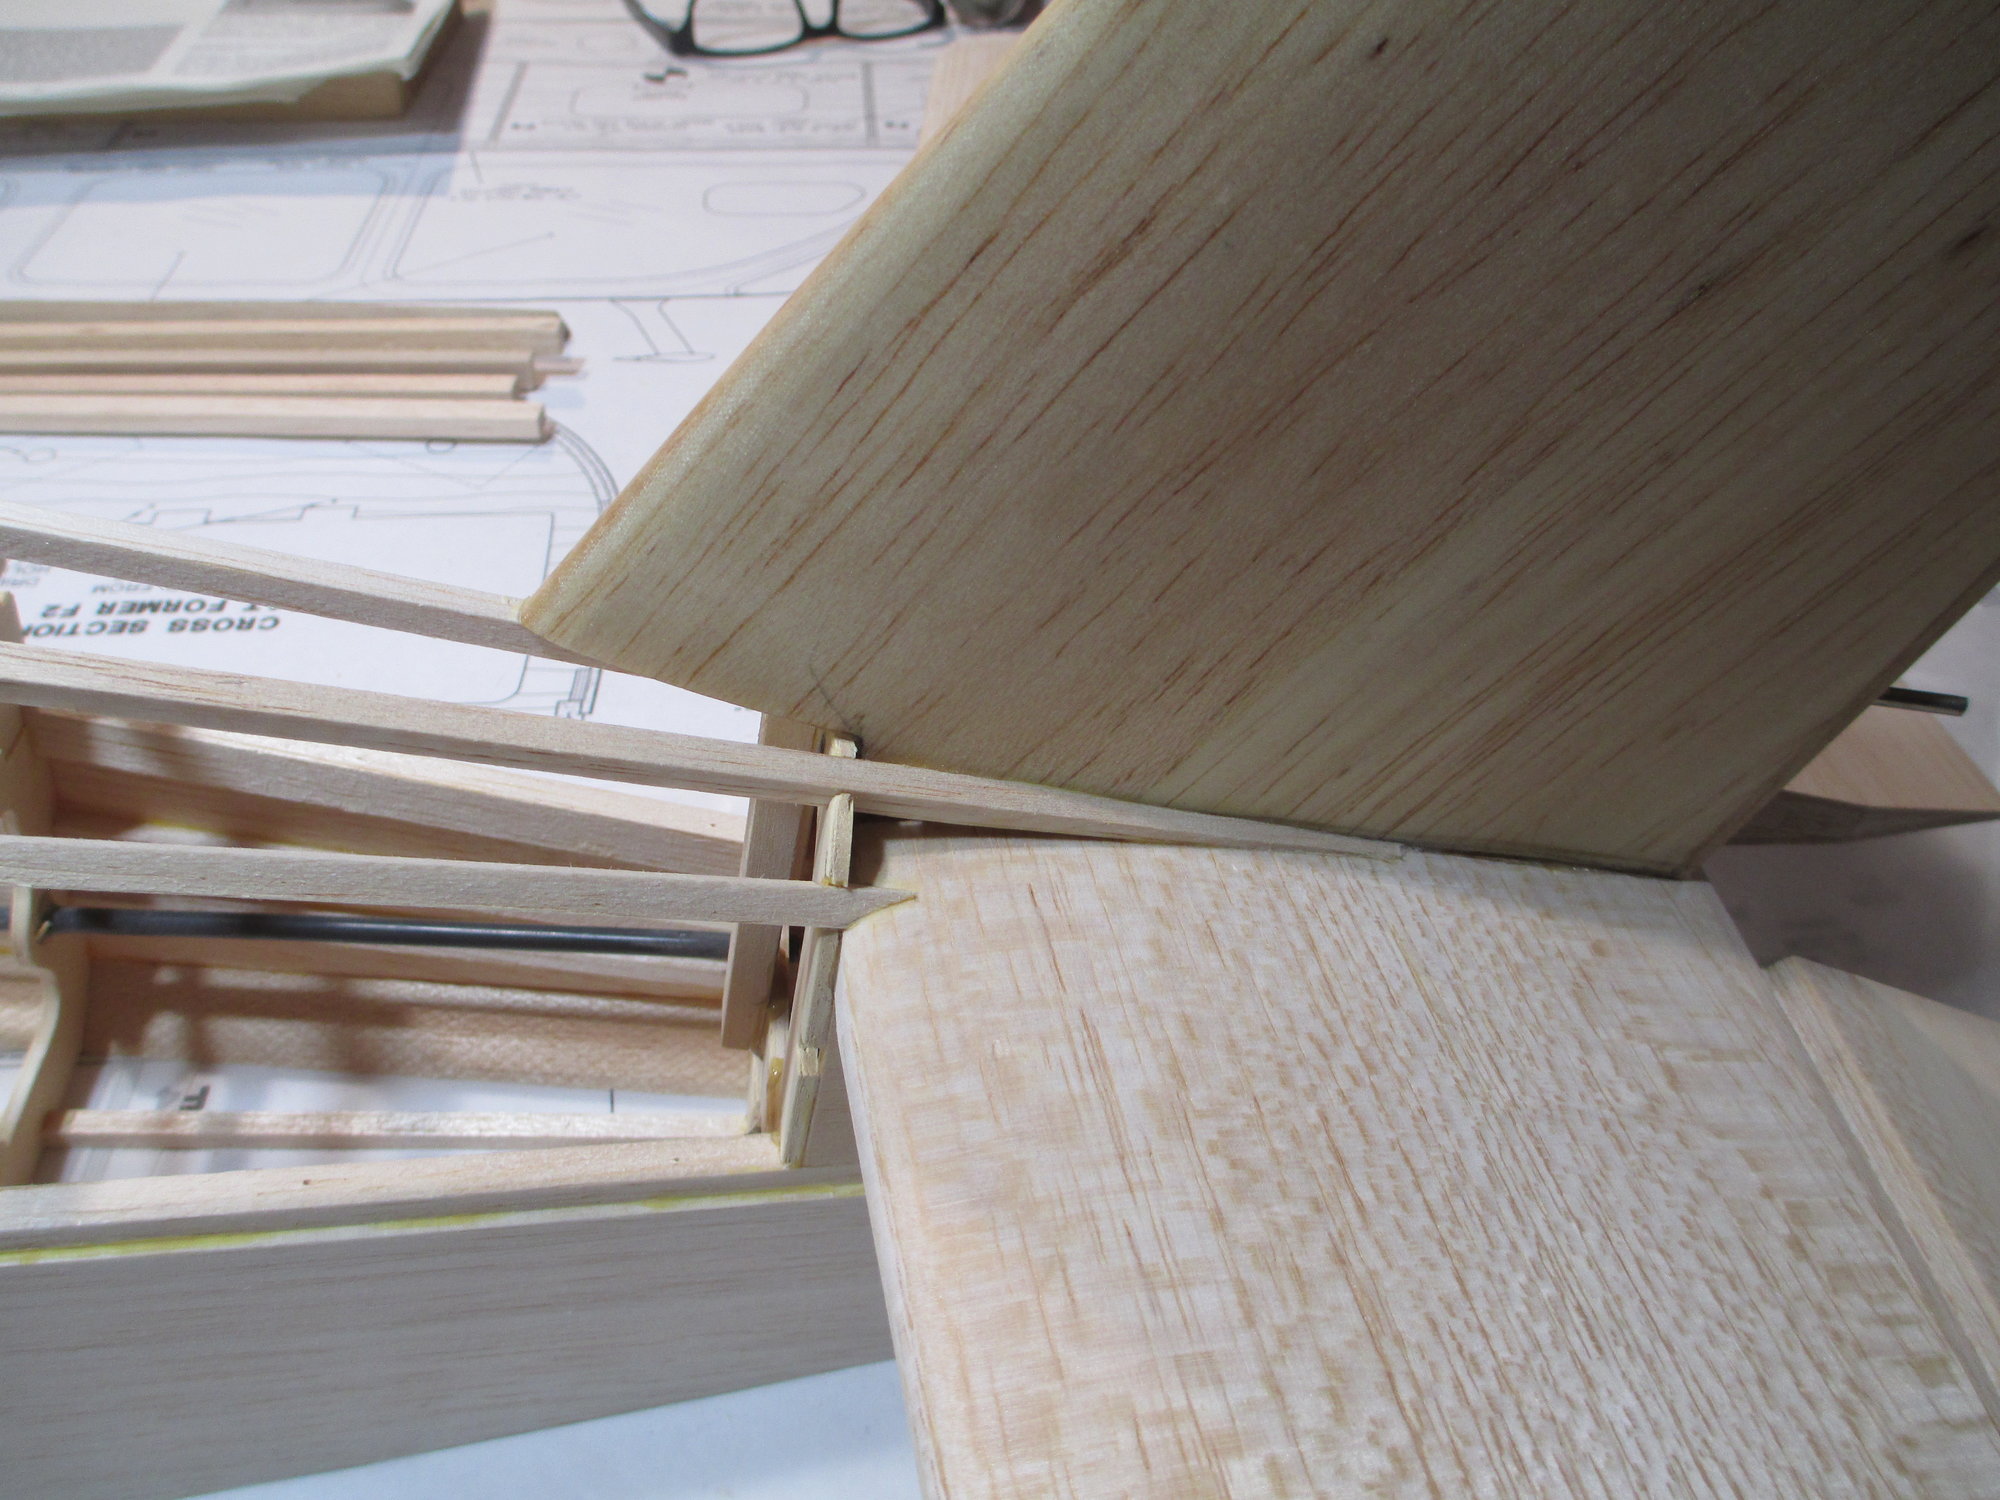
Just the bottom of the tail cone former will get beveled.
By beveling the edge, the former when inserted into the fiberglass tail cone, will make 100% contact.
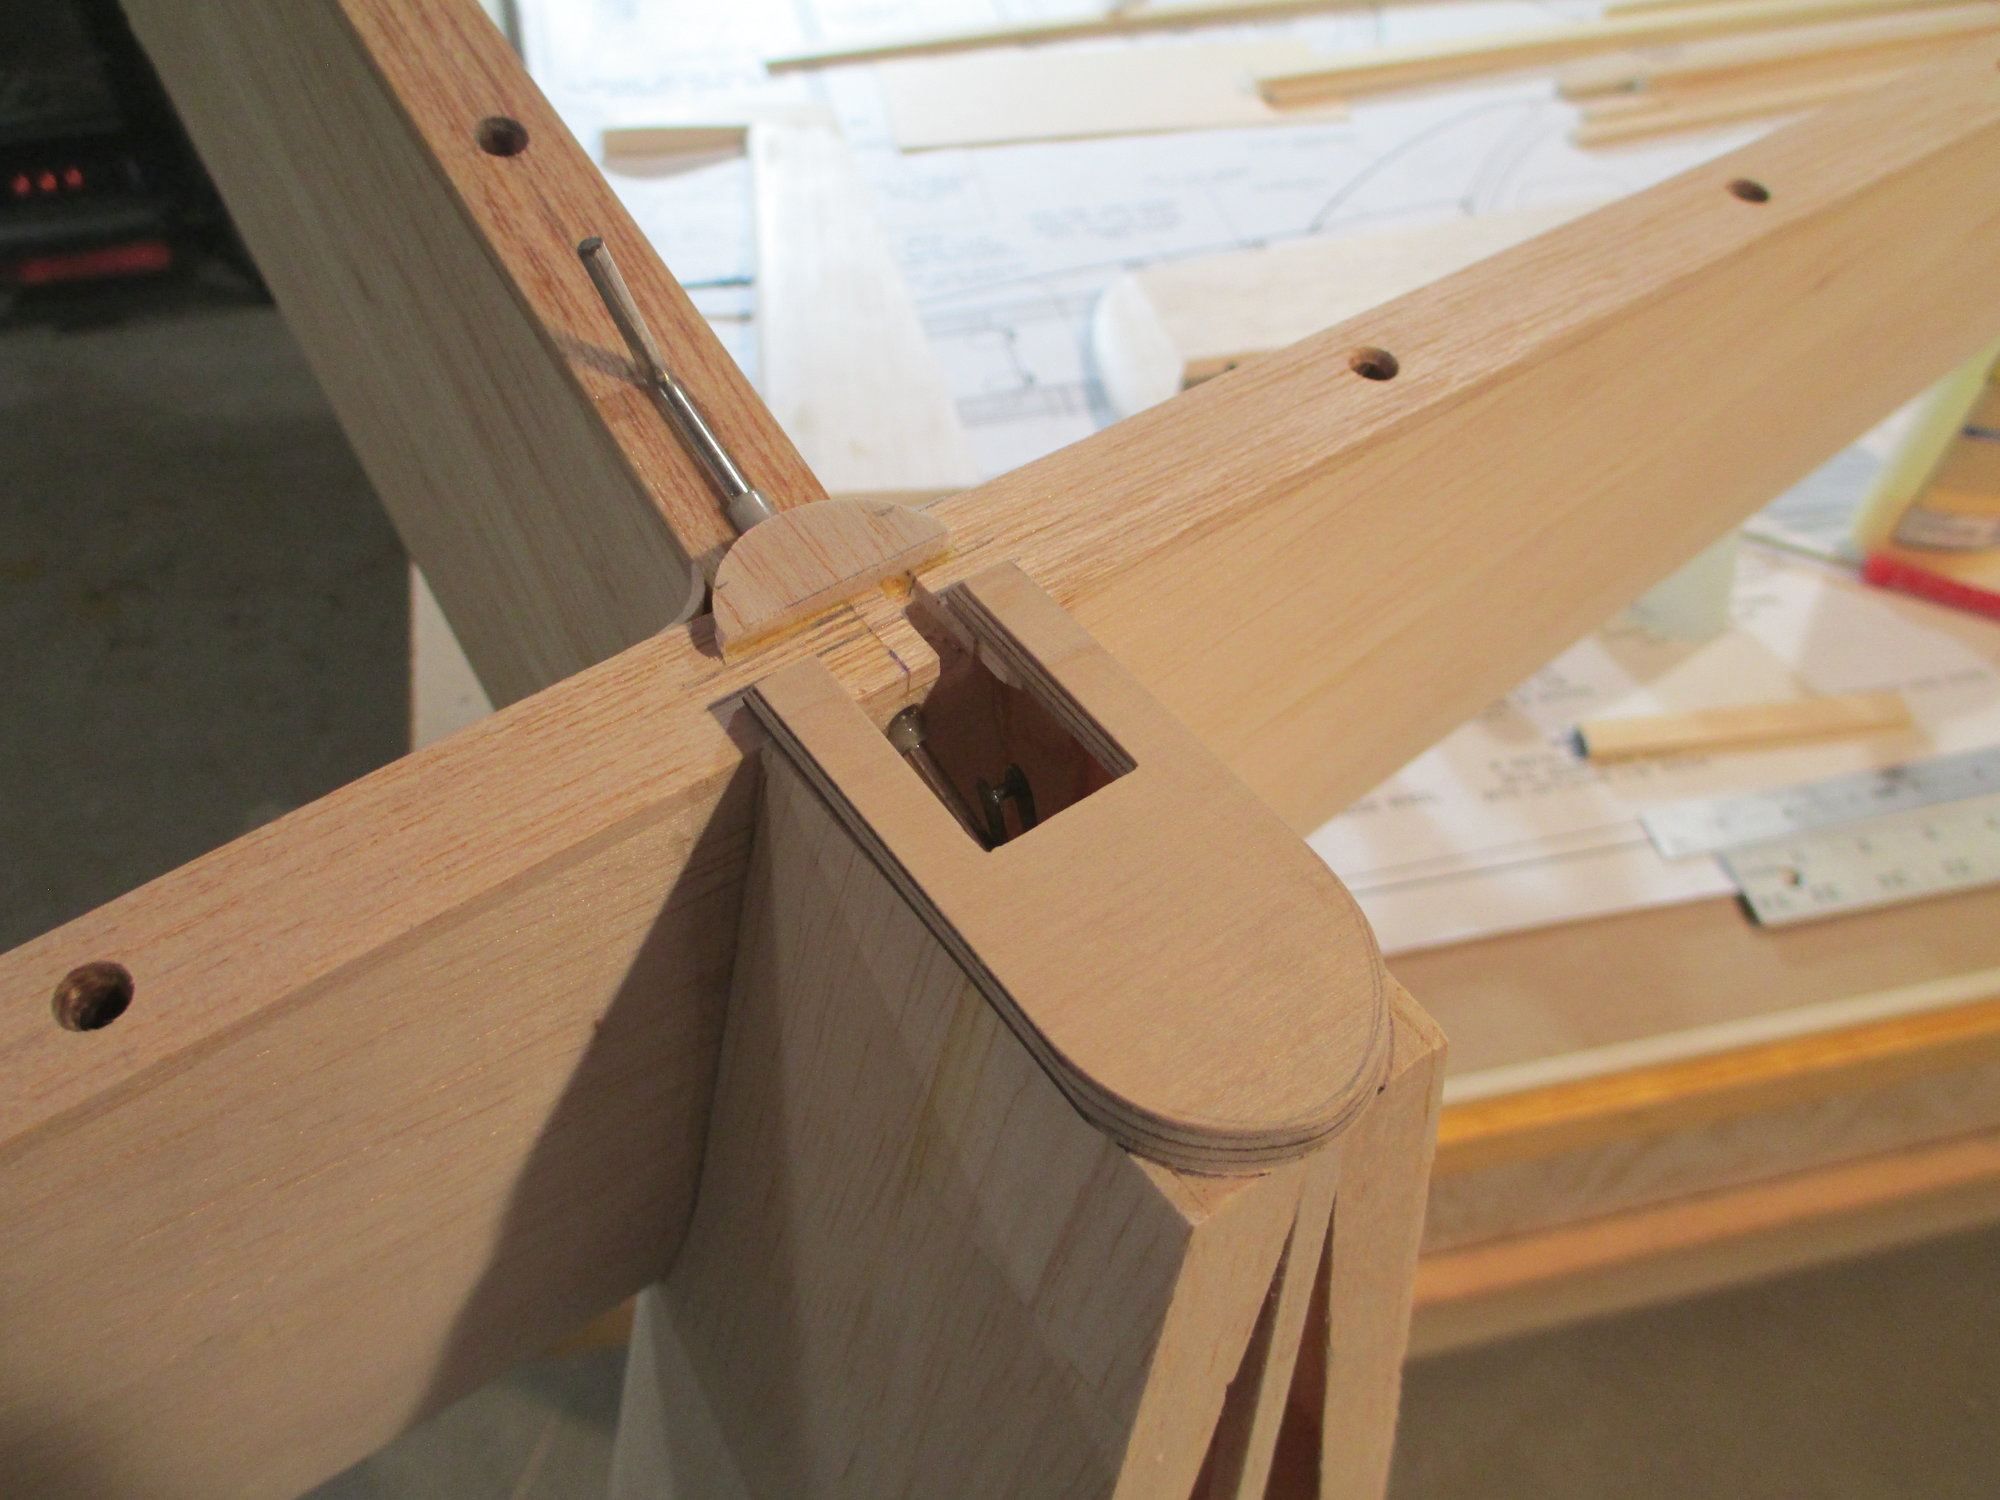
The former is glued into position. I will need to drill a small opening for the tail cone navigational lamp wire to pass through.
Last edited by VincentJ; 12-01-2019 at 01:20 PM.
12-02-2019, 09:21 AM
#498
Thread Starter
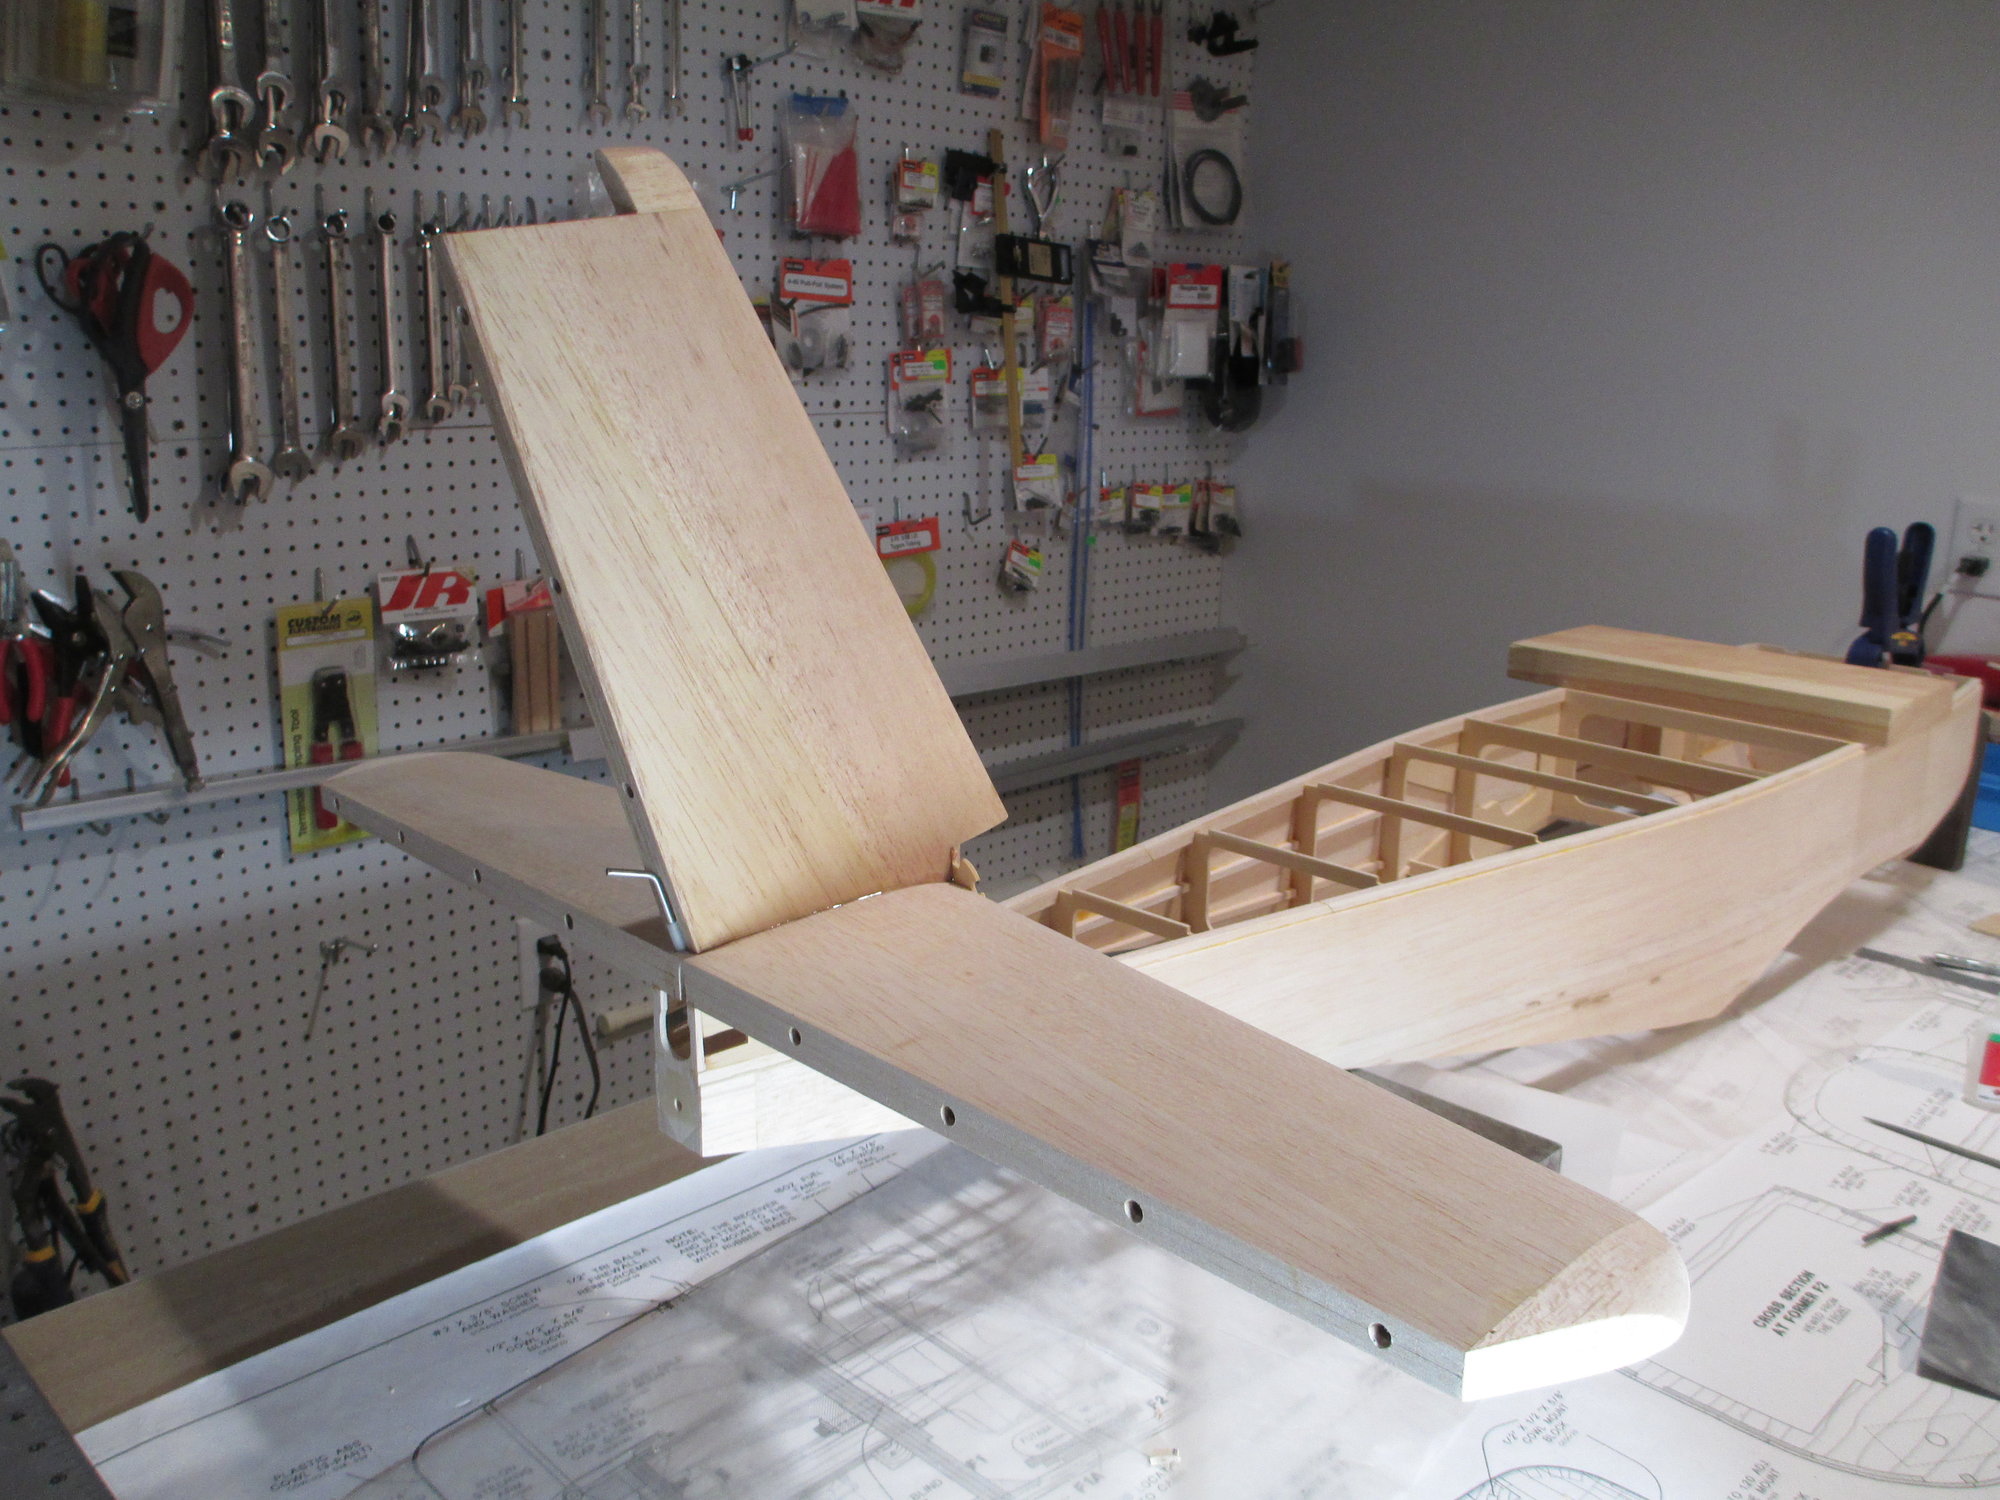
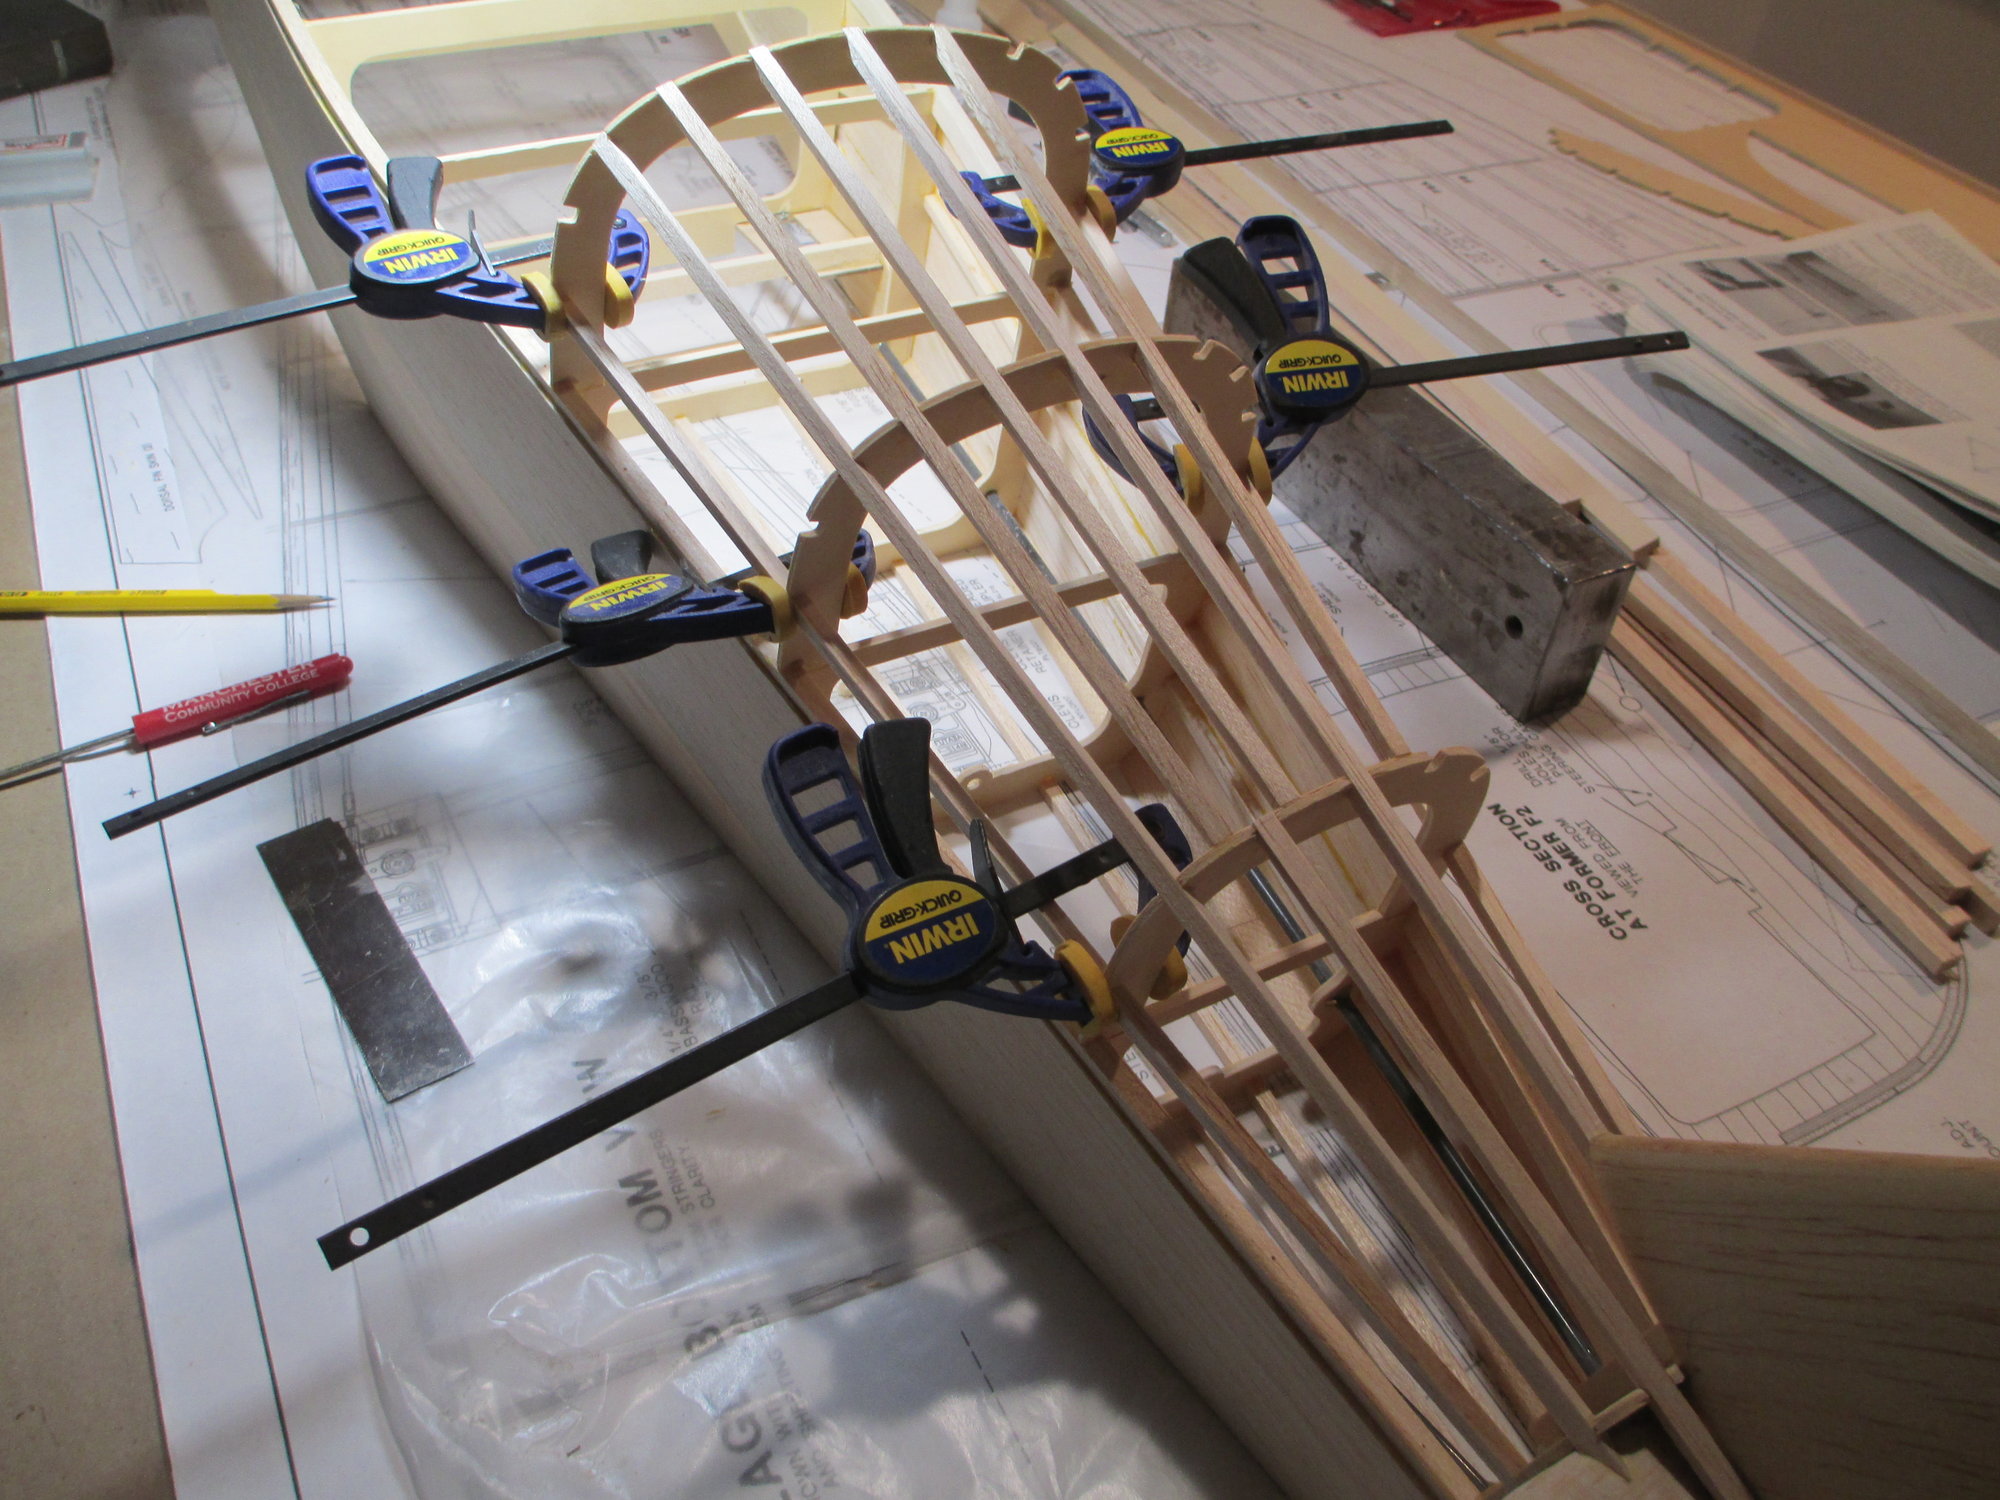
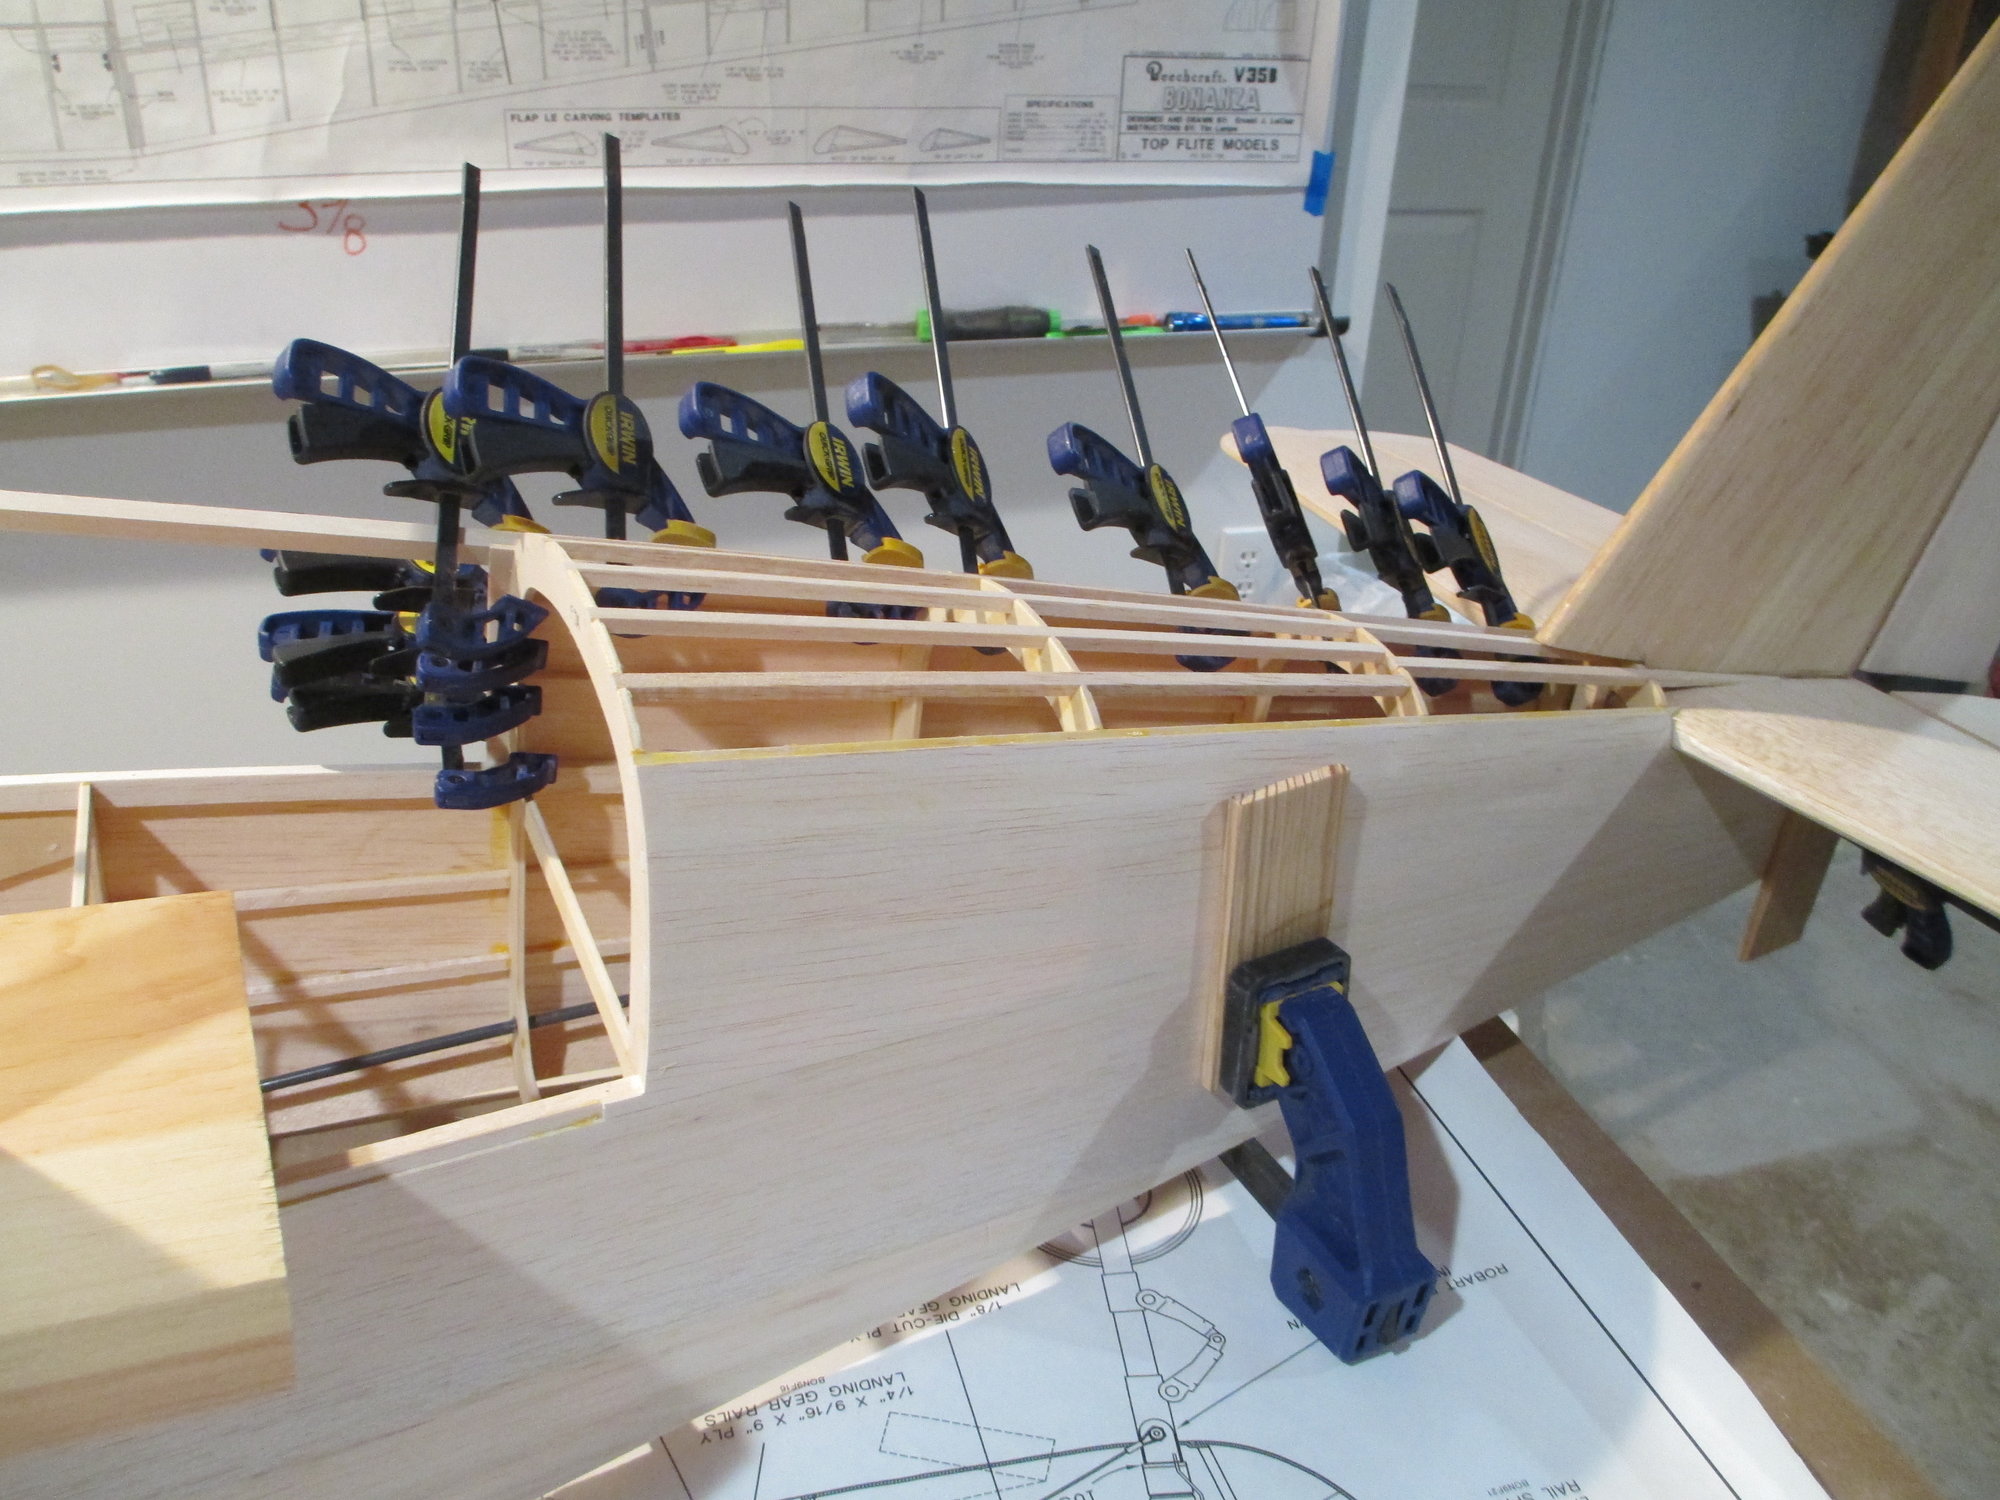
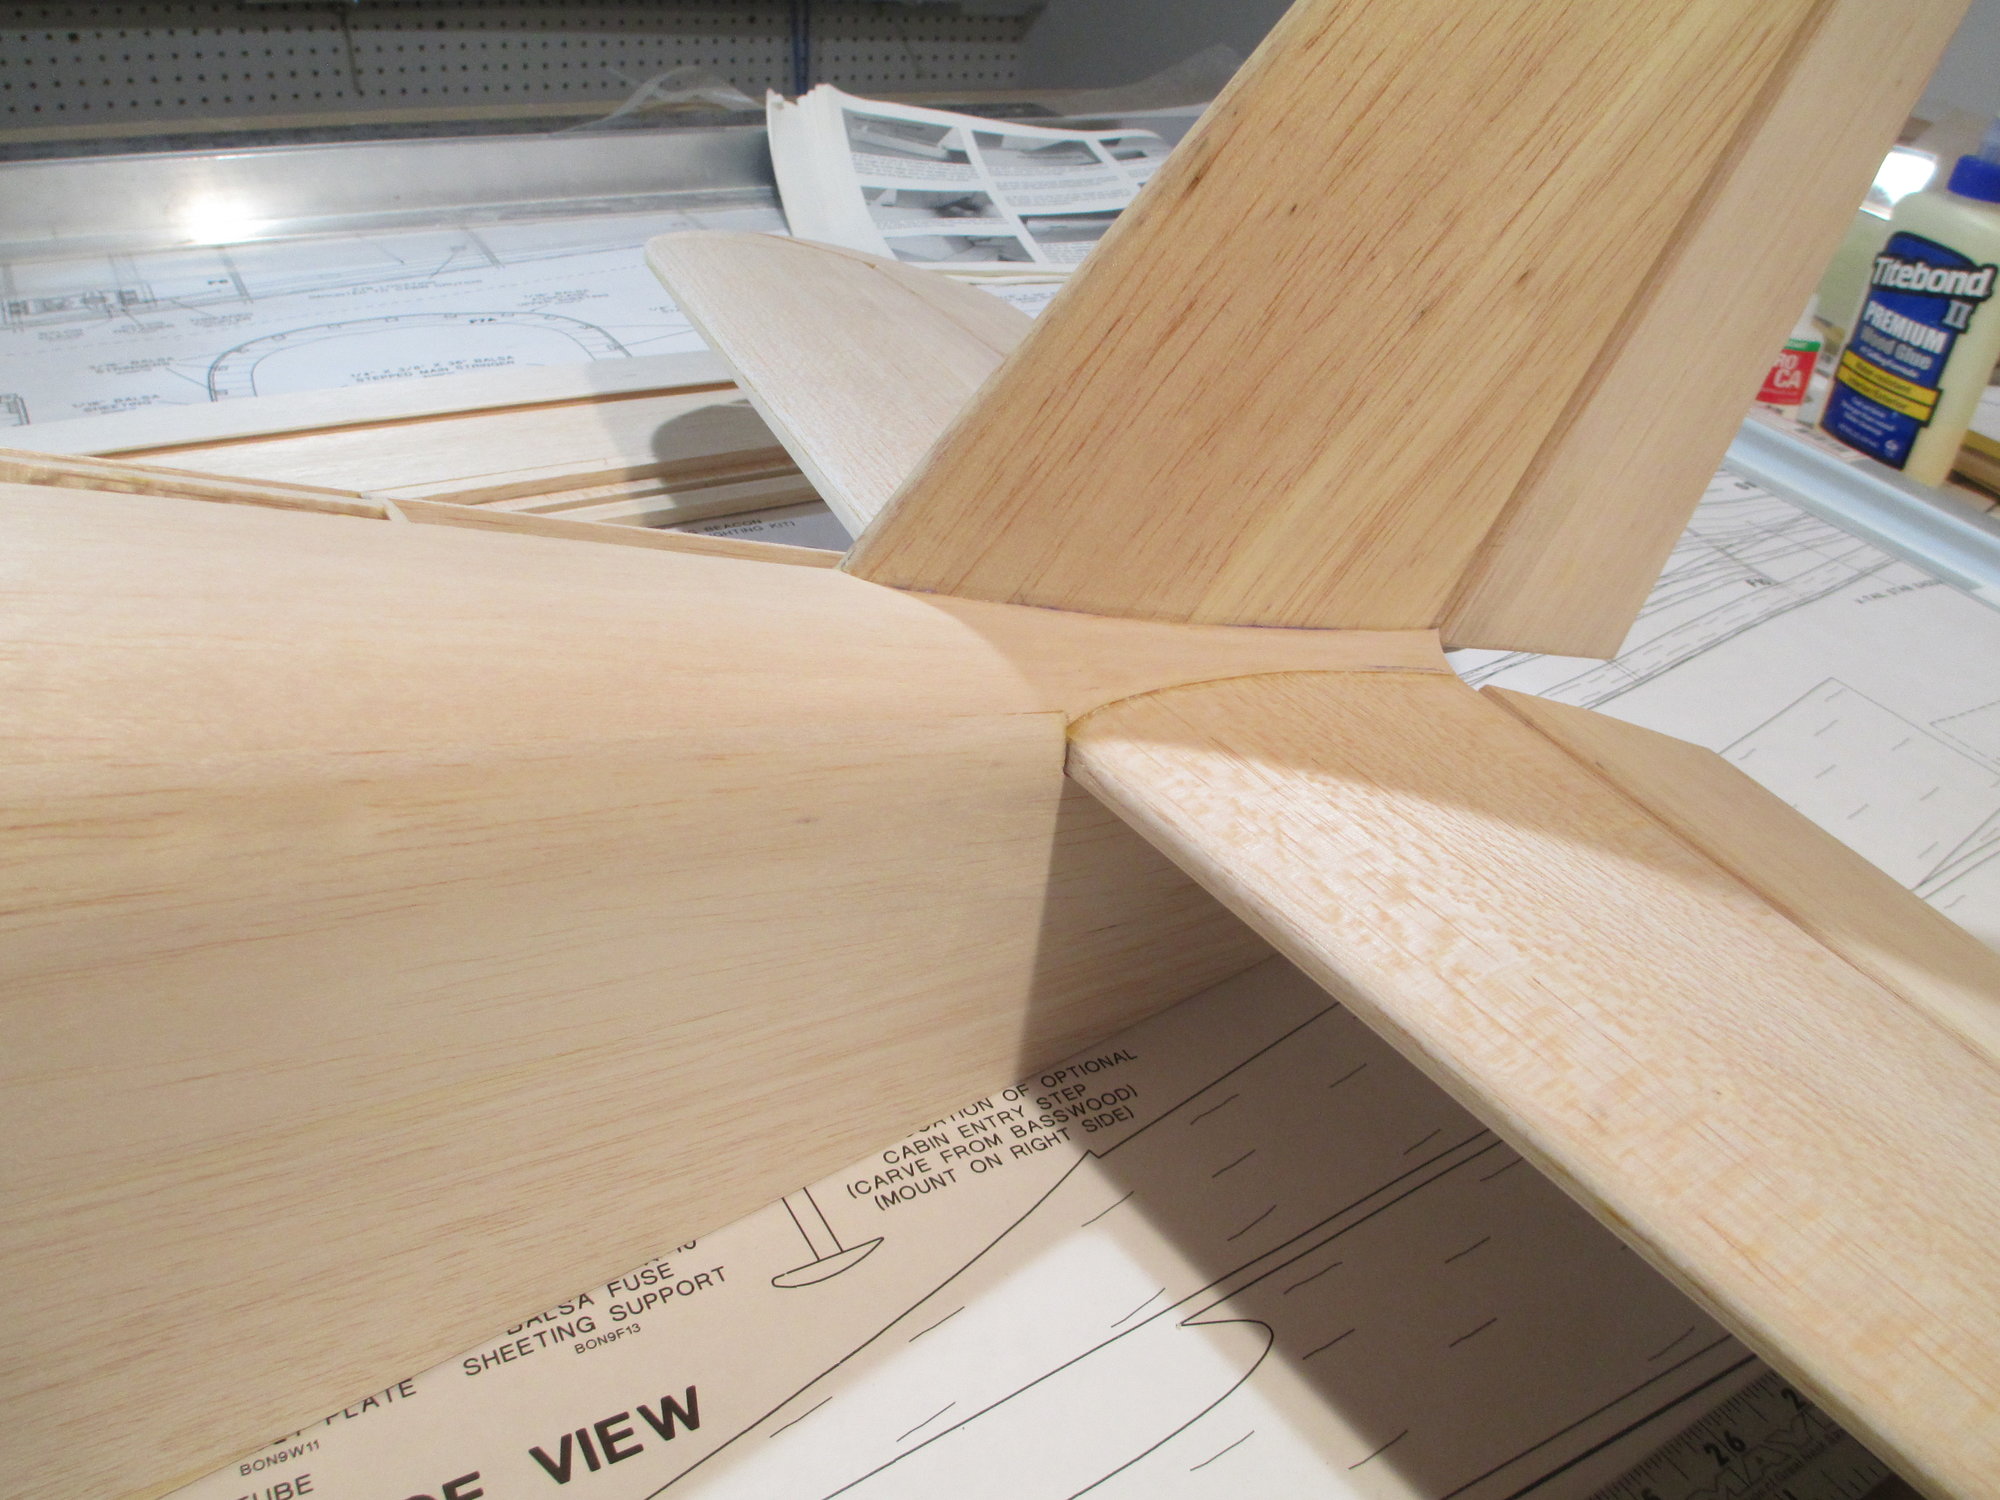
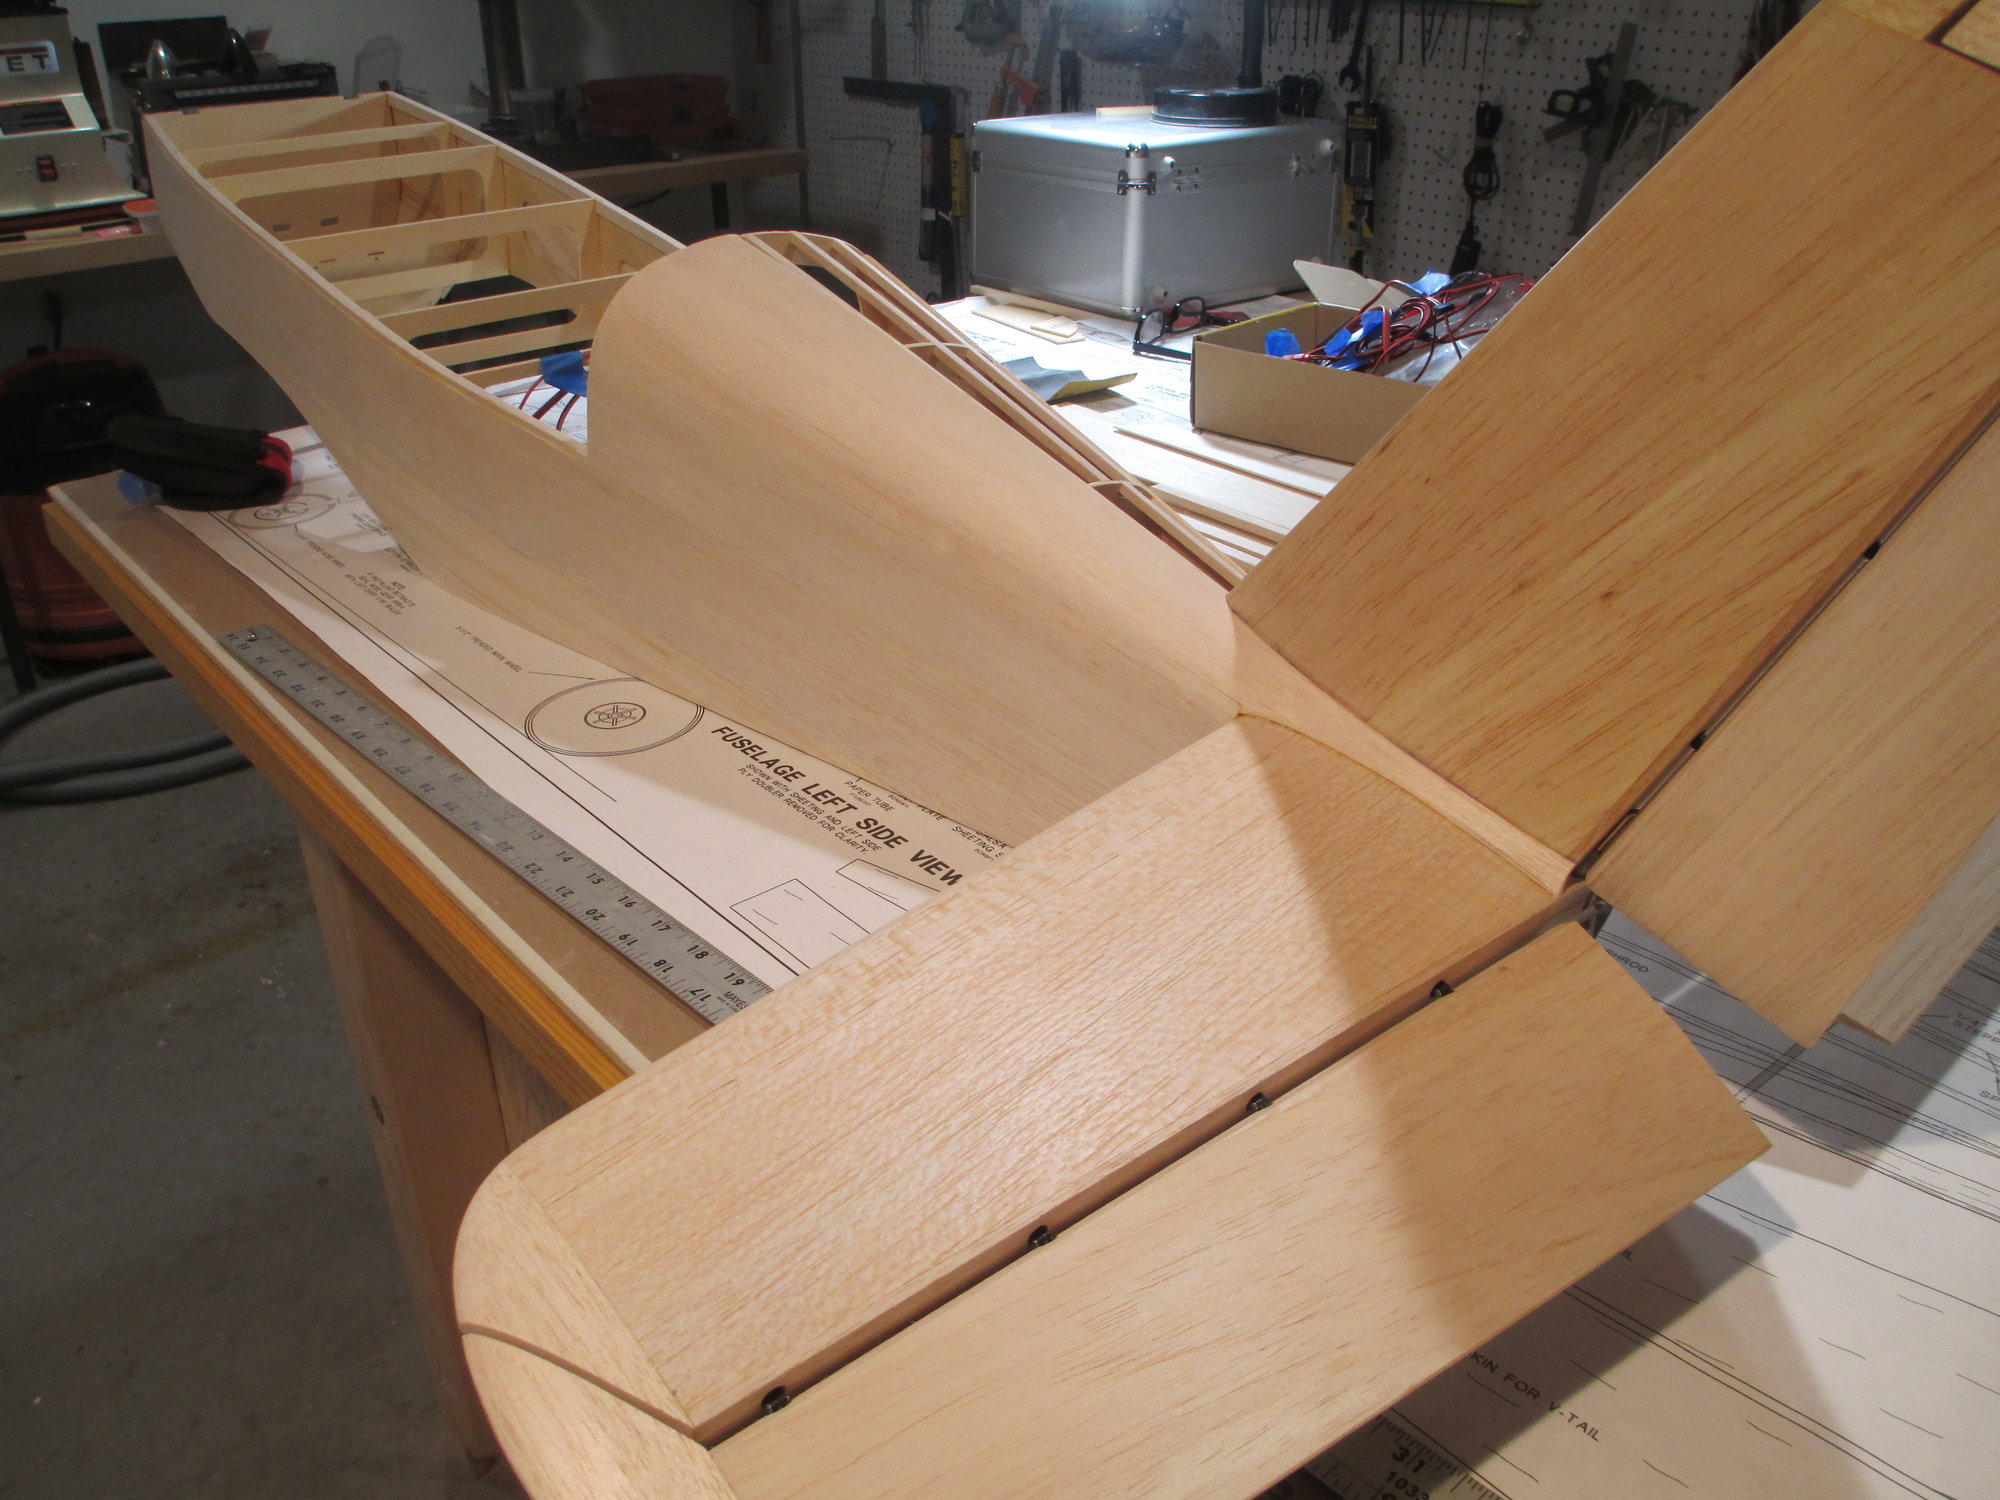
First snow day of the year. Woke up to a little over 16" on the ground this morning and it's been snowing steadily since. Tonight another front is supposed to deposit even more snow! I made good use of my time off in my workshop... enjoy the pictures!
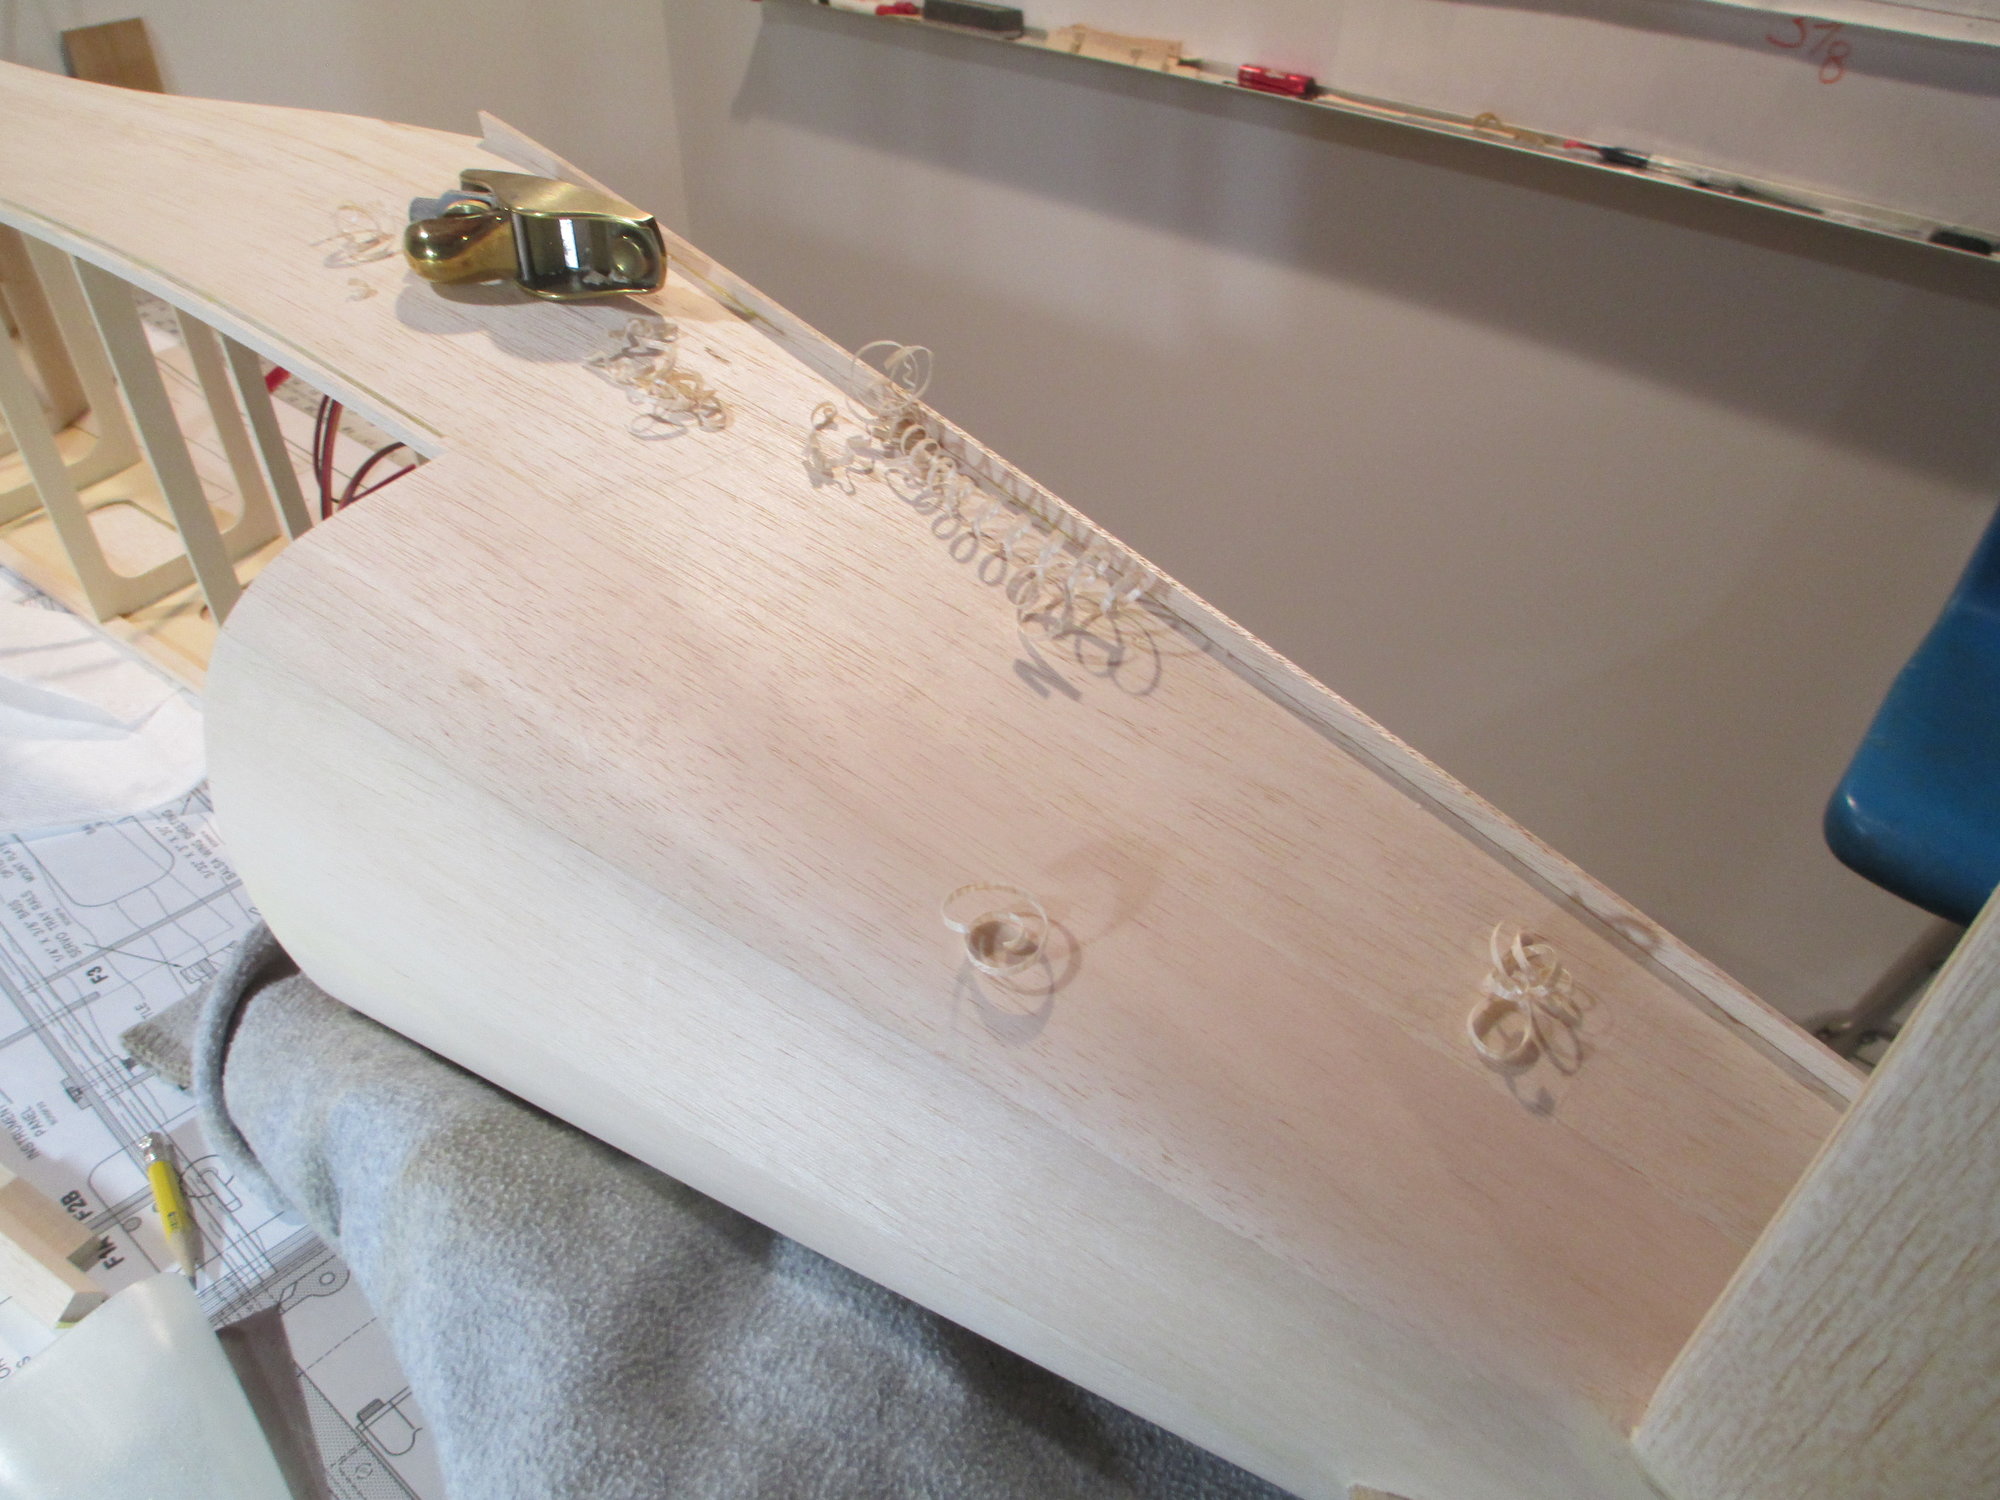
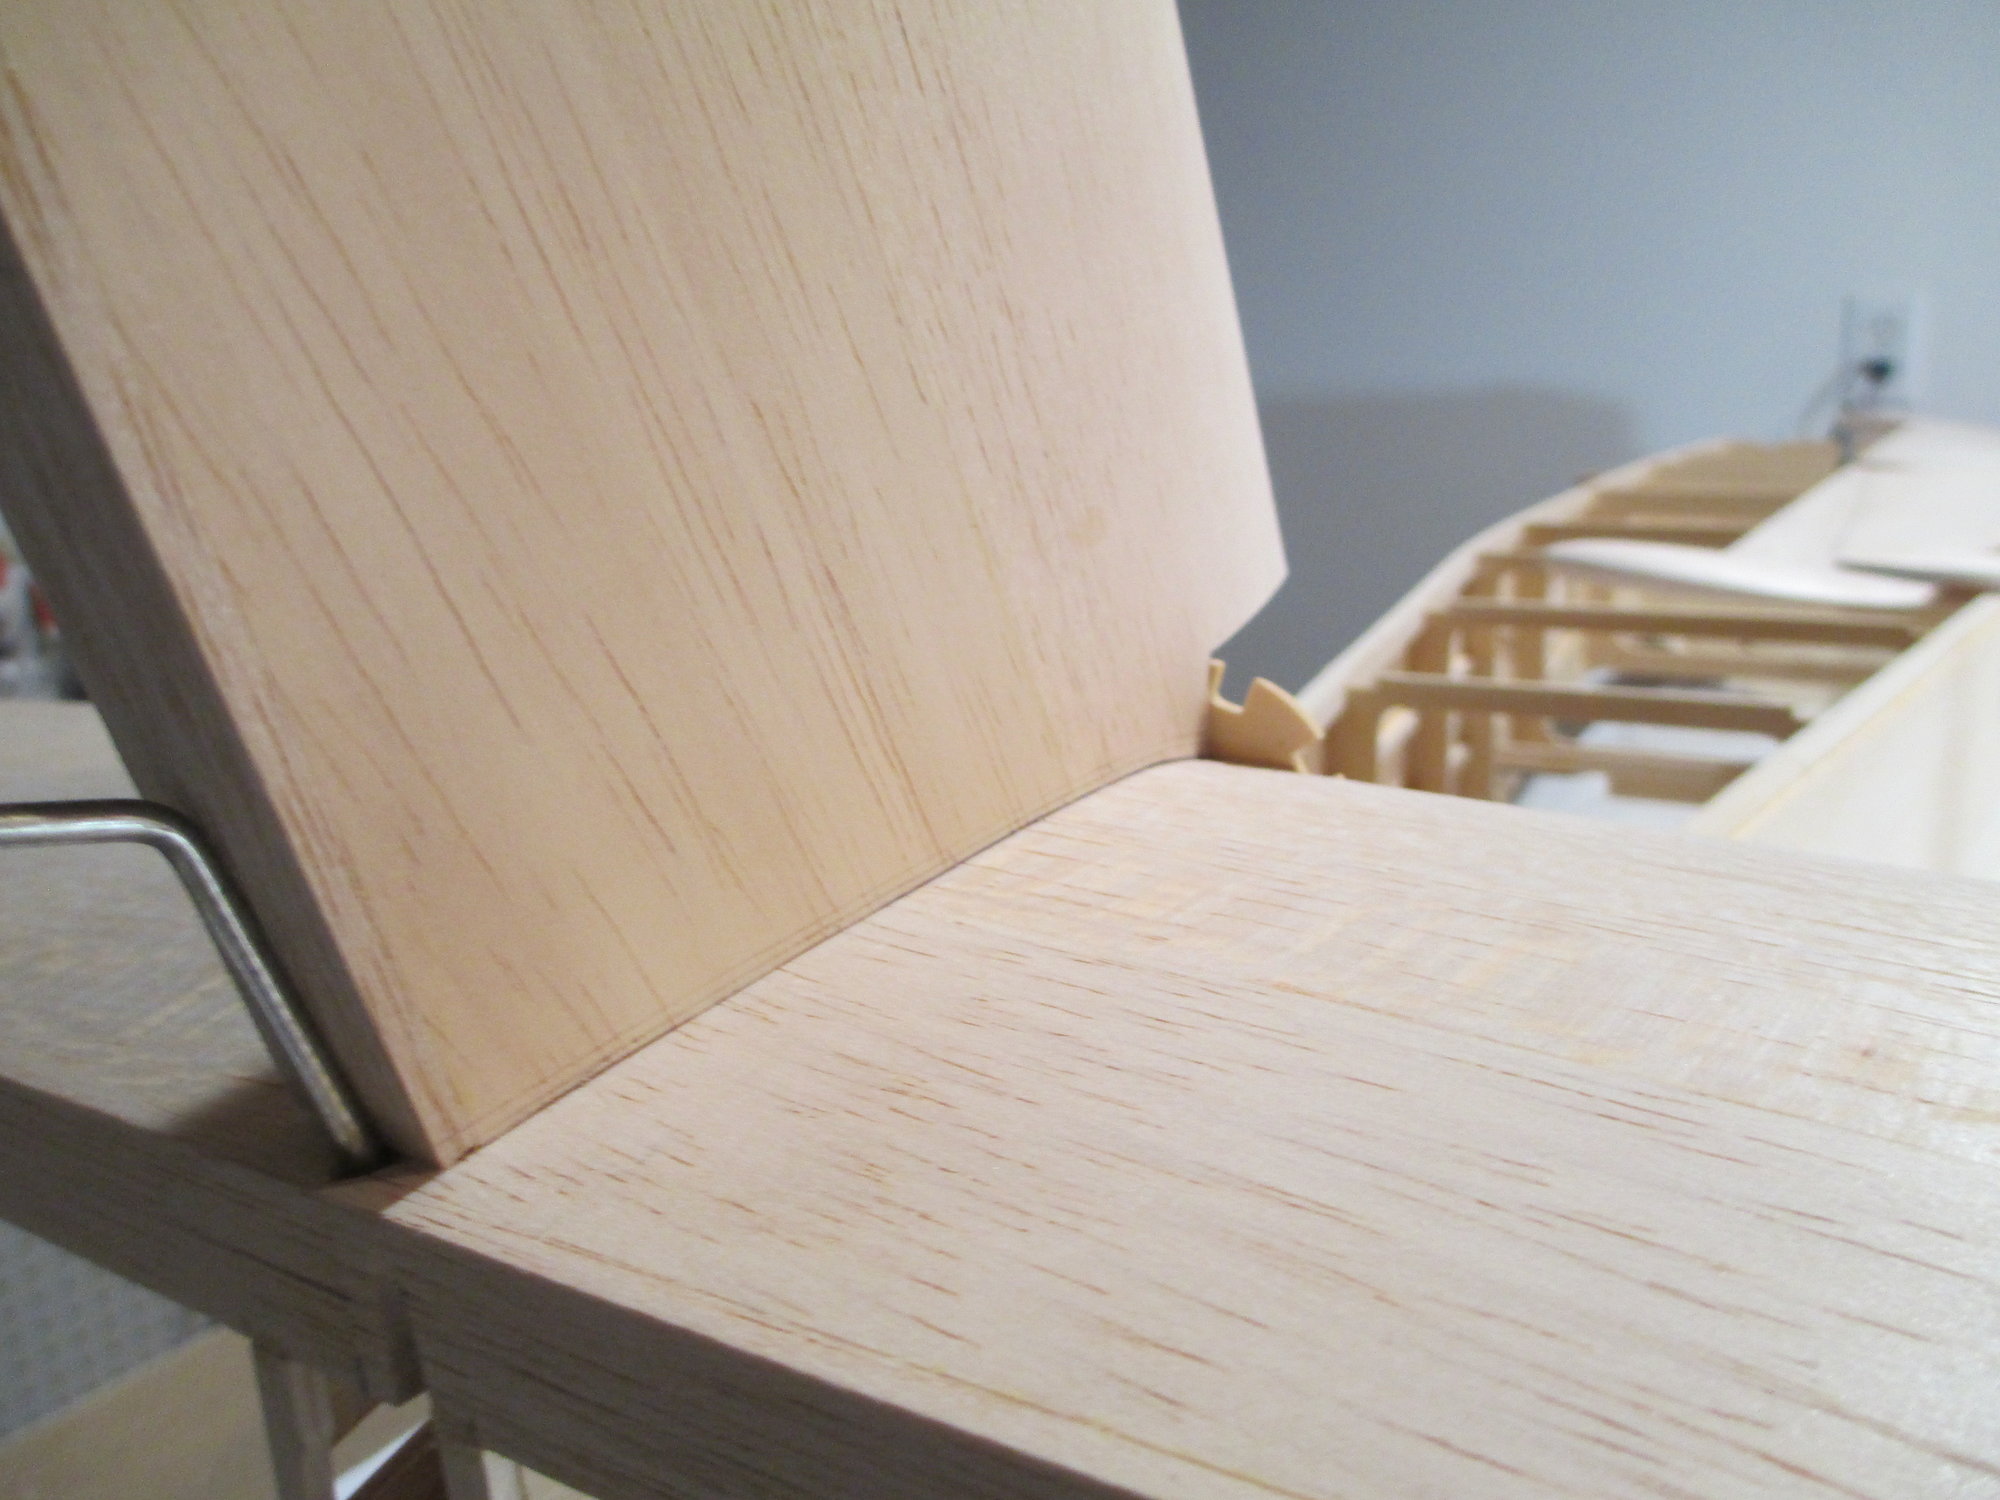
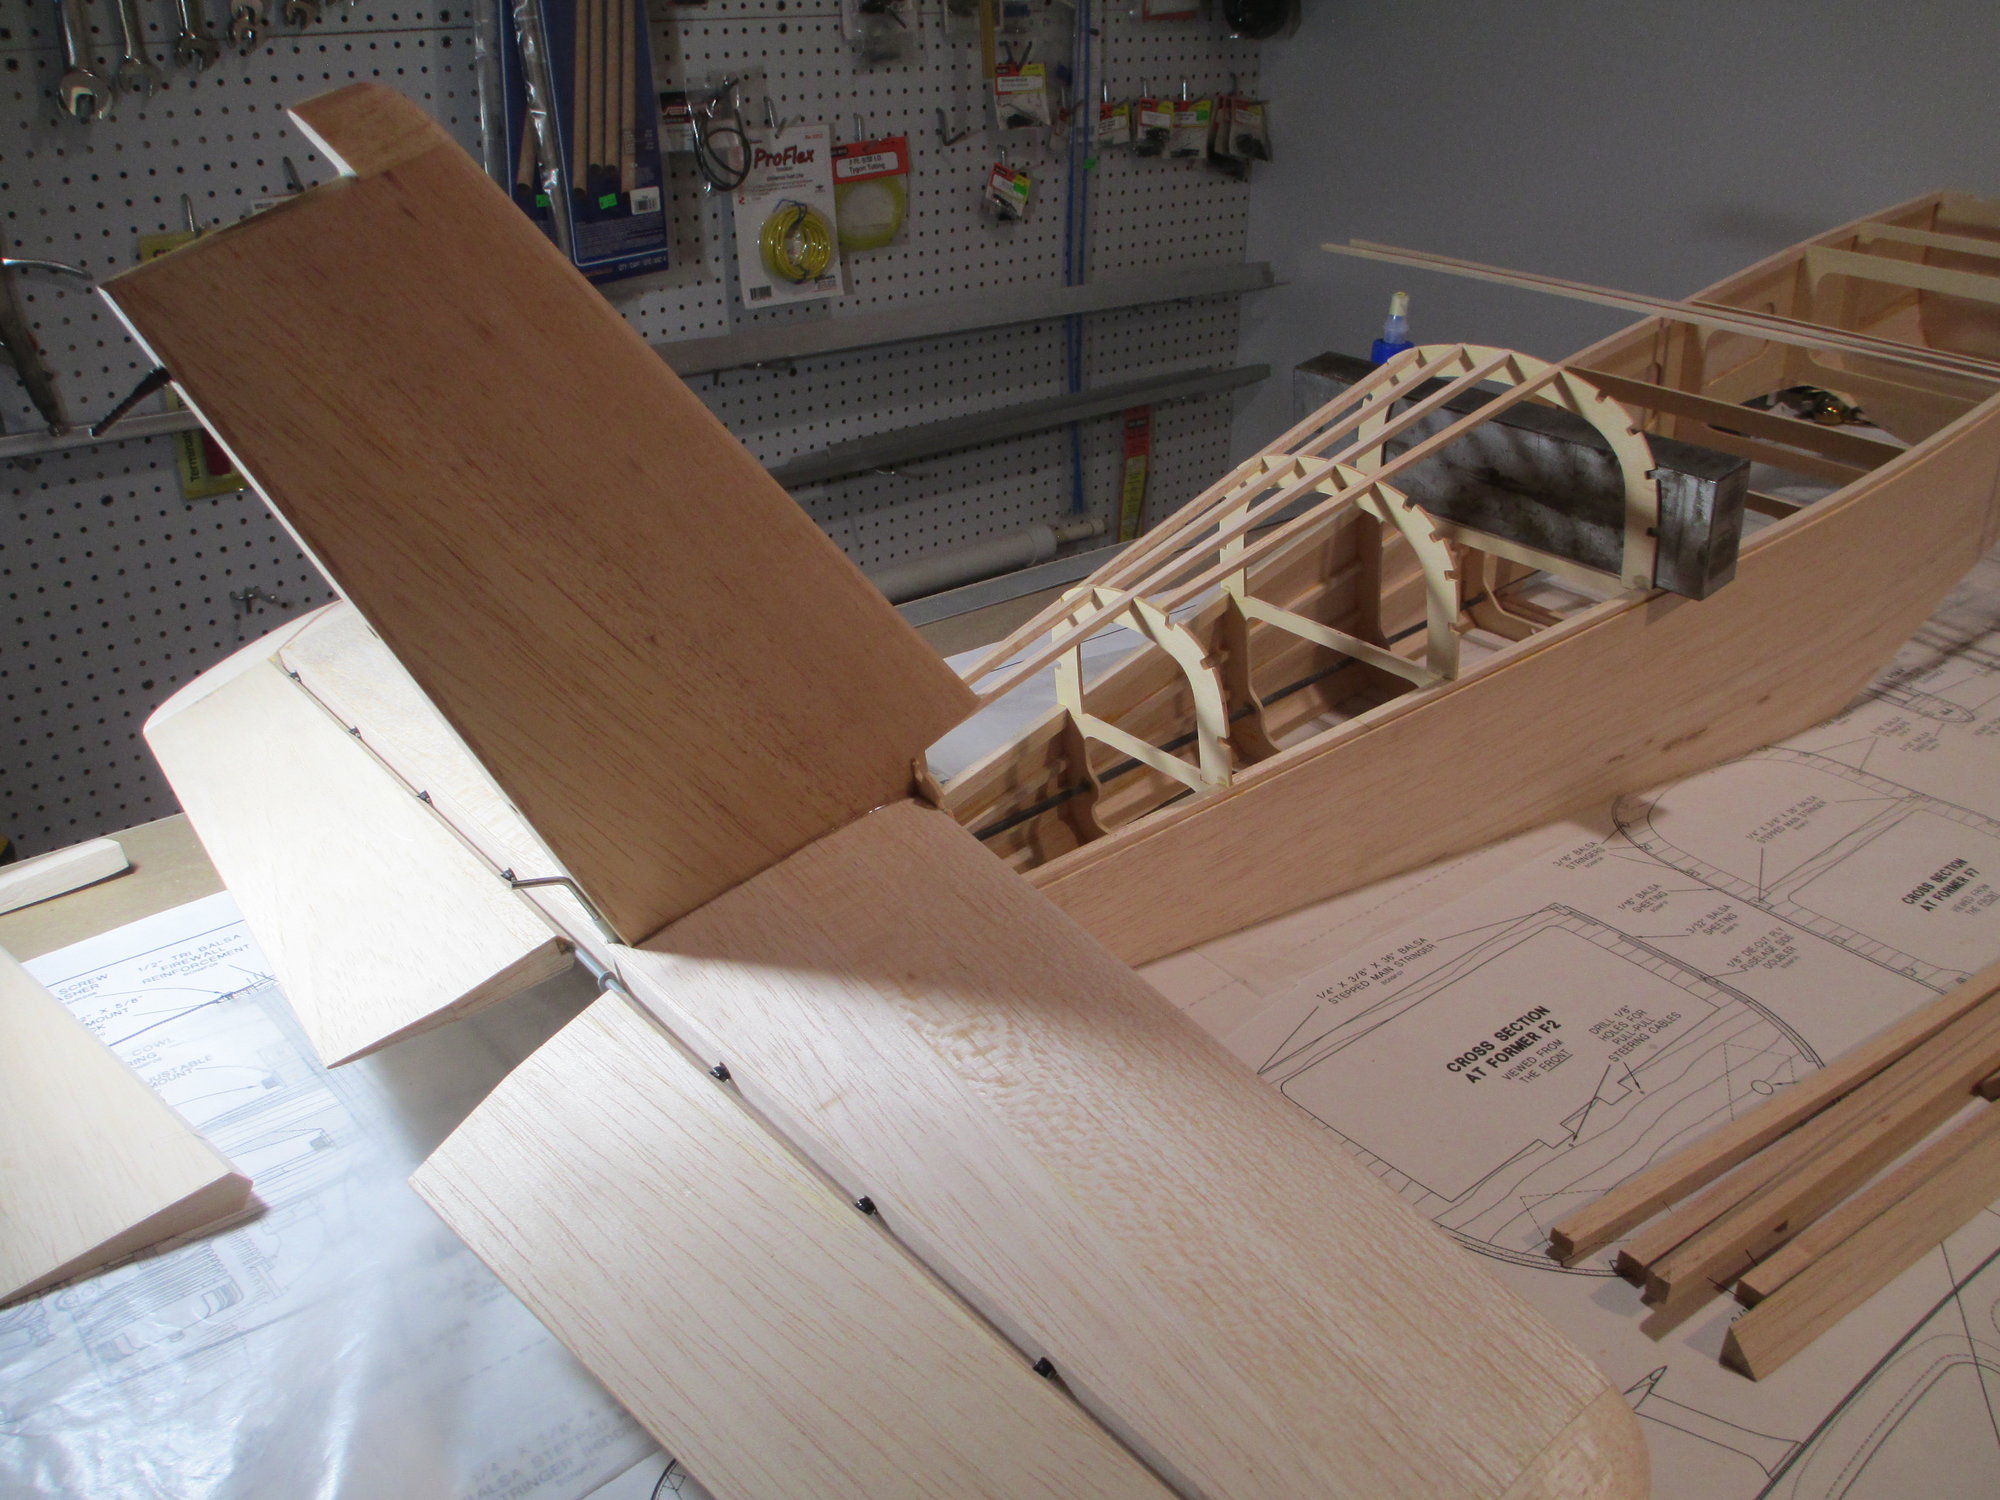
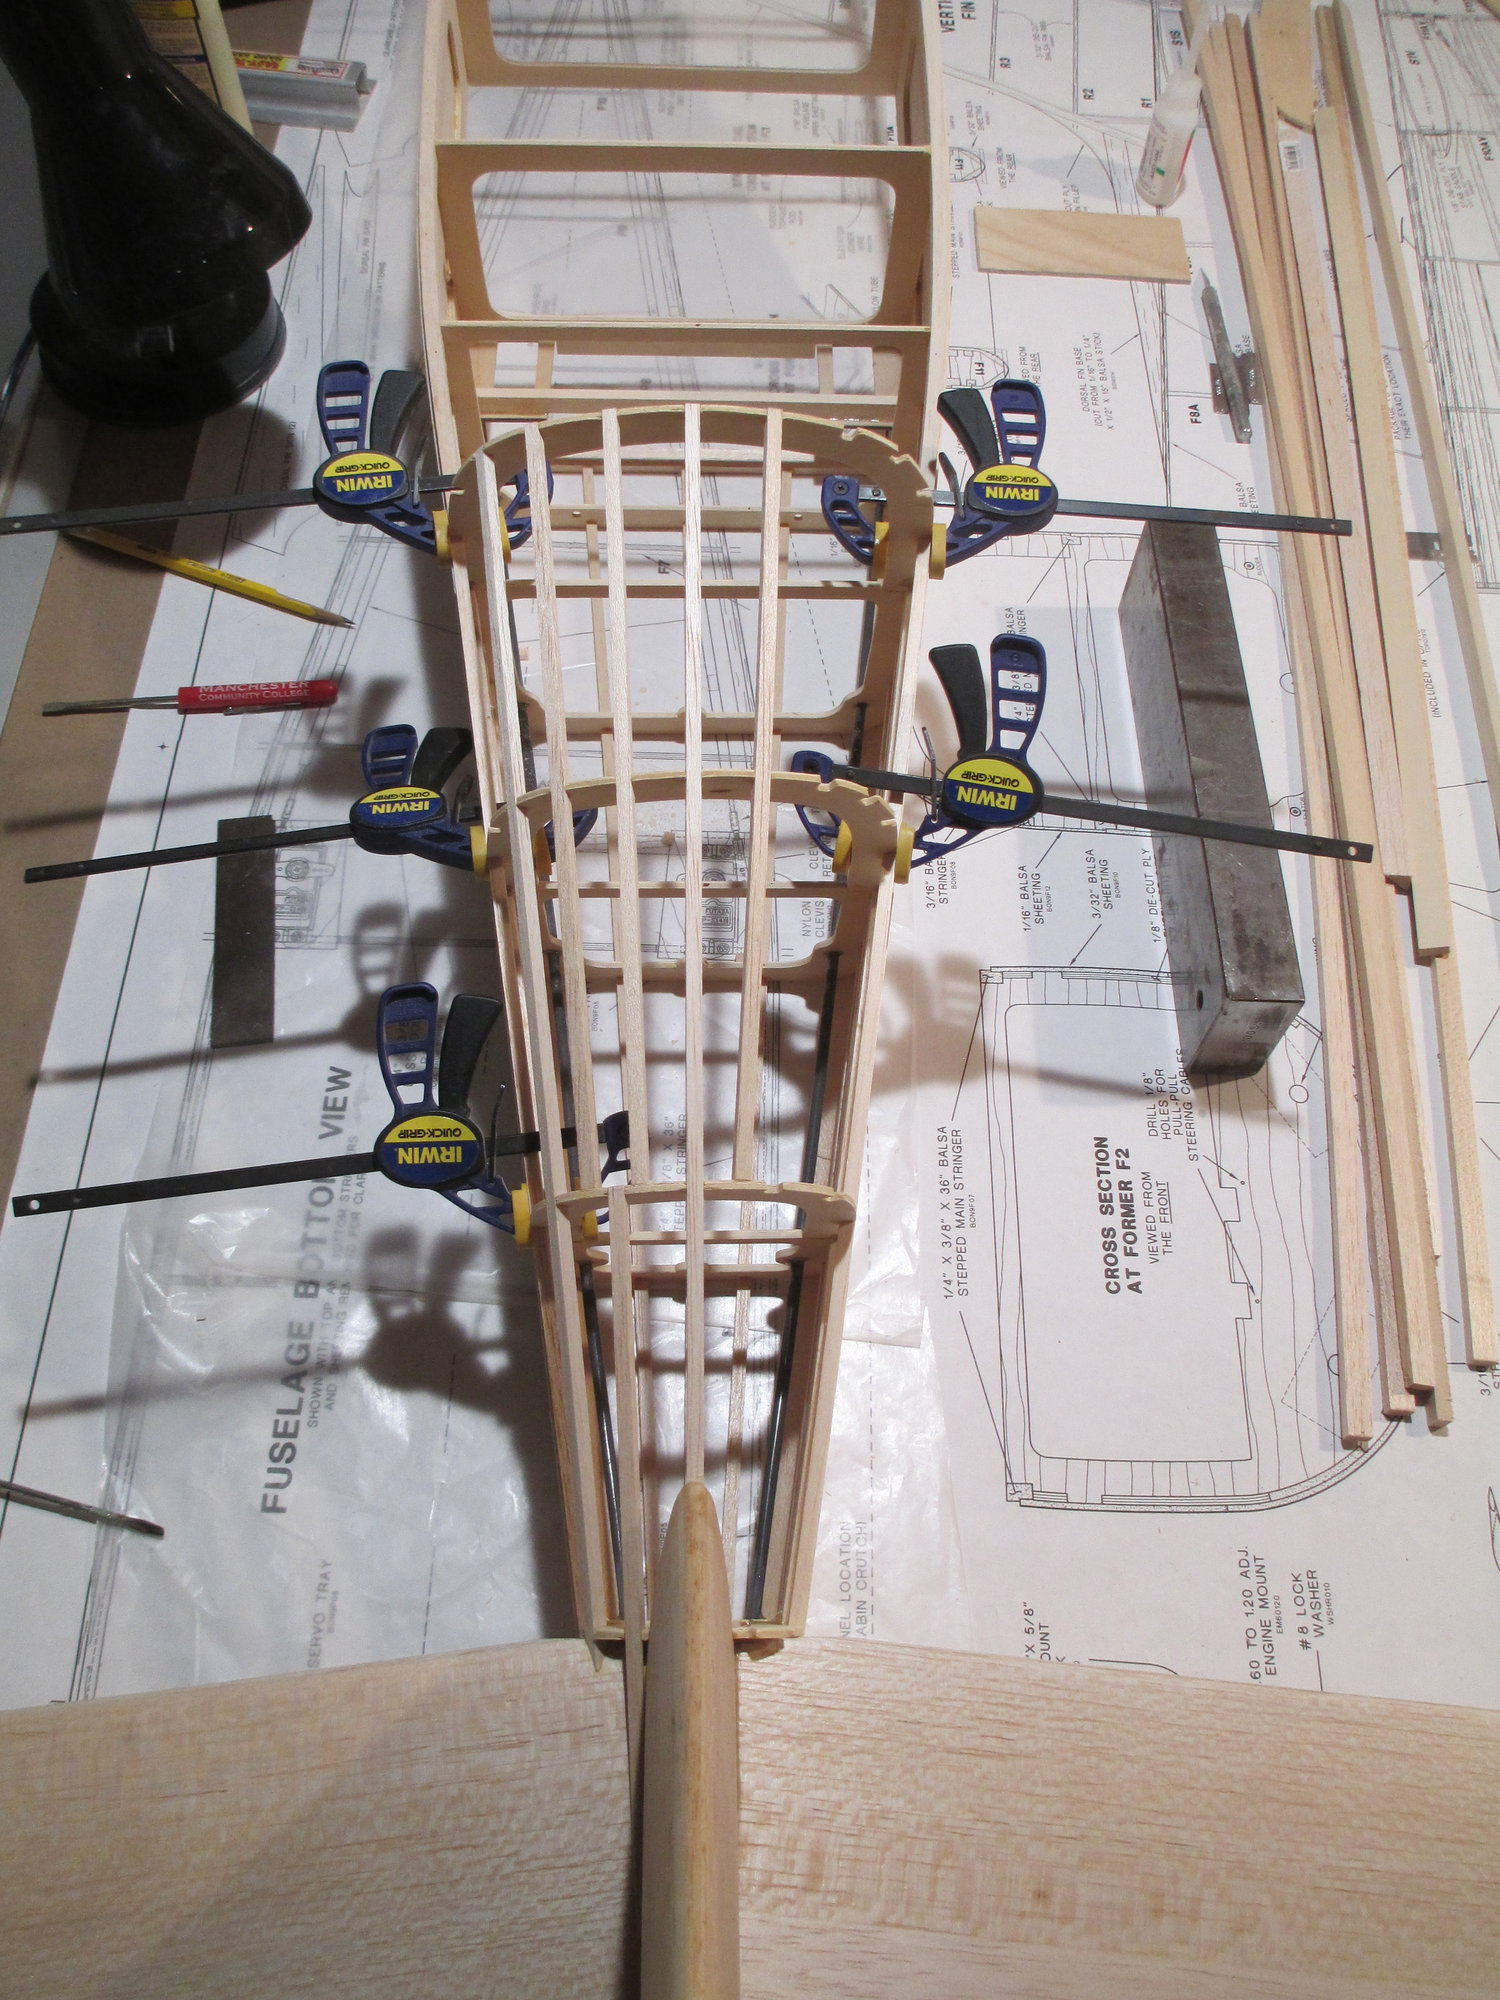
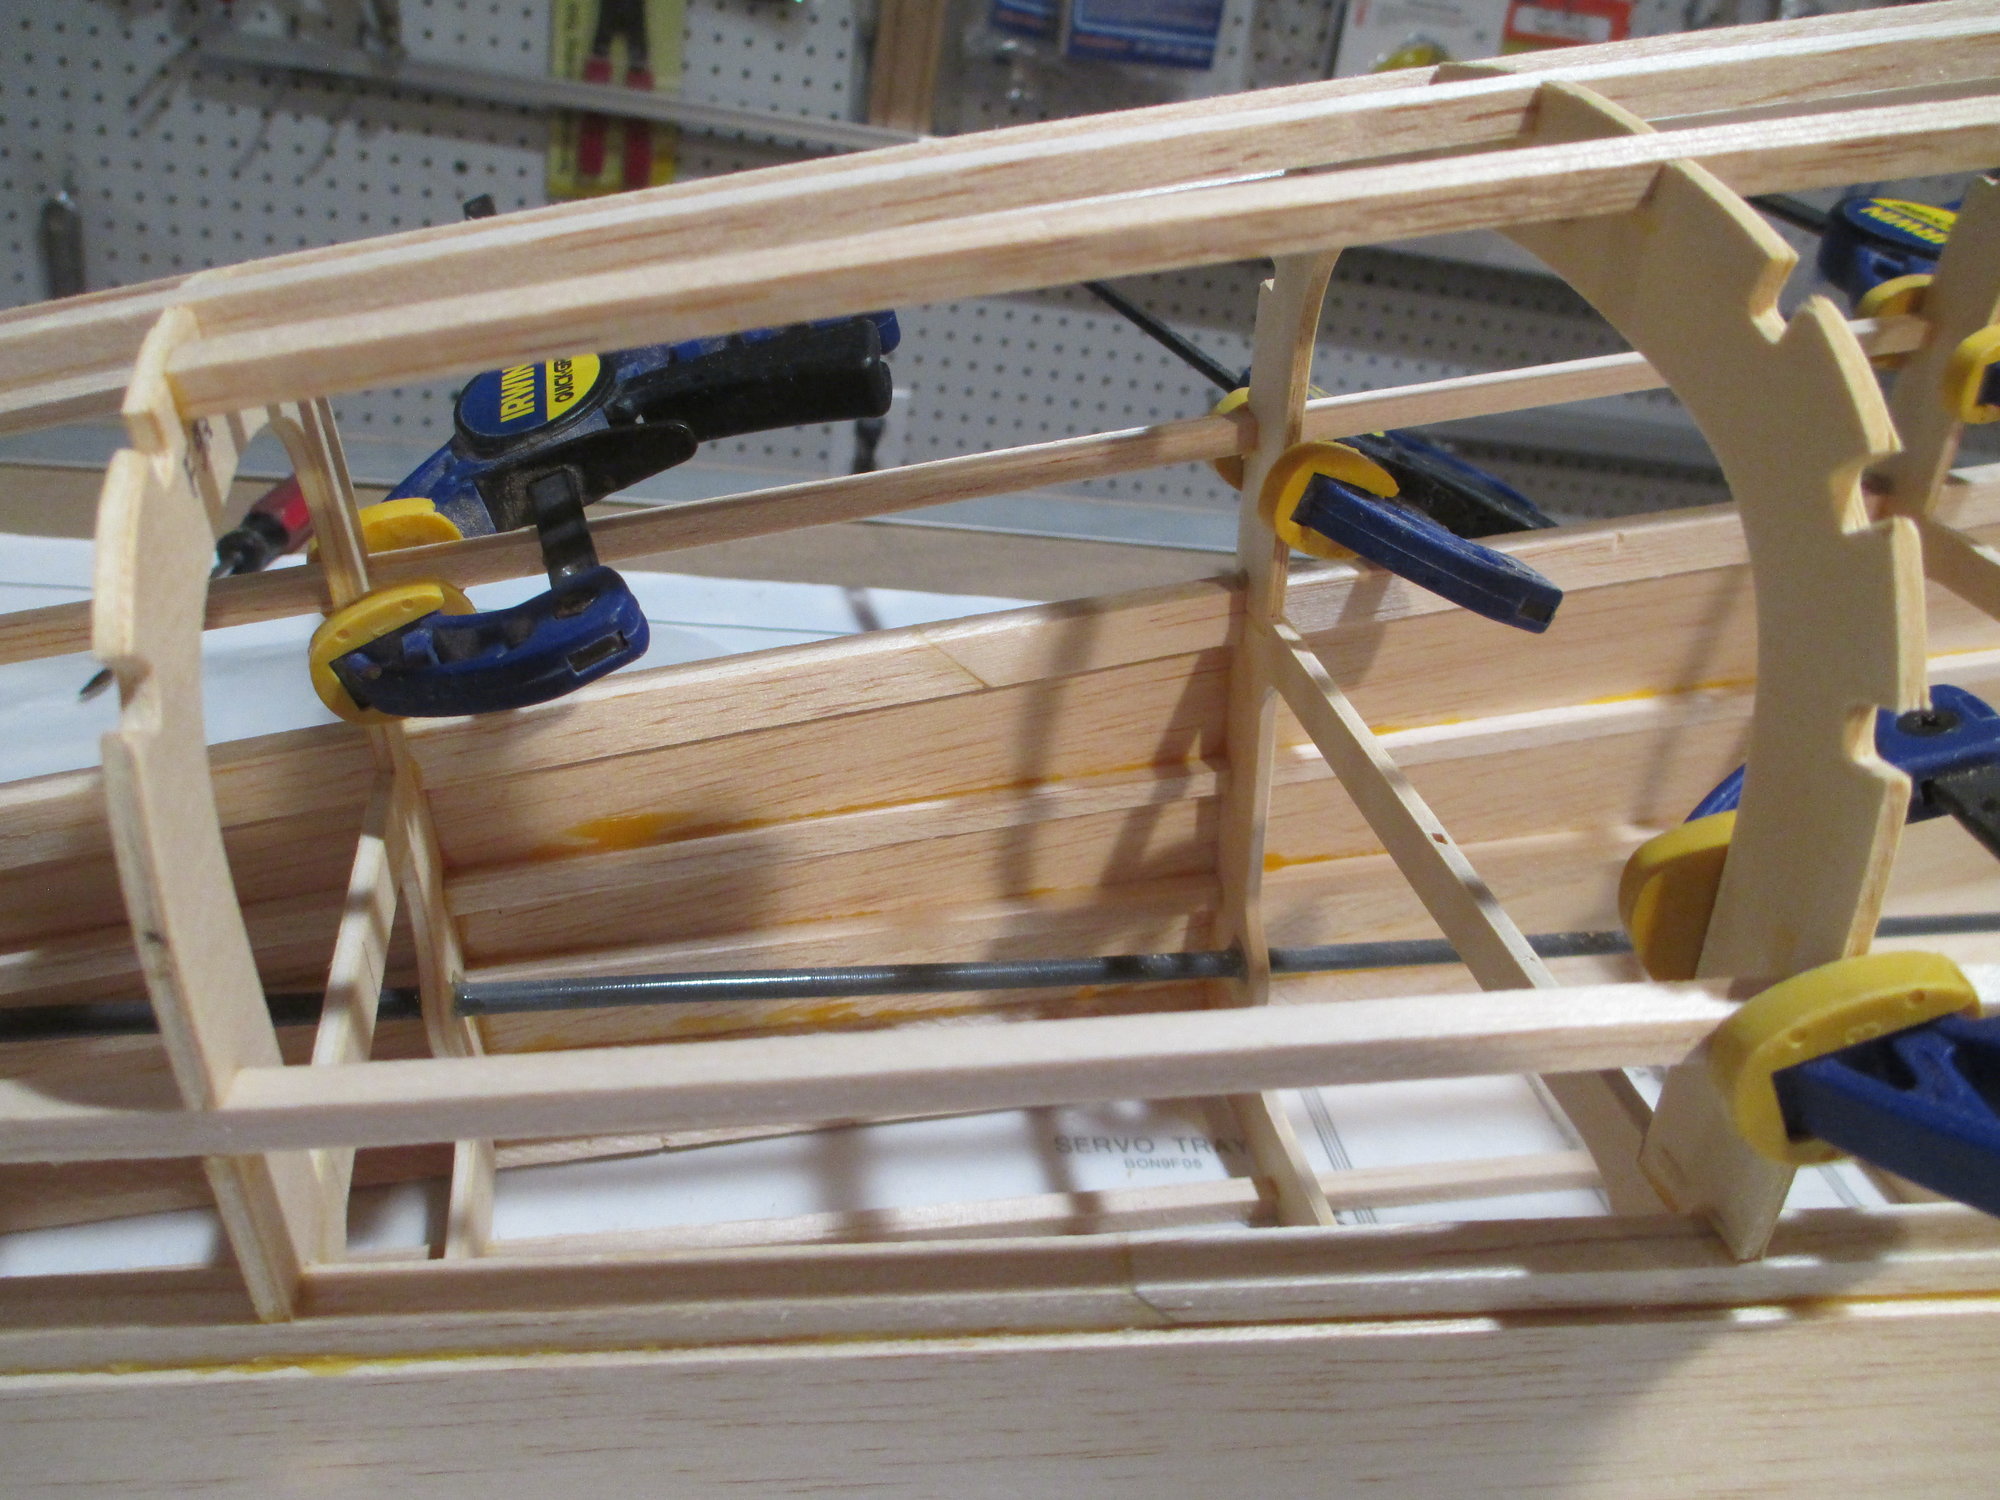
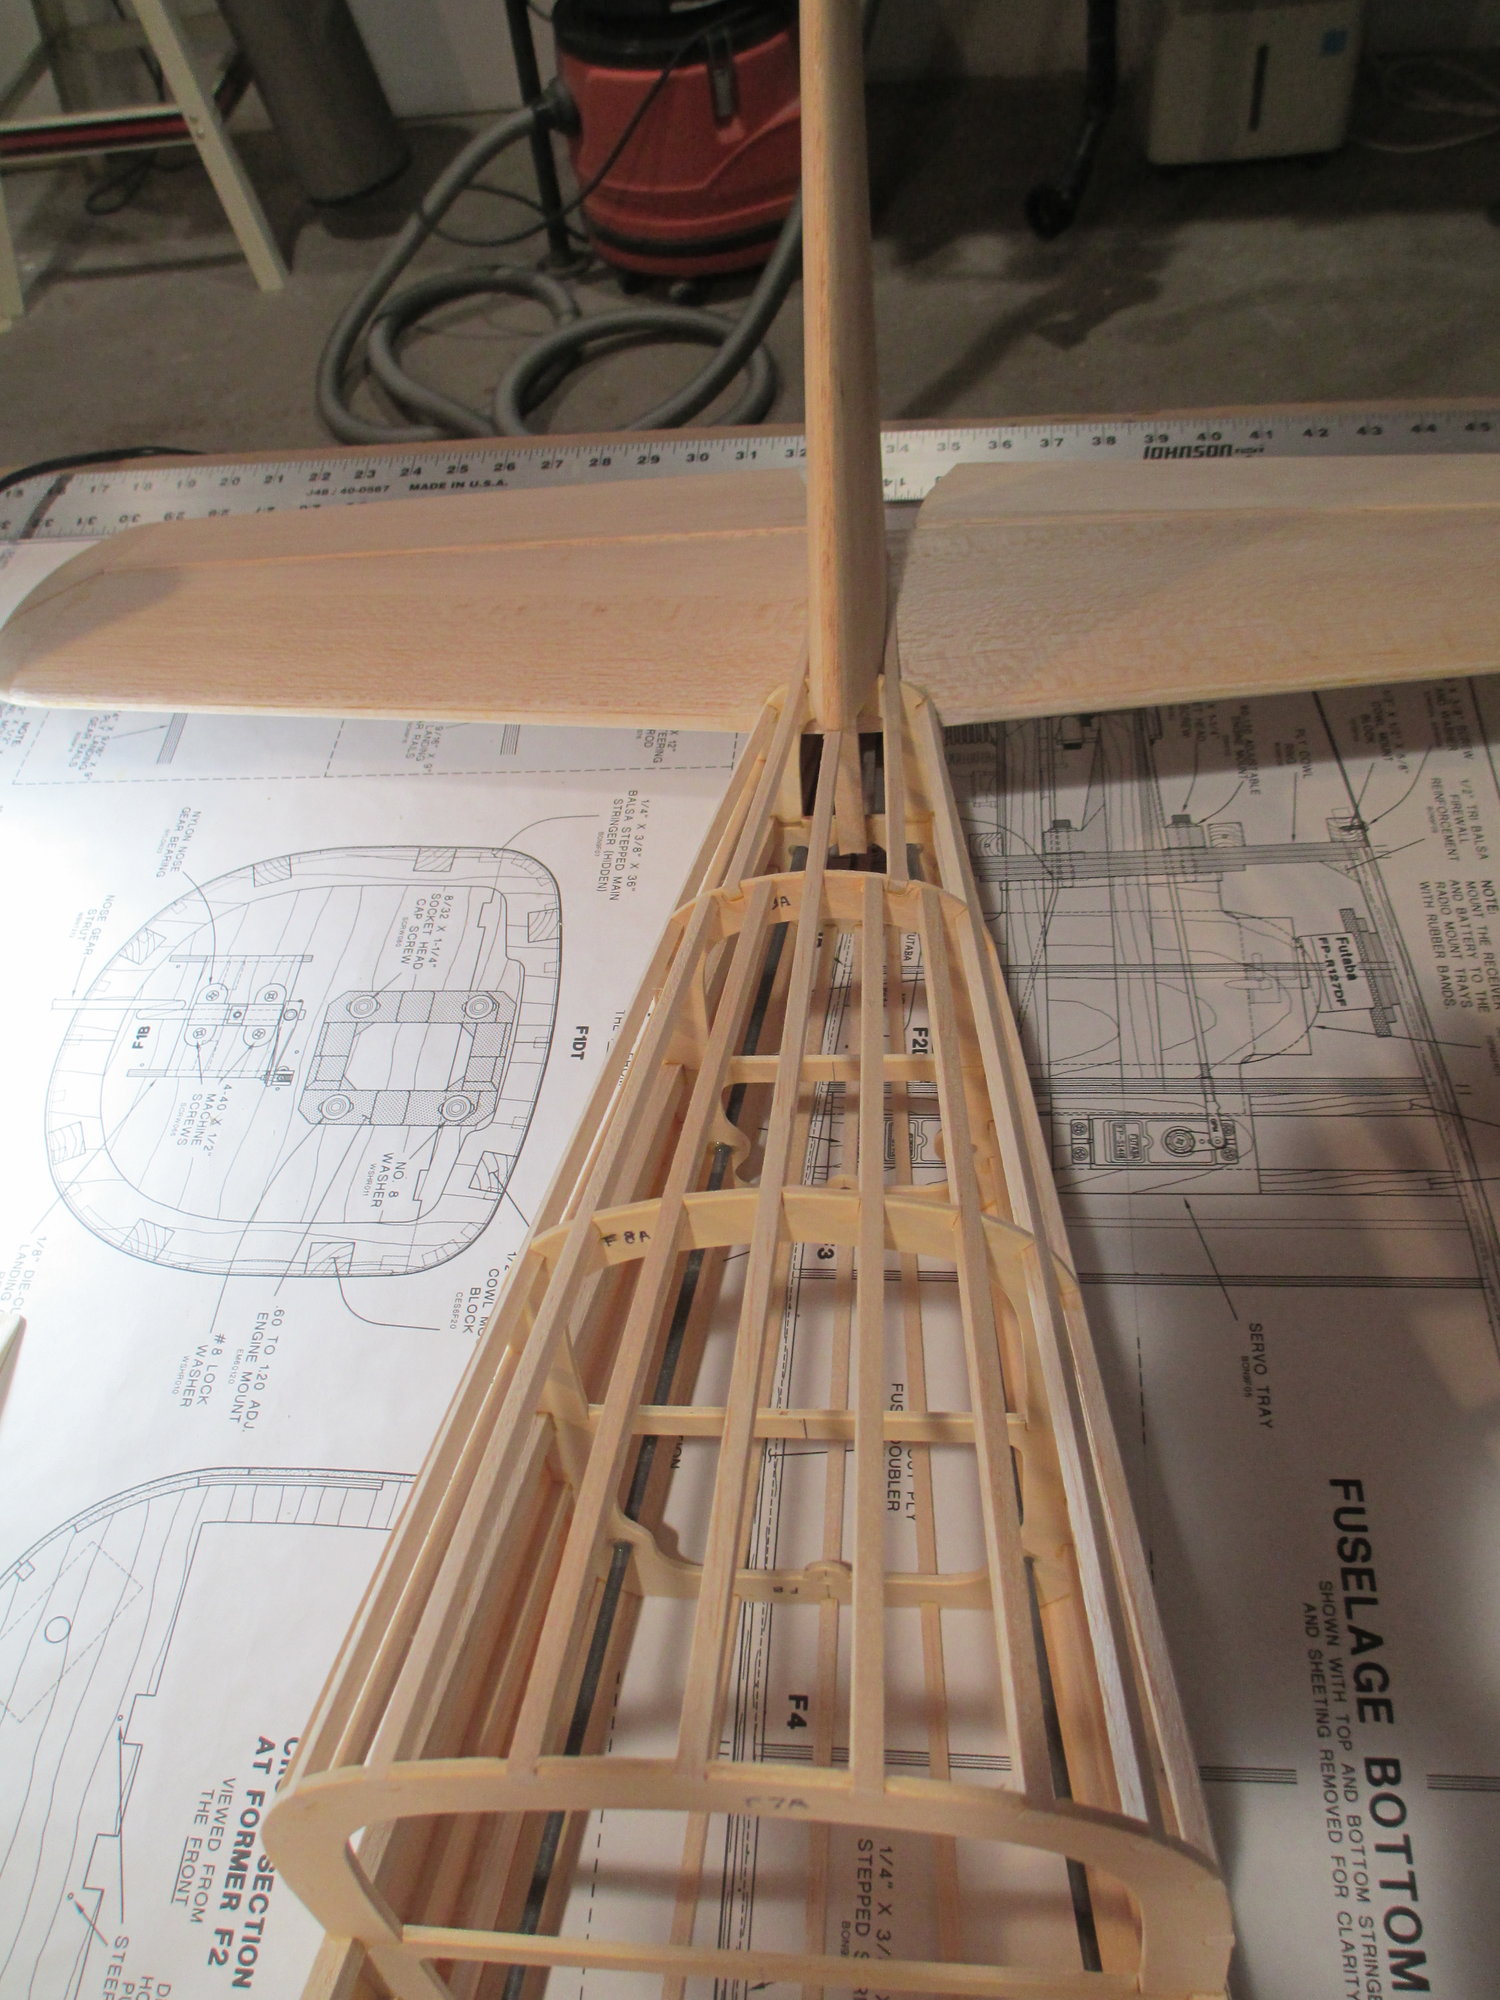
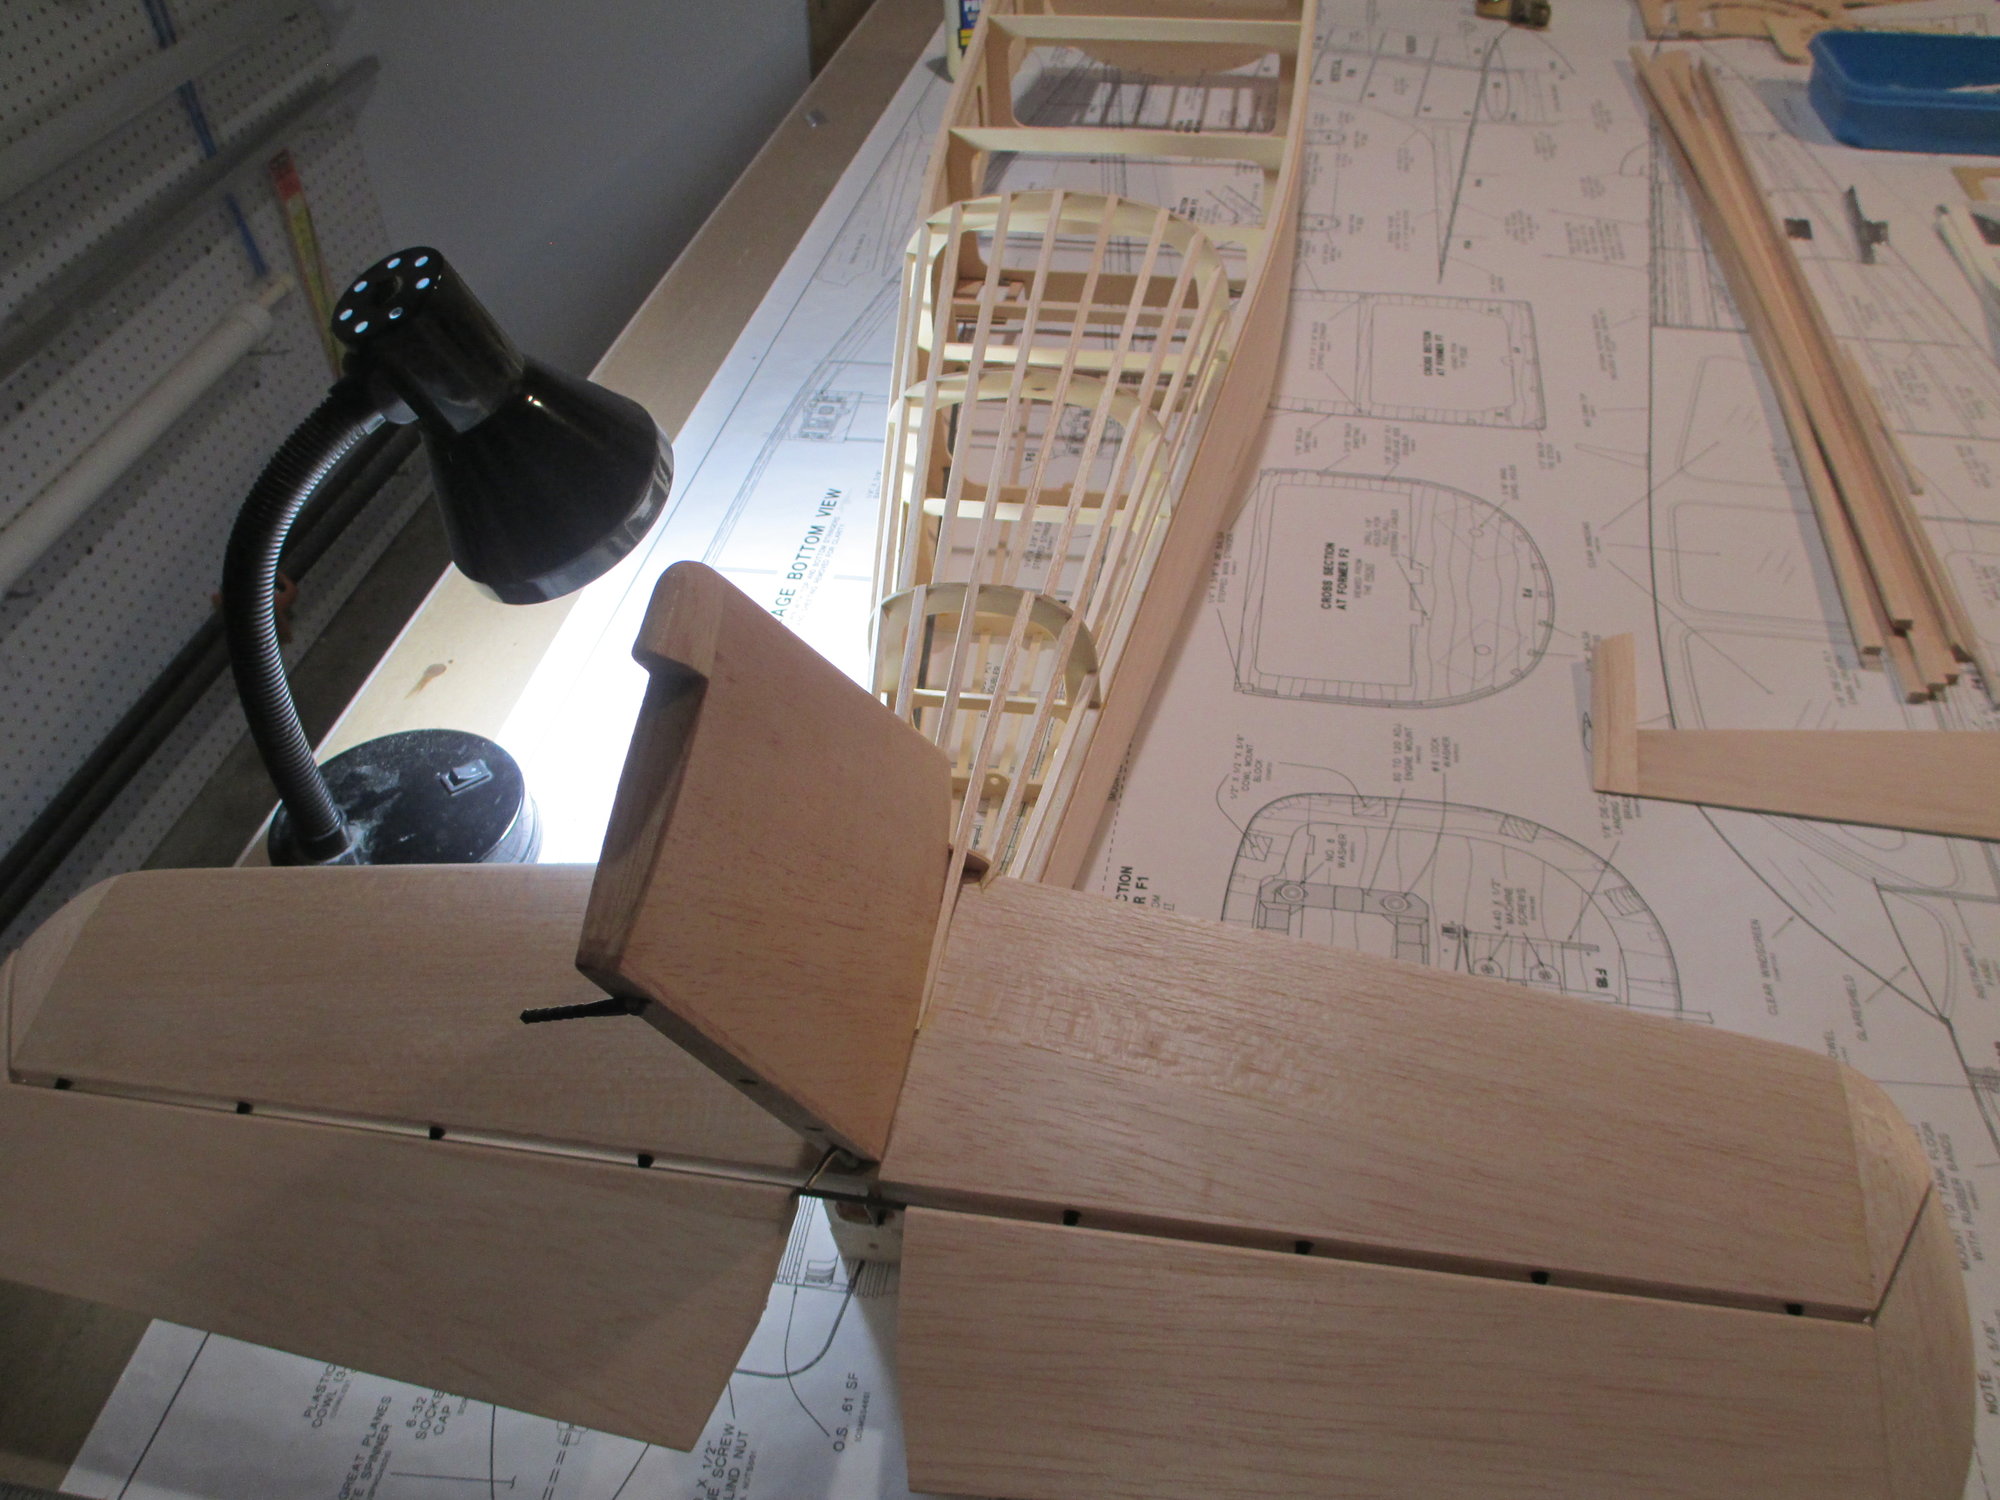
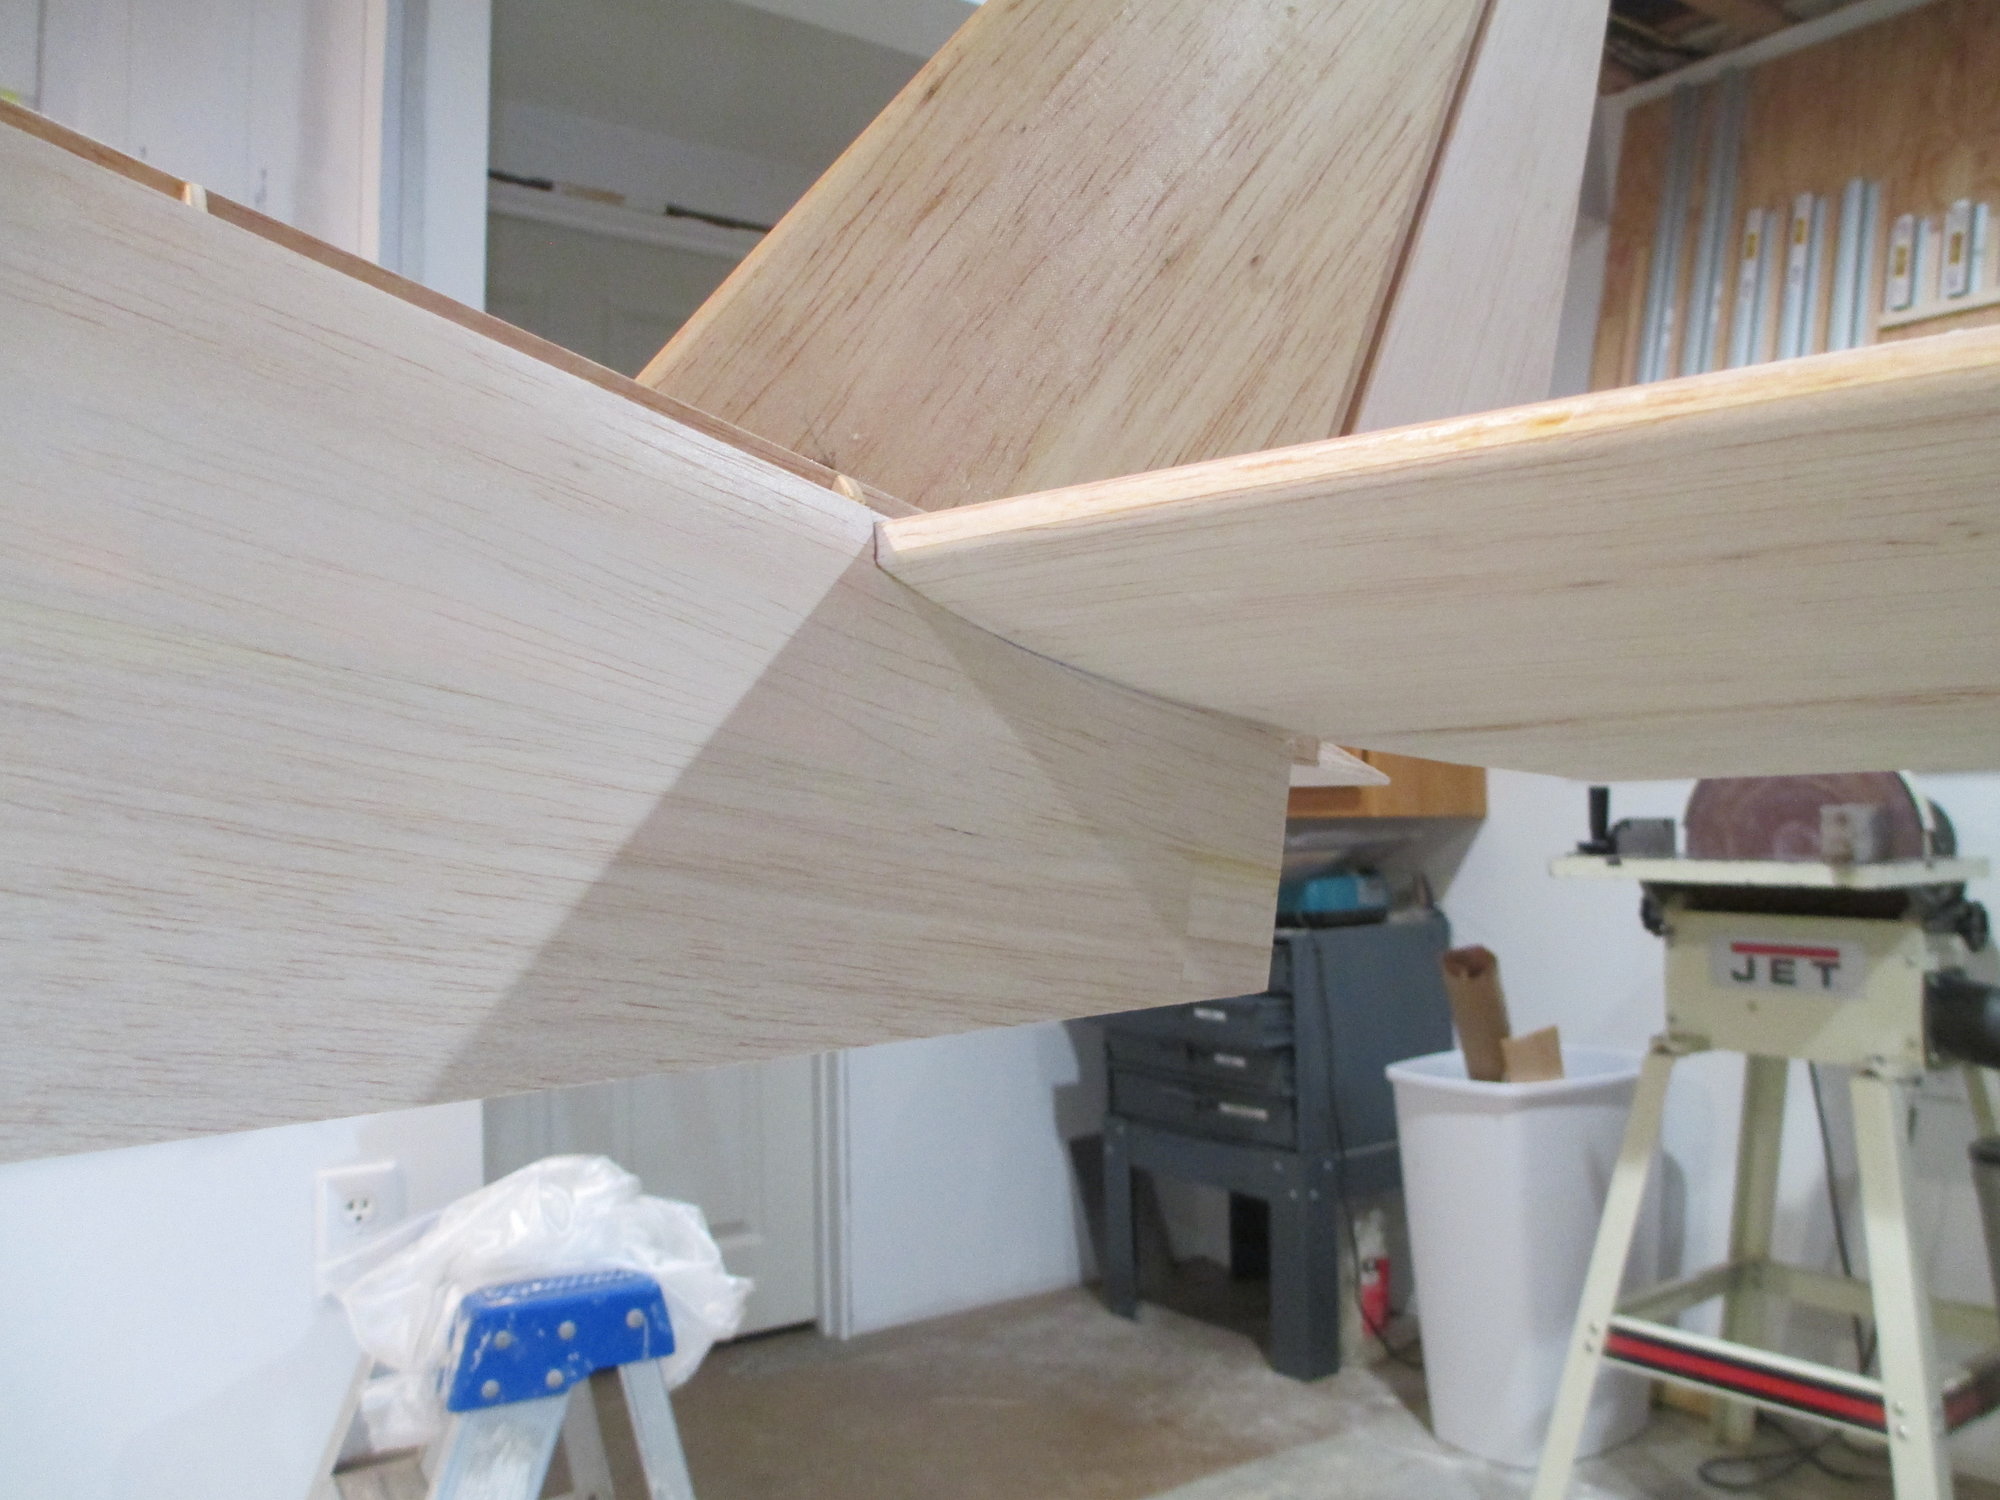
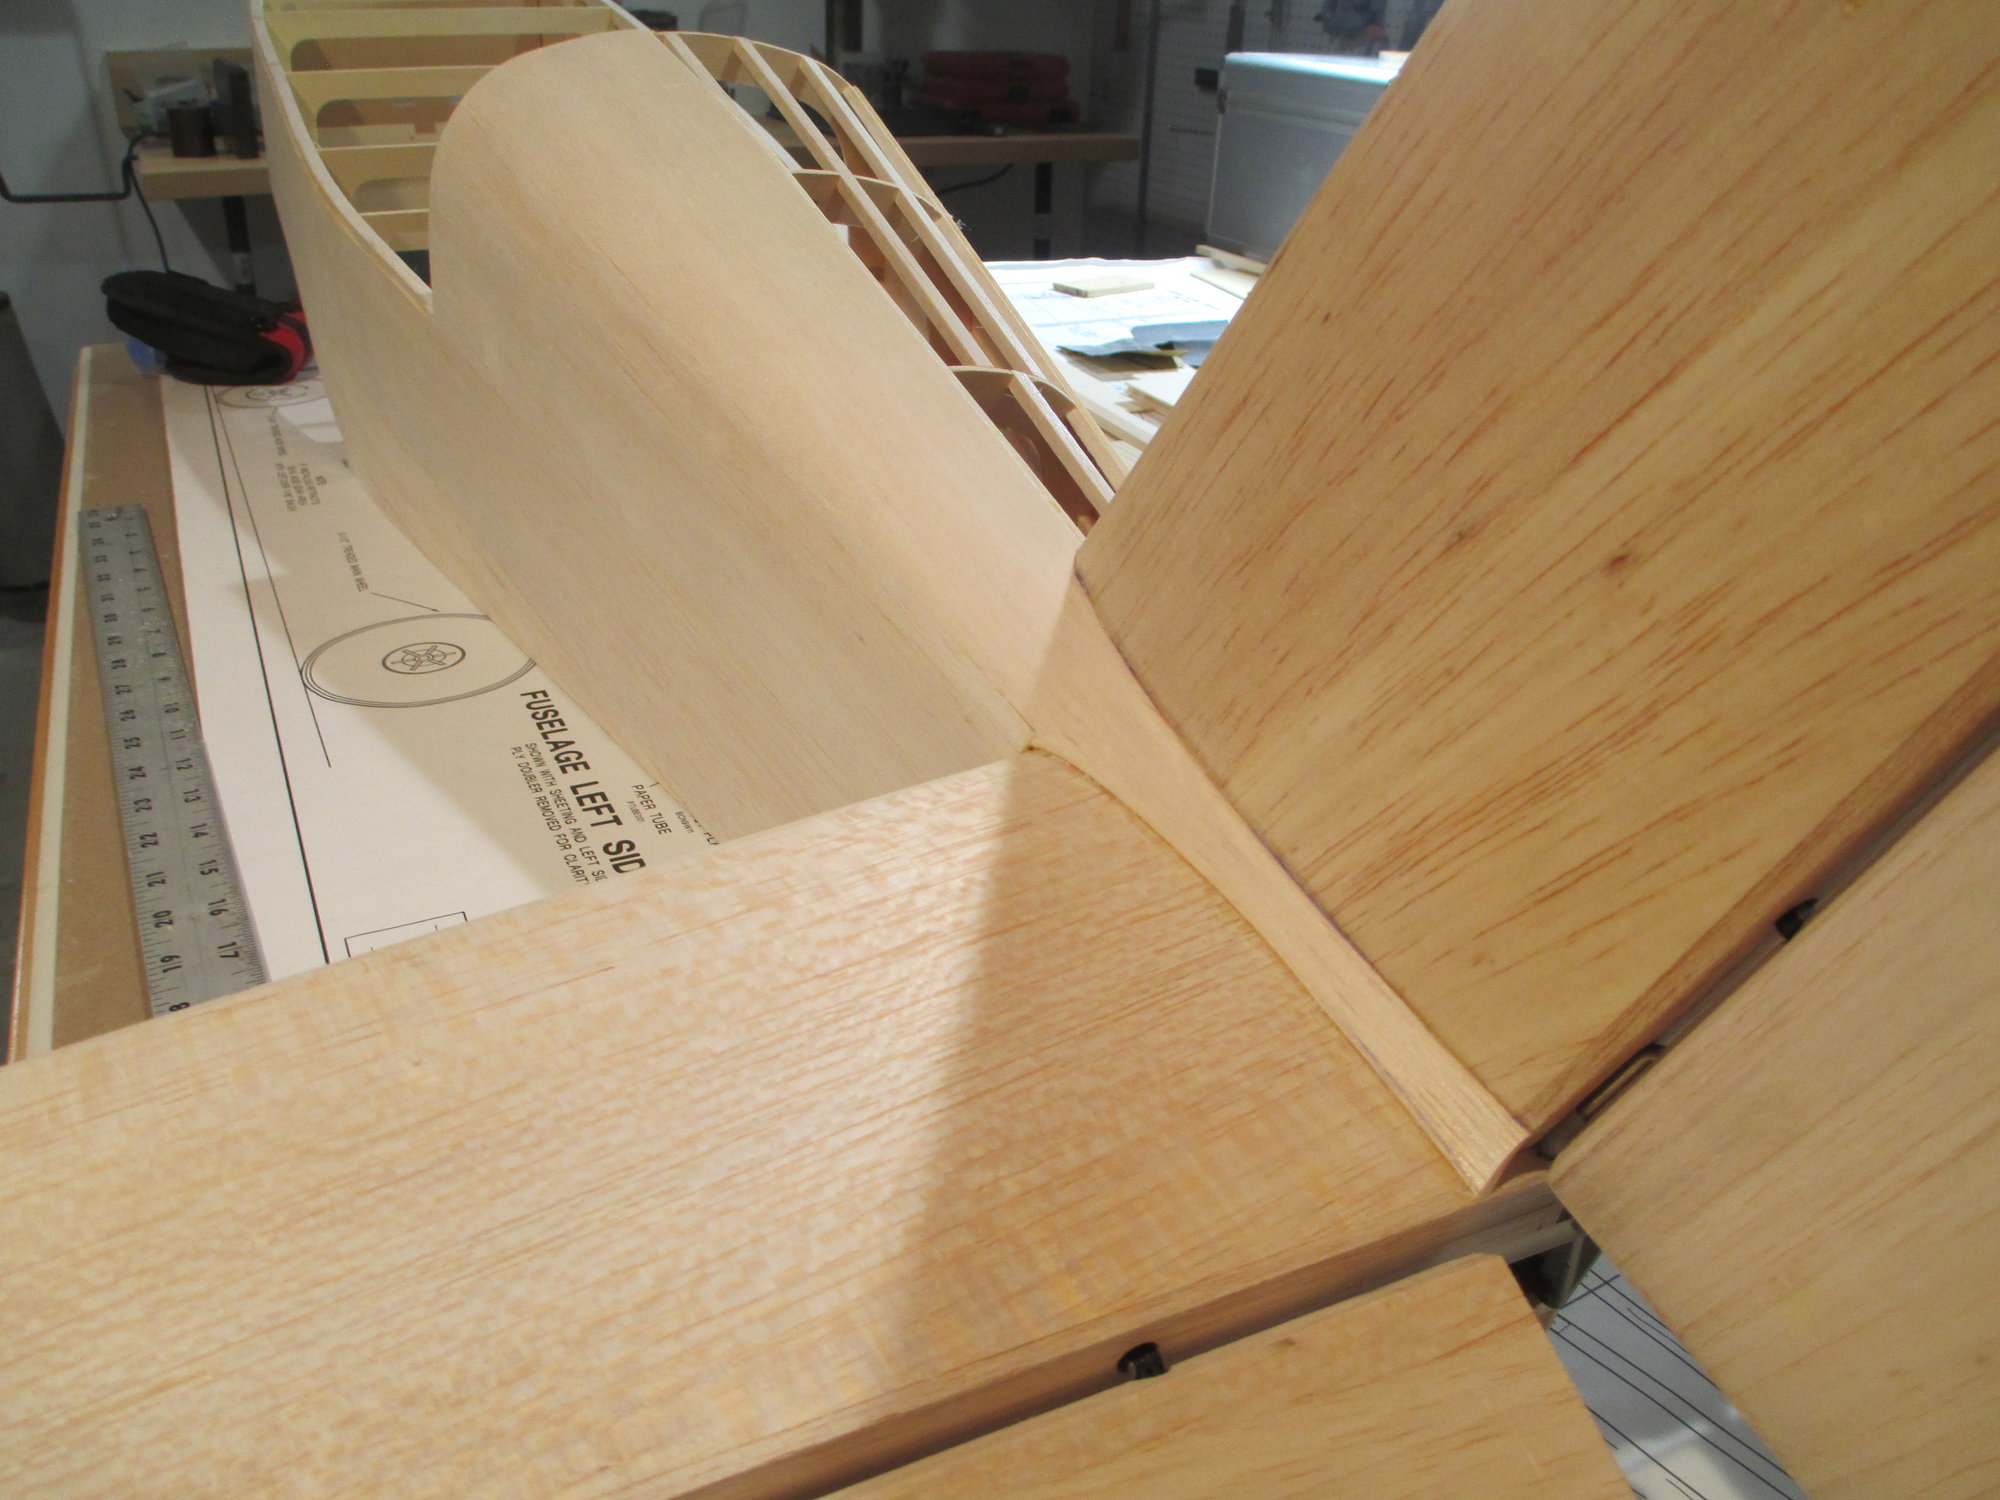
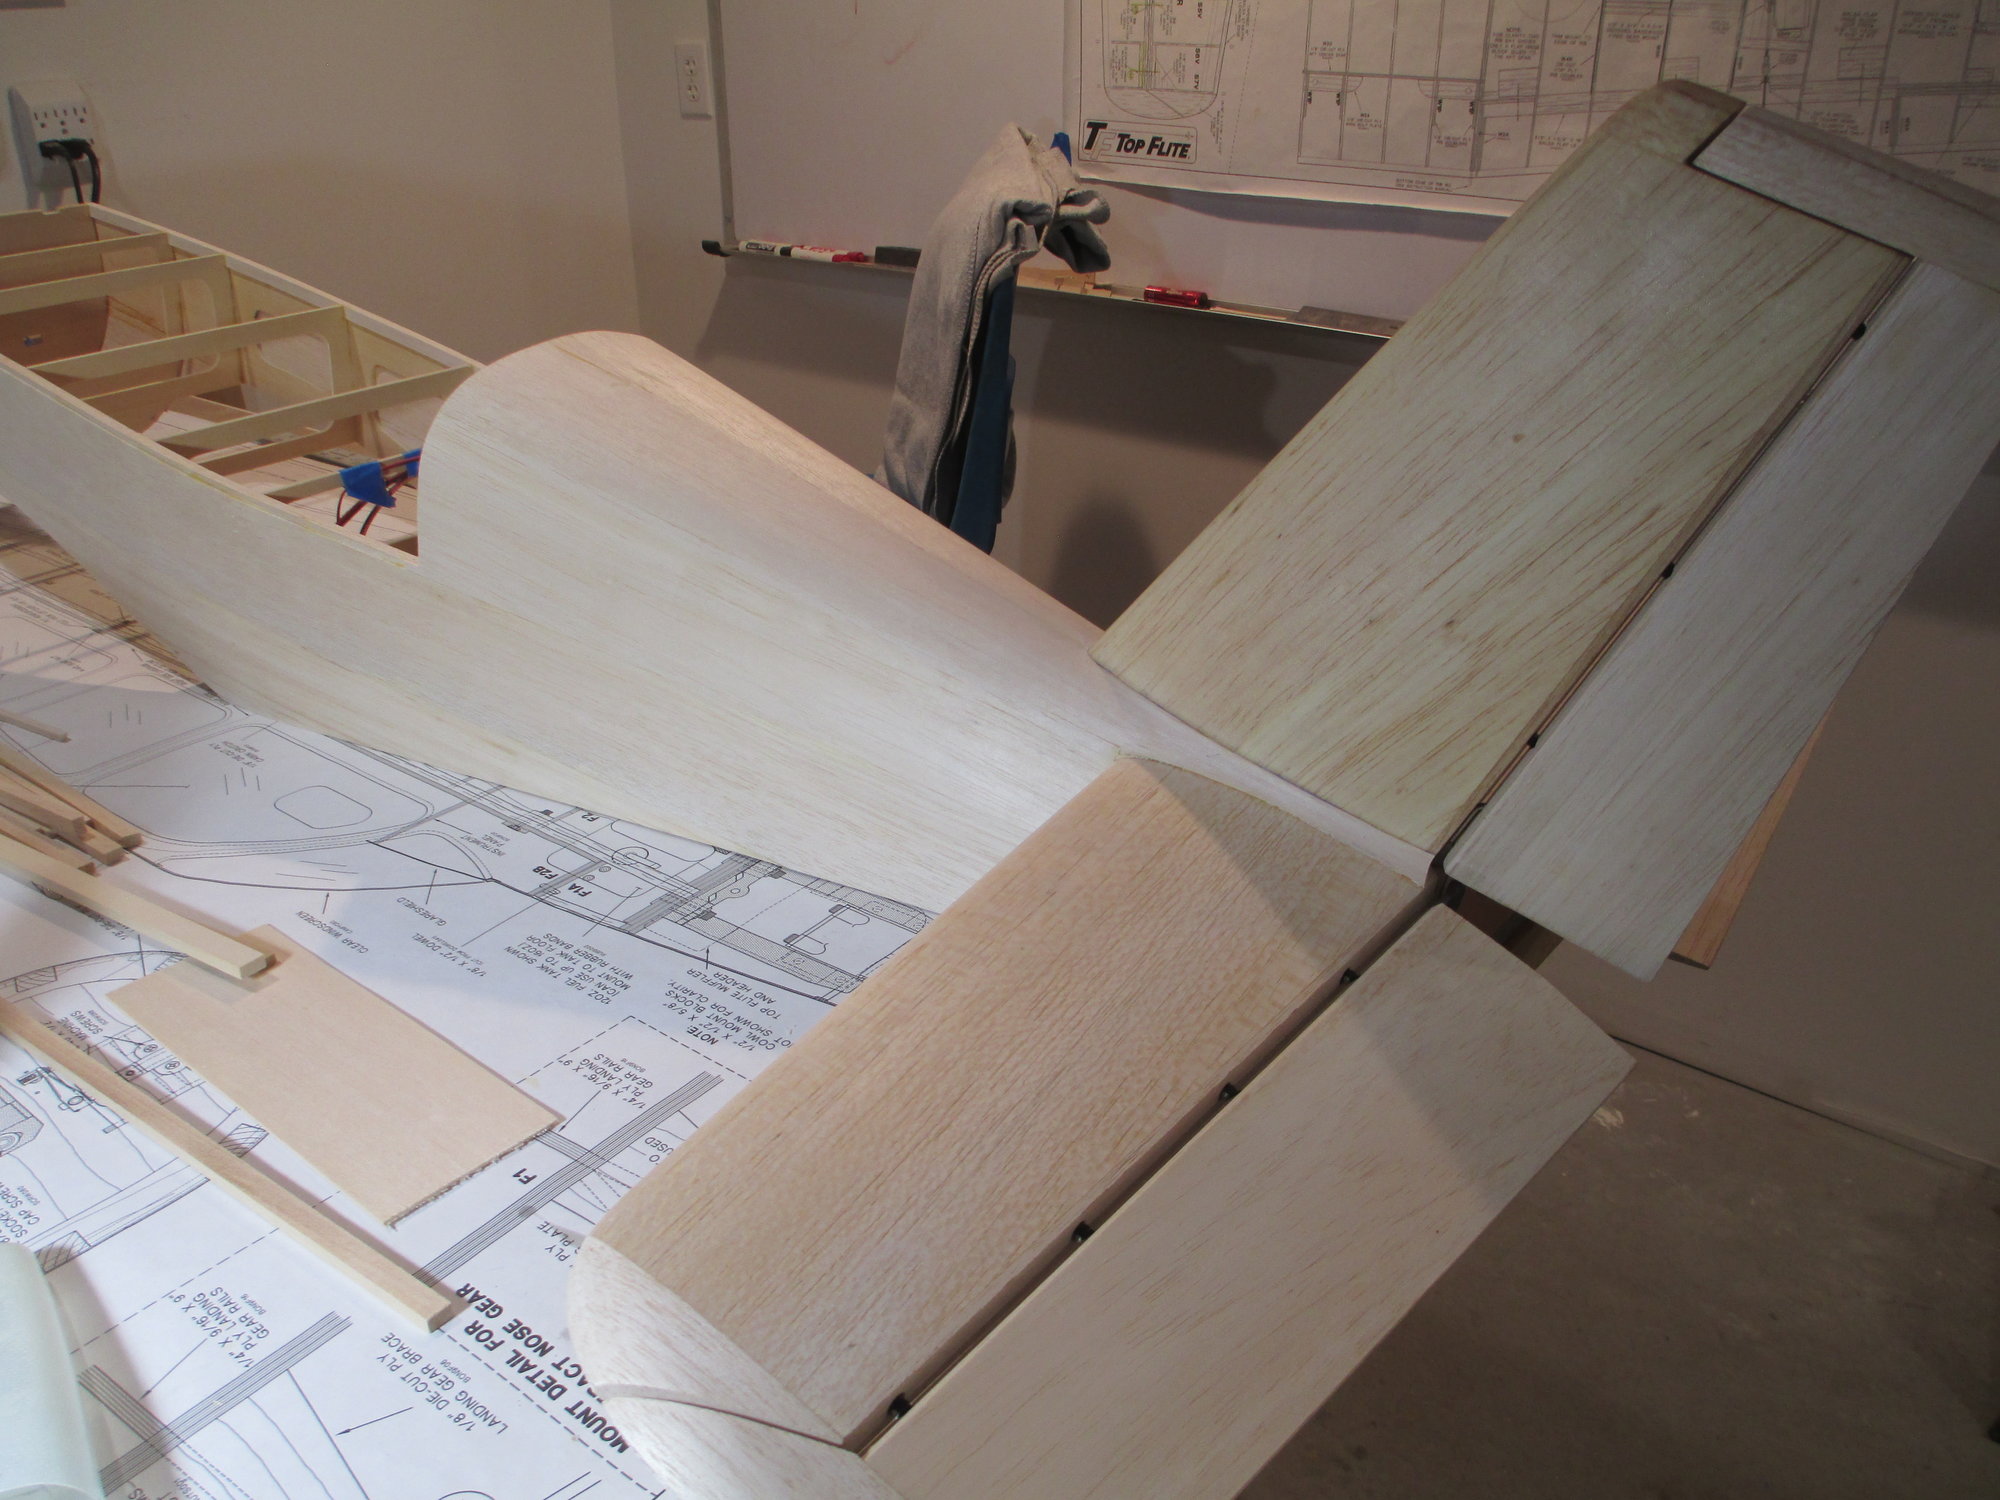
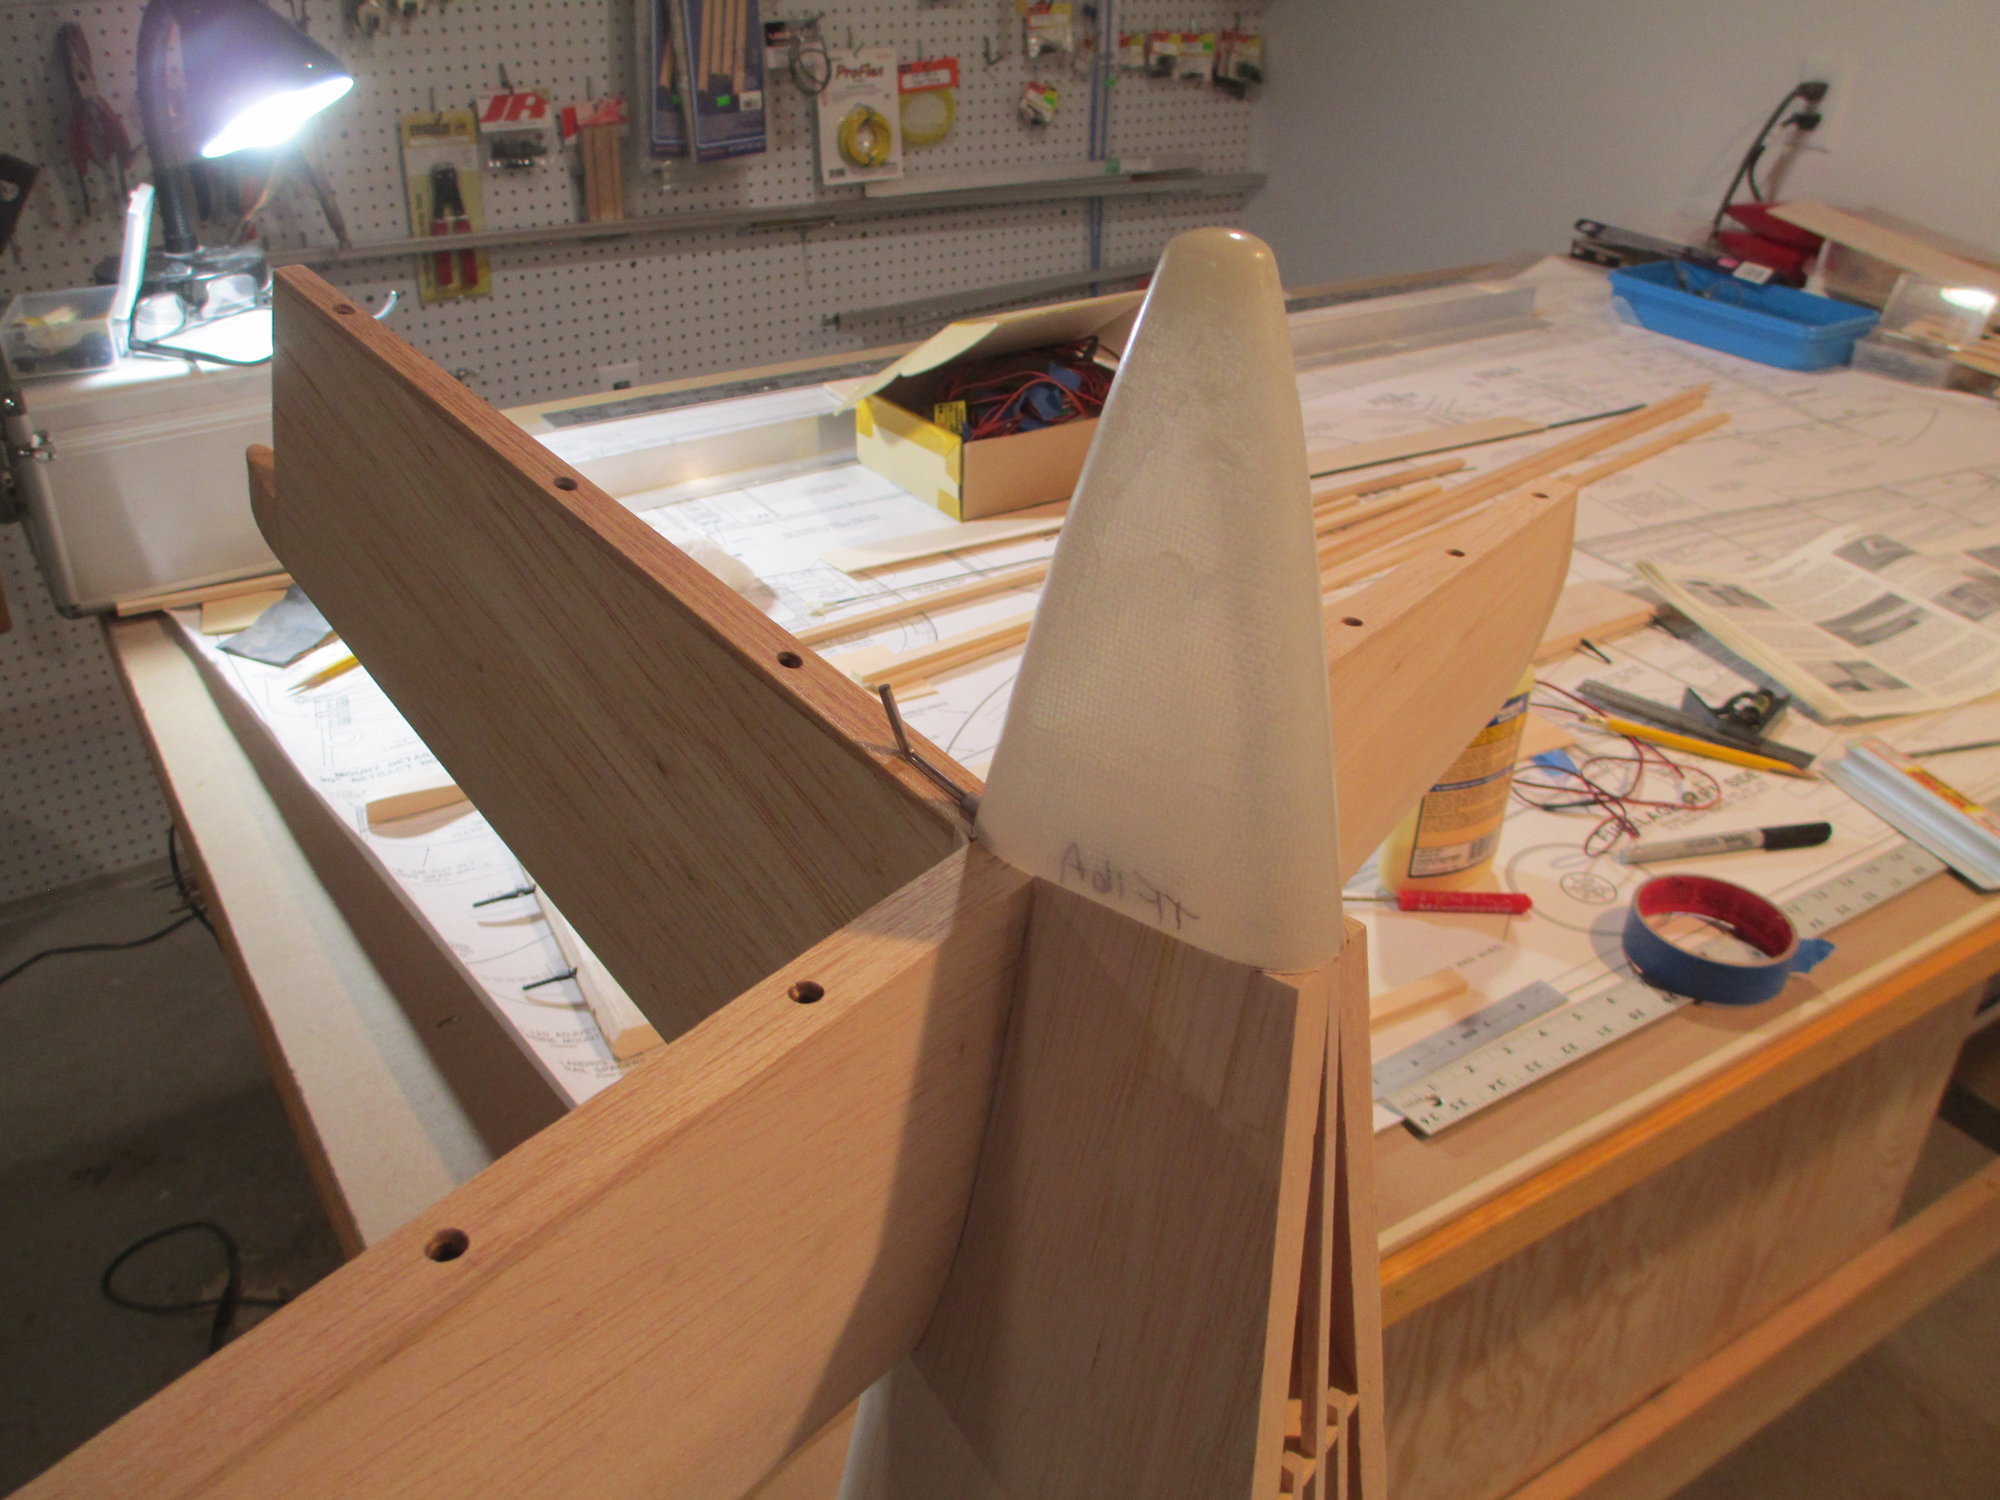
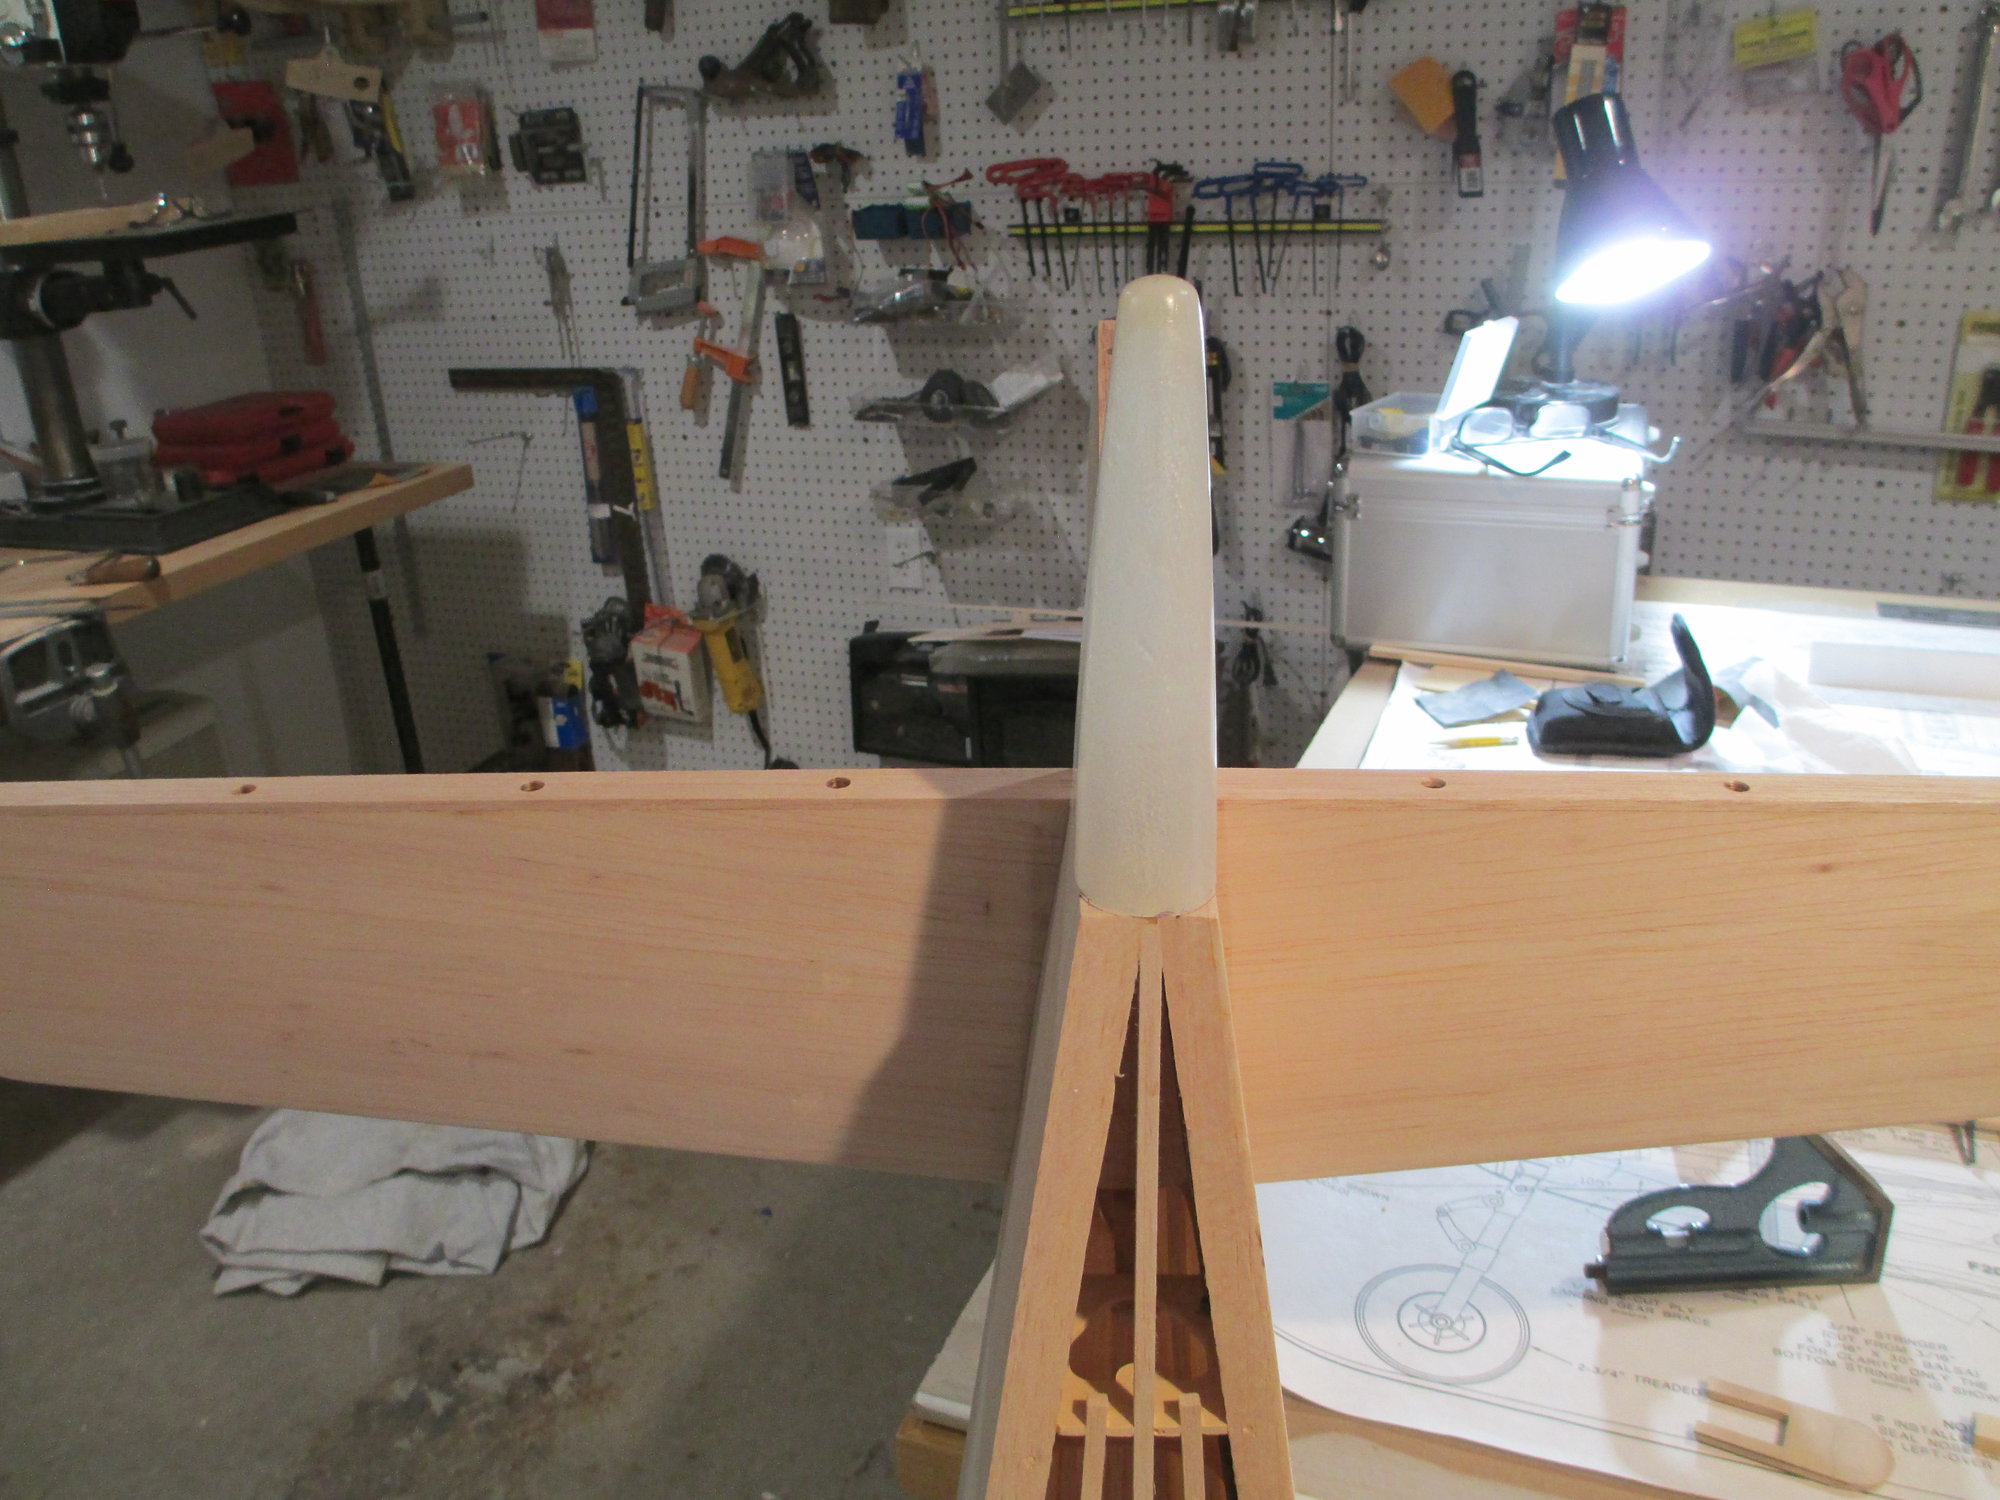
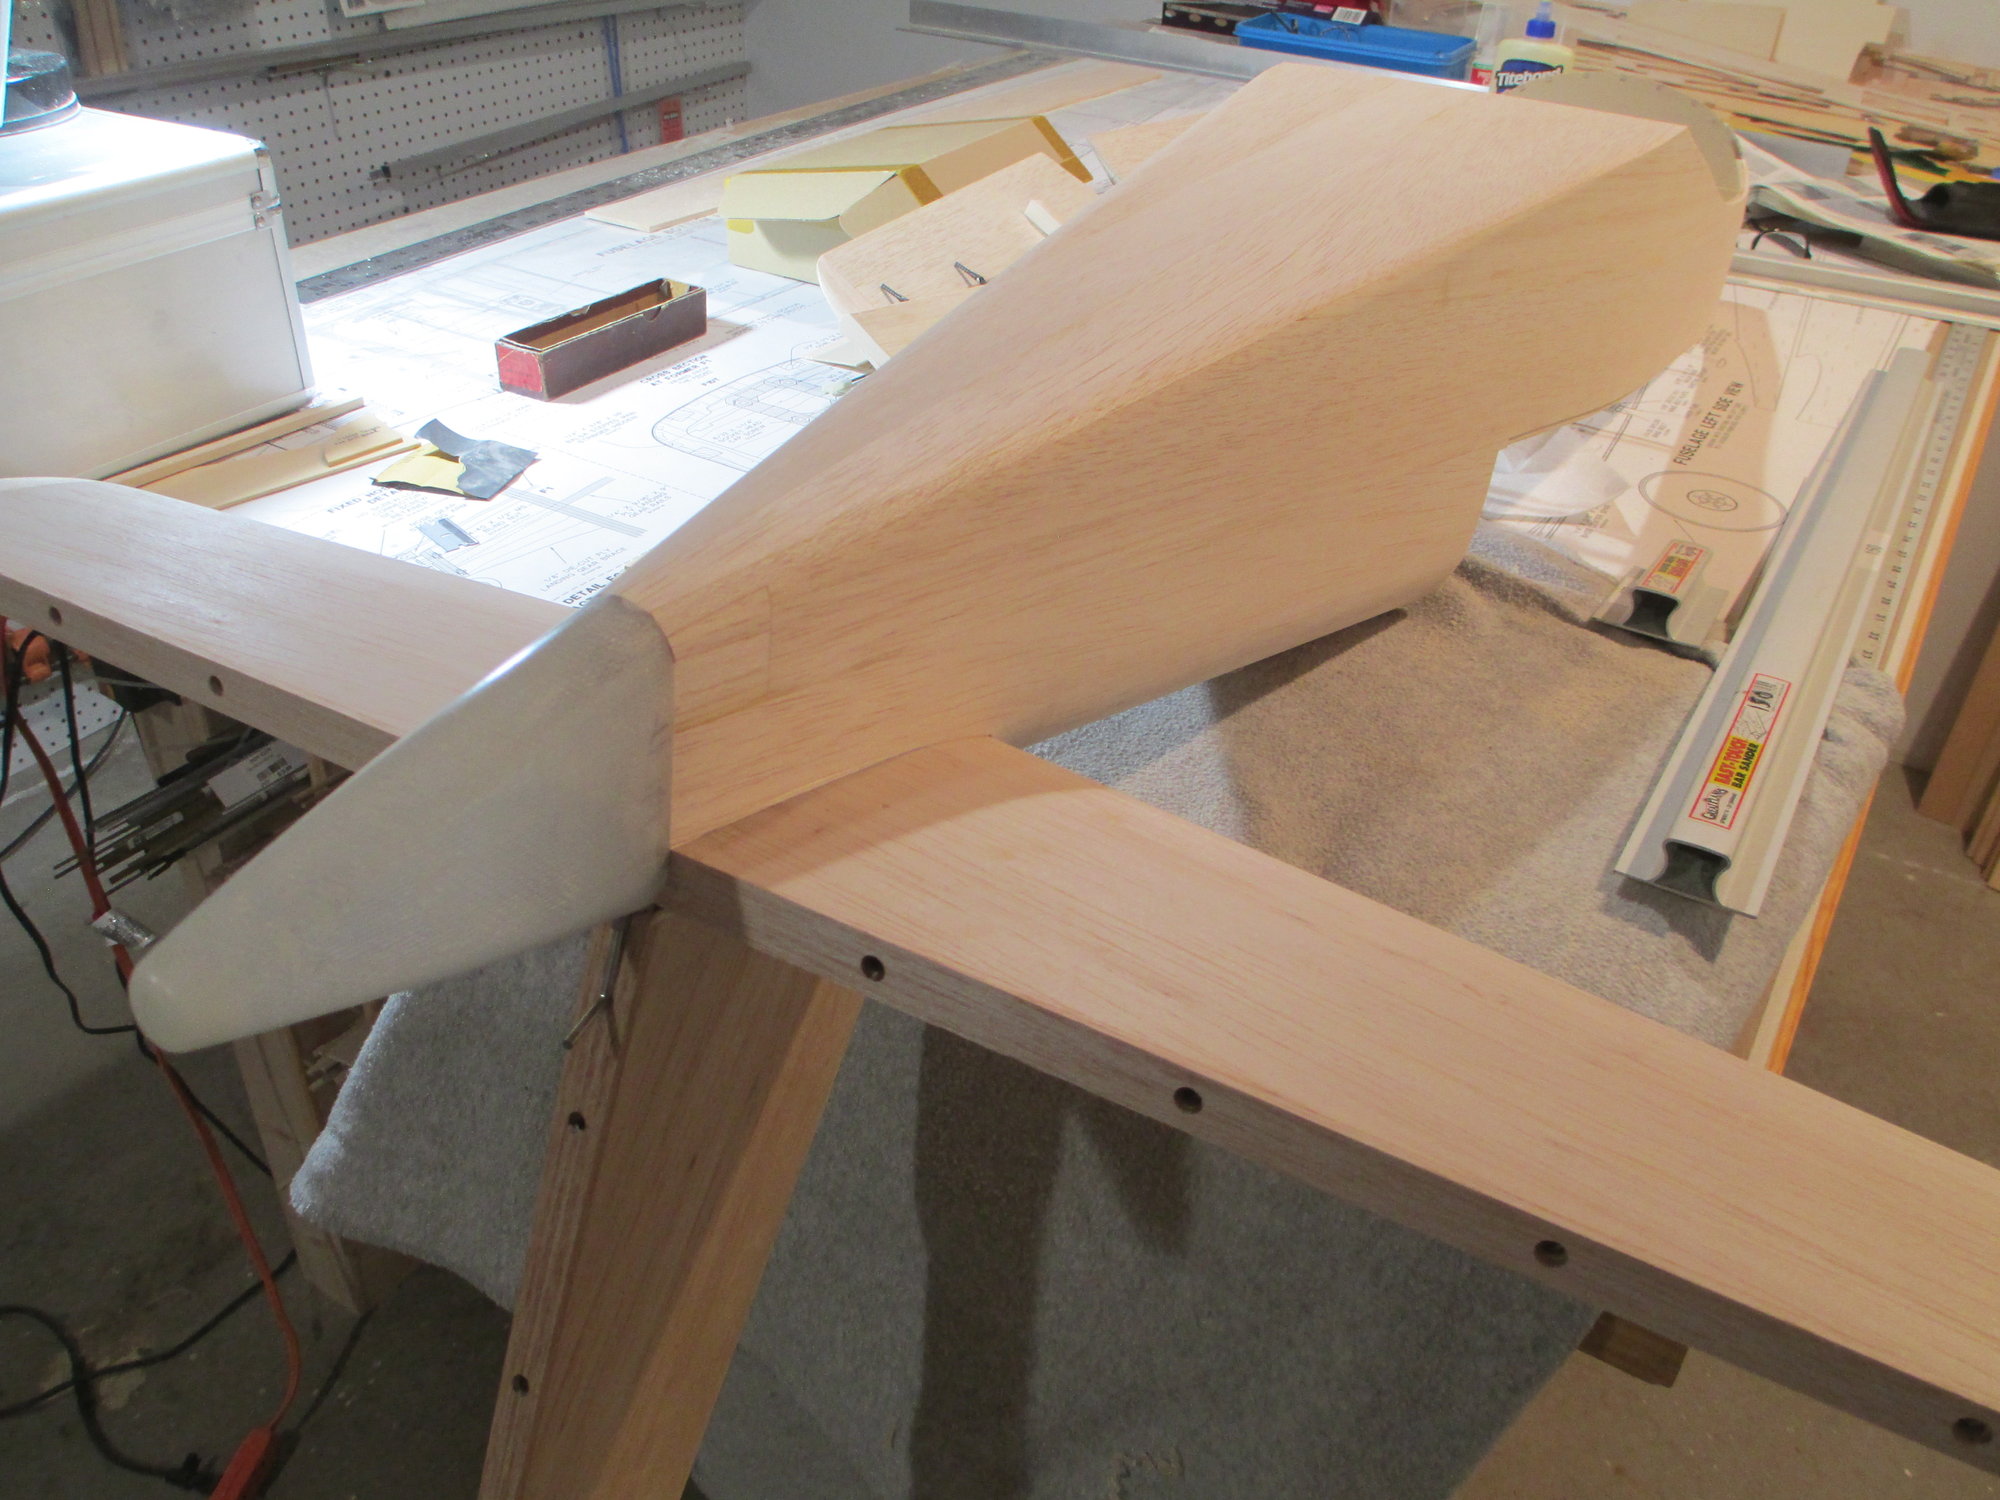
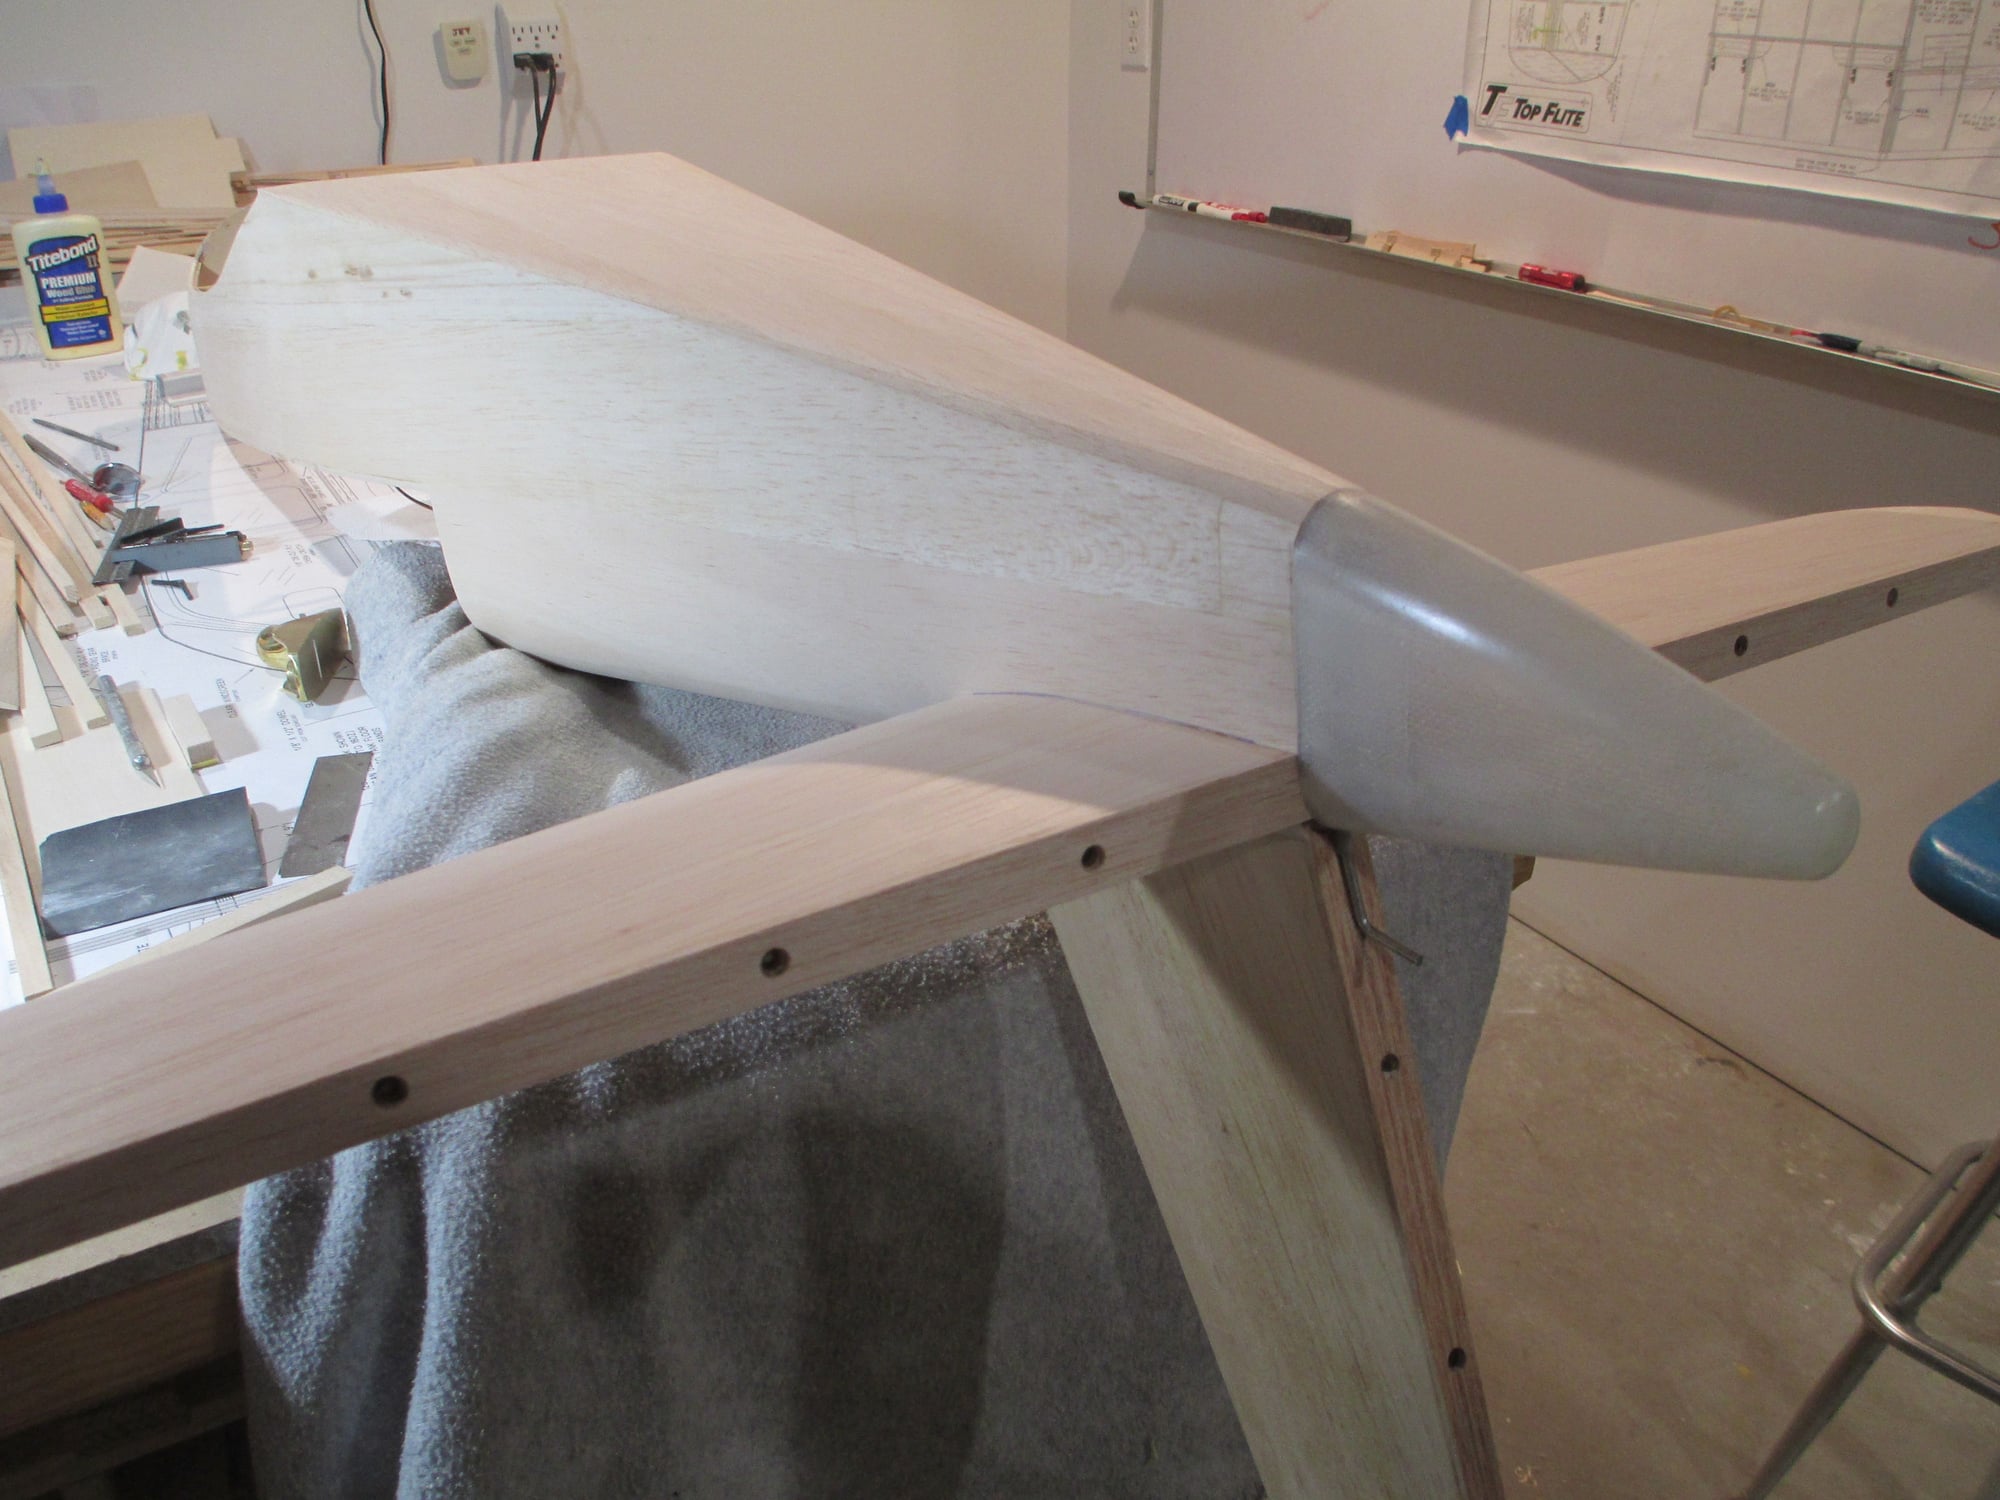
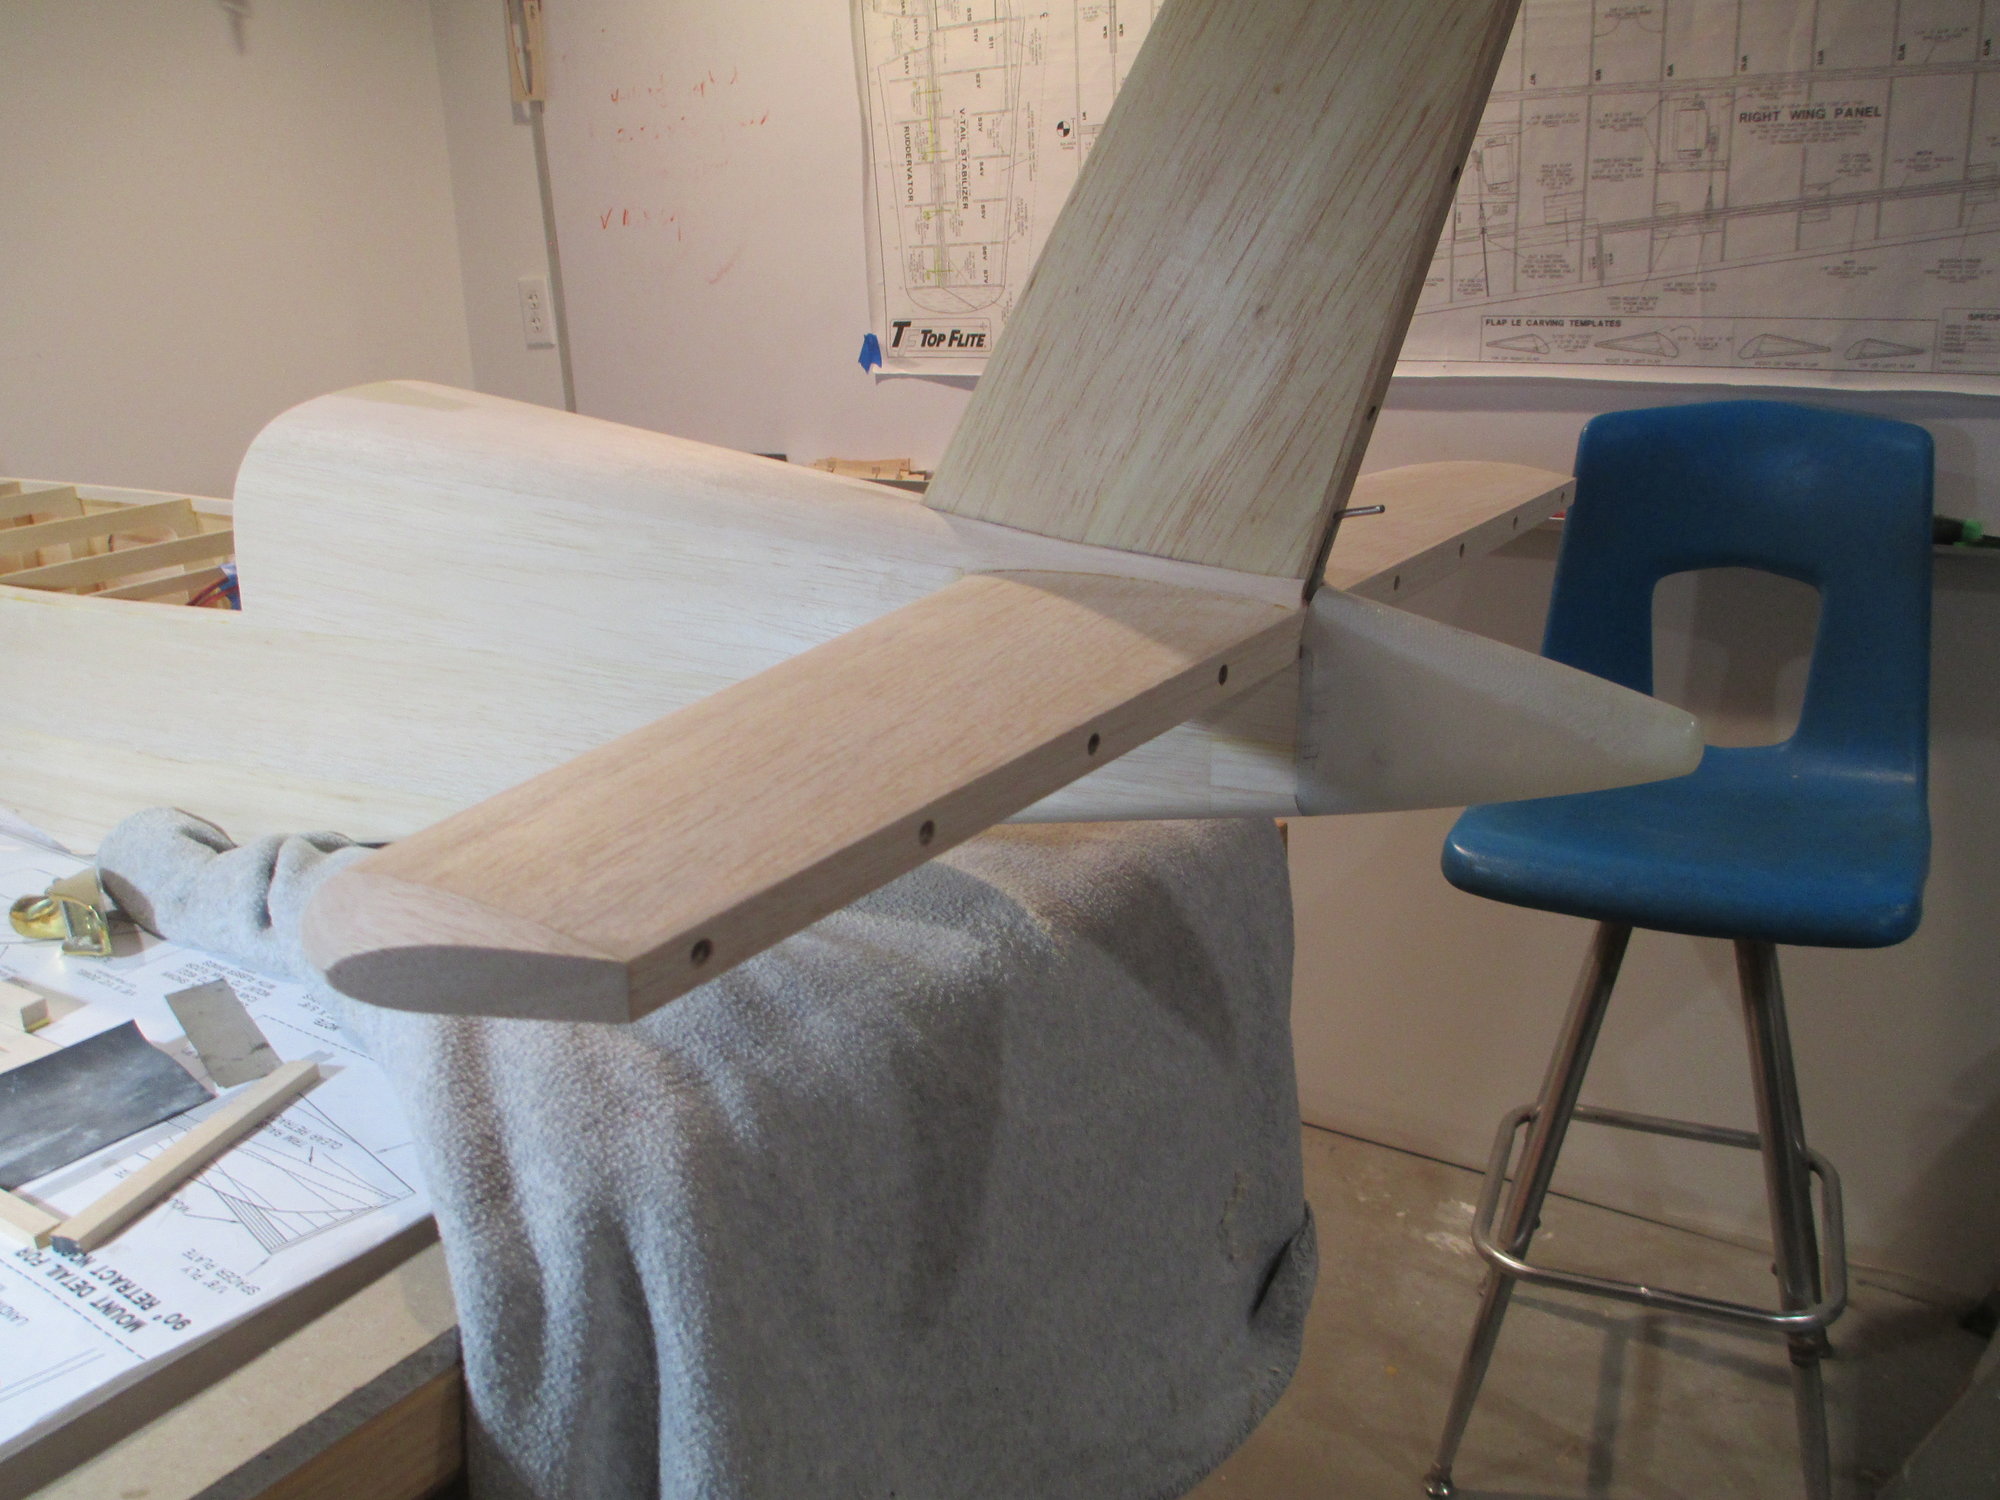
With the bottom of the fuselage sheeted, my block plane was used to square-up the edges.
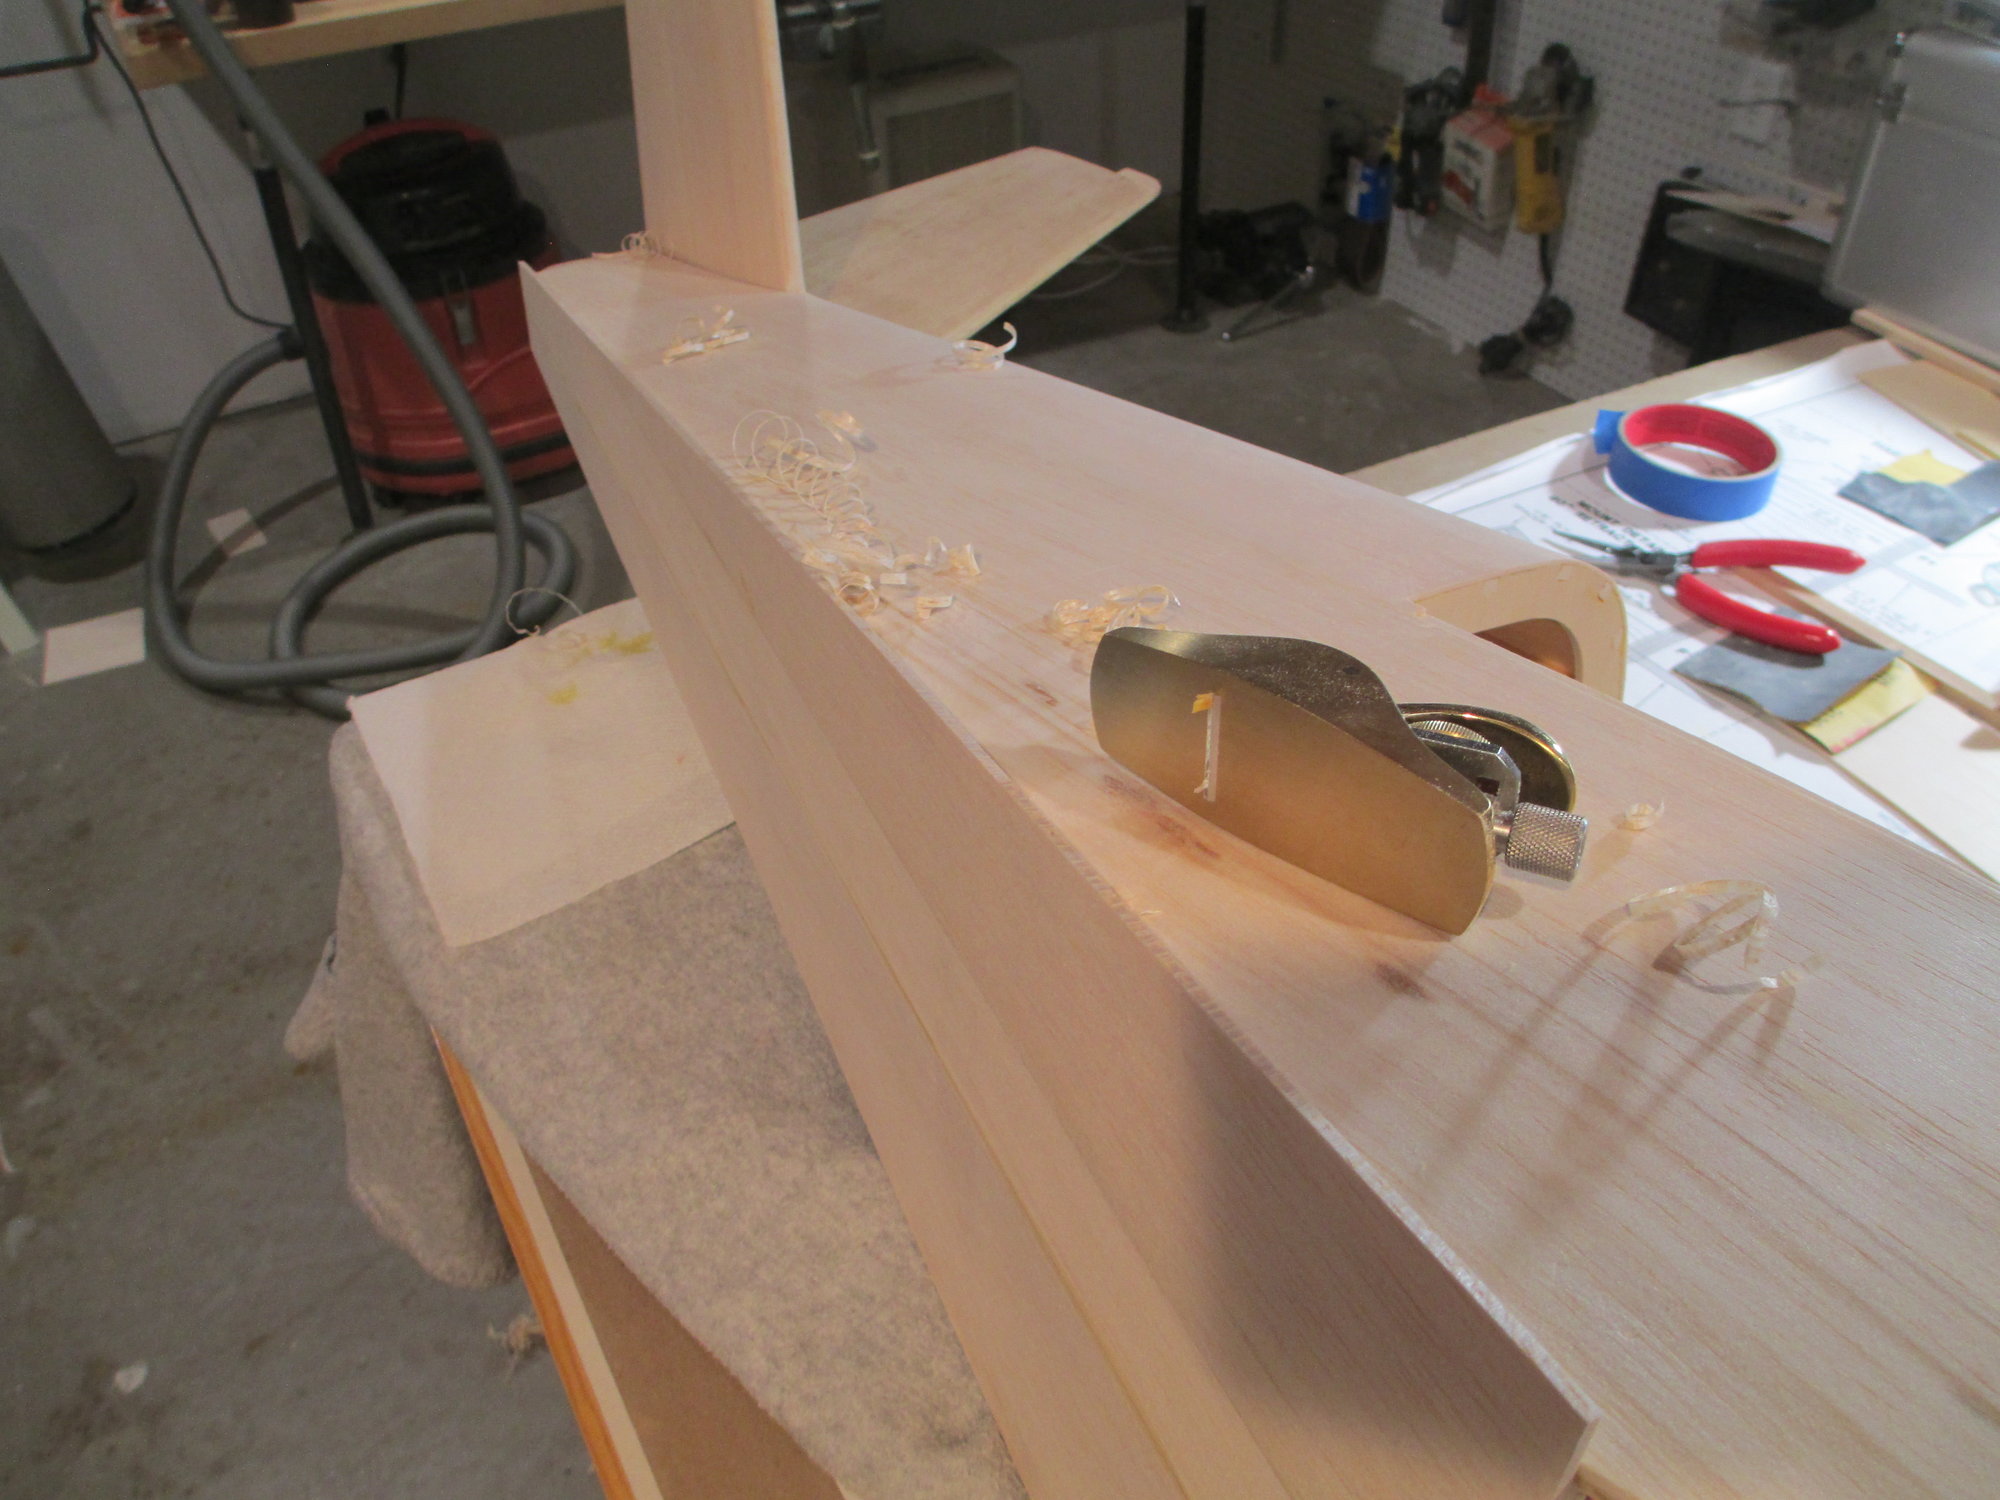
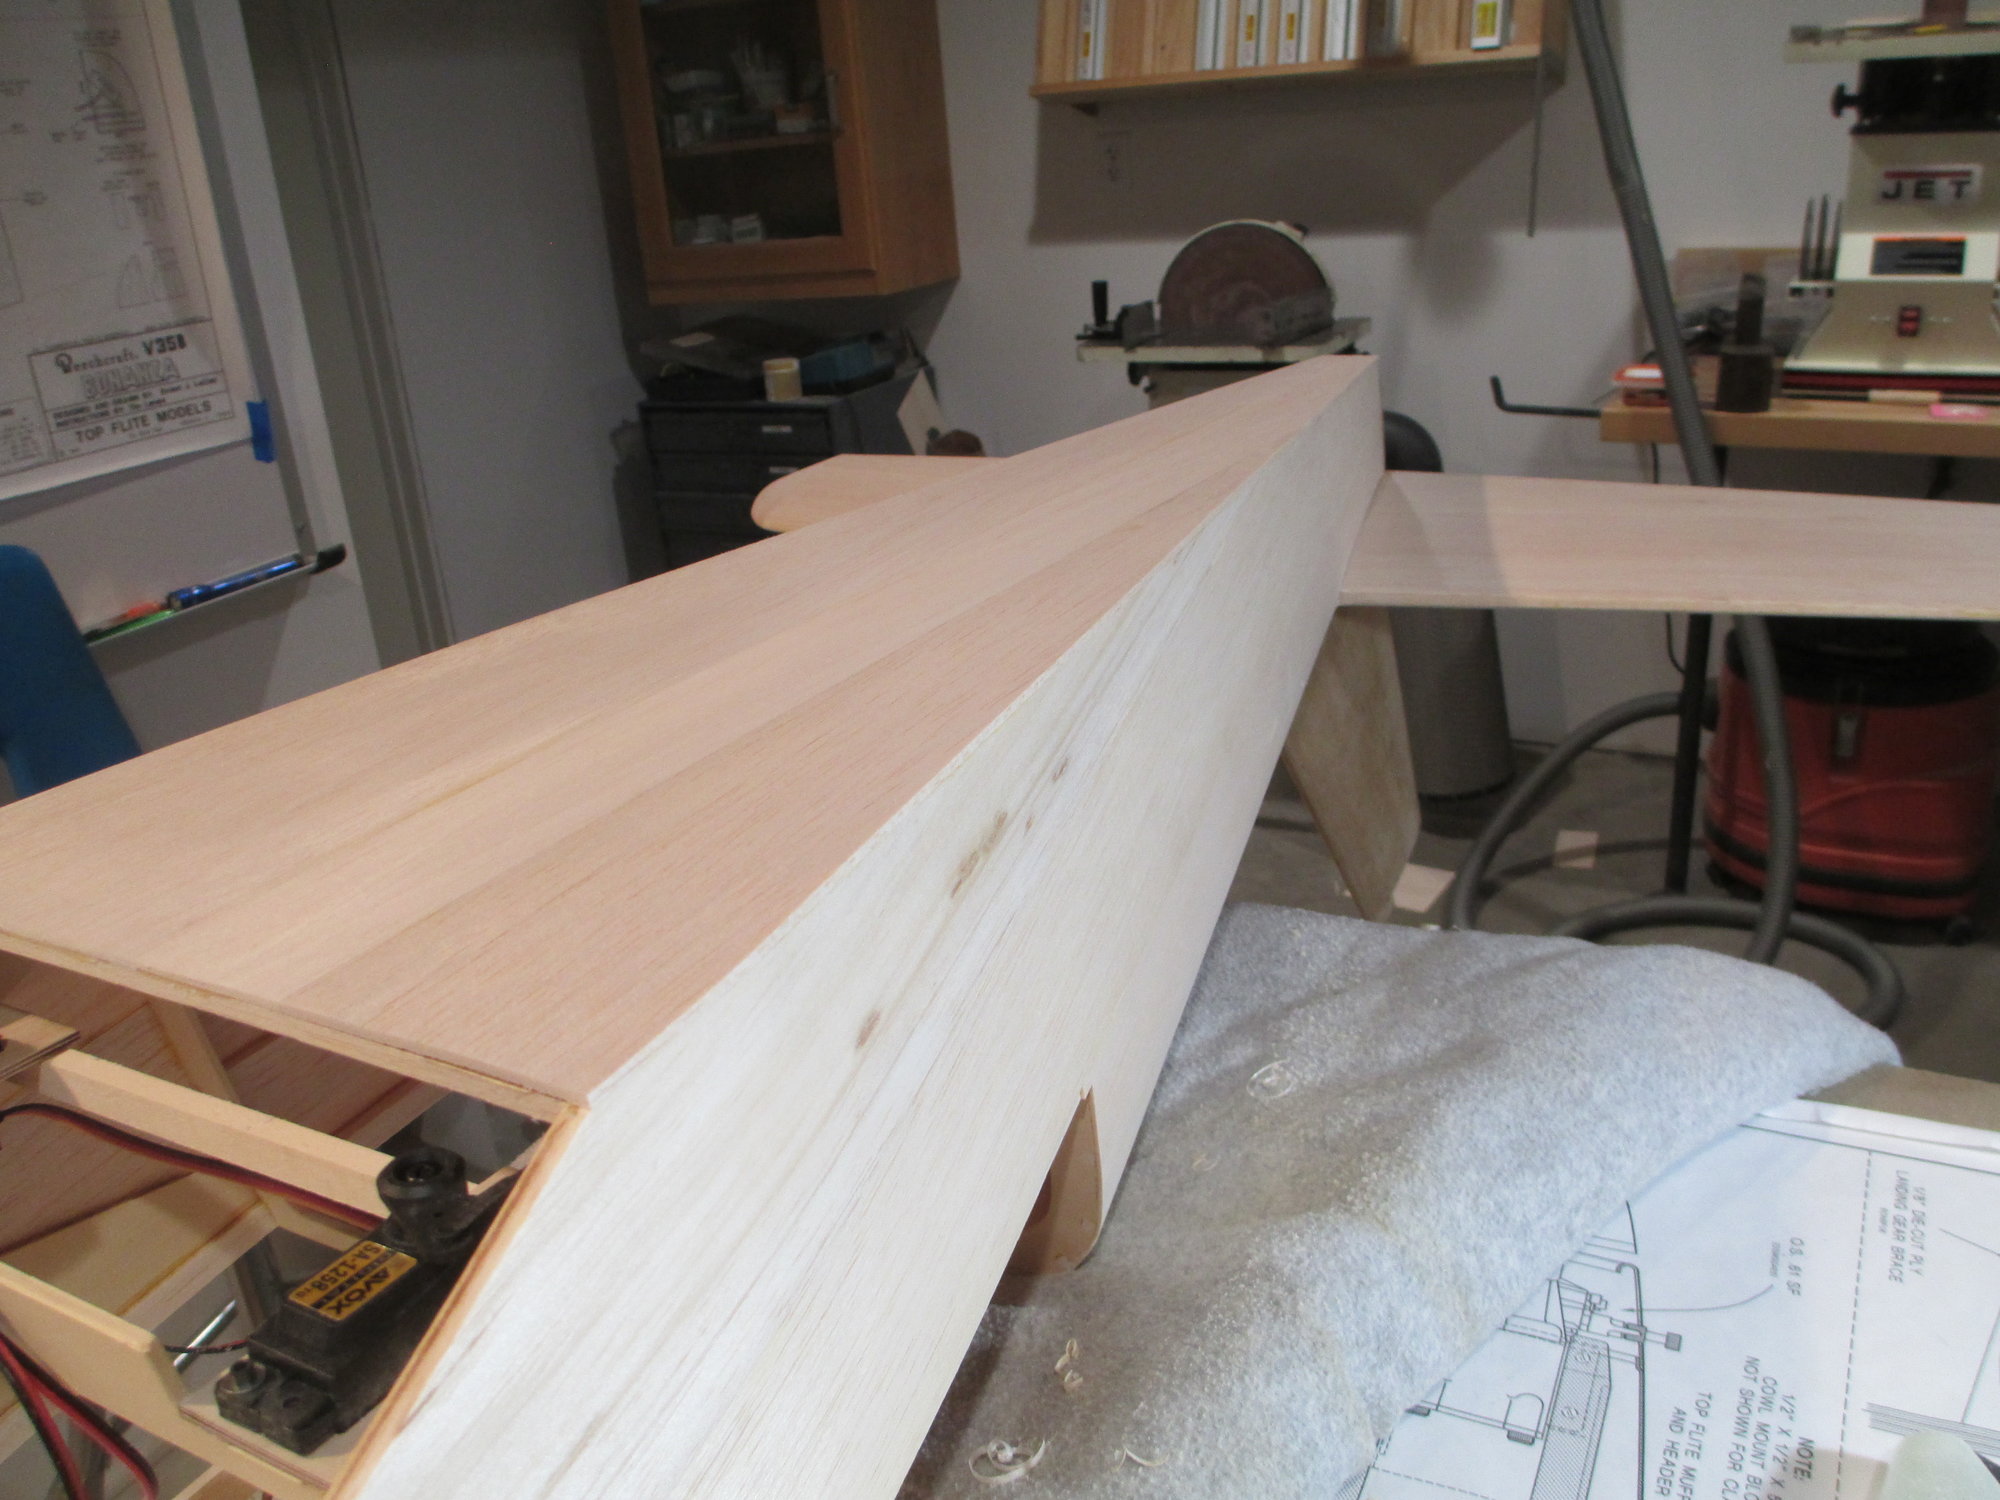
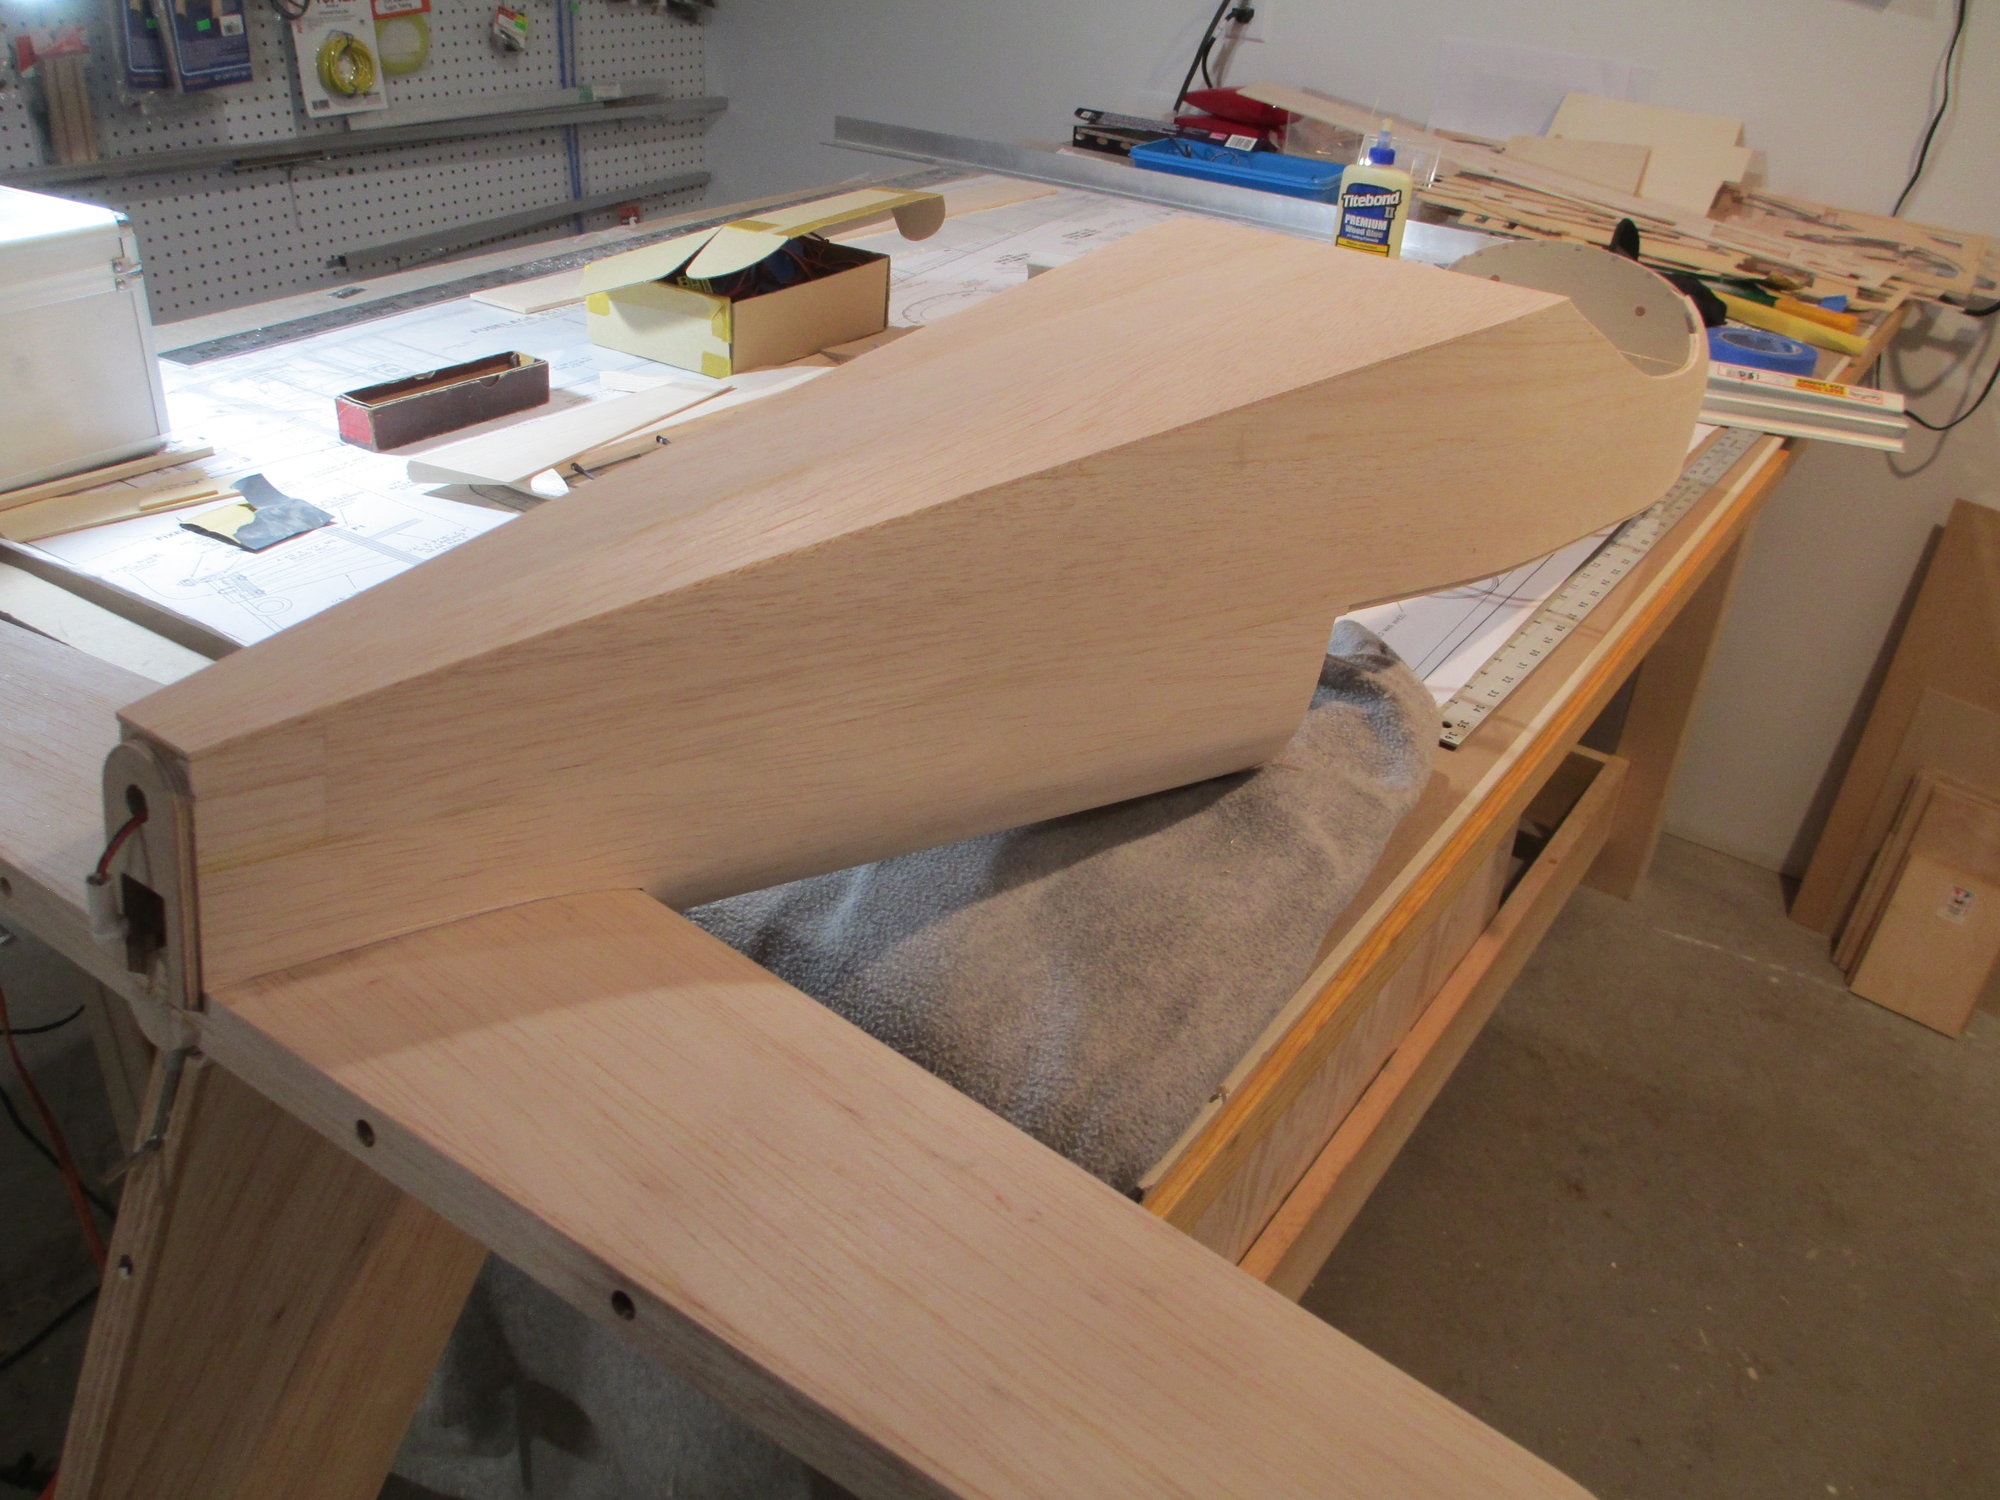
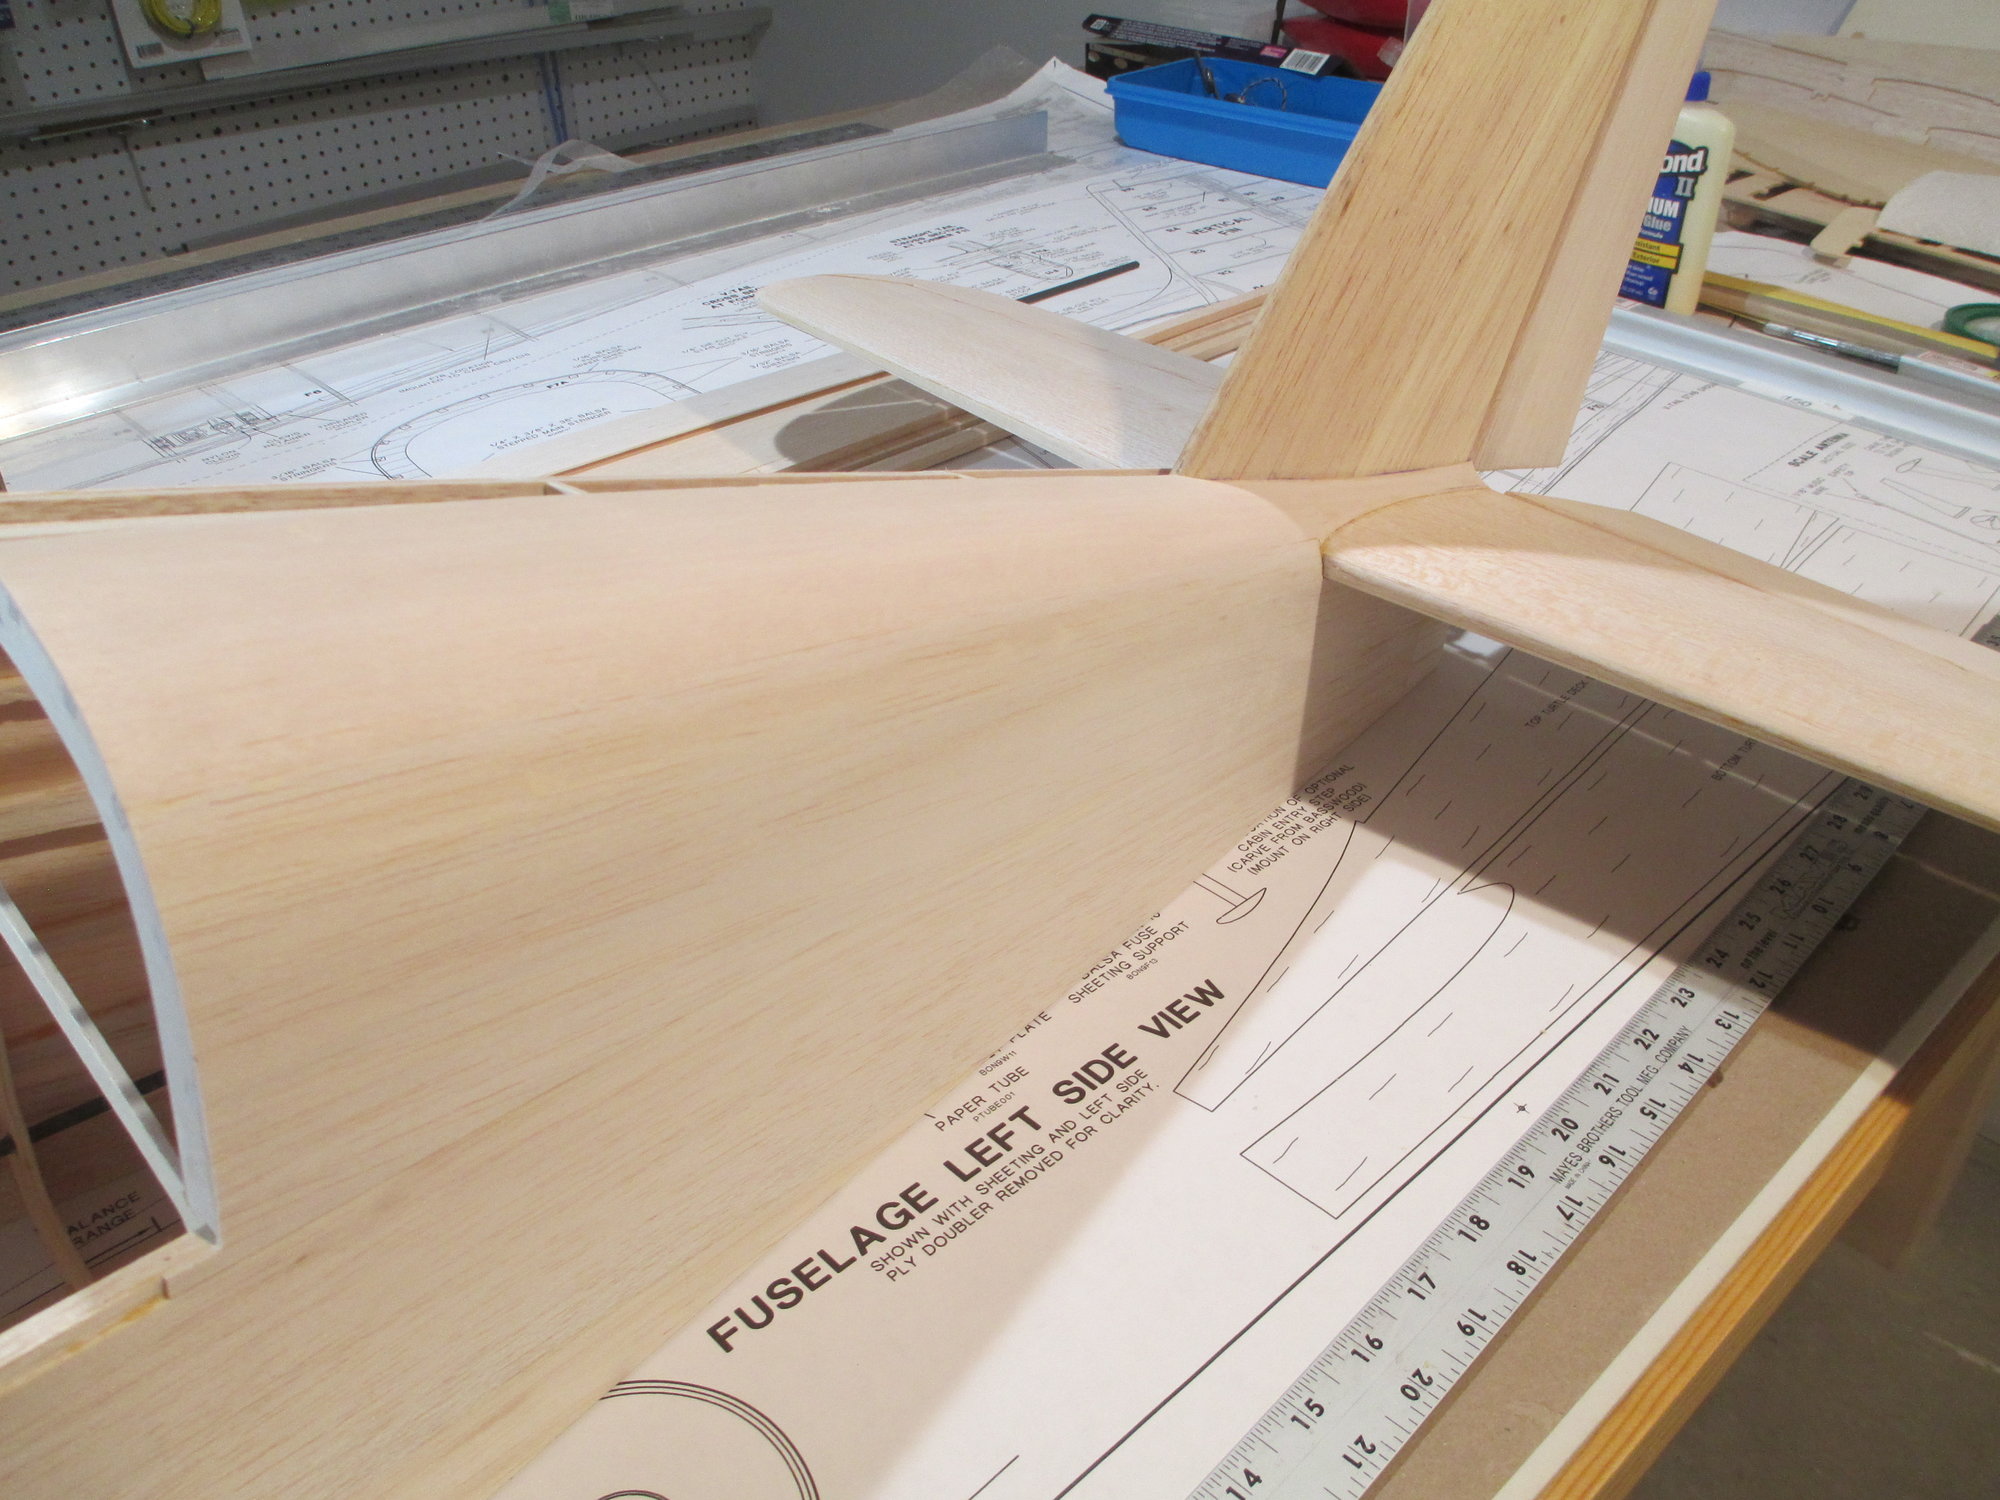
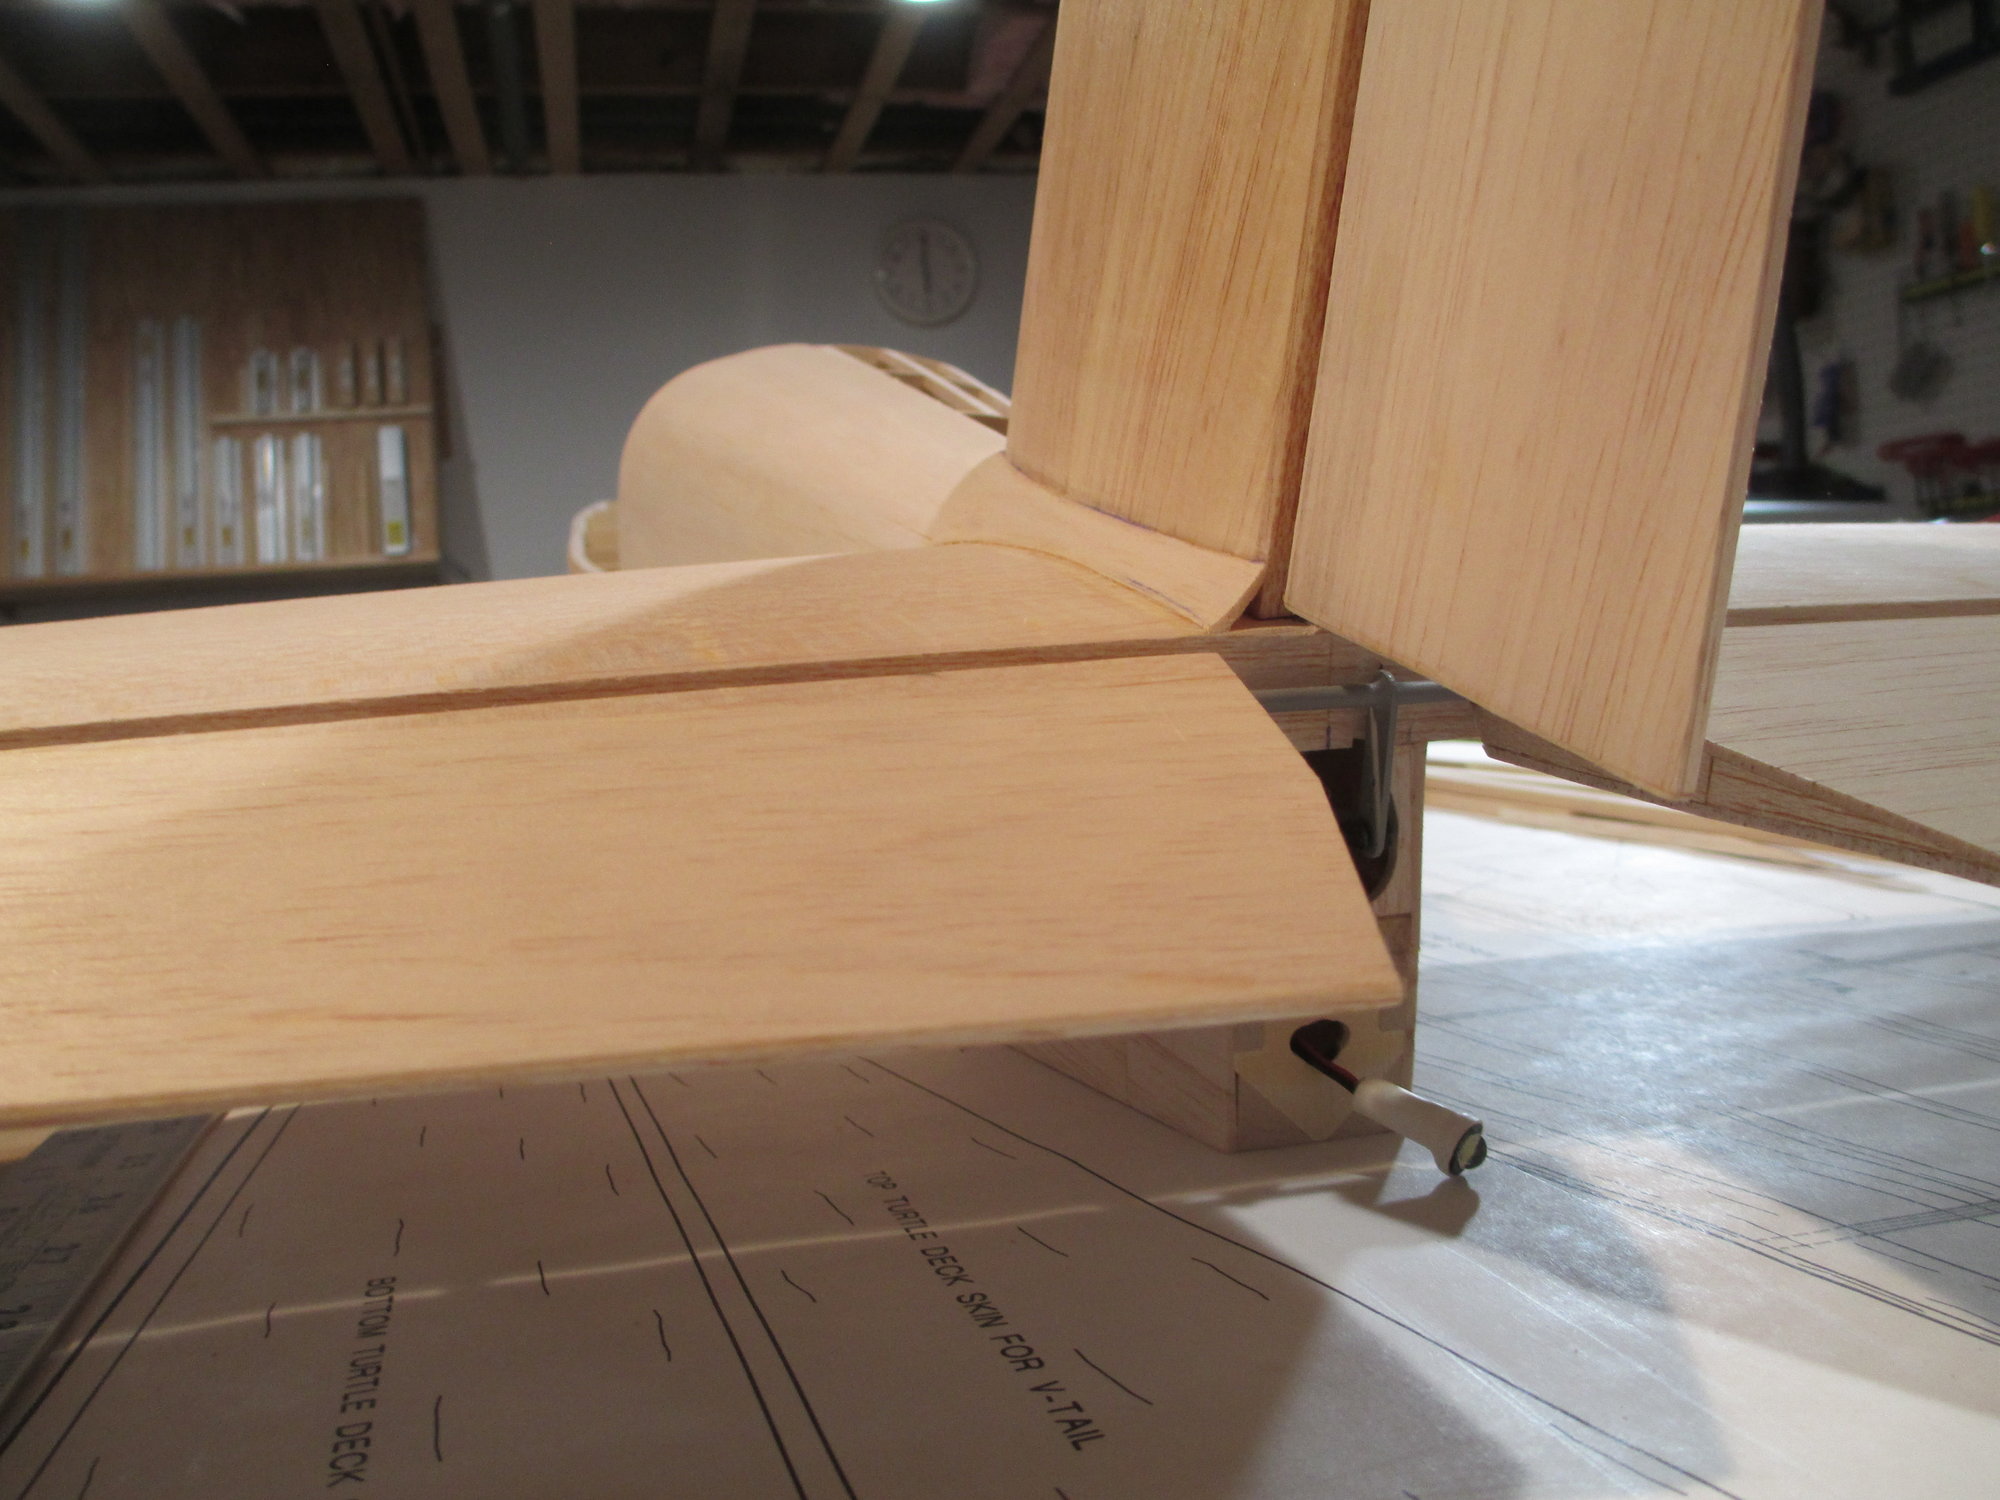
I'll start to round over those sharp edges so they'll blend in with the tail cone. (Note the tail cone navigational light)
With the bottom of the fuselage sheeted, my block plane was used to square-up the edges.
I'll start to round over those sharp edges so they'll blend in with the tail cone. (Note the tail cone navigational light)