


Cloud ranger build by newer builder
 11-19-2018, 11:44 AM
#1
Currently building as my second model, per the wing construction directions it only has the rear innermost bottom sheeting going on prior to installing the dihedral shear web, do we just take the chance floating the brace to accommodate for the front piece of sheeting or do I partially glue the front sheeting on to fit the brace in and then finish attaching at the appropriate time? Can attach pics if needed
 11-22-2018, 12:13 PM
#2


It's hard to imagine, I don't have the kit, also probably why others haven't responded. Looking at the downloaded pdf instruction manual, I'd say you should just follow the instructions. You're not "floating" anything. Normally, you build one half, then build the other half. Sand the wing root so that leading edge, trailing edge and spar all match up, then glue the dihedral brace and wing halves together. Hope this helps. Looks like a nice kit.
Last edited by Tom Nied; 11-22-2018 at 12:56 PM. Reason: clarify my thoughts
11-25-2018, 08:58 AM
#3

Photos are almost always helpful. I've had planes where the instructions didn't seem to make sense until one step or another and then it just kind of clicked and I could see how it worked. You may also find threads on other forums.
(Edit) LOL, just went to look at the rest of the 1/2 a threads and saw that you had been to the build thread for the same kit just below.
(Edit) LOL, just went to look at the rest of the 1/2 a threads and saw that you had been to the build thread for the same kit just below.
Last edited by mgnostic; 11-25-2018 at 09:04 AM.
04-04-2019, 09:09 AM
#4
A question for those that have built any of the Herr kits that call for Nylon tape to re-enforce the wing joint. Sig doesn't give any real info about the tape referenced in the kit. When I asked they gave me a part number to sell. Is it just Nylon strapping tape that is glued to the wing, or is it something special that is wetted out like fiberglass? If it is strapping tape I am just going to purchase a role from the local hardware store, otherwise I will have to figure something else out. The idea of just glue holding the two wing halves together I must admit is a bit scary to me. I have read others doing it and using epoxy but I must make the safe assumption that they are more experienced builders/fliers and may not be as hard on their plane as me.
04-04-2019, 06:47 PM
#5
Goldberg used to have some really nice nylon tape, perfect for small models. You might be able to find some on the internet. But, some fiberglass tape would work just as well. Fiberglass cloth, is available everywhere. Just find some and cut a strip long enough for your project.
04-06-2019, 09:06 AM
#6
A question for those that have built any of the Herr kits that call for Nylon tape to re-enforce the wing joint. Sig doesn't give any real info about the tape referenced in the kit. When I asked they gave me a part number to sell. Is it just Nylon strapping tape that is glued to the wing, or is it something special that is wetted out like fiberglass? If it is strapping tape I am just going to purchase a role from the local hardware store, otherwise I will have to figure something else out. The idea of just glue holding the two wing halves together I must admit is a bit scary to me. I have read others doing it and using epoxy but I must make the safe assumption that they are more experienced builders/fliers and may not be as hard on their plane as me.
03-15-2022, 01:39 AM
#7
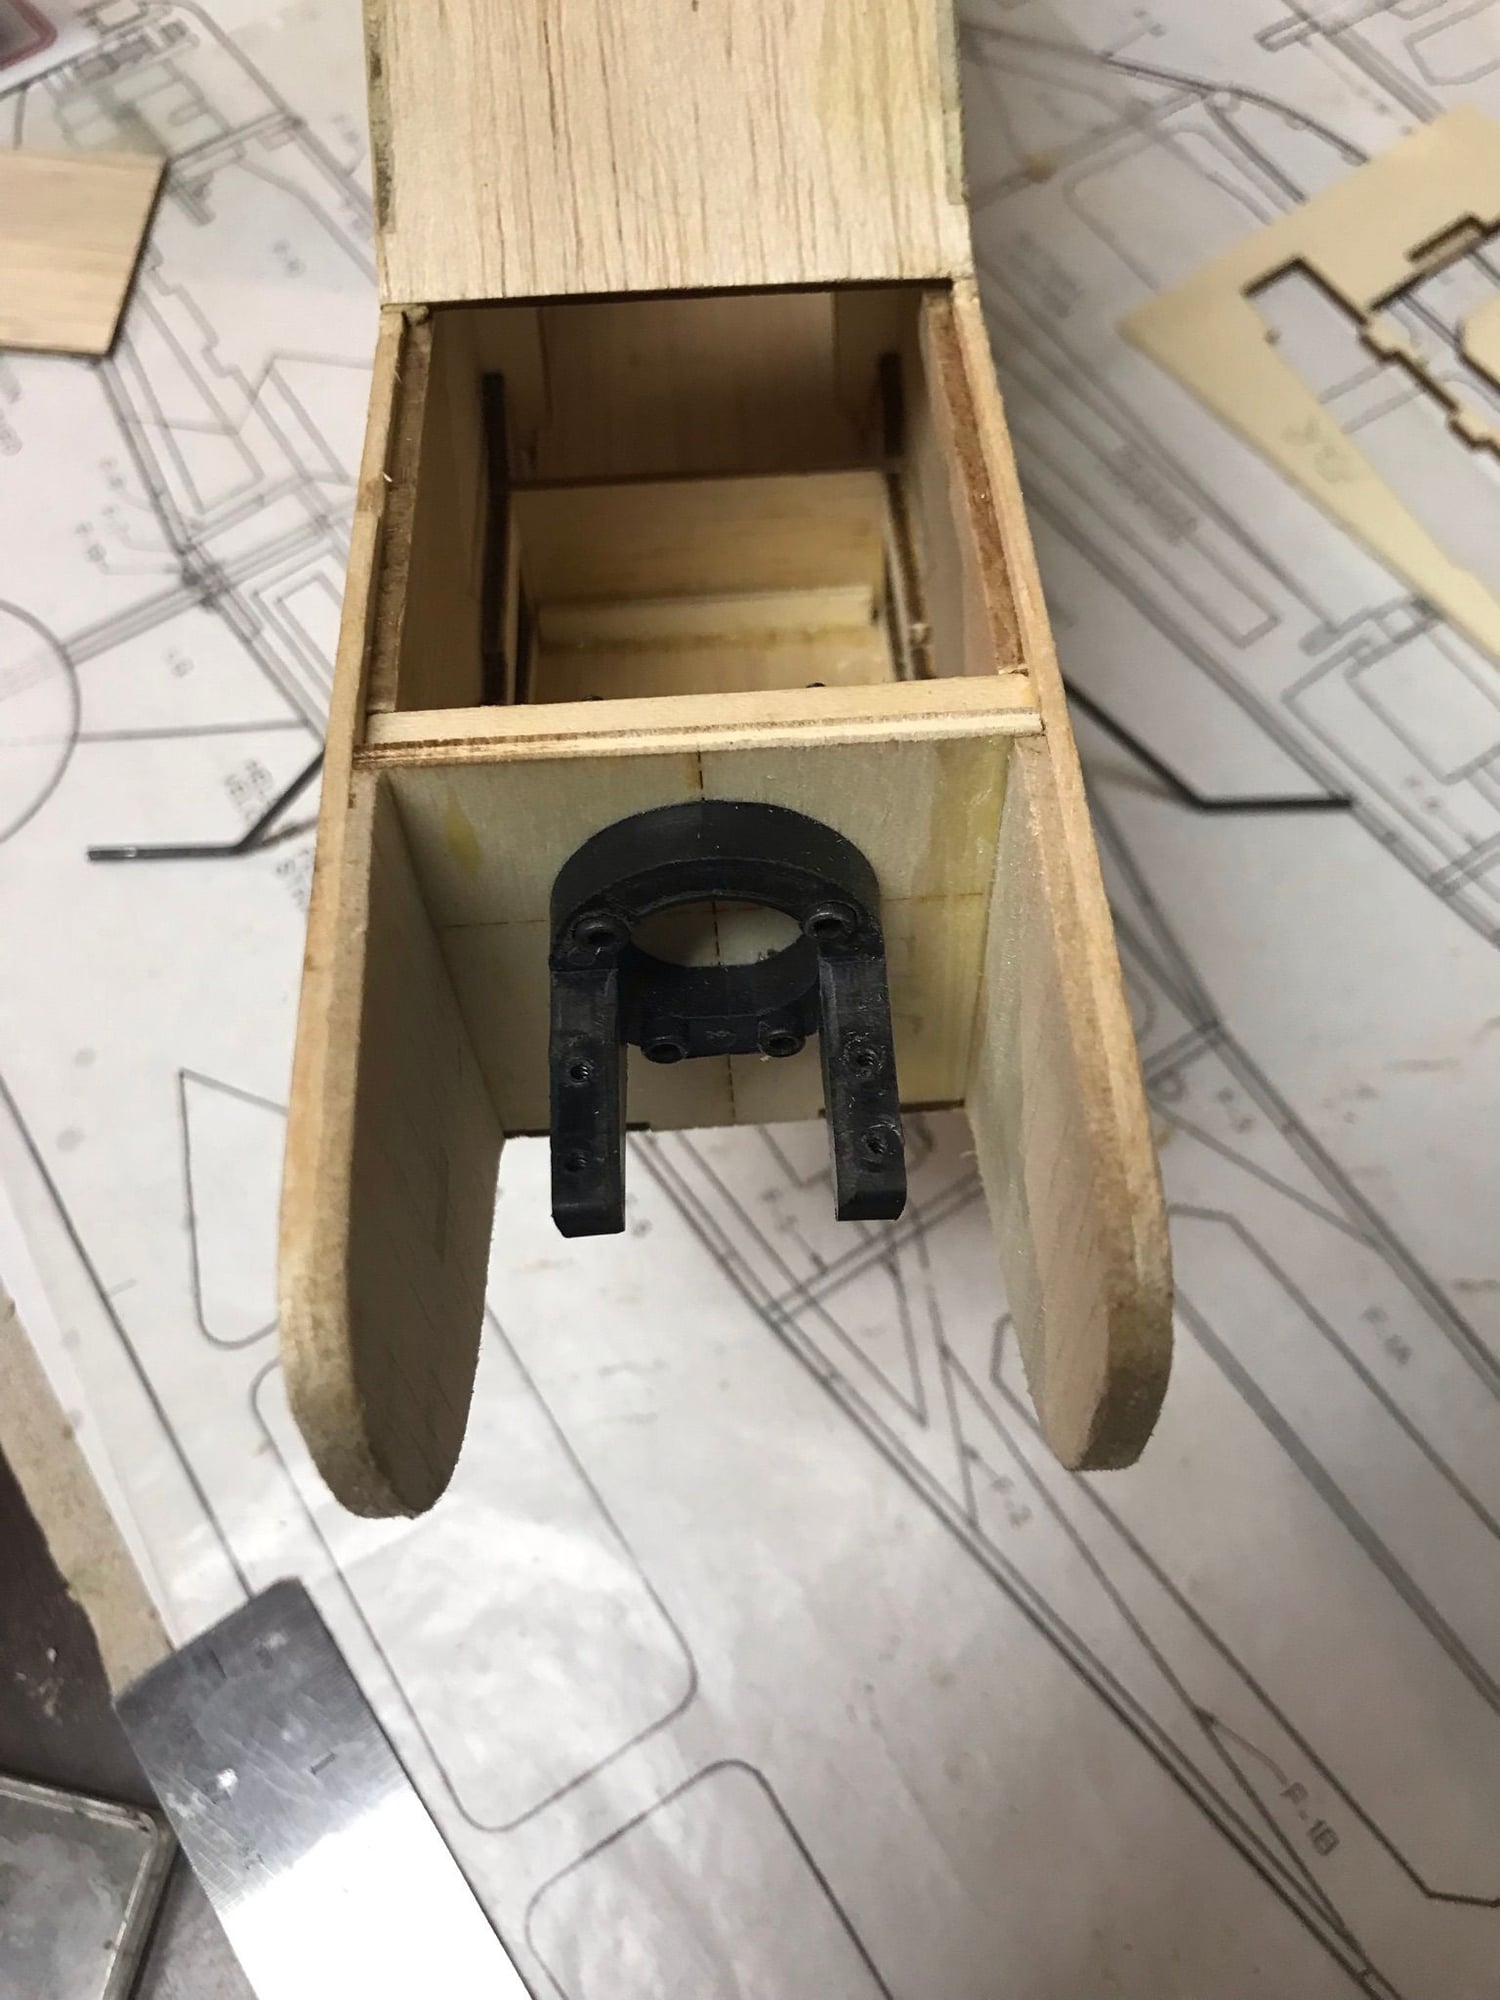
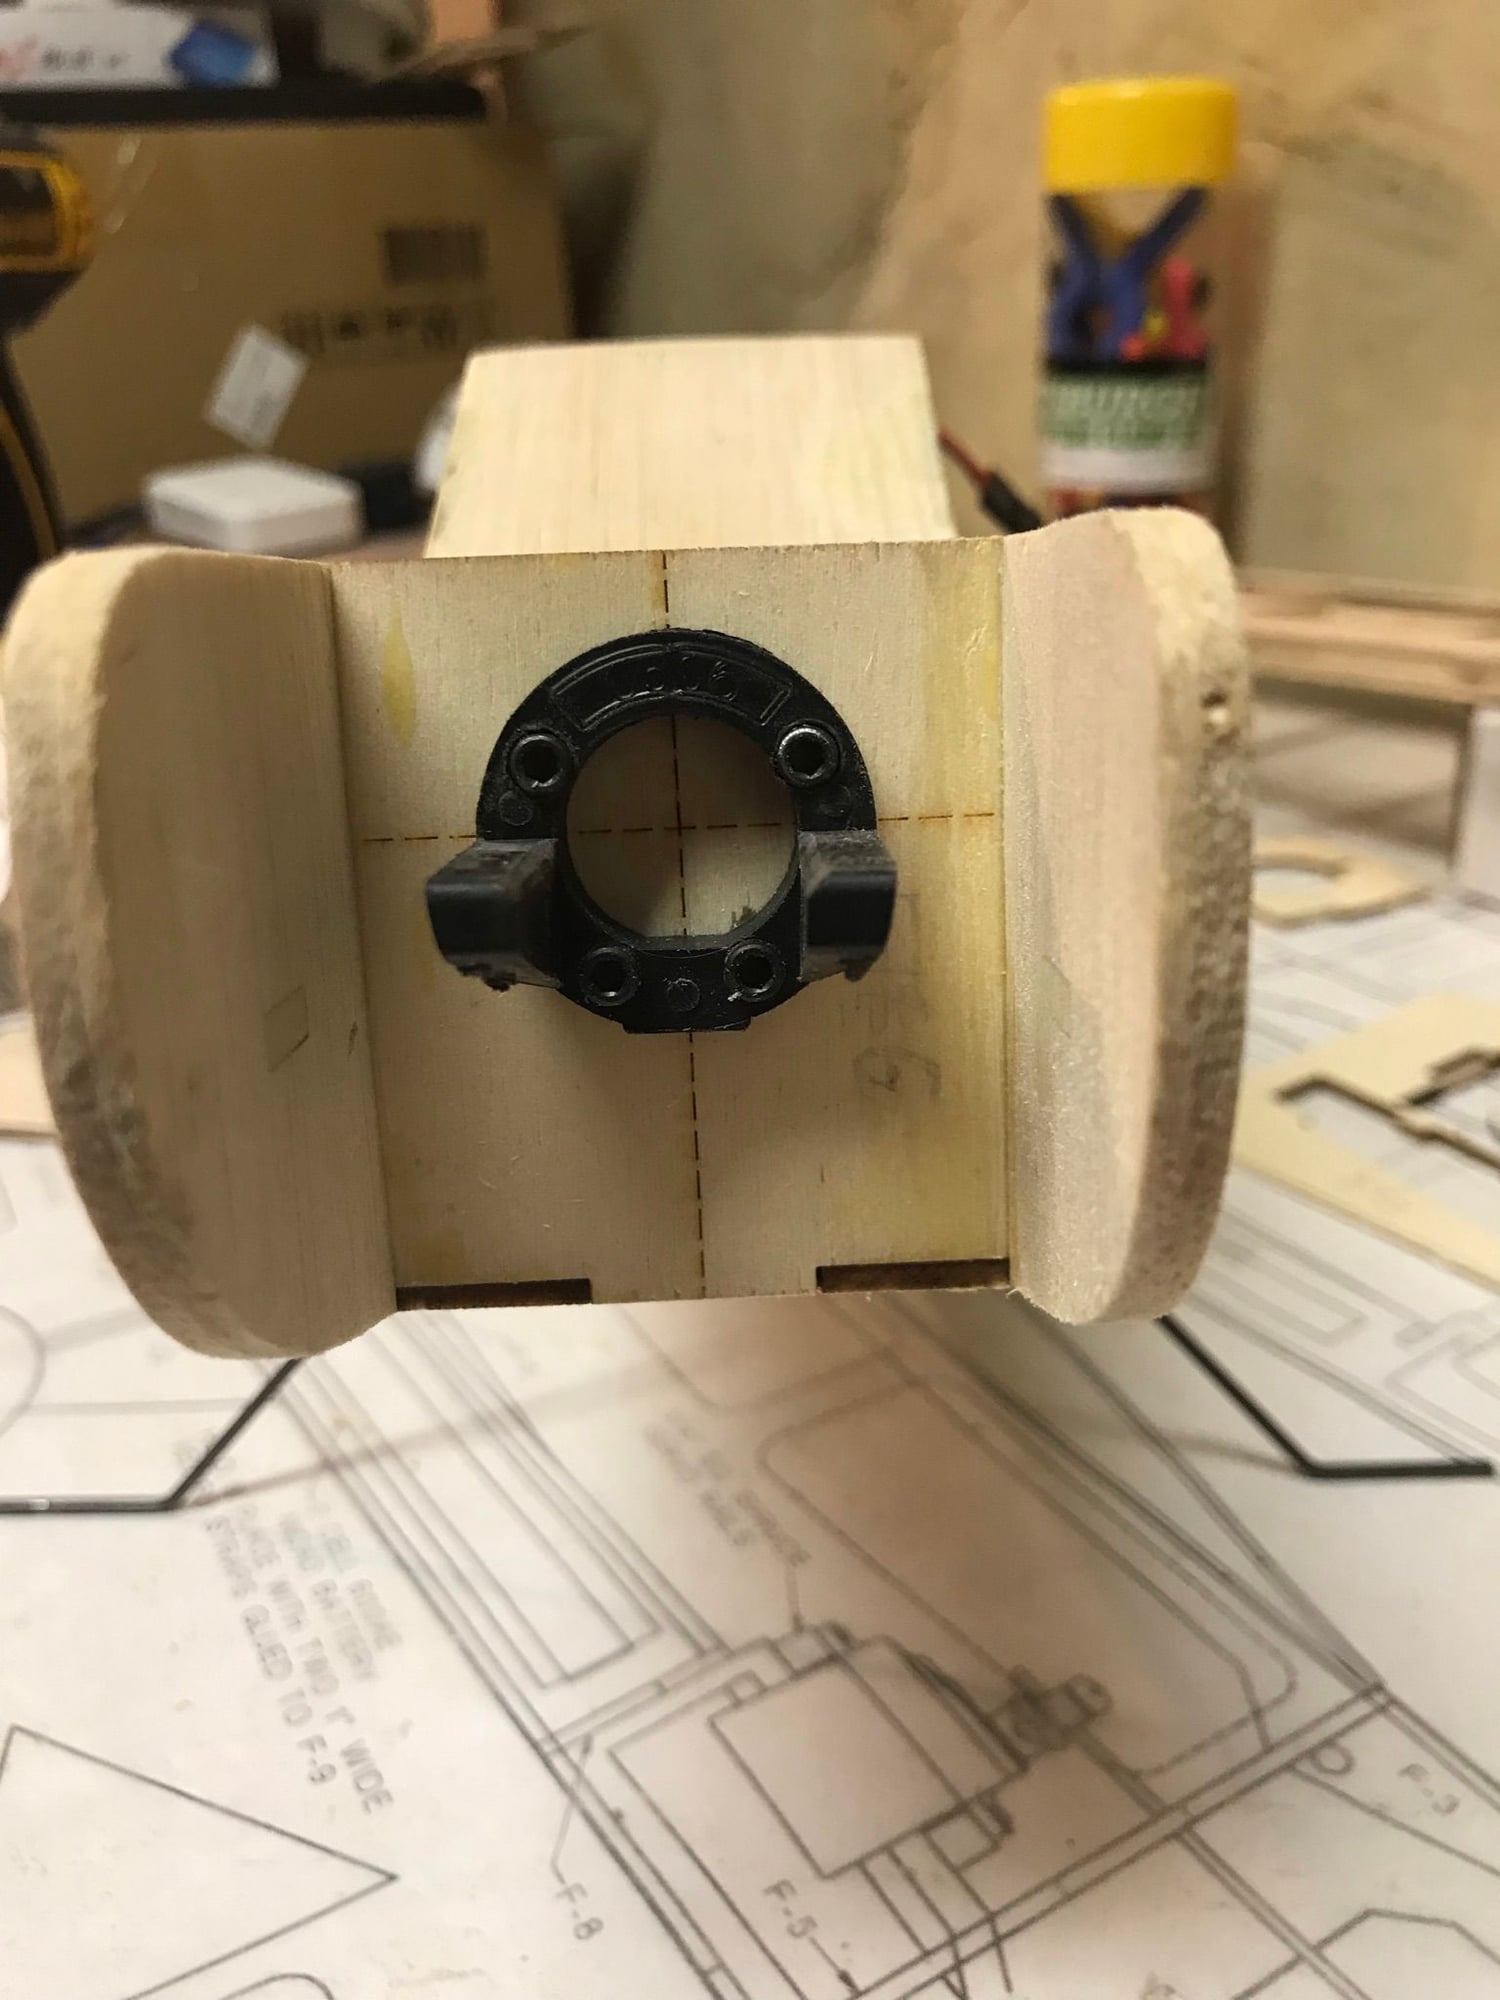
This project got shelved for a long bit while life took over and happened, things have settled down now and I have started back in on it. I am at the point of thinking about mounting the motor. I decided to go with a beam mount after efforts building a radial mount and securing it to my engine. (I was unable to locate longer mounting screws and I did not feel comfortable with the amount of threads that were grabbing the crank case with the additional metal secured). My question is, should I mount the beam on the firewall until construction is complete and then try to use the motor to adjust the CG as much as possible, or just mount it as close to the firewall as I can and adjust from there. I currently have the servos installed. I am using a G-mark .061, not the motor that is shown on the plans.
 04-06-2022, 01:33 PM
#9
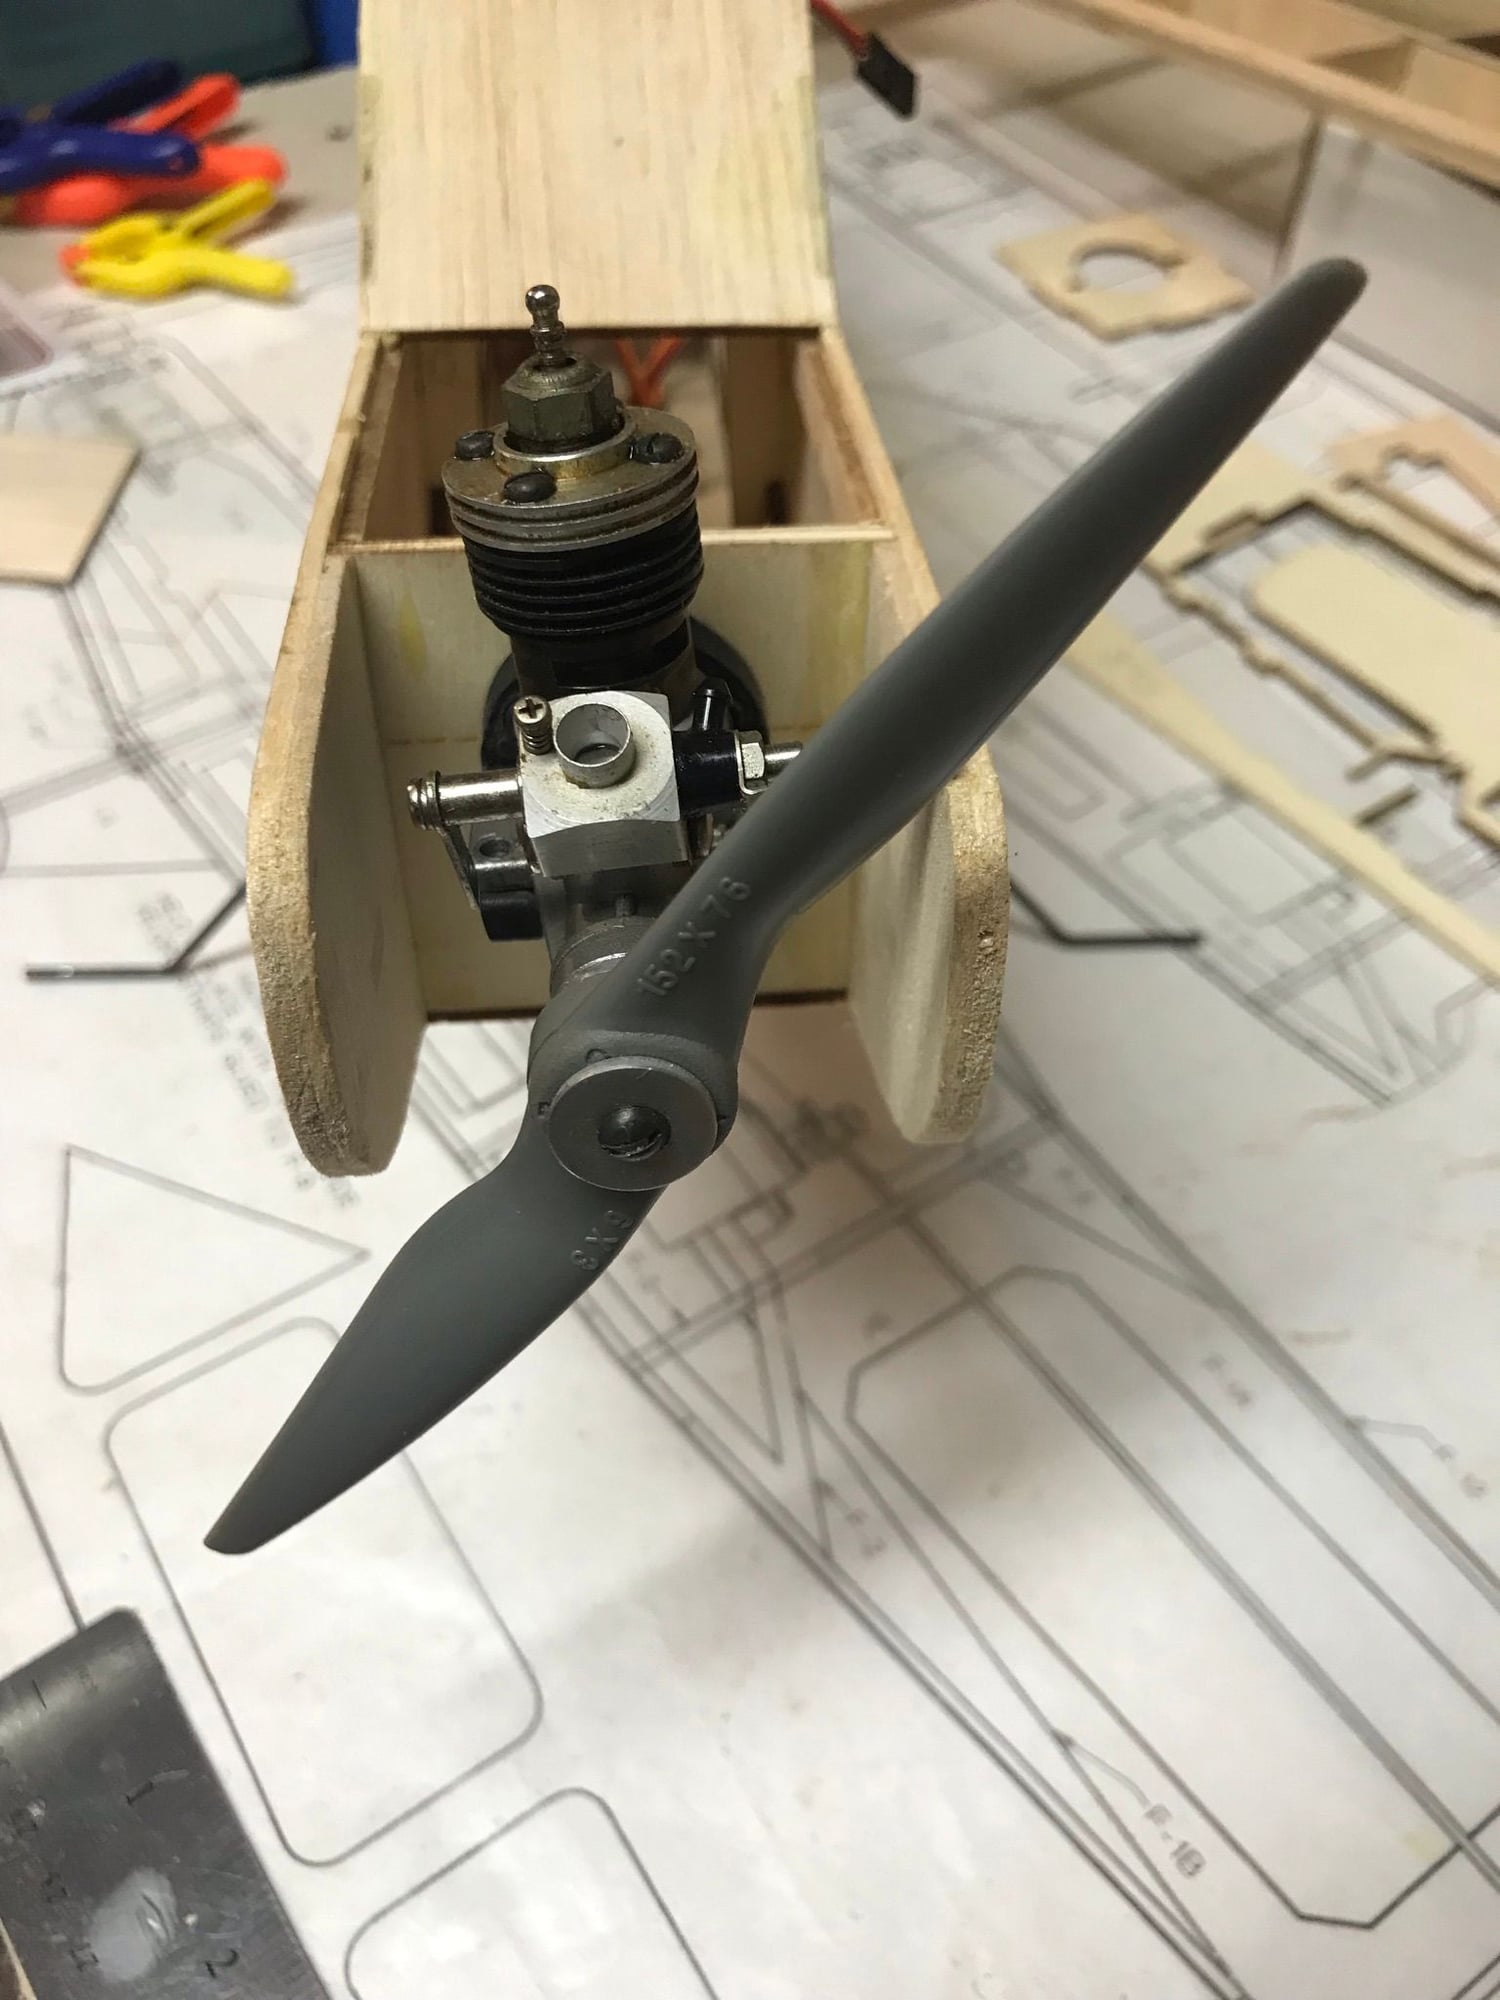
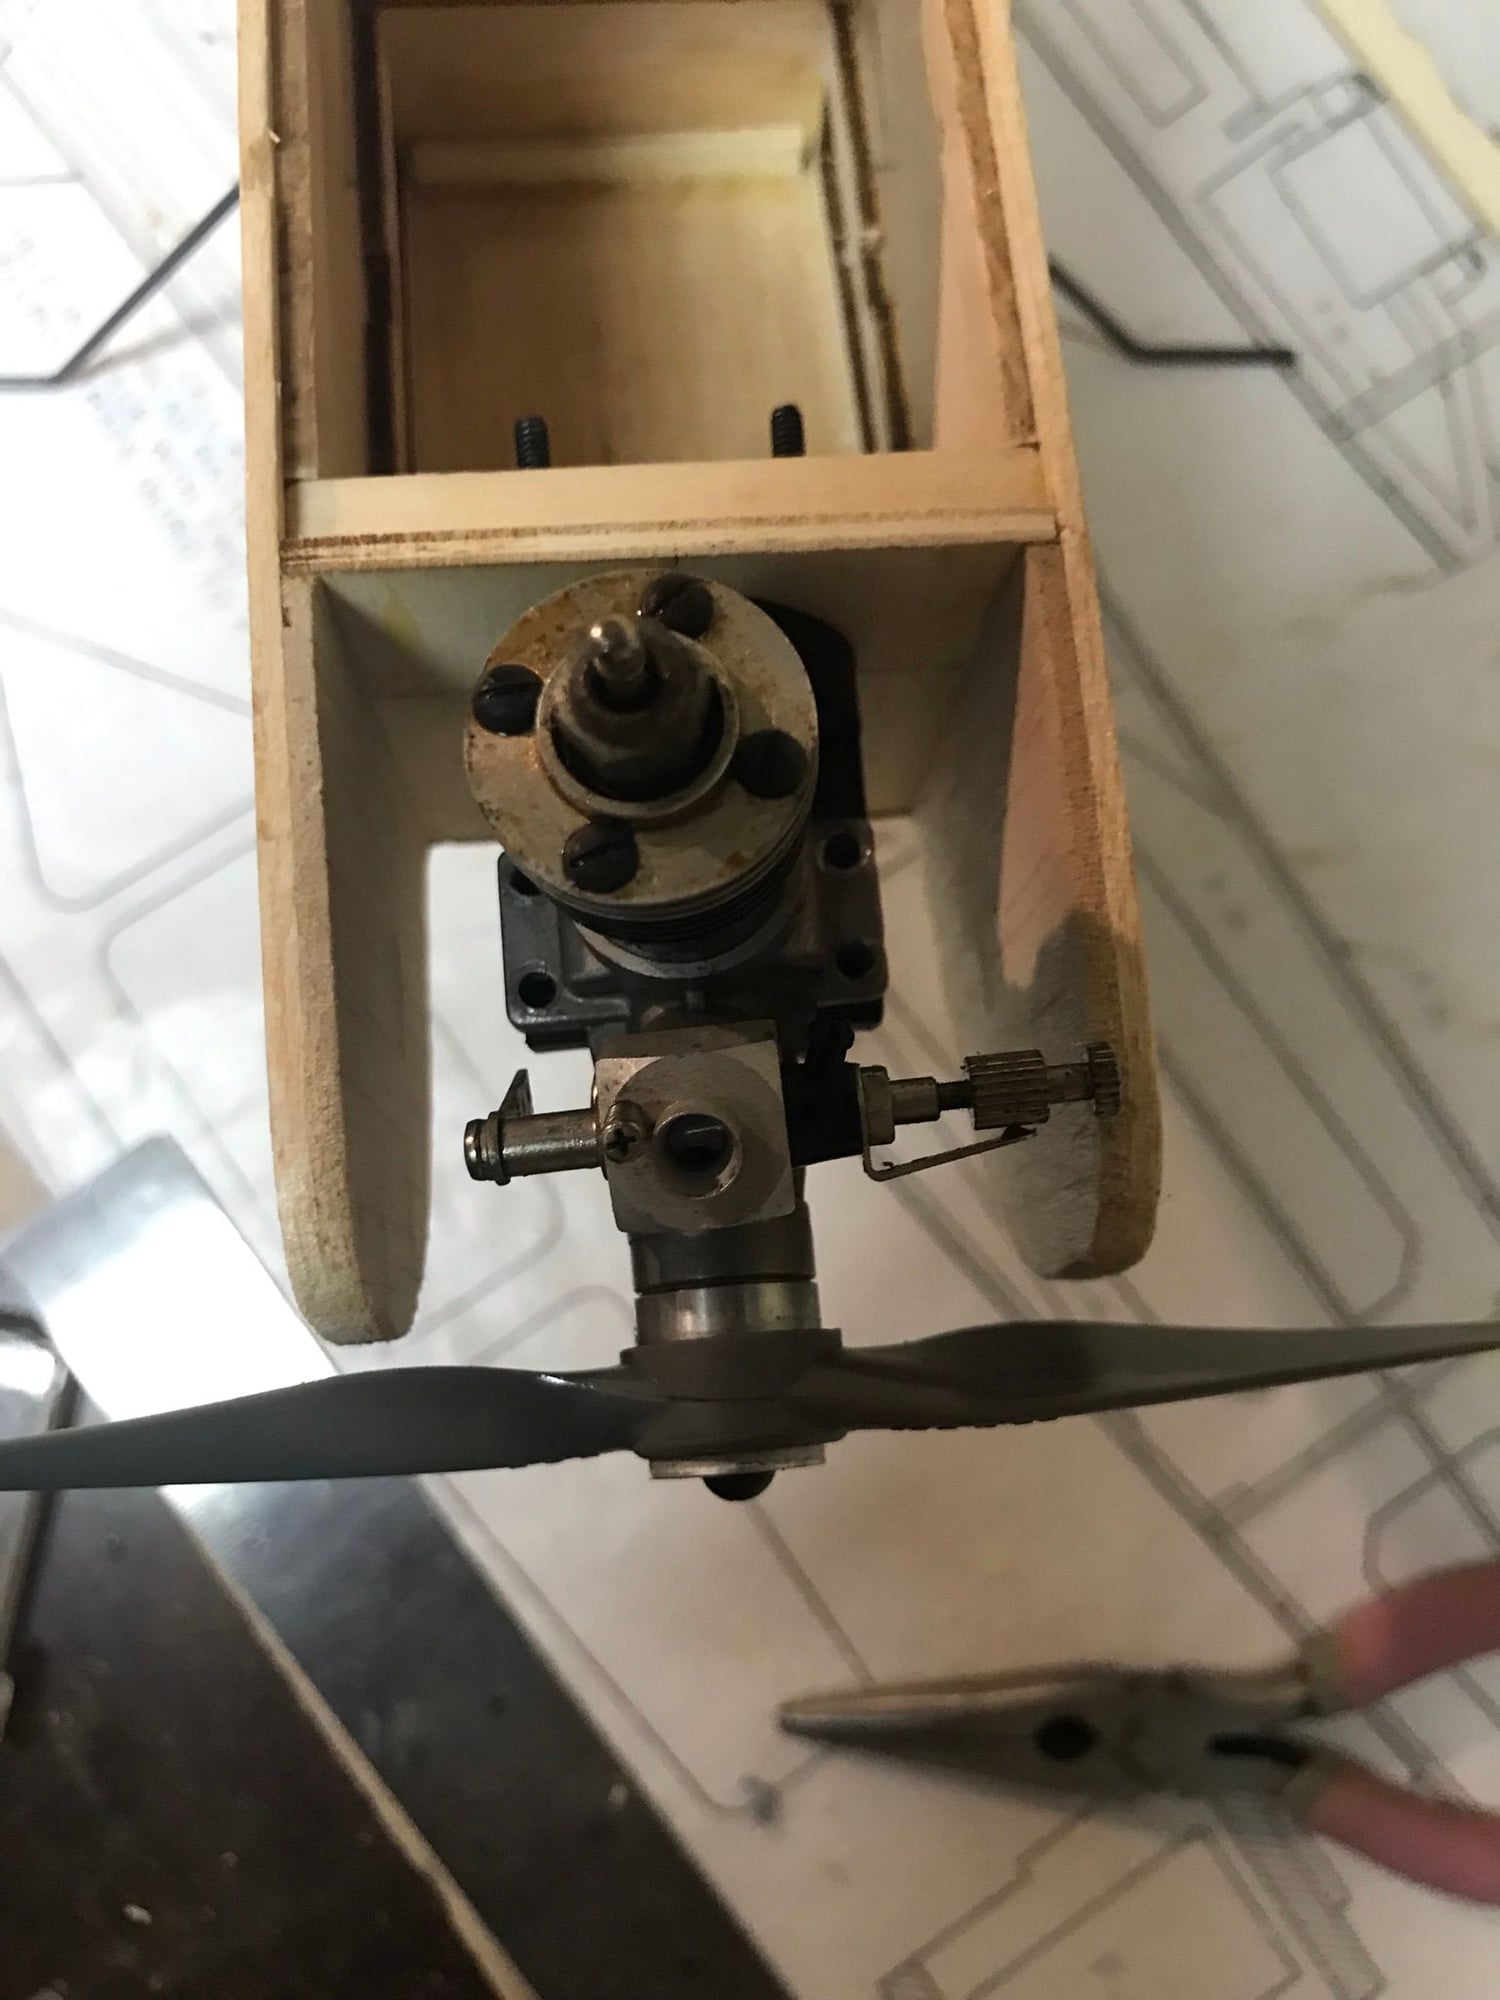
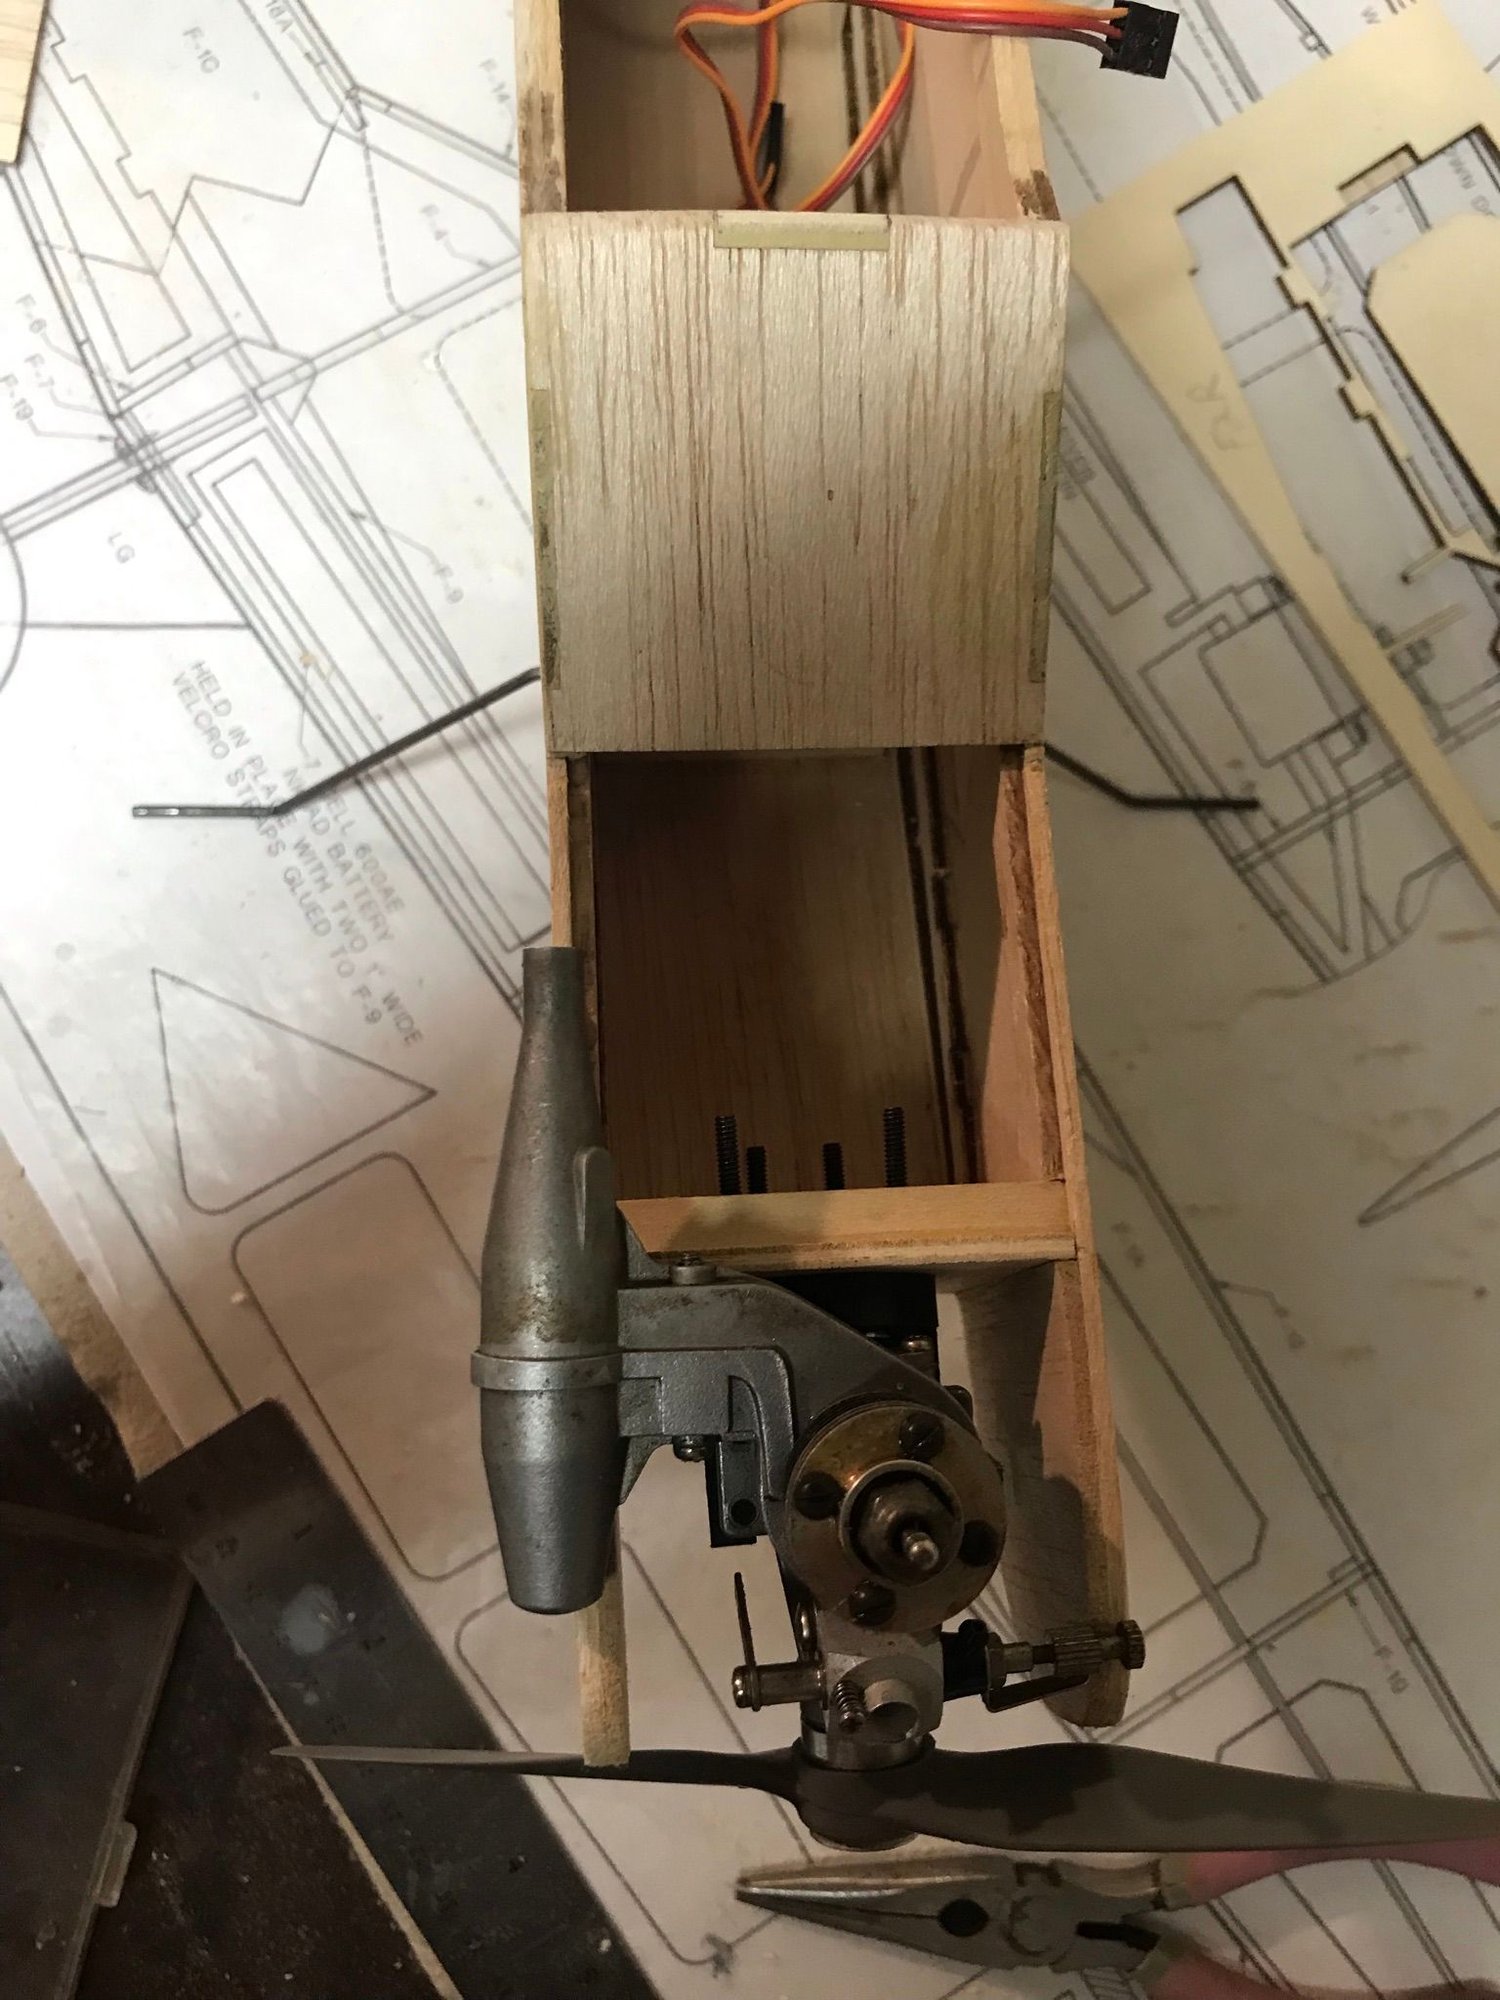
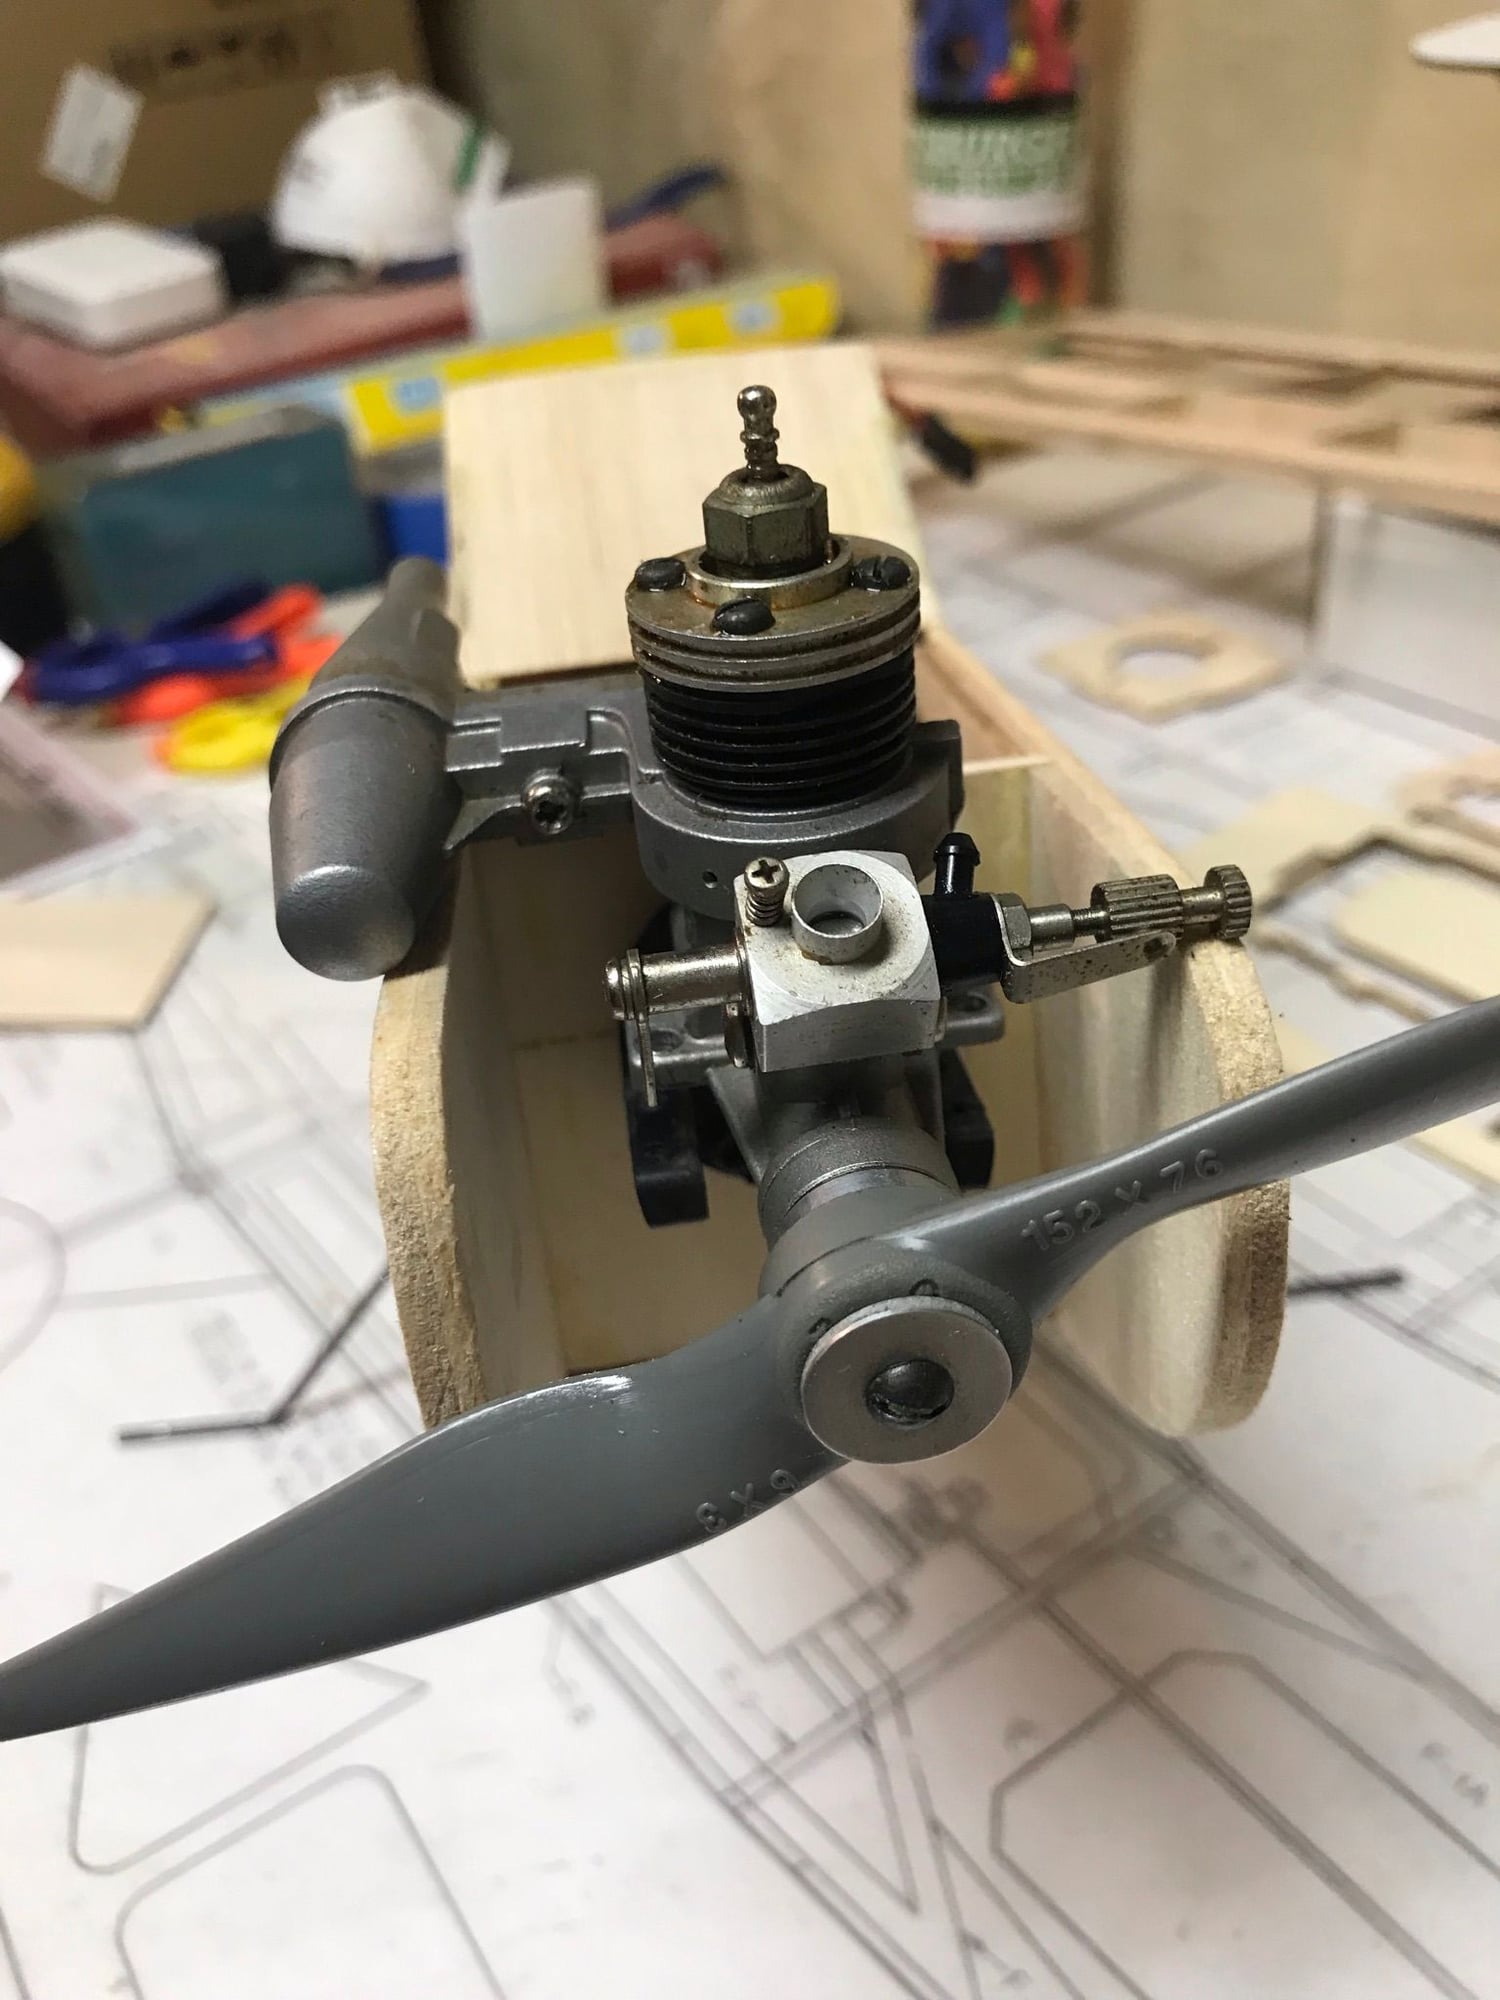
So as far as the motor mounting to the beam I am good there, but I have now realized a new problem, the muffler doe not extend out far enough to clear the side of the fuselage. If I take the muffler off the exhaust ports are facing forward at a slight angle and rearward at the opposite slight angle. That would also make it unable to use a pressure tap for fuel as well. I do have an old OS Max .10 that would theoretically fit in the frame but it is the old style without Schnuerle porting. is has the protrusion on the piston. I am not a confident flyer and would prefer to stay with a smaller/lighter motor. Any suggestions from the more experienced builders?
The following 2 users liked this post by mwohlenhaus:
Pond Skipper (04-07-2022),
Toad (04-13-2022)
04-06-2022, 03:44 PM
#10
Yes, the good news is you don't have a problem. All you have to do is cut away some of the fuselage side to allow enough clearance for the muffler. Do it neatly and give yourself enough room so that the muffler wont effect the fuselage as far as heat. This is a common mod. Use the engine you want. Once I had to find a muffler spacer to make the clearance, but I think you can just cut a nice slot. Same with the needle valve, cut/grind a nice semi circle.
Last edited by Tom Nied; 04-06-2022 at 03:48 PM.
04-06-2022, 05:03 PM
#11
Yes, the good news is you don't have a problem. All you have to do is cut away some of the fuselage side to allow enough clearance for the muffler. Do it neatly and give yourself enough room so that the muffler wont effect the fuselage as far as heat. This is a common mod. Use the engine you want. Once I had to find a muffler spacer to make the clearance, but I think you can just cut a nice slot. Same with the needle valve, cut/grind a nice semi circle.
04-06-2022, 06:15 PM
#13
I was thinking about putting a 1/4" spacer behind the motor mount to get it a bit further forward. I know this would affect the balance of the plane, but it seems like compared to dropping a .10 motor in there it would not affect the balance as much. I would not have to cut into the firewall as much.
04-06-2022, 07:19 PM
#16
Tom's recommendations are certainly a viable solution. But I like your idea as well. No reason why a spacer behind the motor mount isn't al least worthy of consideration. There is no rule that the engine has to be vertical. You might try raising the motor mount some, or rotating it 45deg, or a combination of both?
