Alriighttty.....
first up, a trip to Michaels arts and crafts to get some floral foam. Then a hole was drilled in the center of the exhaust nozzle plywood blank and a bind nut installed (actually i did this afterwards). Then some gorilla glue was smeared along the aft side of the plywood disc and then put down on the block of flora foam and weighted down with a gallon of PVA to cure. Once cured, the floral foam block was rough trimmed to shape.
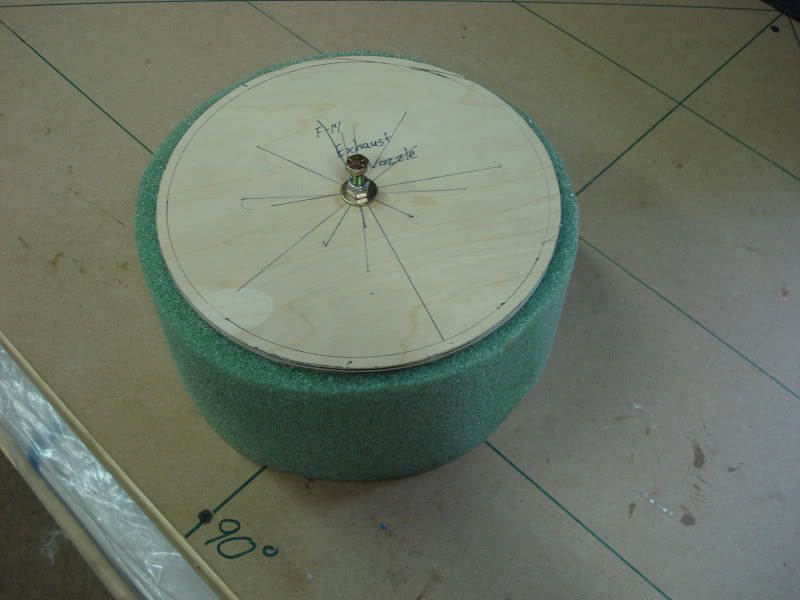
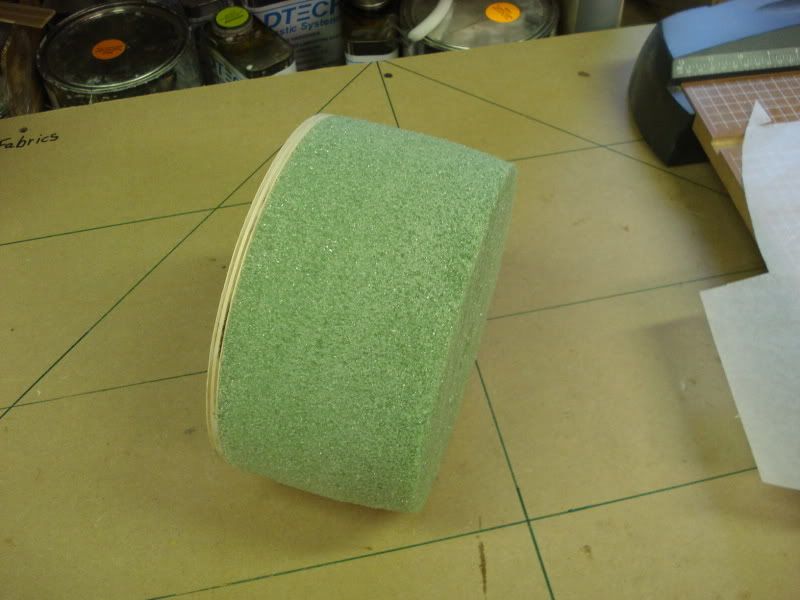
Then a bolt, locknut and washer was assembled together to give the drill press something to grab hold of, then the exhaust nozzle foam/wood thing was put in the drill press. The press was turned on, then after about 15 minutes with some sandpaper, the exhaust nozzle plug blank was shaped. Its now ready to be fiberglassed, and then detailed with the turkey feather's made from litho plate.
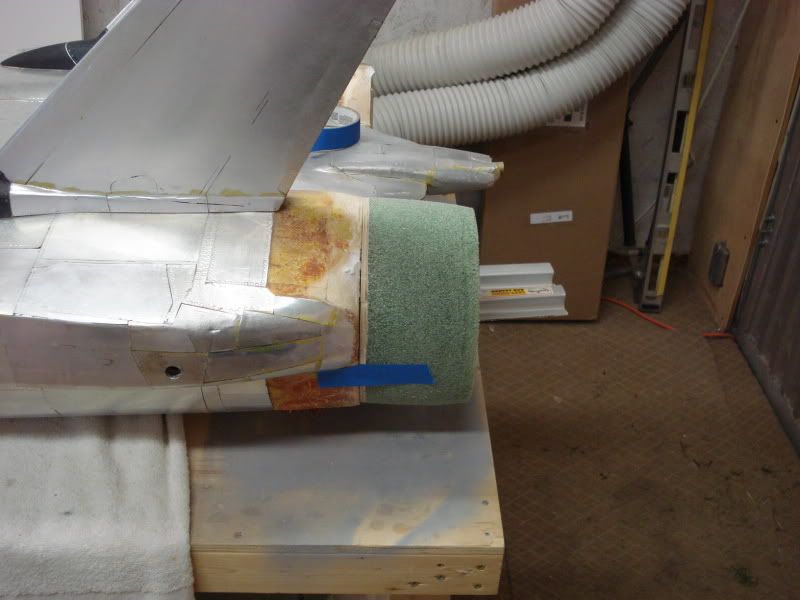
And of course, the customary test fit

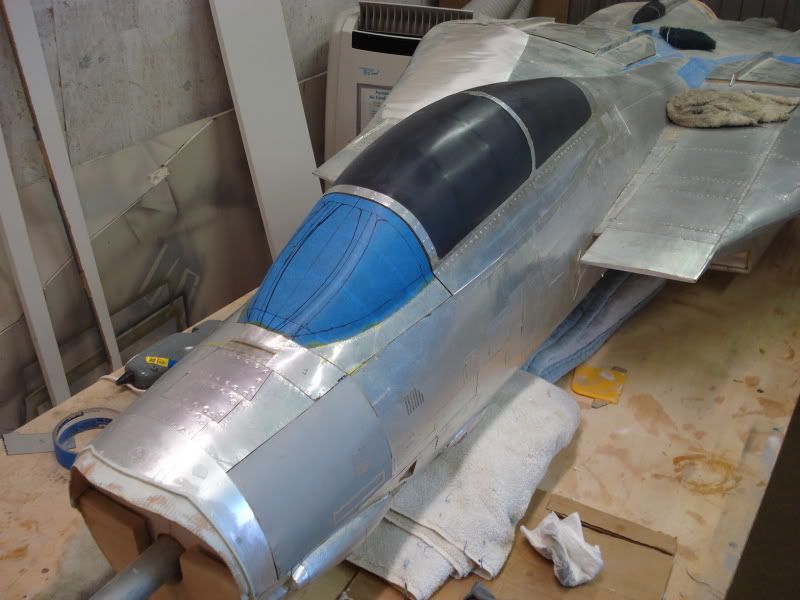
Then I got back to work on the windscreen panels. First off was the front center panel:
Then the 2 side panels just under the windscreen frame were made, then all 3 panels detailed and glued into place:
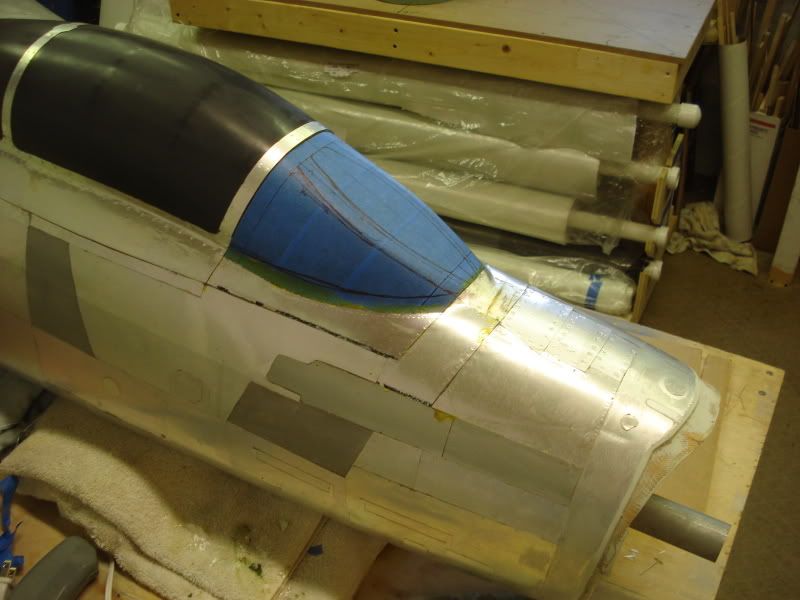
And since the actual windscreen frame is 4 separate pieces, that was the next thing up. The first panels i did, were the frame panels on the bottom of the side windscreen panels:

Then the top side and aft windscreen hope frame panels are one piece. and each side is slightly different. SOOOOo.... In order to form those, you have to have some fun with the litho panels.
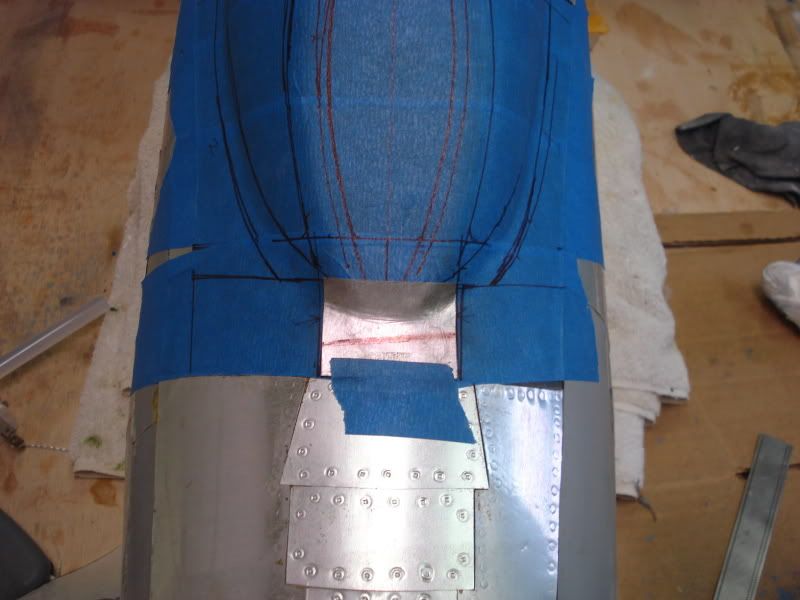
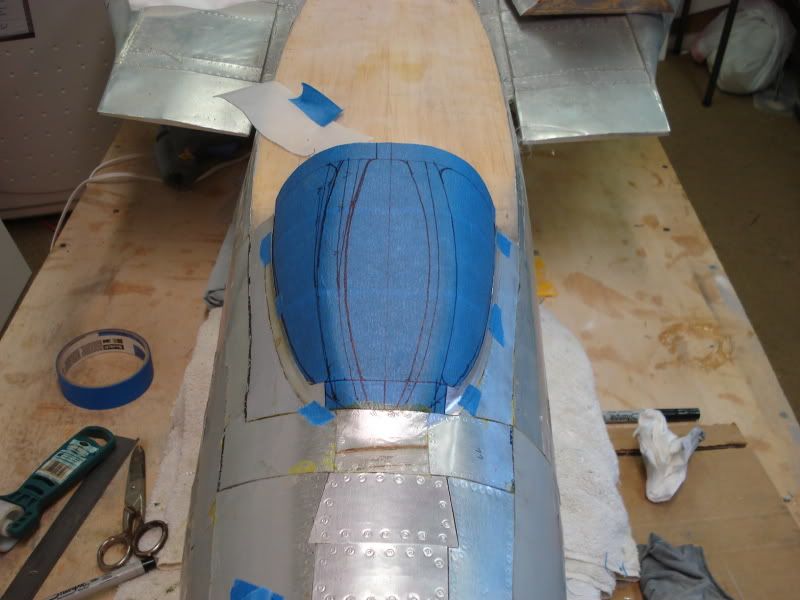
I cut a triangle large enough to cover 3/4 of the windscreen, then annealed it ALLOT more than usual. The panel was then taped down the center of the windscreen and then it was "rolled" over to the side windscreen panels. It wouldn't roll completely over w/o having some huge wrinkles, so once it was rolled enough to differentiate exactly where the transition was, an large portion of the litho was cut out, but no so much that it didn't leave enough material for the
frame. Then the litho sheet was worked until it fit nice and snug with the windscreen. In the photo below, you will see a few bumps in the panel. These are intentional b/c they allow the panel to "shrink" a bit and fit correctly:
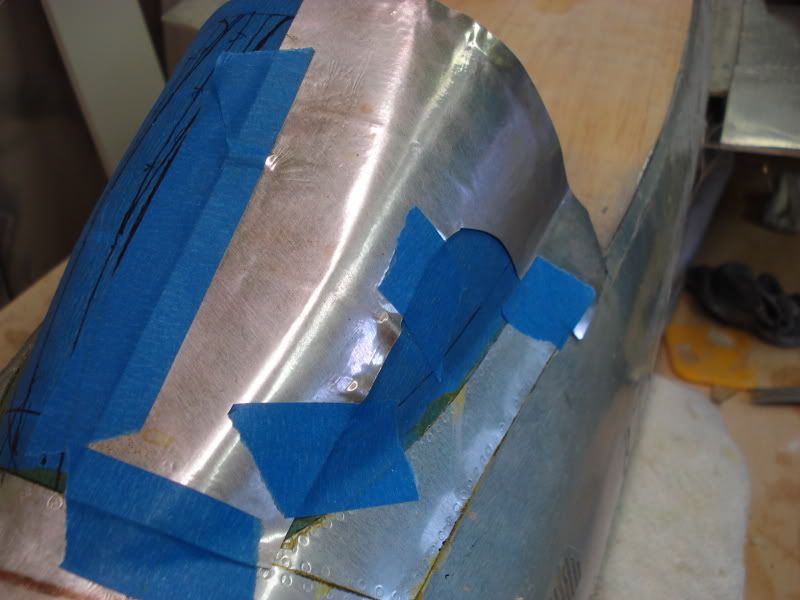
And what the panel looks like after its removed from the windscreen and before trimming to its final shape:

Next up, is to detail the little panels along the bottom sides, install them, then finish up the last 2 windscreen panels. Then i have a few little details on the vertical fins to do, and fiberglass the exhaust nozzle plug. Hopefully i can get all this done today b/c tomorrow is auto maintenance day...