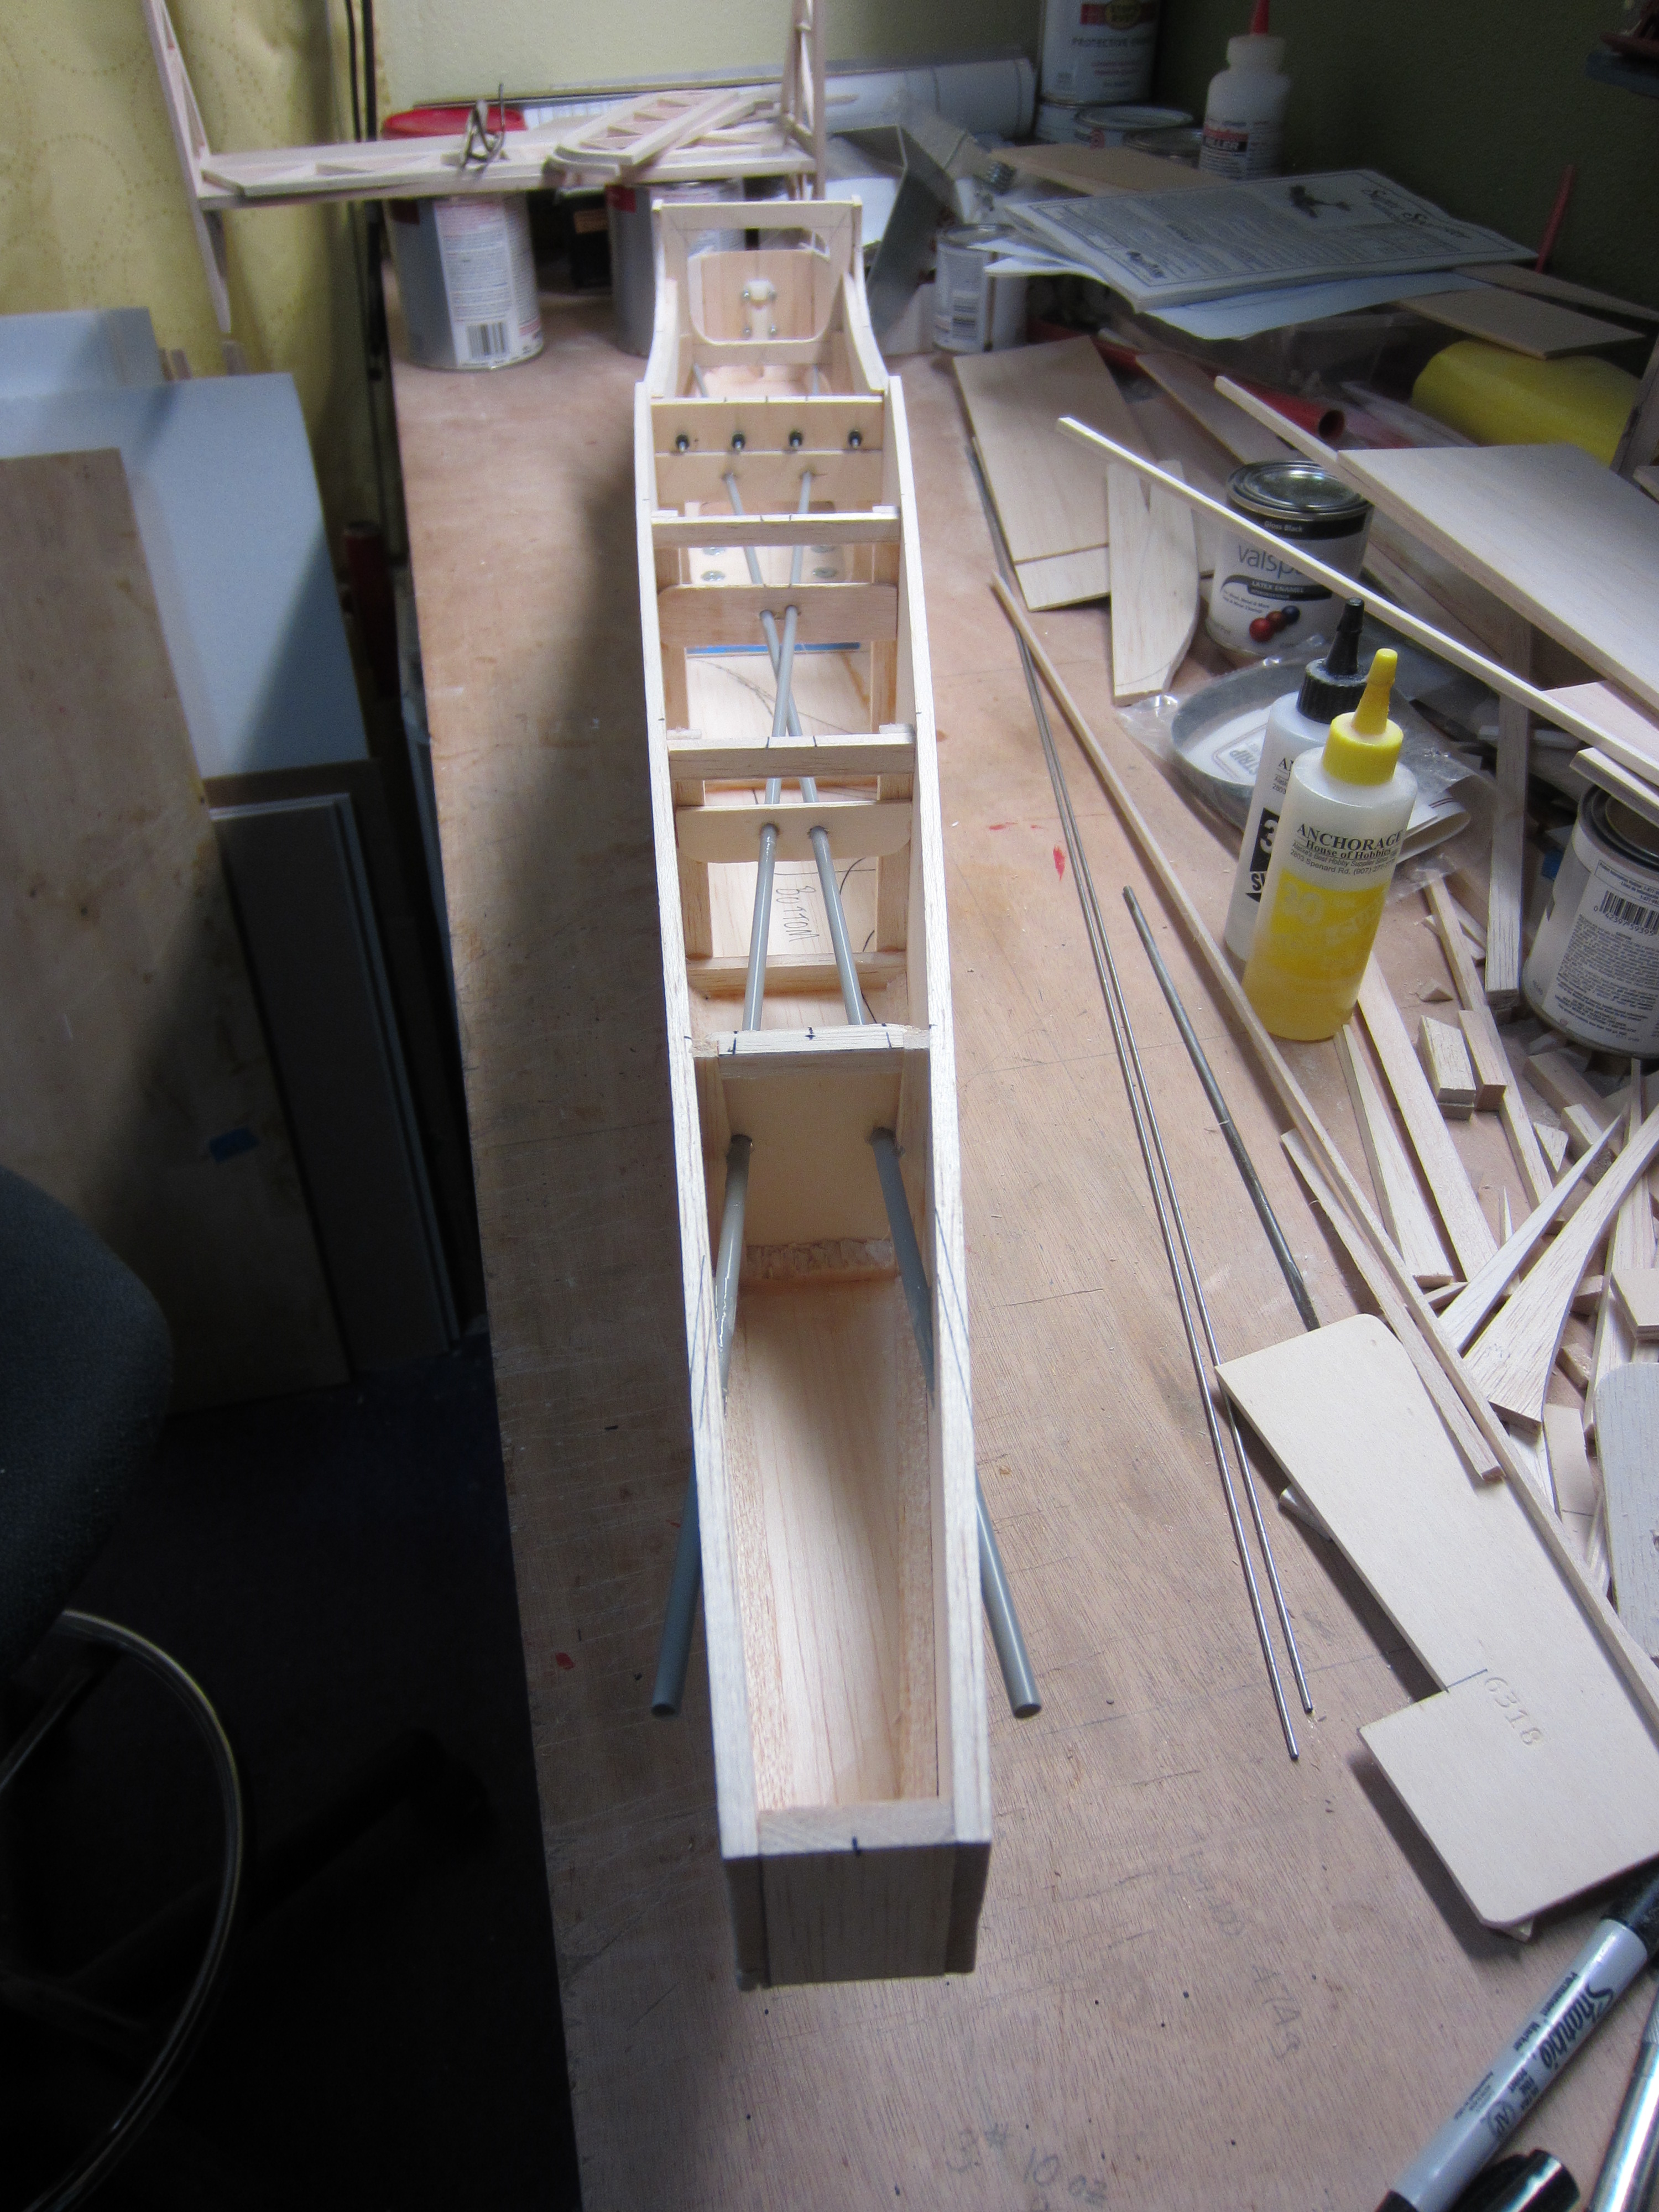
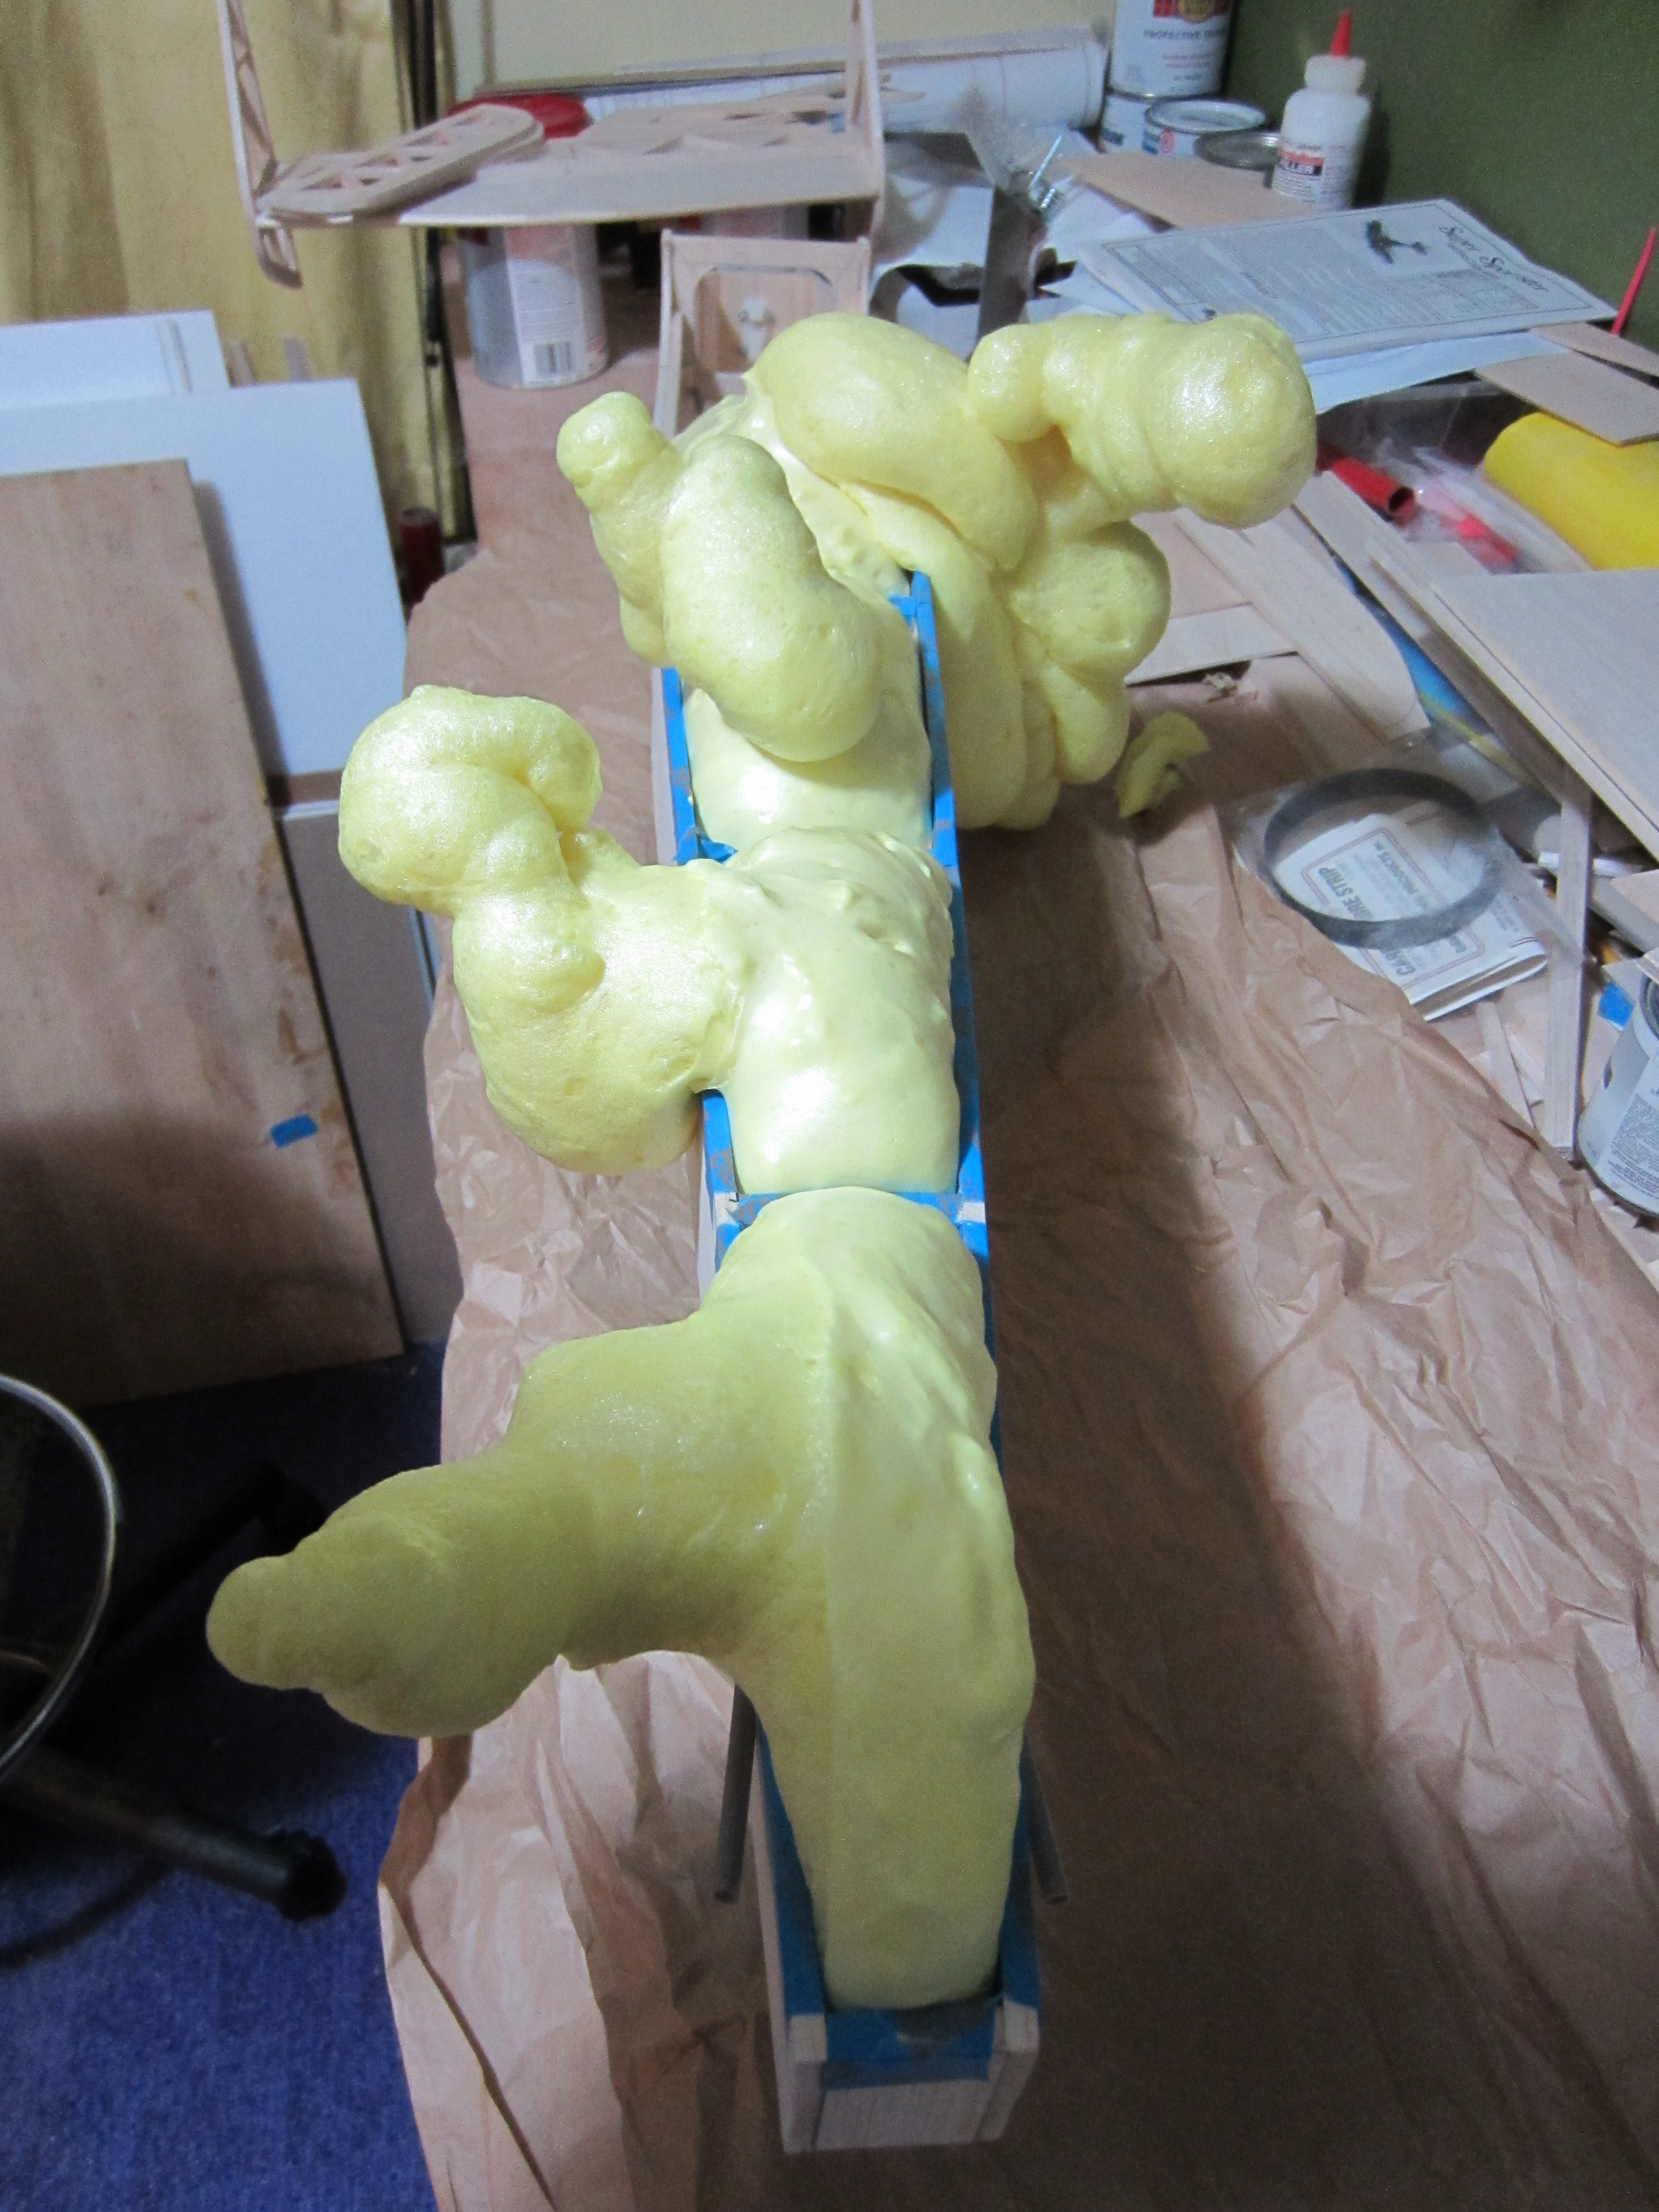
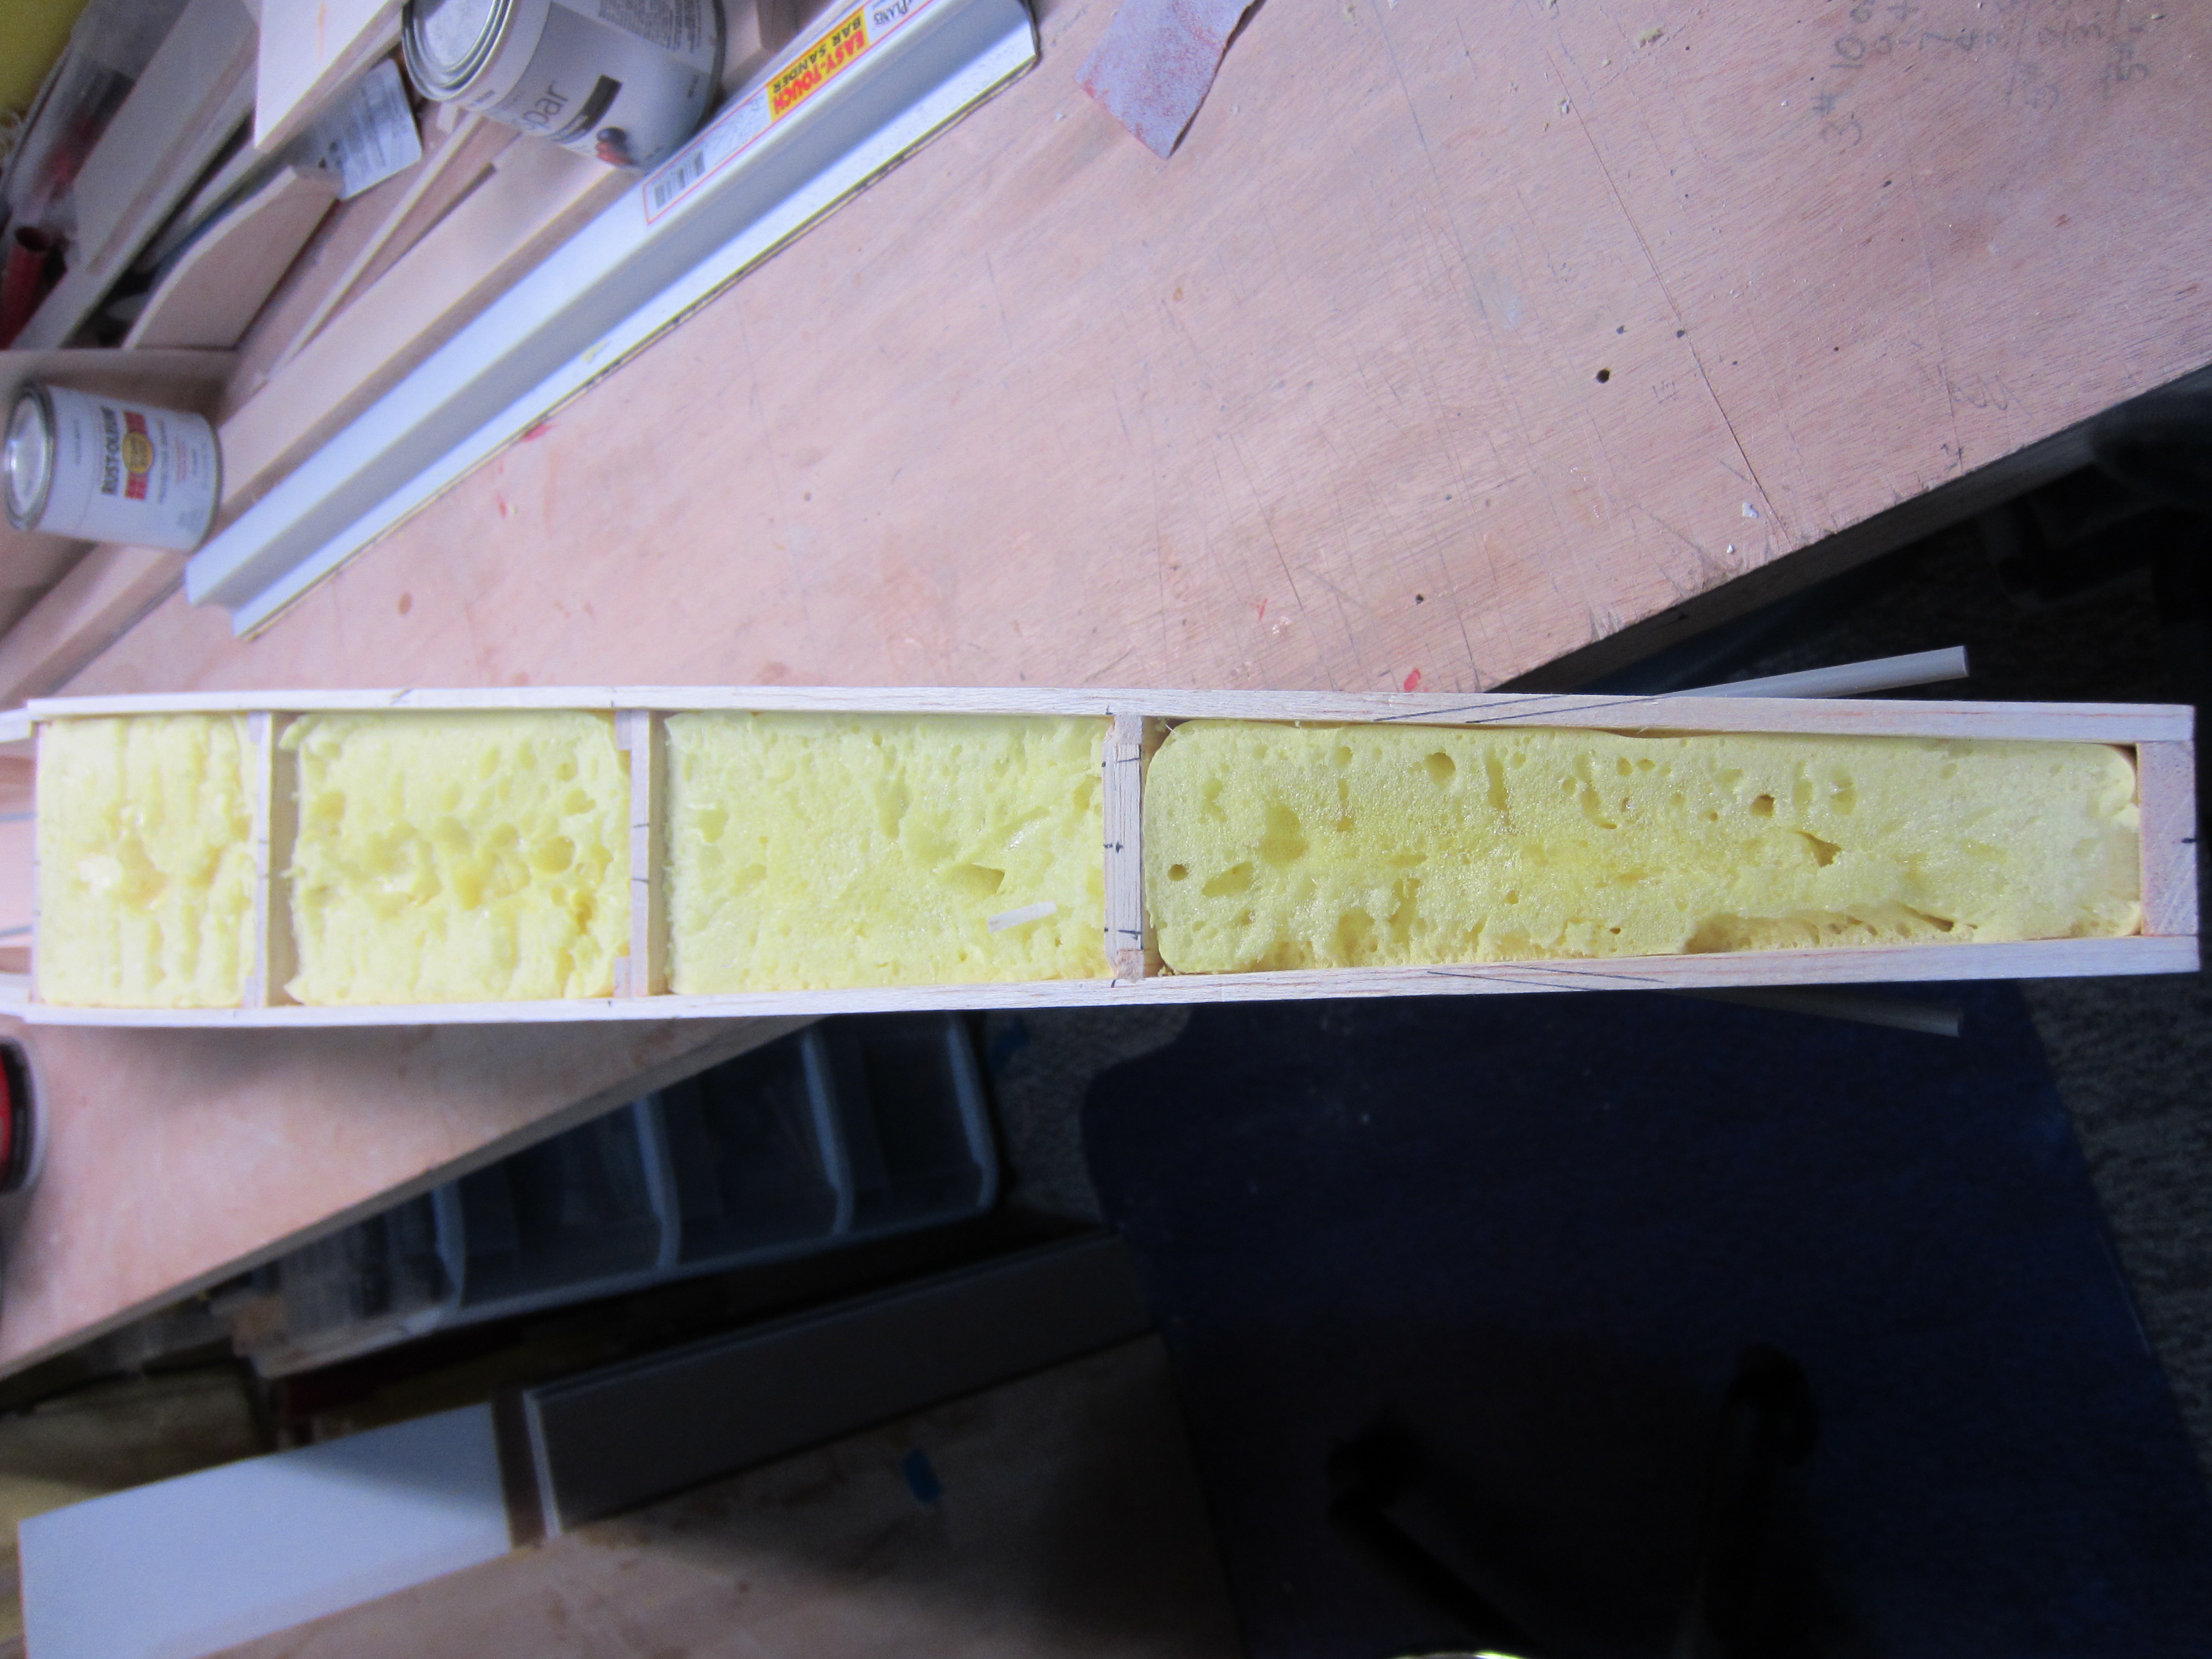
With all this heavy tail structure going on the rear of the fuselage, I figure I'll need all the stiffness I can get! I saw this idea in these forums a week or so, and it made sense to me so I figured I'd give it a try. The idea is to fill the fuselage with spray foam, and I just happened to have a partial can of it the closet. This is the formula made for doors and windows, so it's the minimally expanding type. The instructions say to fill the spaces only half full. I masked off all the parts I didn't want foam on, then filled the spaces half full, and waited. After a few minutes, I was seeing very little expansion, so I filled it up to 3/4 full, then waited some more. Talk about delayed reactions! About an hour later, the foam finally stopped expanding! The next day, I was able to trim the foam with a bread knife, so it looked a bit more reasonable. The fuselage shouldn't do much twisting now.
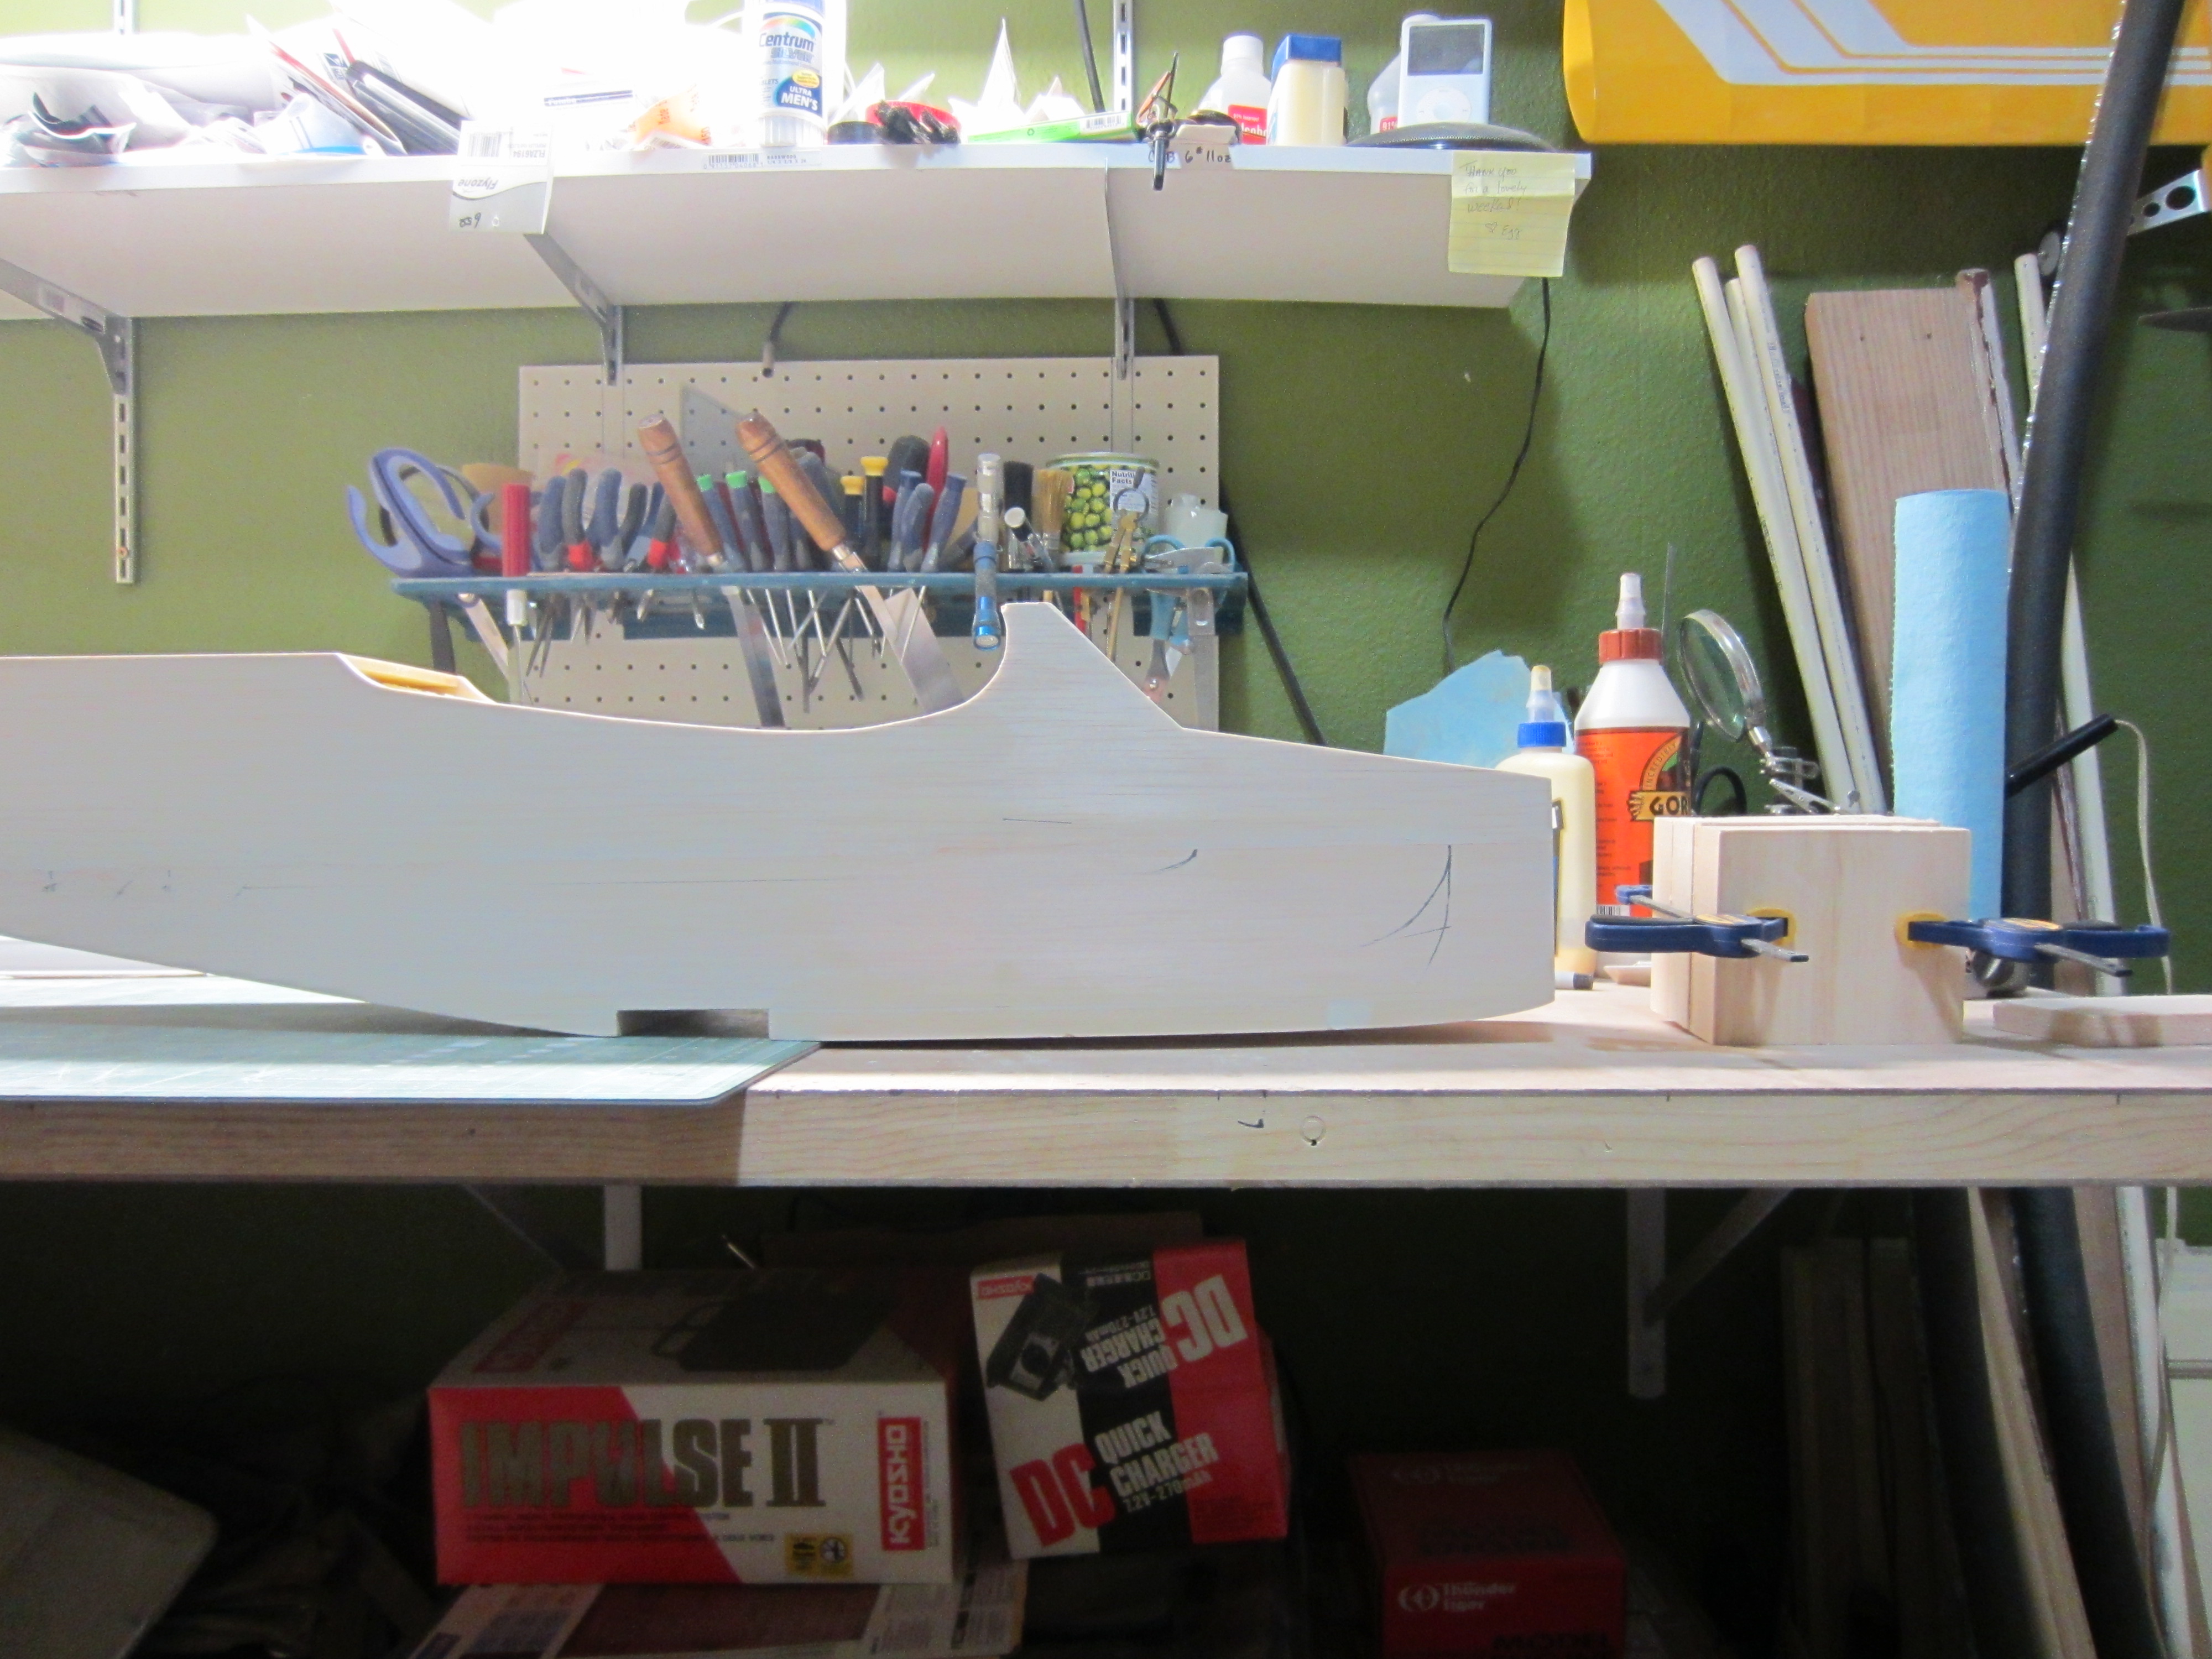
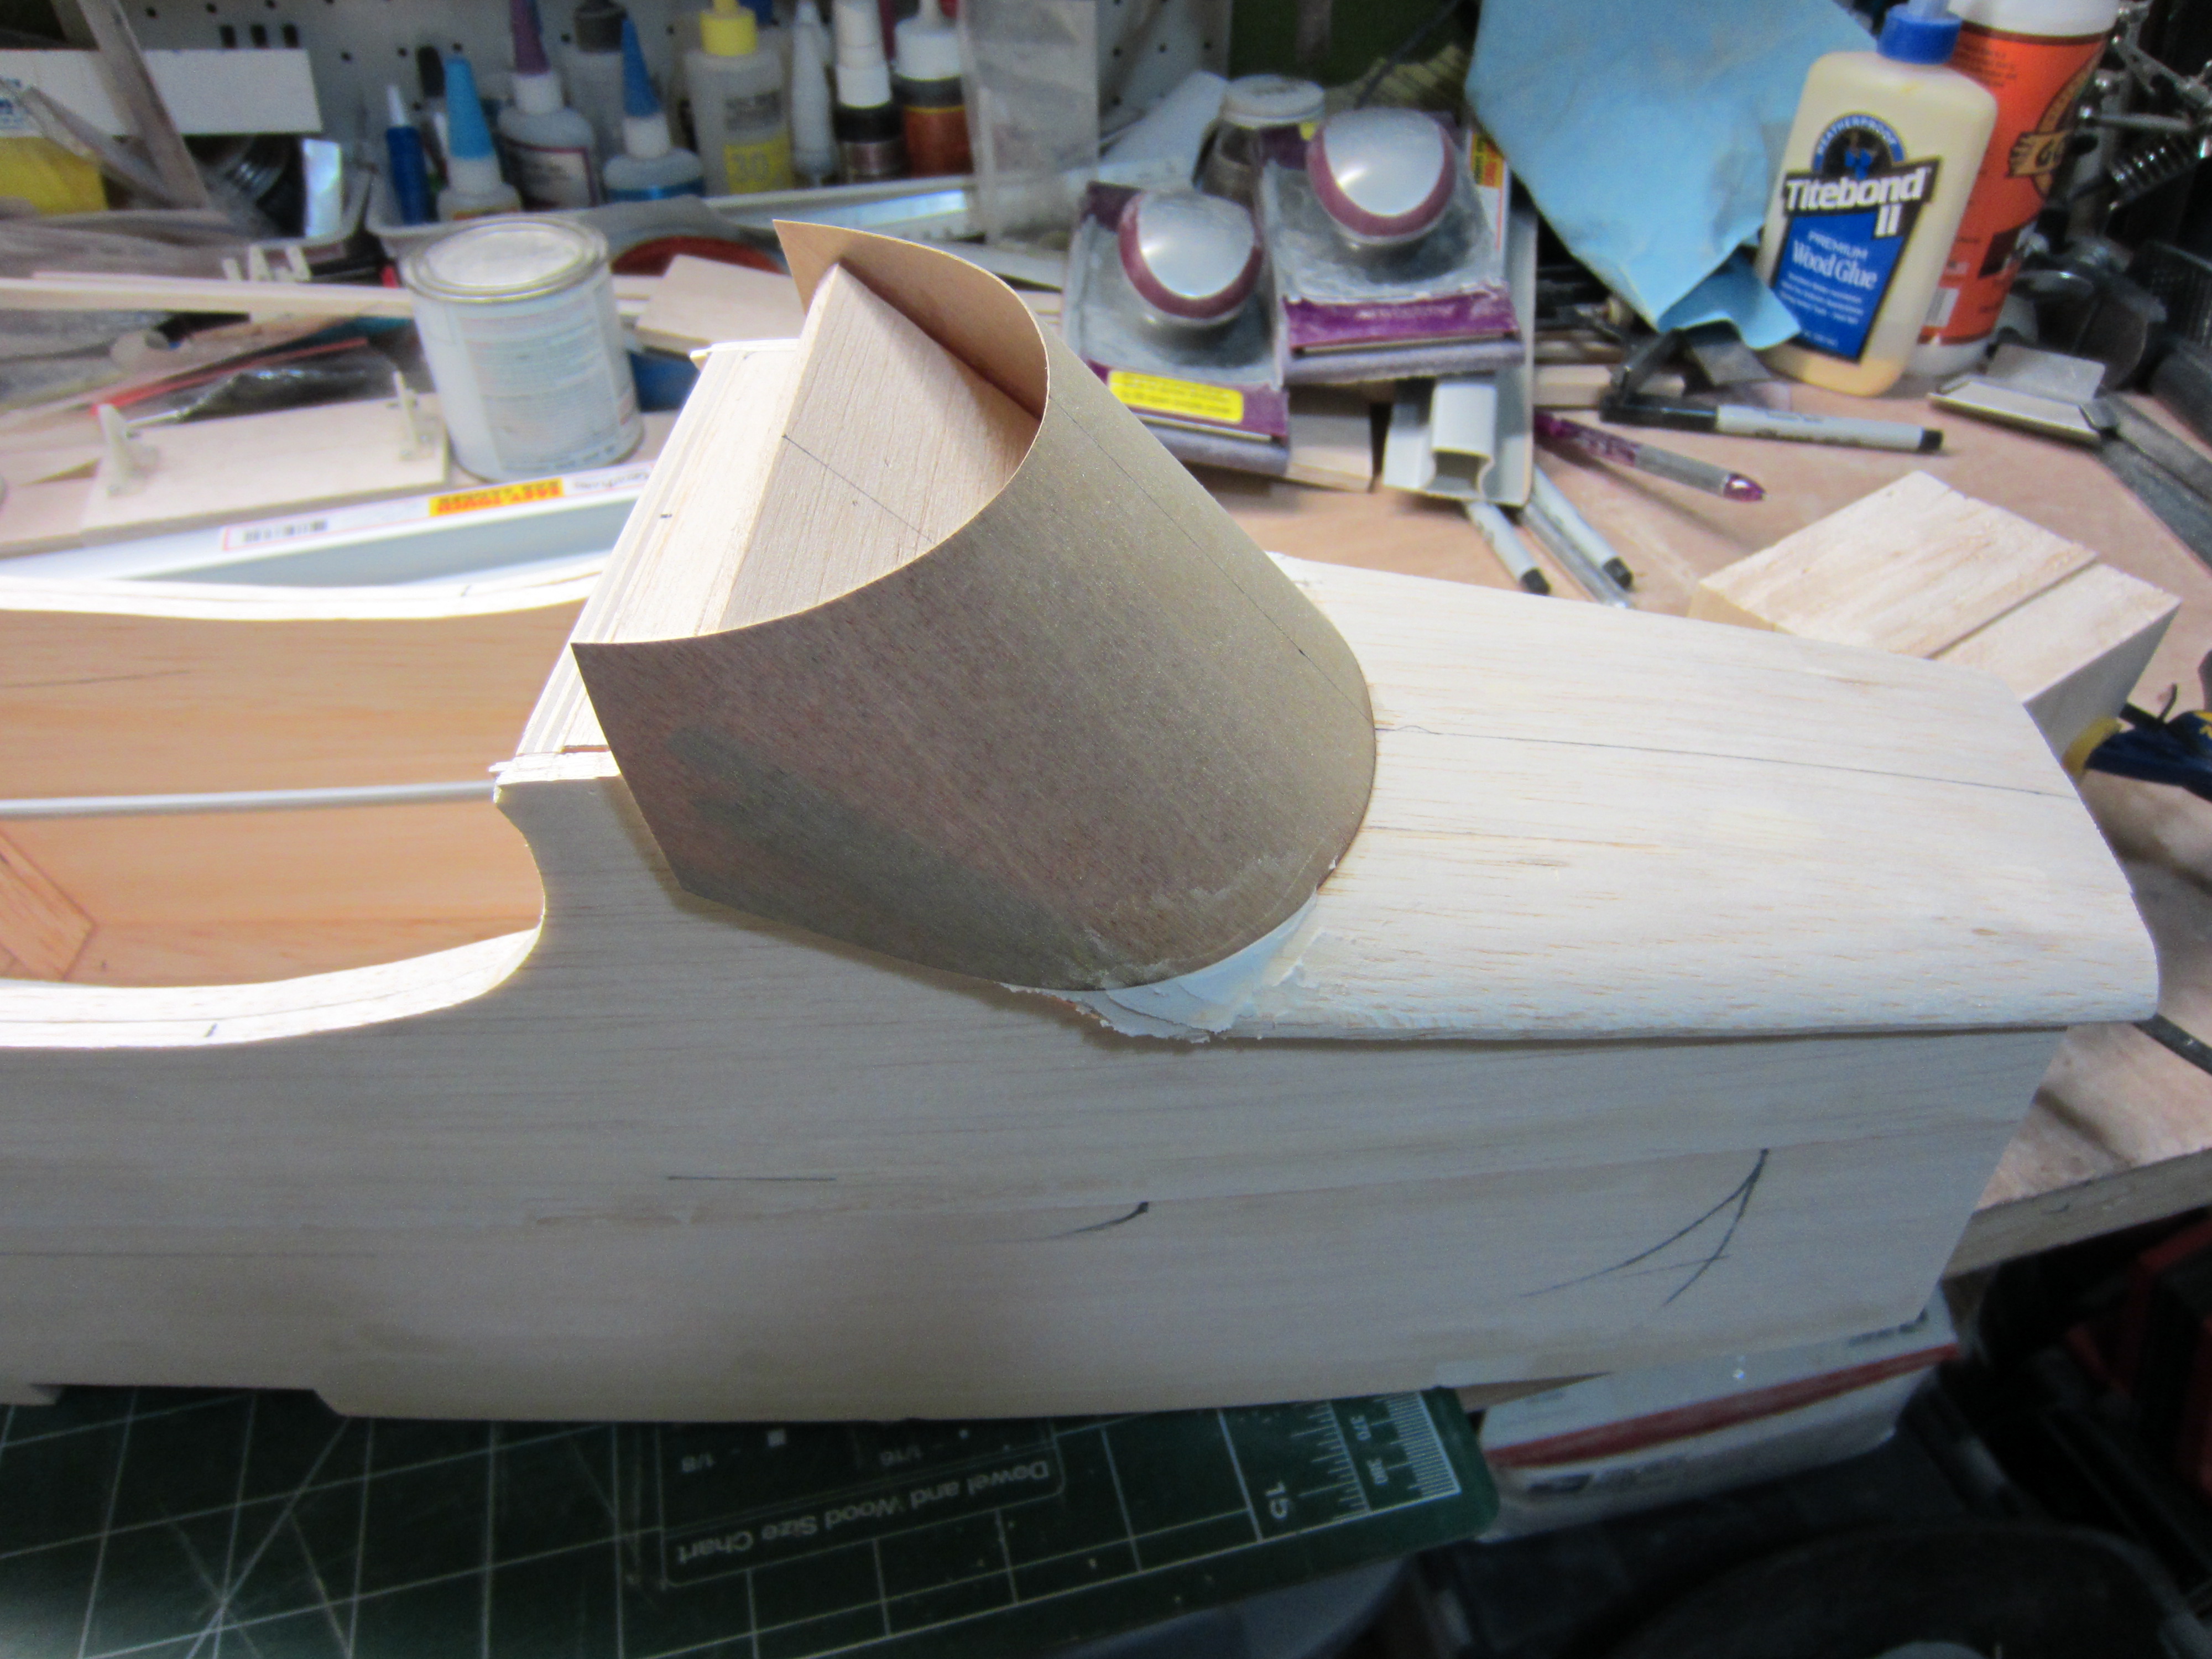
I then added some 1/2" sheet to the bottom to improve the look of the fuselage, then started building the front hatch. I may need to mount the servos for the rudder and elevator in the nose to get the plane to balance, so a removable hatch will be required. I decided to add the windshield to the hatch, and built it out of 1/32" plywood. A little black paint and it'll look nice.