Well, have you ever started a session in the shop and wish you had done 30 min prep one of the five days before
")
.
That was me. The center wing section needs to be attached to the fuse to finish up the framing on the underside of the fuse. That's what I was going to do today. Although I am gluing the center wing to the fuse it still needs to be indexed to finish the fuse ( will glue it at later date). The wing bolts that I wont be using required wood blocks in the fuse that I didn't put there. As I was centering the wing I decided I would need those blocks after all. I decided to use dowels to index and for sheer strength. So epoxy in blocks and wait to dry.
I had tac glued measuring points to center the wing with the tail..

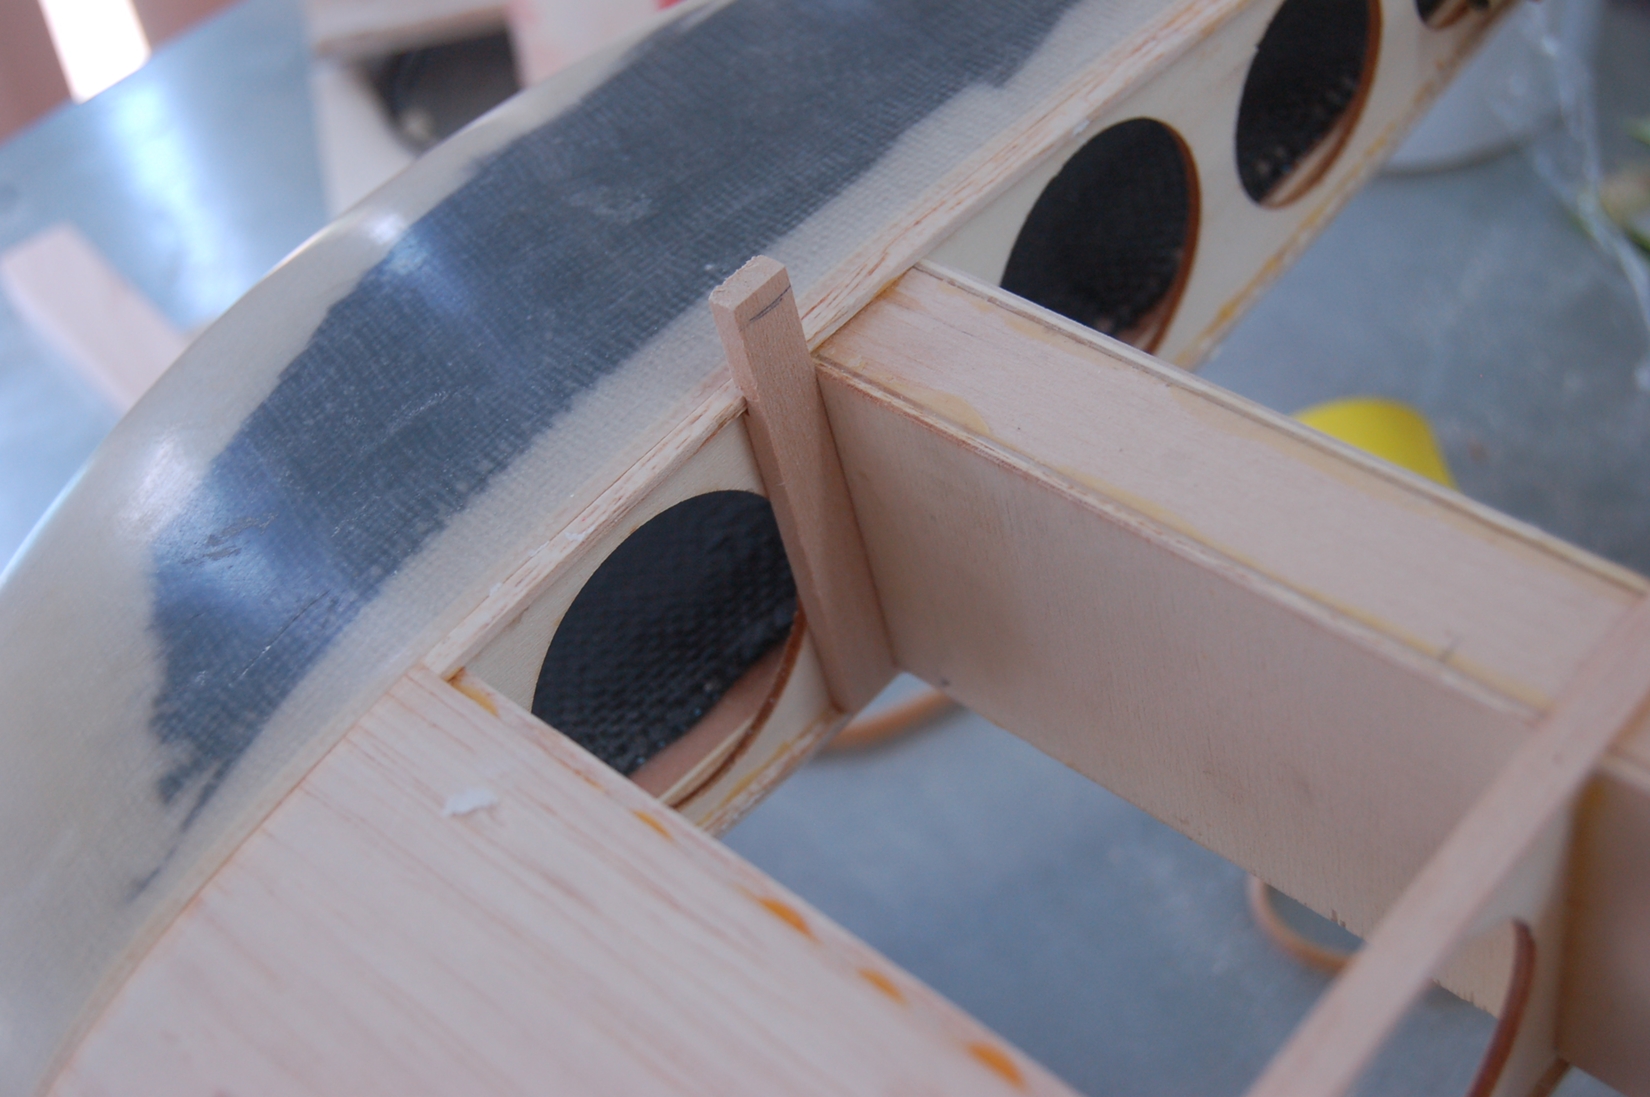

At this point I decided I needed the wing mount blocks. So I cut them fit them and glued them in. While that was drying I decided to turn my attention to the tail feathers. The kit comes with sectional cut parts for the curves on the tail surfaces. I decided to laminate the curved portions of the tail . I cut a template for the elevators then used a flushing bit to cut an exact duplicate.
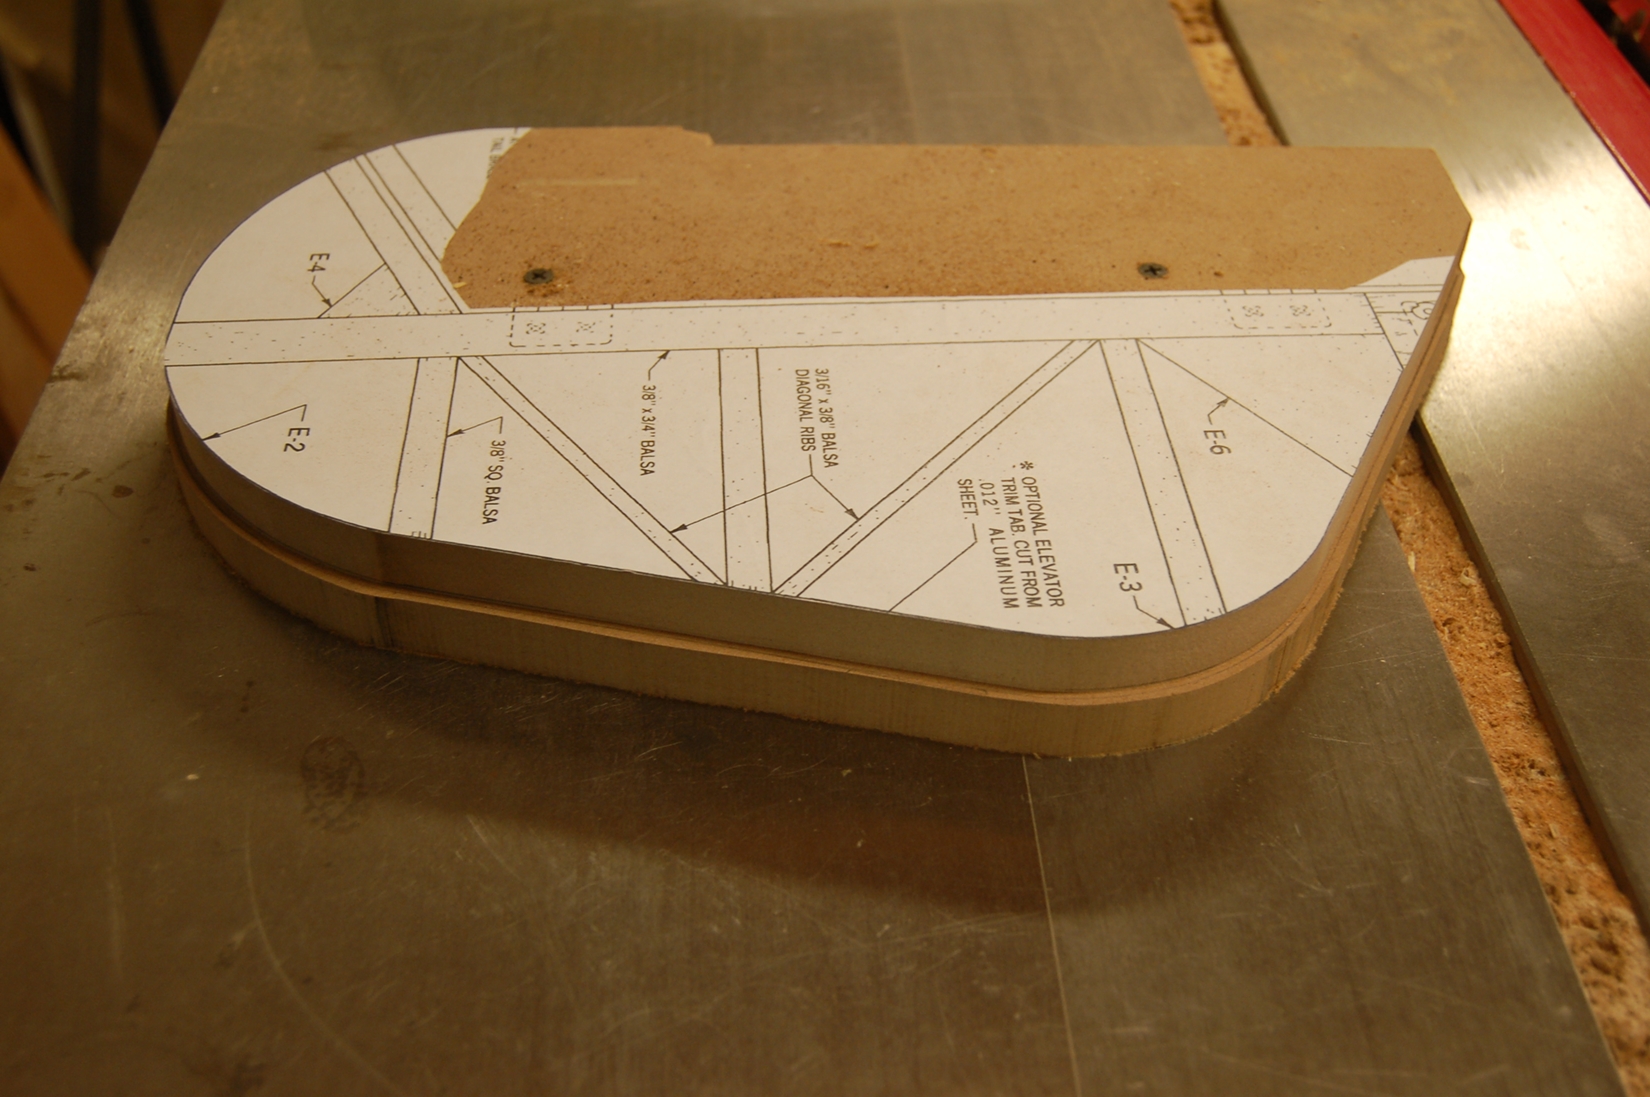
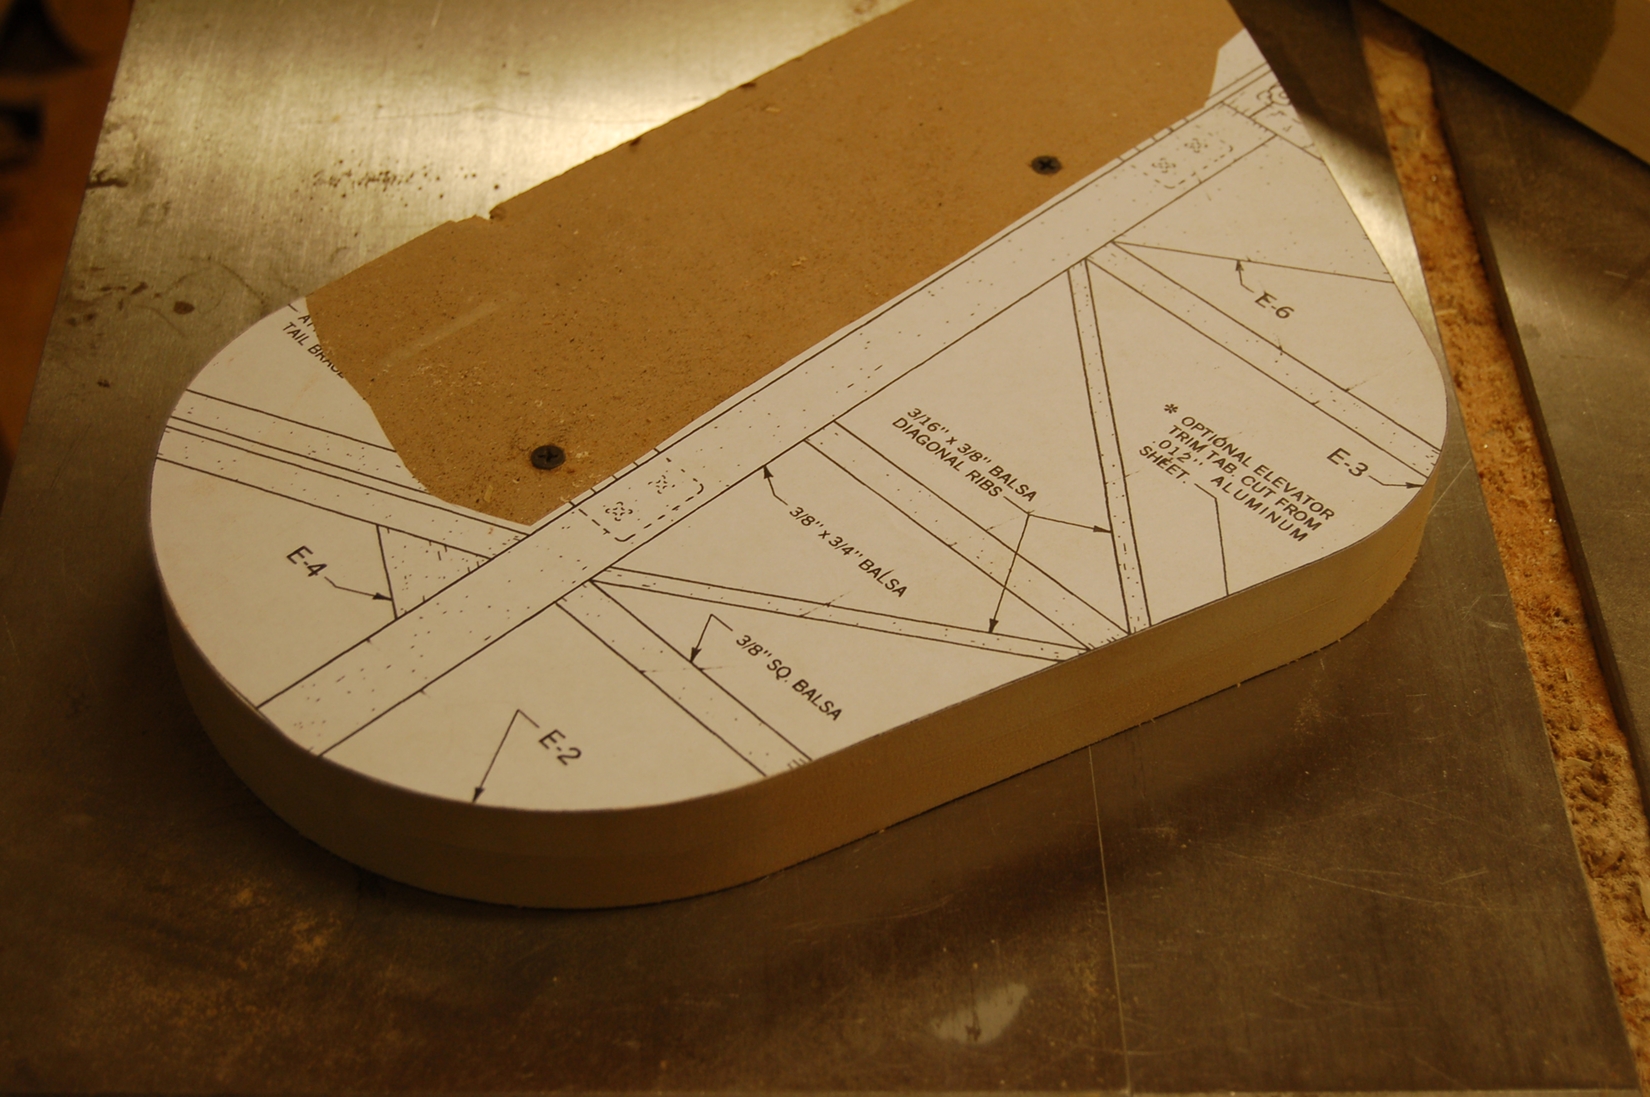
My initial plan was to use 6 pieces of 1/8 inch balsa to make the curve. This was too thick, even after soaking in a bucket of water the strips wanted to fracture at the tightest bend. So plan B. Went to 10 pieces a hair under 3/32 and that bent fine.
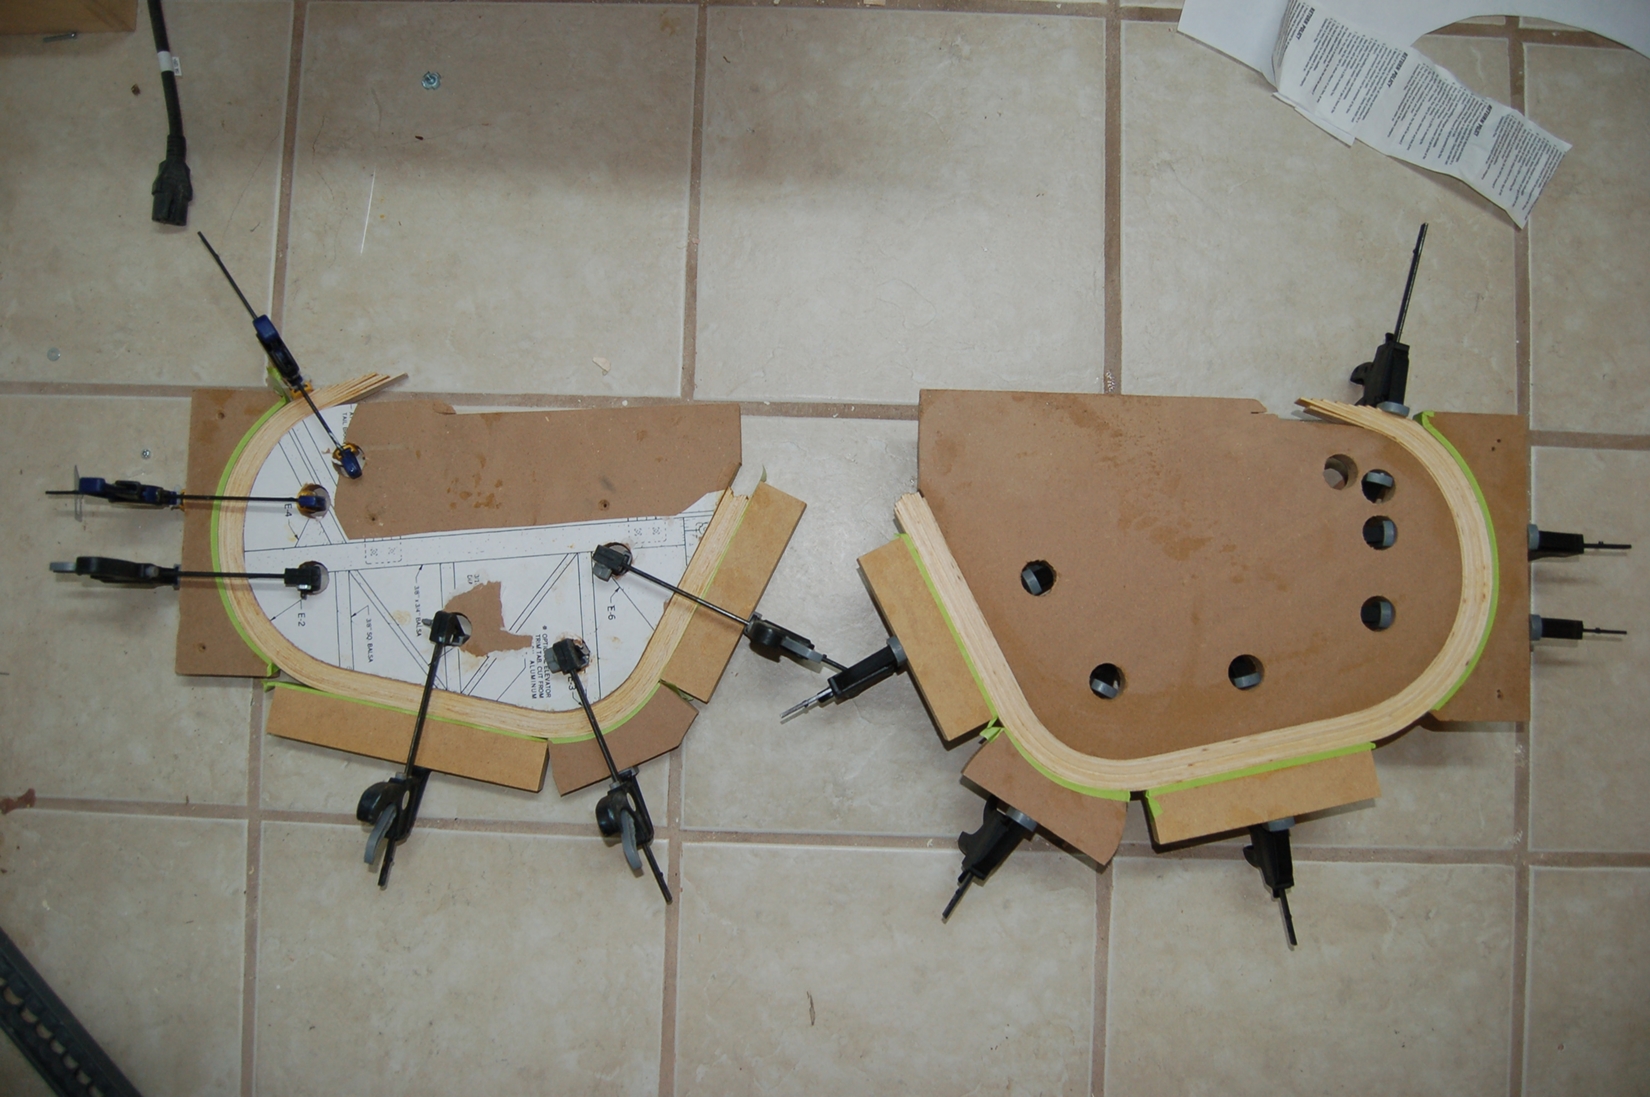
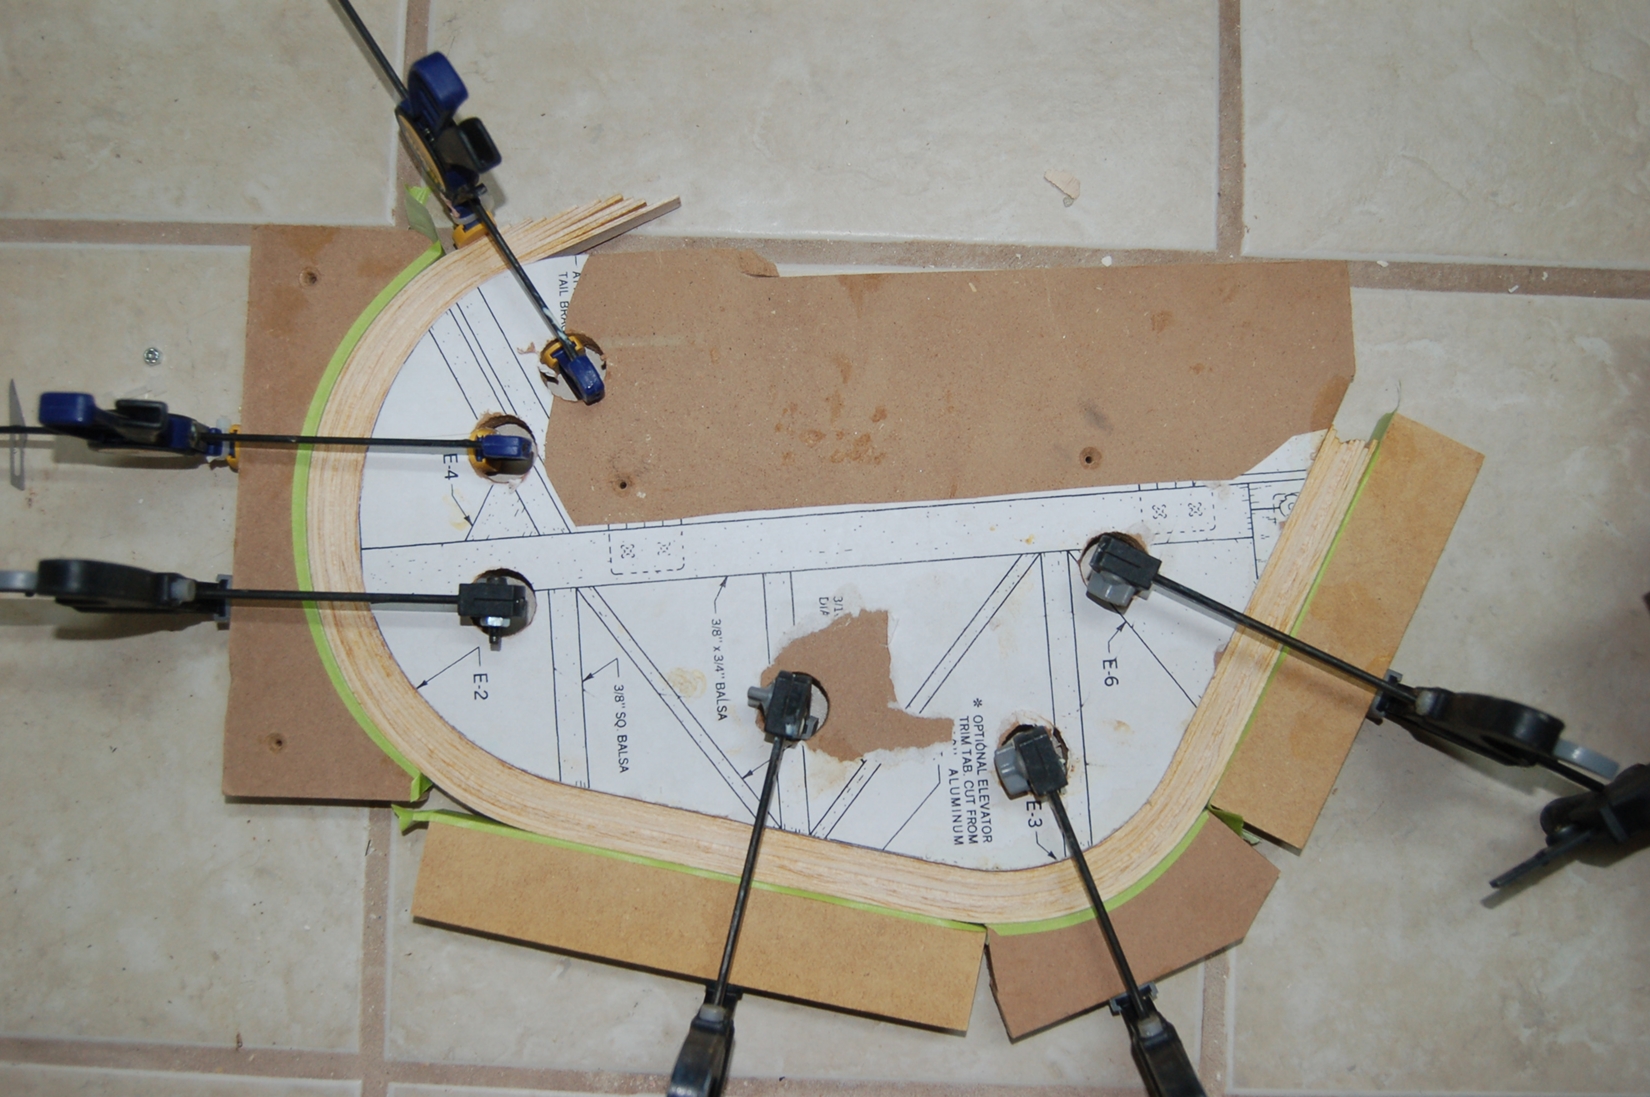
As you can see I used a sectional cawl to clamp the elevators. Although this worked it was not ideal.
With the rudder I decided to make a flexible wrap around cawl. I used a 3/4 spacer to scribe the outer shape from the inner jig.
MDF when cut narrow is somewhat flexible. So if say you cut the cawl a fuzz small or large it will flex into place as you pull it around.
I started clamping at the tight curve at the top of the rudder and worked around the horn. This was lamination heaven. No muss no fuss simple and squeezed up real nice.
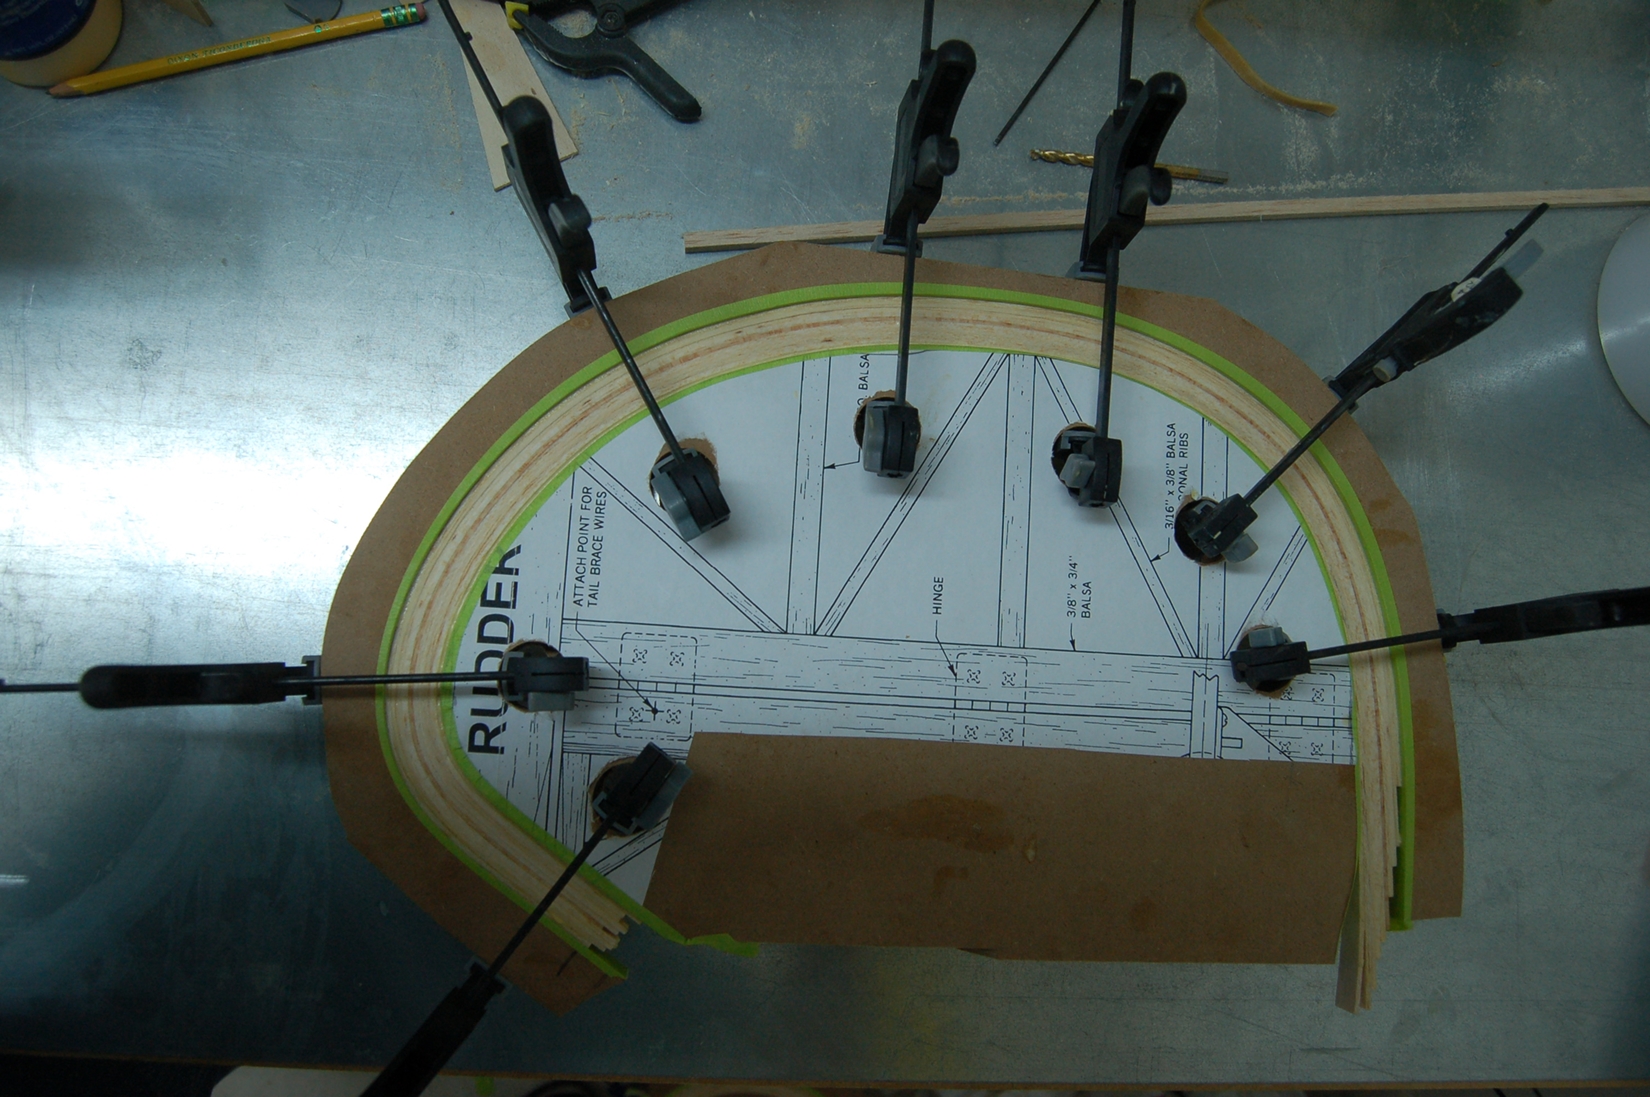
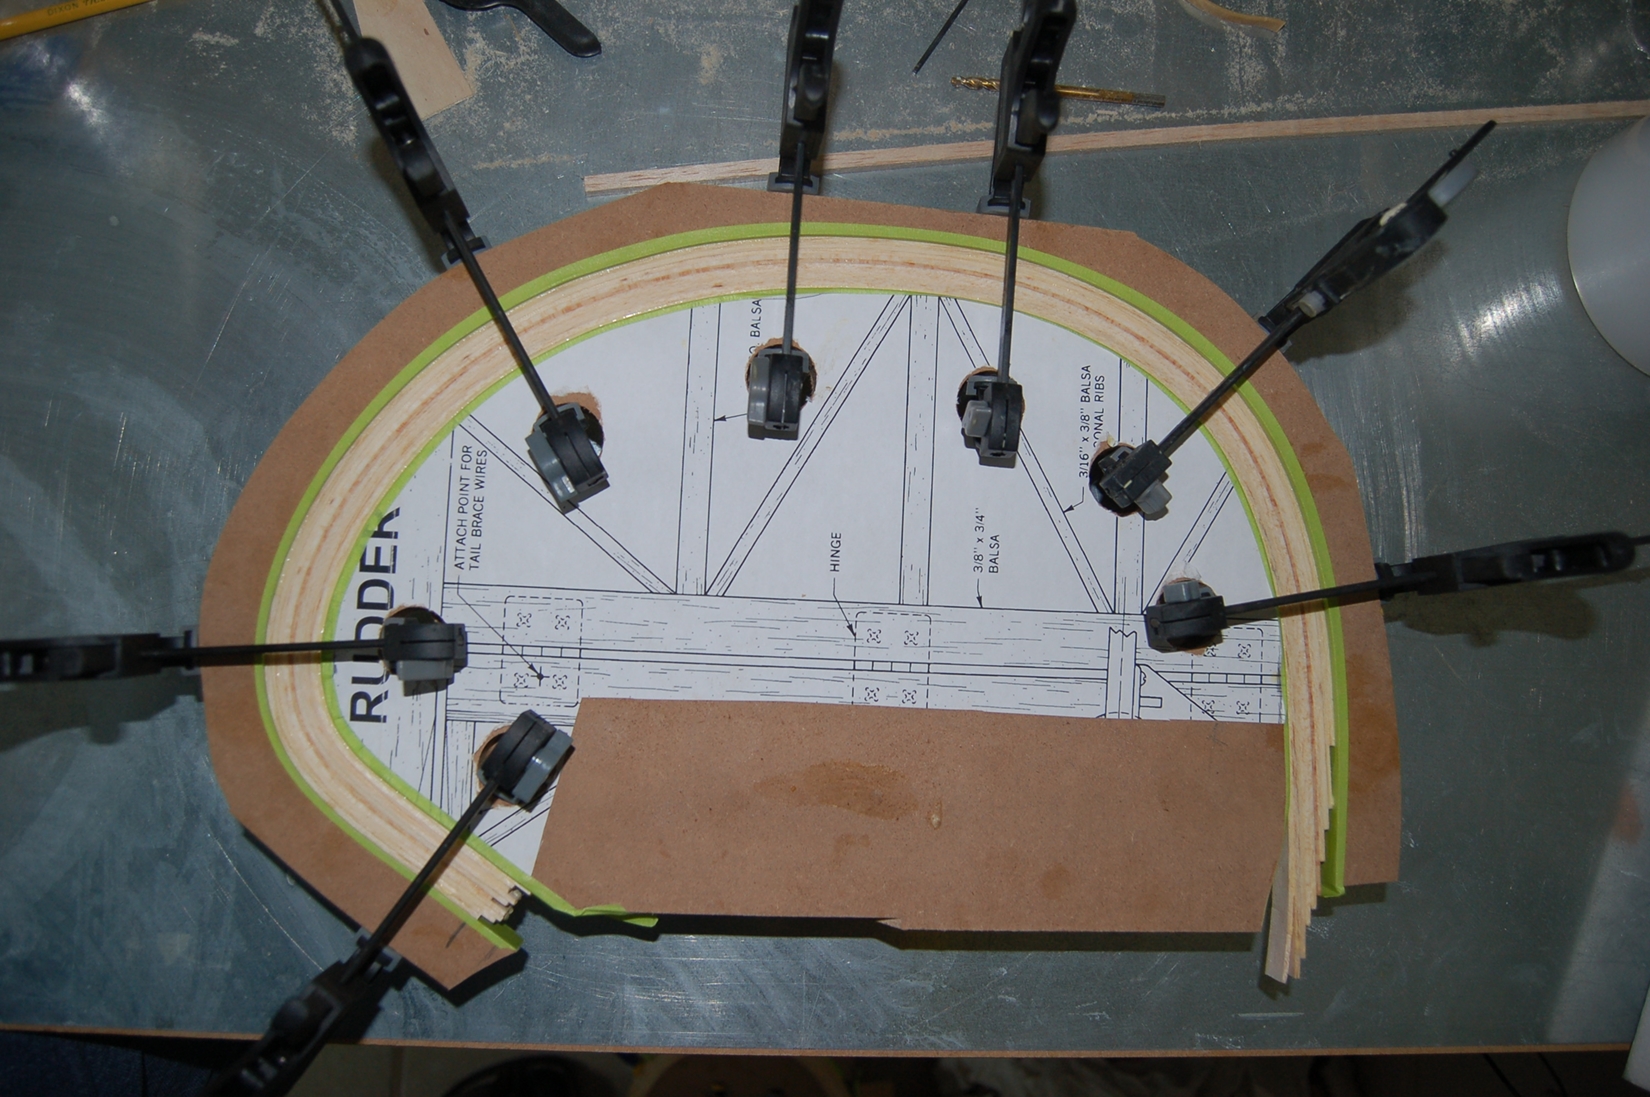
The elevators and rudder will finish out at 3/8 thick. They are currently 1/2 inch thick. When they are dry I will set them on the table and machine one side flat. Then true the other side parallel. Finishing out at 3/8 thick.
Kevin