Originally Posted by
rt3232
Well guys I have found by using the silk needle and putting 1 or 2 hole's in the bubbles they do shrink out, But it is a vary slow process, so it is driving me nuts

, but I am winning.
Thanks for your response's
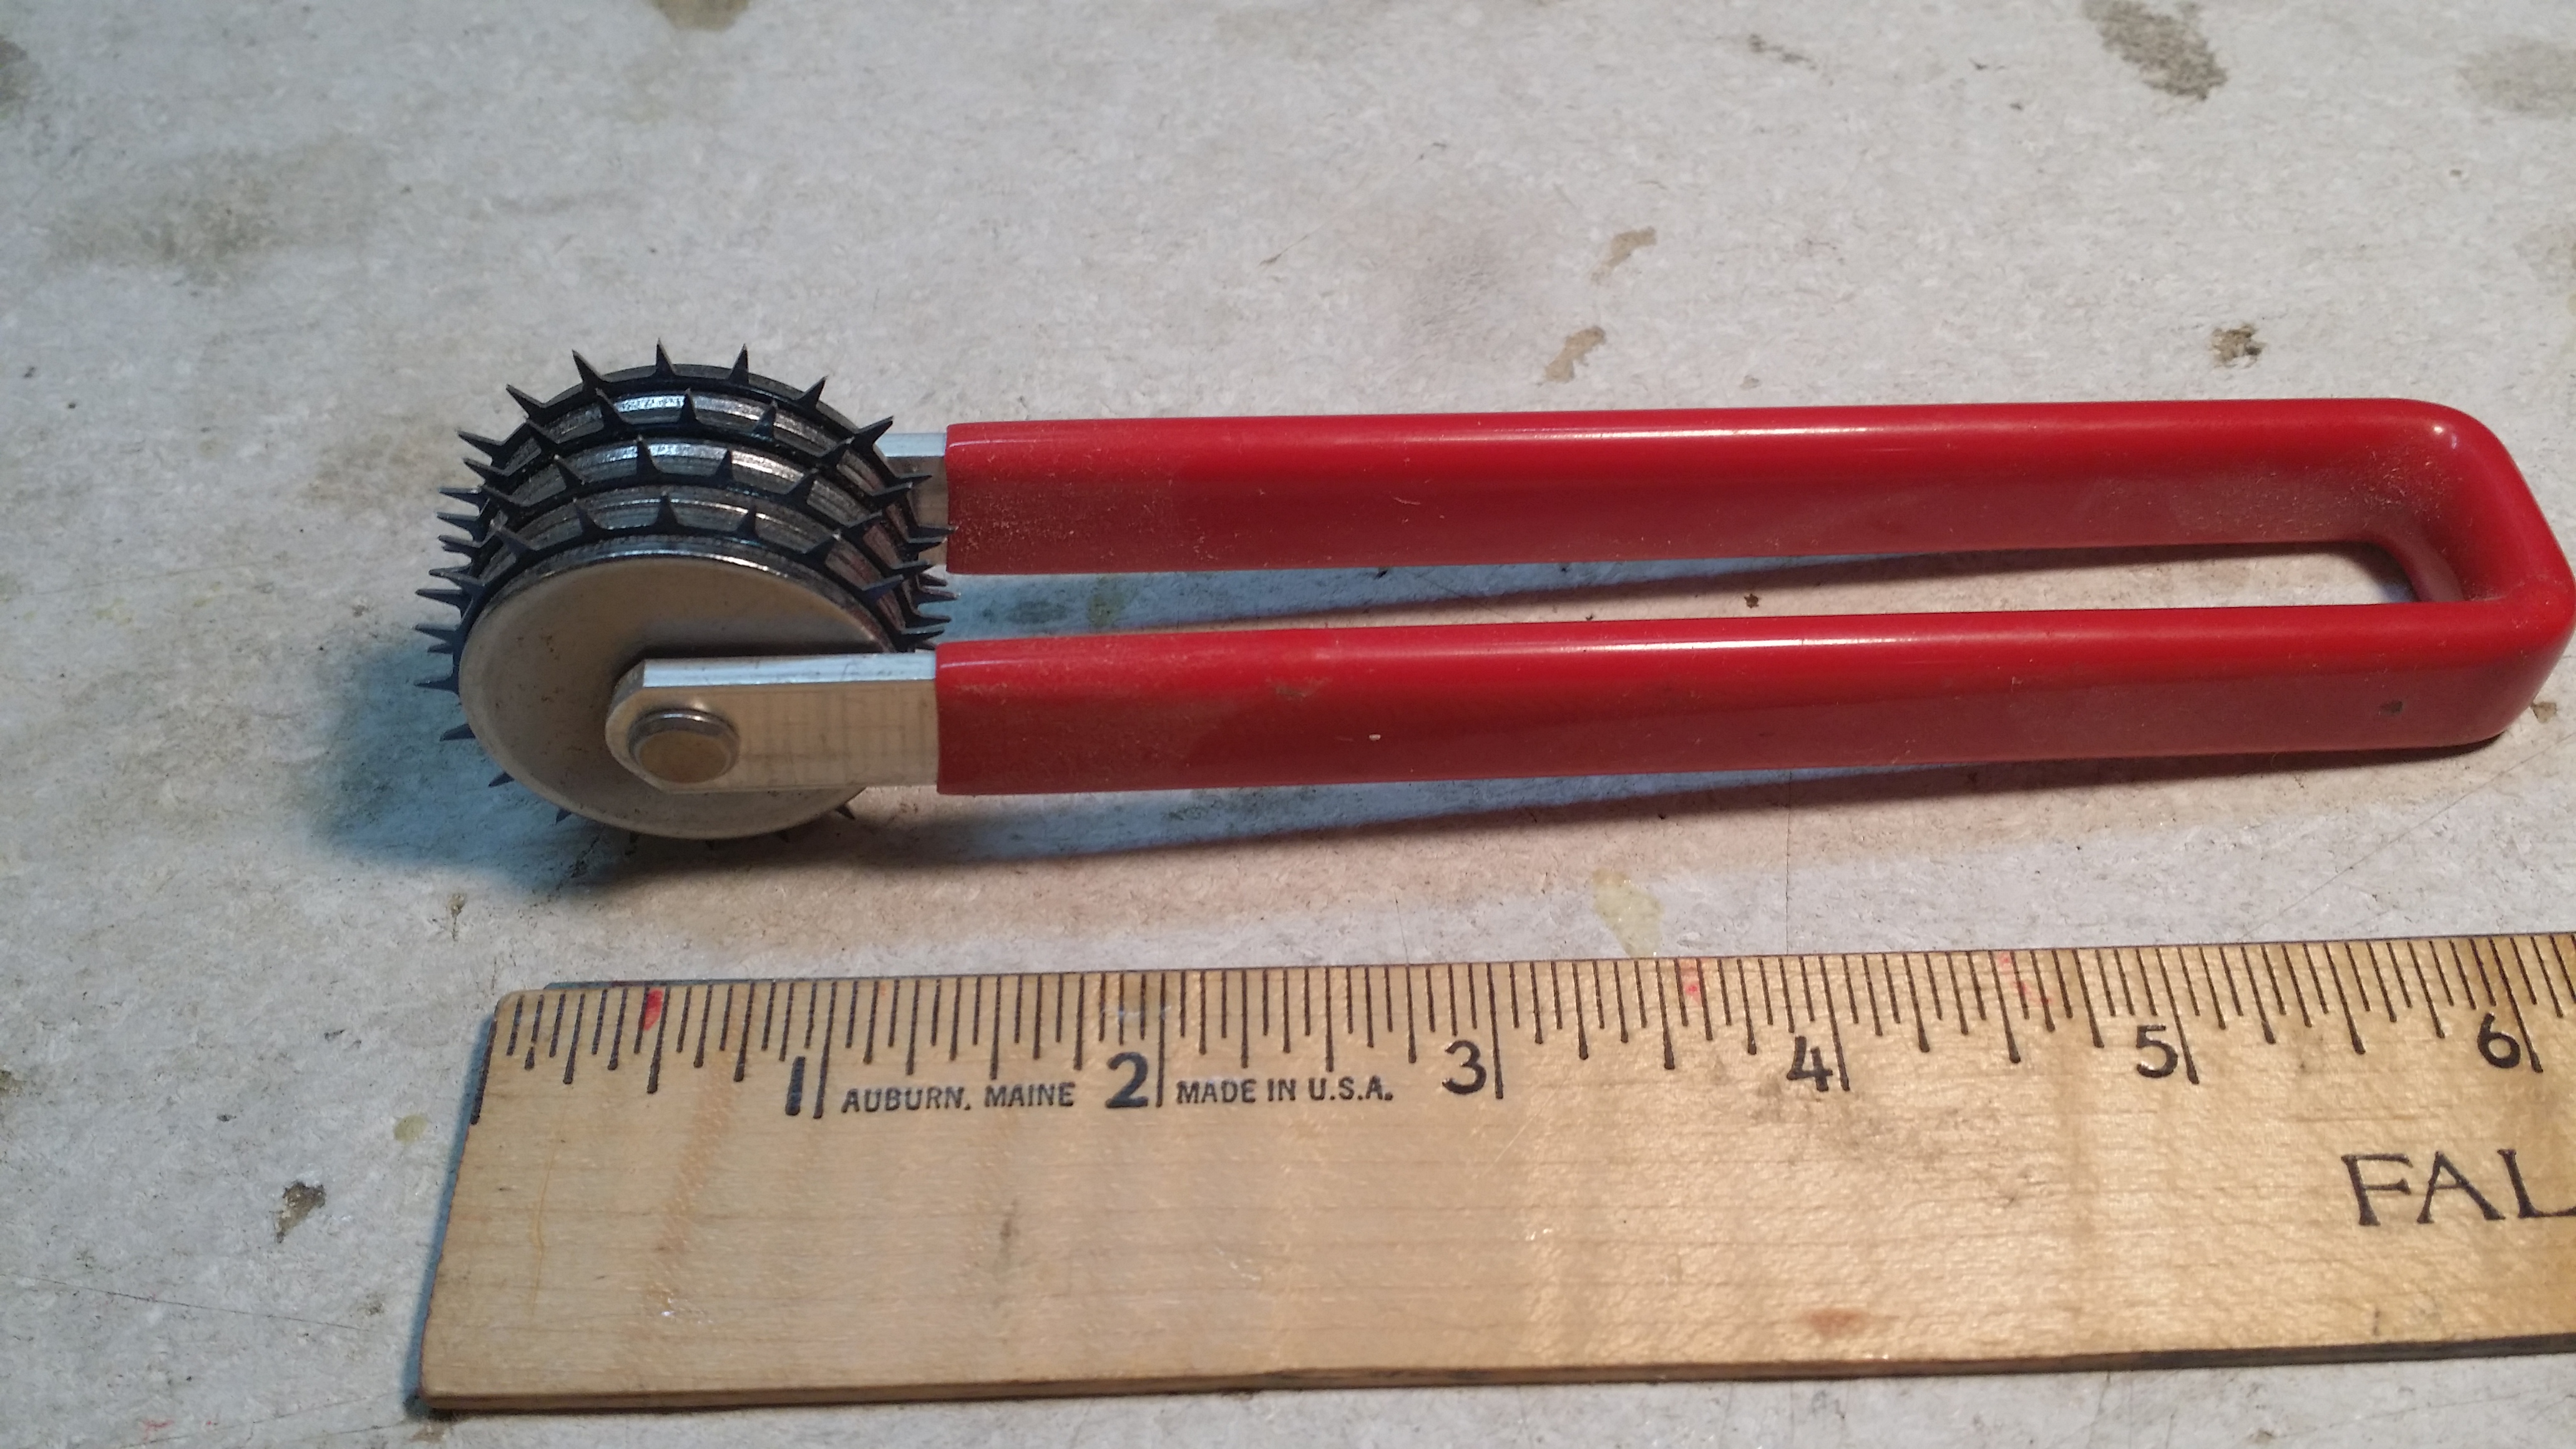
The tool above was called the woodpecker and its intent was to use before covering on all the sheeted surfaces where Monoocat was to be applied. The reason for the long spikes is that they needed to pass clear through the sheeting to provide ventilation while covering and it works like a charm taking only seconds to do when done right.
Hold on now, Yes I have used it often and oftenI I simply forget so lets move on to where the airplane or a panel is already covered and yes absolutely use the dressmakers pins (a technique I used and have written about often) for example lets suppose you have a single ridge like wrinkle that is perhaps three inchs long and maybe one or two more parallel and nearby.
What I find works fine is to first try with the iron or heat gun to walk the wrinkle sideways over to the adjacent ones so that now you have on big one. OK now stop and keep in mind this is not for open bays but only monocoat over sheeted areas. You now have one long ridge. Take a look at that picture above note that those spikes are about 1/8 in any direction. While you are having only marginal luck with this technique is because you are providing far too few holes one or two is not going to cut it. pepper that ridge line for it full length with the pin holes and now use your iron agine and I think you will be surprise how well this works a far faster than what you are experiencing.
John
