*** THIS IS SOMETHING I DO NOT RECOMMEND DOING AS IT WILL VOID ANY WARRANTY!!!!!
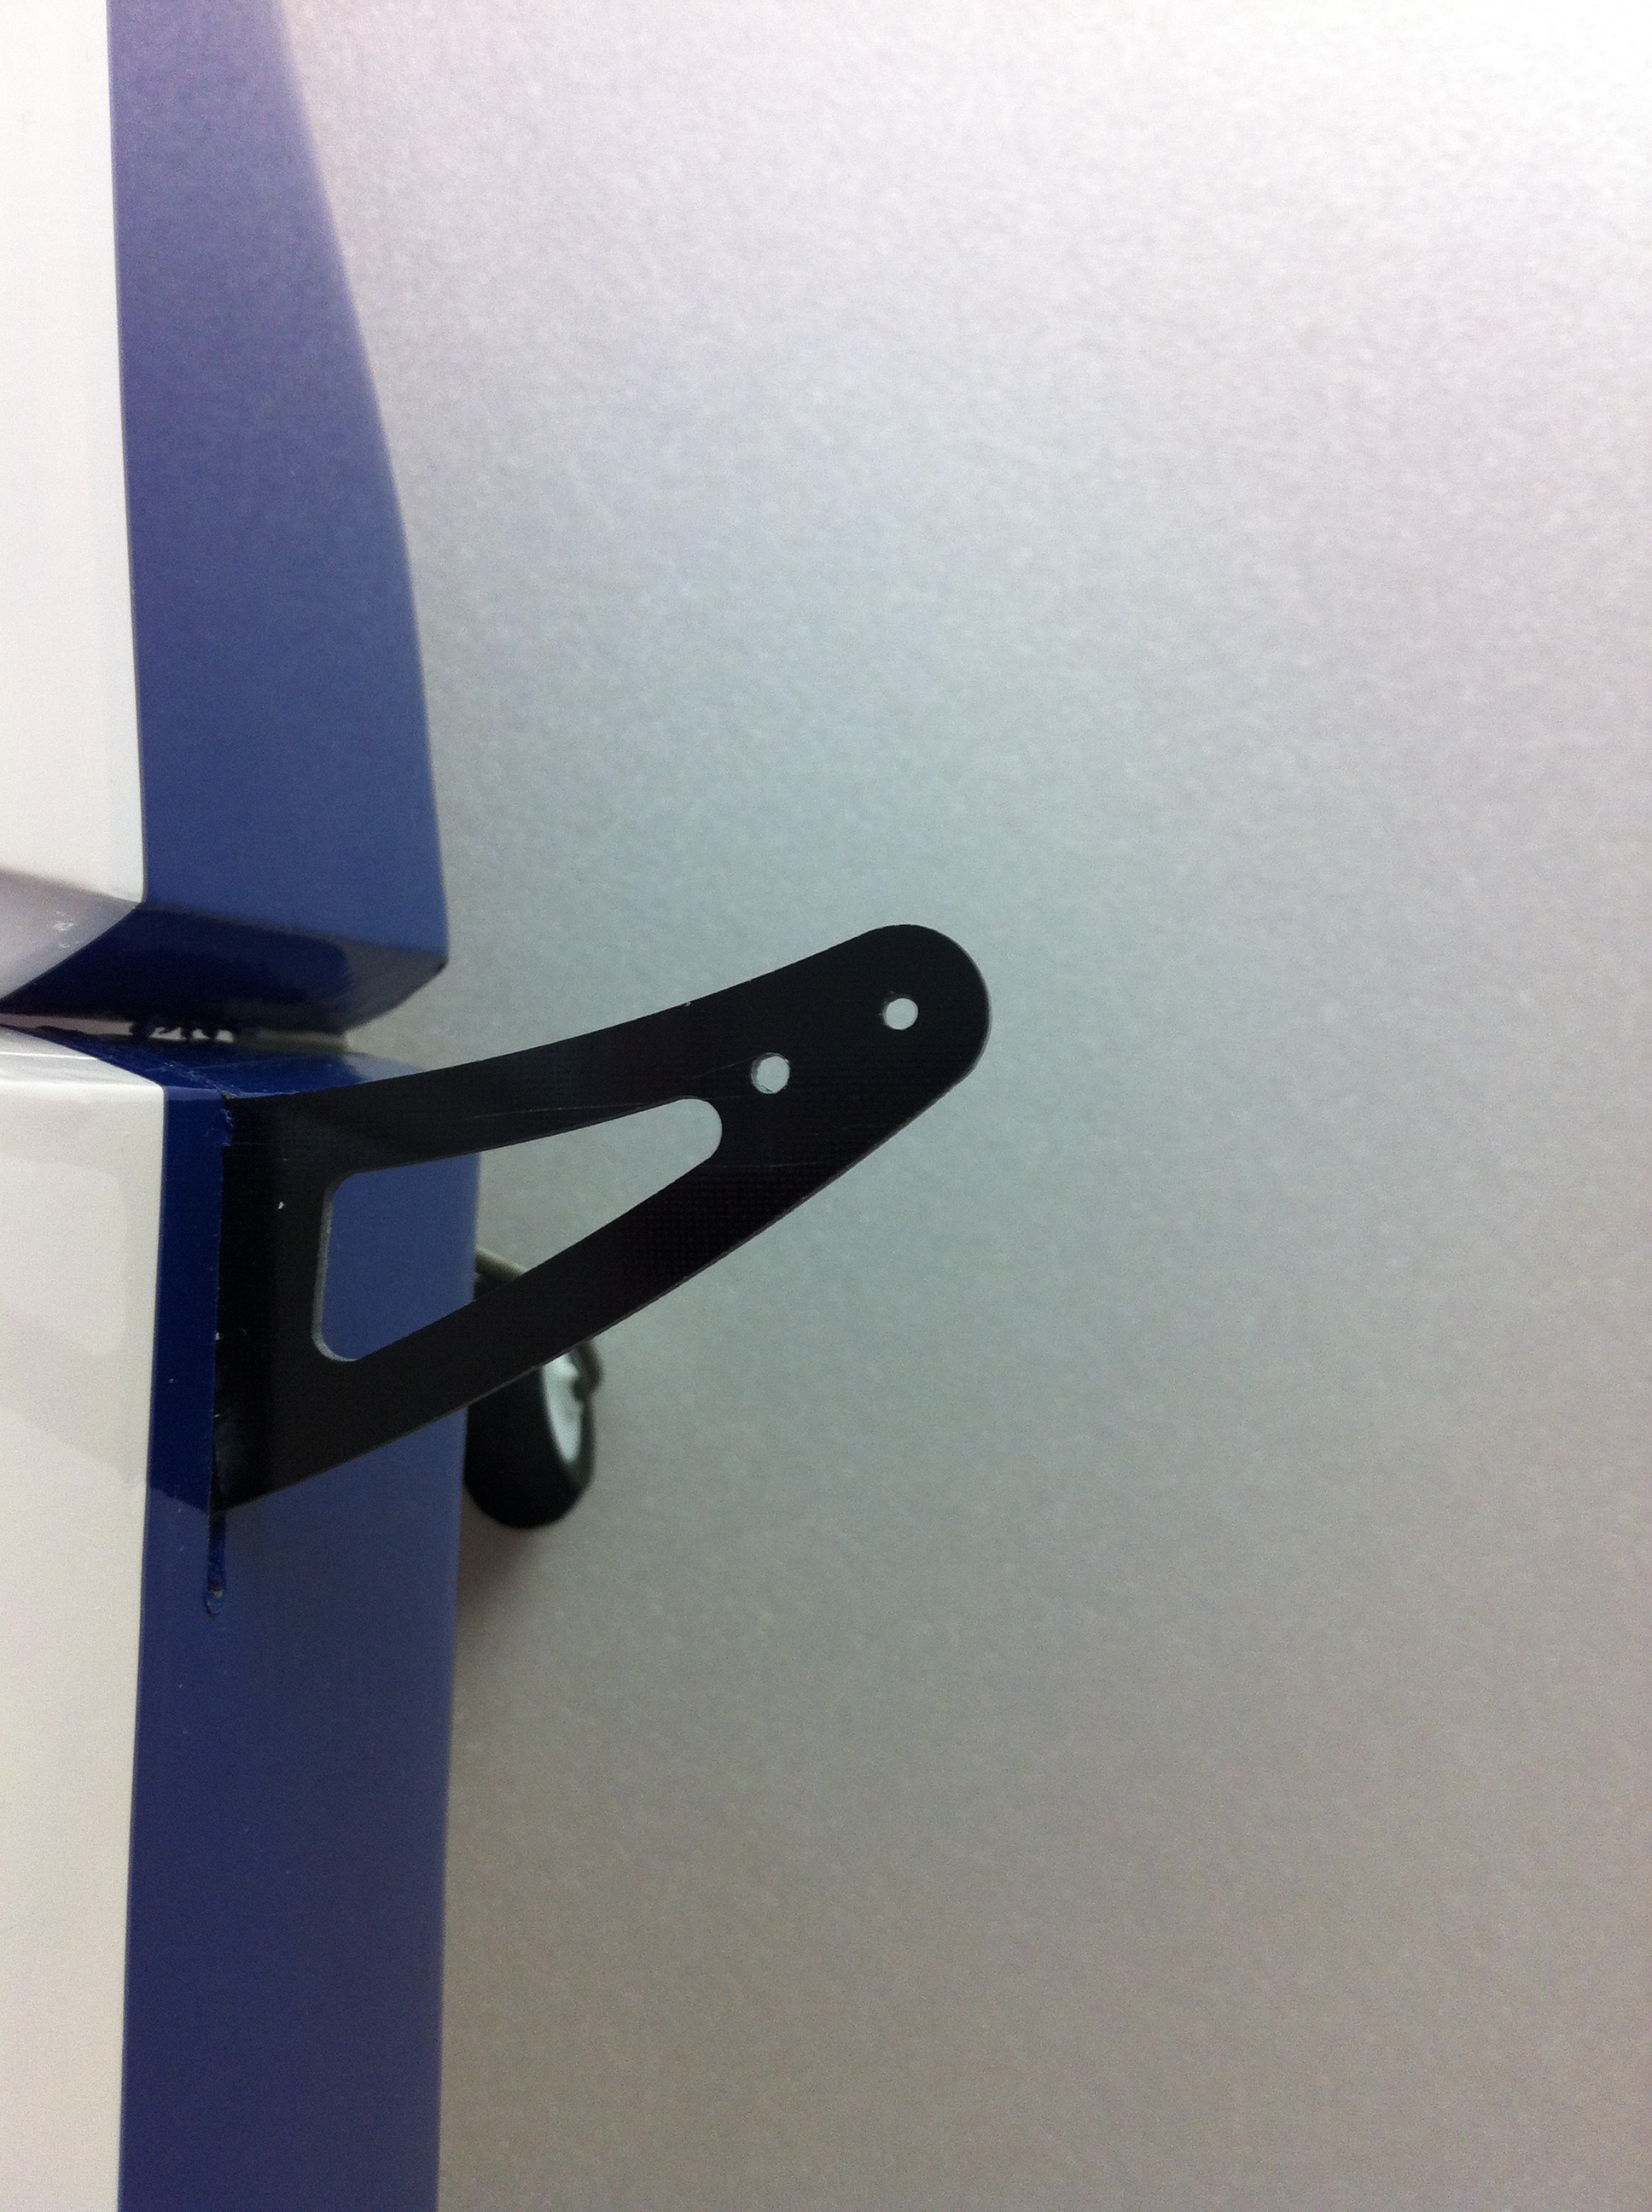
The first thing that jumped out at me when I looked at the fuselage was the broken top cap to the rudder. The second was OMG that rudder horn is huge. Since it was already glued in, I didn't feel like removing it. So thankfully they left enough of the horn not lightened that I could move the hole in a bit. Only bad part is that this would now put my pivot point behind the hingeline. For me, it's not a big deal. As long as my cables are tight at neutral, I'm happy.

First I centered my servo arm. I am not using the recommended metal arm as it weighs 9g. The Du-Bro HD nylon arm I normally use is only 2g.

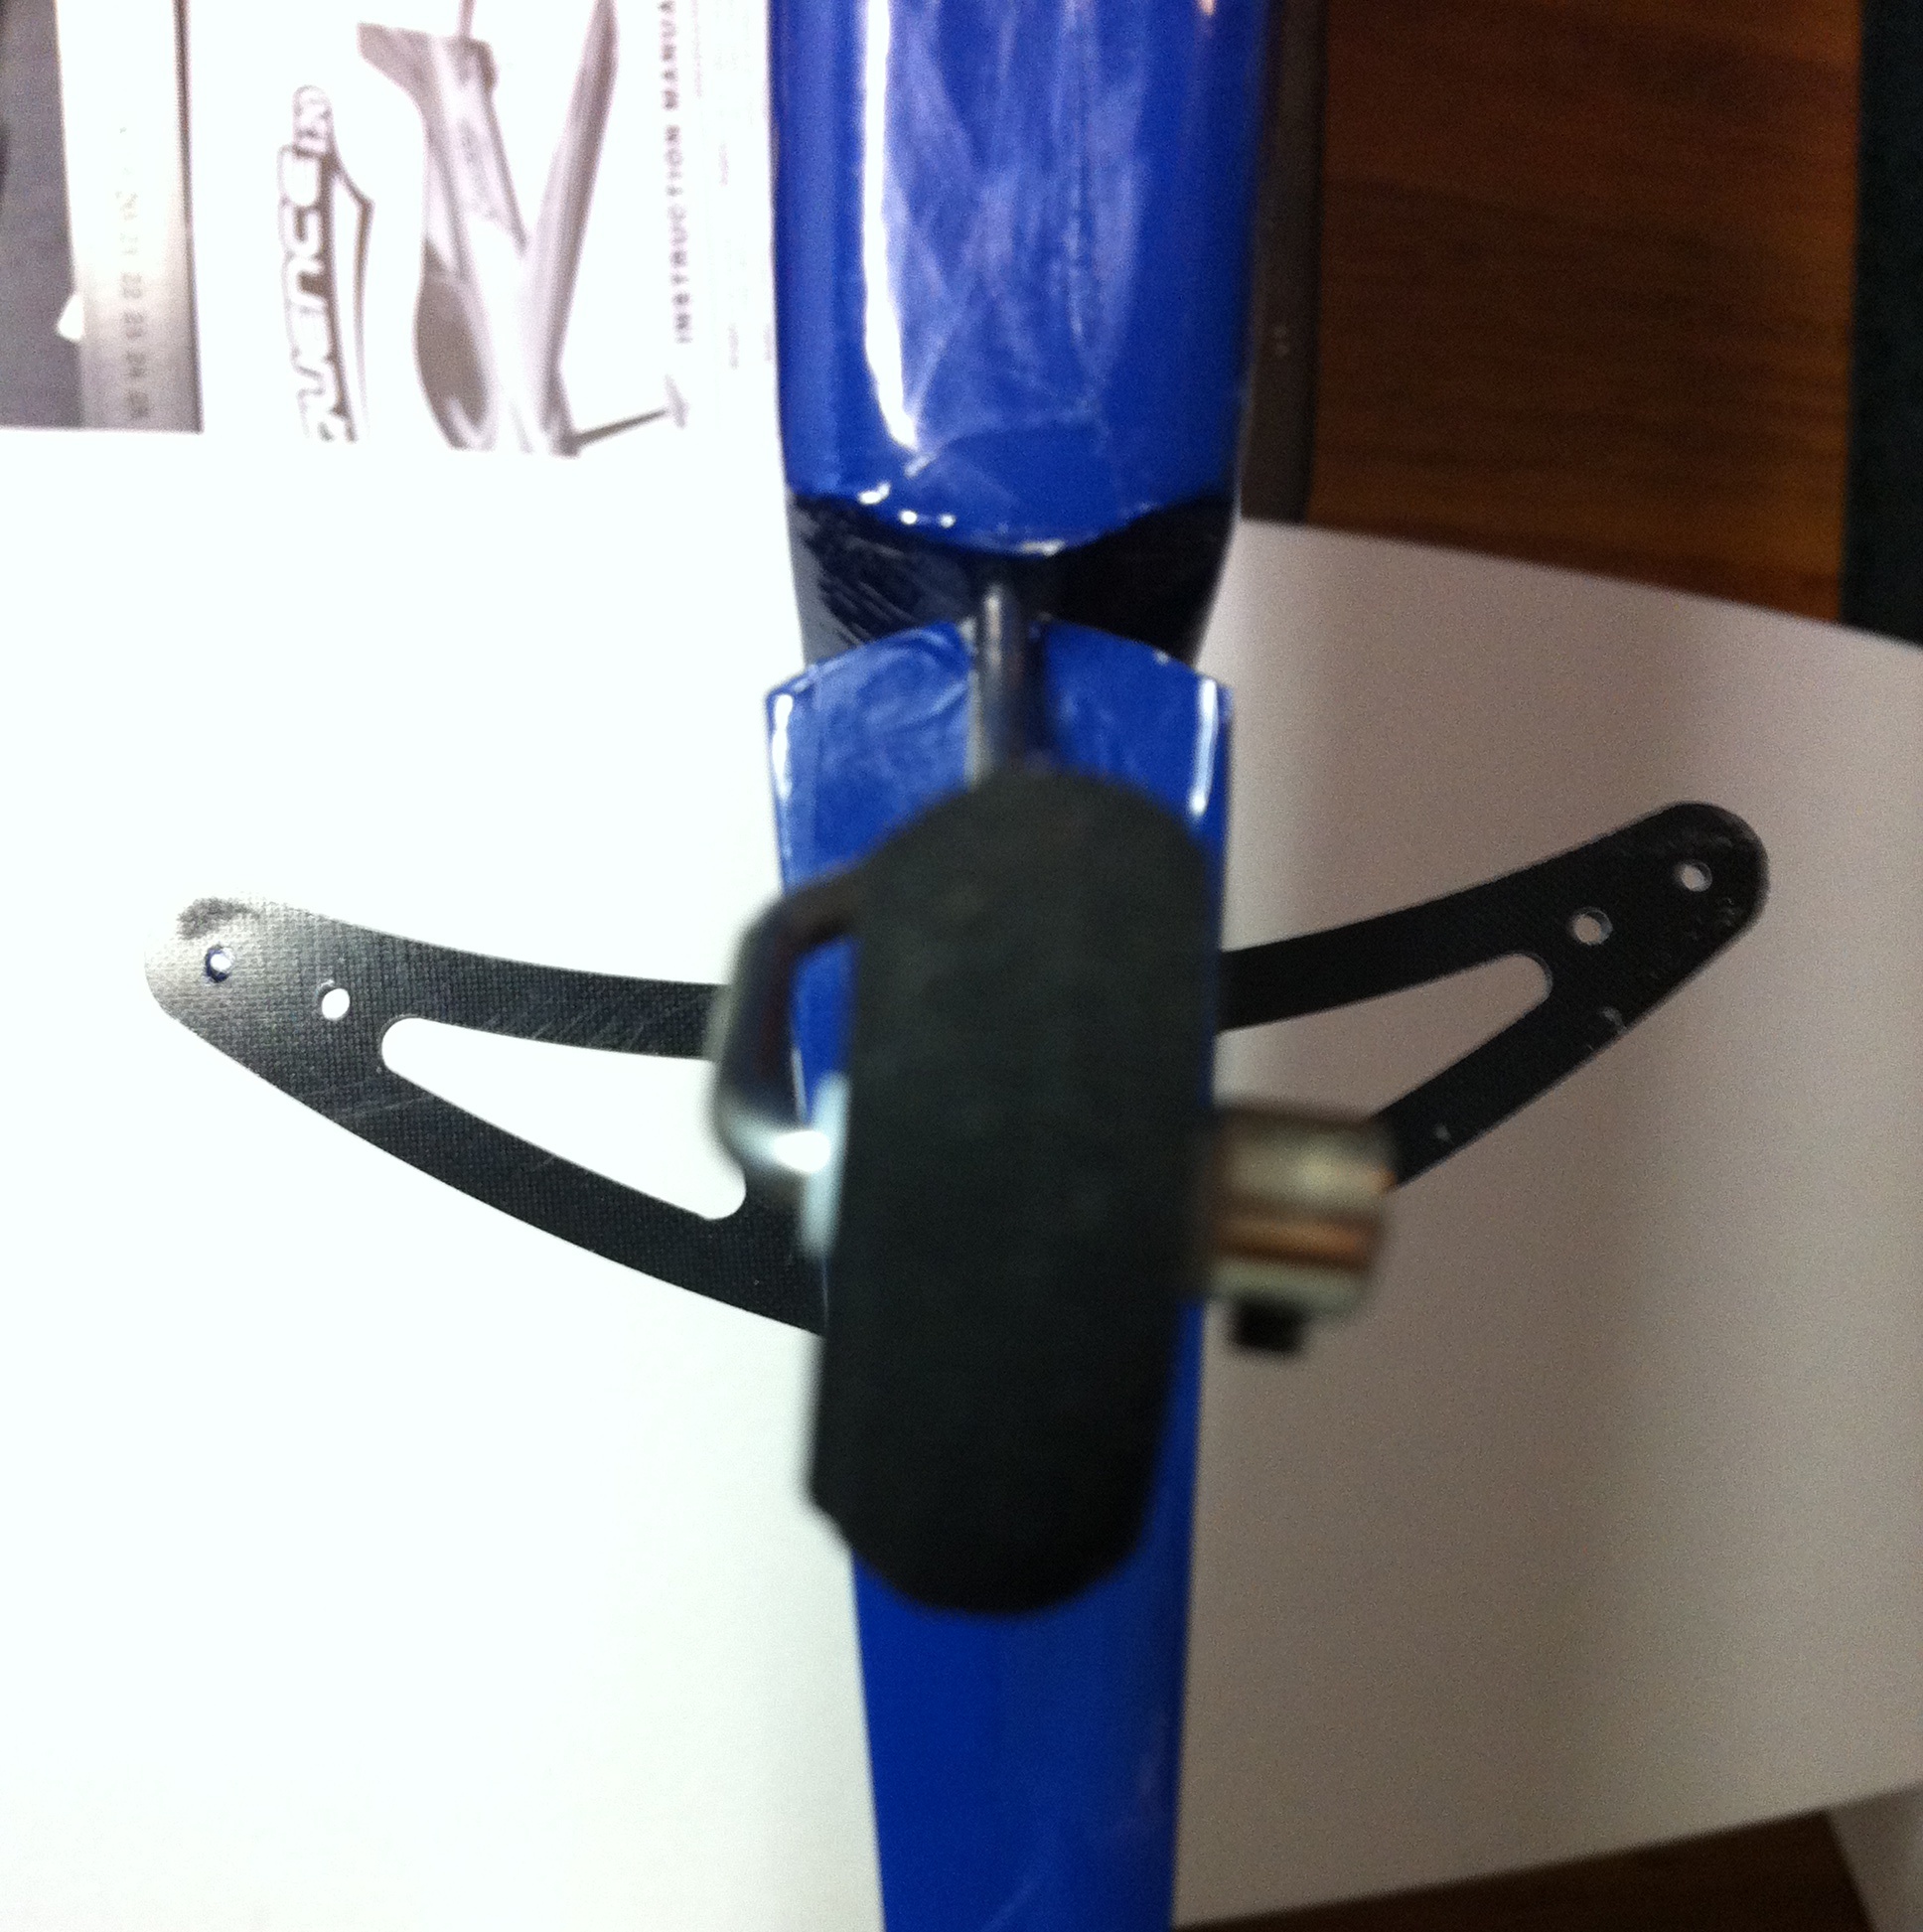
I marked the current hole and figured out the proper spacing to allow enough material around the new hole.

Once marked, I drilled the new hole using a .82 drill bit.
Then I flipped the tape to the other horn, lining up the stock hole and the LE of the horn to the tap template.

Drilled the second hole and now I have the inner holes. I am not going to remove the extra horn material until after I fly it and see how it works. If it doesn't work, I will use the stock set-up, including the servo arm. (I'll straighten the tailwheel wire out later)
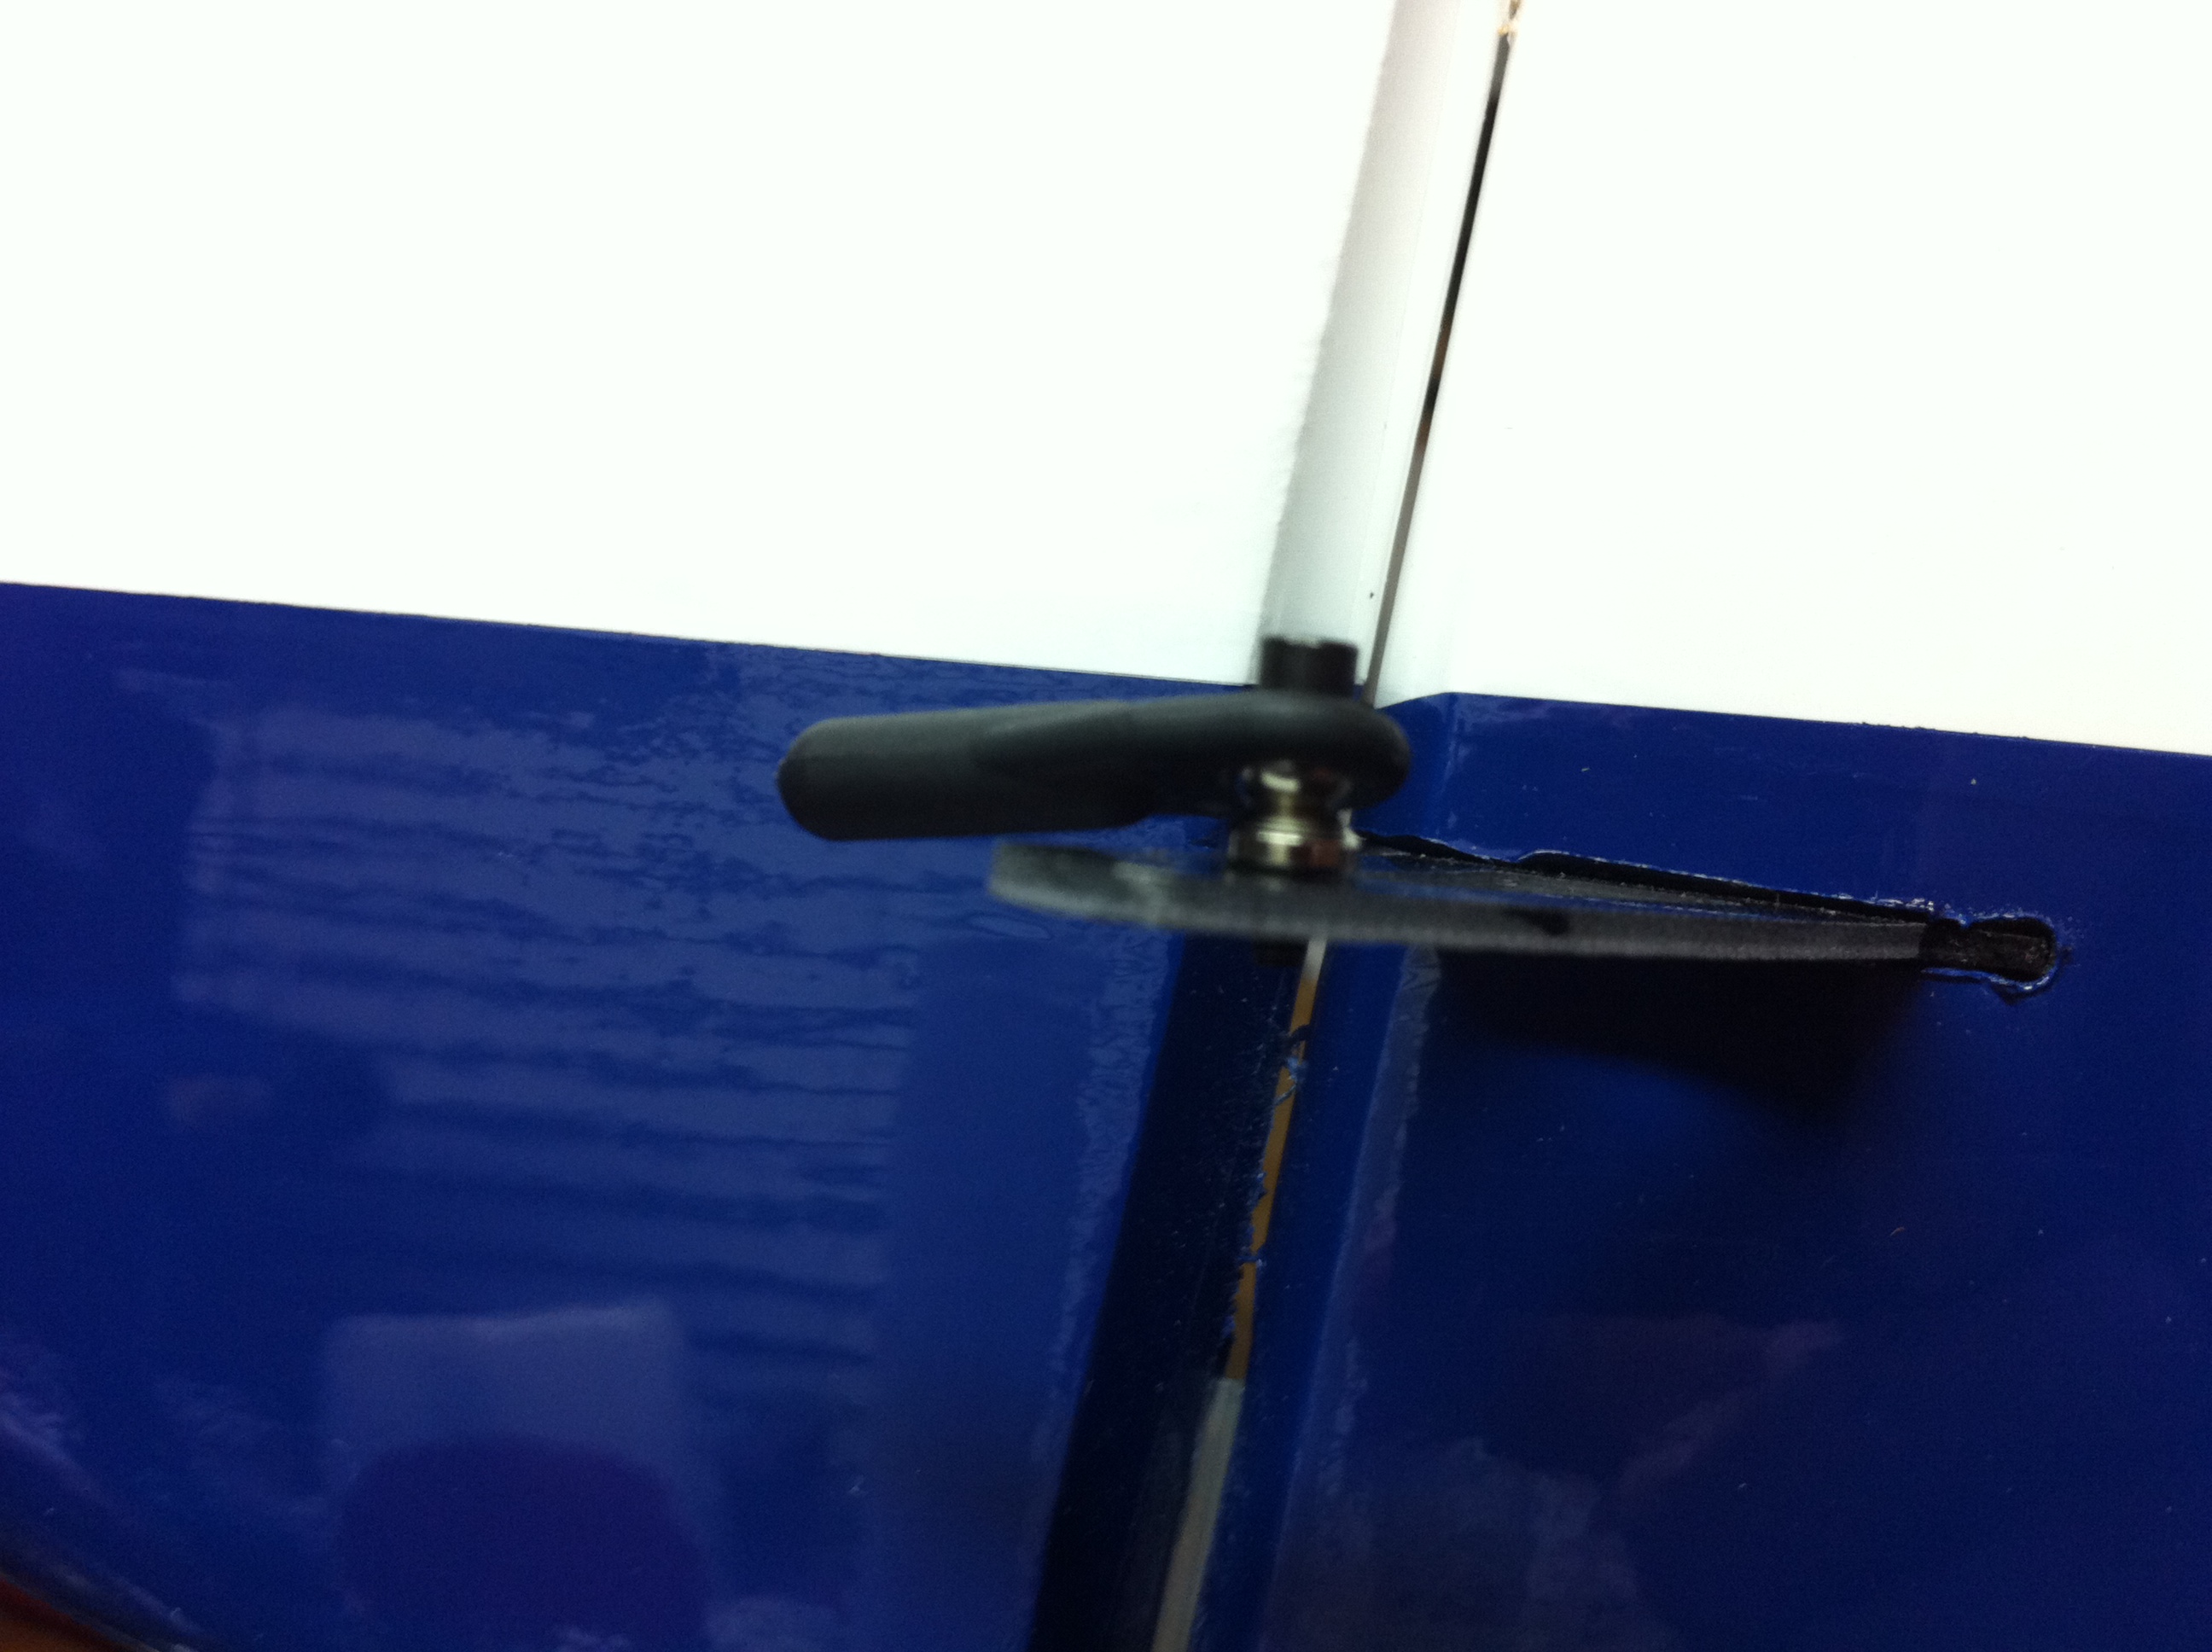
These swivel links will require the standoff's in order to clear the horn.
Using the same .82 drill bit, I drilled out the aileron and elevator horns. (actually did this the step before this)
