Motor install using the front mount method. This requires the
wood motor mount box, which has to be purchased separately. I can see both sides to having to buy this and it being included in the kit. But working at Shulman Aviation, I see first hand that not everyone uses the 'factory set-up' so not including it makes sense to me.
First thing I did was remove the safety collar. A 2mm machine wrench is perfect for this so you don't round out the set screw head. I also found my collar to be stuck and needed a pair of pliers to rotate it free (some thread lock was between the shaft and collar).

Here are the parts, minus the screws, that I would have had to use for a rear mounting set-up.

Here's the part used for this front mounting method. Almost an ounce lighter. I weighed the wood kit and I think it was 126g, but I don't have a metal mount to compare to, but I'm guessing the wood box is lighter. I haven't weighed the re-cut box with carbon parts, but it is lighter.

I used a center punch to mark my centers to drill the 4 mounting holes.
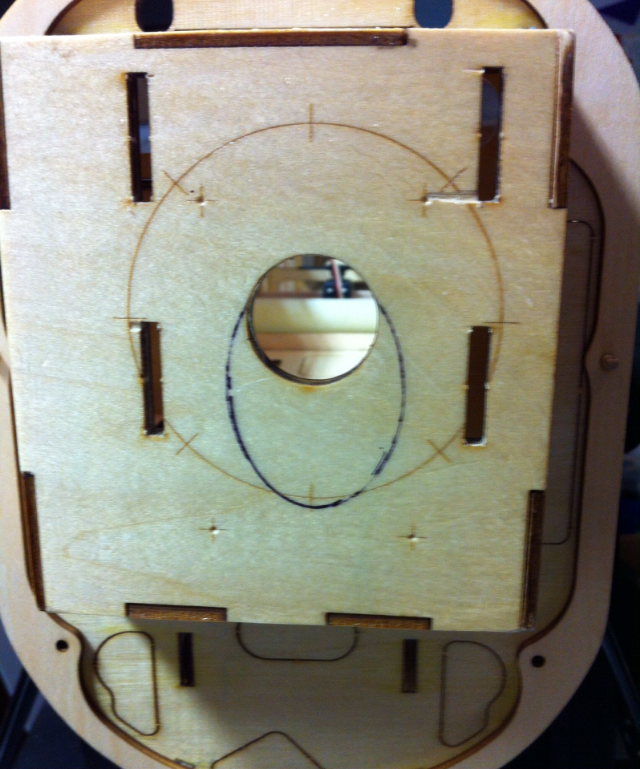
Since I'm looking to save weight everywhere, and work when I can, I noticed that the stock 8/32 blind-nuts were pretty big. I think I would have had to trim some of the flanges so they wouldn't interfere with the mount sliding in the firewall, so I opted for the smaller, lighter Du-Bro 8/32 blind-nuts. This saved 4g if I remember correctly.

Using a .221 drill bit, I drilled the 4 holes. If you're using the stock blind-nuts, use a .202 drill bit.

Then with the supplied 8/32 screws and flat washers, I pulled the blind-nuts into the firewall.

Double checked it with the plywood rear mounts to make sure everything lined up well, and it did.
