OK I'm coming to the end.
As I said earlier, I try not to work off a firm pattern. As things start to come together, the plane will tell me what it needs. My actual tape layout was actually quite a bit different from my original drawing. With paper templates I wouldn't have been able to be as flexible.
After I had all the graphics on that I planed to do, the front of the fuselage just didn't look complete. It needed something to balance the center and tail graphics. I have several flame graphics and found one that fit perfect. I didn't want it to be overpowering so I painted them as very subtle ghost flames.
This is why I always try to do a paper layout before I cut the masking film. I printed it out and it was a bit small, so I just increased the size of the mask and it fit perfect.
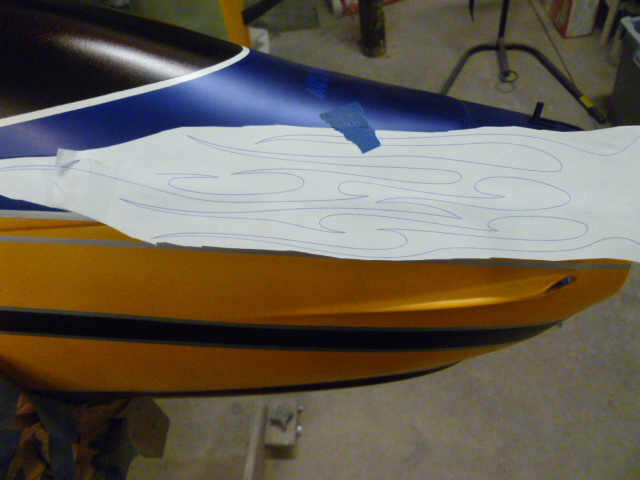
One thing about flames is to take into account how real flames would travel across the front of the plane. The way I envision real flames is they would be rising at the front and then slanting back down. That's how I laid out the masking film. I just dusted silver pearl over the flames that were over the blue.
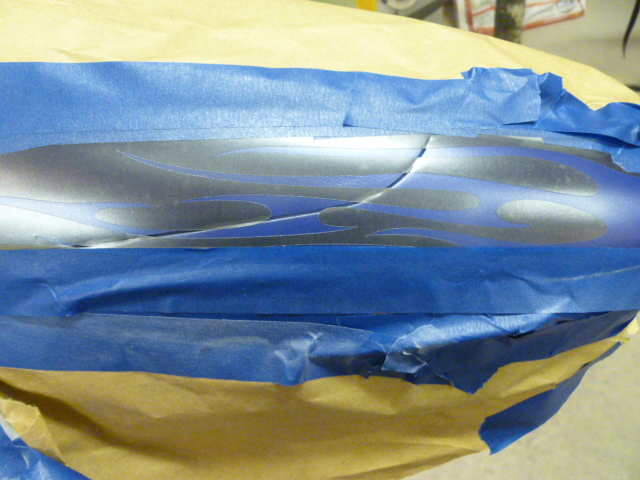
After the sliver pearl was shot I unmasked the areas that the flames laid over the orange and masked back over the blue.
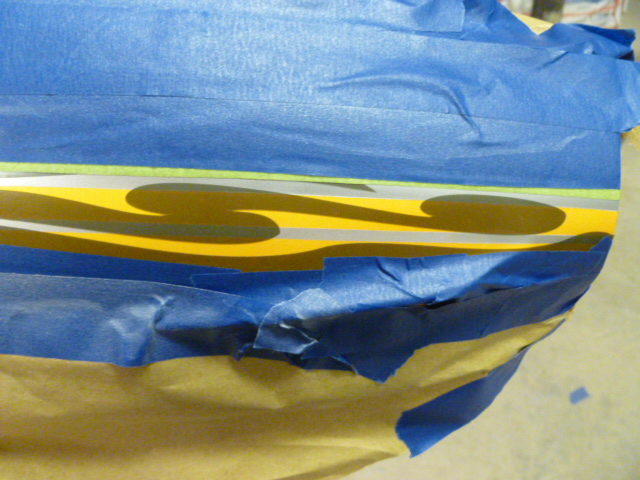
Over the orange I dusted pearl red.
The key to ghost flames is to shoot about half the paint you think it needs, It really multiplies after it's unmasked.
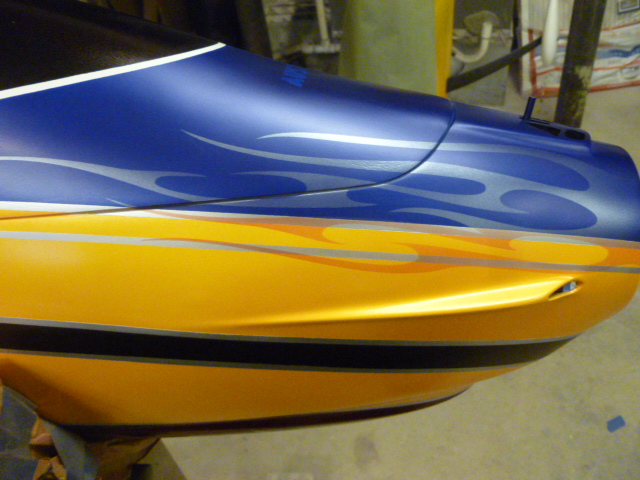
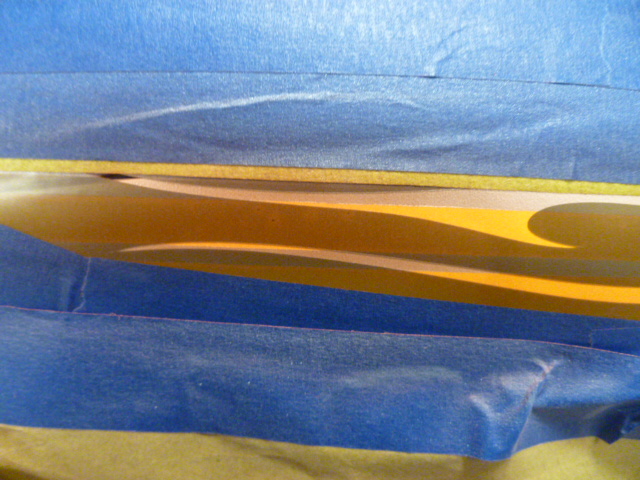
After the clear is on, the flames will be very transparent and glow in the sun. In some light conditions, they will be very hard to see, thus the name "ghost flames".