Lighting:
Test all the LEDs by plugging them into the light controller. Put a 7.4 volt LiPo on the power supply connector. Test the controller as well to make sure all the lights work and all the functions of the controller work.
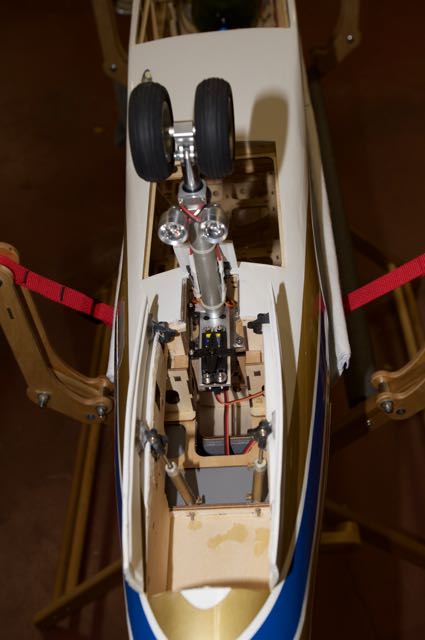
Nose gear lights. For the nose gear lights you need SHORT screws. Test that they only go into the nose headlights a small distance where you see threads. Bring the leads down the side and use tie straps but make sure they do not hit the rear hatch when the gear goes up and down.
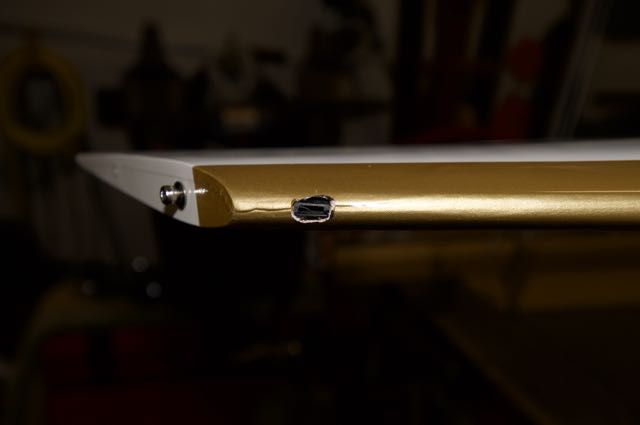
Wing lights. The servo leads wires are already right at the location of the lights. Very carefully cut out the Oratex to expose the connector. Pull it out then shape the hole to fit the lights, red on left wing, green on right wing. Test the lights after connecting and be sure to tie the connectors together with a good string. Use only the Pilot light controller to test any light. Install the upper rudder tail light where the lead is sticking out. This is the single, smallest diameter light.
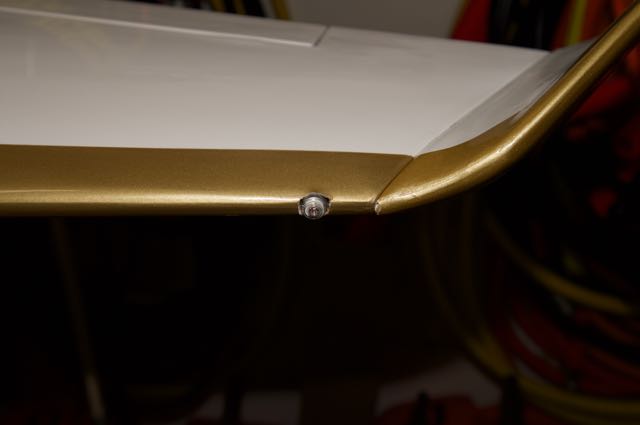
The largest diameter white lights are for the bottom of the fuselage. You can see the indented Oratex for the cut out locations. Install into the tubes already in place. Use the wooden washers to center the lights into the tubes. All of the lights are now installed.