There were several different sizes available - this one is .45 size. It's not considered serious pattern potential - at least for upper level classes, but its all I've got and thought I'd share here. The kit was given to me by a fellow student while attending university around 1988 - '90. Yoshioka kits were so efficiently packed that if you pulled a few too many pieces out, it was next to impossible to put them all back in the box and get the top to go back on again. I built it in the mid-'90's and flew it in some local club contests; at one point while practicing for a contest, I miss-judged clearing a tree and broke the fuse in half close to the wing TE on final approach after a flame-out. The airplane was repaired and flown for years afterwards until about ten years ago. It was put up on the wall with a cracked tail gear wire, a broken cowl with fuel blistered paint, plans to replace the wire landing gear with one formed from aluminum, and an engine swap to one with more linear throttle response (YS to OS Max).
As I recall, the Flash has it's share of problems (humbly admitting it may be no fault of the design but rather the operator) that I didn't find in another airplane I was flying previously - it was a tri-cycle design, .40 size Royal Telstar ARF (rebadged? EZ Cavalier .40) The Flash is probably one of the most difficult airplanes to take off I've ever experienced in 40 years of flying models. The main gear is typical torque mount overlapping, music-wire mounted to the fuselage just in front of the wing. On grass, during take-off roll, it starts veering if not arrested early and begins the ugly S-turns during the stick dance and transition to rudder authority. I've only flown it off asphalt a few times and believe it was much easier. In an effort to rectify the problem, the gear is raked back 2 inches - I will add significant toe-in. The airplane has a single aileron servo using torque-wire linkage to drive the ailerons, so any differential trimming must be done mechanically. During one contest, I was told by an official judge that my "airplane doesn't present well". Consultation has revealed to me that color scheme balance has a lot to do with presentation - this airplane has drastically different topside and underside colors.
Following are pictures documenting the repairs and mods made to the airplane to get it flying again. I opted to stick with the designer's intentions and cancelled plans to switch to the aluminum gear leg and also kept the YS installation. The tailwheel was repaired without removing the rudder. The cowl was repaired with glass and partially repainted. The wire main gear got balsa and ply gear fairings to try to improve aesthetics. The wheel pants got some support rings installed to eliminate reliance on cantilever attachment and were repainted.
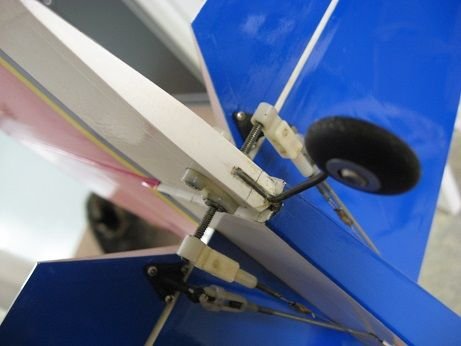 Improvised tail wheel repair -
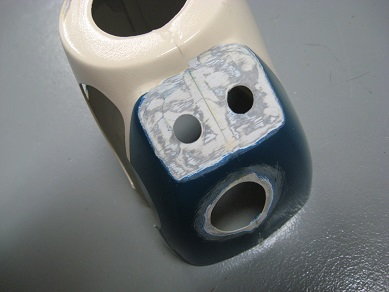
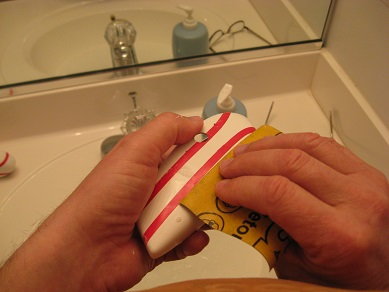
 Cowl repair -
 Blistered paint removal -
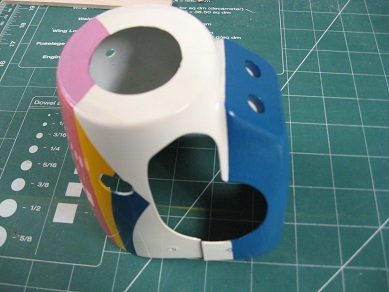 Repaired and partial repaint of cowl -
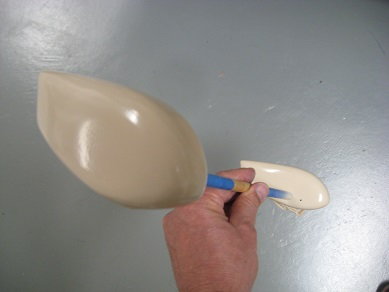
 Main gear fairing installation -
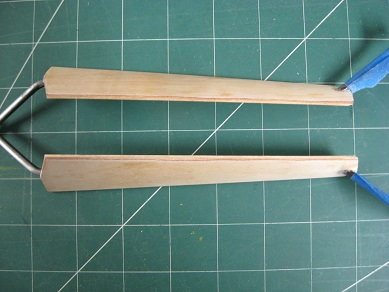 Gear prior to covering -
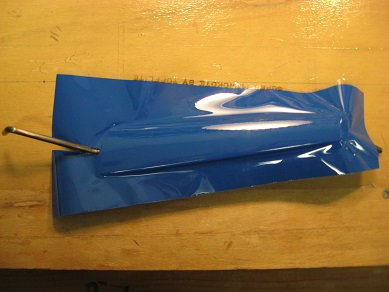 Covering gear -
 Lustercoat white came out off-white -
 Locating masking lines -
 Wet sanding prior to colors -
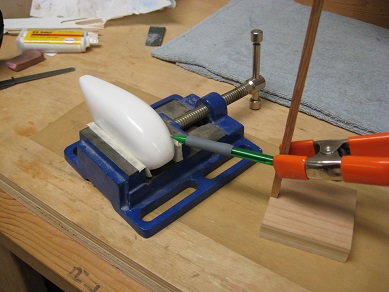
 Gear rake-back -
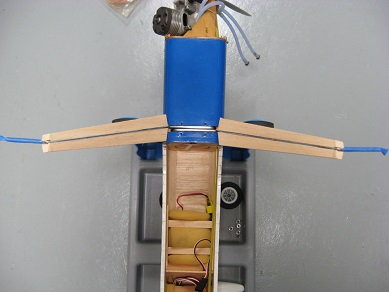
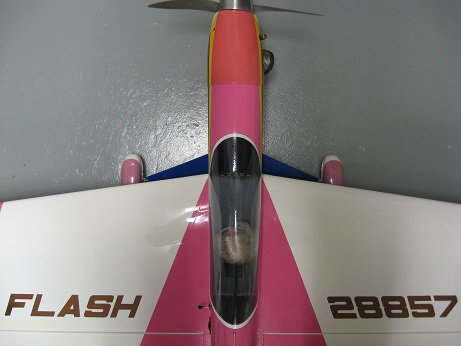
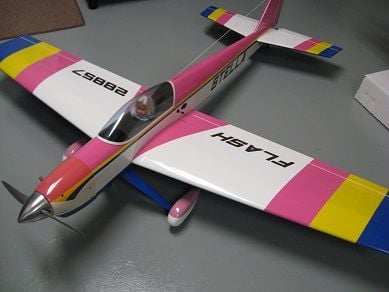 Completion -