Thanks for the compliments guys!
Back to the fuel tank layup
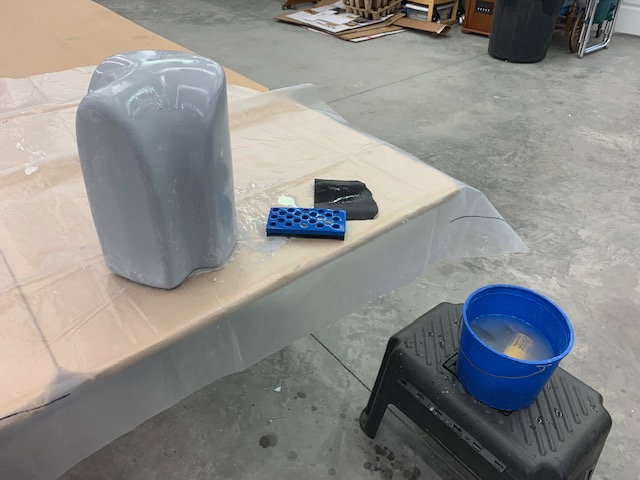
Final wet sanding of primer coats.
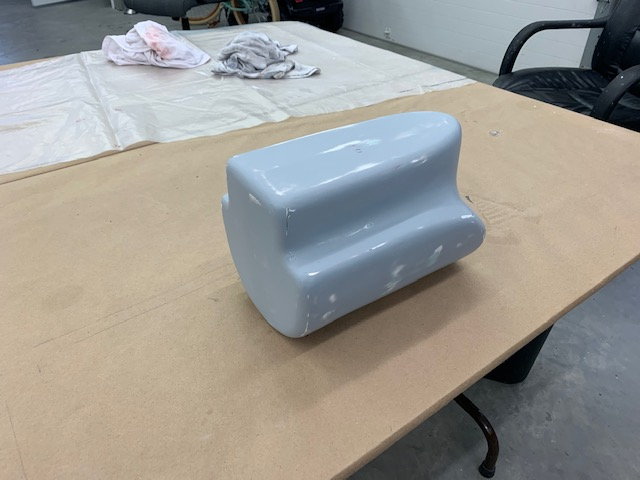
Plug wet sanded with 220, 400, 600, and polished with 1200 grit wet sandpaper. IT feels real smooth now.
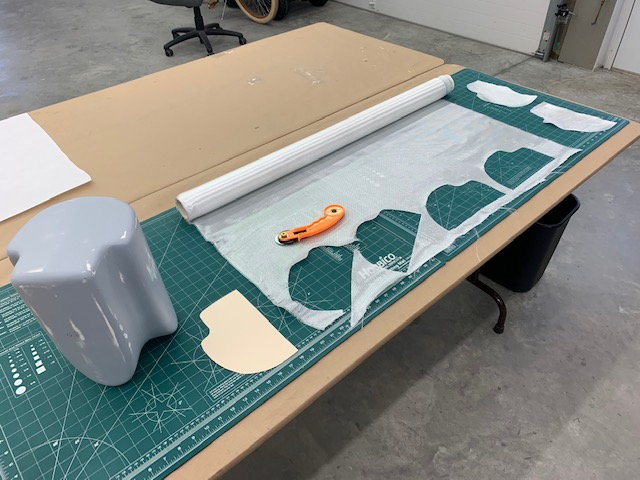
Template for end pieces made to allow easy cutting on a 45 degree bias. I read that some where and it sounded like a good idea. Layup plan is surface coat of epoxy, 3 oz, 6 oz, 3 oz, 6 oz, 3 oz, 3 oz for six layers
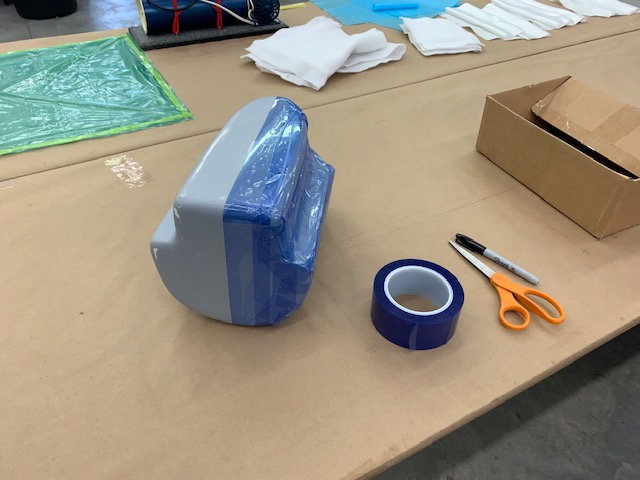
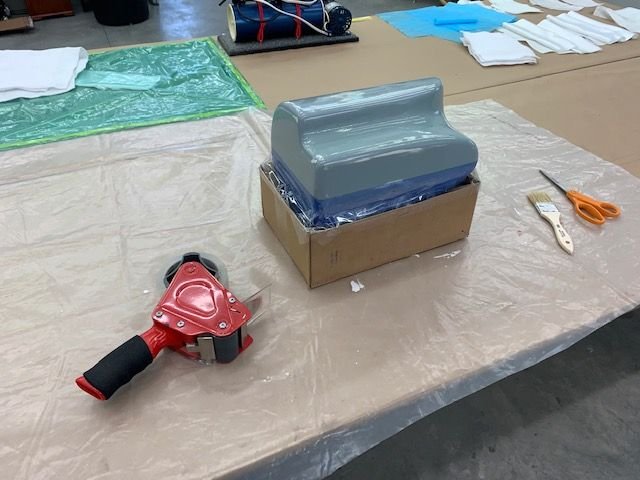
All glass, peel ply, perforated release film, and breather cloth cut and ready. Vacuum bag ready. Flash release tape used to tape off the plug on the center line.
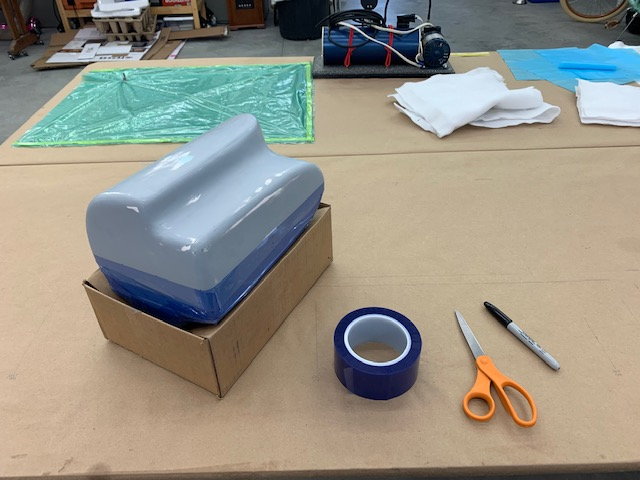
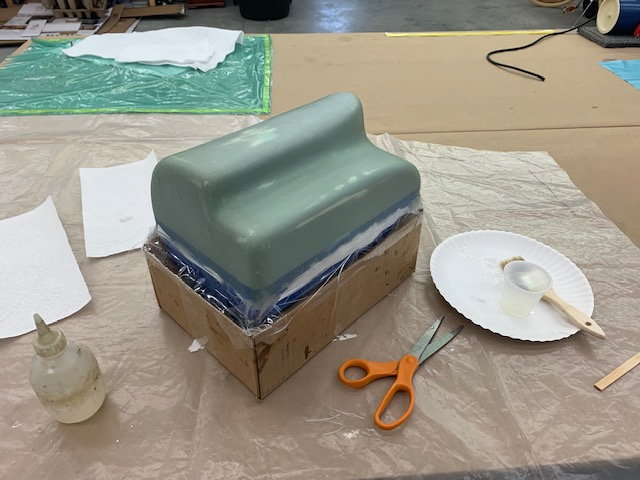
Cardboard box used to for a base for layup
4 coats of Partall paste wax make it feel pretty slick
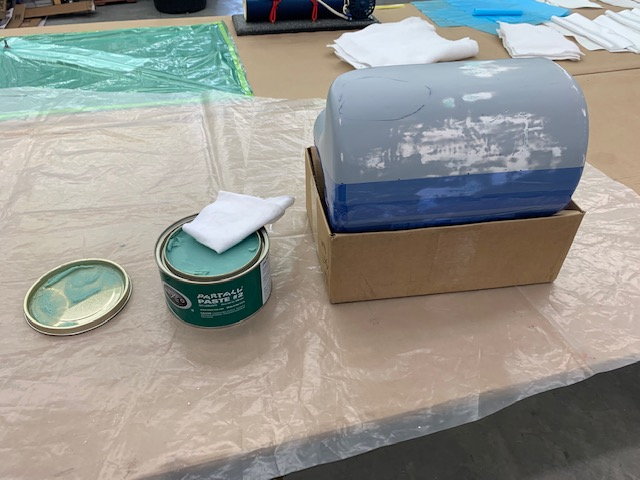
One coat of PVA brushed on. I just did not want to fool with the sprayer. It didn't feel slick any more. Hope this stuff works.
\\
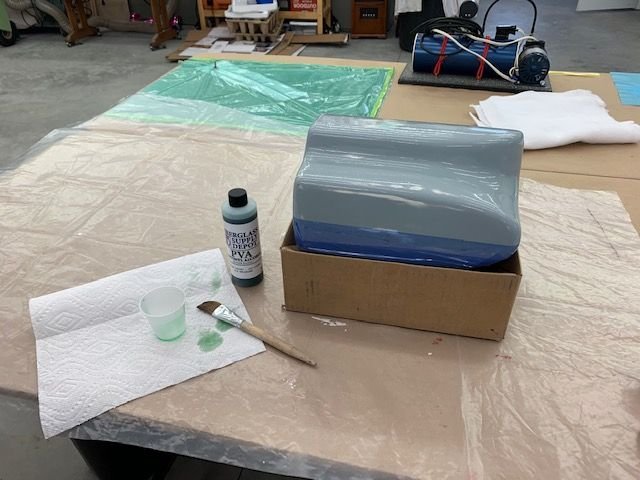
Plug taped to the box for stability
All 6 layers of glass on and wetted out
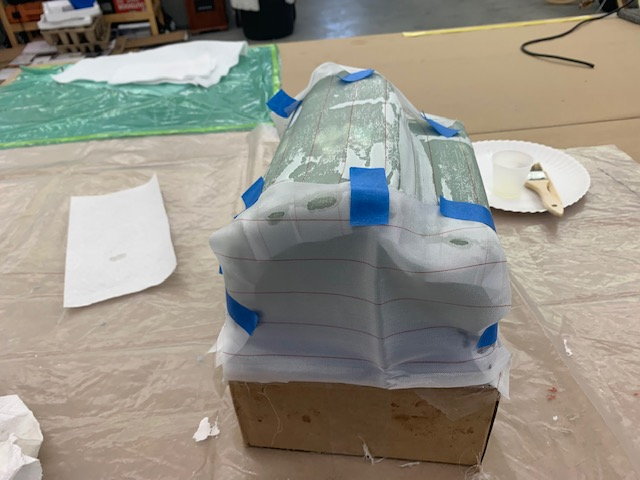
Peel ply added on top.
Perforated release film added on top of peel ply
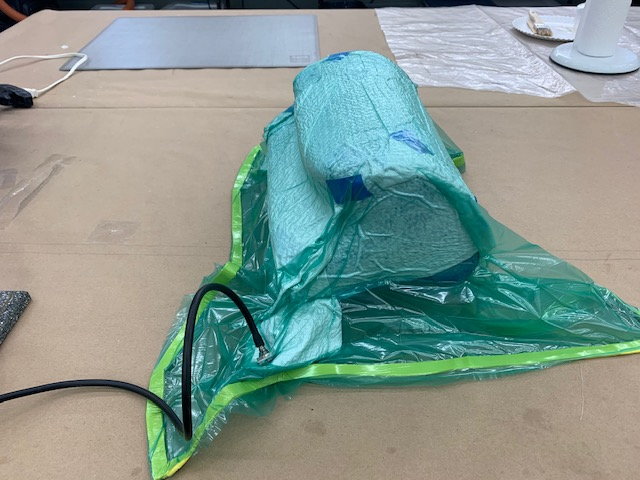
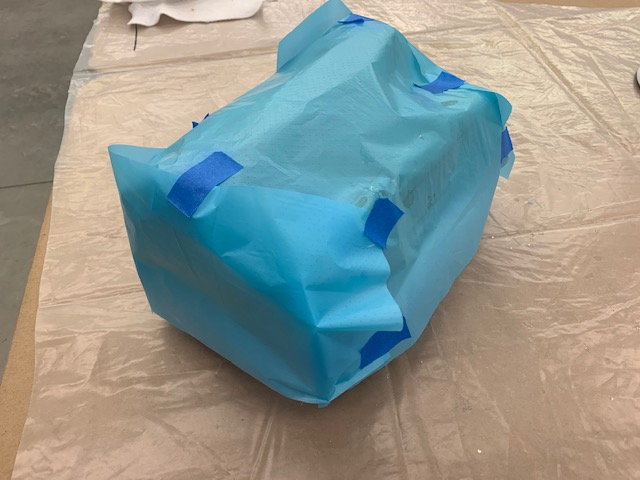
Breather cloth added on top of release film and stuffed into vacuum bag. This is the first time I've used the sealing tape on the bag. Had trouble with getting wrinkles and leaks. Next time I'll tape the bag plastic down so it won't pucker up and wrinkle on the sealing tape. Still learning this stuff.
Now if it will just come off the plug tomorrow! This is my first attempt at making a mold. Fingers crossed.