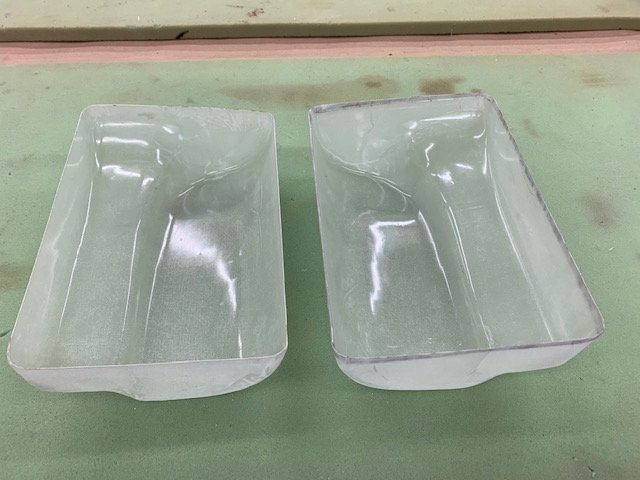
Removing 2nd half of tank from mold
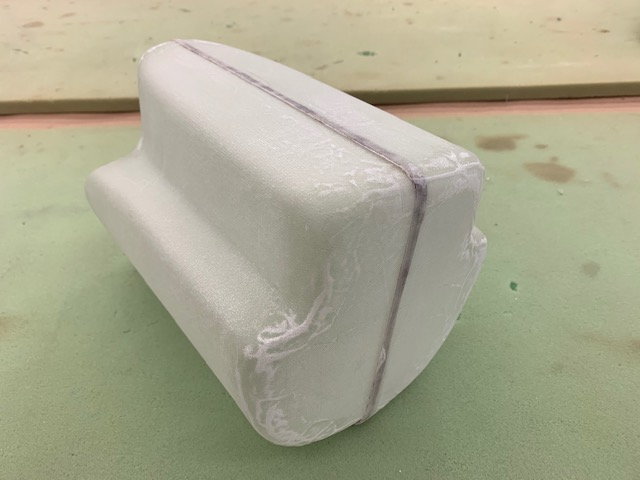
Well the fun began. I could see the part separate from the mold surface using a putty knife to slide under the layup and it popped up using compressed air. But it would not slide off the corners. After about 30 min of trimming, pulling, prying, and compressed air blowing with no luck getting it off, I decided to make a thin relief cut on the top and bottom corners.
I used a razor saw to make a thin cut.
That did the trick and after a few minutes I was finally able to separate the part from the mold
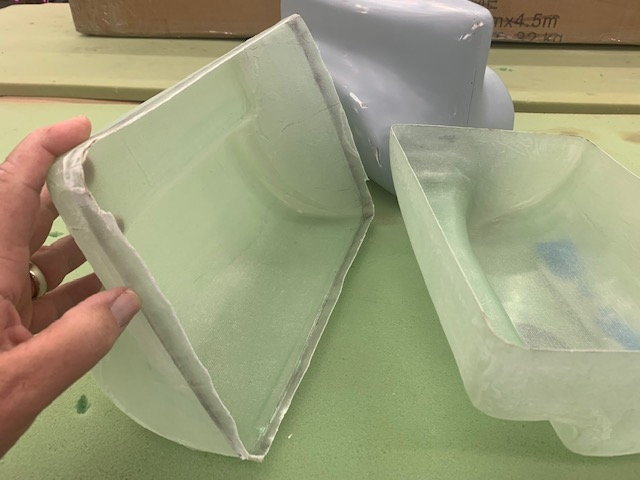
It looked like a usable part
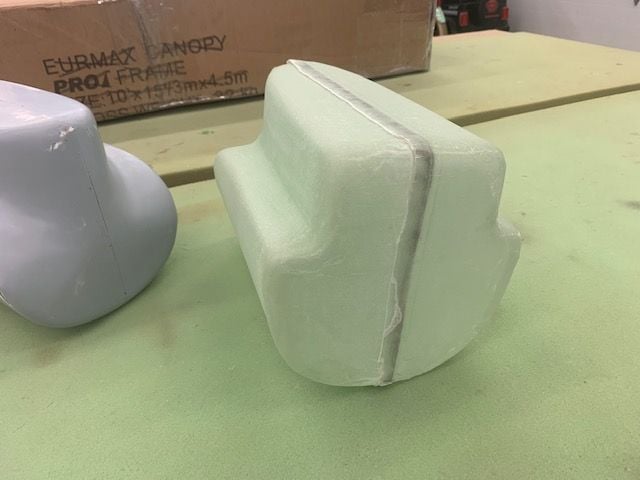
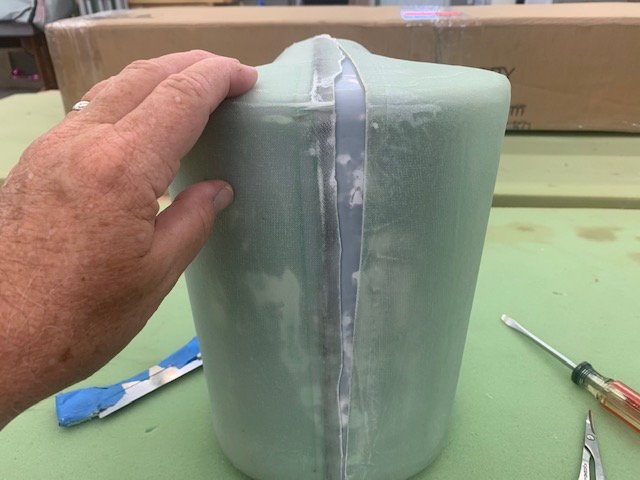
First test fit was good
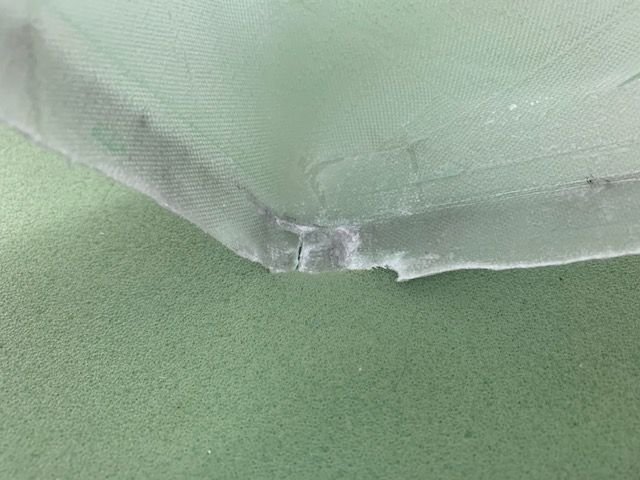
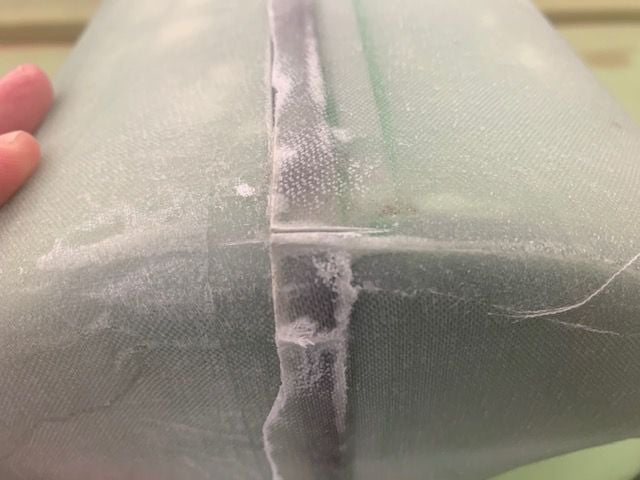
The cuts did not go past the seam so it should be an easy fix when joining the tank halves.
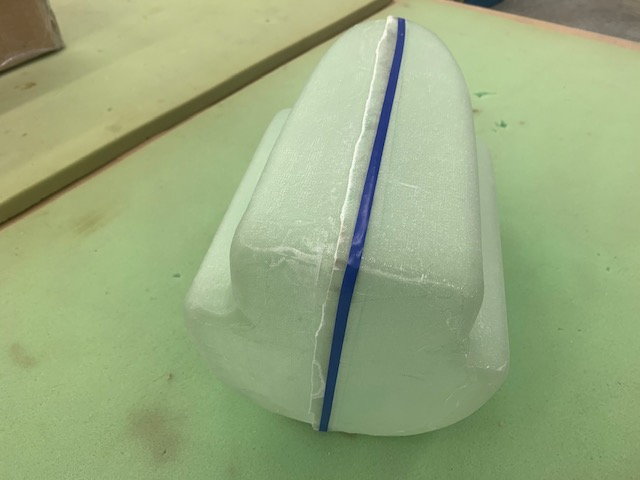
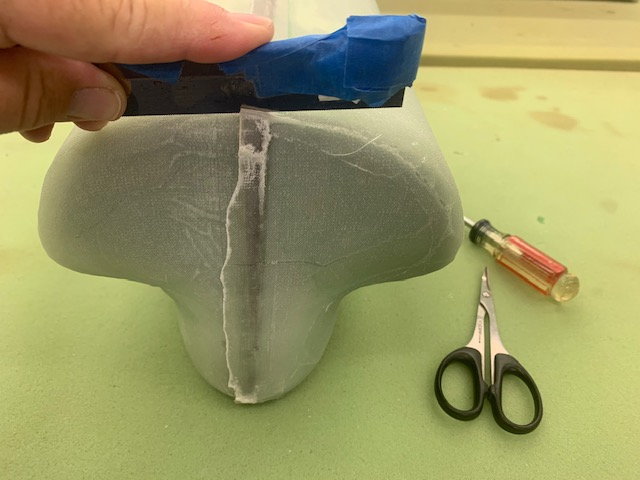
1/4" tape applied to the lap joint to assist in marking the trim cut line.
Trim line marked
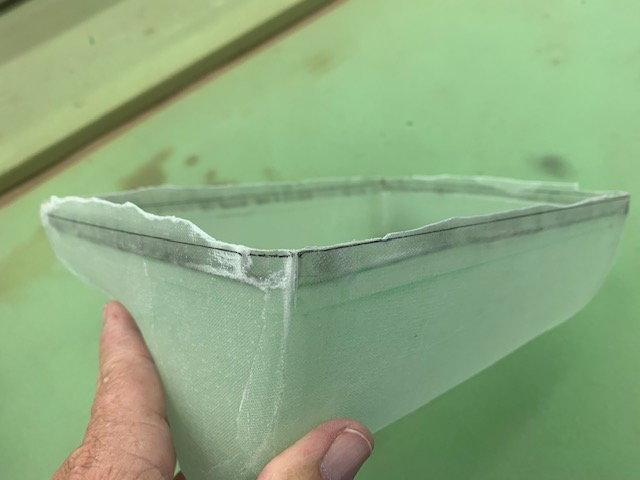
Parts trimmed, sanded and PVA washed out and dried
I had some epoxy channels form under the peel ply where I did not make sure it was flat under the breather cloth. I sanded them down a little. Lesson learned. I plan to give the outside surface two coats of epoxy after bonding and glassing the center joint. That will help ensure no pin holes and improve outside appearance.
I learned a lot doing a new composite process that I never tried before. It was a lot of work but at least I have a usable tank. The big lesson learned was design of the plug must ensure proper draft angles to allow the part to pop off the plug. I have a new respect for you guys building entire airplanes this way.