Back in the mid-1970s, when I made my grand re-entry into the world of aeromodelling, I chose the Goldberg Eagle 63 as my inaugural effort. If I recall correctly, the fuselage of that model comprised a jigsaw puzzle of plywood formers, sides, top, and bottom that assembled without glue using rubber bands and masking tape. So too the Cub fuselage, except this time I supplemented tape and elastic with clamps. And threw in some alignment blocks for good measure.
I did encounter a minor stumbling block; the sides, top, and bottom were not laser-cut but CNC milled. As a result, the notches and tabs were not as accurately cut and all the inner corners were rounded instead of square. A few passes with a #11 blade took care of that problem and dry assembly concluded with no further difficulty.
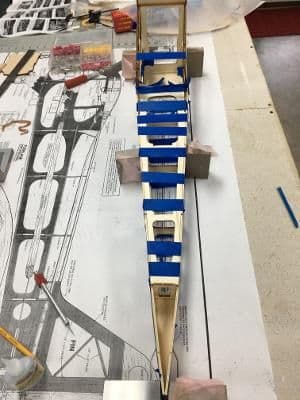
I finished by running beads of medium CA along each dry joint everywhere except forward of the instrument panel notches. I needed to remove the firewall to fabricate the electric conversion before permanently attaching it. After allowing everything to cure overnight, I had a straight, rigid, albeit heavy, fuselage. I believe this fuse could make a serviceable cricket bat!
The one place I deviated from the instructions was installing the wing mount plates and blocks. Here I used 30-minute epoxy instead of the recommended CA.
 Firewall formers laminated per instructions. Note that both surfaces were Woodpecked prior to gluing.
 Here the fuselage doublers have been glued and weighted. The right fuse side and doubler bowed in opposite directions and cancelled each other out.
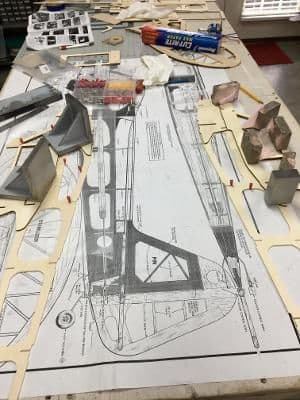
 All the formers jigsawed into place between sides, top. and bottom. Assembly compared to plans before glue is applied.
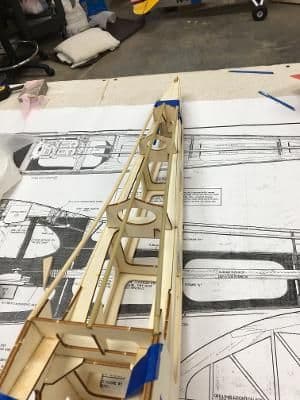 Upper stringers glued on.
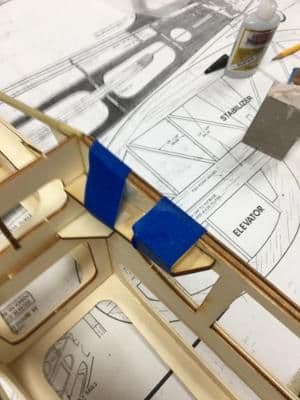 The next day, a wing hold down plate and blocked epoxied in.
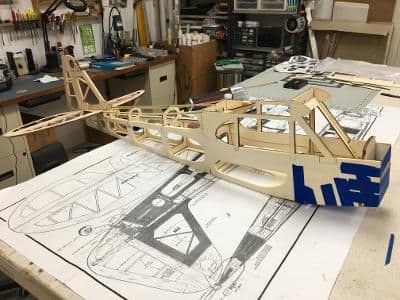 I couldn't help plopping the tail feathers onto the fuse. Note that the front end is still heavily taped. Next, I need to remove the firewall and do the motor/ESC part of the electric conversion