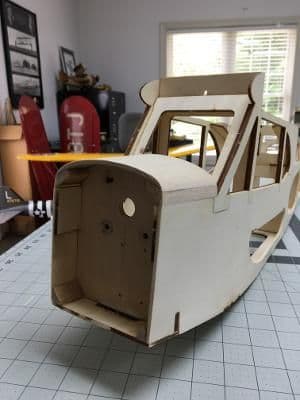
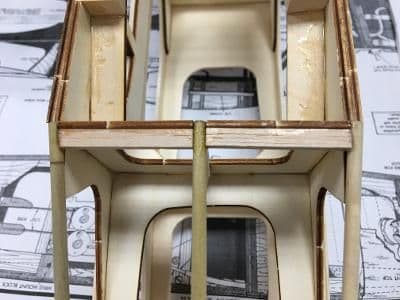
Before I could put the fuselage aside and start working on the wing, there were a few more items to take care of. I�ll let the pictures and captions tell the story.
First, the front turtledeck:
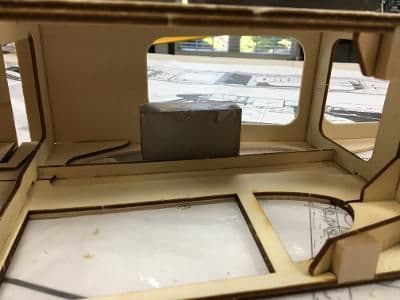
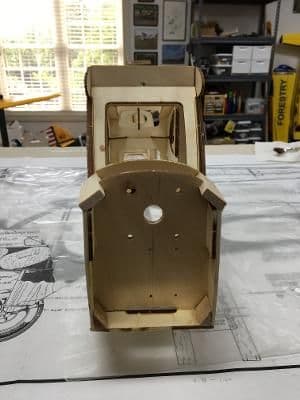 Balsa blocks glued onto instrument panel and firewall.
 To assure the smoothest possible surface, I edged glued the turtledeck pieces and fastened the assembly to the blocks with wood glue. After wetting, of course.
 Here it is after drying . . .
 and after the first trim . . .
 and after sanding flush with the fuselage side.
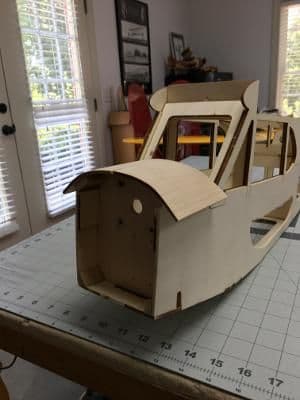
 A little more carving and sanding produced this.
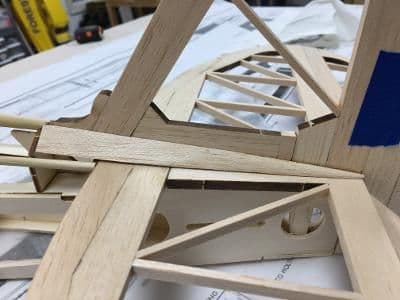
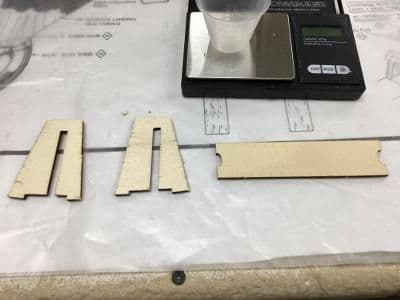
Next, the side rails:
 A relatively simple, but important, procedure. These rails support the rudder and elevator servos.
Then, the tail fairings:
 After a little carving and sanding, the tail fairings are glued only to the fin at this time.
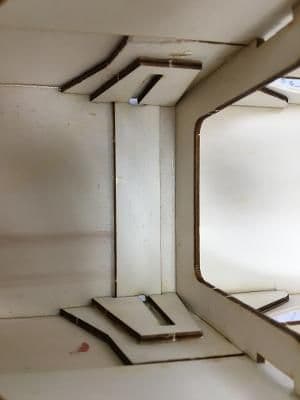
Covering tabs:
 Another simple, yet important, step. Without these, the Ultracote would have very little to cling to during covering.
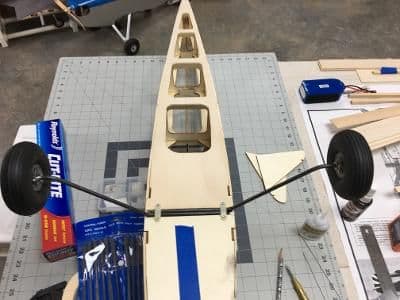
Finally, the landing gear:
 Here are the landing gear plywood components before installation . . .
 and after. I used 30-minute epoxy.
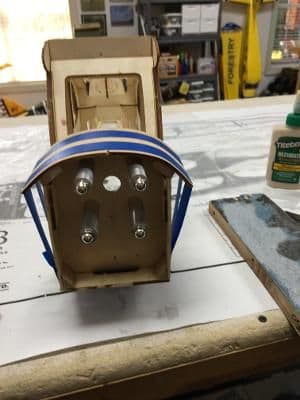
 Here, the landing gear wires have been slid into the fuselage and retained by stout nylon straps.
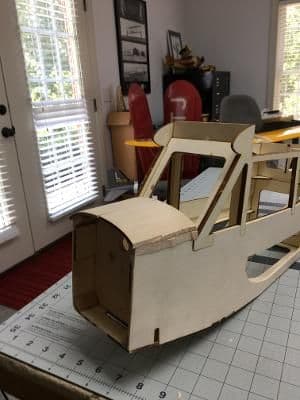
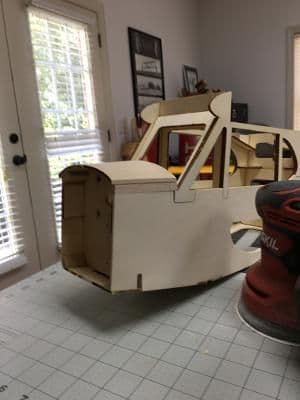
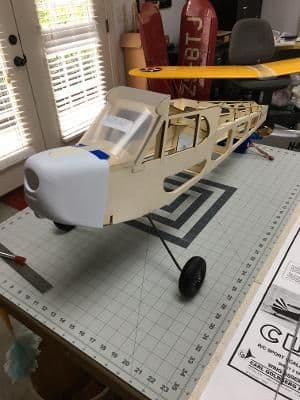 The fuselage stands on the mains for the first time. The cowl and windshield fit acceptably.
Time to start on the wing.