Actually, just the opposite. While building the Flitfire wing, I stuck very close to the instruction manual. As a matter of fact, I deviated from the manual in only two instances: truing the ribs and taking some wash-in out.
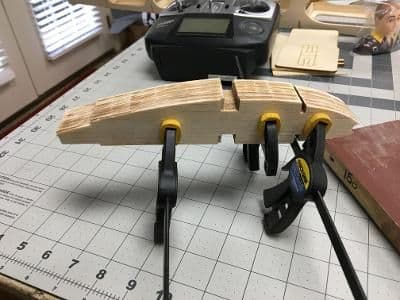 First, I clamped the punched-out ribs together and trued them to each other with a light sanding.
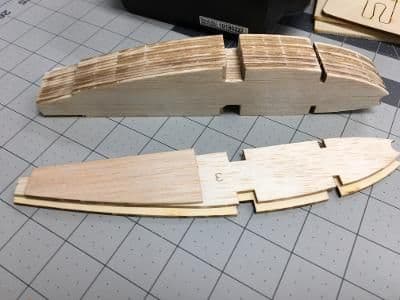 Here they are ready for installation.
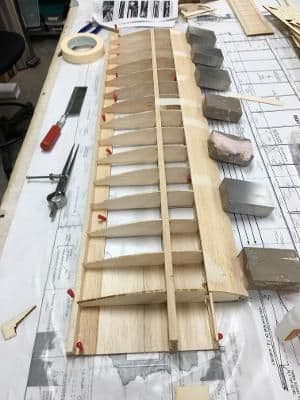
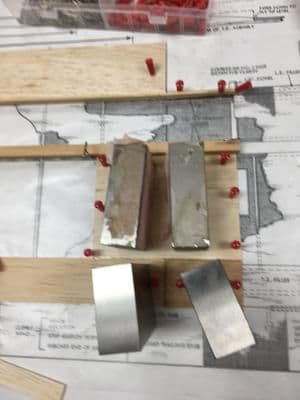 As to be expected in an older kit, the mains spars were curved. I placed them in opposition to each other, hopefully to offset the warps. In this photo, I have filled the area between the spar and TE with the bottom sheeting.
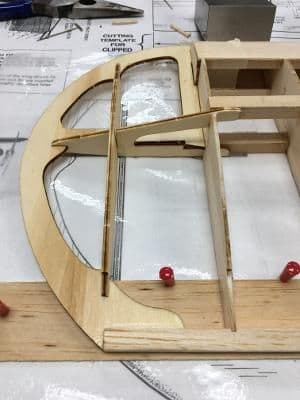
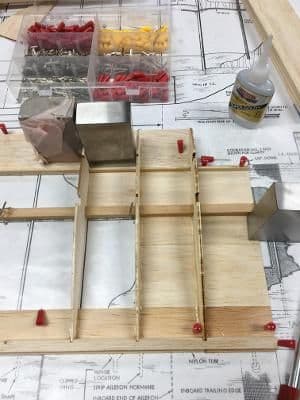 The center ribs have been glued to the main spar and bottom sheeting. The pre-notched TE has been located.
 The remaining ribs and top spars have been positioned . . .
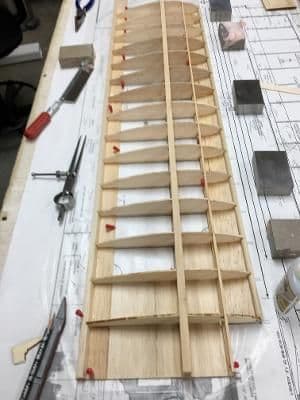 and glued, as well as the dowel leading edge. I also gently curved the bottom LE sheet up and glued it to the dowel with CA.
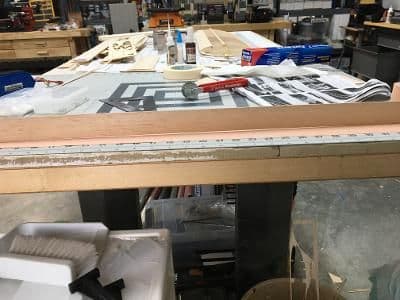 The top LE sheeting edges were unacceptably curved. In this picture you can see about 1/8" of daylight in the center when placed on a flat surface.
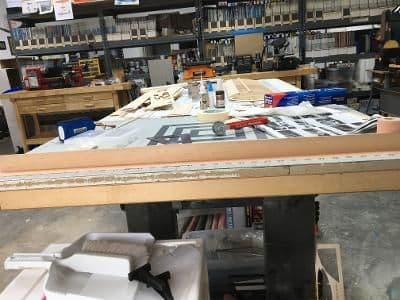 I stretched a length of sticky-back sandpaper on the flat surface and moved the balsa sheet back and forth until the daylight went away.
 The top leading edge sheeting has been attached. Because this was a greater curvature than the bottom, I wet the wood.
 Finally, the wingtip. As designed, with the TE sheeting flat on the board, the wingtip would have had an angle of attack greater than the rest of the wing, creating some wash-in. To compensate, I raised the TE sheeting 3/16".
Next up, the other wing half.