Centrally controlled strip ailerons and I generally do not get along. At least not as well as separate built-up pieces that are individually powered. When fabricating an aileron from bits and pieces, you can better manage its shape and fit with the rest of the wing. And the linkages involved are usually just straight rods between the servo and control surface.
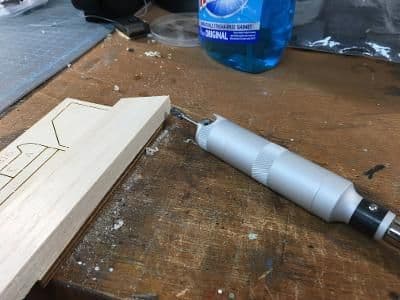
Take the Cub torque rod, for example. It’s threaded on one end and bent at a right angle. After insertion into a nylon tube, the other end is supposed to be bent at an angle that would, in my opinion, produce adverse aileron differential; that is, more down than up. I chose to make the ends orthogonal (perpendicular to each other), creating a 90-degree angle with the bottom of the wing at the servo end when the aileron is neutral. With a straight cross arm on the aileron servo, this should result in zero differential. But I plan to install a vee-shaped arm that will make the rising aileron travel further than the drooping one (I hope).
Let’s get groovy. Strip ailerons like the ones on the Goldberg Cub require grooves in both the back of the wing and two filler pieces into which the linkages nestle. In the past, I have tried, with varying degrees of success, to carve these by (shaky) hand with a ball-shaped burr on a rotary tool. Now, I have a such a tool with a handle that can lay flat against the workbench. So, I shimmed each filler piece, as well as the rear of the wing, and made several passes with the burr and produced straight, perfectly centered grooves.
 Cutting a groove in a filler block.
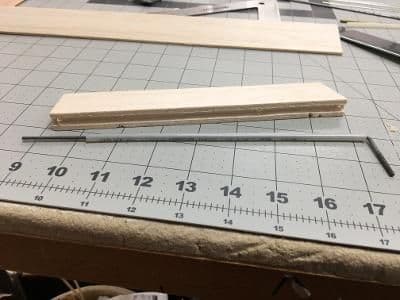 The block finished along with aileron torque rod.
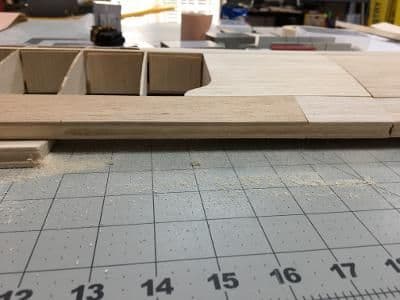 Corresponding groove cut in rear of wing.
Then there’s the ailerons themselves. Miraculously, two of the three provided blanks were straight enough to use. The third got cut into shorter lengths for fillers where slight warps do not matter. Time to bevel and hinge.
Beveling manually was time consuming, but I did enjoy using my new hinge slotter. Line it up with the centerline, rock and push, and you get a slot that snuggly hugs a standard CA hinge. The slotter set (aerobroach.com) comes with two other blades, one each for standard and heavy-duty plastic pre-pinned hinges. I highly recommend it.
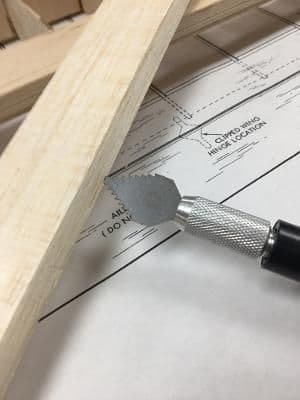
 Here, the aileron blank has been marked for beveling.
 My slotting tool which turns this process from a dreaded chore to almost fun.
To put everything together, I started with the control linkage. After roughing up the nylon tubing, I spot glued it with CA into its groove on the back of the wing. I followed up with epoxy on the facing piece. I managed not to slop much glue into the linkage, so after curing it worked freely.
 The control linkage tubes have been spot glued to the back edge of the wing.
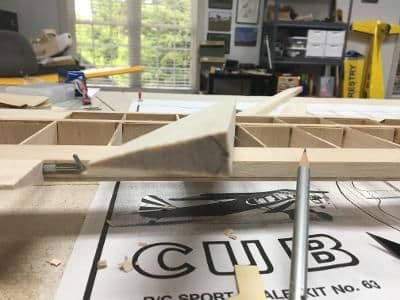
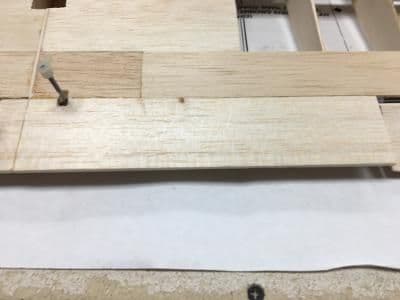 Left aileron torque rod installation complete. Filler block epoxied on.
In went the hinges. This helped precisely locate the wing tip fillers which got CAed on as well.
 Left aileron hinged and temporarily placed on torque rod. It'll all get permanently put together after covering.
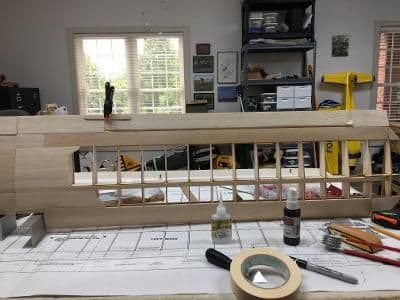
Phew! I am relieved to have completed this phase and I hope not to have to do it again soon.