I prefer to install everything I can in the fuselage before it gets covered. Access afterward tends to be restricted, especially in non-giant-scale models like the 1/5.5 scale Goldberg Cub. Thus, I spent yesterday constructing and mounting the control system for the tail feathers.
With the pushrods already fabricated, I had to come up with some stuff to connect. But first, the elevator and rudder needed to move freely, so it was time to bevel and hinge.
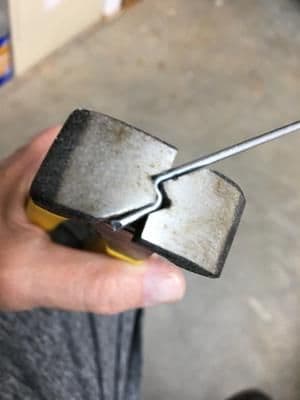
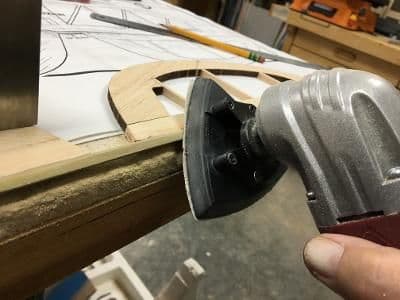 Here I'm using a multi-tool with a sanding head to make the first pass.
 I followed with a sanding bar to achieve this bevel.
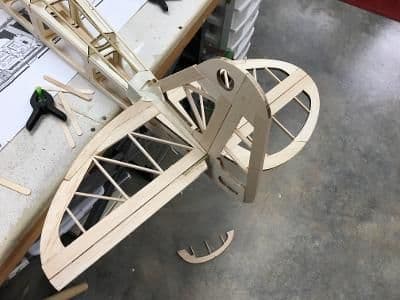
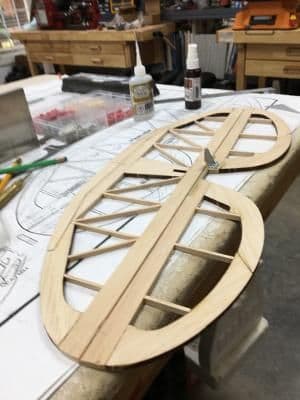 Here the elevator has been hinged. I used the same process as outlined in Post #21.
Next up, positioning the servos. Because I had used the plans to fabricate the pushrods, I was pretty much restricted to where the servos were shown on the plans.
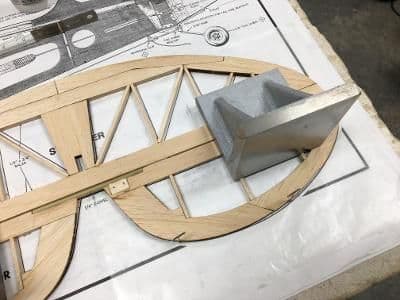
 I made up servo rails from double layers of 1/8" ply left over from the kit. The first one went in where indicated on the plans; the second was located by the servos I used.
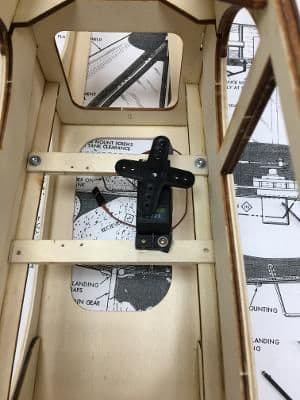
 Here, the second rail and the servos are screwed down. I connected the front end of the pushrods with . . .
 zee bends. At the other end, standard clevises plugged into kit-supplied control horns.
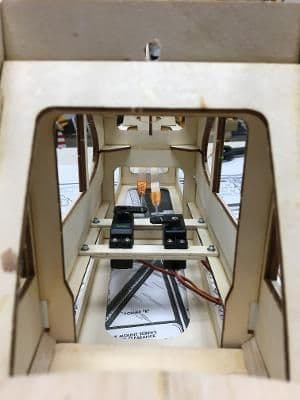
Finally, making sure that everything worked as intended.
 I immobilized the elevator and rudder in neutral positions before attaching clevises to control horns, then ran the servos through their range of motions to insure that there was no interference between the pushrods.
 Unfortunately, while checking pushrod interference I forget that the control surfaces themselves might be clashing. Here's the result.
 Fortunately, it was a clean break, easily repaired. And, yes, I have used my radio to tame the servo travel, hopefully eliminating further interference.