All the advice articles tell you that unless your balsa and plywood are baby smooth, your resulting iron-on covering will turn out terrible. While I have found this to be an exaggeration, nicks, divots, and lumps, and bumps
will show up. However, pinholes will not. Indeed, I normally Woodpeck balsa and ply, creating a field of tiny pits, to minimize air bubbles. Those surfaces always appear smooth after covering.
Before I could even think about covering, however, there were some important details to clear up. Well, actually, only two. It was a slow day.
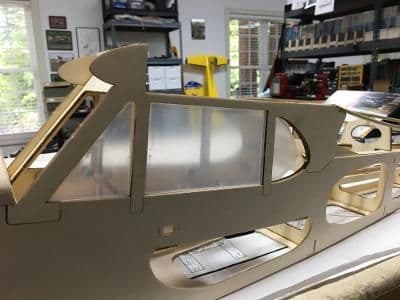 First up, shaping the window cut-outs for the pre-formed windows. Here, I have fitted the front and center panes, but the rear one is giving me ulcers.
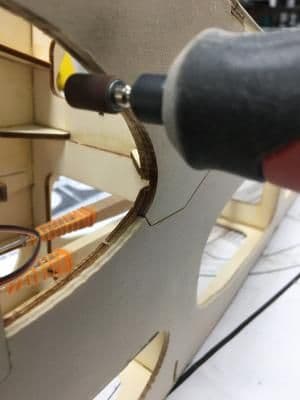 A few passes with a sanding drum resulted in . . .
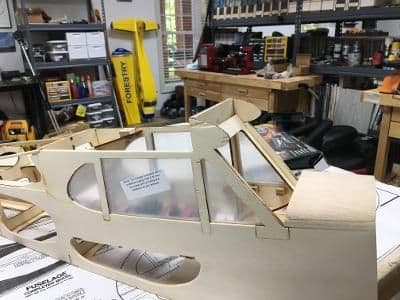 perfect fits all the way around. (The panes look cloudy because they still have protective films applied.)
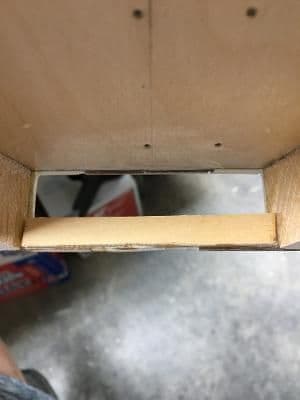
I decided to enlarge a slot in the bottom of the fuselage in front of the firewall to allow more air flow. The new, larger hole then required some reinforcement.
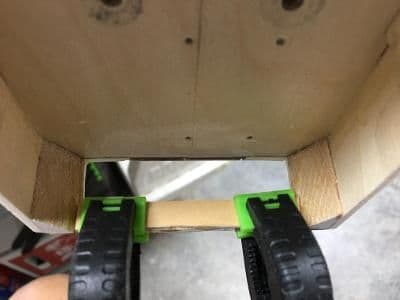 Air exhaust hole with reinforcement glued on and clamped.
 With this, I had created and/or adjusted all the holes intended for the fuselage.
It was time to fill and sand the unintended holes and divots.