Things moved right along today, with few mistakes, all of which were easy to correct. The fuselage and tail feathers are complete, including painting and bolting on the landing gear and temporarily fastening the windshield.
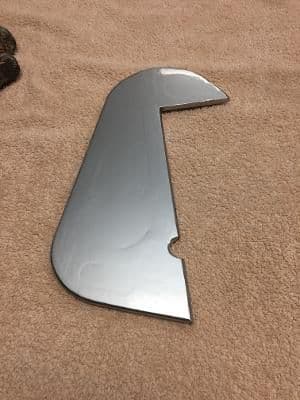 No problems with the rudder.
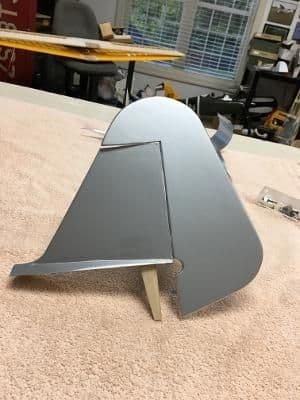 I had a little struggle with the concavity of the lower part of the fin, but with enough tugging and heating, I got it covered to my satisfaction. Here, it's hinged to the rudder and the assembly is ready for installation.
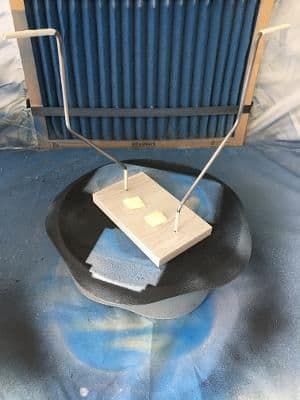 Before starting the fuselage, I visited the paint booth with the LG wires and brackets.
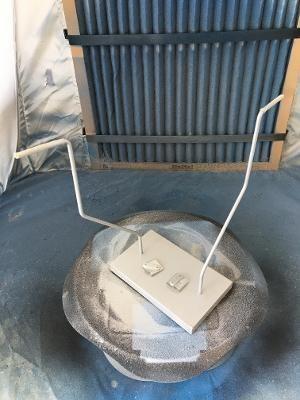 Here they are, painted silver.
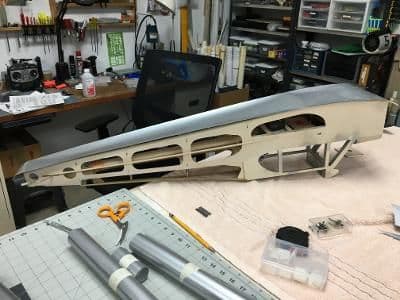 As is customary, I started with the bottom. It's the only surface that's completely flat, so it was a breeze.
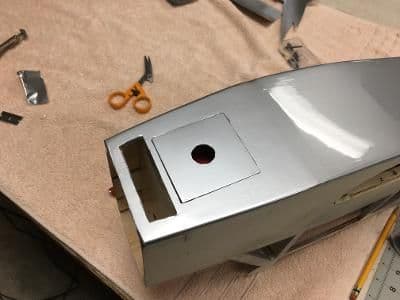 I went ahead an covered the hatch cover and it still fit!
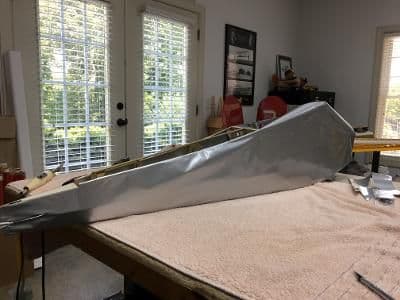 Here, the right side is tacked on.
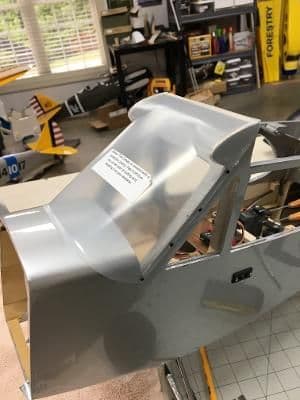 And here, the entire fuselage has been covered and the windshield temporarily installed. I'll take it off after the test flights for removal of the protective covering and subsequent painting.
Tomorrow, I should at least get
started on the wing.