Before showing how the instrument panel went together, I want to acknowledge that the ideas behind it did
not originate with me, but with fellow modeler Alan Yendle (AlanDY on this forum) who posts prolifically on RCScaleBuilder.com (under the user name Alan). He has more creative ideas about RC model building than I thought could fit in one person's head. And he is willing to share them with all of us.
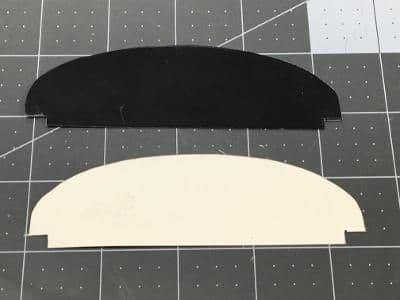
First, I cut a trial-and-error pattern from a 3 x 5 card. After transferring the pattern to litho plate, I scored it with a box cutter and carefully folded each score until it snapped. The black side survived this process without a scratch, so I didn't even have to paint it.
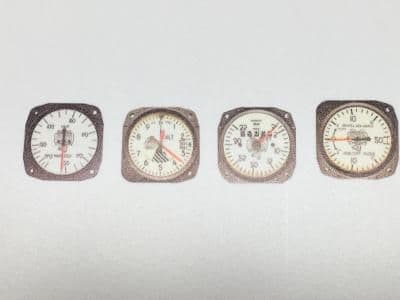
I located some photos of actual Cub instruments online and imported them to a Word document, adjusting their size to approximate 1/5.5 scale, These I printed on glossy photo paper.
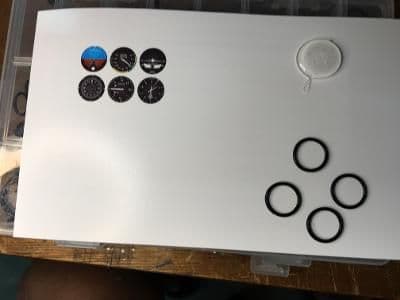
Here's where Alan's magic comes in. To create 3D bezels, he uses O-rings. A multi-size set of these are available at Amazon for around $12 (
), The photo above shows them, along with a pool of E6000 adhesive. I ended up not using the instruments shown once I found more authentic ones.
After gluing the O-rings around the instrument photos, I trimmed the excess with a hobby knife, leaving only dials and bezels.

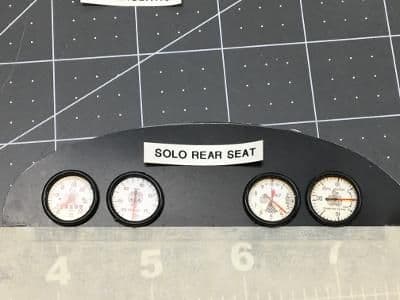
I fastened the dummy gauges with a dab of E6000 on each. The warning placards came from a label maker.

Here's a pilot's view of the finished panel.

And a view through the side windows.
Five days to go.
Next up, the dummy engine. (If I can find my "Dummy Engines for Dummies" book.)