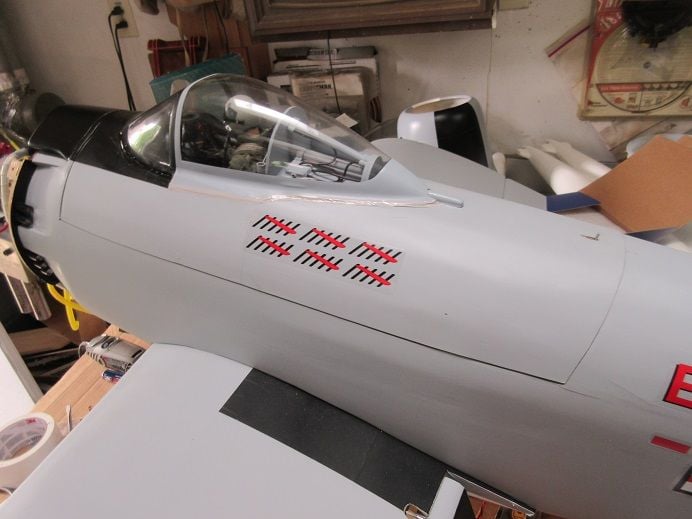
Legend hobby A-1 Skyraider assembly and Ziroli F4U Corsair repair (2nd post).
A-1 Skyraider.
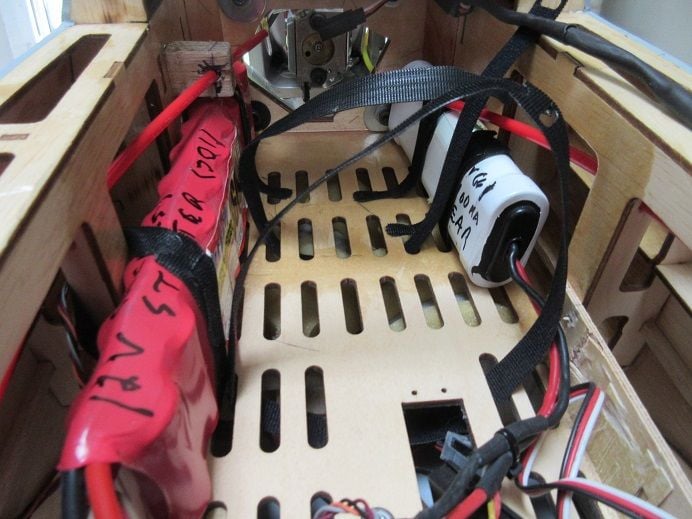
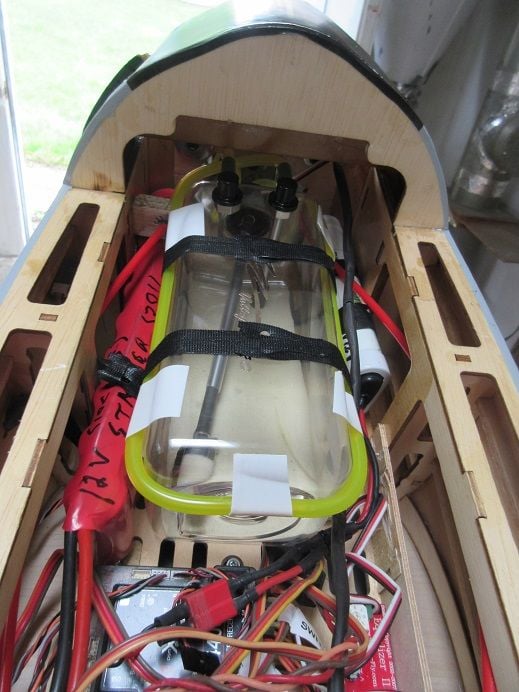
The starter battery and electric gear battery was installed.
Fun routing the Velcro through those floor slats; had to use a bent wire and surgical tongs.
YES: OLD SCHOOL yet with NIMH batteries:
1) Yes they are heavy but I checked the CG and the weight is needed so might as well have 'useful' weight!
2) The planes are in my detached shop and NIMH batteries are not affected by freezing weather.
3) Batteries can't be removed from the planes, easily, and I know the NIMH won't 'blow up'.
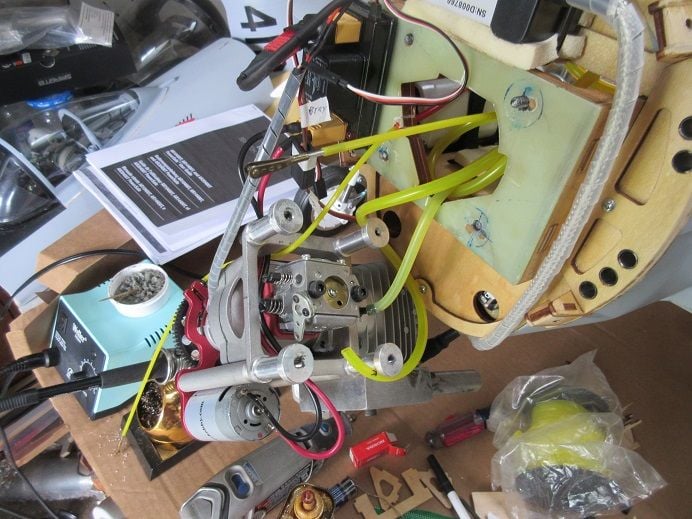
Purchased this nice 'ready to install' 32 oz. tank at my last plane show for only 20 bucks.
'Wrap around' tubing is for the 'overflow'.
Clunk tubing was replaced with black tubing that's not affected by gas (methanol).

Had to remove the engine to attach the fuel tubing to the carb.
One of reasons why today's 'work' took me 5 hours on this plane!
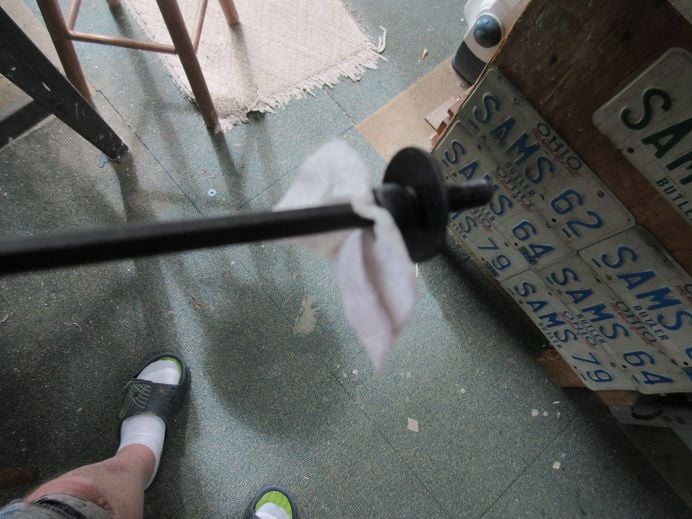
My buddy Scot Prossen taught me trick many moons ago: paper towel works great holding hex head screws.
Just enough room!
Some soft foam under the tank.
Initial trepidation with that protruding part under the 'top hatch' interfering with the tank....
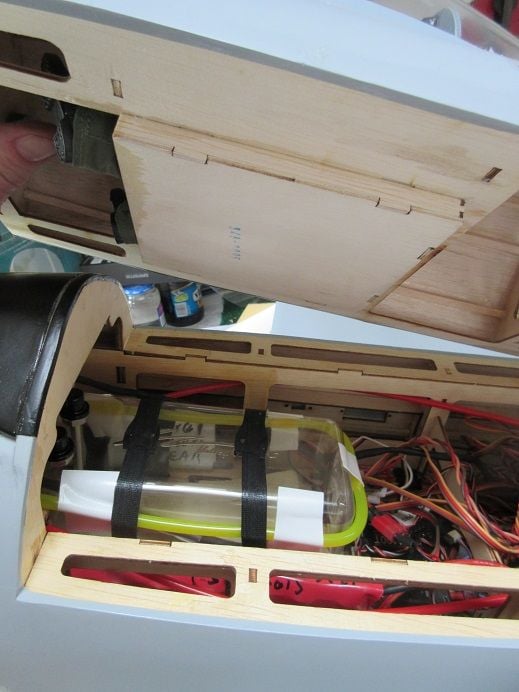
All's good.
A very tight fit where the fuel tubing connects to the carb.
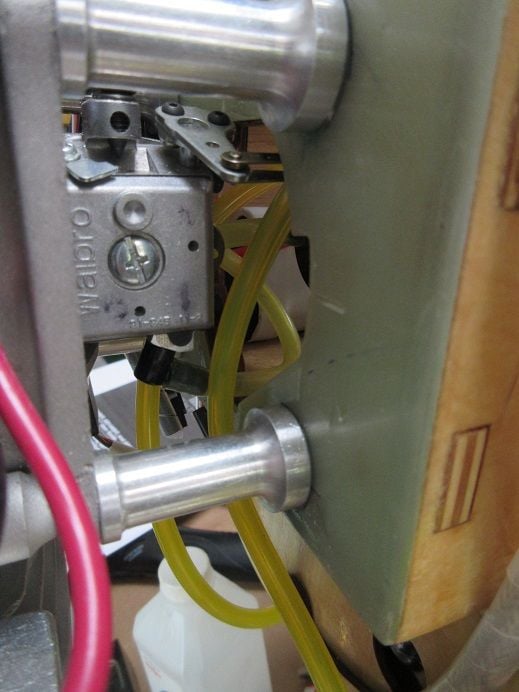
I may route the fill tubing through one of the exhausts.
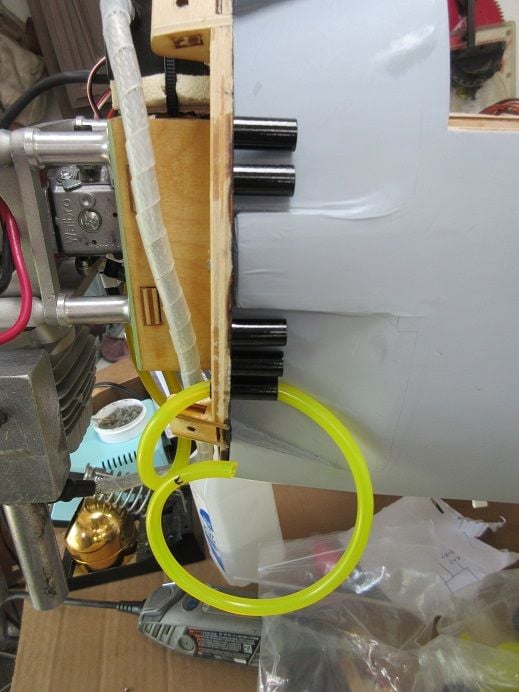
All connections get safety clips.
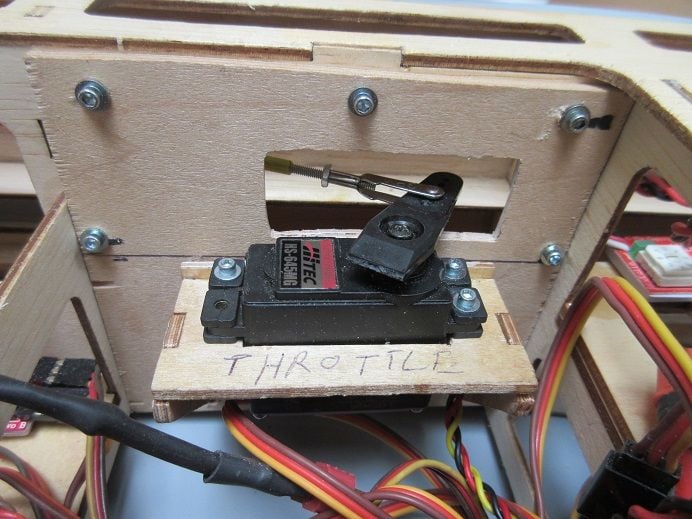
Throttle and choke servos had to be installed in new locations.
This took a lot of time.
Glad I didn't just epoxy the servo tray to the ply as several adjustments had to be made to align with the Sullivan push rods.
Initially, I was going to route the push rods along the inside of the secondary wall but decided to try routing them on the outside of the secondary wall.
The mounting plate needed a hole for the servo arm.
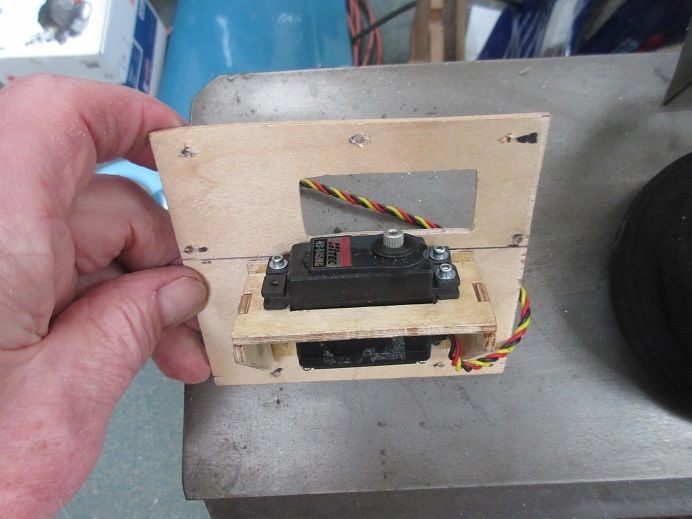
Every part is aircraft ply so the hex head servo screws makes everything secure.
Being old I find the hex head screws are easier to install versus the supplied phillip's heads.
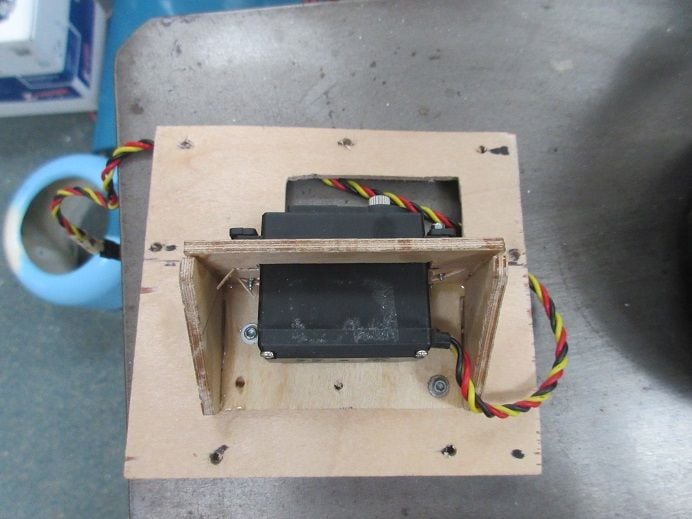
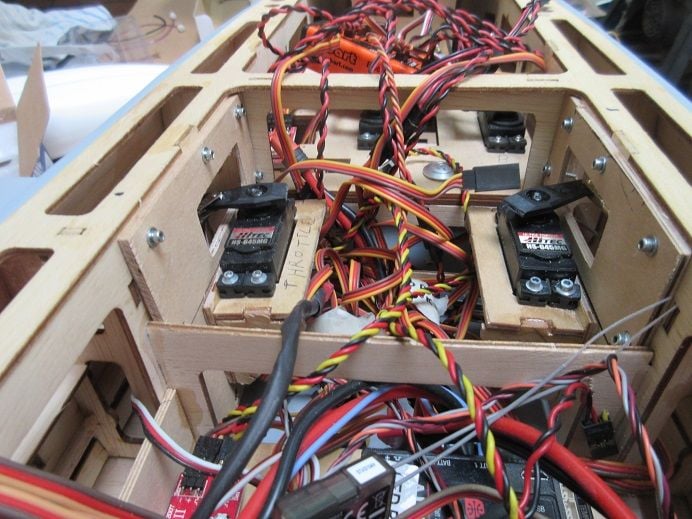
Mounting plate secured to the inner wall.
Also, I can remove them if their location creates a problem 'down the road' as I still need to install a tray to hold 4 switches plus 5 charging jacks!
I, usually, use ball links for all my connections but, for some reason, I'm using these connections; probably old age!
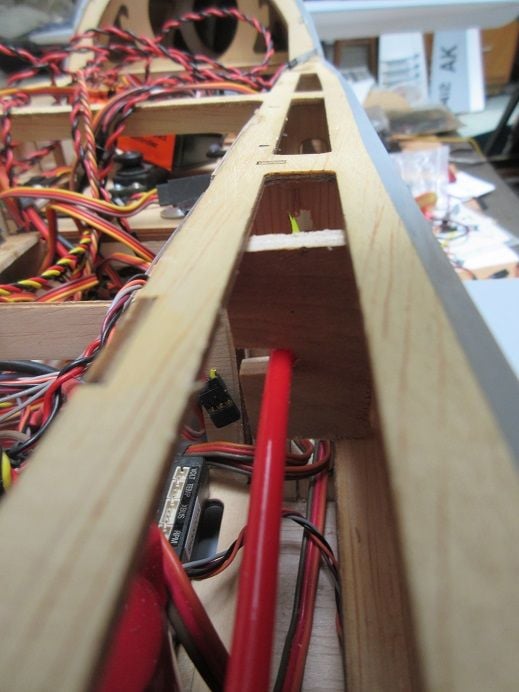
Push rods between the outer and inner walls.
The push rods were bending in one direction.....
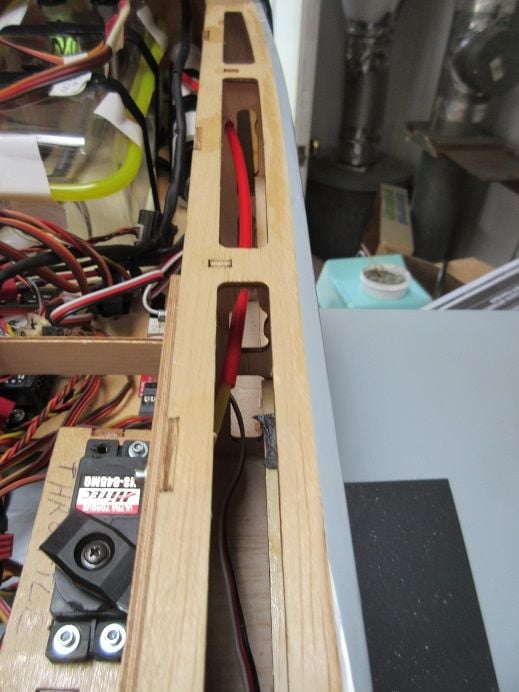
so I reinforced it with a piece of ply.
The rod only bent in one direction so I could easily insert the ply with a 'notch' on one side so I didn't have to disassemble the push rod.

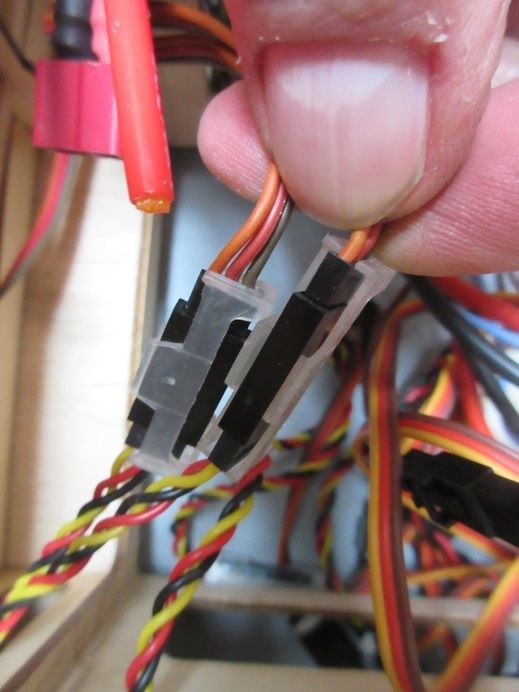
A fellow RC pilot emailed me about which ignition wires went to battery and sensor.
(thanks Tom Shafer)
I replaced the unusual battery connection with a JR connector.
The far left wires are for the battery.
Center is Tach.
Right is sensor.
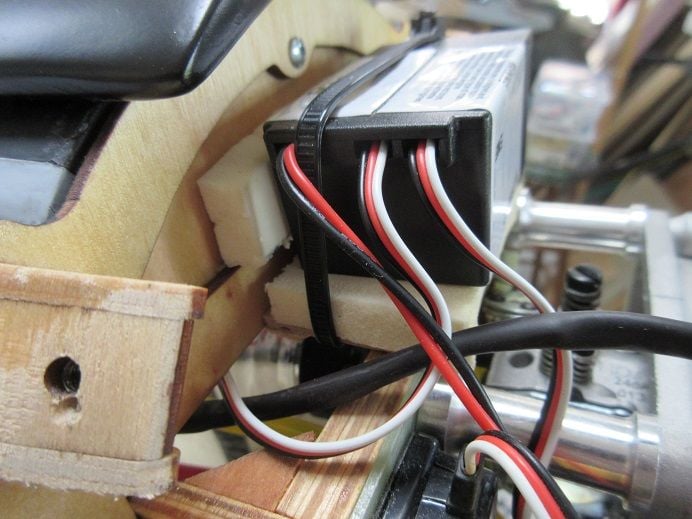
Next will be deciphering all those wires!
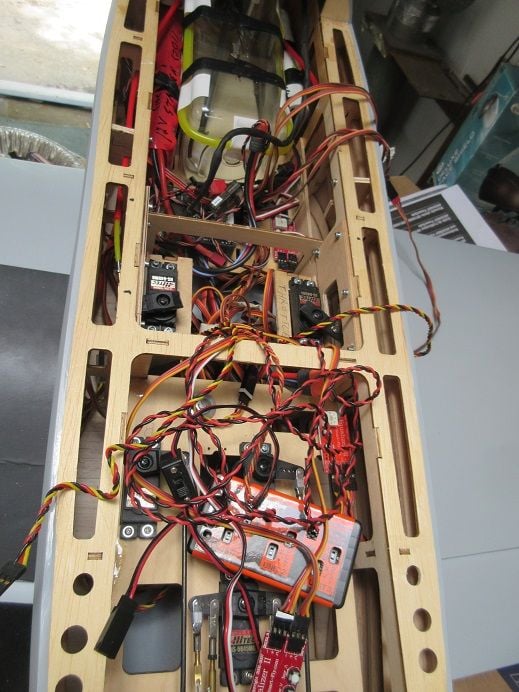
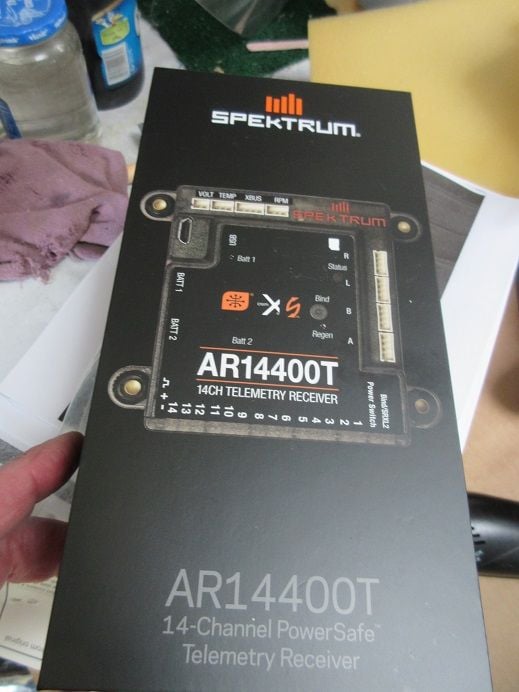
I obtained this plane from an estate and he had a very expensive 'power safe' receiver in the plane.
I use the earlier 'power safe' receivers so there will be a 'learning curve'.
Also, I hope my old JR 11X (the one that looks like an aliens face) is compatible with this new receiver!