


Curare construction ARG
 08-22-2011, 02:47 PM

I replied to a post you made some time ago regarding the Supra Star. You will find it here:
http://www.rcuniverse.com/forum/fb.asp?m=10682297
Excellent Curare thread! Keep up the good work. Have you decided on how you will finish it?
David.
 08-22-2011, 04:41 PM
Thank you David for your answer! I´ll need some advice about finishing this plane. I am thinking to use Monokote for surfaces and paint for the fuselage. I am concerned about the use of Monokote on the fuselage because the rounded shape.<o ></o>
></o>
Chino<o></o>

 08-22-2011, 05:18 PM

Evan, WB #12.


 08-25-2011, 08:27 AM
 08-25-2011, 01:33 PM
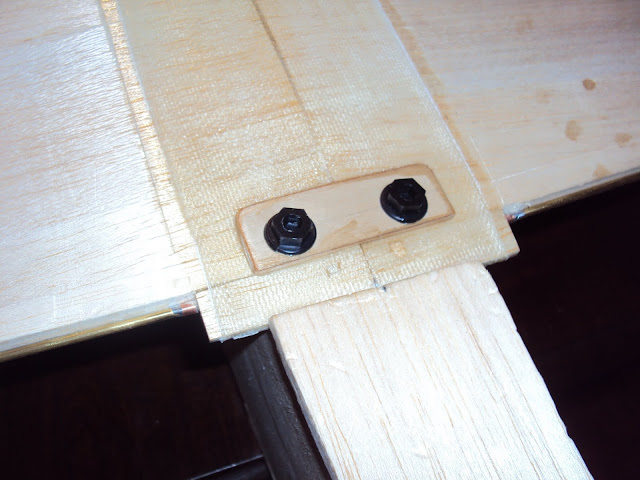
Scan in that article, please. I've had the same feelings about those mounts and would love to see some proof!!
Gene
PS. Great build on the curare.
 08-26-2011, 01:02 AM
Thank you foryour comments and congrats!<o></o>
Please jquid,if you found that article I´d like to read it.<o></o>


 08-26-2011, 08:38 AM
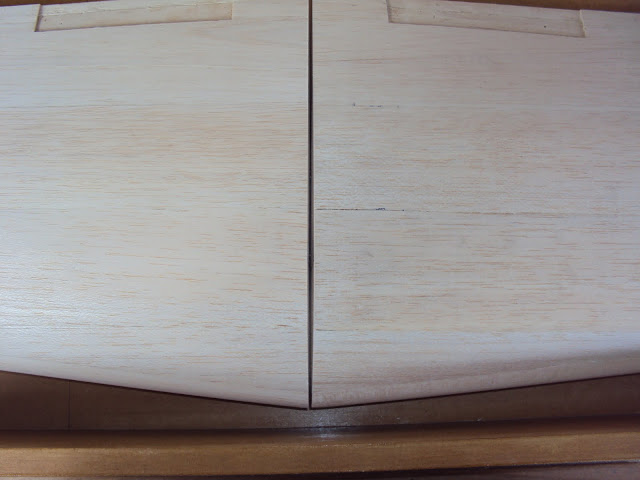
The right panel is just offset at the root with respect to the left in the photo.
David.


 08-26-2011, 07:12 PM
That´s right David, it will be hard to give some shape to this plane.
Suggest you use silkspan and dope if you have some experience with the medium. If not, PM me for my article on same. Very light
08-26-2011, 11:44 PM
Hi MTK!
You mean that for the fuse?If you have an article please send me it so I can see how to do it.
Thank you!<o></o>
<o> </o>
Chino<o></o>


 08-30-2011, 06:21 AM
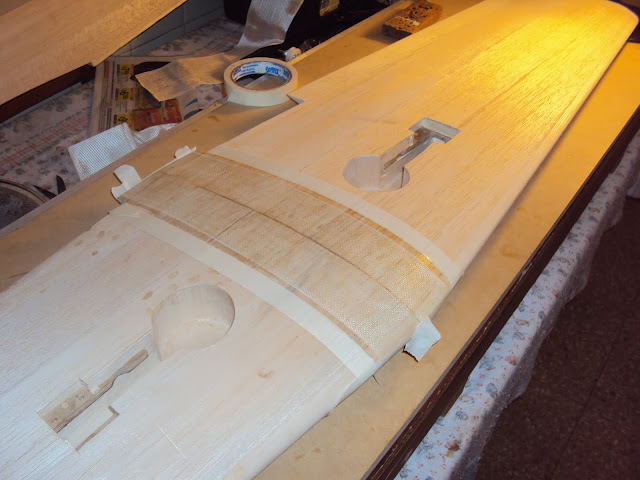
that's an interesting and unusual technique to build up and finish assembling your model before you have passed a hint of sandpaper.
Is there a particular reason you build like this or just personal preference? Don't you find it easier to carve and sand the fuse when it is still free from stabs and particularly hinged controls?
Just curious.
David.
08-30-2011, 06:34 AM
Yes David, this is how Ifigured out how to build the plane, maybe I´ve missed something when I gluedthe stabilizer. I hope that it doesn’t difficult the final sanding process.<o></o>
This is my first plane thathas a fuselage with complex curves. <o></o>
Thank you!<o></o>
08-30-2011, 07:27 AM
I personally find it easier to build the model as if it was a glass fuse. Basically, I build up the vertical with the fuse and install the rudder temporarily and hold it at neutral so that the fin tip can be built. This step is delicate as you can easily end up with a fin tip which is off to one side or the other.
Then, before the wing or stab is mounted but with everything else basically built, including the radio installation, I go to work on the fuse to produce the equivalent of a glass shaped fuse. I find it easier to carve, sand and check symmetry in the absence of flying surfaces. If you like, you can mount the wing before hitting 220 grit so that you are still in time to avoid any dings to the fuse in the wing mounting process.
I leave final 400 to 600 grit sanding to before glassing or covering. If glassing, I might even glass the fuse and vertical before installing the stab as it makes it a fair bit easier and avoids damaging the stab. Then, once the fuse is glassed, the model is final assembled and the stab is glued in place and then that is glassed. I try to leave some exposed virgin wood in the stab joint area to produce a nice bond between wood and produce the fillets prior to glassing the stab.
Then again, as they say, all roads lead to Rome...

David.