Building a Tiporare .40
 11-07-2011, 09:57 AM
Thank you David! This time I´ll do as you suggested me.<o ></o>
></o>
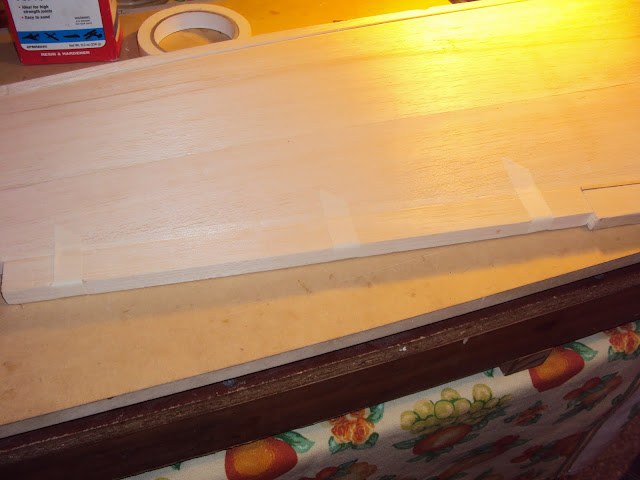
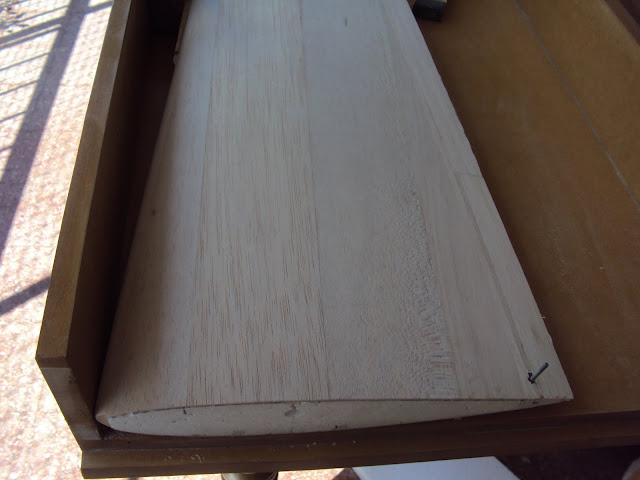
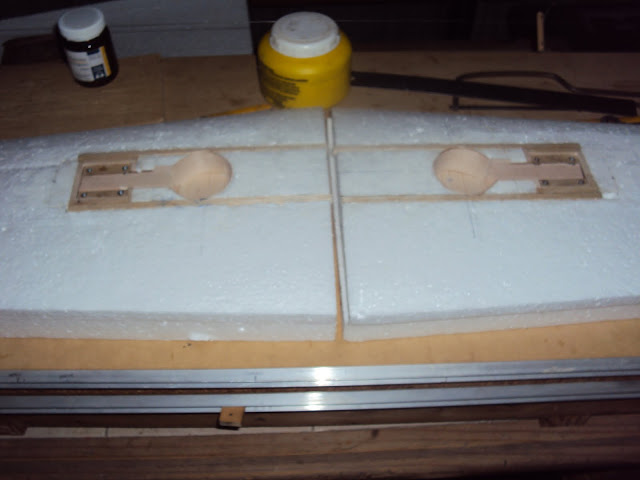
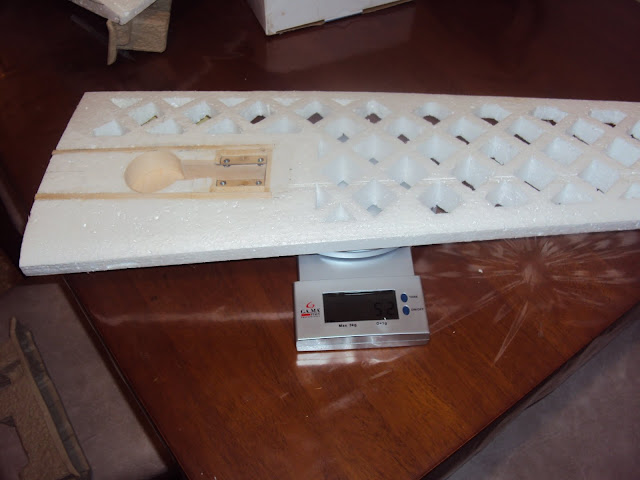
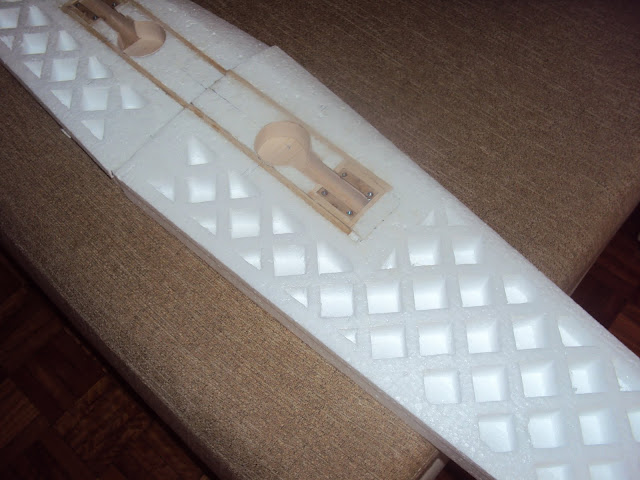
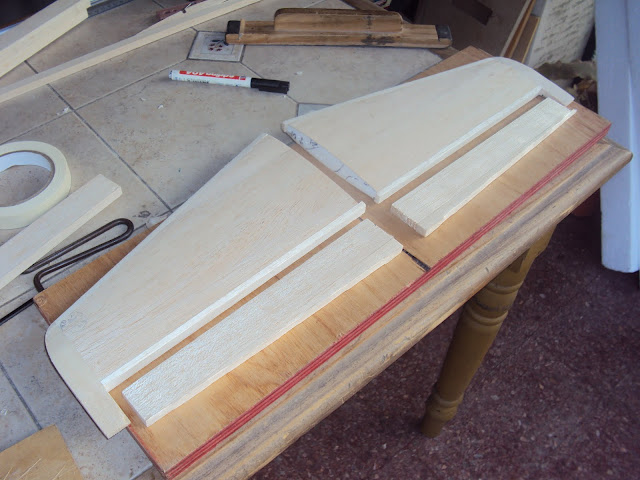
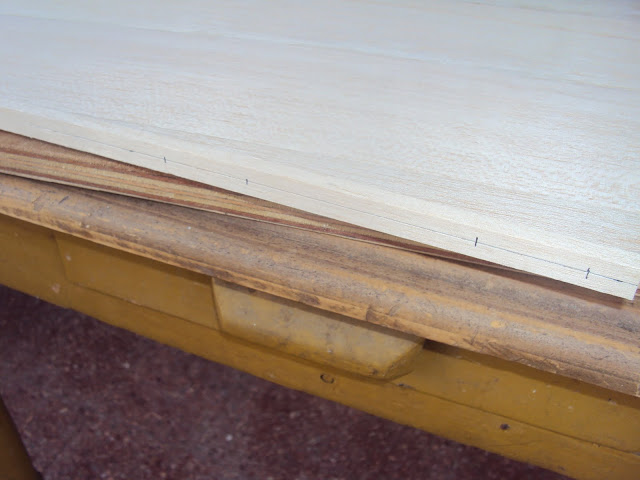
Already finished the wing lighting holes... slave work! Only to save 20 gr. total (wing cores only)!!!! I´ll post pictures next.<o></o>
 11-07-2011, 10:54 AM


! Only to save 20 gr. total (wing cores only)!!!! I´ll post pictures next.<o
></o>It's not worth the effort trying to save weight in foam wings, in fact the only thing you achive is to weak them.
Learned this lessons years ago , since then only holes I do are for retracts


 11-08-2011, 08:16 PM
Wow a lot of work done for ten days worth of building. I wish I had the time to do this. Great build thread very informative.
Jim
Anyway is a nice job and coming out great.
11-09-2011, 12:45 AM
Yes, you are right! Unusually, I had a lot of free days... but all the good things ends and today I return to work.<v:shapetype id="_x0000_t75" coordsize="21600,21600" o:spt="75" oreferrelative="t" path="m@4@5l@4@11@9@11@9@5xe" filled="f" stroked="f"> <v:stroke joinstyle="miter"></v:stroke> <v:formulas> <v:f eqn="if lineDrawn pixelLineWidth 0"></v:f> <v:f eqn="sum @0 1 0"></v:f> <v:f eqn="sum 0 0 @1"></v:f> <v:f eqn="prod @2 1 2"></v:f> <v:f eqn="prod @3 21600 pixelWidth"></v:f> <v:f eqn="prod @3 21600 pixelHeight"></v:f> <v:f eqn="sum @0 0 1"></v:f> <v:f eqn="prod @6 1 2"></v:f> <v:f eqn="prod @7 21600 pixelWidth"></v:f> <v:f eqn="sum @8 21600 0"></v:f> <v:f eqn="prod @7 21600 pixelHeight"></v:f> <v:f eqn="sum @10 21600 0"></v:f> </v:formulas> <vath o:extrusionok="f" gradientshapeok="t" o:connecttype="rect"></vath> <o:lock v:ext="edit" aspectratio="t"></o:lock></v:shapetype><v:shape id="Imagen_x0020_1" o:spid="_x0000_i1025" type="#_x0000_t75" alt="http://www.rcuniverse.com/forum/js/punymce/plugins/emoticons/img/trans.gif" style="width:.75pt;height:.75pt;visibility:visible;mso-wrap-style:square"> <v:imagedata src="file:///C:\Users\FLOYDI~1\AppData\Local\Temp\msohtmlclip1\ 01\clip_image001.gif" o:title="trans"></v:imagedata></v:shape>[img]file:///C:\Users\FLOYDI~1\AppData\Local\Temp\msohtmlclip1\ 01\clip_image001.gif[/img][ ]<o></o>

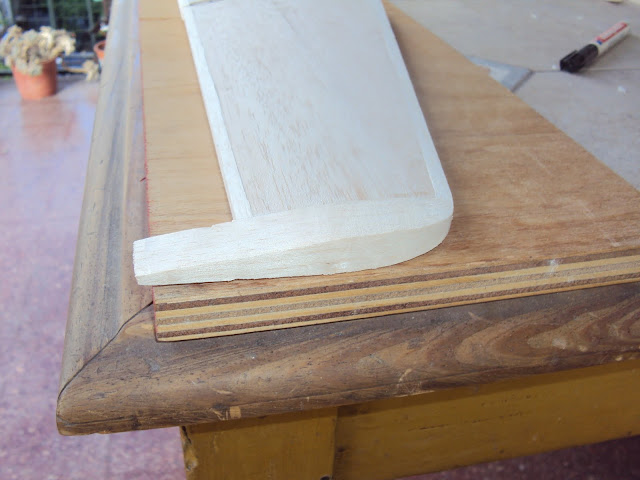


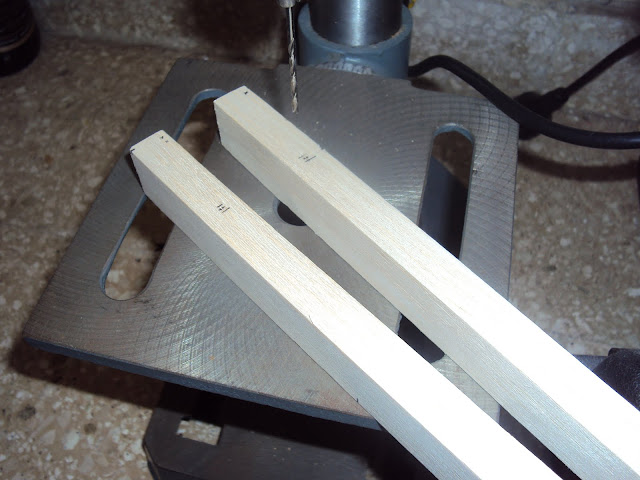
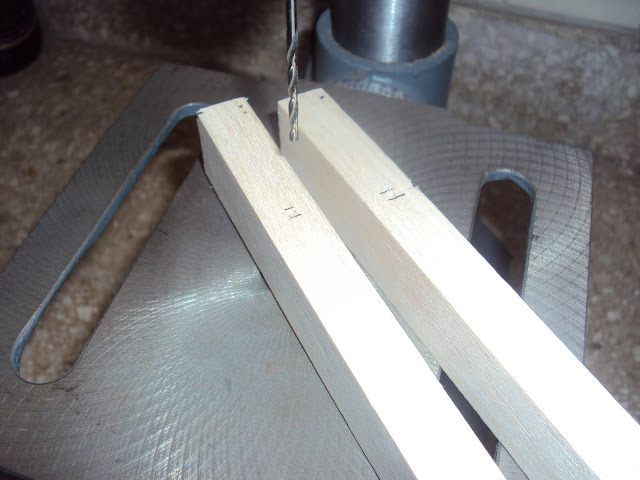
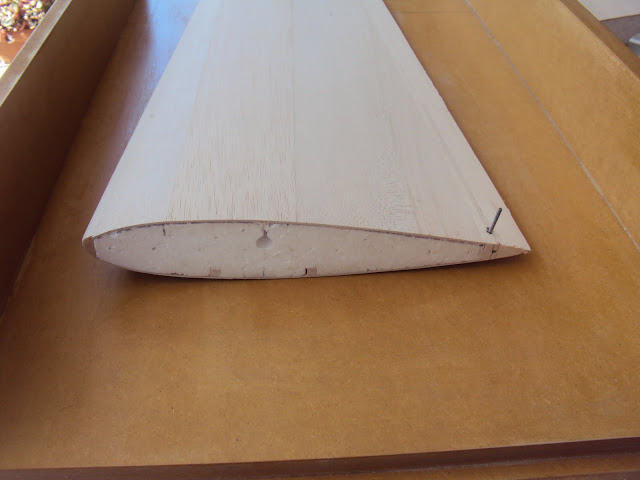
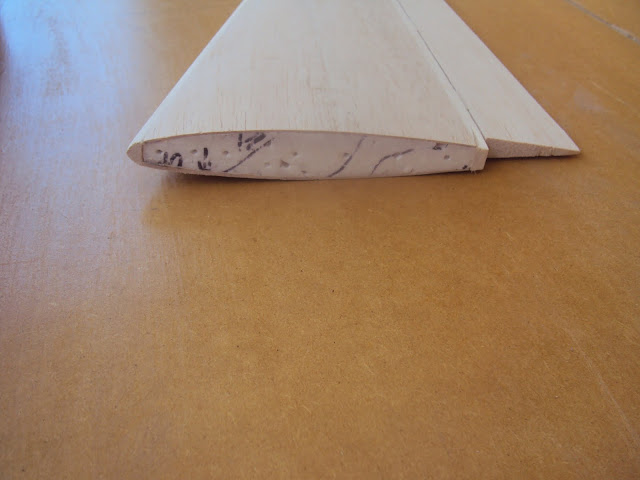
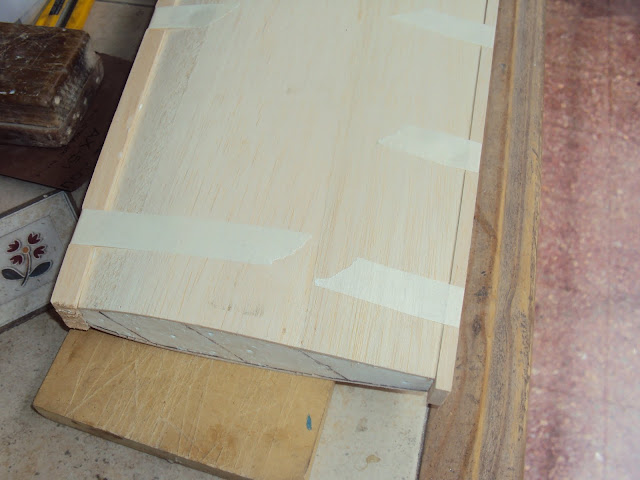
 11-10-2011, 01:20 AM

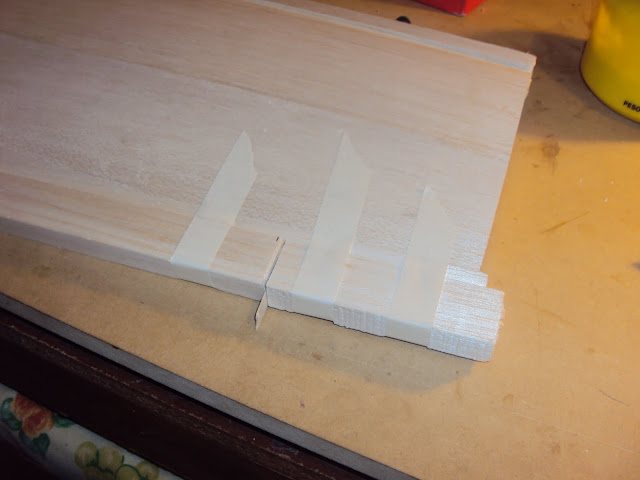
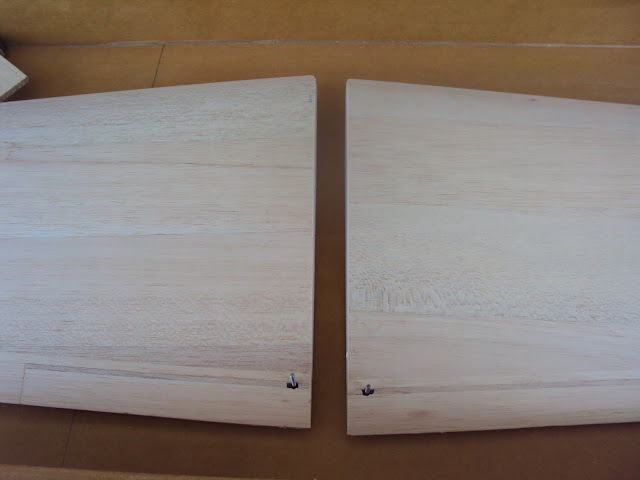
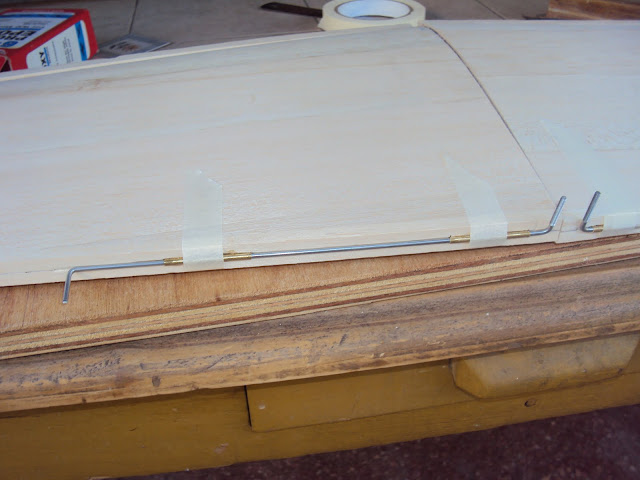
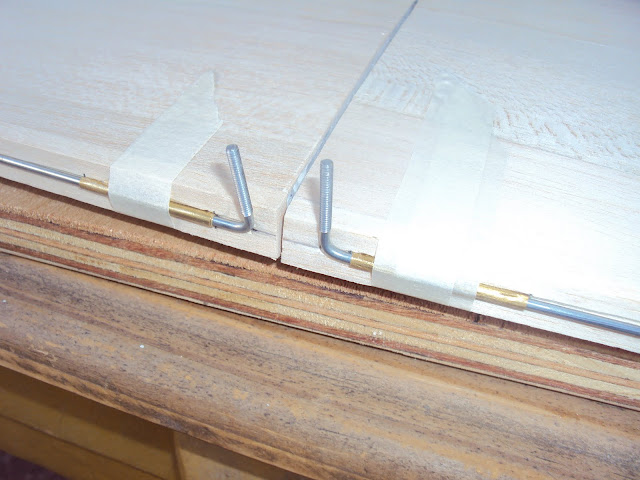
nice work on the stab. How thick are those hinge spacers you are using? They strike me as a little thick but maybe I don't follow your technique. Do the spacers result in a hinge gap equivalent to the hinge pin thickness? Any reason why you wouldn't want to close that gap if that's what it is?
David.
11-10-2011, 02:08 AM
The spacer is 1 mm. and it was my idea to do it this way.<o></o>
But I´ll try to close the gap as much as I can.<o></o>
11-10-2011, 03:19 AM
Very nice work on the Tiporare and the Curare on the other thread.
Regarding your work lightening the cores: Te volviste chino!
Kenneth
(Arjo in the UK)
11-10-2011, 09:35 AM
Chino,
Very nice work on the Tiporare and the Curare on the other thread.
Regarding your work lightening the cores: Te volviste chino!
Kenneth
(Arjo in the UK)
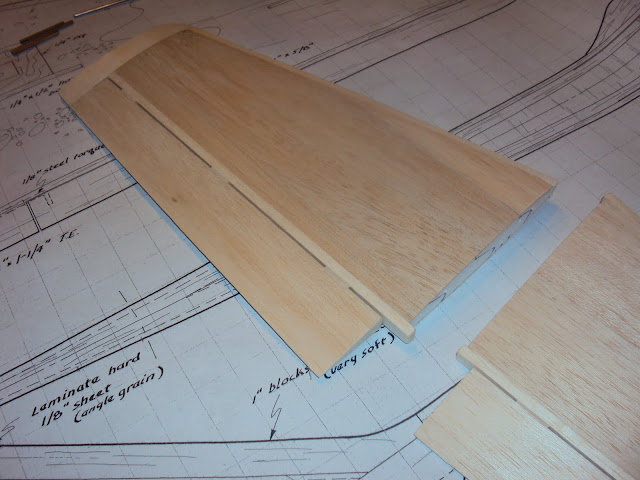
Actually, I'm really curious to find out how much that wing and stab end up weighing. I might just have to build a set without lightening holes to see how much more they weigh. Diego, what sheeting thickness did you use - 1.5 or 2.0 mm? I was thinking of using 1.0 mm (1/32 in) and full sheeting epoxy to see if they would end up about the same. It would be an interesting experiment.
Diego, you might have seen another technique where the control surfaces are "rubber hinged" to the surface using 1/32" ply temp hinges. It keeps the control nicely aligned and already hinged to the surface while you sand it to taper. This results in a gapless hinge line requiring you to only open up the hinge pocket in the control to accept the hinge bearing. I like using hinge points (e.g., Robart or GP) as they are easy to install but they require a U-notch in the control for the bearing. Either way, they produce gapless hinge lines - no need to "seal" the hinge line after finishing. Just some other ideas...
David.
11-10-2011, 10:35 AM
Re. "che, sos un loco!" that would work too. I can think of a few more, but since Chino doesn't know me my expressions could be perceived as rude rather than complimentary. I am an Argentine living in the UK and I didn't expect a comment from somebody in Canada.
I have a number of the classic F3A plans you kindly made public in PDF format. I definitely have the full size Tiporare in my future from your plan, as soon as my young kids let me have my time back.
Chino, With reference to panel weights I would be interested in knowing too. Excess weight is added in the bonding, and my heaviest wings have always been when I use epoxy, even when sealing the wood first. My lightest wings have been achieved when using a product called Gudy-O by Neschen in Germany. It is an adhesive film without backing or carrier that weighs only 5 grammes per square metre but is stronger than the veneer. Imagine the adhesive of Scotch Tape (Cinta Escoch en paisano) but without the plastic tape. The weight gain per panel is negligible
See [link=http://apps.webcreate.com/ecom/catalog/product_specific.cfm?ClientID=15&ProductID=20661]Gudy-O[/link]
There are a few negatives though:
1. You cannot reposition the veneer (so get it right first time)
2. You must be sure that you have pressed down the veneer properly onto the core. I rub the veneer with a piece of the adhesive's backing paper as you would a decal,
3. If your wing is warped when you lay down the second veneer, it stays warped - no repositioning, so get it properly nested in the shuck.
4. It has no gap filling properties, so any wood structure embeded in the core (retract frame, end of joining tube riblet, aileron facing, etc.) needs to be flush with the core. To be sure I put pieces of adhesive film on the wood enbedded in the core as well.
But you will have wings that weigh virtually the same as the core, veneer and inserts.
Kind regards,
Kenneth
11-10-2011, 12:09 PM
It´s nice and funny to hear from people that know the way we talk in Argentina!
David: Iwas not able to measure the weight of the wing because in that case I must build two pairs and the work involved is too much. The lightening holes aren´t big than they could be, so the wing is strong enough.<o></o>
I didn´tknow the techniques of the plywood hinges, do you have a thread with pictures?<o></o>
Keeneth: nice to meet you, and with your name it could be impossible for me to know that you are Argentine!!! Your info about glueing with Gudy-O is very interesting but it seems to be a little tricky in the application. I think that epoxy is better, because it fills gaps and is strong too.<o></o>


 11-10-2011, 02:20 PM
David: I was not able to measure the weight of the wing because in that case I must build two pairs and the work involved is too much.
that's not what I was thinking. I was just hoping you could weigh the completed wing and stab as you have built them with ailerons and elevators but no retracts or servo. This would provide a benchmark for the T40 wing built with lightening holes as you have done. I have a set of cores for the T40 that I could build using the standard approach without lightening holes to see how much heavier they are. As we know, adhesive is often the critical factor when wood is selected carefully. I would build with epoxy too (laminating) in order to have a closer equivalence. Only problem is that I would need a set of retracts before building the wing. I would like to use a set of Rhom Airs with electric conversion but haven't got them in hand. What was the thickness of balsa you used to sheet the wing?
Check out Mike's (8178) Blue Angel build for the ply hinge technique. Basically you just cut some 1/32" ply rectangles to the size of the hinges you are going to use (lest they be CA hinges). Typical might be DuBro hinges. You then hinge the unshaped and un-sanded control to the surface using these ply hinges and rubber cement. This allows you to shape the control to final shape. You then pop the control off and remove the ply hinges. This will give you a gapless uniform airfoil from stab LE to elevator TE or wing LE to aileron TE. It's much like if you built a foam wing cut with the control included with a feathered TE. These wings typically result in more accurate and warp free controls since they are sheeted directly with the wing and then cut out and capped at the hinge line. The actual hinges are then inserted into the controls with the hinge bearing recessed into the control so it sits flush with the wing or stab TE at the hinge line. Not sure if that's clear...
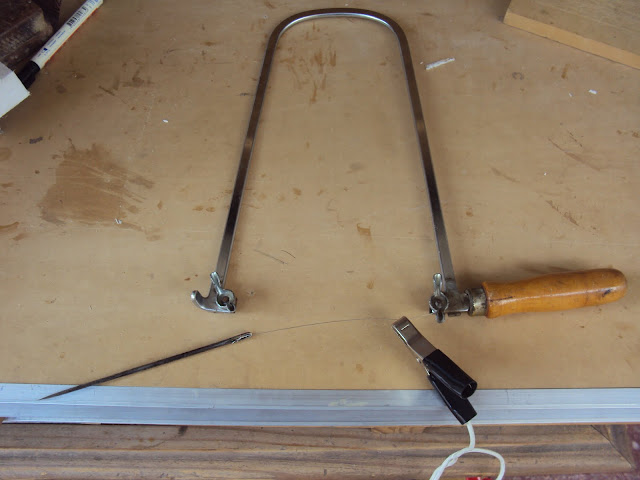
By the way, with your foam cutter and the templates you cut to produce the core, you could easily cut feathered cores with controls included. Just go a little further on your wing block with the cutter. Of course you need to cut the block to full TE planform. You then cut the control free from the wing after sheeting. If you haven't built a wing like that before, try it, you'll like it.
It's interesting to watch your build because one can tell you are definitely fast and versatile in your approach. You do have a very different style from many builders - certainly this one here. Do you happen to do carpentry as well? Some of your techniques are similar to what carpenters might do.
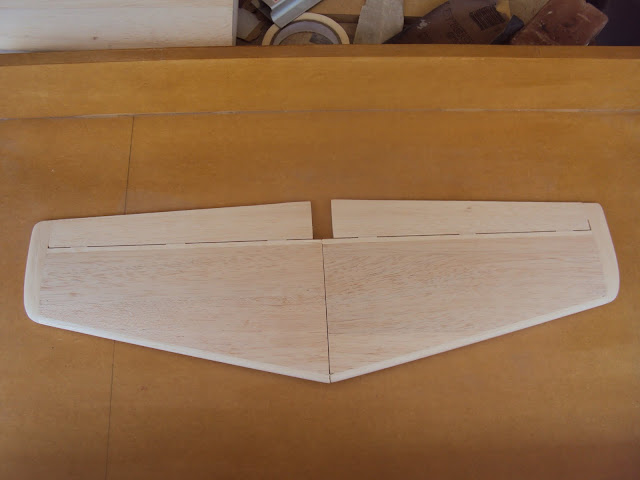
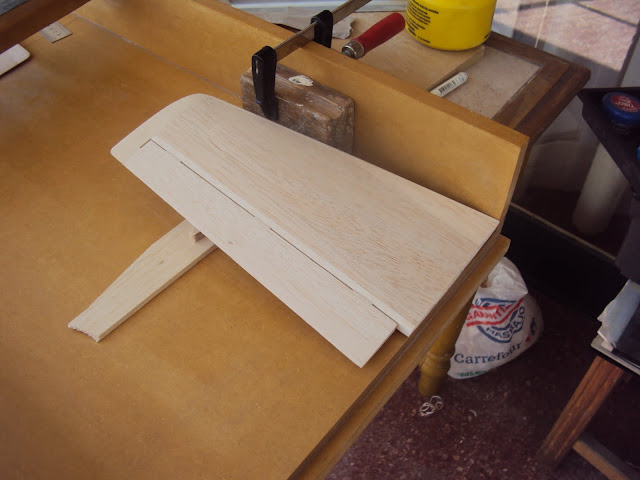
That wing and stab seem almost complete. The fuse won't be long after that - just a tad of elbow grease...
 Keep up the good work!
David.
11-11-2011, 06:09 AM
Hi David!<o></o>
Ok, I´ll post the final weight of wing andstab without Monokote.<o></o>
I´ll use the 8178 hinge techniques for the ailerons. One of my goals here is to learn about building this kind of planes.This is my second one (first is my unfinished Curare) with this kind ofconstruction.<o></o>
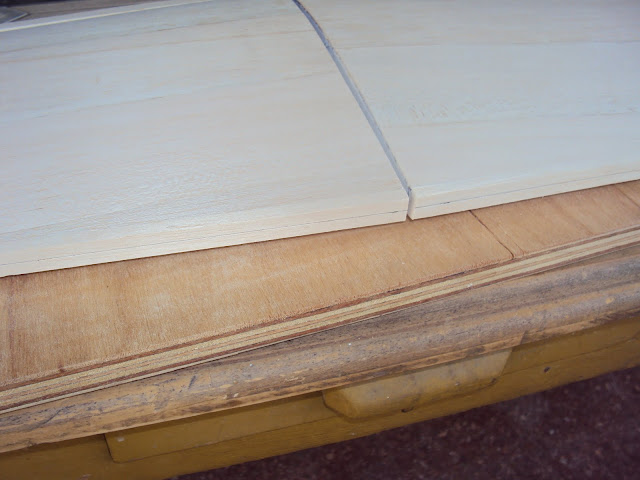
When I finished wing and stab I´ll work in the fuselage. By the way, I have to re-drawing the stab airfoil on the fuselage sides. Is different the airfoil in the fuselage than the one for cutting the foam cores.<o></o>


I was always involved in building with wood, so is natural for me to work with this kind of material.
Thank you for your suggestions and comments.<o></o>
<o></o>
<o></o>
Chino
<o></o>
11-11-2011, 10:16 AM
good stuff. You might as well weigh the ready for covering wing and stab and then again after they are covered and with the gear on board (landing gear, servo, linkages). I guess I'm hounding you a bit on this stuff because there are several people out there who like the Tipo and your T40 is the second one I'm aware of that has been built here on the forum (for that matter, I don't think that many have been built, if any, in the last several years). William Keller (WK Hobbies) who used to produce the glass fuses before GP bought the rights to the Tipo in the early 80's, evidently also built a wood T40 and then produced a mold of his fuse and made glass T40 fuses. Someone here on the forum built a T40 from glass and foam much like the GP T60's out there.
As far as the stab opening in the rear, the wood Tipo is a bit of a pain because you have to somehow simultaneously open the recess to accept the stab and then also build the vertical atop there. I built the Pico like you are doing here producing the opening and then building the fin with the void there present. If I were to build another wood Tipo (of any scale) I would build the fuse and treat it as if it were a glass fuse. In other words, I'd leave the recess closed and cut my fuse sides as if the stab didn't exist. I'd then bond the vertical sheeting (either 1/16" or 3/32" on the T40) to the top of the fuse sides where they go. I'd frame up the fuse and treat the vertical as if it also required its "formers" and obtain a single "glass like" wood fuse with integral fin. I'd then build the rudder and fin tip and carve/sand the entire fuse to shape before even thinking about inserting the stab. The only exception might be to mount the wing before rounding off the fuse as it might assist with the wing alignment to still have a "box like" fuse. Right angles aid in alignment.
Below is a picture of a forum member who built a 2m Tipo with the idea of using it for F3A practice... that was some time ago. His fuse shows pretty much how I would go about the build. I find he built a very nice wood fuse - that nose is tricky.
David.
P.S. Replied to your PM.
11-11-2011, 12:28 PM
It´s ok, I´ll weight the wing and stab andshow here the results.<o></o>
I am thinking how to build the fin, maybe asI did in the Curare.<o></o>
Very good picture of that fuselage and the detail of the nose zone.<o></o>
<o> </o>
Chino<o></o>