


Molding Problems
 04-22-2019 | 03:06 AM
#1
Thread Starter

I've just pulled a set of molds from a plug.... plug was made with blue foam covered in 2 layers of 12oz cloth then filled and primed before rubbing back to 1200 grade wet. Then 6 coats of maguires mirror glaze applied before spraying on 3 layers of PVA release agent. The molds were made up of 2 thick coats of Durabuild surface primer and 8 layers of 12oz cloth.... the molds pulled away ok but in places some of the primer came away too which wasn't too much of a problem as it polished up smooth with no edges with rubbing compound but in a couple of other places some of the filler came away too which did cause a problem as it needed to be mechanically removed and has affected the surface finish....
Any thoughts to prevent this happening again?
Any thoughts to prevent this happening again?
Last edited by Typhoon Phil; 04-22-2019 at 03:23 AM. Reason: Incorrect spelling
 04-22-2019 | 06:04 AM
#2

My Feedback: (29)
Use release products from the same company. I always use Partall #2 wax and Partall PVA. Usually the first coats of the mold surface would be a tooling resin of some sort. I use the same laminating resin throughout but the first two coats prior to cloth application is mixed with 5% volume by weight graphite powder. Your first couple layers of cloth should be fairly light weight, I start with 1.4oz then 3oz then alternate between 5.8oz and 12oz. Lastly, it is almost impossible to get a smooth finish by spraying PVA ( at least for me ), I apply PVA straight out of the bottle with a foam brush.
Last edited by speedracerntrixie; 04-22-2019 at 06:07 AM.
04-22-2019 | 03:33 PM
#3

As mentioned above Partall #2 wax is the best. For a plug I will apply 10 coats waiting the full half hour between coats. I will also apply 10 coats to new molds for their first pull. You mentioned that you used primer for your mold. Perhaps others have had success with it... but it is much softer than using a tooling coat. The stuff was actually invented for this purpose. If you dont want to spend the money on proper epoxy tooling coat then you could do as mentioned in the above post.
I've tried paints before as a tooling coat but never had any success so I now stick with proper epoxy tooling coat.
I've tried paints before as a tooling coat but never had any success so I now stick with proper epoxy tooling coat.
04-23-2019 | 01:11 AM
#4
Thread Starter
Thanks for the replies guys..... when you say tooling coat, is that on the plug (as in the last layer) or on the mold, as in the first layers before the cloth? Sorry for the rookie query!
04-23-2019 | 08:19 AM
#6
My Feedback: (29)
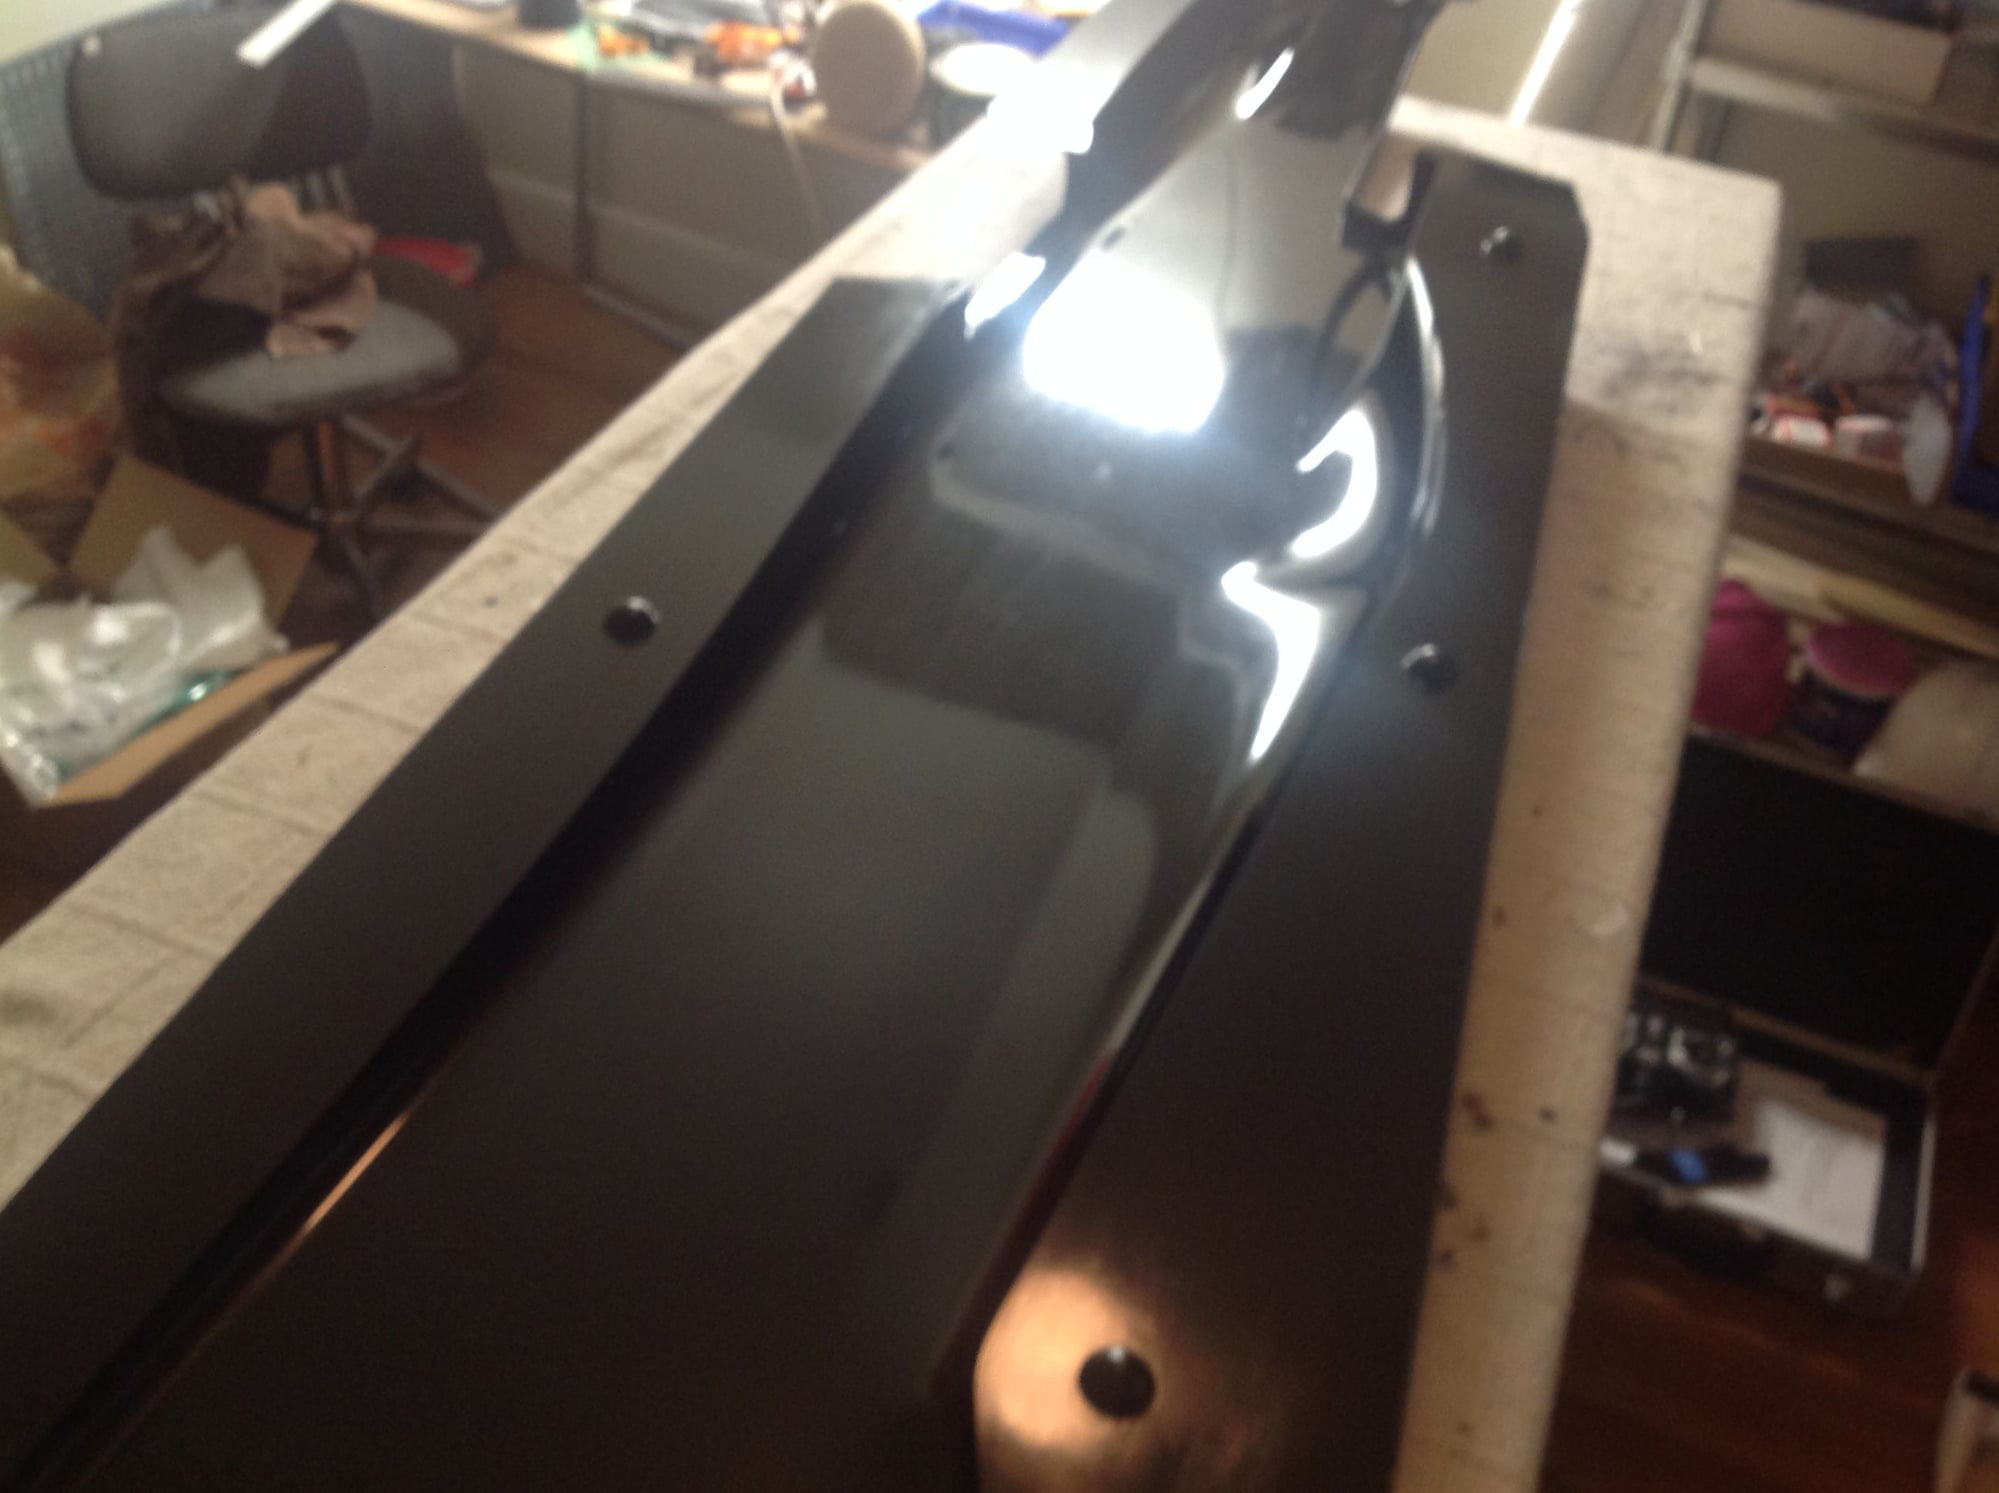
Mold interior following plus removal and a wash with soap and water.
As I stated above, I simply add some graphite power to my laminating resin and brush on two coats. I then run a strand of 12K CF tow in the corner and a paste of laminating resin with graphite powder and cabosil. Then start with light weight cloth. That is usually the end of day one. Day two is the medium weight cloth followed by the bulk layers. Building up the mold too quickly can create excessive heat that can affect the release system.
04-23-2019 | 02:38 PM
#7
Thread Starter
Mold interior following plus removal and a wash with soap and water.
As I stated above, I simply add some graphite power to my laminating resin and brush on two coats. I then run a strand of 12K CF tow in the corner and a paste of laminating resin with graphite powder and cabosil. Then start with light weight cloth. That is usually the end of day one. Day two is the medium weight cloth followed by the bulk layers. Building up the mold too quickly can create excessive heat that can affect the release system.
The following users liked this post:
Lownverted (11-19-2020)


