


Passion V2 Yellow
 07-02-2015 | 09:59 PM
#1
Thread Starter

My Feedback: (2)
Joined: Aug 2010
Posts: 100
Likes: 0
Received 0 Likes
on
0 Posts
From: Deatsville, AL
((((((THIS IS A YELLOW PAINT DESIGN THE "V2" REFERS TO THE SECOND BUILD THREAD ON RCU NOT THAT THIS A DIFFRENT PLANE OR REVISED AIR FRAME)))))
I was blessed to have the Mike Muller and BJ Park allow me to do some test flying and document the build process. the Plane arrived all in tact with the usual wood crate, there where not any blemishes . For this build I will be using the flowing components.
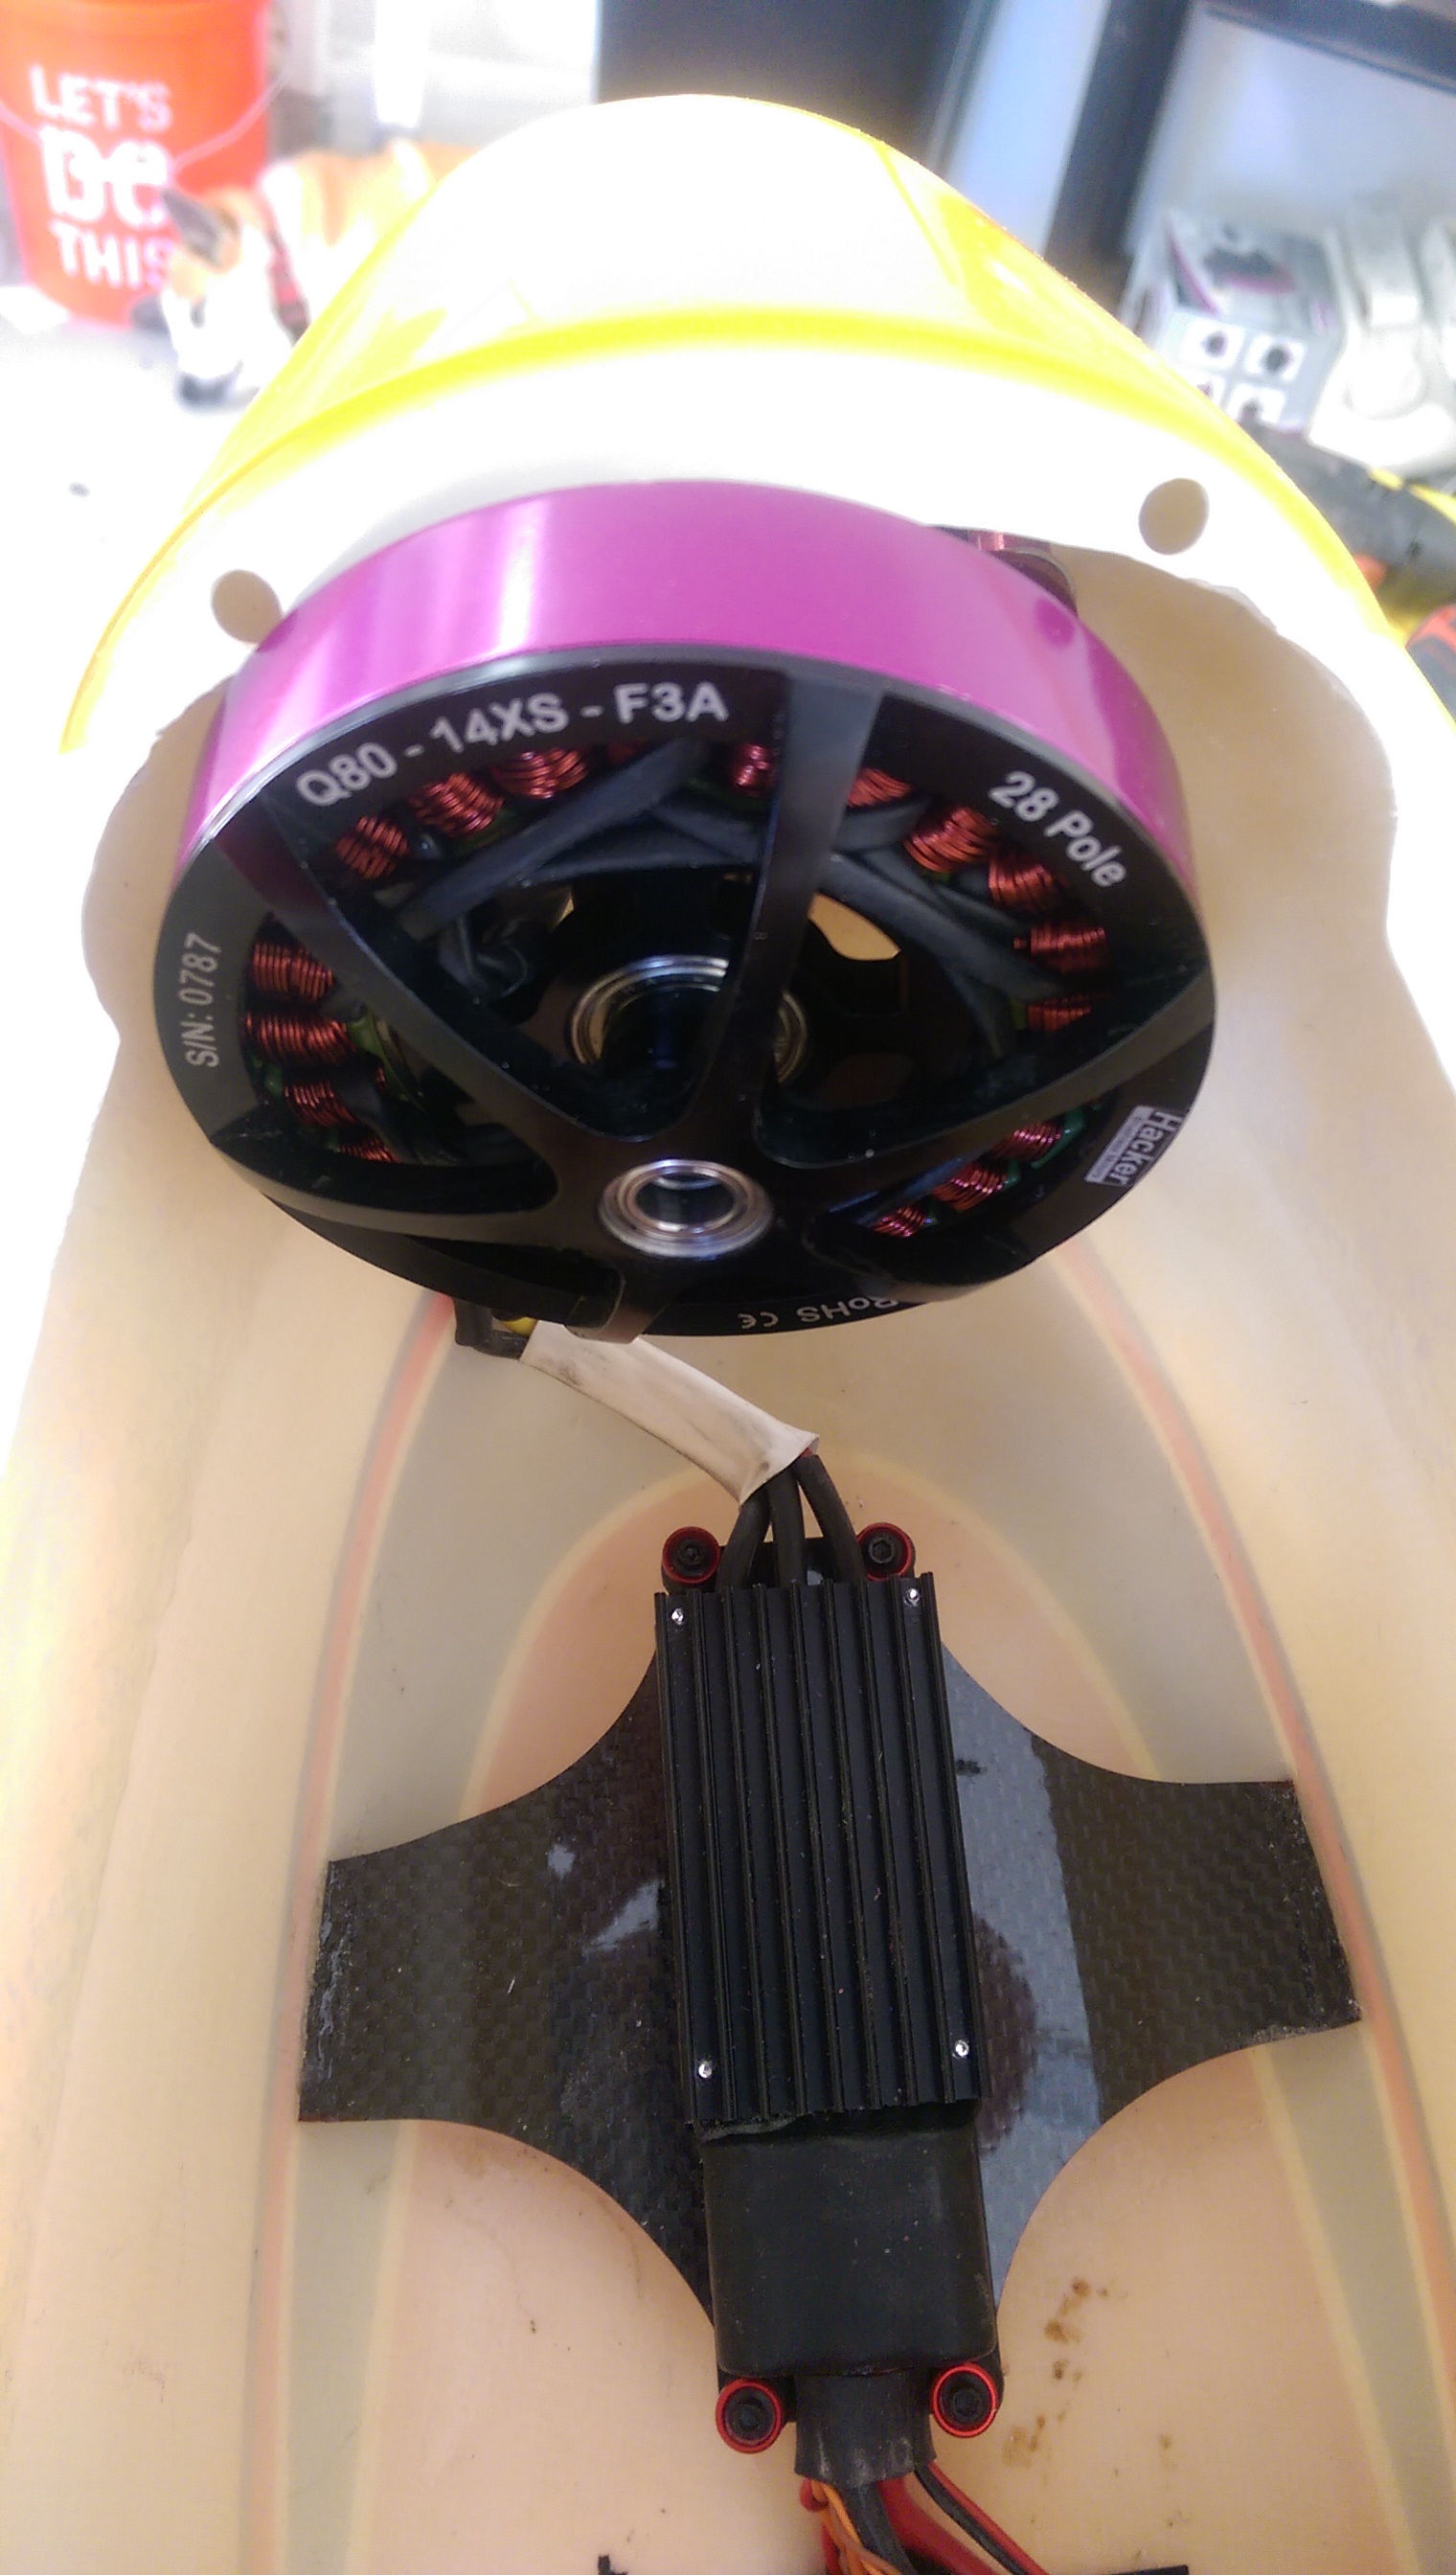
Hacker Q80-14
Jeti meaon 90 esc
all seacraft arms and carbon push rods.
I am also using 6 MKS X6 hbl575 servos ( this servo is awesome for pattern
the fist thing that I found that the hole is way to small for the q80. so I had to apace it back 1.5 inches. the way I did this is I used a 2.5 mm end grain carbon balsa cut out a circle to reinforces the nose. then a f3a q80 mount. I ran a 2 in 6/32 bolt from the front through the mount ans a 1/2 secraft spacer with nut and washer then another q80 mount to for the motor/ with all if this I was able to clear he nose
.

After this I moves on to the gear main and tail nothing here just normal stuff/
I was blessed to have the Mike Muller and BJ Park allow me to do some test flying and document the build process. the Plane arrived all in tact with the usual wood crate, there where not any blemishes . For this build I will be using the flowing components.
Hacker Q80-14
Jeti meaon 90 esc
all seacraft arms and carbon push rods.
I am also using 6 MKS X6 hbl575 servos ( this servo is awesome for pattern
the fist thing that I found that the hole is way to small for the q80. so I had to apace it back 1.5 inches. the way I did this is I used a 2.5 mm end grain carbon balsa cut out a circle to reinforces the nose. then a f3a q80 mount. I ran a 2 in 6/32 bolt from the front through the mount ans a 1/2 secraft spacer with nut and washer then another q80 mount to for the motor/ with all if this I was able to clear he nose
.
After this I moves on to the gear main and tail nothing here just normal stuff/
Last edited by griff7166; 07-03-2015 at 07:36 PM.
 07-02-2015 | 10:07 PM
#2
Thread Starter
My Feedback: (2)
Joined: Aug 2010
Posts: 100
Likes: 0
Received 0 Likes
on
0 Posts
From: Deatsville, AL
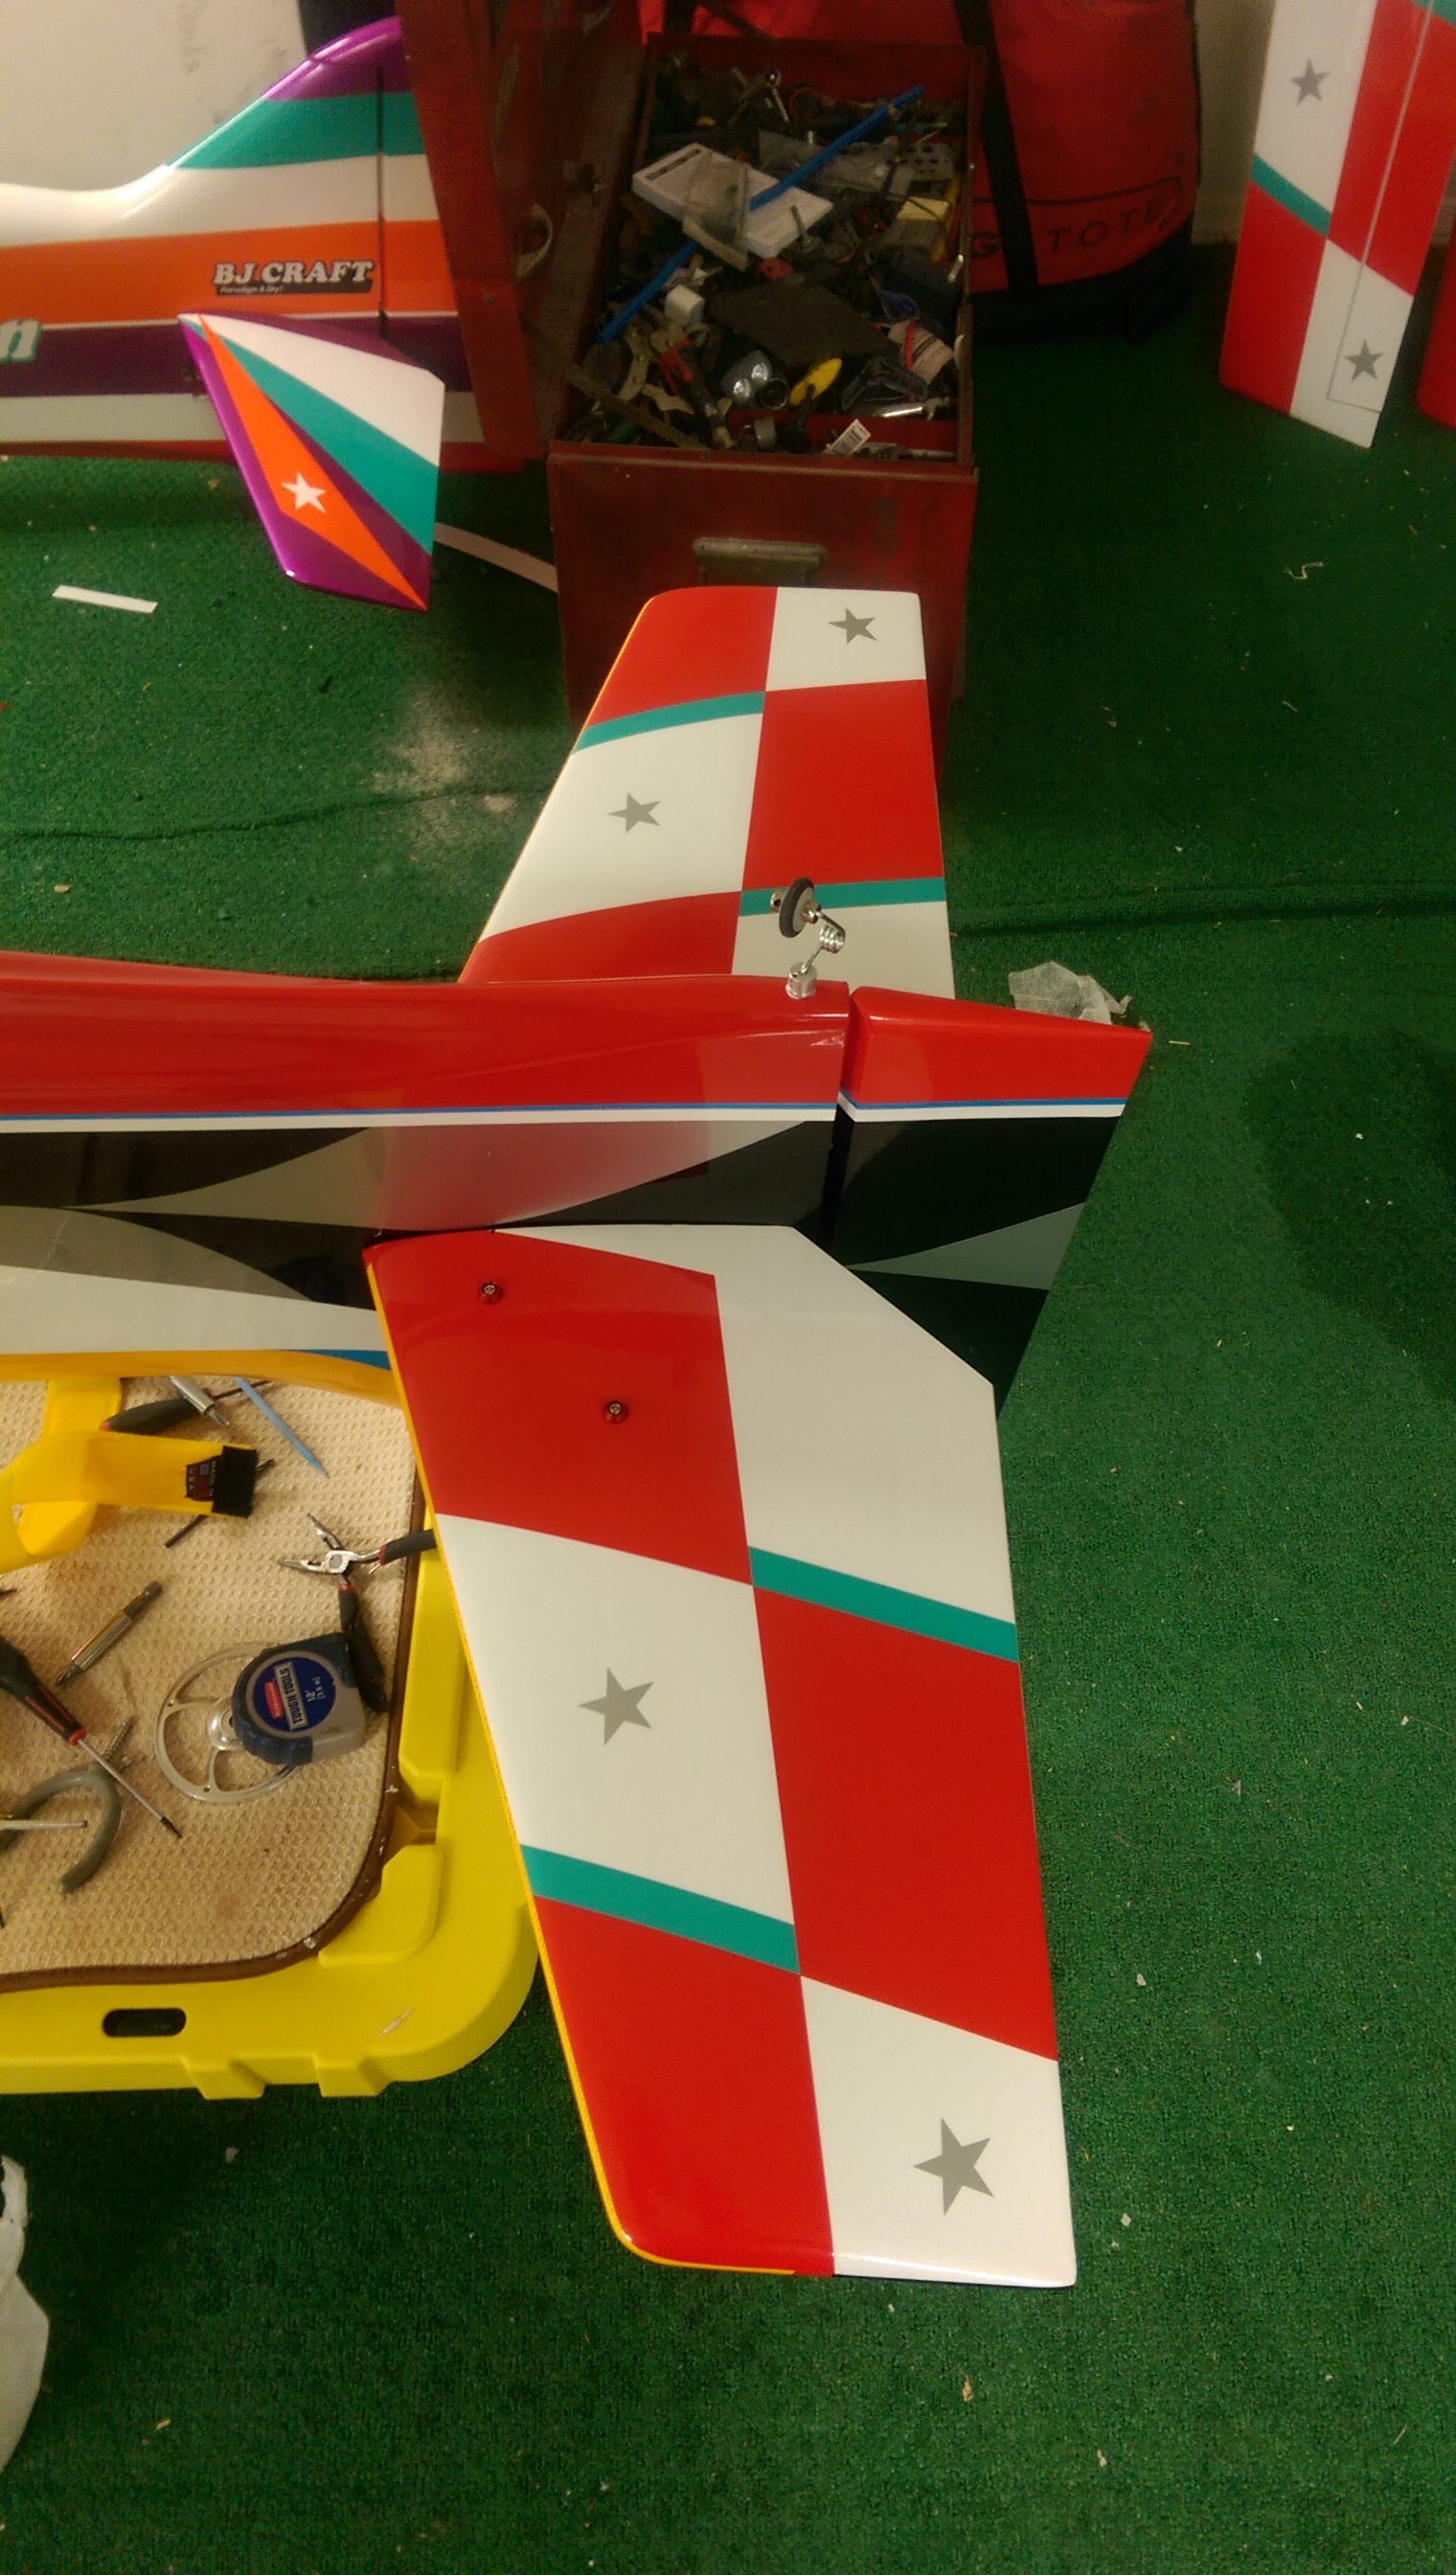
then I worked on the flying stab servo and construction of the the flying stab,. I stated earlier that I was using the new X6 servo by Mks
 the specs are located at: http://www.mksservosusa.com/product....&cat=27&page=1
Last edited by griff7166; 07-02-2015 at 10:13 PM. Reason: more info
07-03-2015 | 07:59 PM
#3
Thread Starter
My Feedback: (2)
Joined: Aug 2010
Posts: 100
Likes: 0
Received 0 Likes
on
0 Posts
From: Deatsville, AL
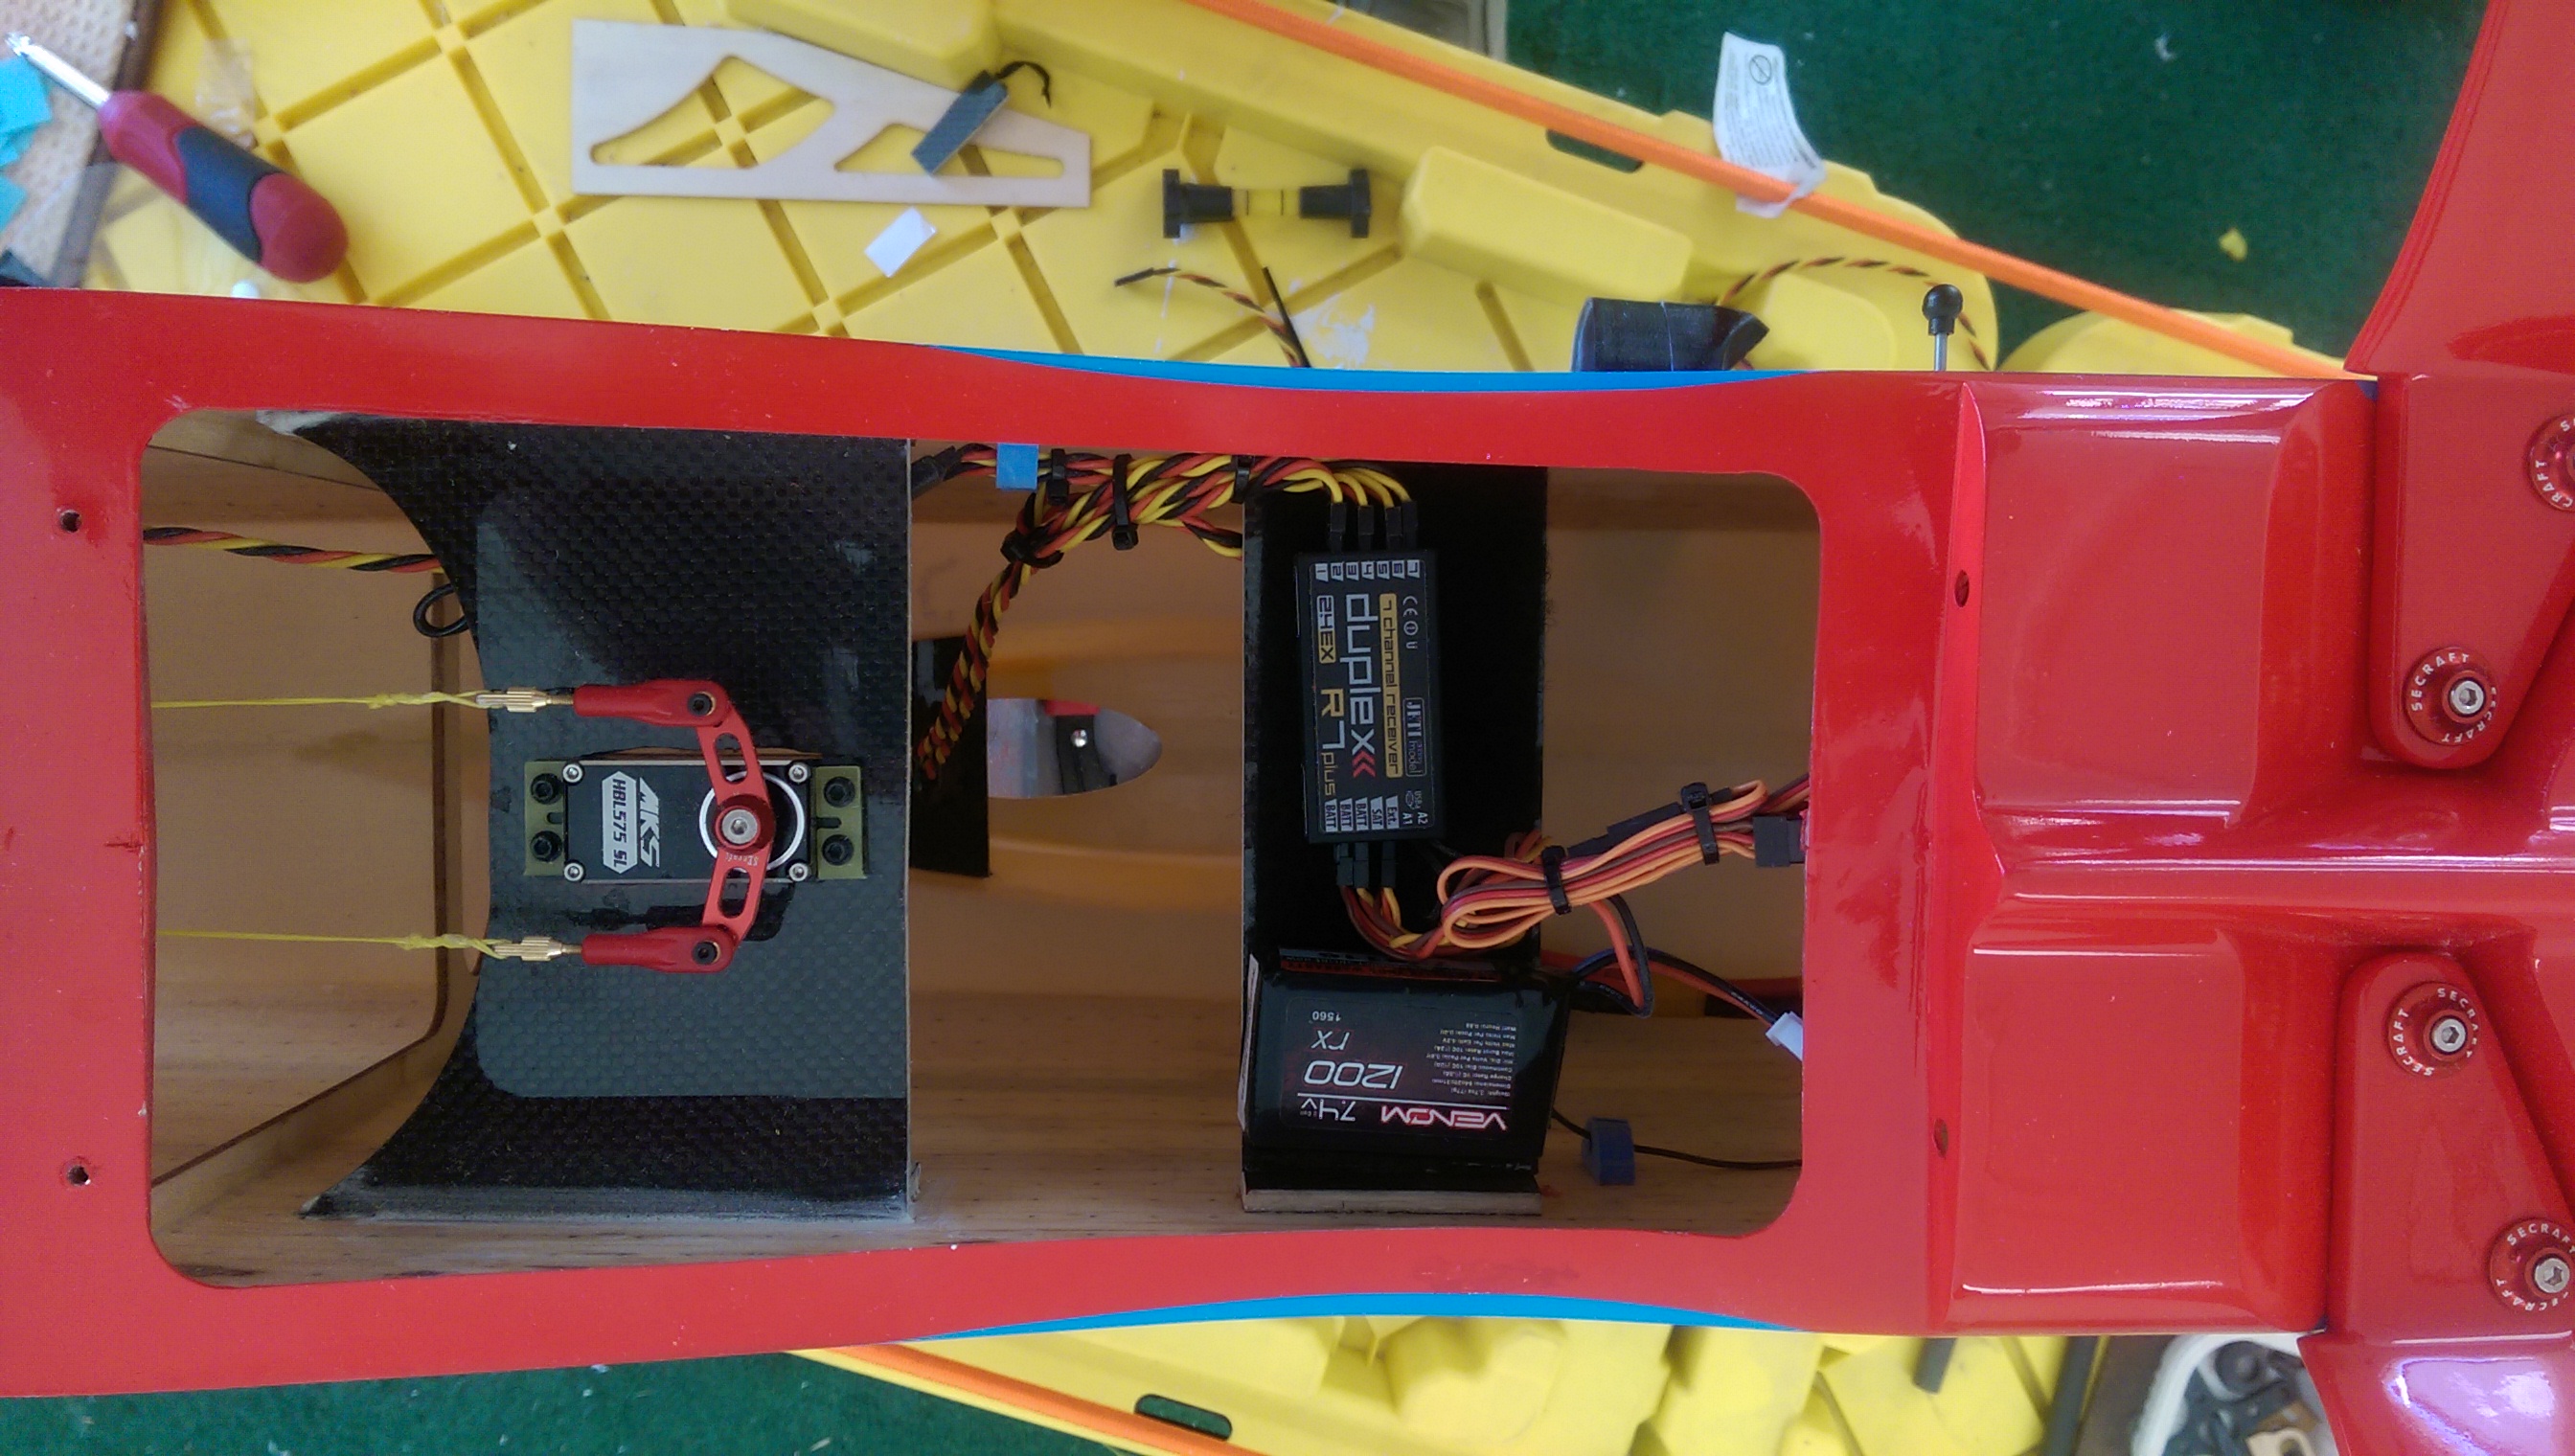
After finishing the flying stab I worked on the rudder . this a pull pull rudder .For the cable I like to use 85lbs Kevlar braided fishing line. I use double pull. so I loop it around the rudder side and pull the two leads per side to the arm and pull tight and tie. after this I use thin CA and soak the knot . once you do this its there.. I find this system and very effective and I have not had any failures.
 \
\
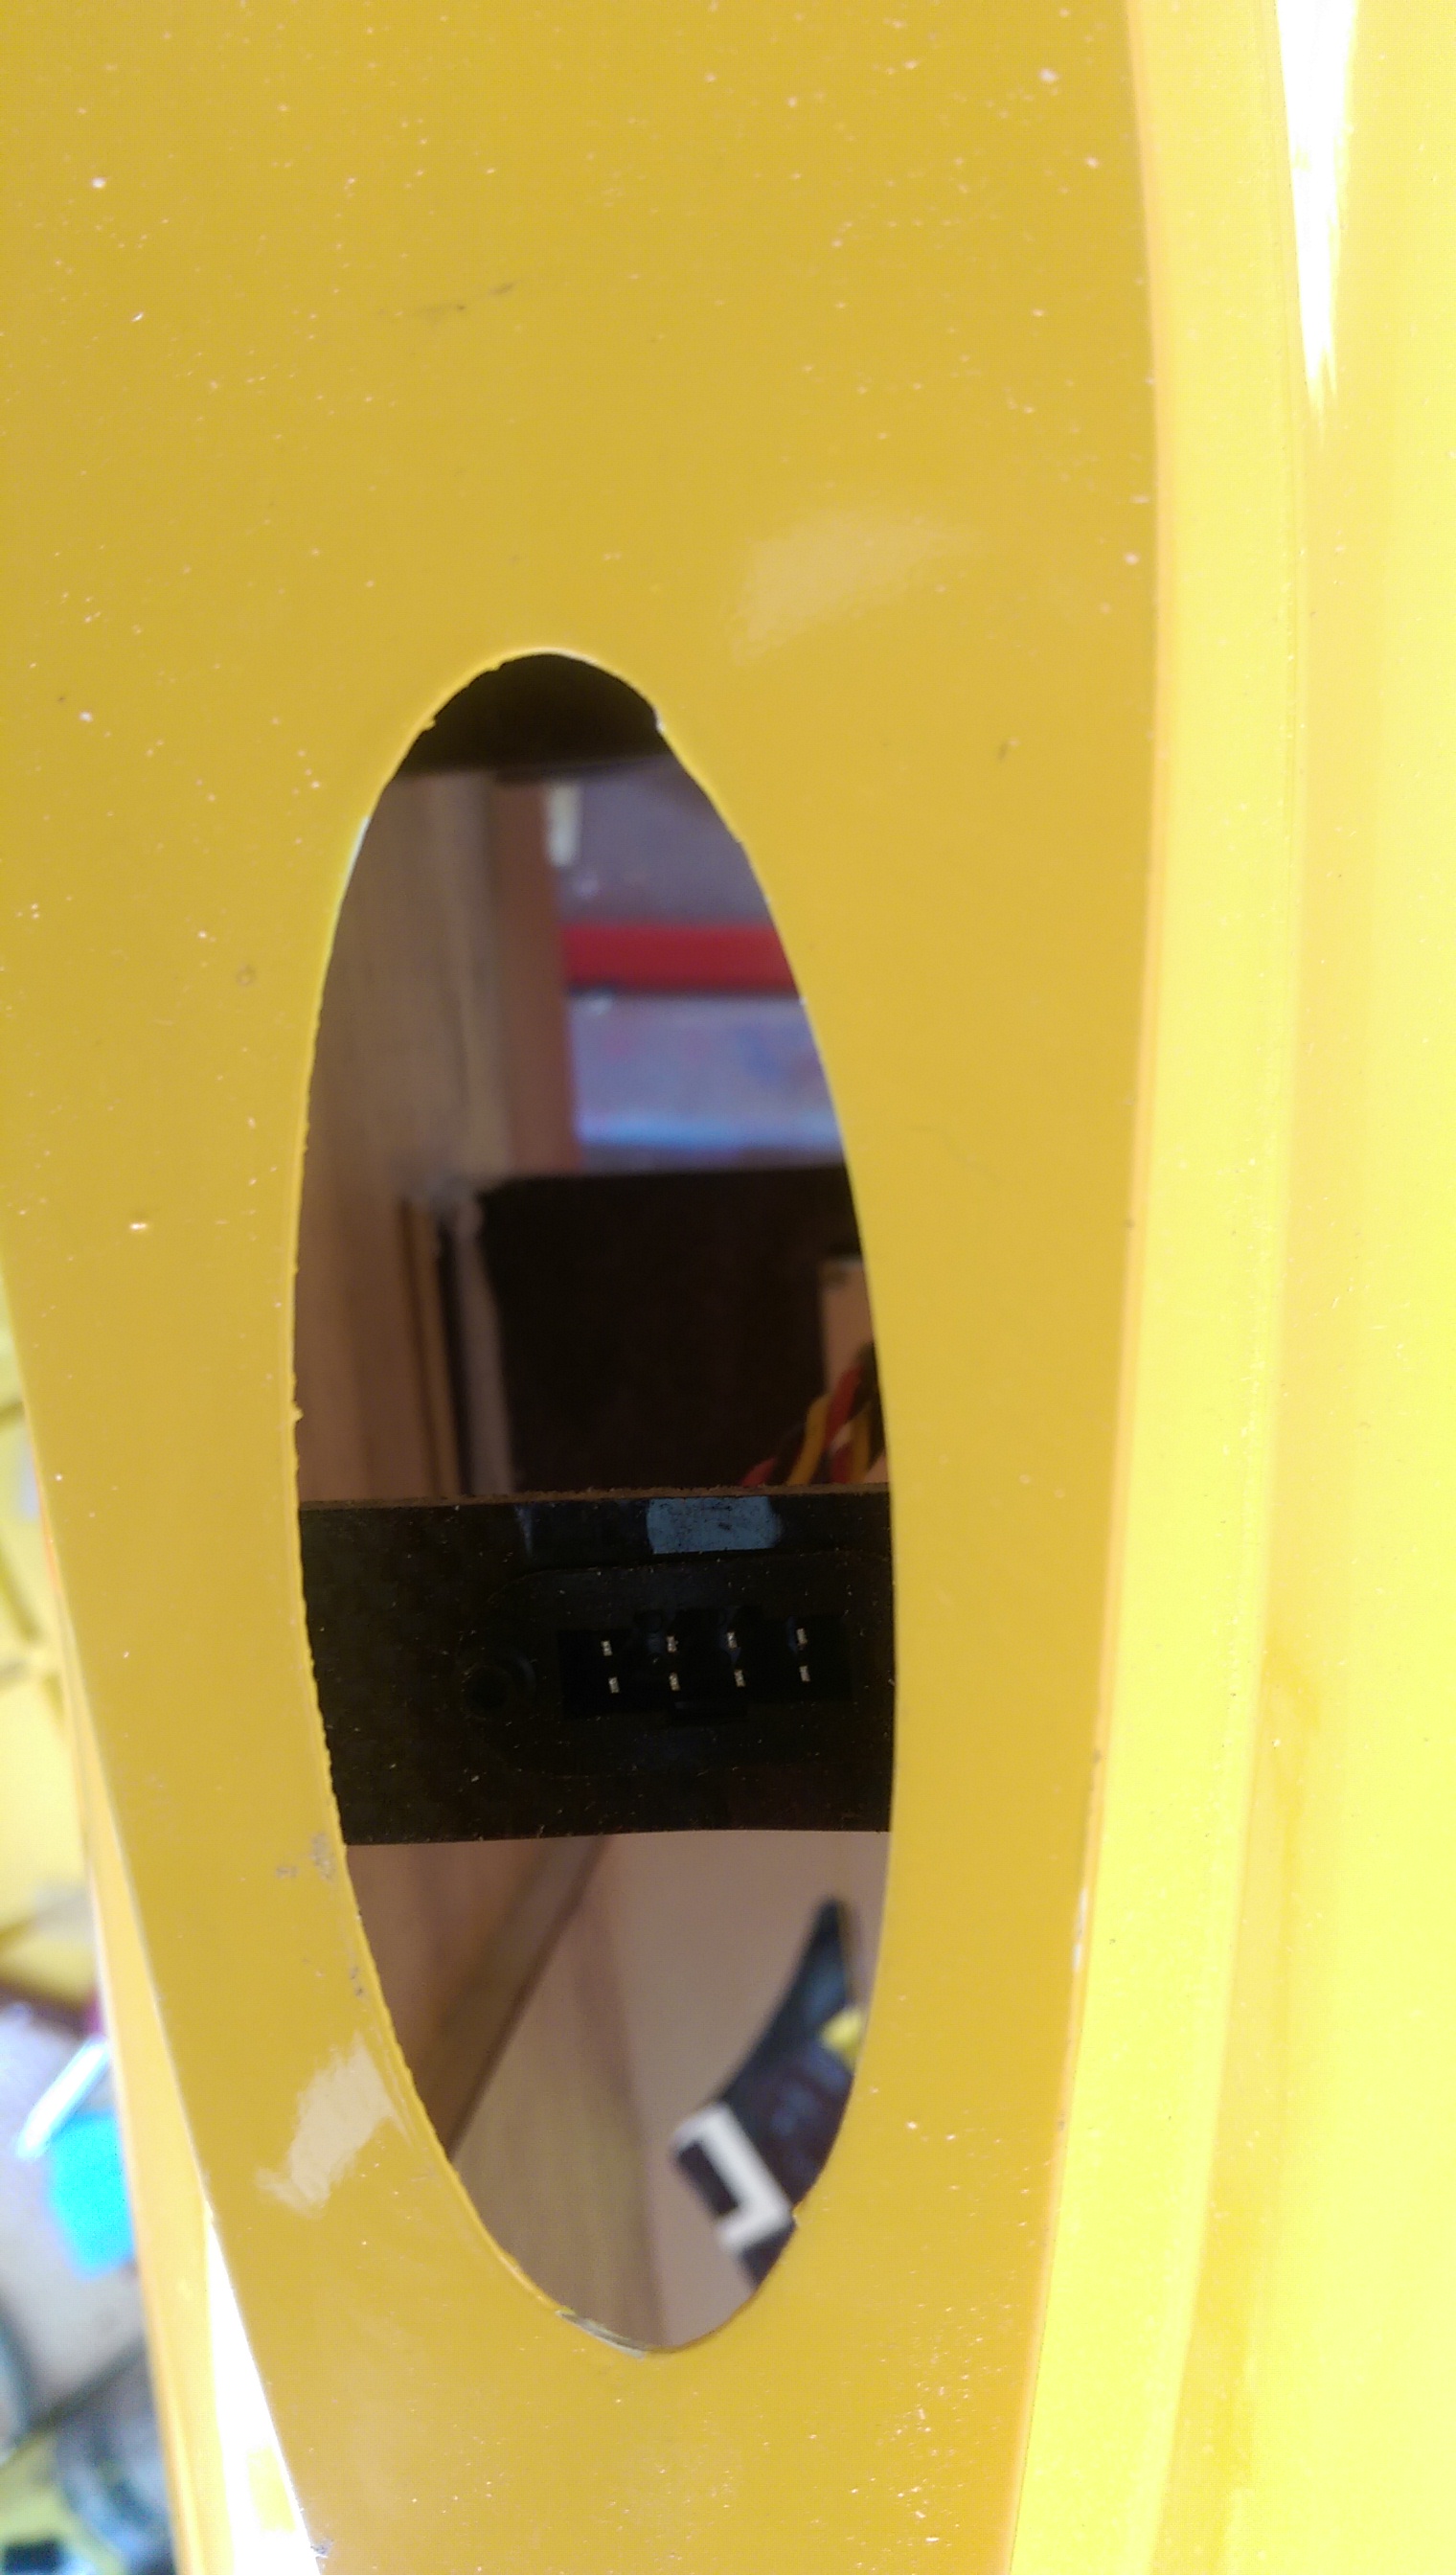
Also in this picture you can see that I have cut a the plate that holds the servo and battery I used 1/8 carbon sandwich ply , The parts that are supplied are fine I choose to do this for the extra strength. I mounted the 8 wire plug for the lower wing servos.. I cut another piece and glued it under the opening on top below the upper wing for the servos .
Also in this picture you can see that I have cut a the plate that holds the servo and battery I used 1/8 carbon sandwich ply , The parts that are supplied are fine I choose to do this for the extra strength. I mounted the 8 wire plug for the lower wing servos.. I cut another piece and glued it under the opening on top below the upper wing for the servos .


