


Divergent kits


 10-30-2019, 11:13 AM
#3
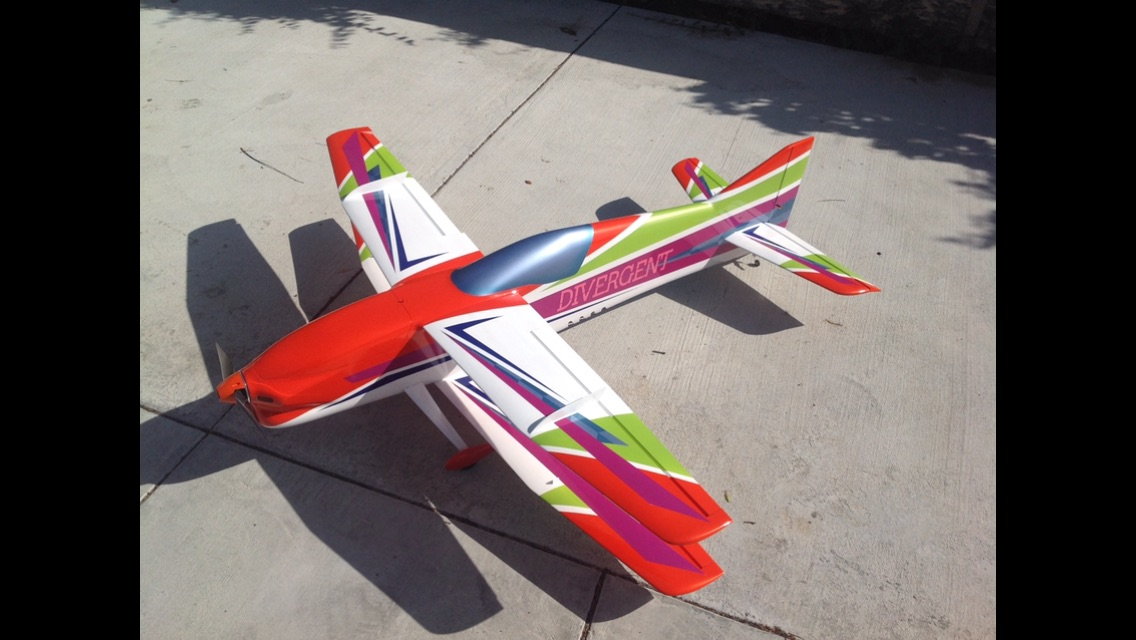
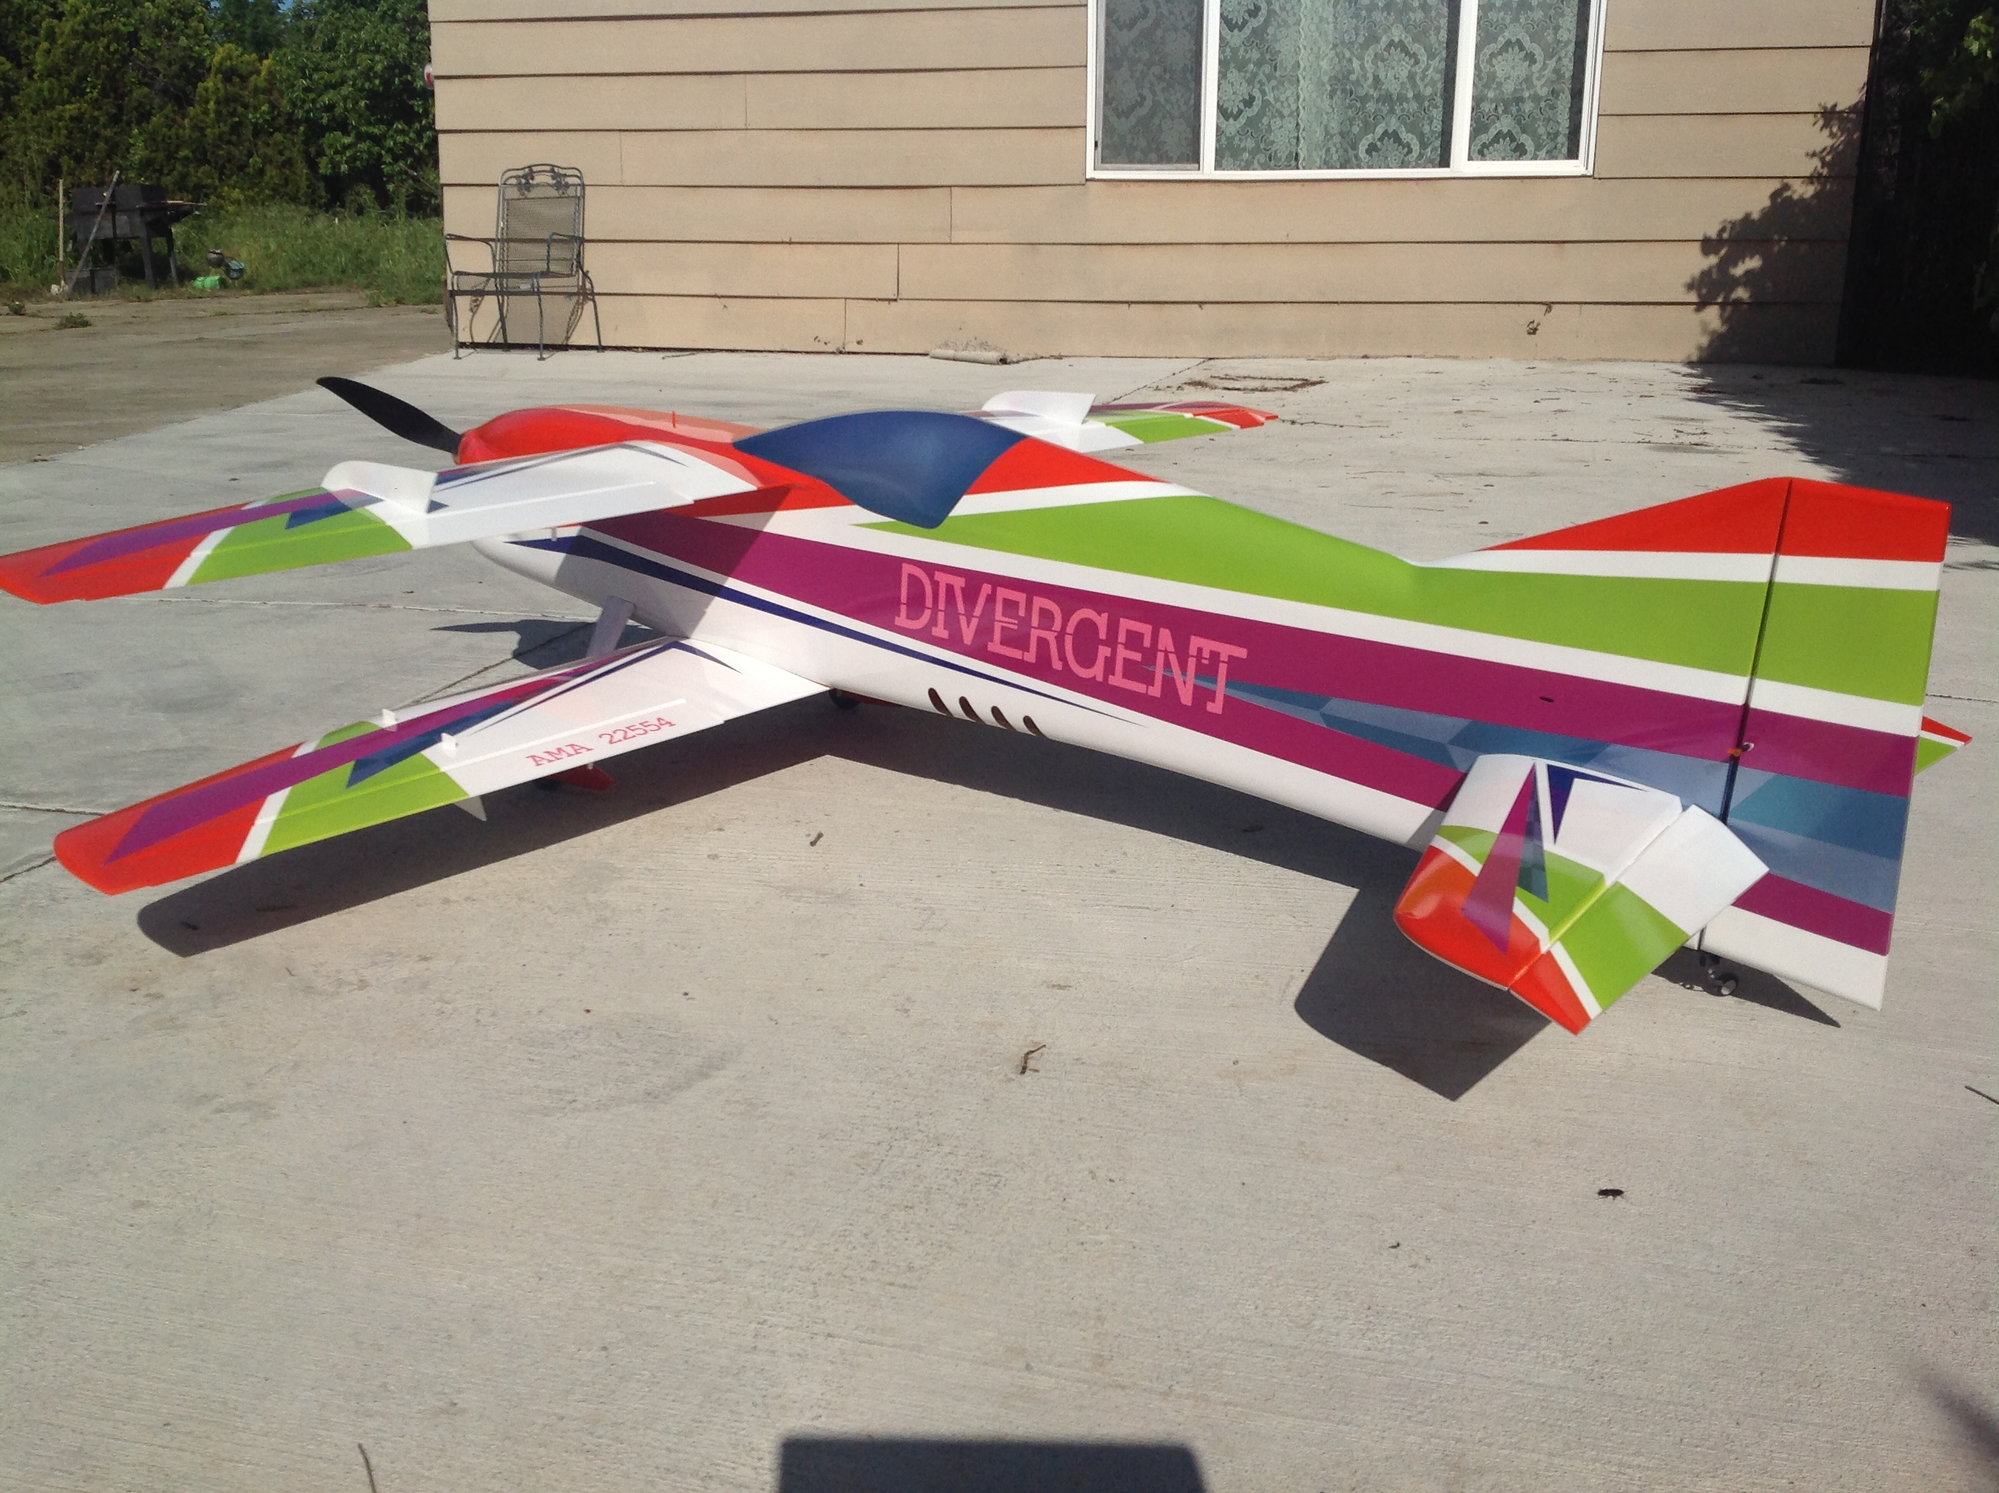
Although I did a thread during the development of the Divergent there have been some things learned during the last year and a half flying the prototype. I have decided that it was time to build another for next season that incorporates the changes that I have made to current production versions. The main factor is the weight. The prototype that I have been flying for two seasons is 1/2 pound overweight. A couple reasons for this. First off is the fuselage layup. The prototype fuselage came out at 41oz complete. The current fuselages are coming out at 31oz. That by itself would bring the current version in under legal weigh. The Prototype is also running a Dualsky 6355 DA series motor and OS ESC. By comparison to other available components these are a bit on the heavy side. Of course the prototype is also a full paint job. I'm confident that with these changes and by film covering the wings a 10.5 lb Divergent should be a fairly easy task. Knowing how well the prototype flies, I'm quite jazzed to see how well the design flies with 1lb less weight. Should be a fun ride.
10-30-2019, 11:21 AM
#4
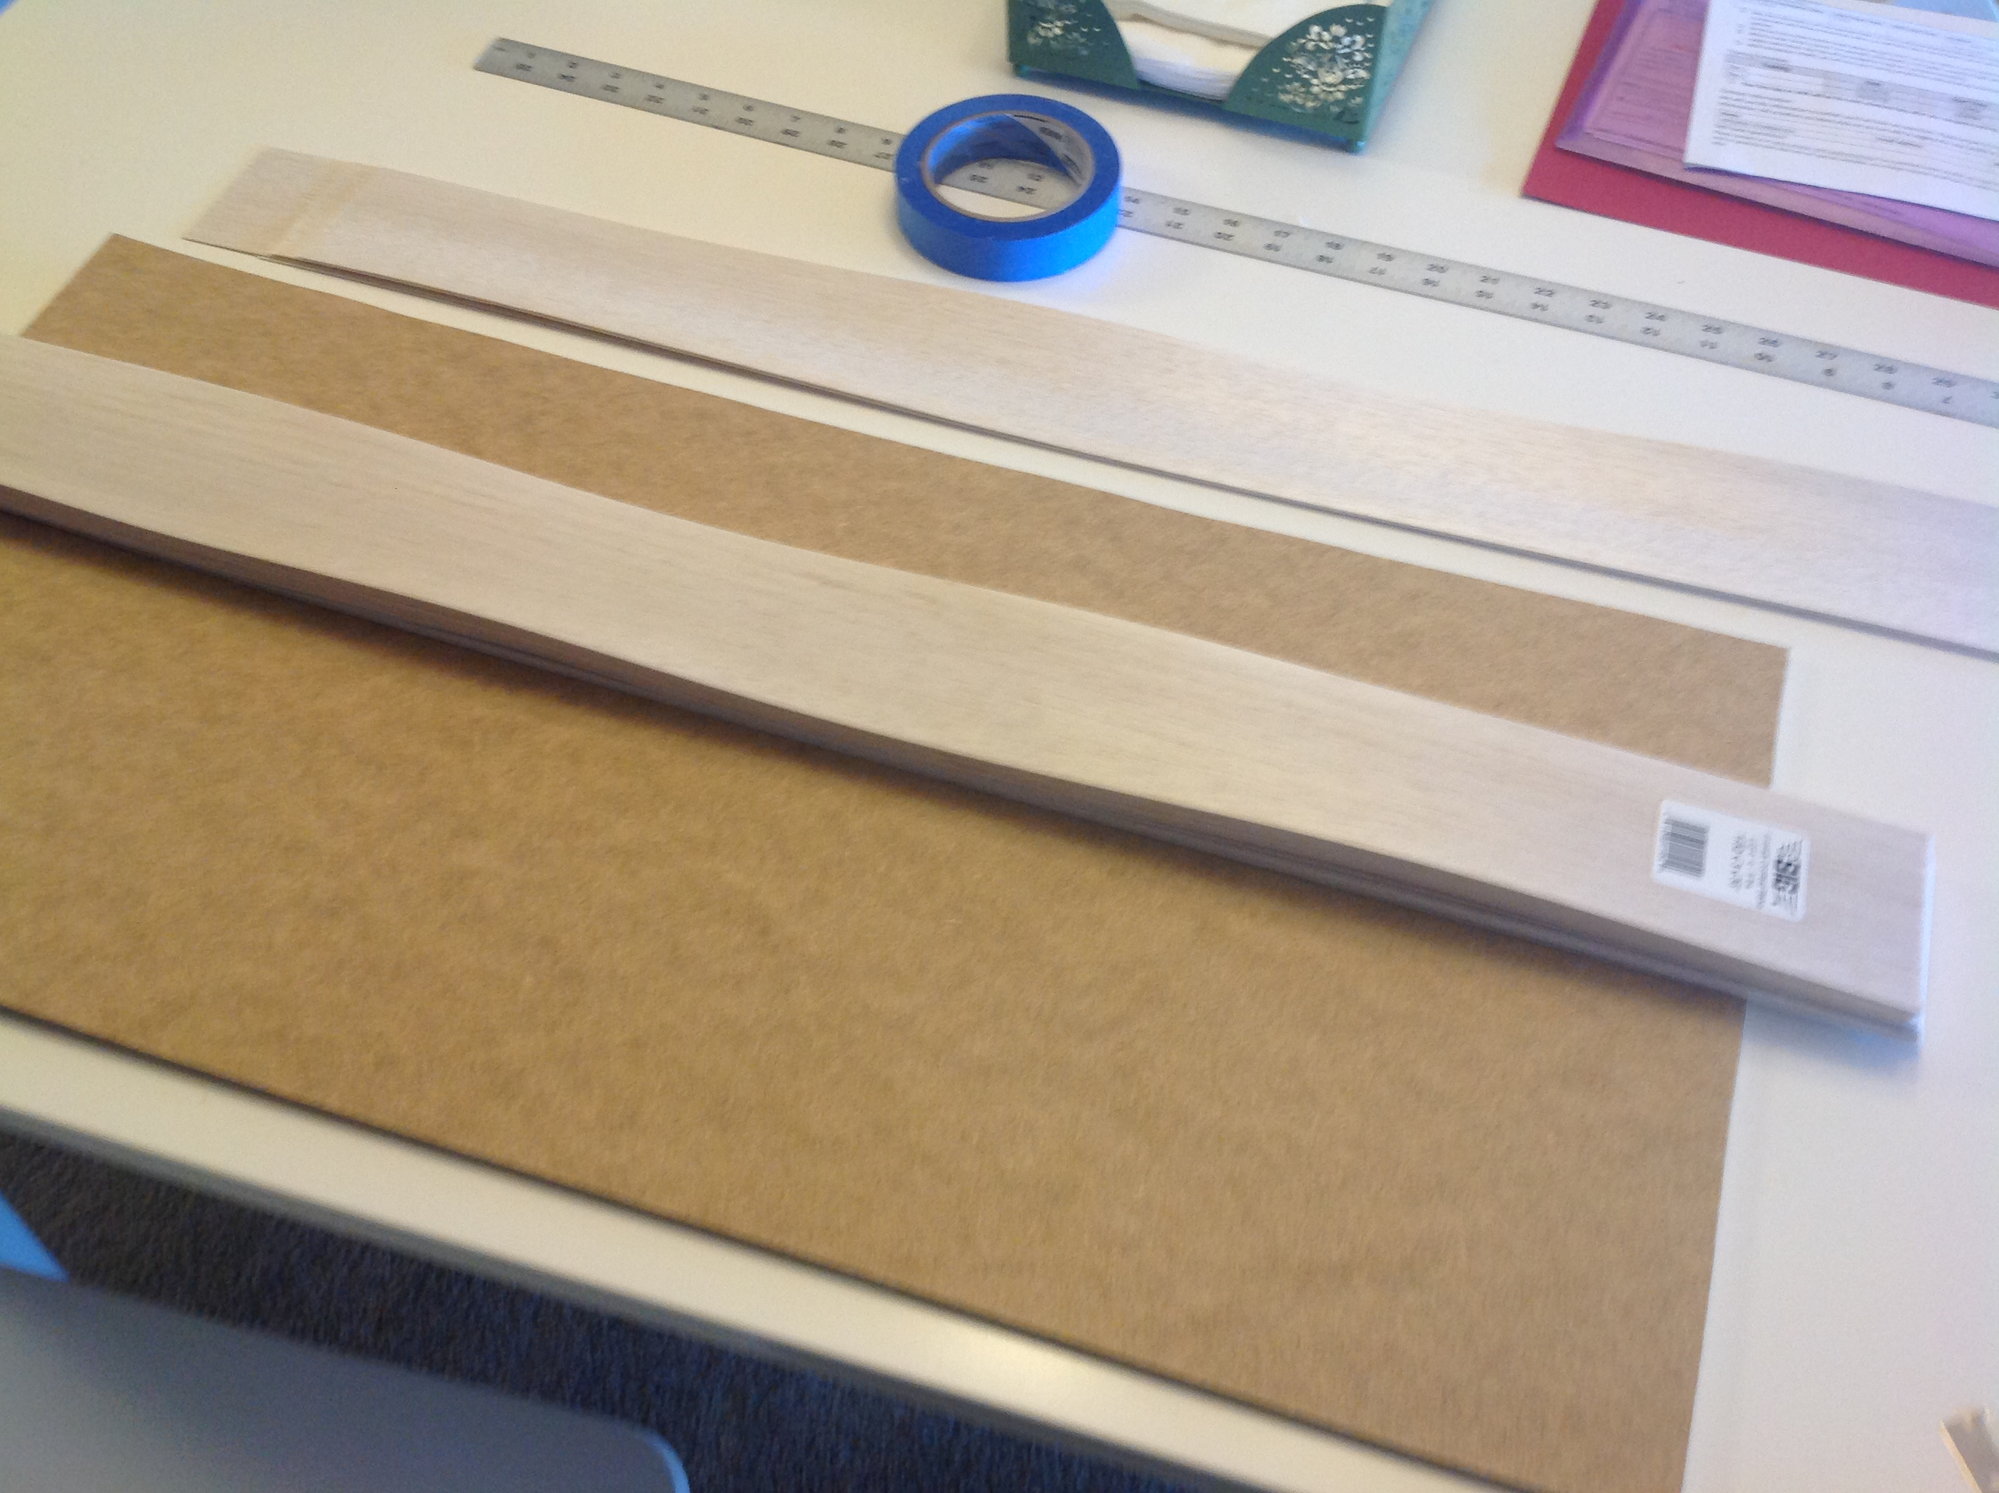
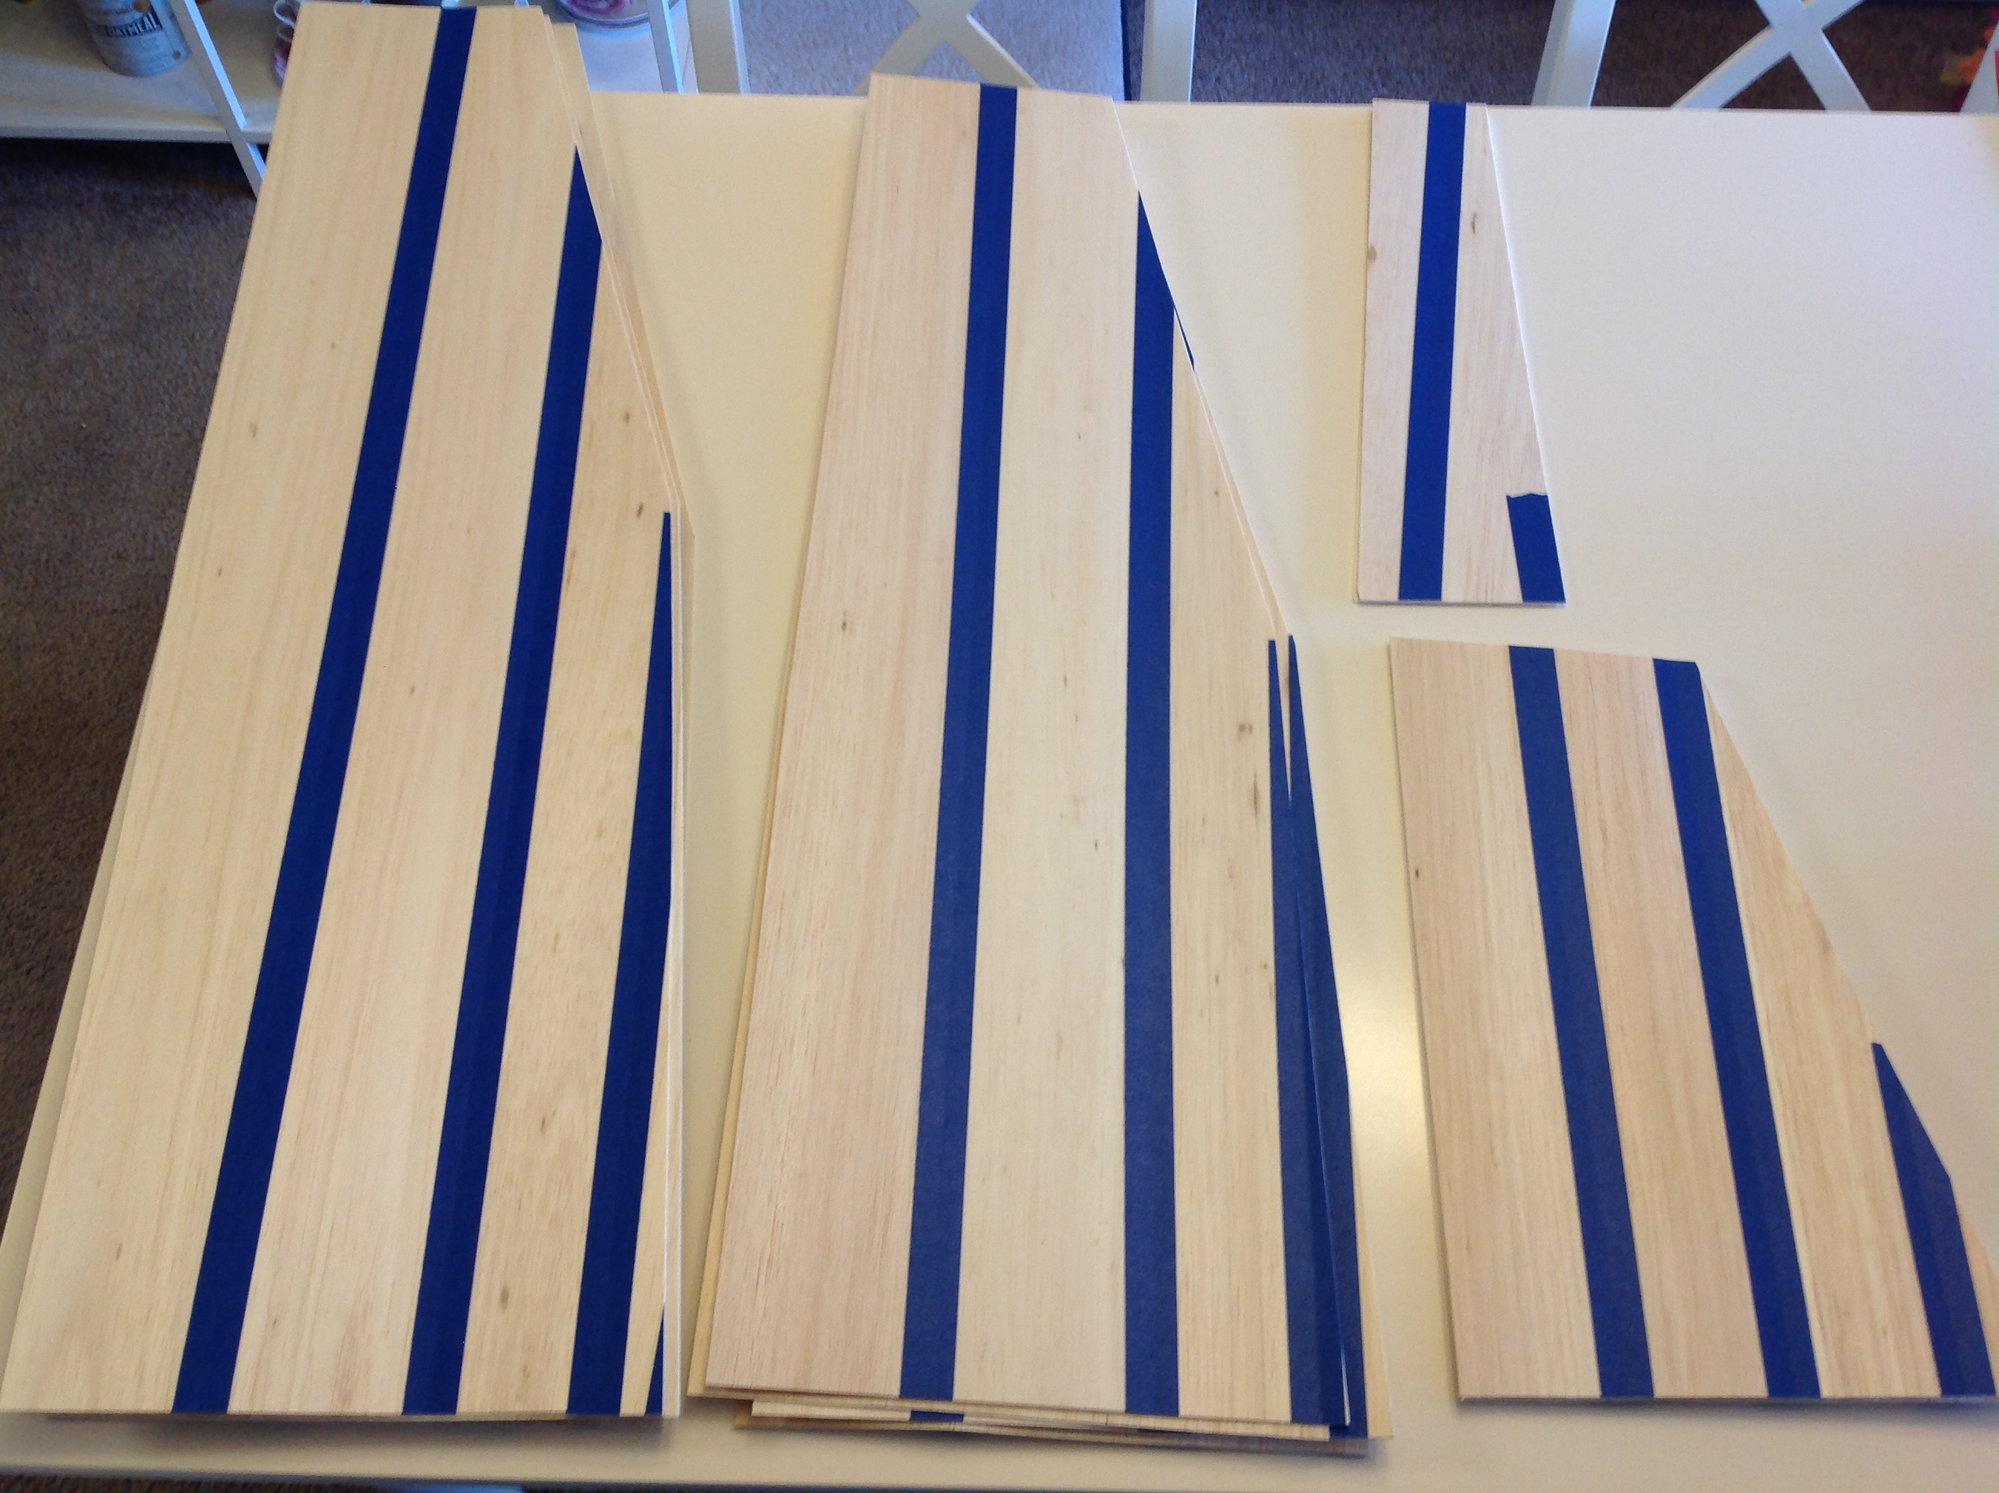
12 sheets of balsa ready to go.
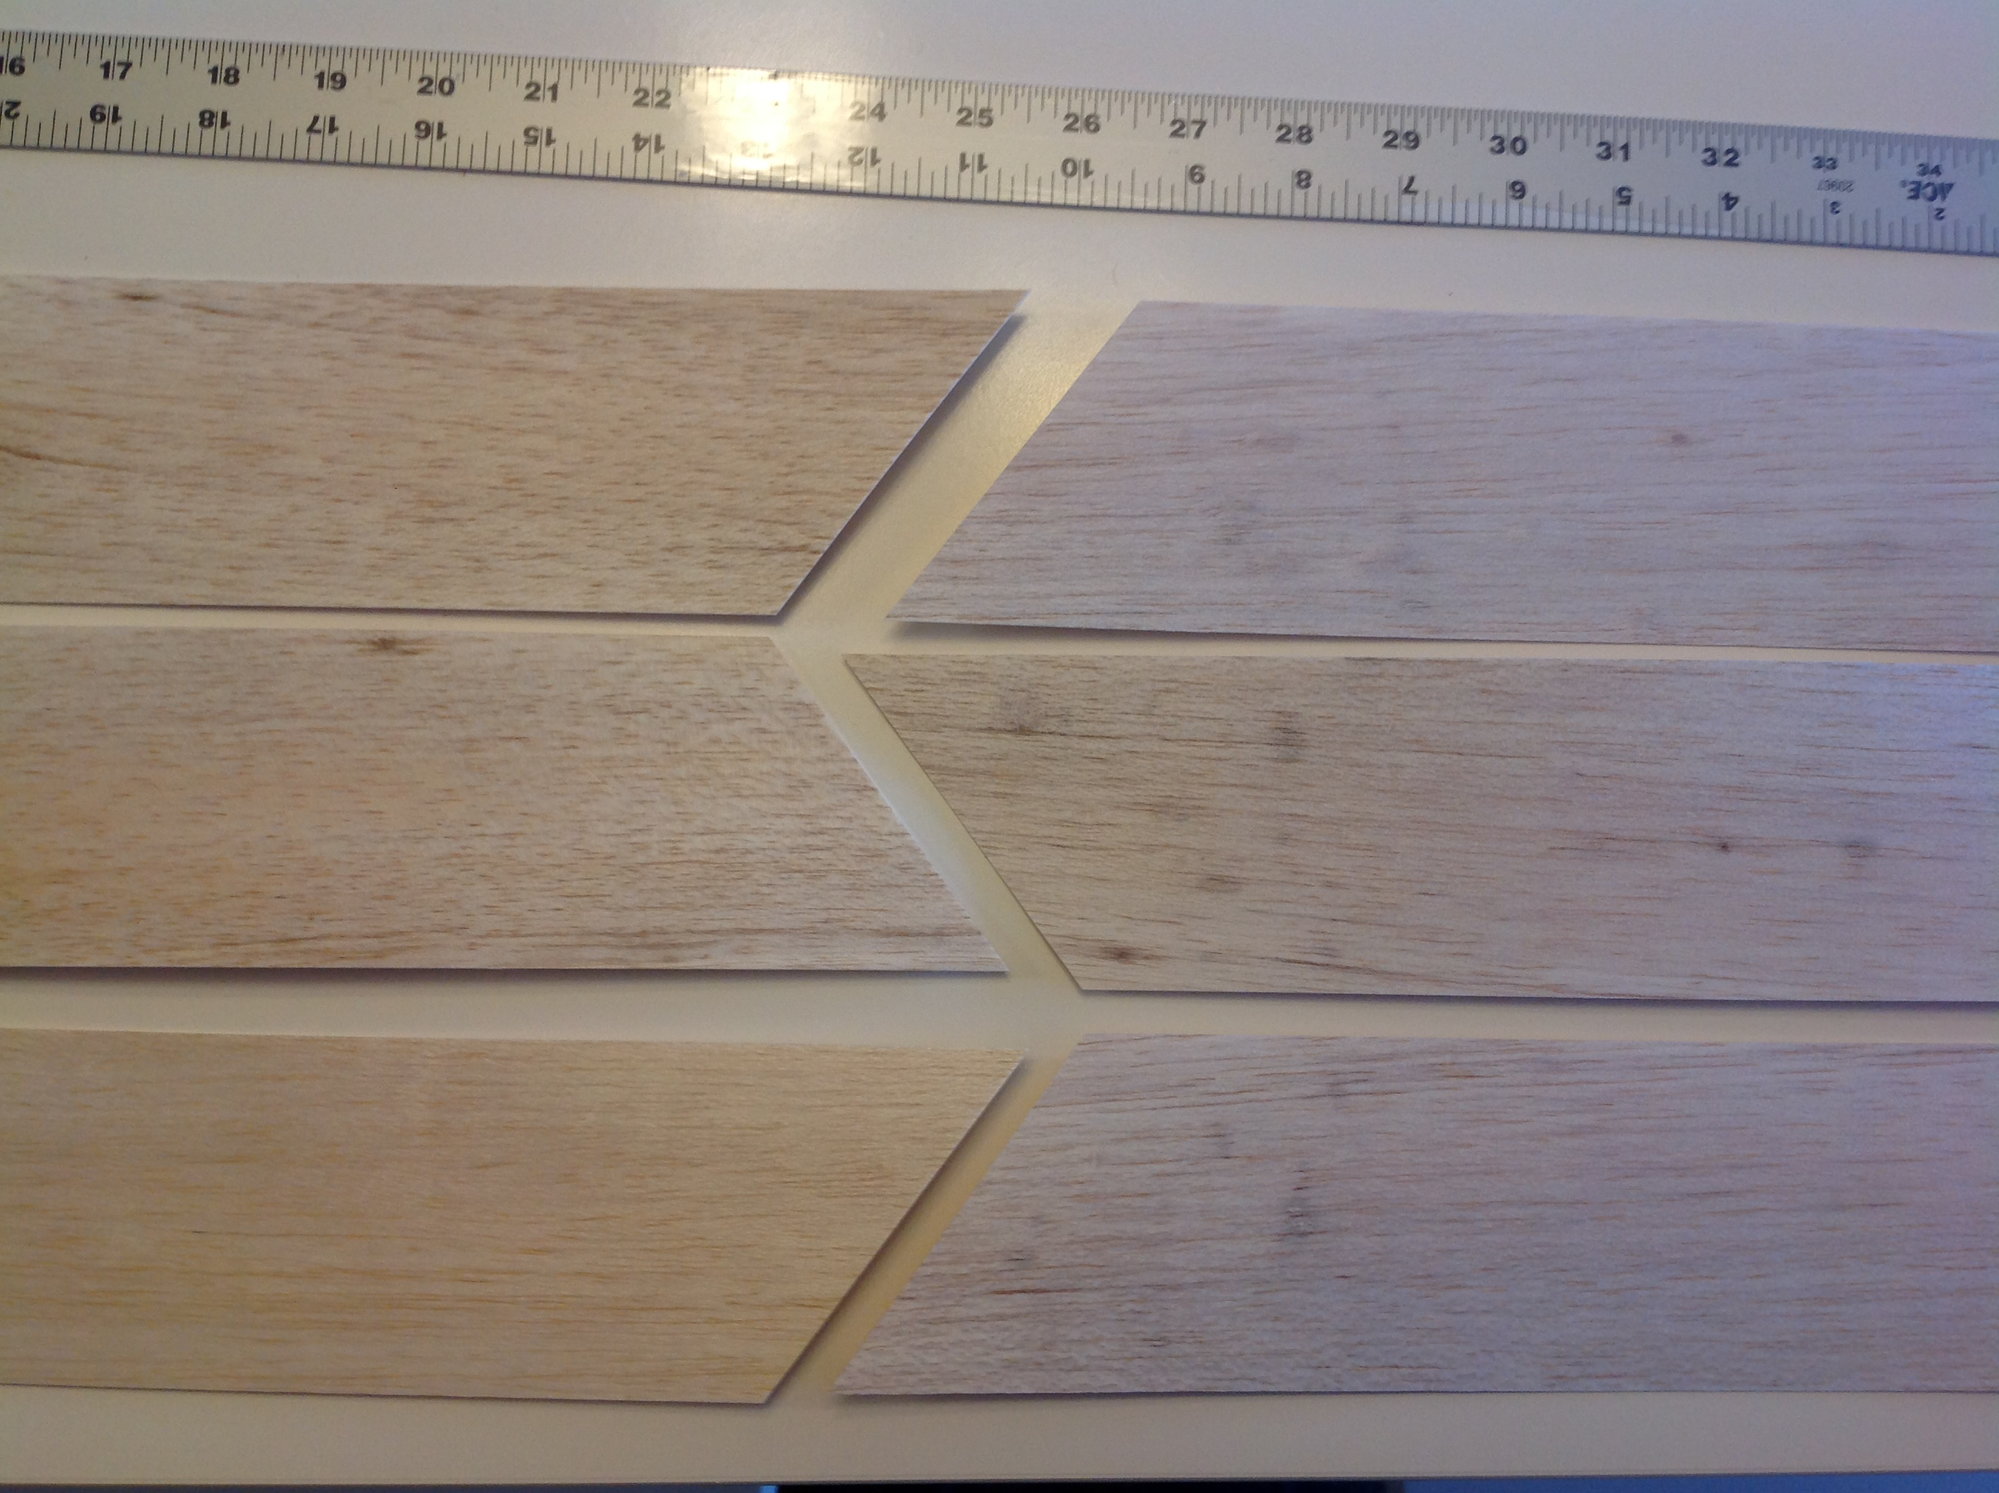
Ends are cut at an angle for the splice.
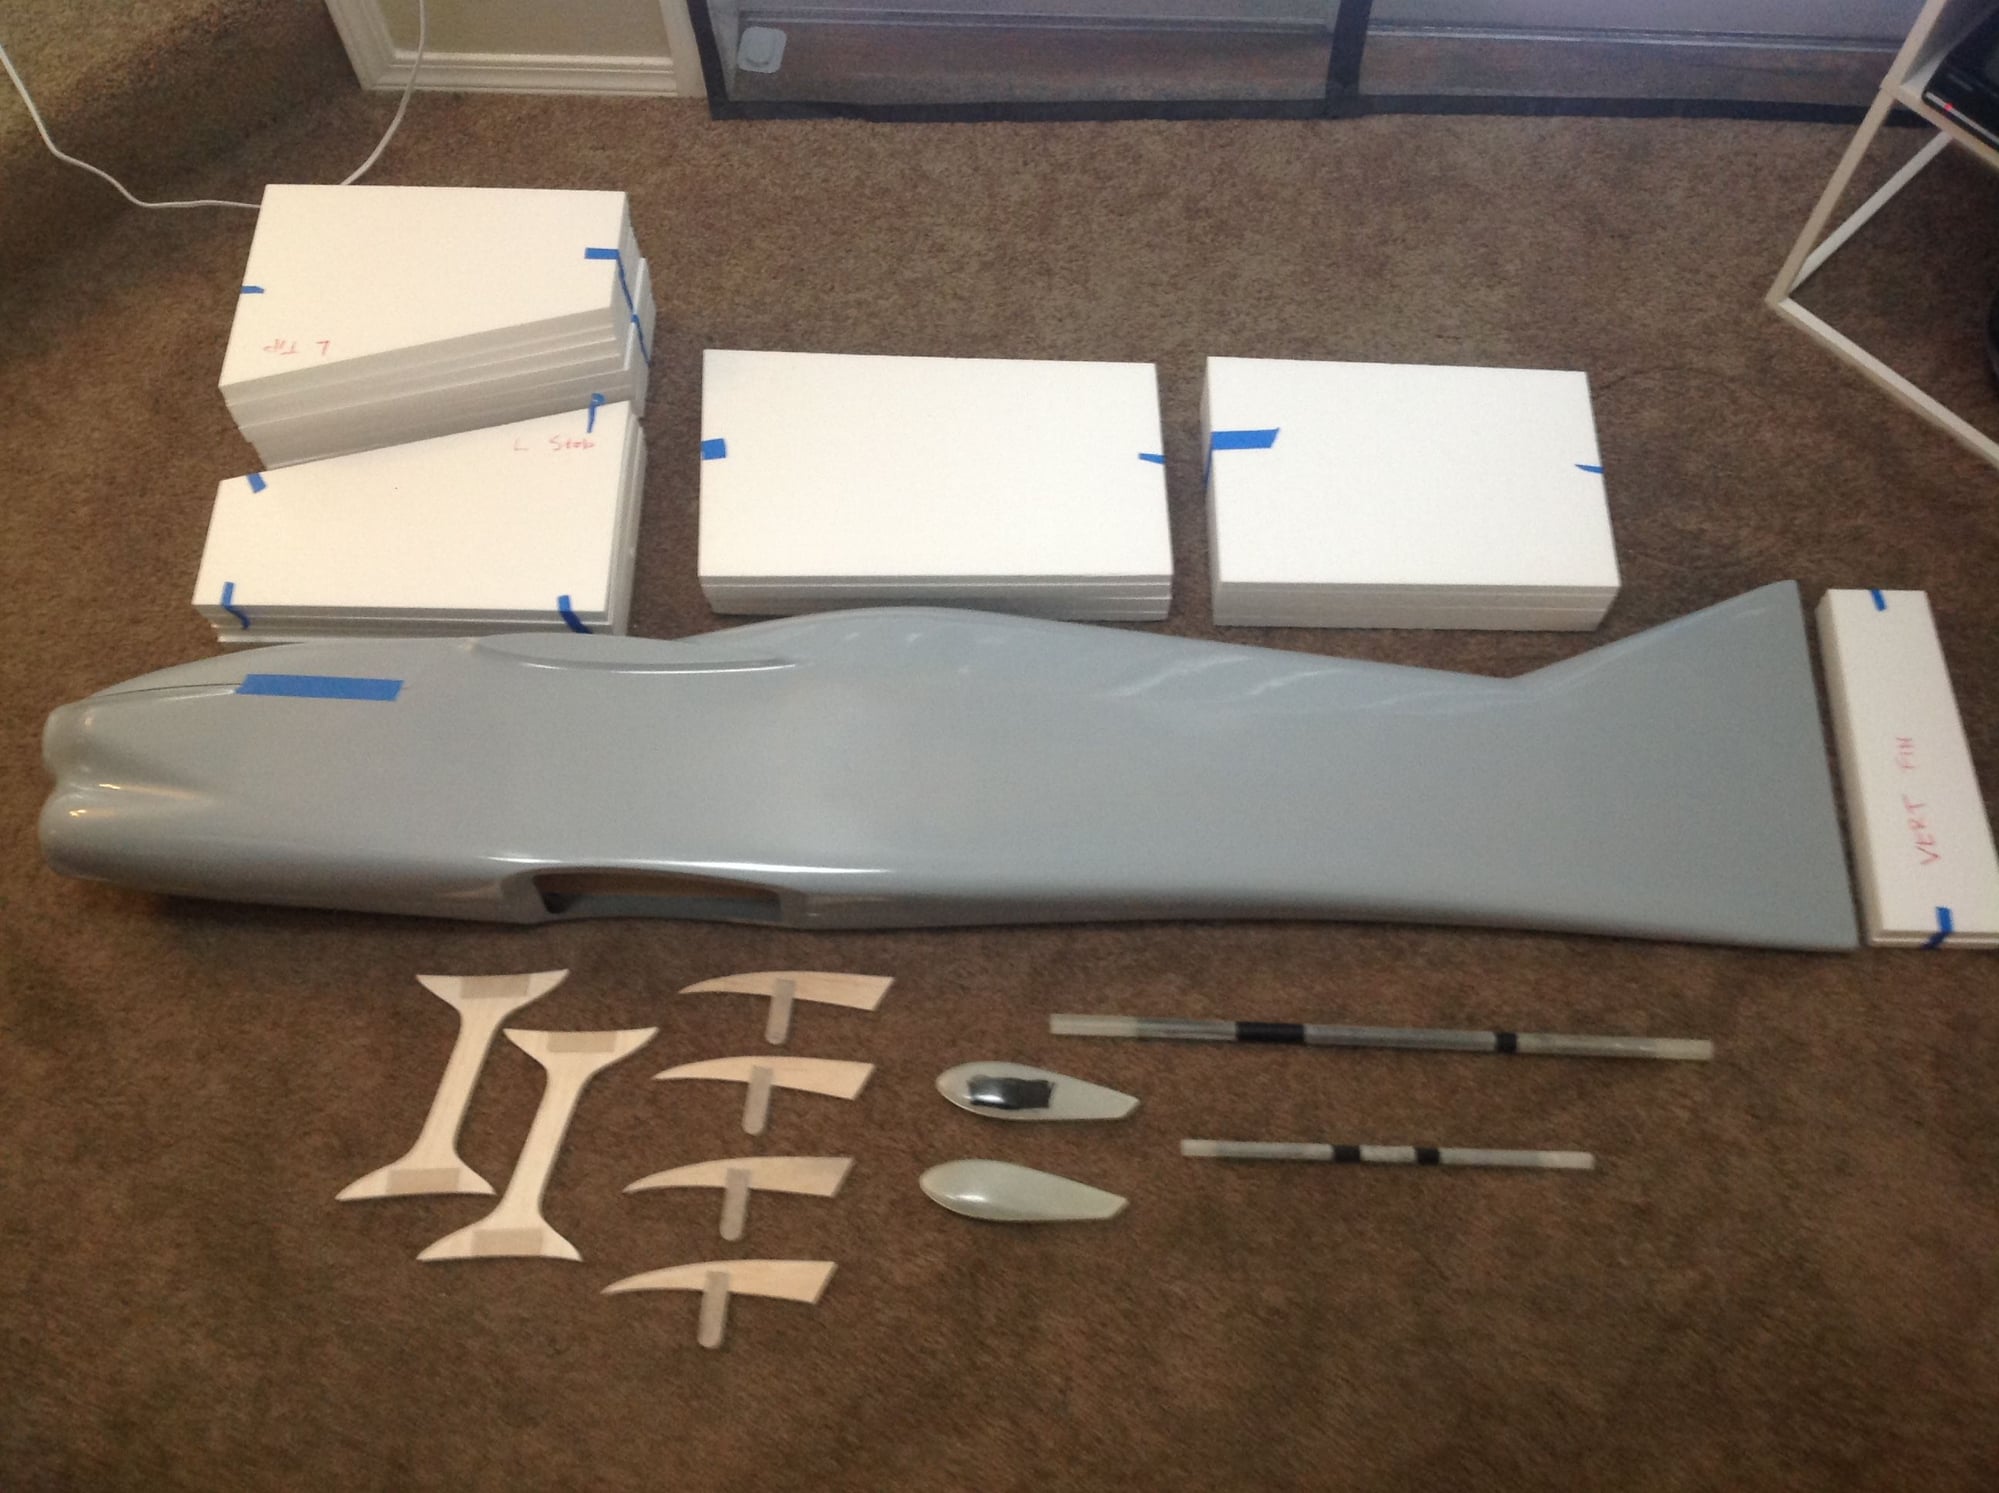
This is going to be a very detailed thread and will make great reference for those who purchase the kit. The first step is the layup of the fuselage. The layup is a combination of fiberglass with a 1/32" balsa core with some carbon fiber and Kevlar re enforcing where required. The first step is to take 12 sheets of balsa and join them together to make the core. They are first taped together and then tack glued using this CA. Then cut to the correct shape.
 10-31-2019, 01:48 PM
#6
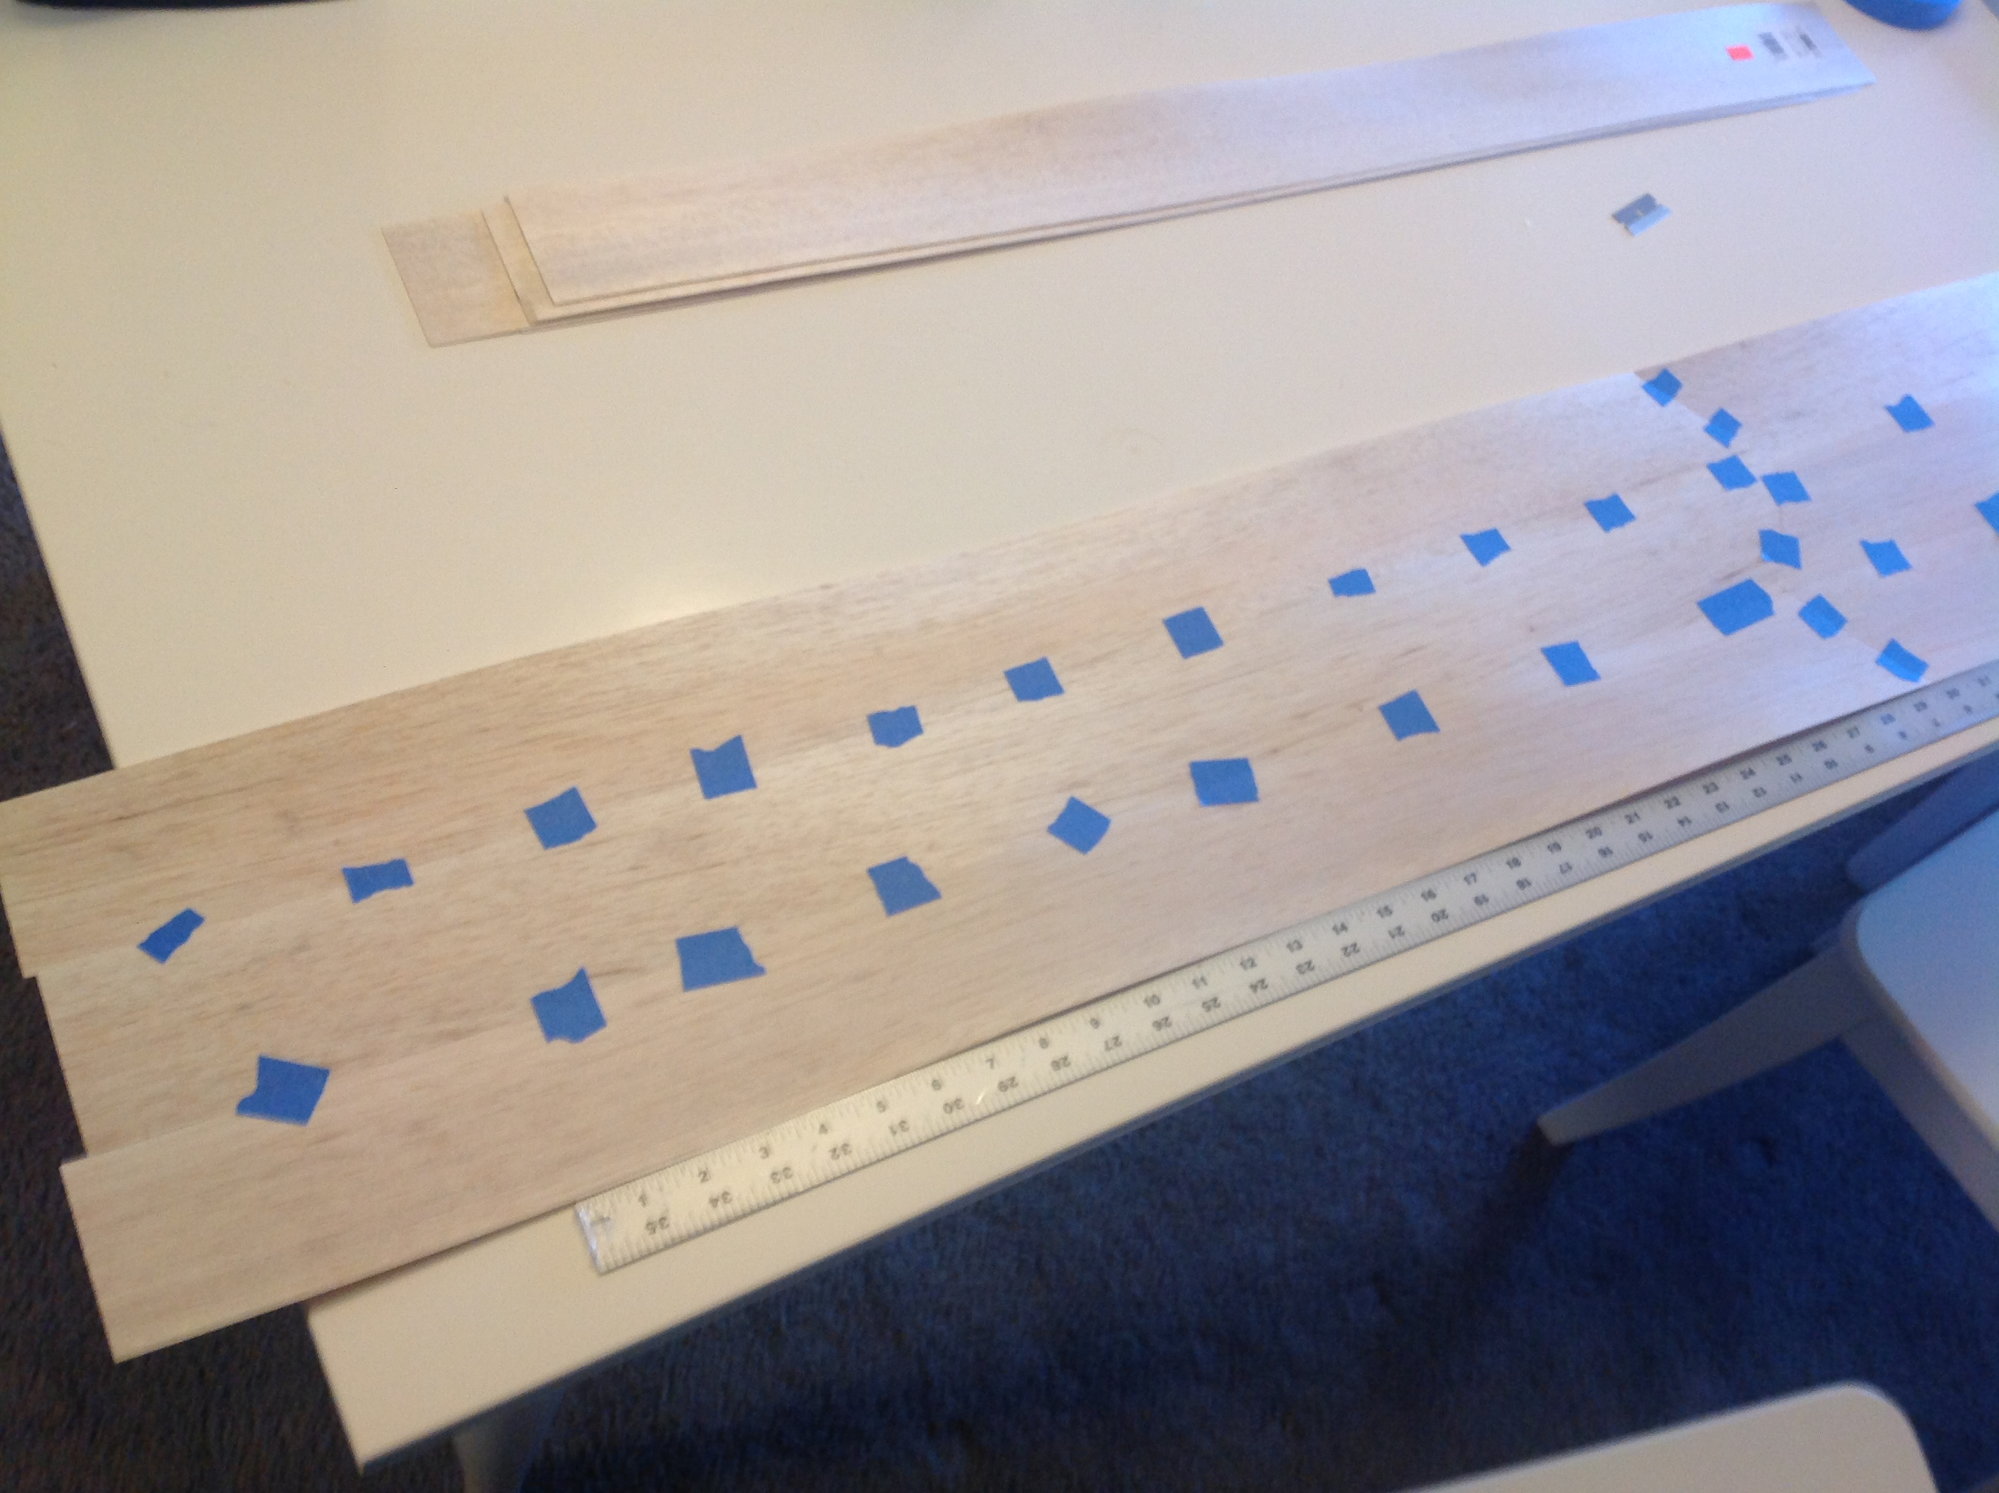
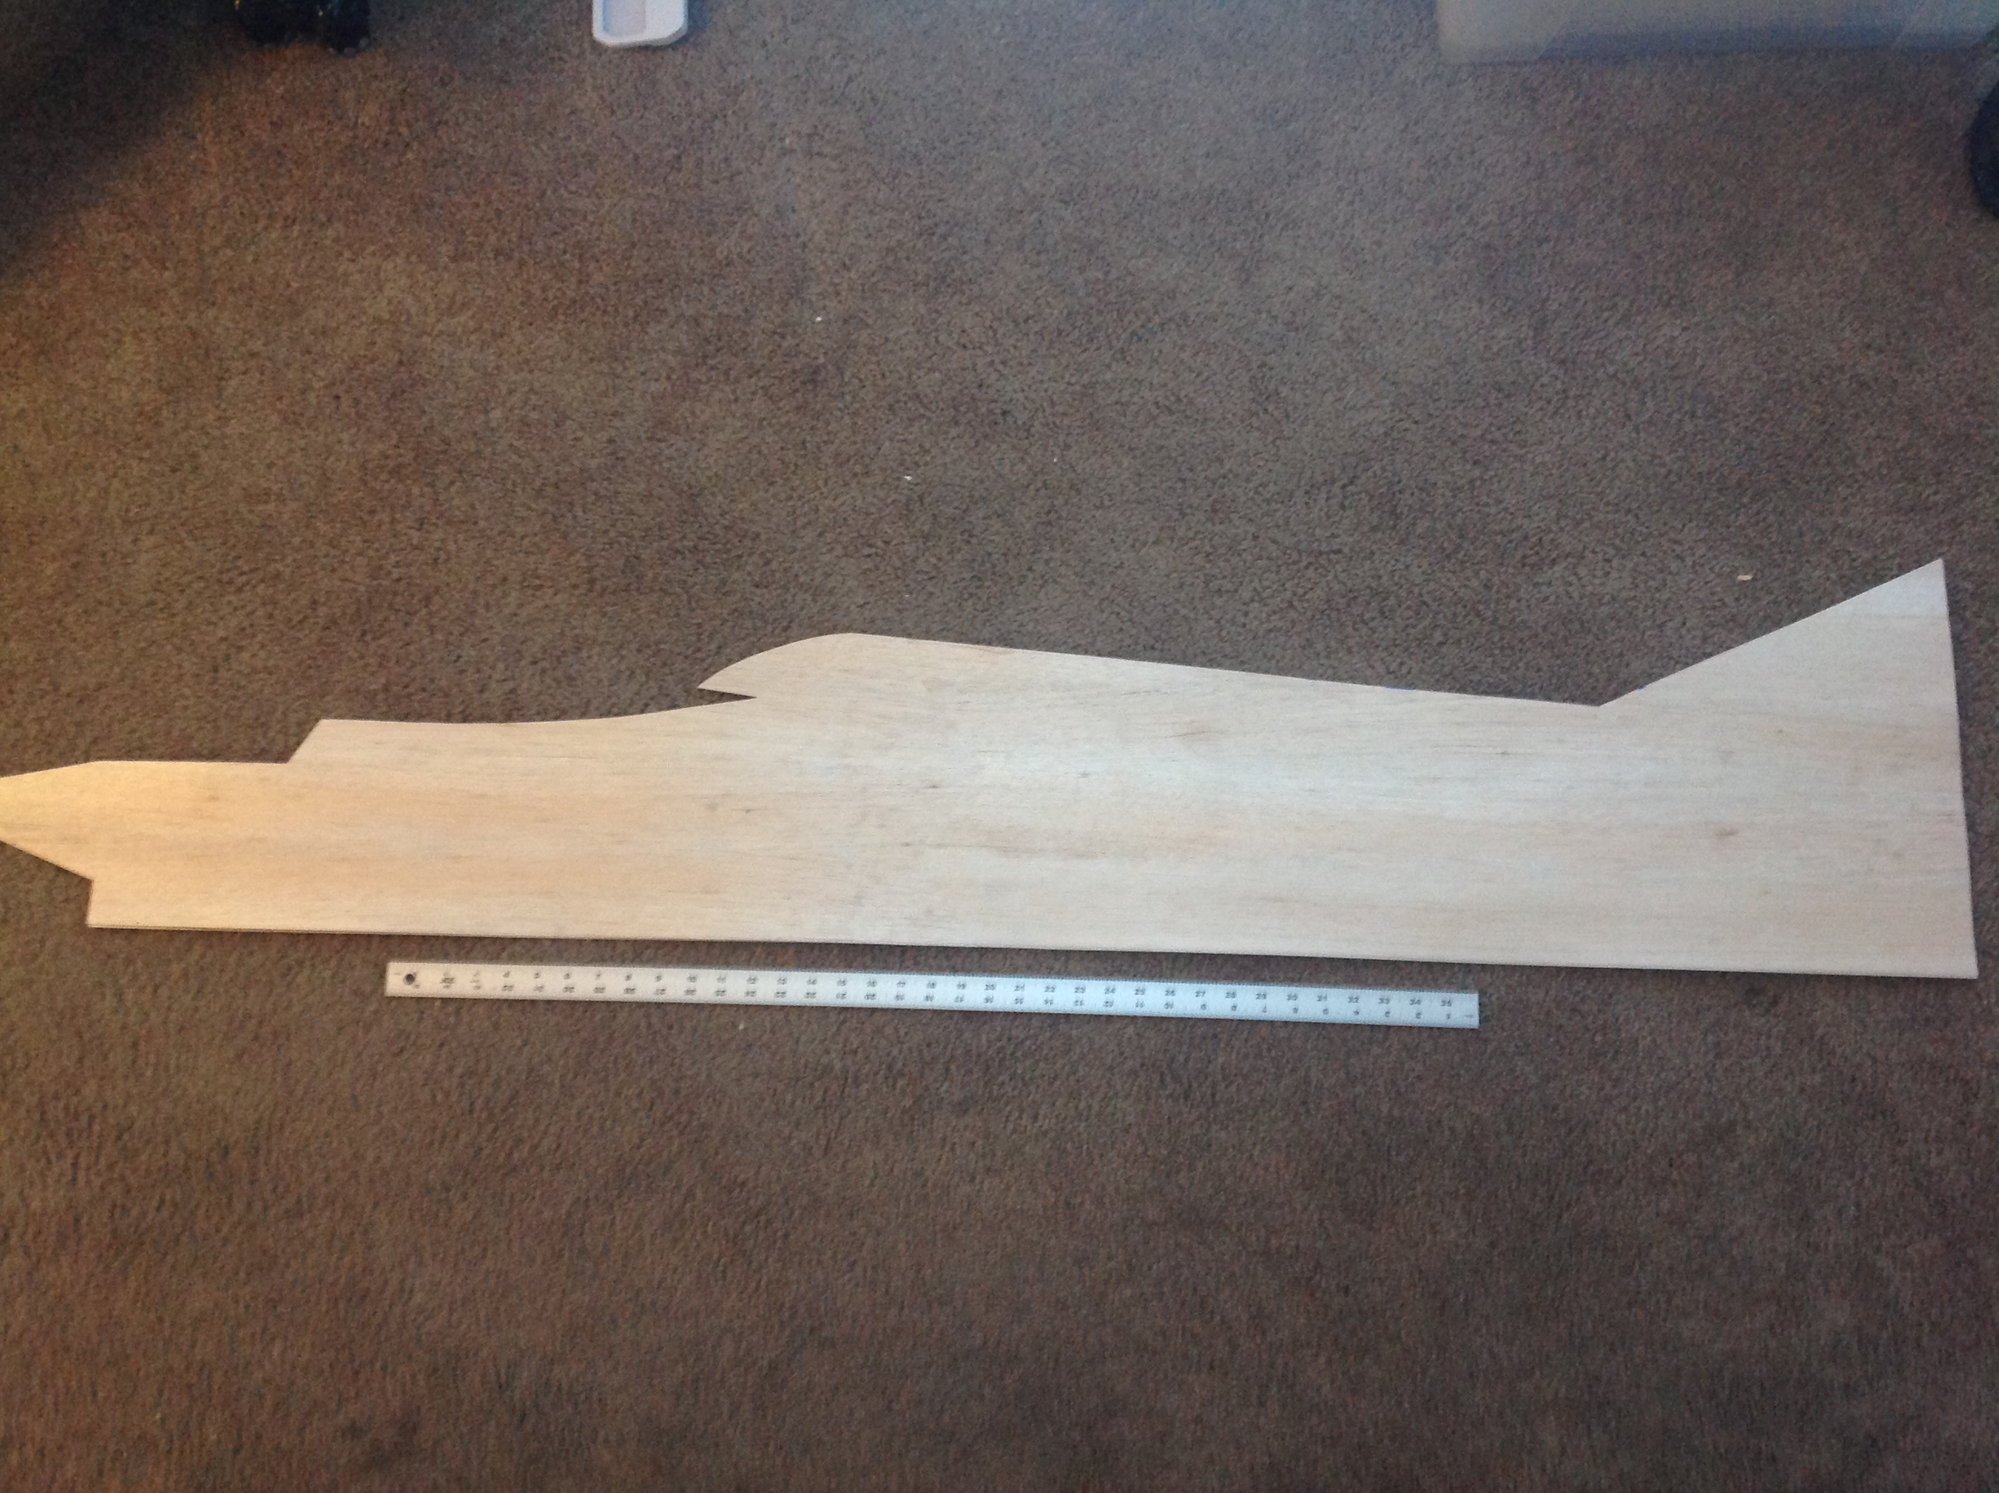
There goes most of my balsa stash.
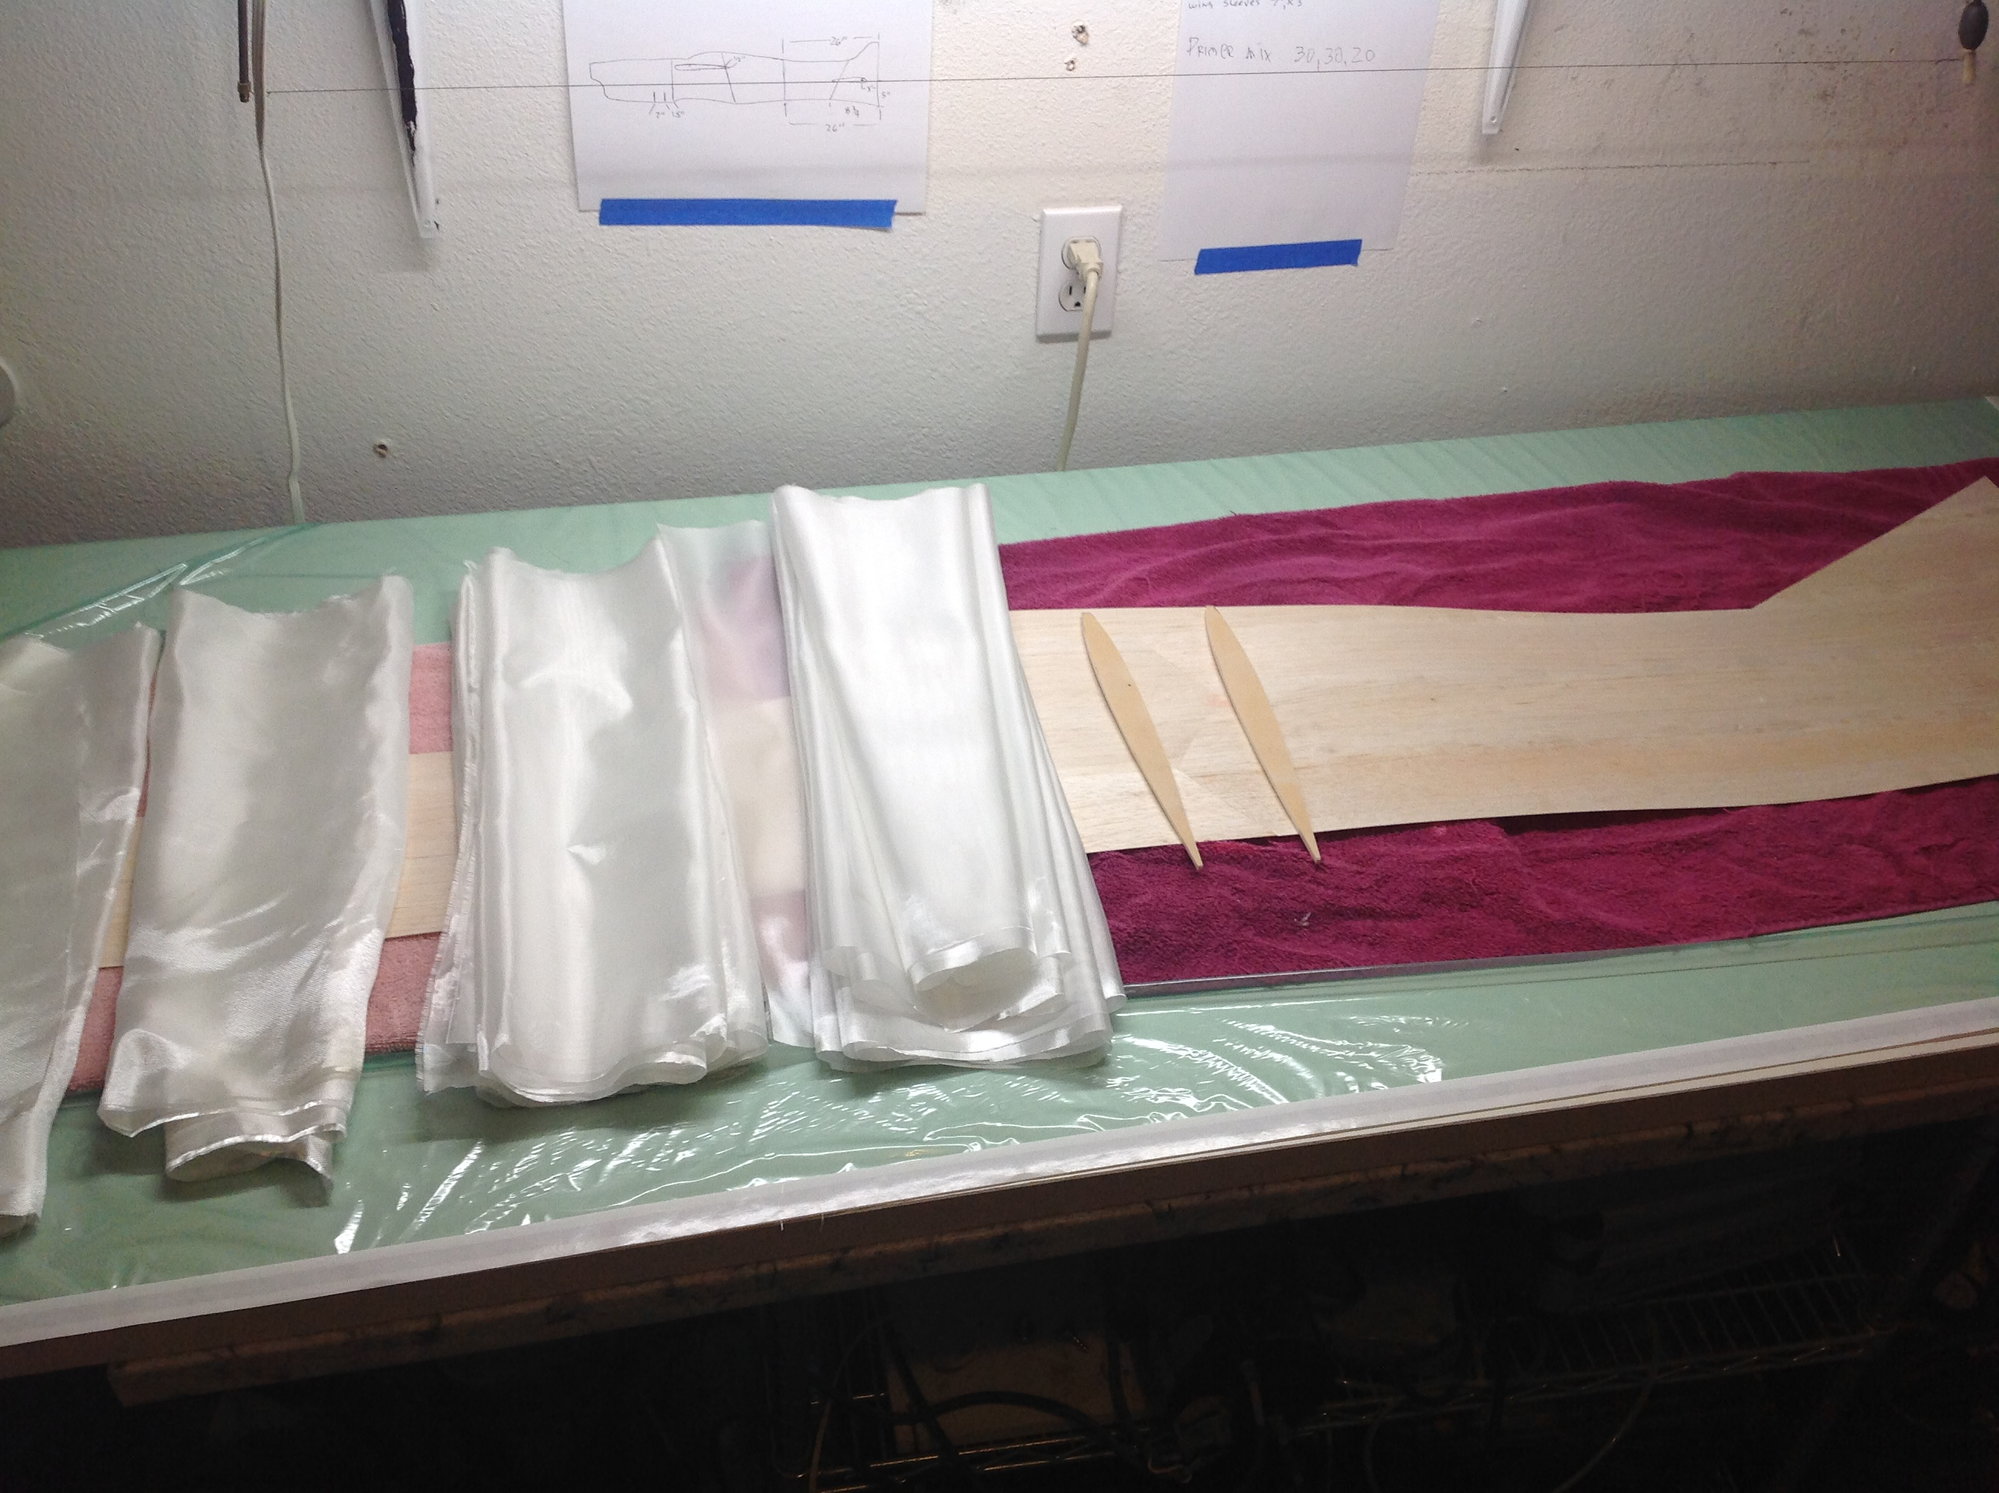
Today I decided to tackle the wing, stab and rudder skins. Got them all taped up and cut to the correct outline. I like to let them sit for a few days to allow them to somewhat self adjust. Right after taping them together they dpcan be a little wavy. Placing them on a flat surface with some weight will have them perfectly flat when it's time to sheet the cores. I do not edge glue the sheets together. When sheeting with epoxy laminating resin I will spread the resin on the sheeting very thinly and then vacuum bag the skins to the cores. The vacuum will pull enough of the resin into the seam to bond the sheets together. Once sanded, the seams are all but invisible
10-31-2019, 01:53 PM
#7
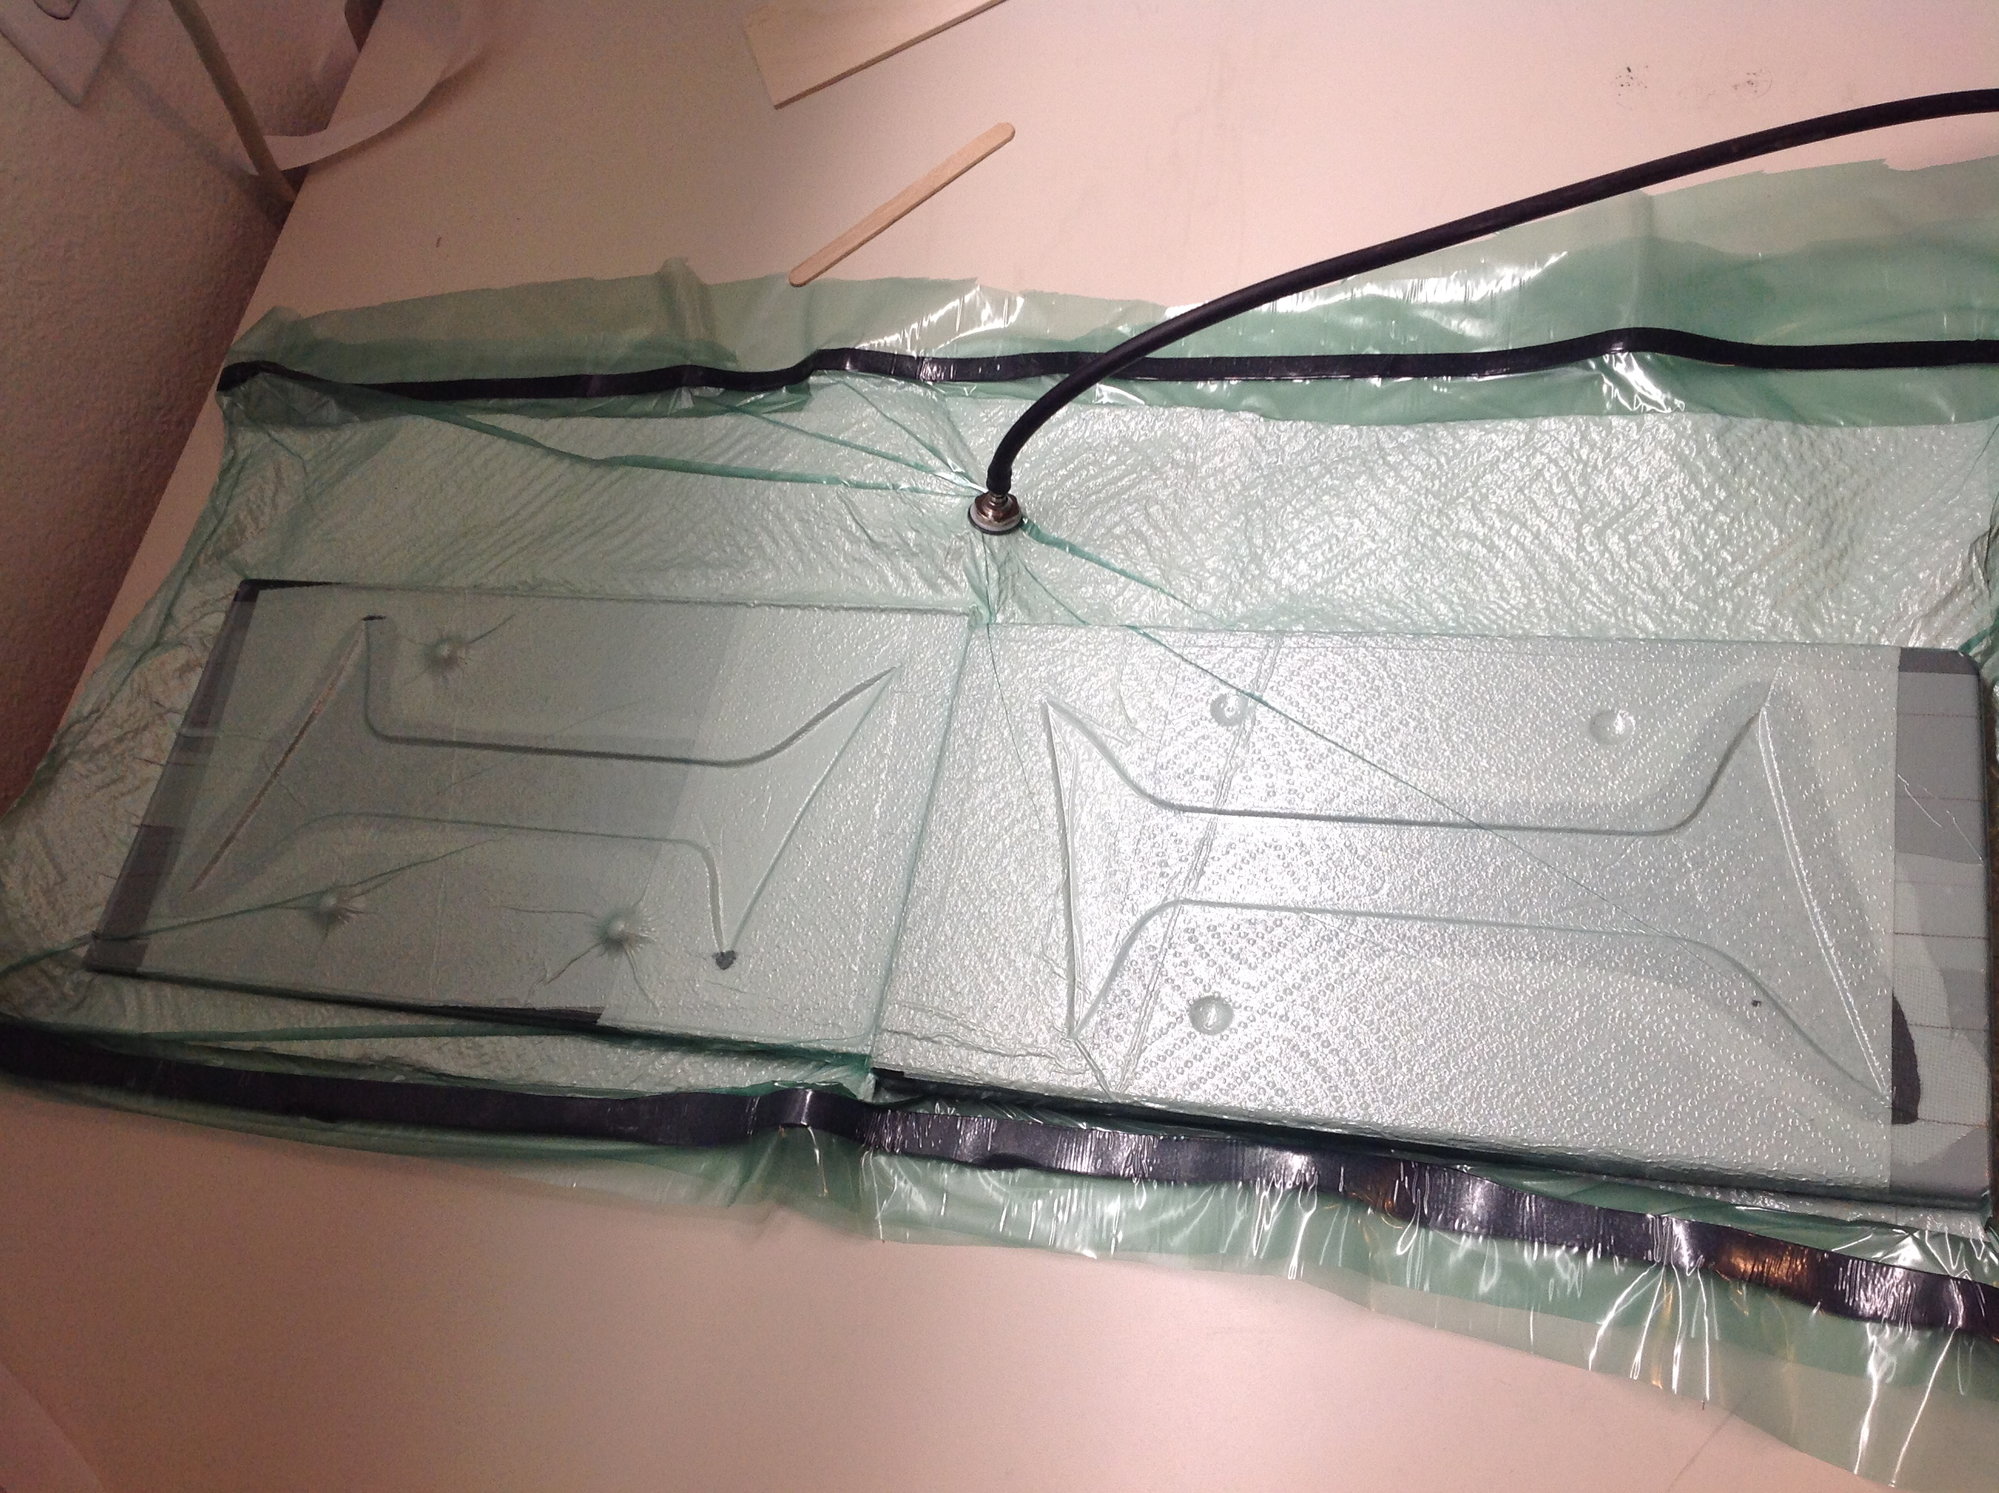
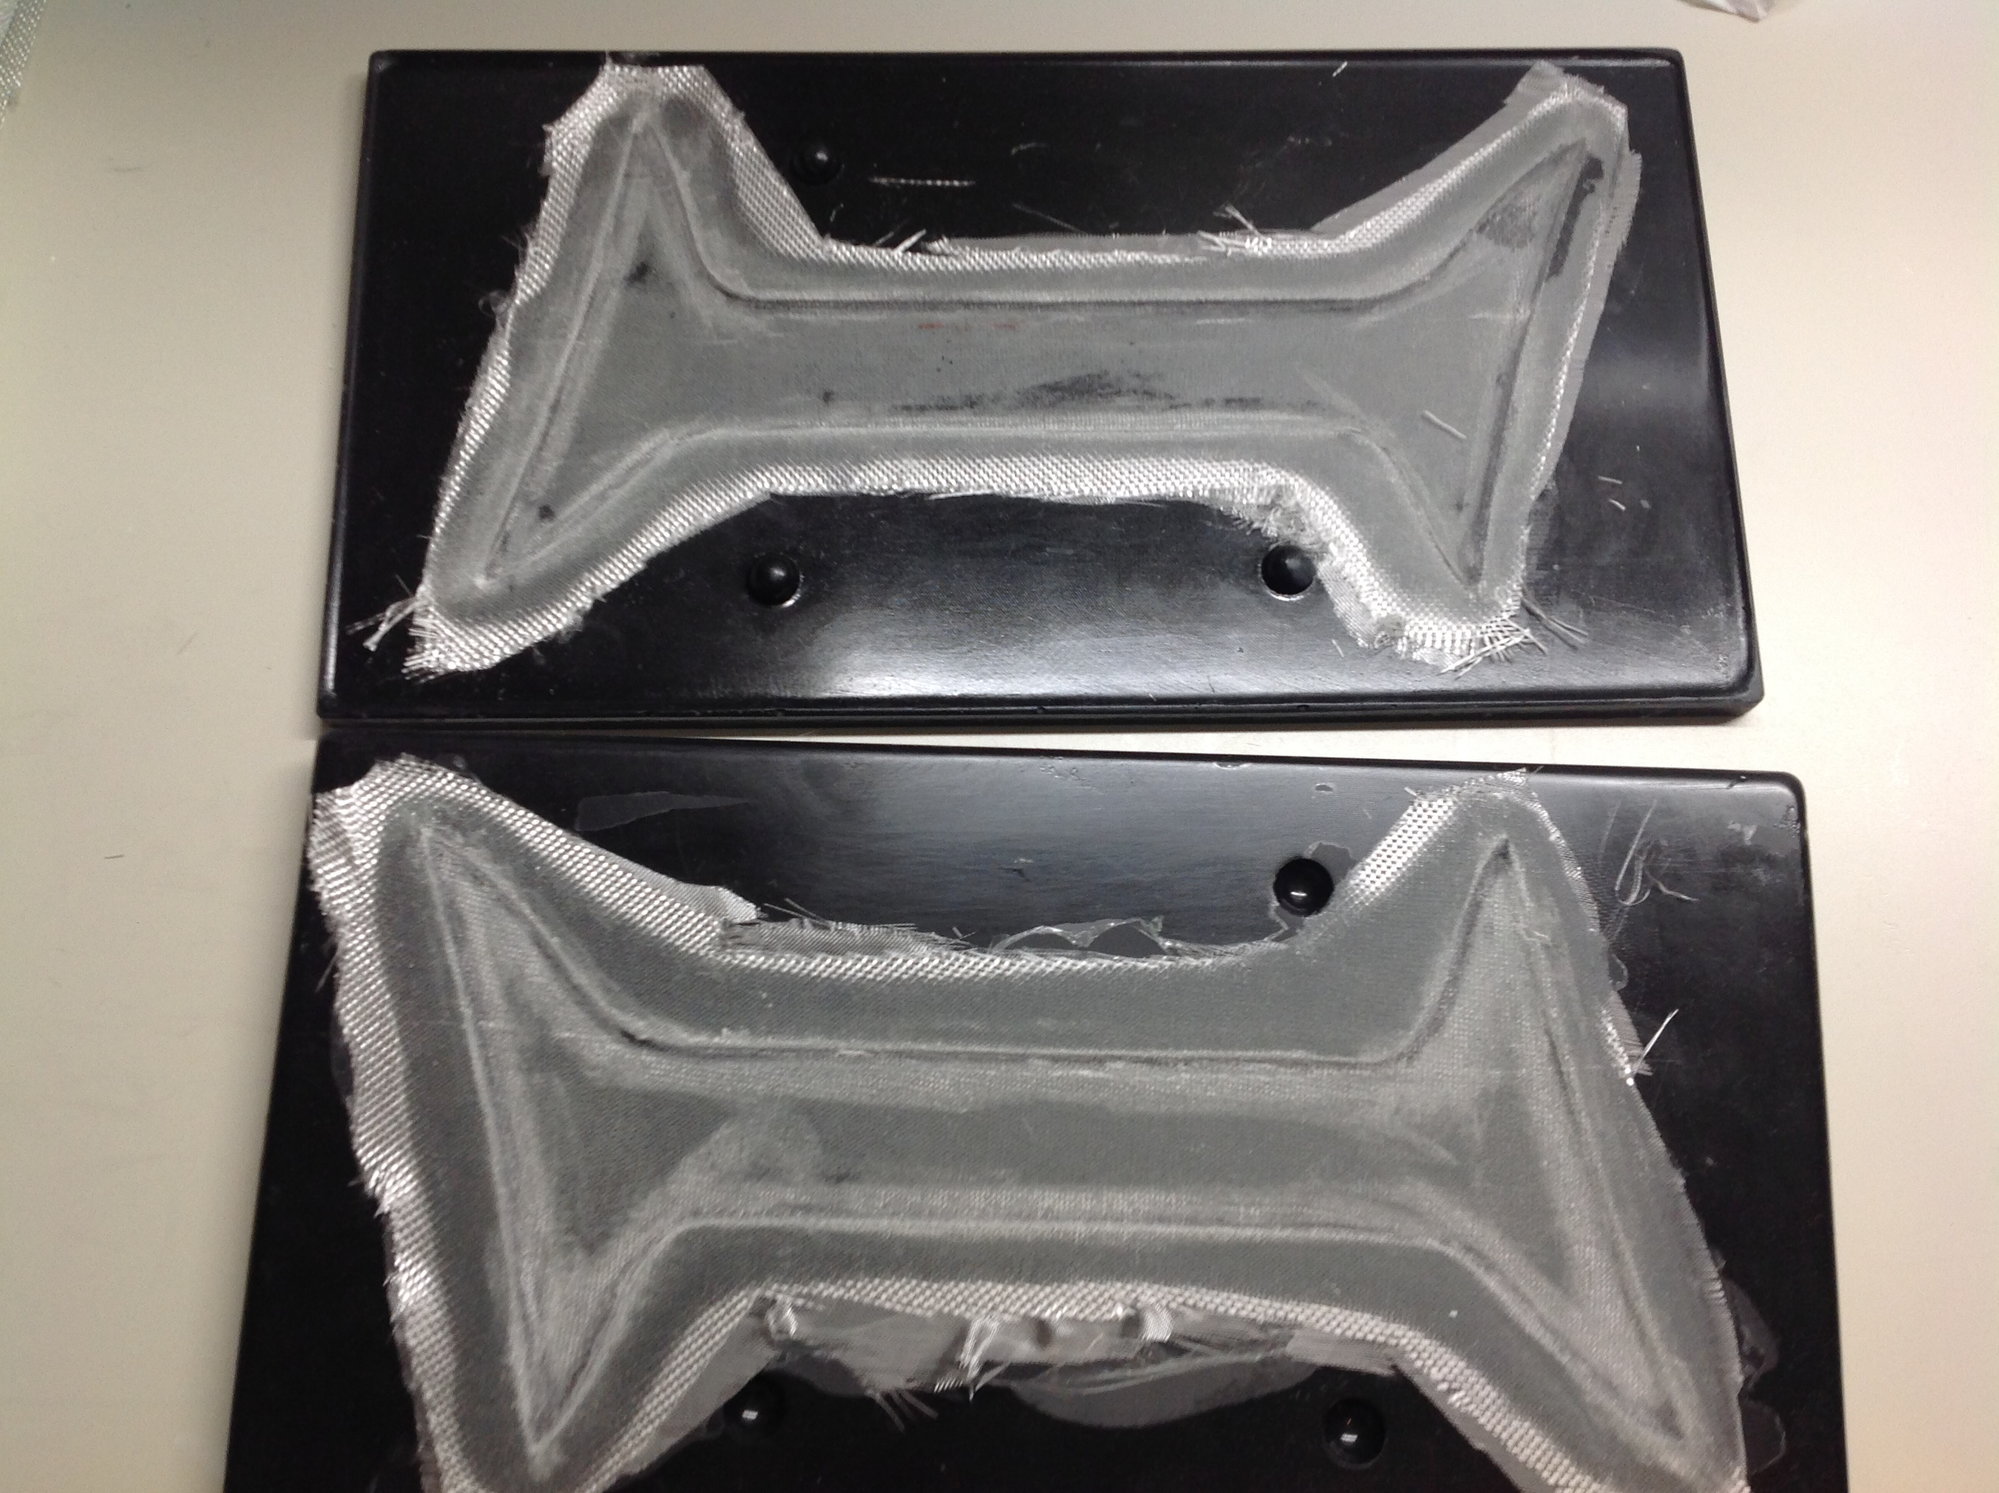
After the sheeting fabrication I cleaned and applied a couple coats of Partall#2 wax to the molds. When I go to use a particular mold, I will apply a third coat, buff and apply a coat of Partall PVA with a foam brush. Once the PVA is completely dry, a light coat of Klass Kote primer gets sprayed onto the PVA. Once the primer is dry, the layup process begins.
11-01-2019, 05:47 AM
#8

Join Date: Mar 2009
Location: Milton Keynes, UK
Posts: 14
Likes: 0
Received 0 Likes
on
0 Posts
I remember reading through the original thread of the development of this Bipe. Glad it all worked out. You posted a question about airfoil but no one responded if memory serves me well. What did you end up using? What is the gap between the upper and lower wing?
11-01-2019, 06:38 AM
#9
I ended up designing my own proprietary set of airfoils. I think at the time I was more concerned with incidence angles. After a few hundred flights I have settled on zero for the upper wing and + 1.25 on the lower wing. The wing separation is 13".

 11-01-2019, 04:17 PM
#12

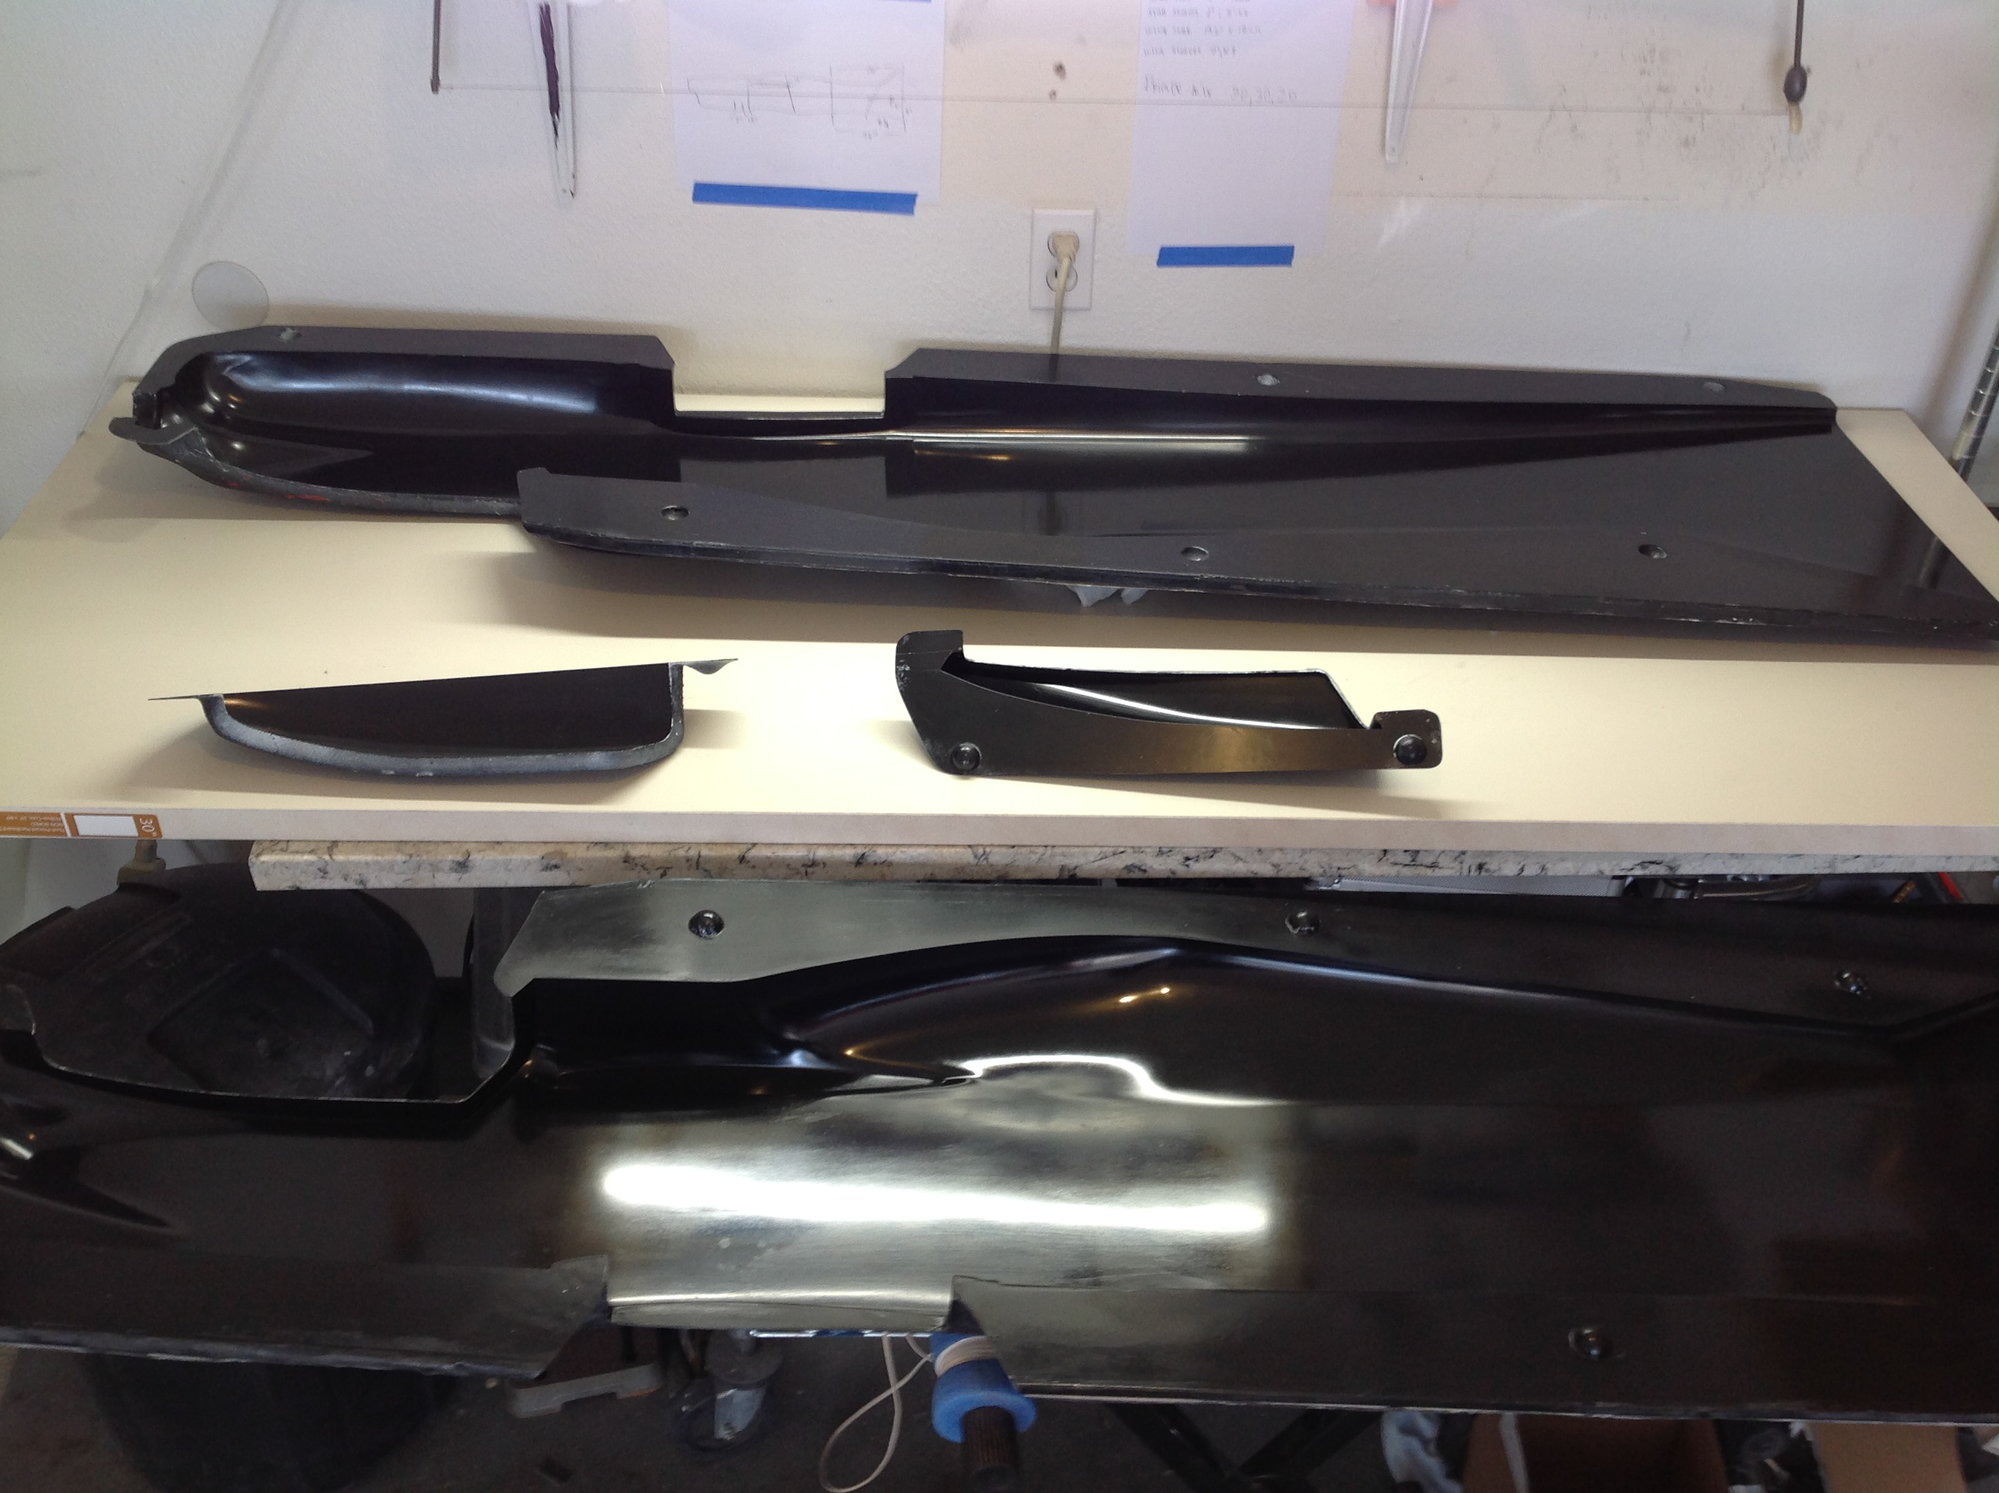
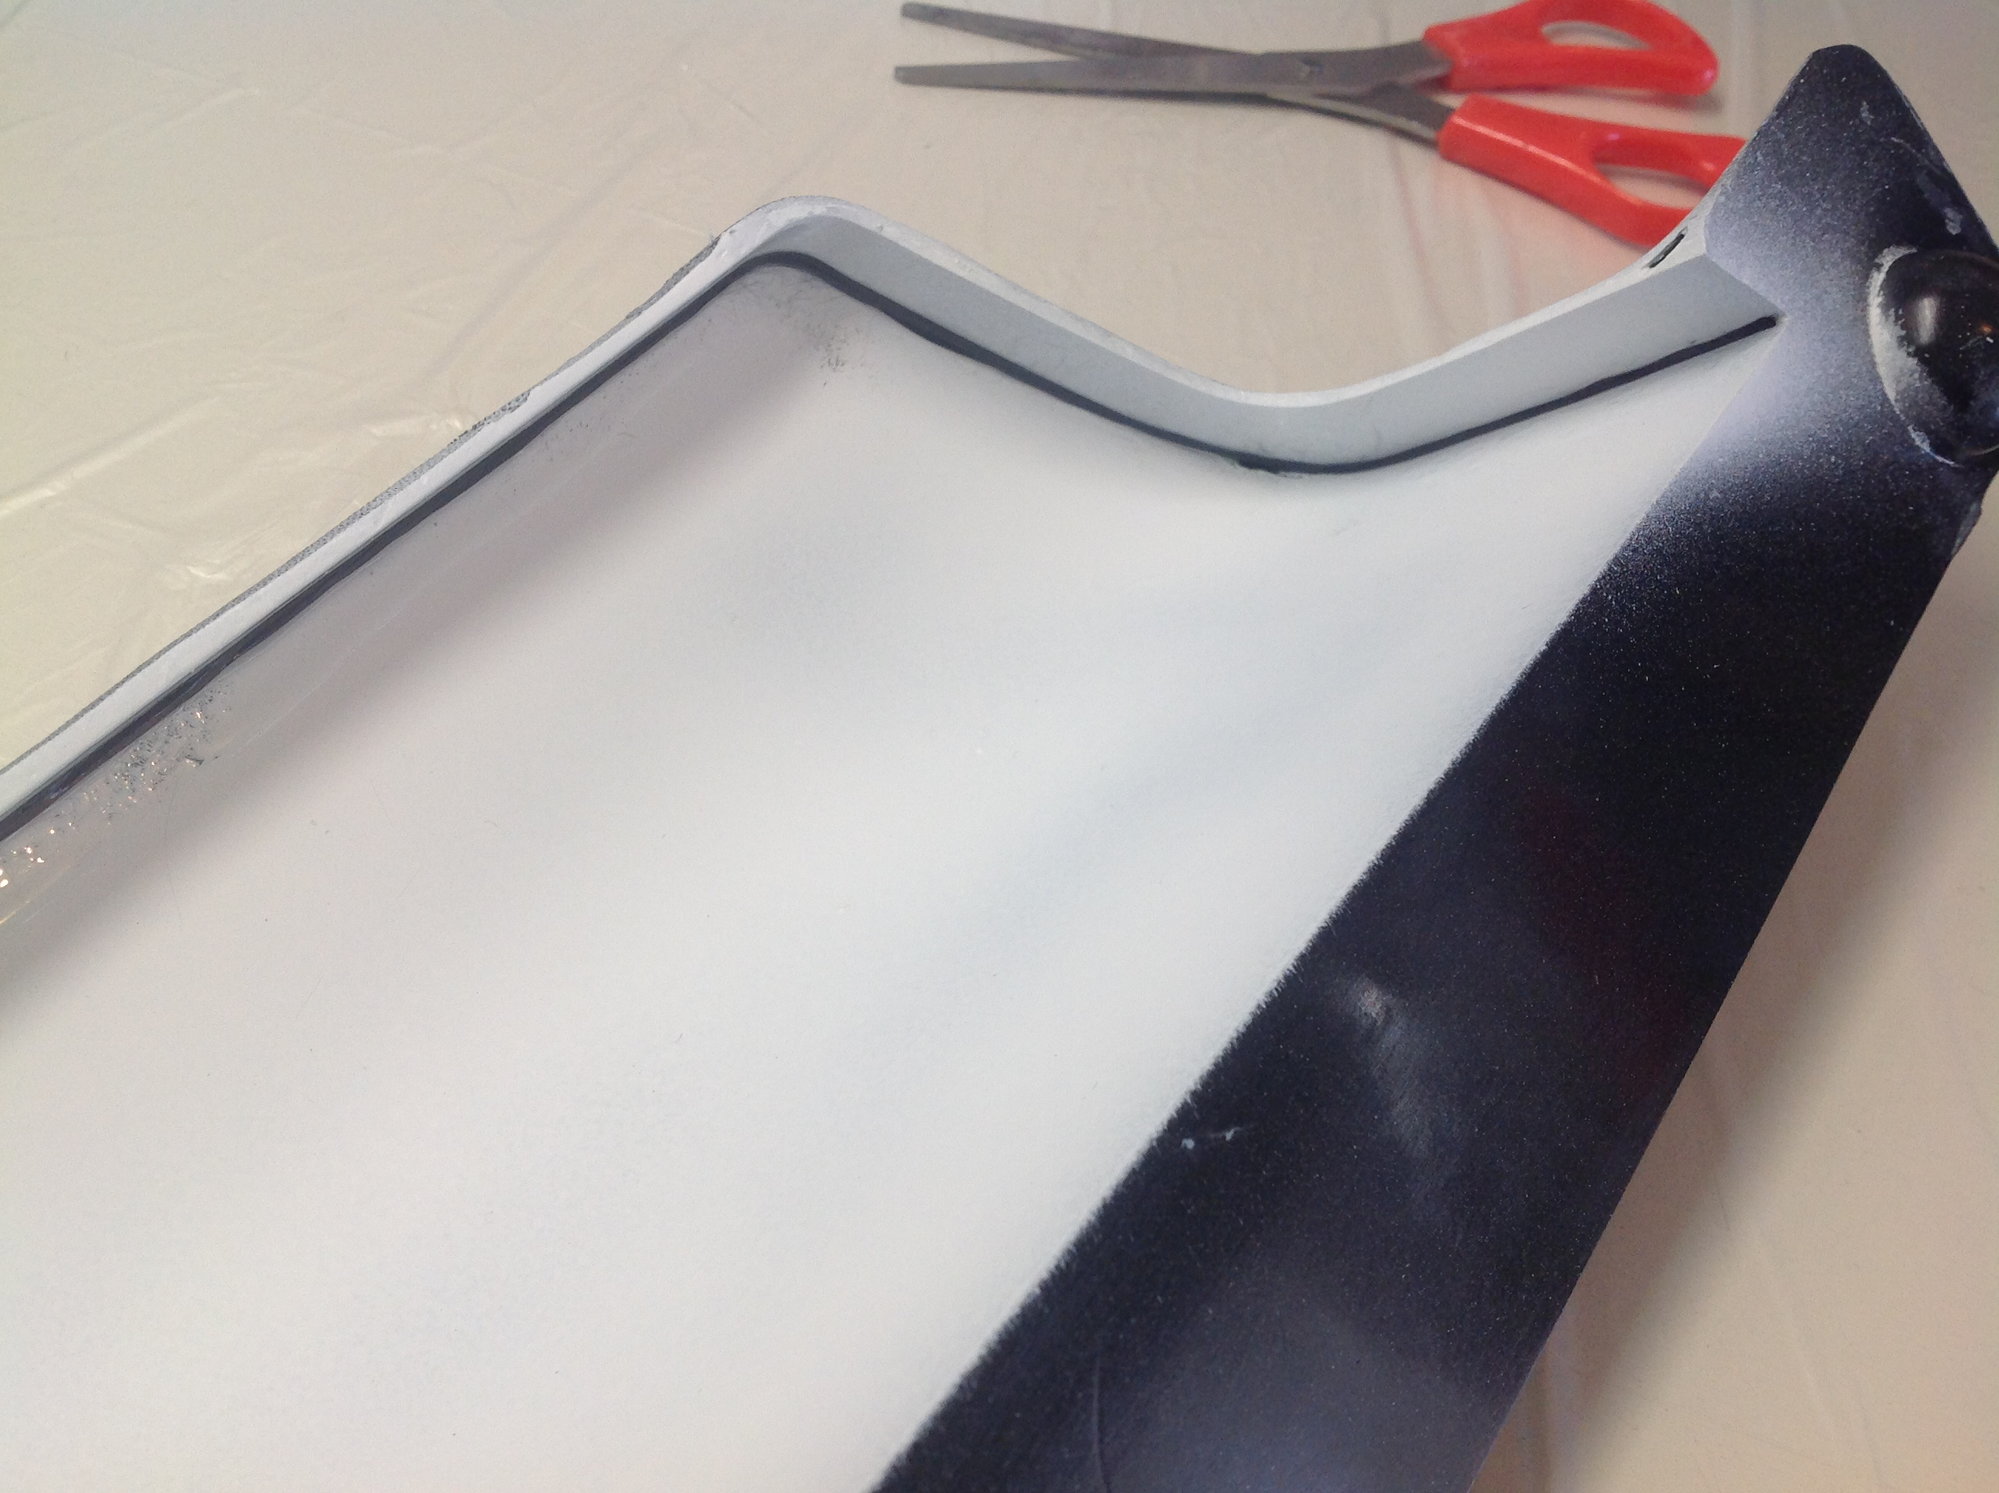
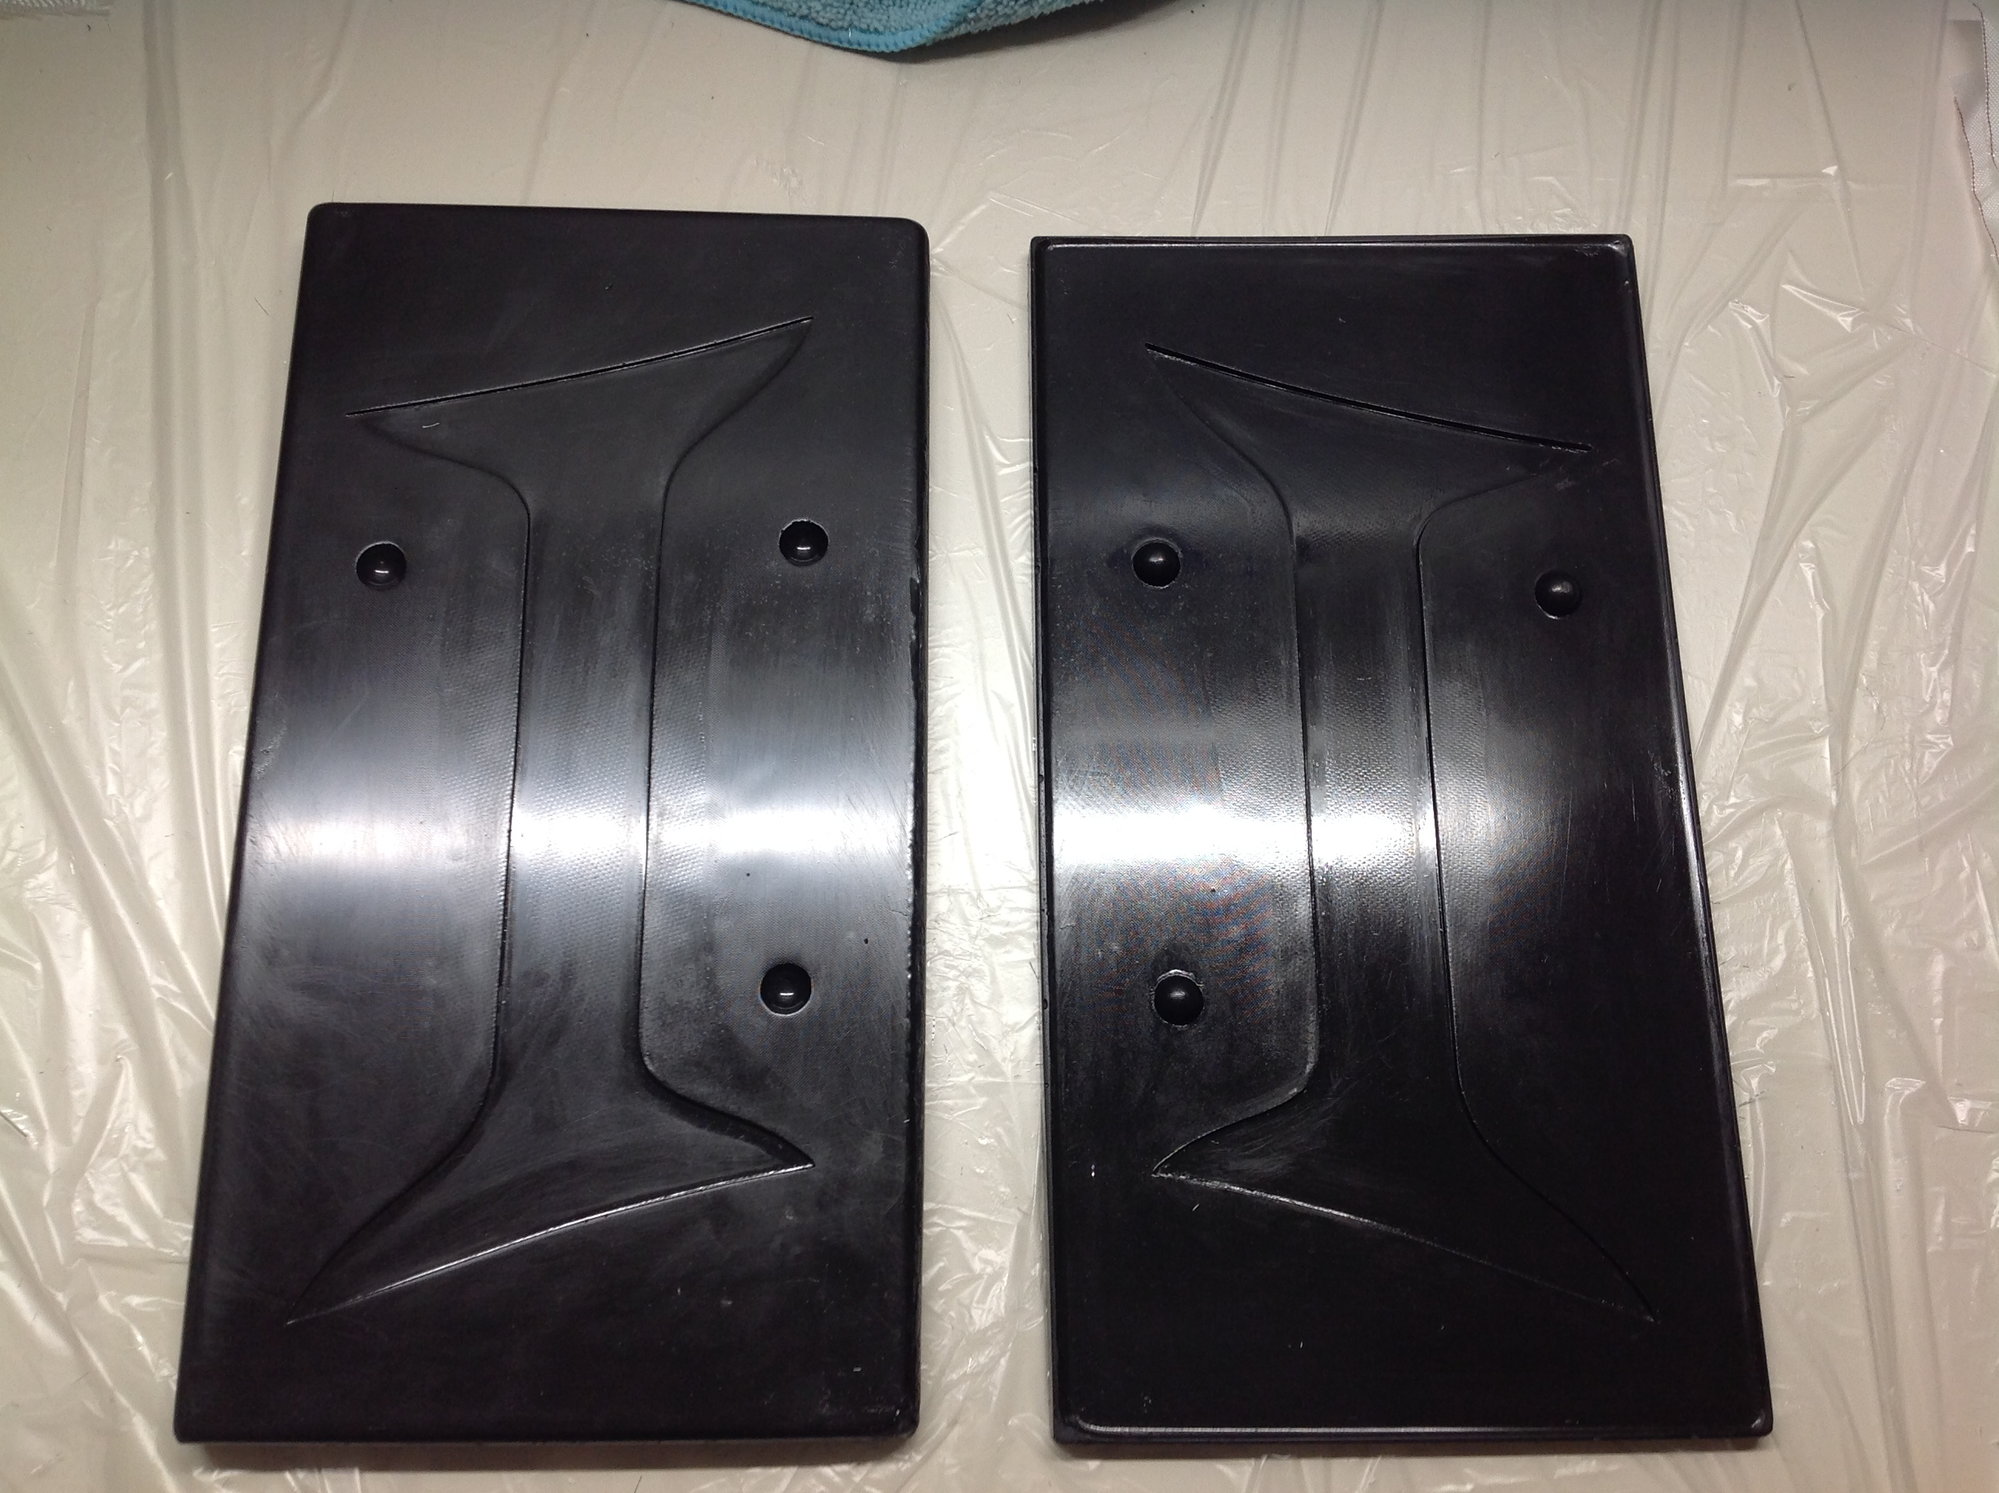
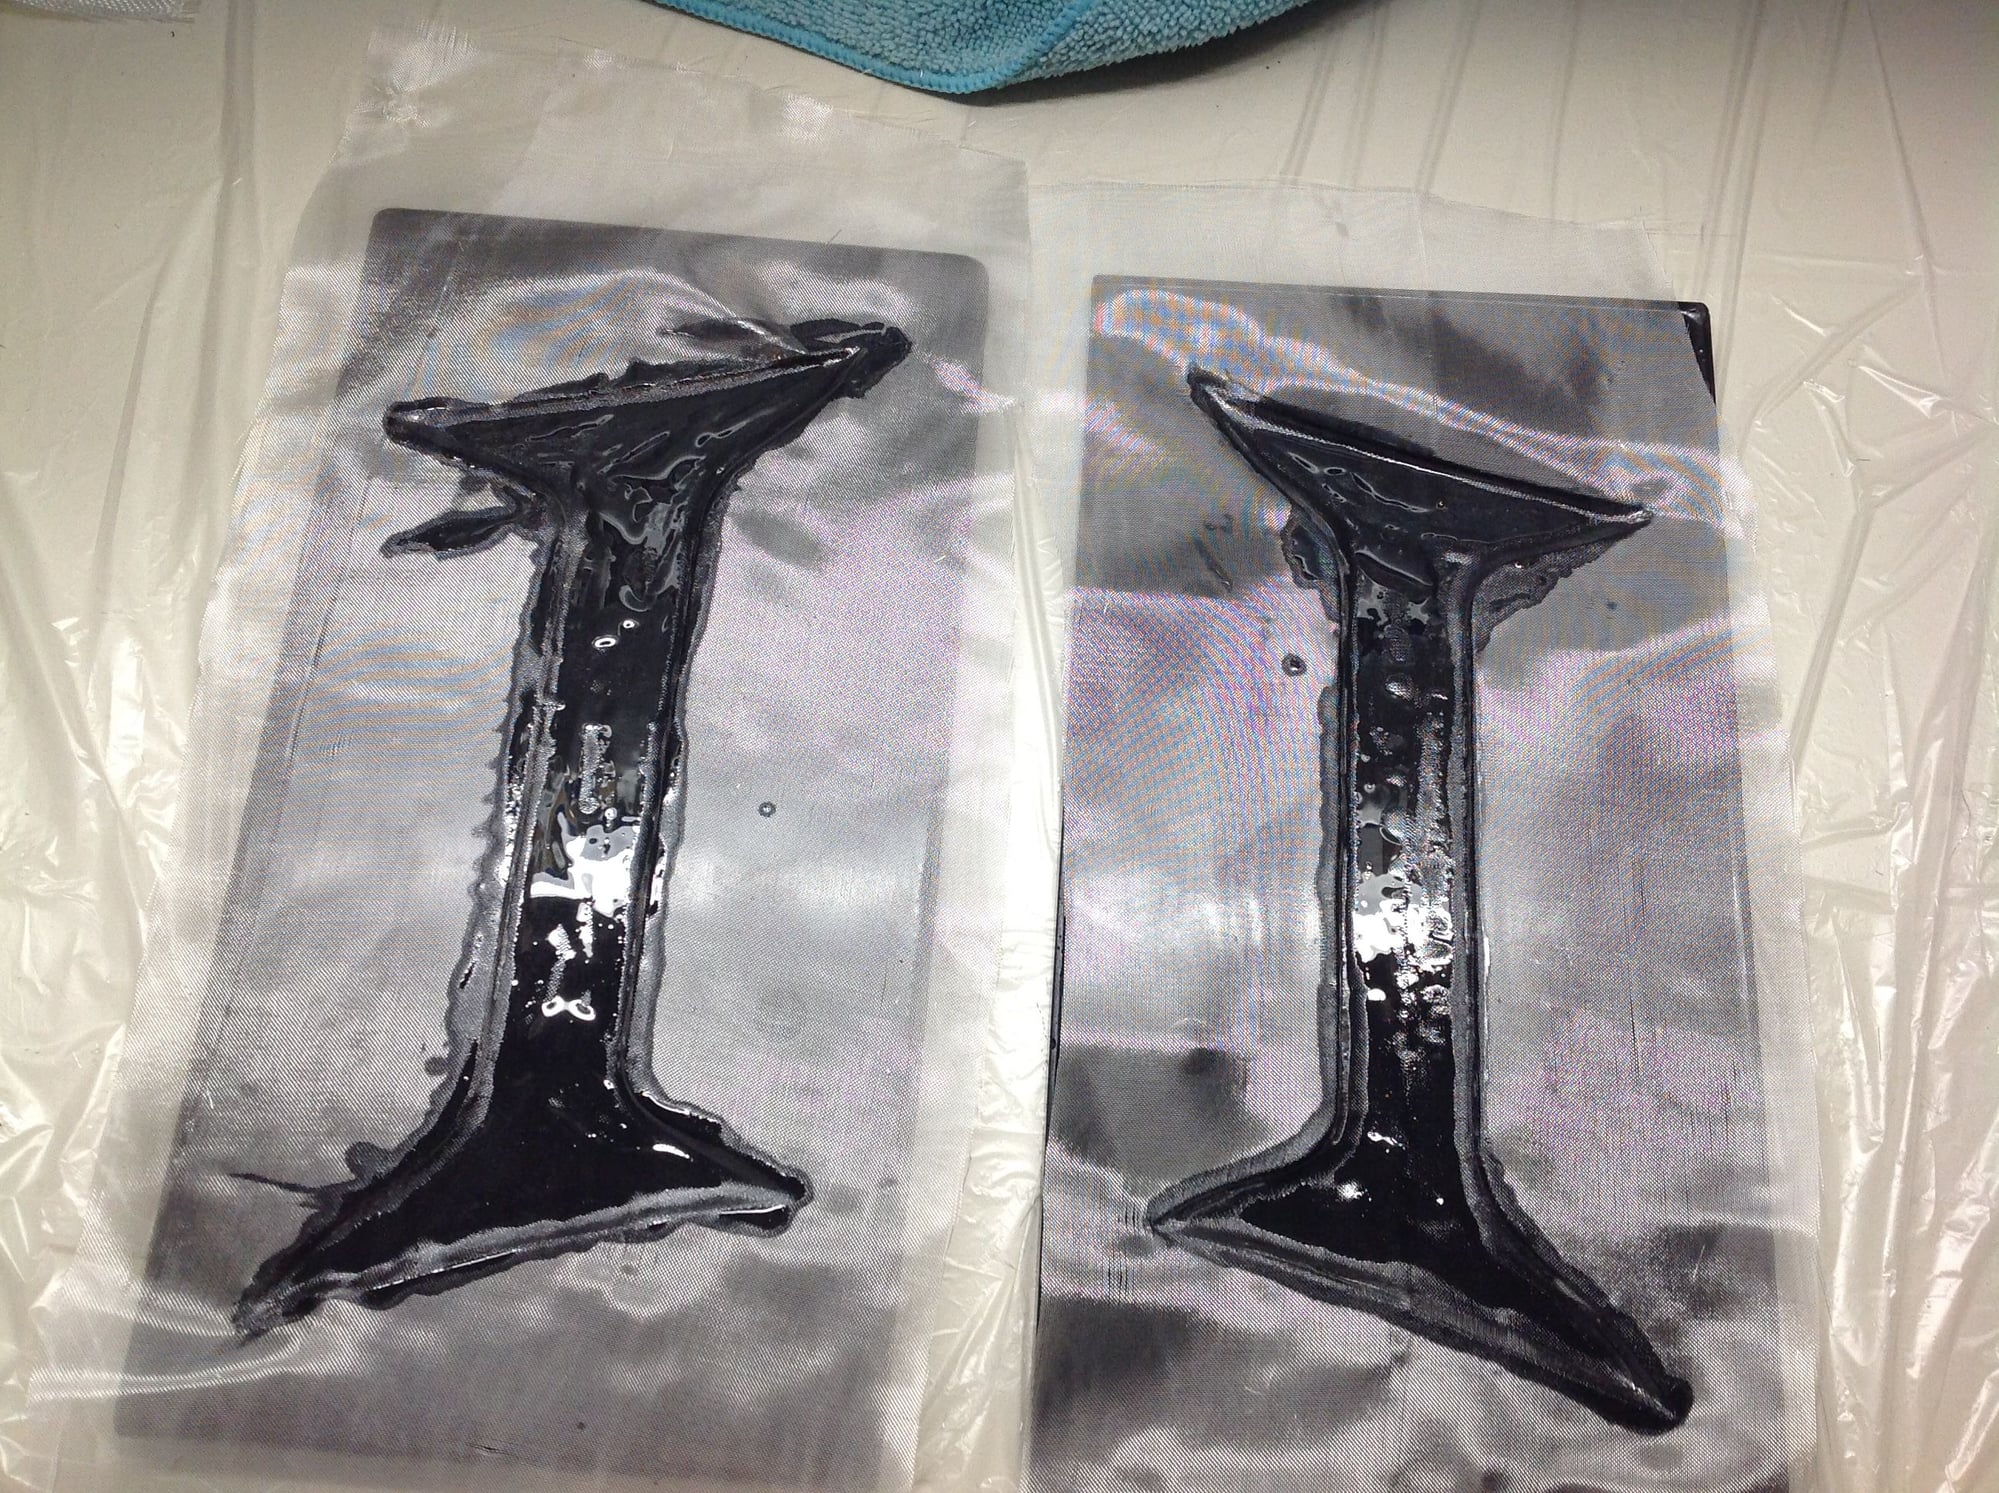
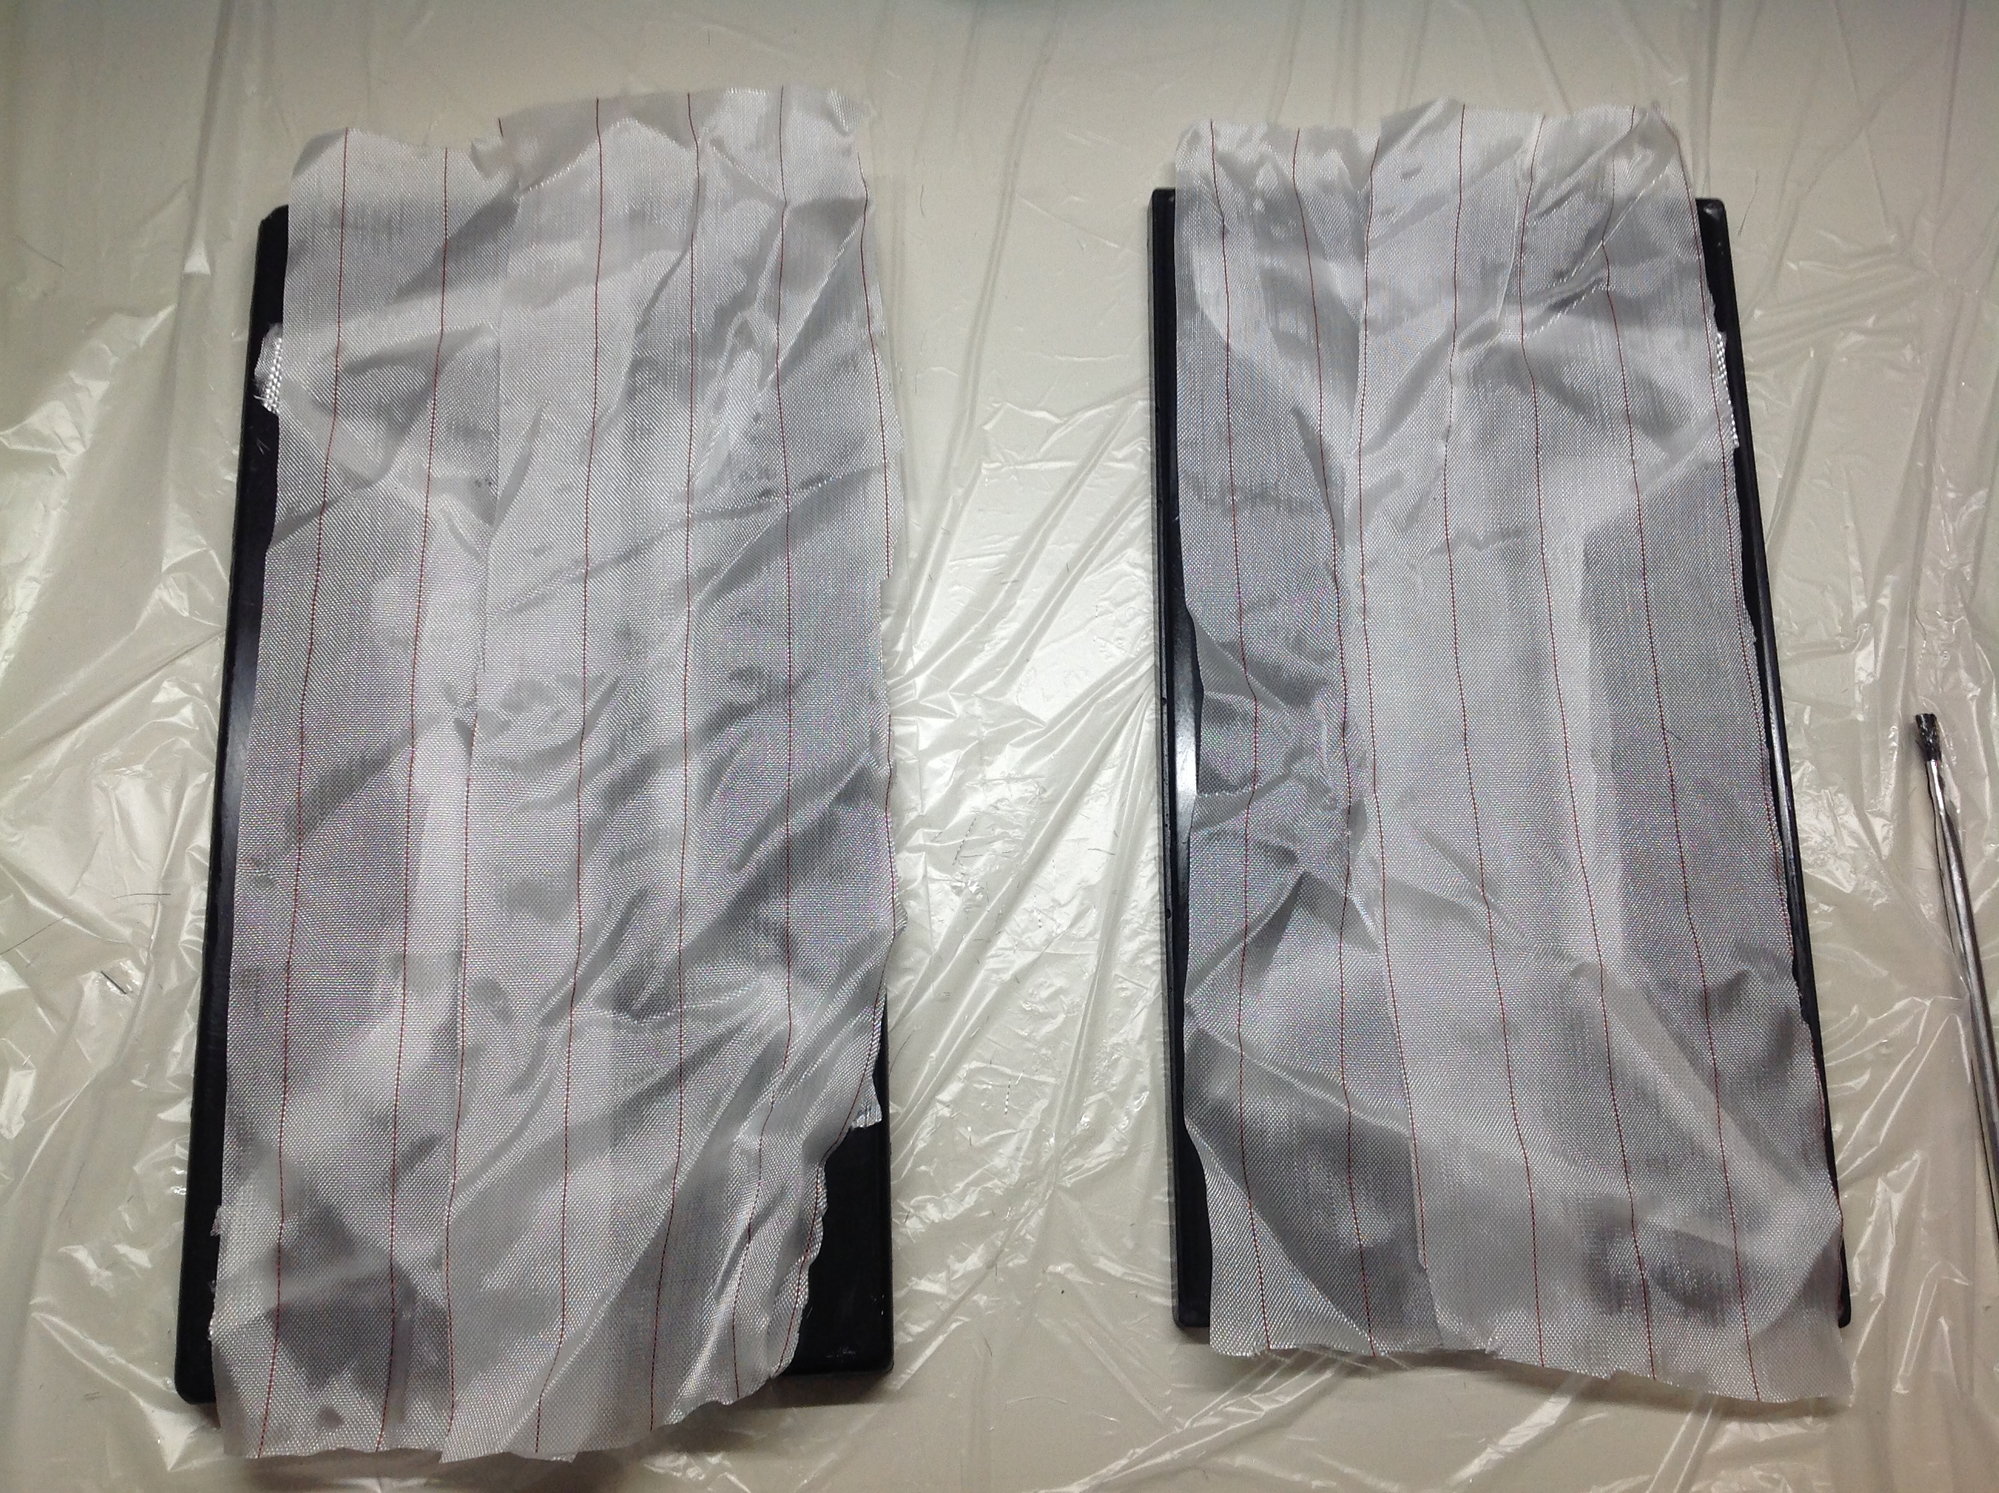
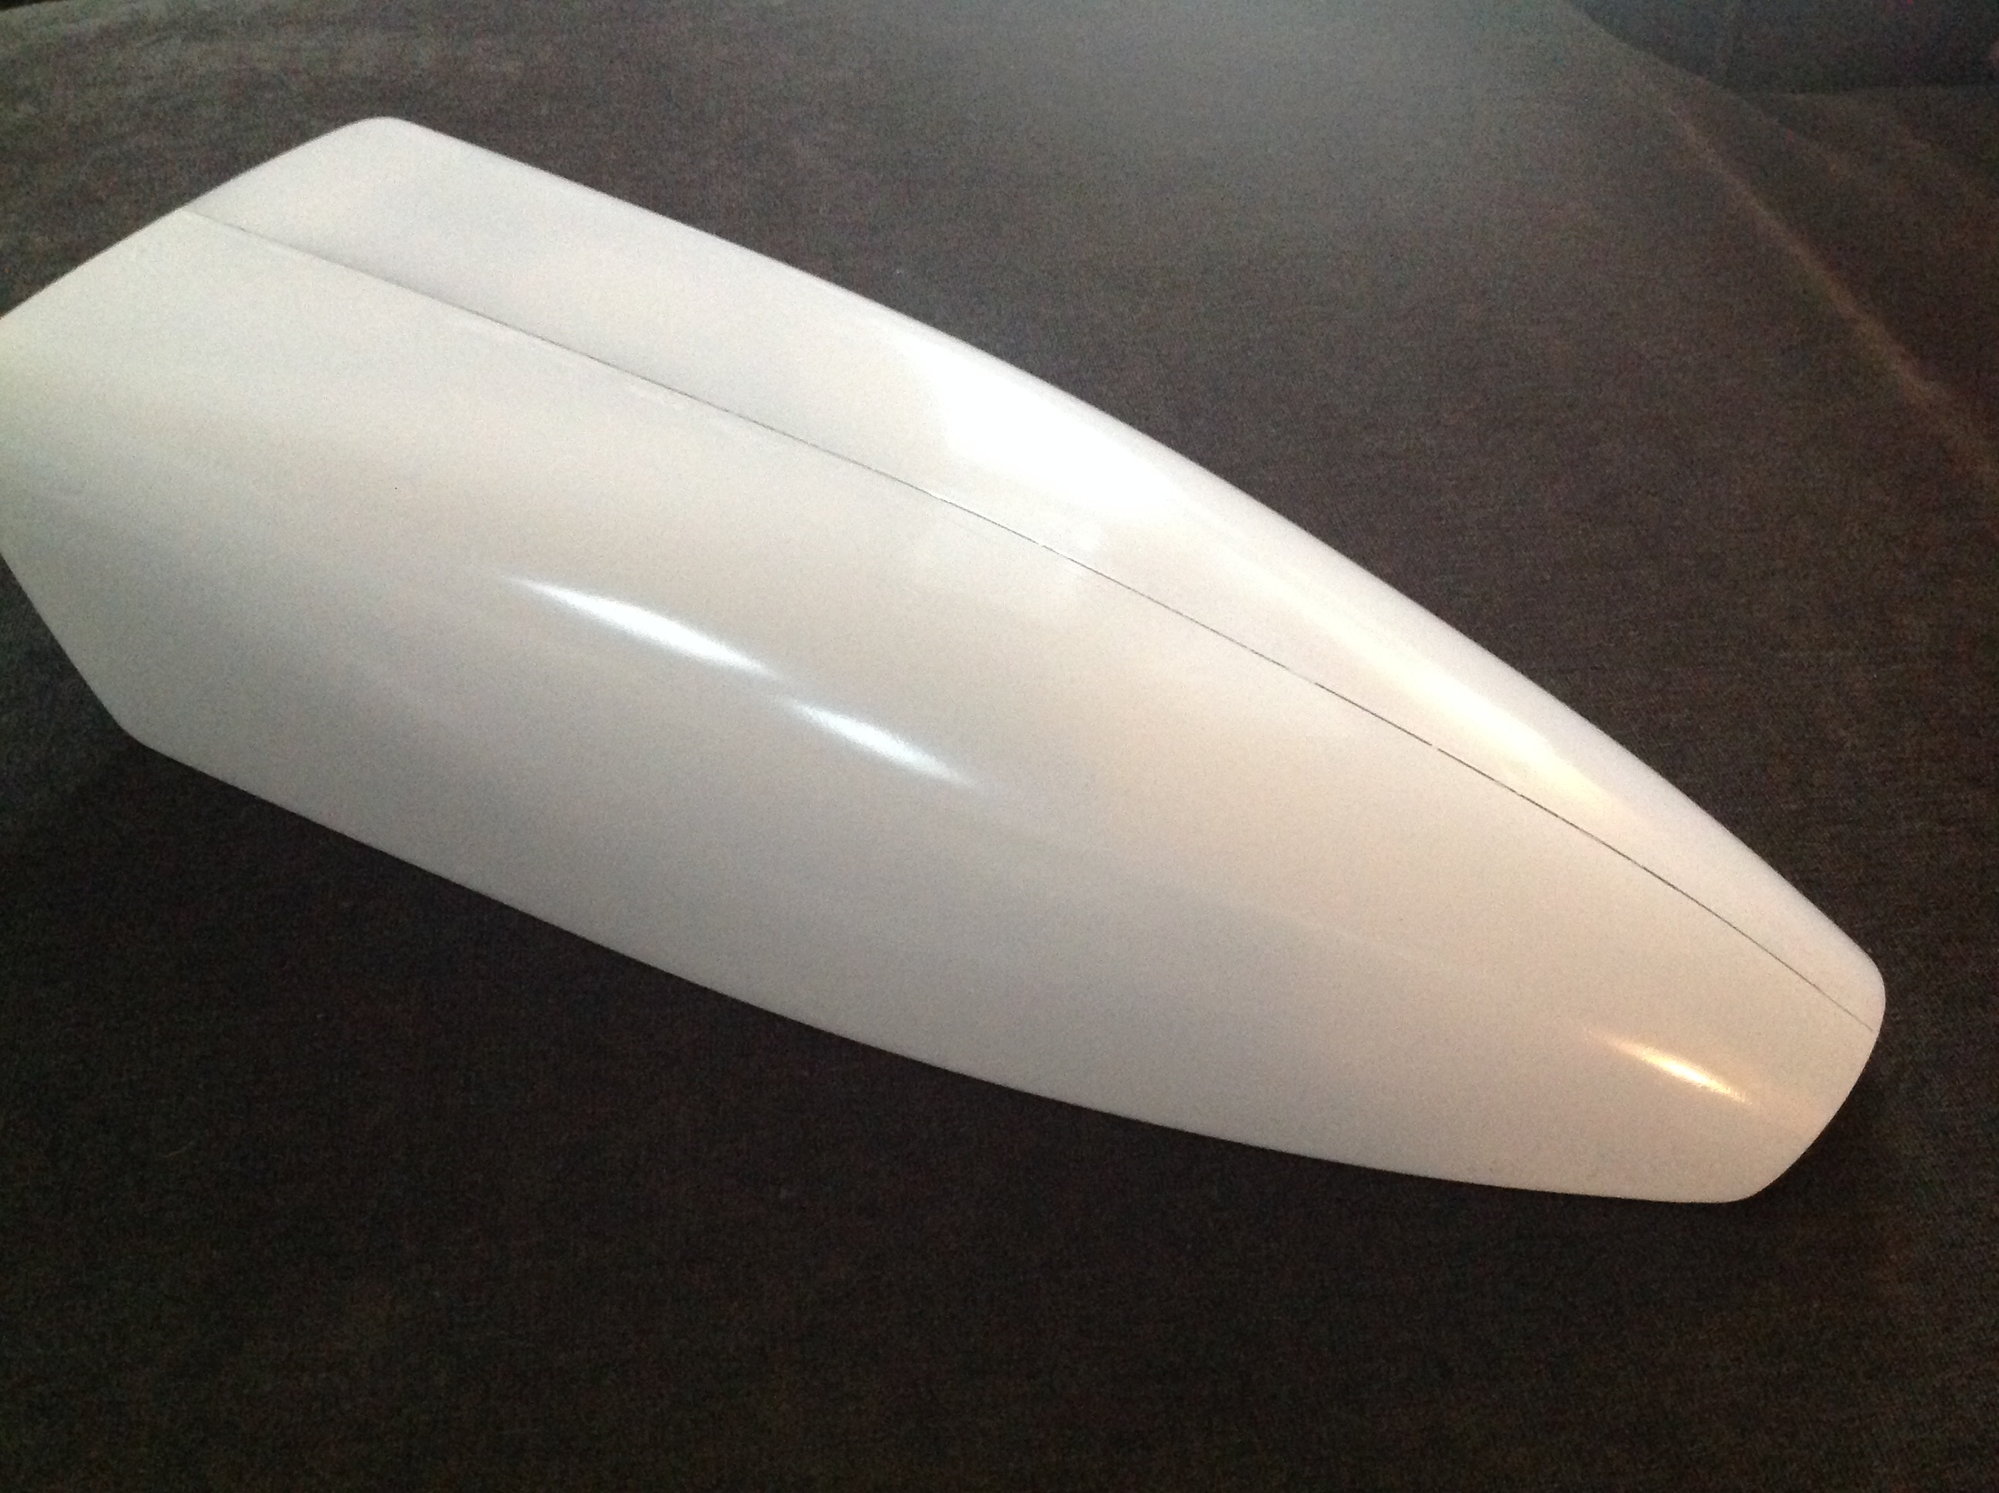
A paste of epoxy and cabosil is applied to the corners over the CF tow to radius the corners enough to for the glass cloth to have smooth transitions in the corners.
Two layers of 3oz cloth. One side of the layup is flush with the mold flange, the other side the fiberglass comes out of the mold 3/4". When the mold halfs are clamped the excess on the one side provides the joining seam.
 11-02-2019, 09:05 AM
#14
Scott, I haven't much more then a working theory on this. Each wing is 650 square inches of area. The lowere one is set to provide most of the lift while in level flight. This in theory keeps the airplane from getting floaty in level flight. It does in fact handle like an airplane with a higher wing loading. Then when the AOA is changed, the upper wing kicks in. Also if you think about it, both wings are essentially leading edge towards one another which does not change between right side up and inverted. Lastly, I wanted the lower wing to stall first, again this happens the same both right side up or inverted.
11-02-2019, 11:29 AM
#15
Scott, I haven't much more then a working theory on this. Each wing is 650 square inches of area. The lowere one is set to provide most of the lift while in level flight. This in theory keeps the airplane from getting floaty in level flight. It does in fact handle like an airplane with a higher wing loading. Then when the AOA is changed, the upper wing kicks in. Also if you think about it, both wings are essentially leading edge towards one another which does not change between right side up and inverted. Lastly, I wanted the lower wing to stall first, again this happens the same both right side up or inverted.

 11-05-2019, 05:31 PM
#23
Promising not to hijack this thread, but as impressive as the photos are and having just received my kit today, I can tell you that Shawn's attention to detail in every aspect is awesome. The kit was packaged well enough for completely safe transit anywhere and the parts are some of the lightest and highest quality I've seen in 35 years of RC.

