


AJ Acuity 2M Build
 03-10-2020 | 06:04 AM
#1

Thread Starter

Hi
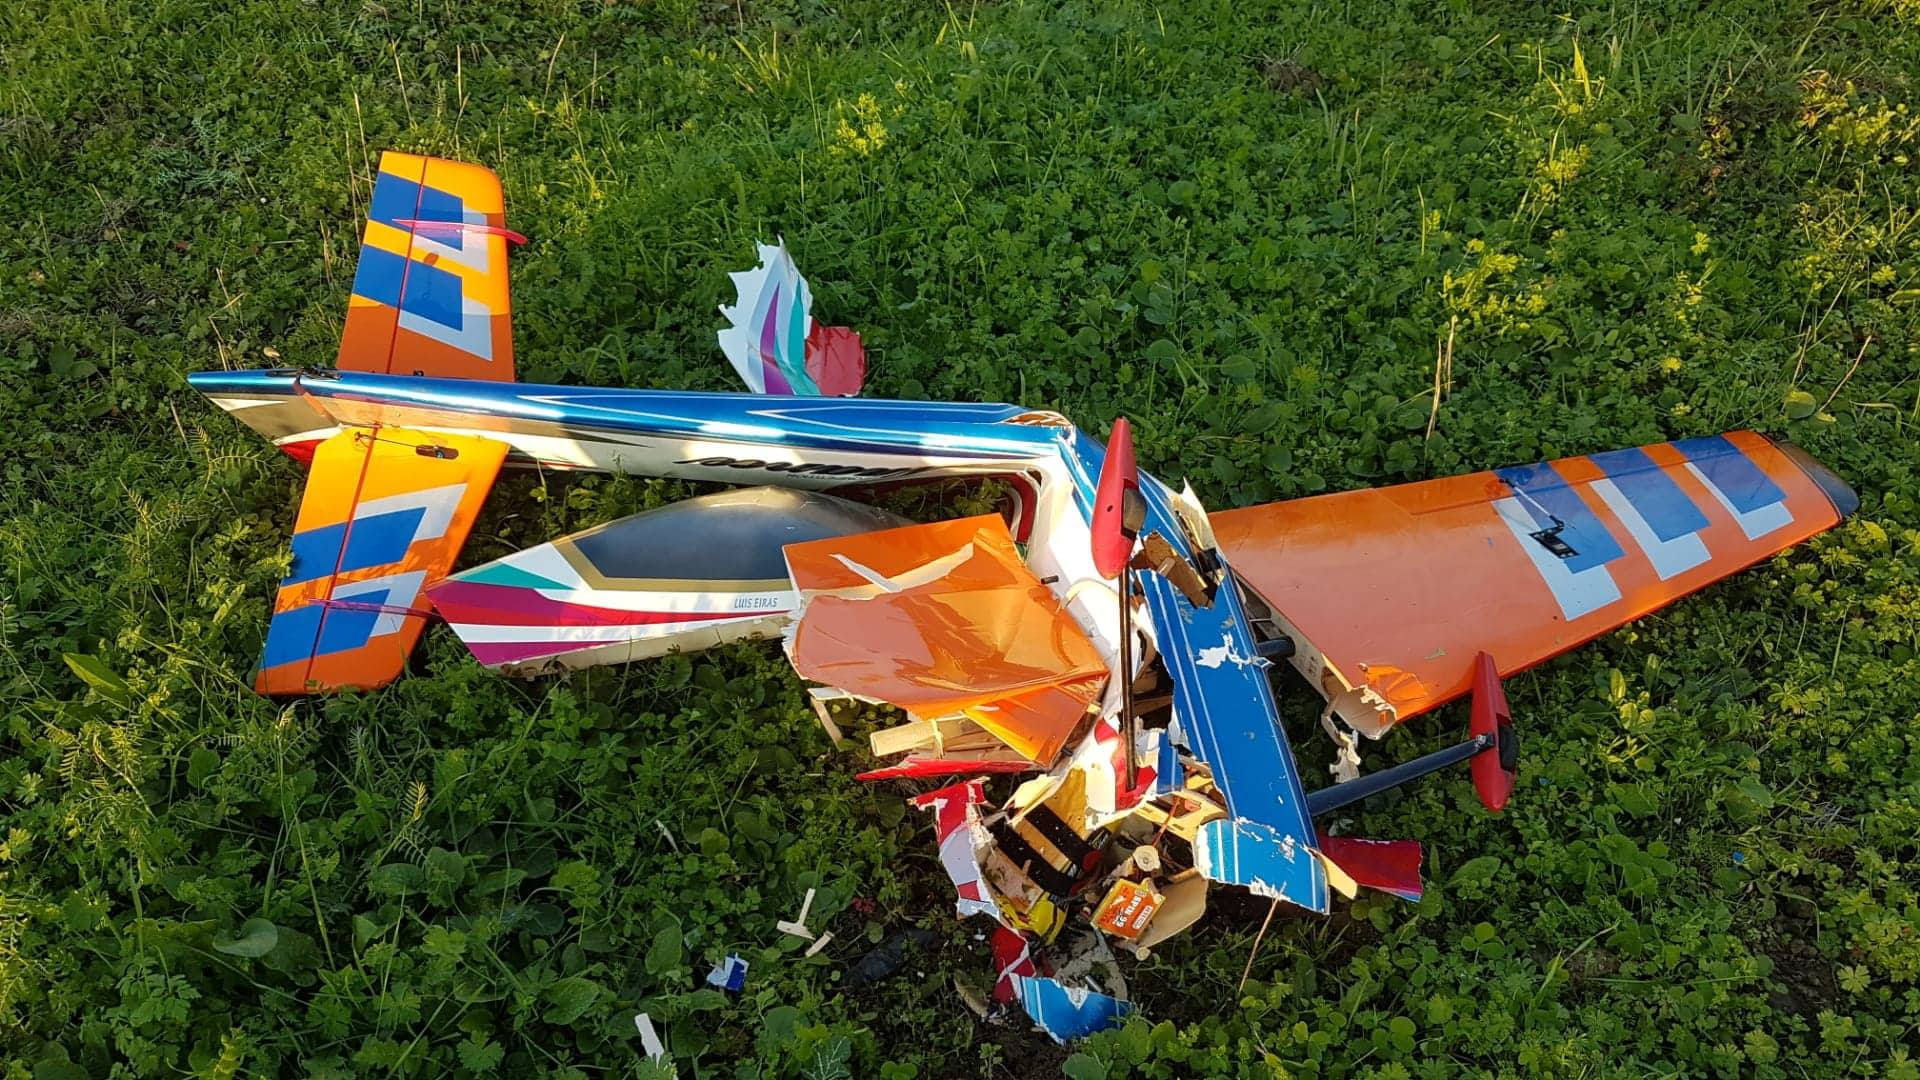
After the "mid-air" collision with a trainer in the beginning of the year , I lost my Bjcraft Nuance.
I loved that plane!!!!! It was old but flew straight and it was very competitive.
No plane for me to 2020 Portuguese Championship and the FAI F3A EUROPEAN CHAMPIONSHIP in Zamora ( If Covit-19 allowed )
Since the budget is not high, I decided to explore all possibilities. After some research and contacts (Thanks Shulman) I decided to go with AJ Acuity . One call to https://aerobertics.be/ and the plane arrived today. (Great service, thanks for everything)
I will start the assembly tonight and try to put all the useful information I can, from what I have seen, I will not make any major changes / upgrades.
Equipment:
AXI 5325/24 GOLD LINE V2
SPIN 99 PRO OPTO
2 x Graupner Mini servo DES 658 BB, MG (Elevator)
2 x Futaba Servo S9550 Digital Low Profile (Aileron)
1 x Futaba Servo BLS 351 (Rudder)
Jeti Receiver

The following users liked this post:
DRC1 (03-10-2020)


The following users liked this post:
Ricardo M. (03-11-2020)
03-11-2020 | 02:38 AM
#5
Thread Starter
 03-11-2020 | 02:58 AM
#6
Thread Starter
I have to find shortest spacers. About 7mm to make sure there is not a big gap between the spinner back plate and the front of the cowl.
The wood ones supplied in the kit are not all the same size.
For the Axi installation, the ideal size will be 13 or 14mm spacers.


The wood ones supplied in the kit are not all the same size.
For the Axi installation, the ideal size will be 13 or 14mm spacers.
03-11-2020 | 05:37 PM
#7
Thread Starter
Do not tighten too tight, the aluminum piece will break. Probably that's the reason there's three in the kit.

The fit of the Wheel Pants with the landing gear is excellent

Engine Mount with 2 x .5mm and 2 x .3mm Brass washers

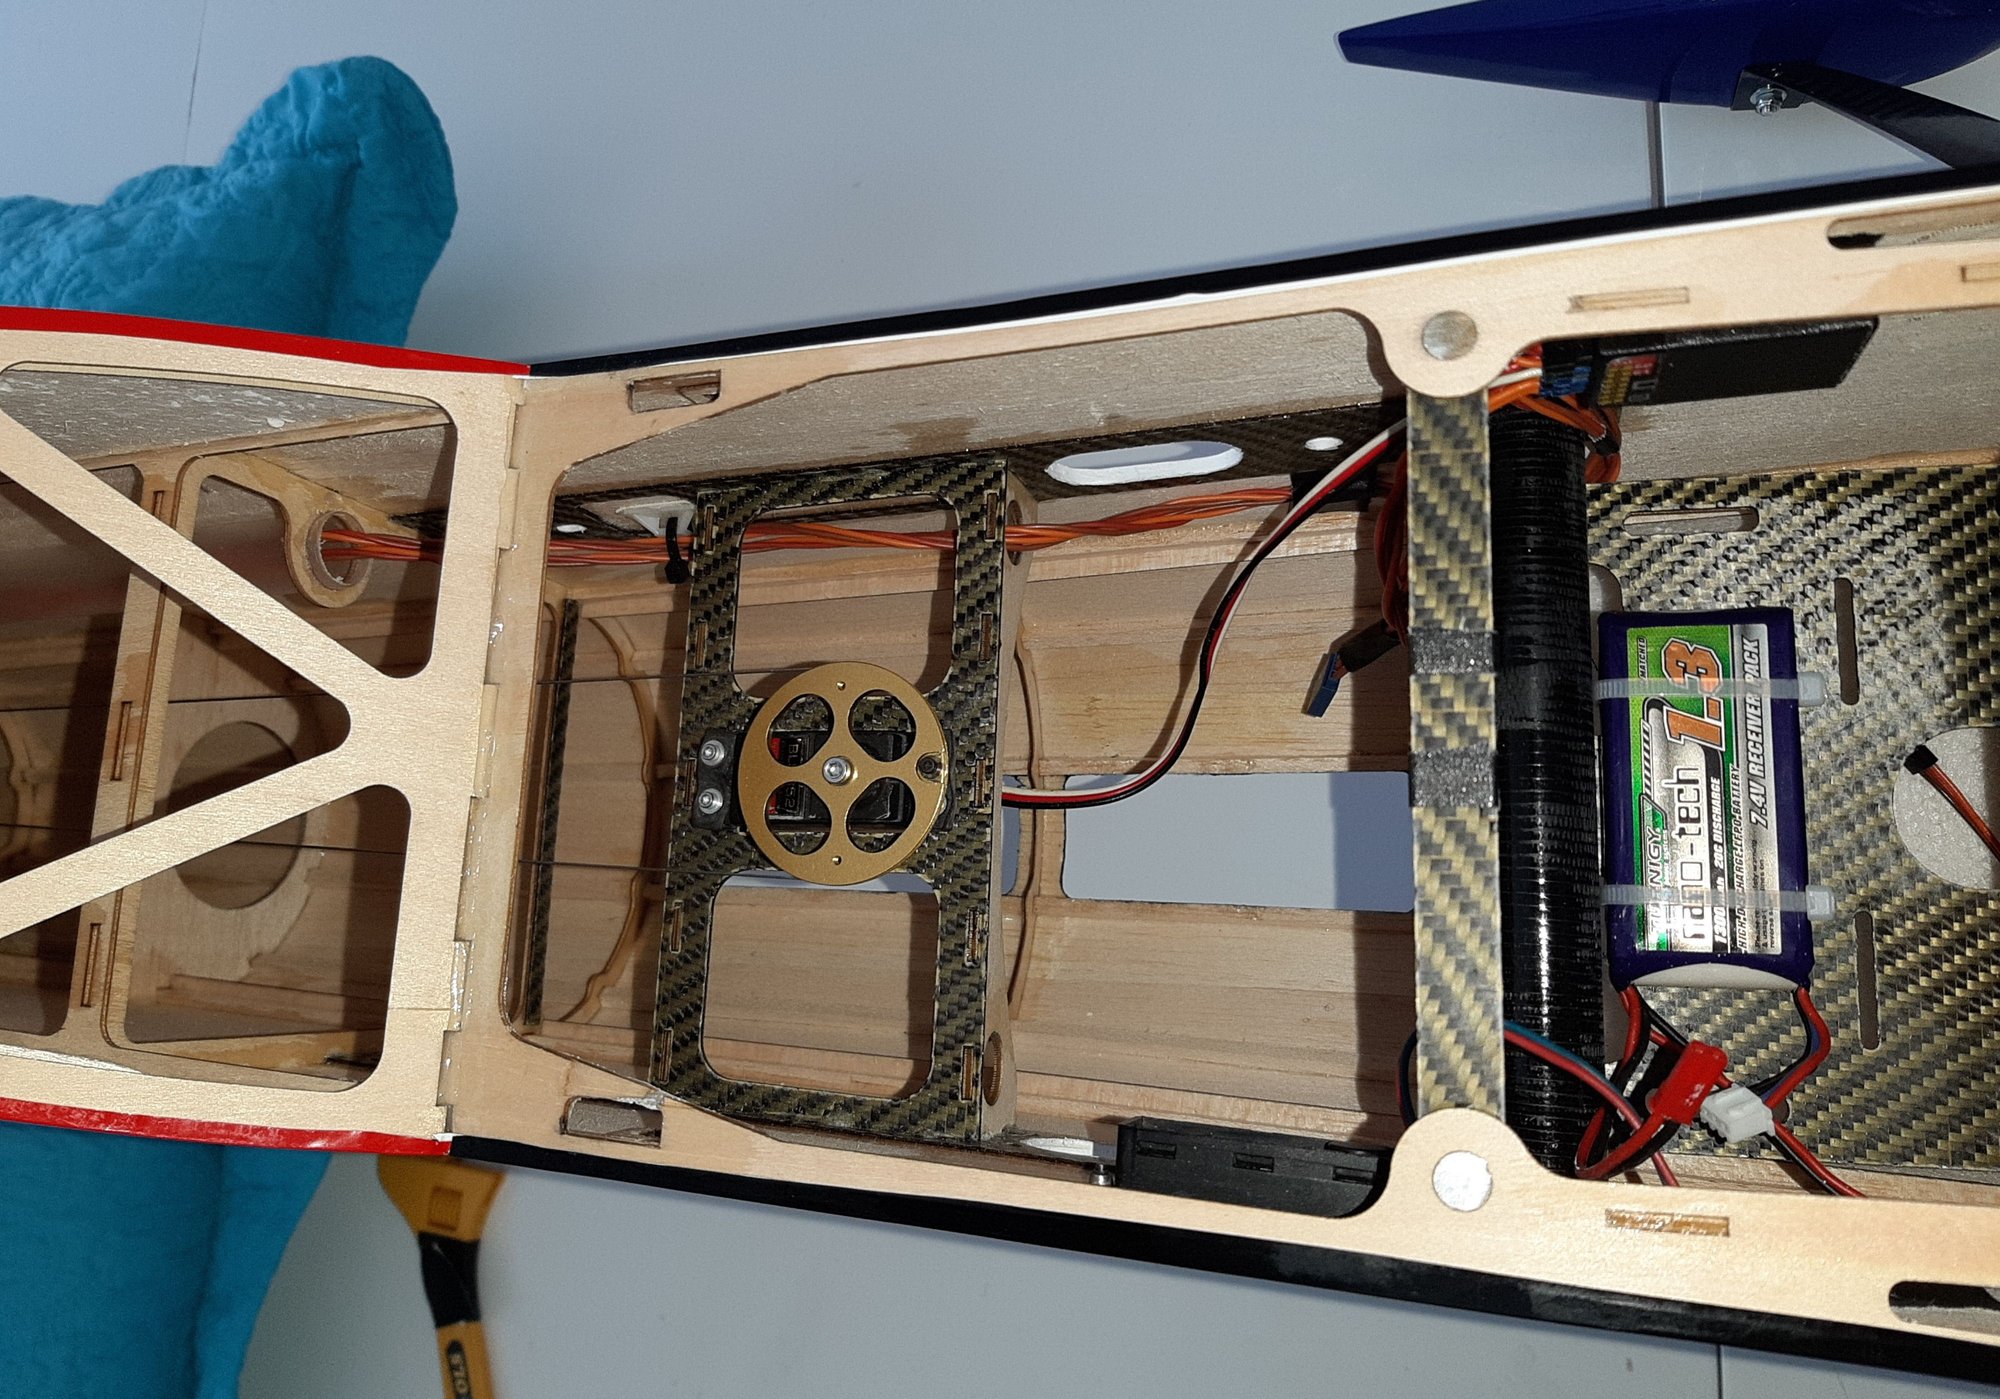
Rudder Servo Installation

The fit of the Wheel Pants with the landing gear is excellent
Engine Mount with 2 x .5mm and 2 x .3mm Brass washers
Rudder Servo Installation
Last edited by lc_eiras; 03-12-2020 at 09:04 AM.

 03-13-2020 | 02:55 AM
#10
Thread Starter
The advantages of this type of installation are:
- If installed correctly you get an equal tension on both sides of the installation (works with a single cable opposite one to the left and the other to the right).
- More linear rudder movement with benefits in centering.
- Less servo force (resulting from distributed tension).

You can find it in here:
https://www.probuild-uk.co.uk/index....roduct_id=4147
https://www.ebay.co.uk/c/1052995784
https://www.gravesrc.com/hangar-9-pu...air-large.html


 03-14-2020 | 07:49 AM
#11
Hello lc
You must have the same wheel in the rudder (as shown on pictures) to get the advantages of this type of installation.


You must have the same wheel in the rudder (as shown on pictures) to get the advantages of this type of installation.
Last edited by papaone; 03-14-2020 at 11:42 AM.
The following users liked this post:
lc_eiras (03-14-2020)
03-14-2020 | 09:31 AM
#12
Thread Starter
In rudder assembly, I replaced the 1mm wire for 1.45mm, seemed to me it had less slack on the hinges.
If inecessary it's still possible to remove the Rudder.
Also change the tail wheel.


If inecessary it's still possible to remove the Rudder.
Also change the tail wheel.
03-14-2020 | 10:16 AM
#14
 03-14-2020 | 10:50 AM
#15
Thread Starter
03-14-2020 | 10:53 AM
#16
Thread Starter
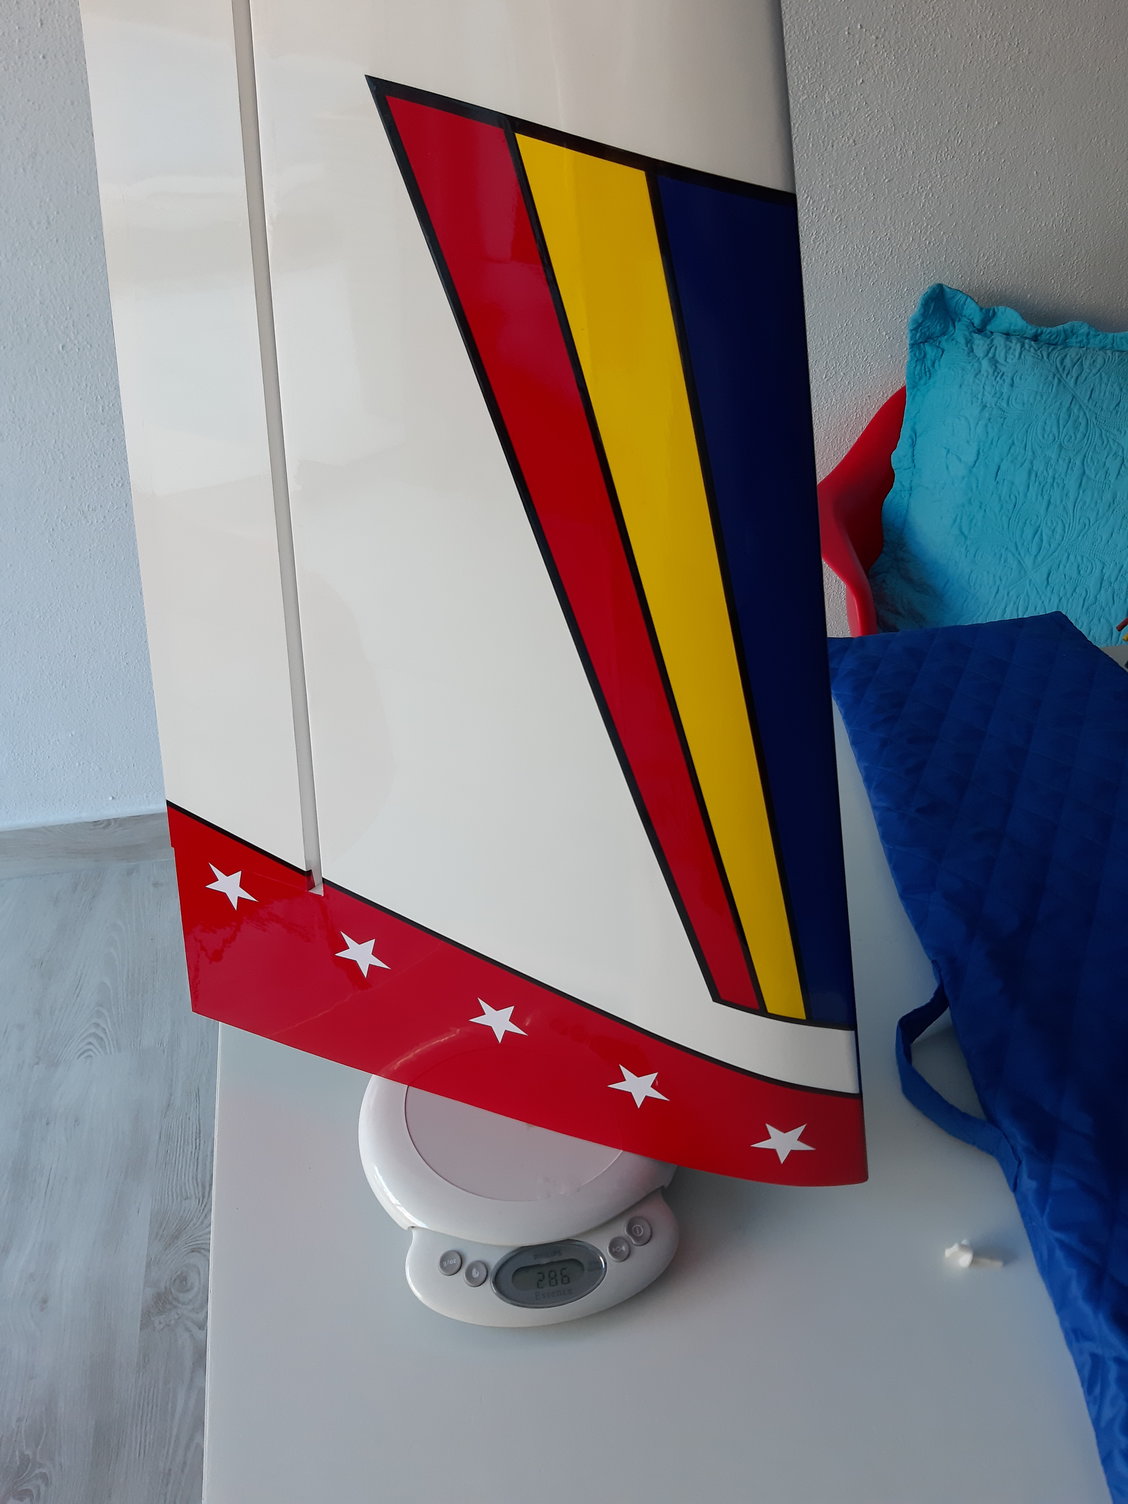
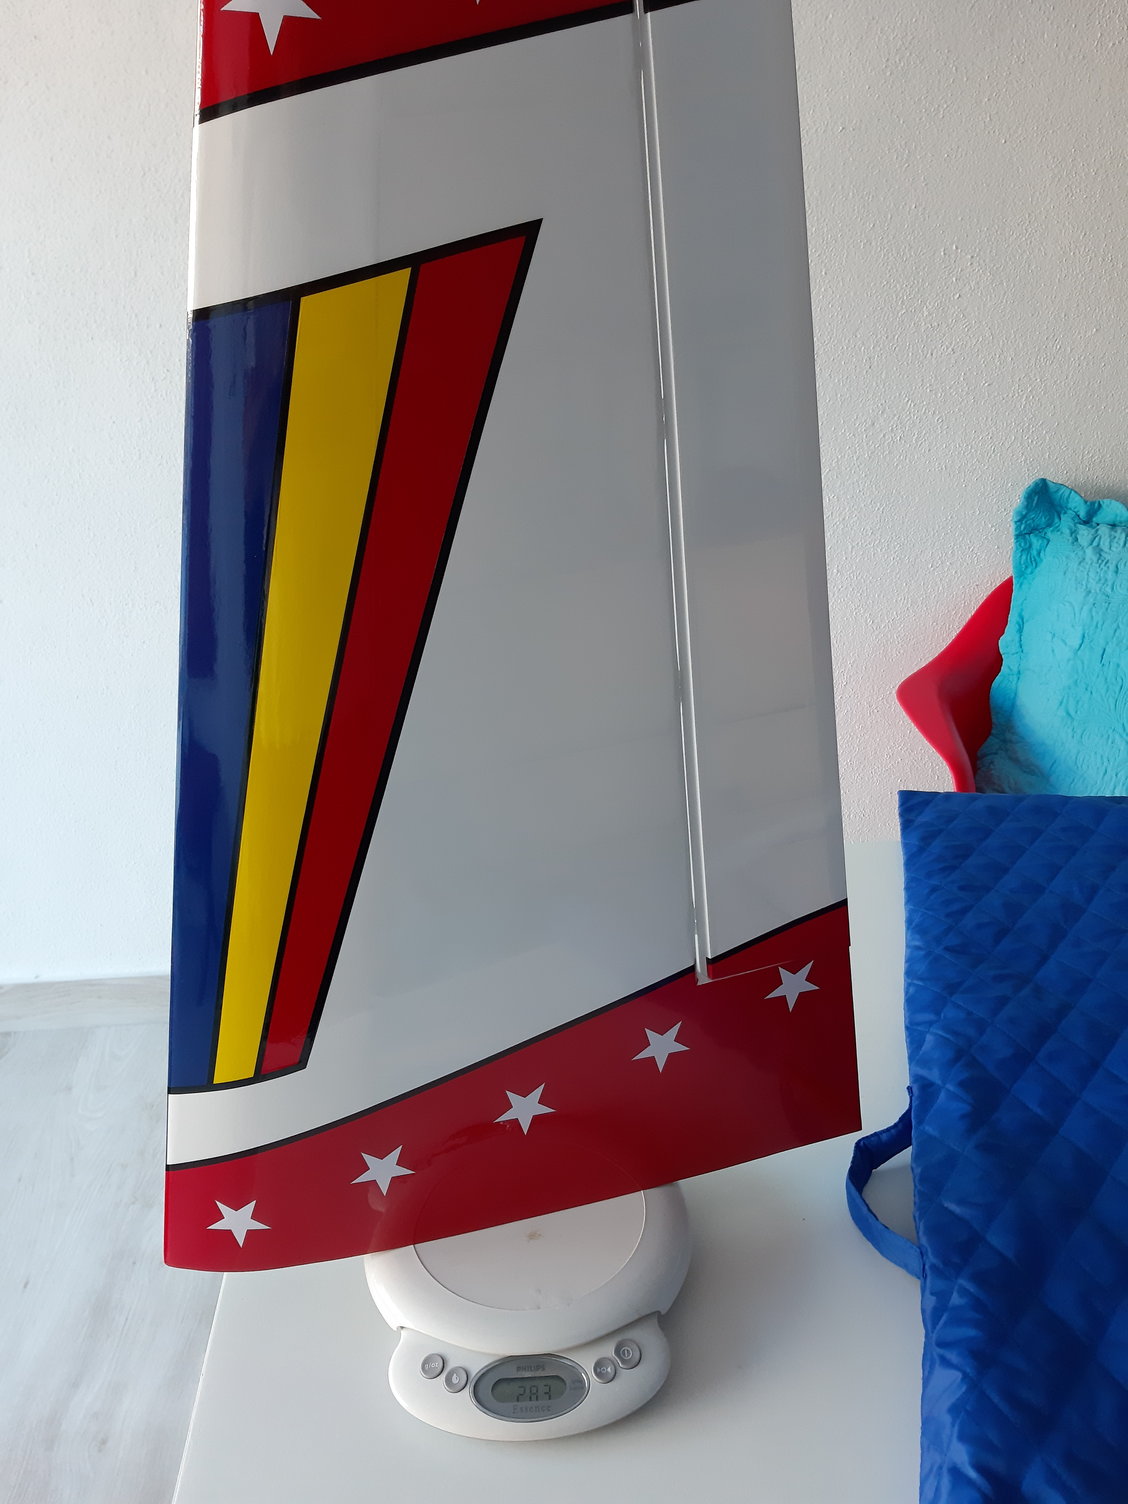
I couldn't believe when I put the incident meter on the wings
Amazing how a plane with this kind of construction comes out of the box so straight.
The fit is also perfect !!!!!!


Amazing how a plane with this kind of construction comes out of the box so straight.
The fit is also perfect !!!!!!


 03-27-2020 | 06:16 AM
#22
Thread Starter
Elevator halfs alignment:
This was a time-consuming but fundamental task to ensure a level flight and the correct entry into the manoeuvres.
Since the stabilizers have no reference at the ends, a template similar to the one in the photograph should be provided to ensure its correct alignment.
Something to consider as an update to the Kit !!!!!!

It should not be difficult to produce and the cost is insignificant verses the advantages it offers .
It is true that the tuning of these elevators is only achieved after the trimming flights.But starting from a solid base guarantees better results.
I have chosen to go this way:


In the end I confirmed everything with the incident meter.
This was a time-consuming but fundamental task to ensure a level flight and the correct entry into the manoeuvres.
Since the stabilizers have no reference at the ends, a template similar to the one in the photograph should be provided to ensure its correct alignment.
Something to consider as an update to the Kit !!!!!!
It should not be difficult to produce and the cost is insignificant verses the advantages it offers .
It is true that the tuning of these elevators is only achieved after the trimming flights.But starting from a solid base guarantees better results.
I have chosen to go this way:
In the end I confirmed everything with the incident meter.
The following users liked this post:
wattsup (06-03-2023)


 04-02-2020 | 03:54 PM
#24
Thread Starter
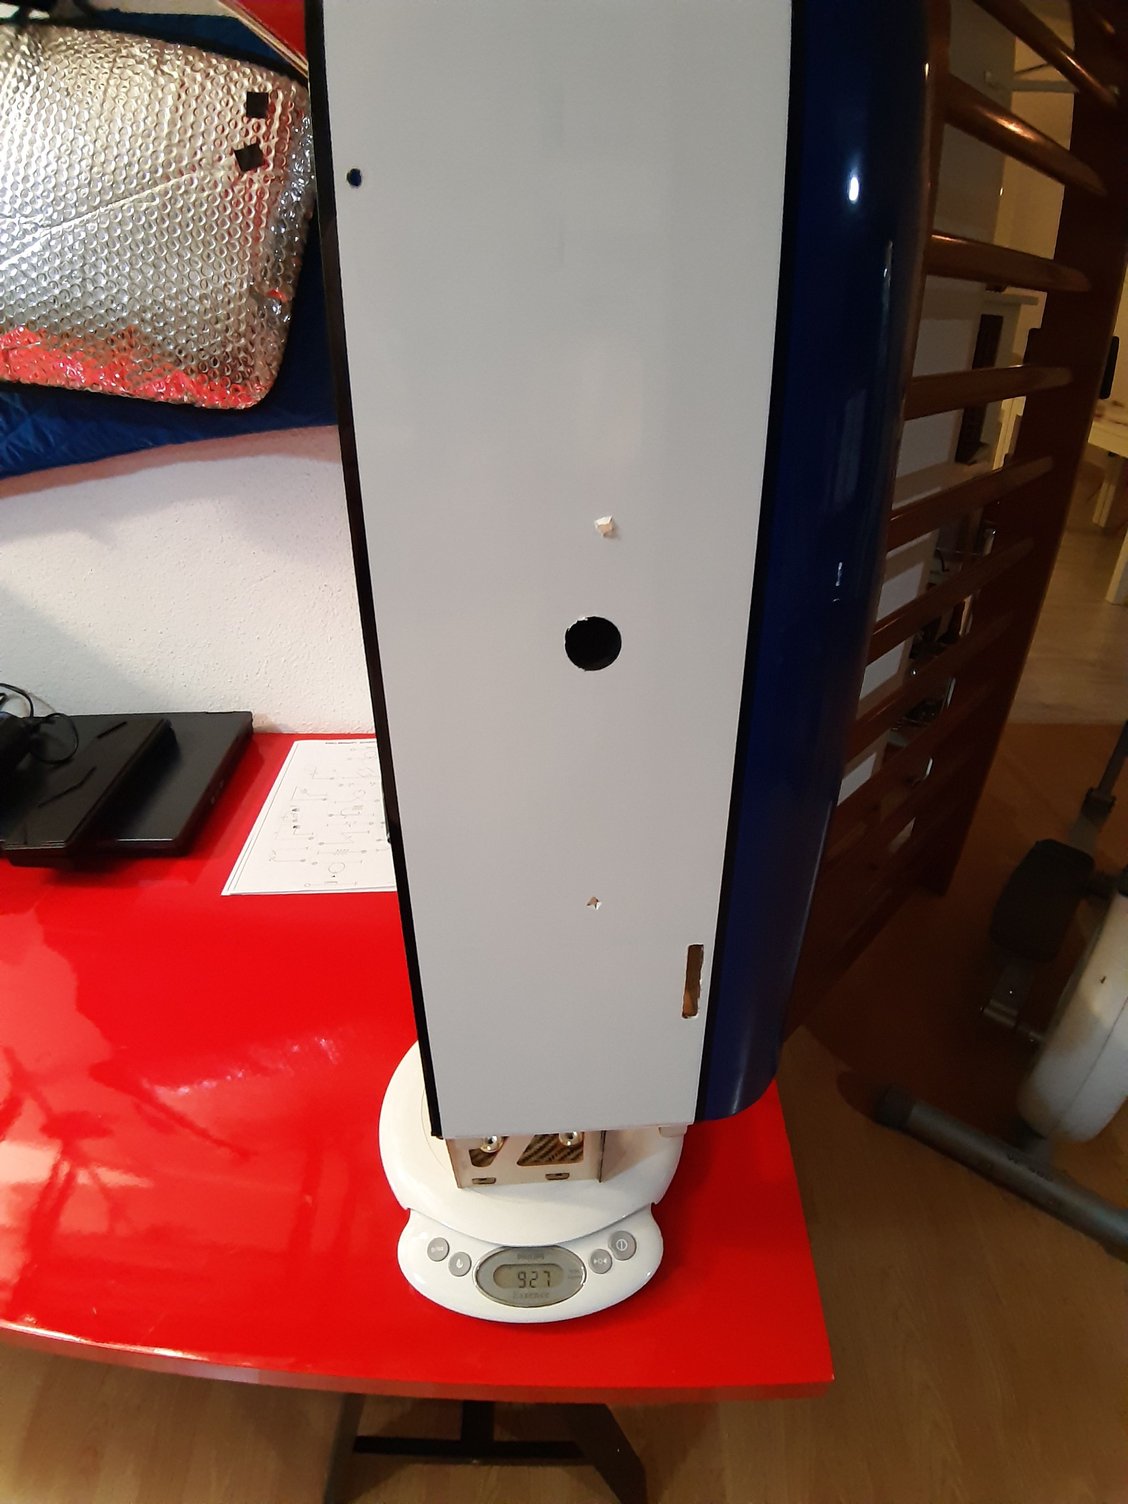
The canopy I received with the kit, besides looking excessively heavy compared to those I have seen online (about + 100 g) was broken and with some very bad fiberglass patches.
I added some reinforcements inside and I will send it to a painter to see if he can remove all the painting and improve the workand weight.
Hopefully it won't be necessary to order a new one....
Mine (279) g:


I added some reinforcements inside and I will send it to a painter to see if he can remove all the painting and improve the workand weight.
Hopefully it won't be necessary to order a new one....
Mine (279) g:


