


Electric to glow basics please
 11-18-2022 | 12:05 PM
#1
Thread Starter

Joined: Mar 2003
Posts: 1
Likes: 0
Received 0 Likes
on
0 Posts
From: Peace River, AB,
Hello all, this is my first post to RCU. I'm about to build a small 41 inch span airplane from Flying Models plans. It's a sport model designed for electric but I'm going to build it for an OS .20FP that I have several of. Plans are on the way! What I would like is general information about what to do to convert an airplane designed for electric to glow power. What to do/what not to do regarding firewall, wing, fuselage etc. Anything you can tell me will be appreciated. The conversion should be somewhat simpler due to the fact that the airplane hasn't yet been built so I can do the mods as I'm building. I have experience with bulding both from plans and from kits.
 11-22-2022 | 01:30 AM
#2


I think there is a very good reason why nobody has ventured to try and help you here yet.
I don't mean to come across as a smart a** or be gruff with you, but if you have to ask those kinds of questions, then you shouldn't be attempting this. You obviously don't yet have enough experience with the basics of building an RC plane. Had you built at least a couple of balsa kits (and NOT an ARF which provides little building skills), you would have an understanding of the construction of balsa and ply planes. My first plane 30 years ago was a stick balsa Sig Seniorita Kit, and after completing 3 months of building that, I still had to go back weeks later to correct mistakes I had made because I was inexperienced and didn't fully understand the instruction and pictures. I understood the mistakes after seeing other airplanes at RC clubs and hobby shop ceilings. At that point I knew how to work with balsa, glue, tools, covering, etc, to fix my mistakes. I was able to build more kits and then keep getting better and more advanced to build from plans and make major modifications if I wanted. Years later when I was fully experienced after having built a number of other planes, I would still go back in my spare time to modify things on that Seniorita that I didn't like. (besides the mistakes I had made early on and had already fixed). For example as I became experienced building a number of planes, I didn't like the fact the factory had me build the Seniorita with no compartment to reach the fuel tank. So I added a hatch. I also didn't like that it was 3 channel rudder control only....so I went back to add ailerons to the wing and make it 4 chan. I didn't like the rubber-band attached wing, and so I opened the wing again to modify it to a bolt on.... etc, etc. . I didn't understand things like "down-thrust" and "right thrust" of the engine mounting and learned later with experience how it affects the flight, as well as the importance of balance and minimal surface throws and-dual control for maiden flight. Eventually, many years later I converted the plane from fuel to electric, moving the firewall and adding air scoops to cool the battery, etc. Still have that plane today! These are all things you learn over time by building and also flying the planes. I assume that you already have some experience flying? (because you said that you already have .20 size engines, I assume you already fly?) That's good if you know how to fly already. But you still need to scrap your new plane-from-plans and buy a good high-wing trainer kit with good instructions that includes photos. Sig Manufacturing is a good brand for that. Just to make my point that you are trying to run before you know how to walk; electric airplanes are generally built lighter and less robust because they are designed to operate with much less punishing vibration of a fuel engine plane. So generally it is safer to convert fuel planes to electric, but not so much the other way around. Yes, you can beef it up, and move the firewall and things around, but it helps greatly to know what you're doing. You will also find that with electric planes (and plans for them) that they are generally shorter wingspans too. The shorter your wingspan, the less beginner friendly your plane will be because it has a higher wing loading. The rule of thumb is that planes over 60" fly better. I can vouch for you on that and prefer all my planes be 63" to 71" or so. Even bigger is better too (but is a PIA for me to store & transport) With experience too, you would know that you need to fuel proof your balsa plane for glow engines, but not for electric.
My final advice to you is to find a good balsa kit that is simple enough for you to build that you will still enjoy even though it's NOT those plans you had your heart set on. If you don't know how to fly yet, be sure to make it a high wing trainer and do the buddy-box thing.
Last edited by rustyrivet; 11-22-2022 at 02:01 AM.
11-22-2022 | 02:06 AM
#3
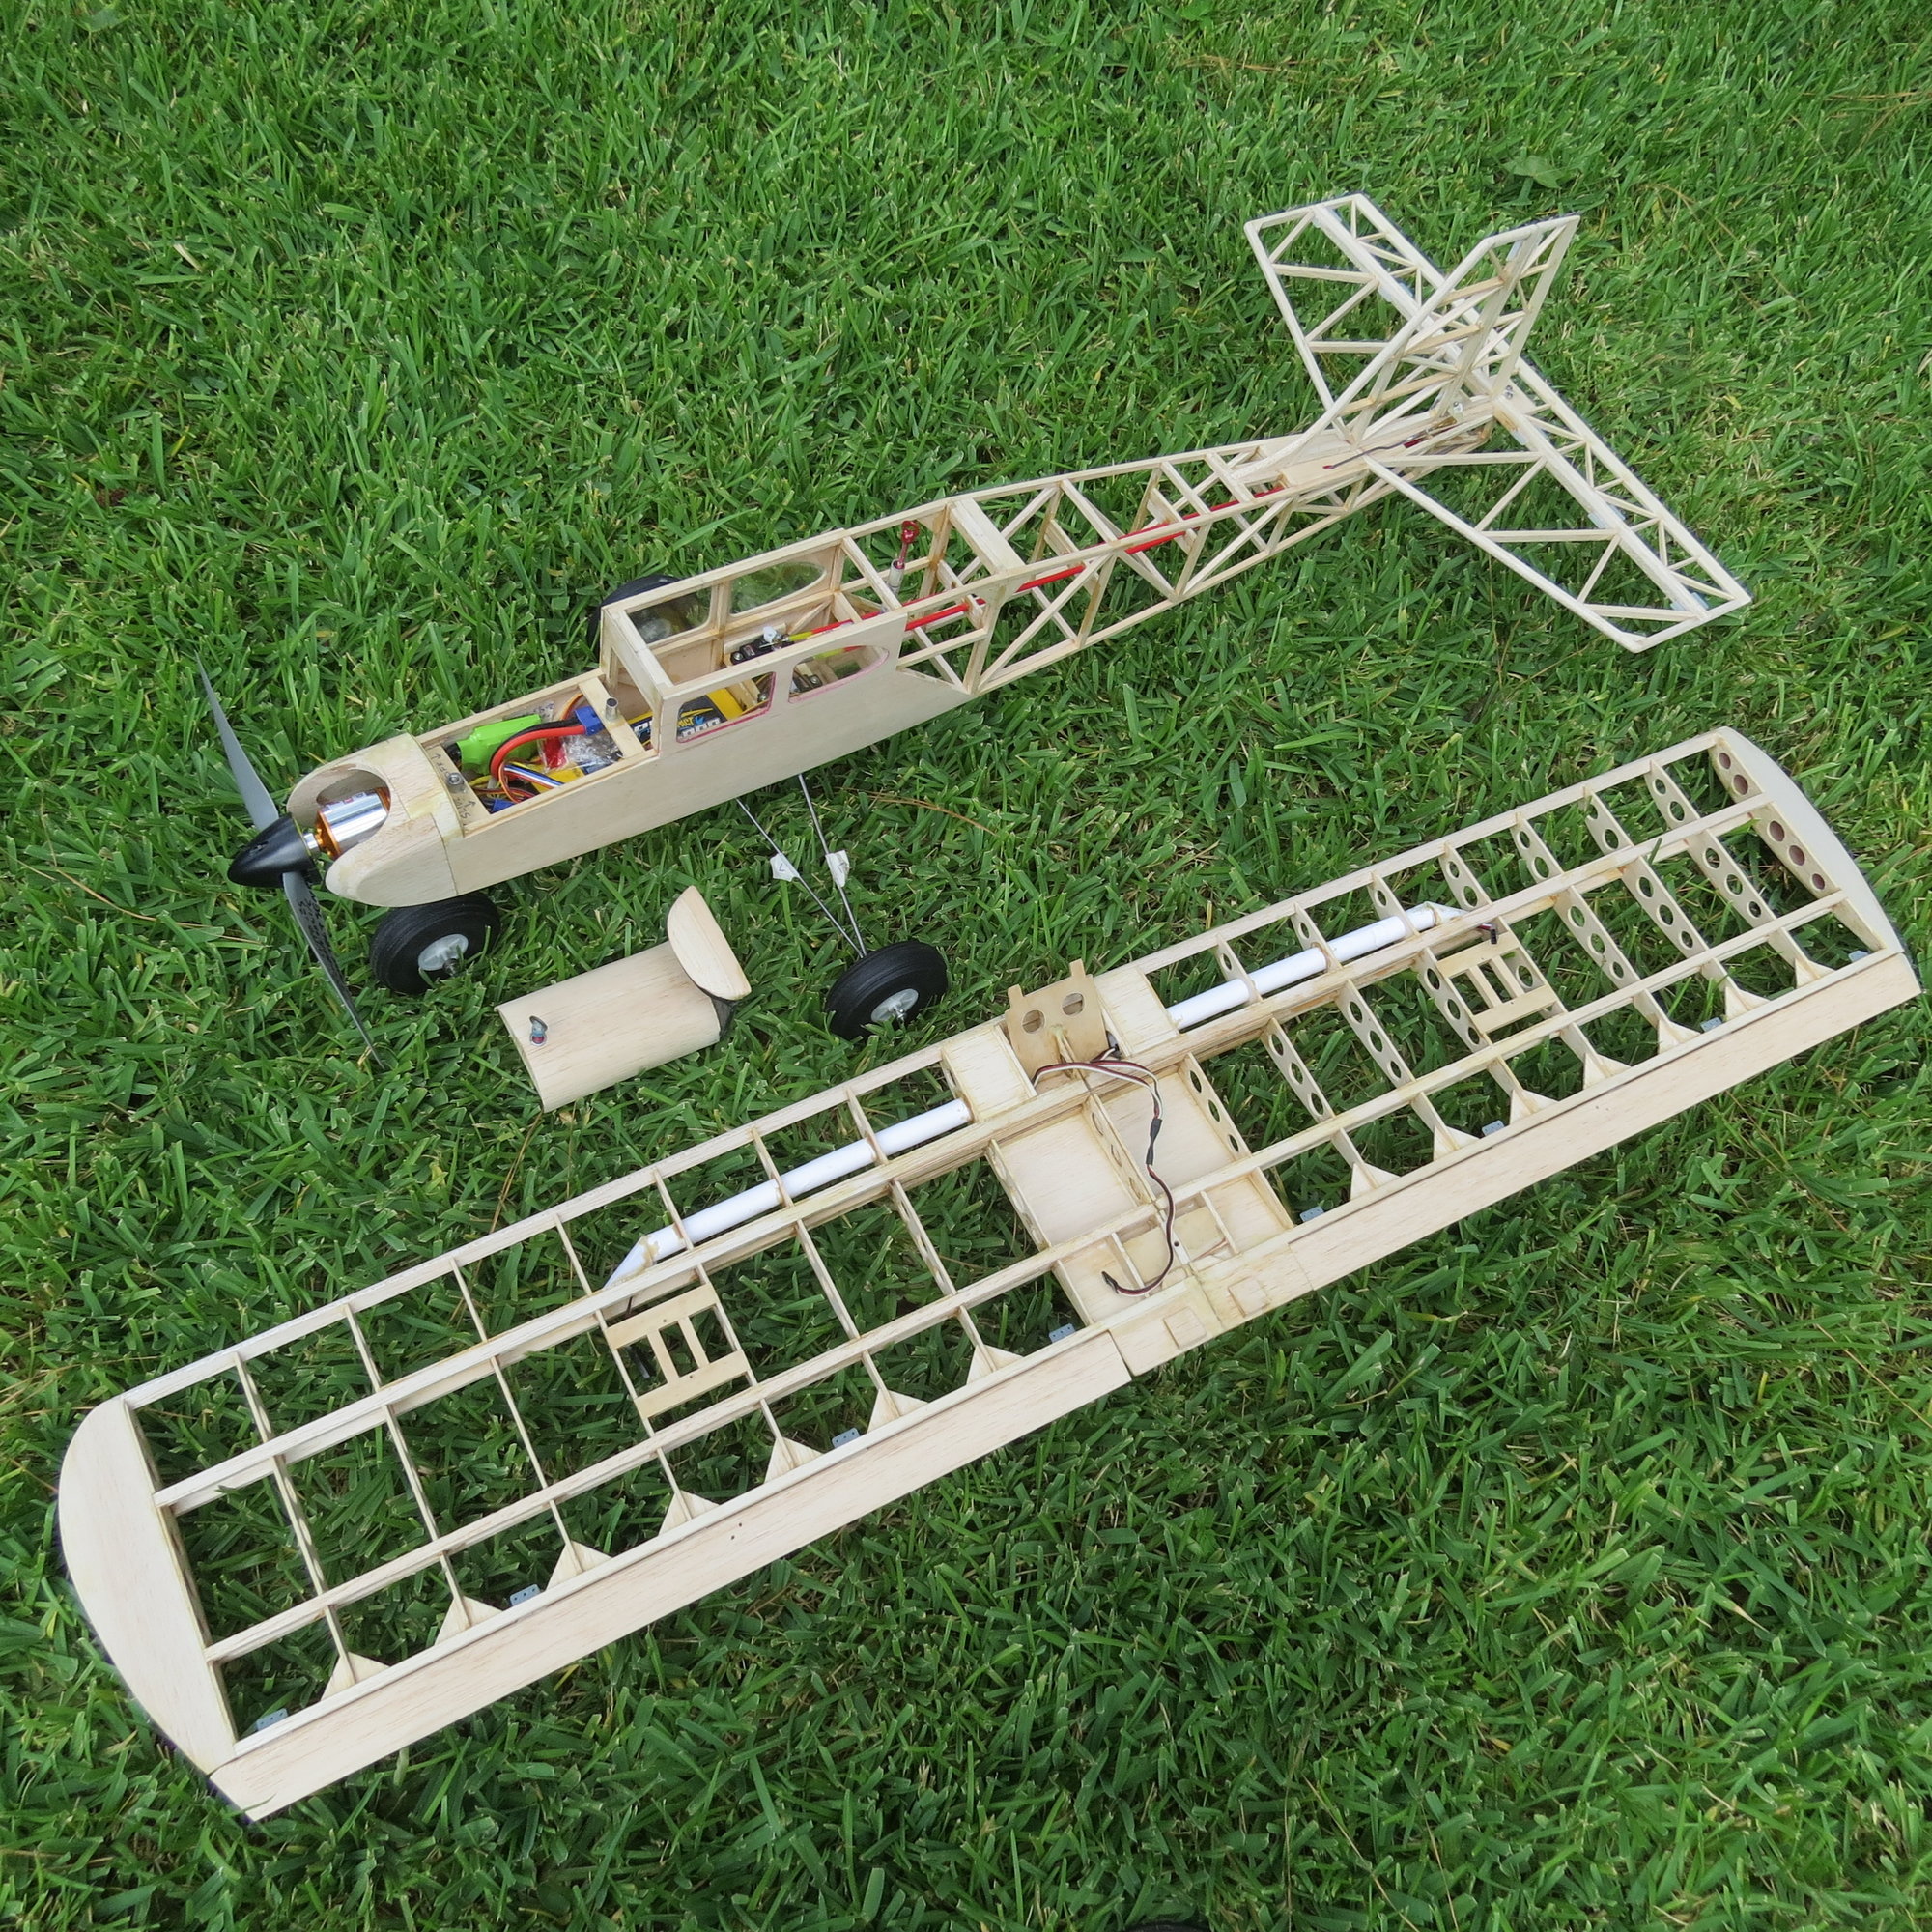
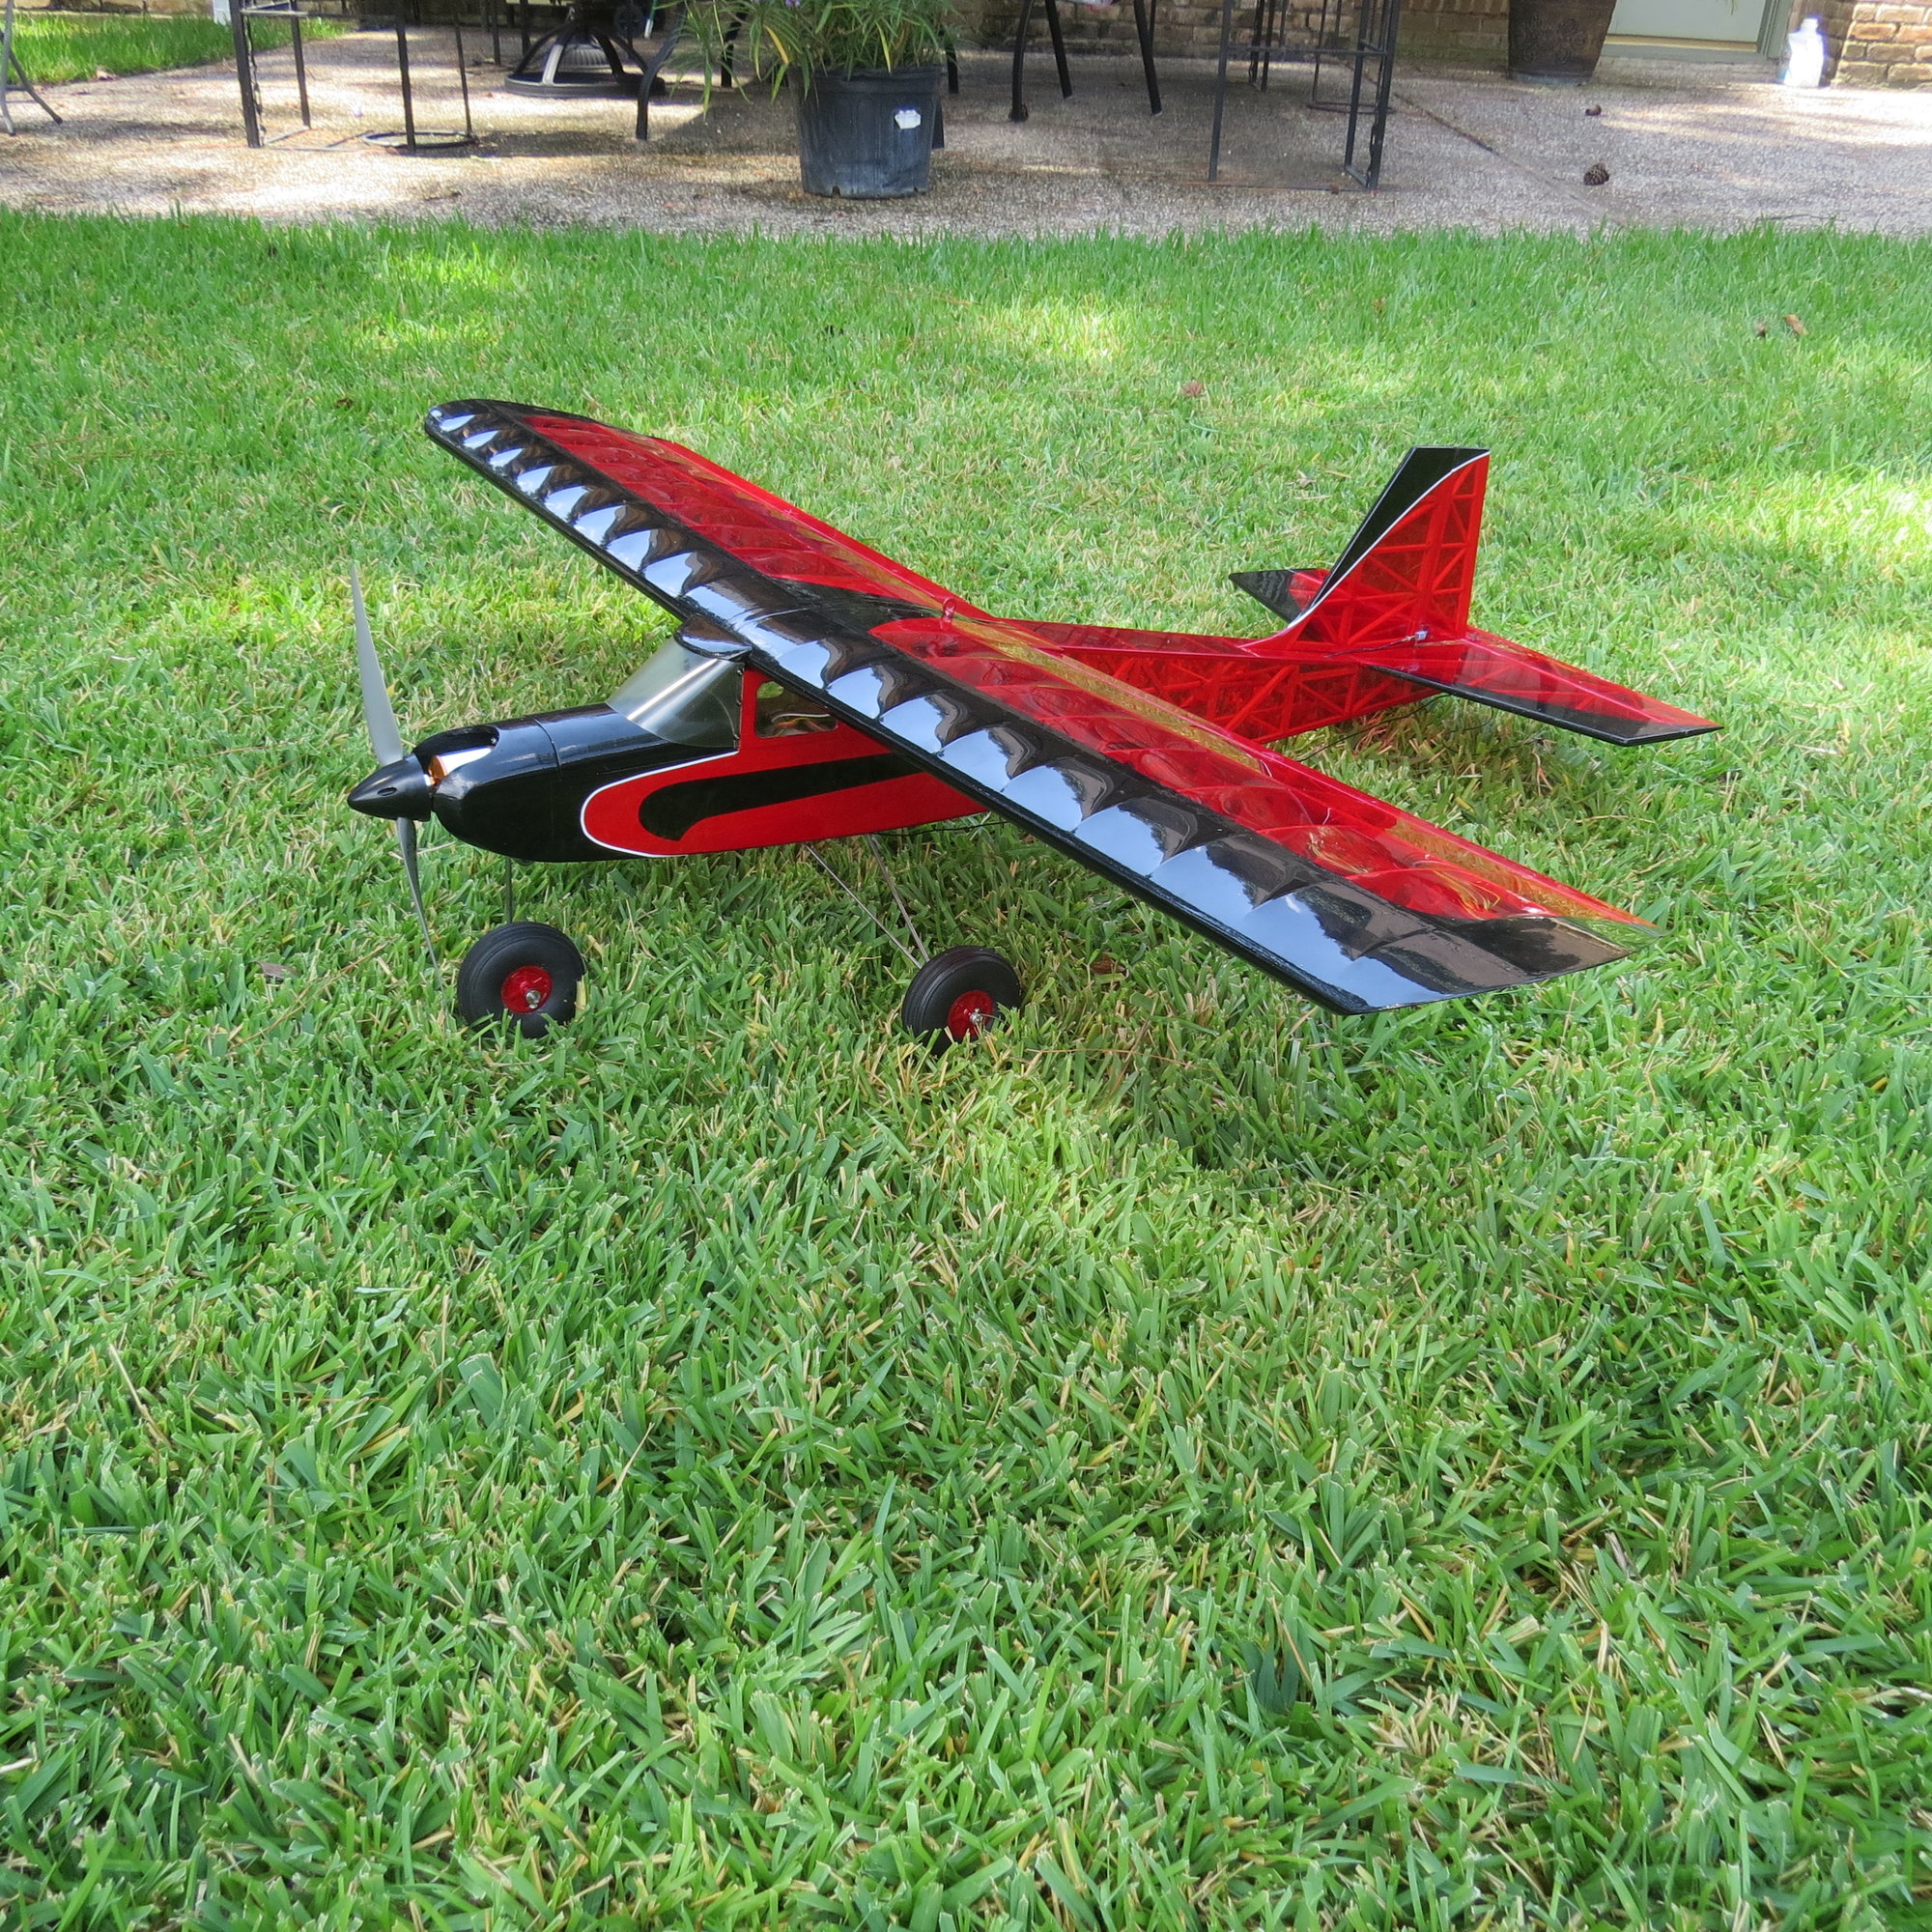
This is a 49" Seniorita I made about 8 years ago from a box of balsa sticks & sheets I ordered online, and shrinking the original 63" plans from a Sig kit. If you truly enjoy the hobby and stay with it, you will become experienced enough after a few kits to build just about anything you desire.
Unless you're an experienced pilot, I'd recommend you stay away from small planes with 41" wingspans. They are usually very squirrely to fly and control, and not enjoyable. YouTube videos of Guillows Planes being flown are a good example of small planes that are a handful to fly.
Last edited by rustyrivet; 11-22-2022 at 02:31 AM.
The following users liked this post:
khodges (11-26-2022)
11-26-2022 | 03:36 PM
#4
My Feedback: (1)
Hello all, this is my first post to RCU. I'm about to build a small 41 inch span airplane from Flying Models plans. It's a sport model designed for electric but I'm going to build it for an OS .20FP that I have several of. Plans are on the way! What I would like is general information about what to do to convert an airplane designed for electric to glow power. What to do/what not to do regarding firewall, wing, fuselage etc. Anything you can tell me will be appreciated. The conversion should be somewhat simpler due to the fact that the airplane hasn't yet been built so I can do the mods as I'm building. I have experience with building both from plans and from kits.
Most of the build will be the same for glow or electric. The airframes will be about the same, but as you mention, the firewall may need reinforcing or modifying. You have the options of running the engine upright, sideways or inverted, my guess is that upright will be easiest. Right thrust will be needed, same as for electric, and the engine mount will be different for the glow engine. For electric, you have the battery to power the motor, change that to the fuel tank. You will have to run a fuel line from the tank to the engine, the tank has to have a breather (and most tanks will include a diagram on how to properly vent it). There is also a fill tube; you can do that a couple of ways. You have a dedicated third line with a plug, or you can fill through the vent, or pull the line off the carb and fill the tank from there. You will still need a battery to power the receiver and servos, but you can get by with a much smaller one, about 750-1000 mAh should be plenty for a plane that size. You'll need a throttle servo to control the engine, I suppose you could say that replaces the ESC of the electric motor. The servo hooks up pretty much the same way the control surface servos do. Remember to balance the plane properly, just as you would an electric, and you want your fuel tank either on the c/g or forward of it, as the c/g will shift a little as the tank empties, and you balance the plane with an empty tank.
If you have a chance, look at glow-powered planes at your flying field, and ask questions of those who are flying them. Honestly, I cannot imagine why you want to go to glow. The fuel is expensive, and you need more support equipment for a glow engine than you do for electric, and glow is messier, you'll be cleaning the oil residue every time you fly. The noise of a fuel engine is the only reason I might consider one over electric. I want my planes to sound like planes.
Good luck on your build. Remember Rule #1
Last edited by khodges; 11-26-2022 at 03:39 PM.
12-01-2022 | 01:23 PM
#5

Don't get discouraged.
Insure the engine you have chosen will provide adequate power for the plane.
Keep the propeller in the same location, you may need to adjust the location of the firewall in order to do this. Build the firewall strong enough to withstand the additional vibration of the engine.
Fuelproof the firewall and be sure to seal the fuselage to keep fuel/oil out.
Decide where you want the exhaust oil to cover the plane and orient the engine accordingly.
Think about COG as you build and place components accordingly.
You'll want to keep the fuel tank as close to the engine as possible. As already mentioned decide if you'll use a 2 or 3 line system for your fuel tank and how you'll refuel.
That's all I can think of for now...
Glenn
01-14-2023 | 09:49 PM
#6

Senior Member
My Feedback: (3)
For a conversion the firewall is the heart of the project.
You have already been given good advice about how to figure out where you need to put the firewall.
i'll just add that for a small engine like the 20FP you only need 1/8" or 3/16" thick aircraft grade plywood for a firewall. Use #4 sheet metal screws to hold the plastic engine mount to the firewall.
The engine should be mounted to the plastic mount with number 4 [#4] sheetmetal screws as well.
Choose a drill size to make snug fitting pilot holes for all of these attachment points.
I recommend buying a Harbor Freight "Numbered Drill Index" so that you will have a great selection of drill sizes for this level of model work and also a cheap Harbor Freight dial caliper to help you "size up" good matching pilot drills for your screws.
6 in. Digital Caliper (harborfreight.com)
Titanium High Speed Steel Numbered Drill Bit Set, 60 Piece (harborfreight.com)
To cut 3/16" thick plywood you can use a hack saw blade if you have nothing else..and course sandpaper to do any shaping you can't do with the hacksaw blade The plywood will need to be backed with firm balsa wood.and even balsa saw dust mixed with epoxy..where it meets the fuselage.
If you could take the time to study some published .15 to ..25 sized model plans to see what the typical design details are then this will be more help than what I can offer.
Last edited by combatpigg; 01-14-2023 at 09:52 PM.


