


Kitbashapalooza on a HK predator
 08-26-2012 | 10:34 PM
#1
Thread Starter

My Feedback: (15)
Joined: Jun 2002
Posts: 369
Likes: 0
Received 0 Likes
on
0 Posts
From: TX
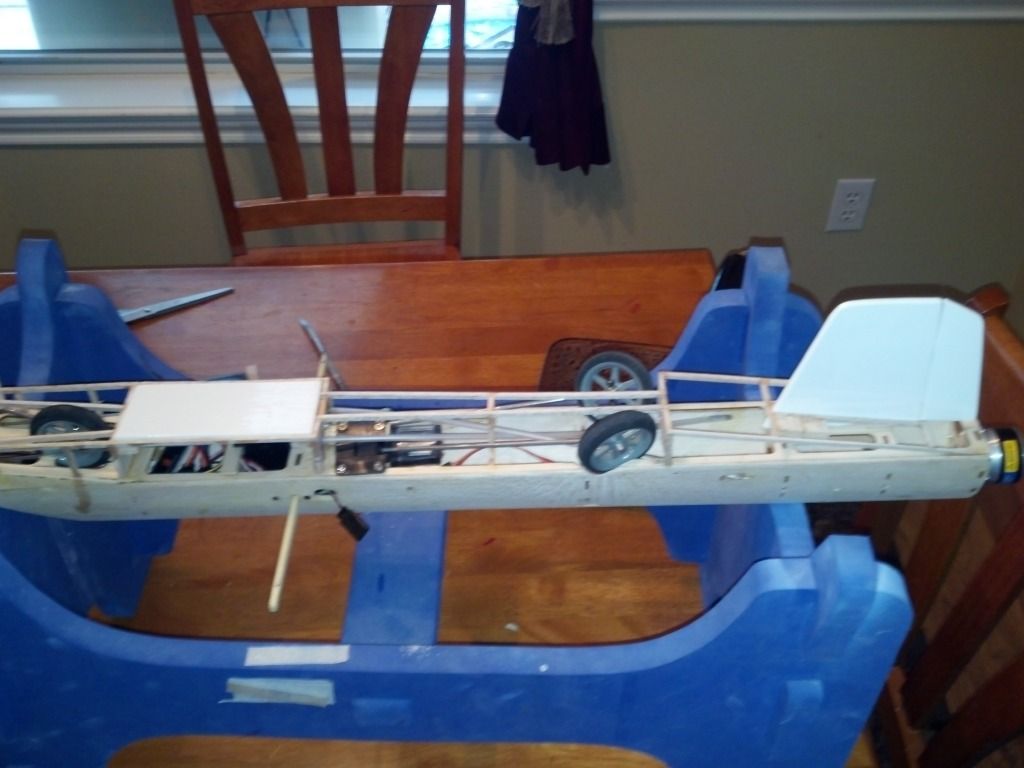
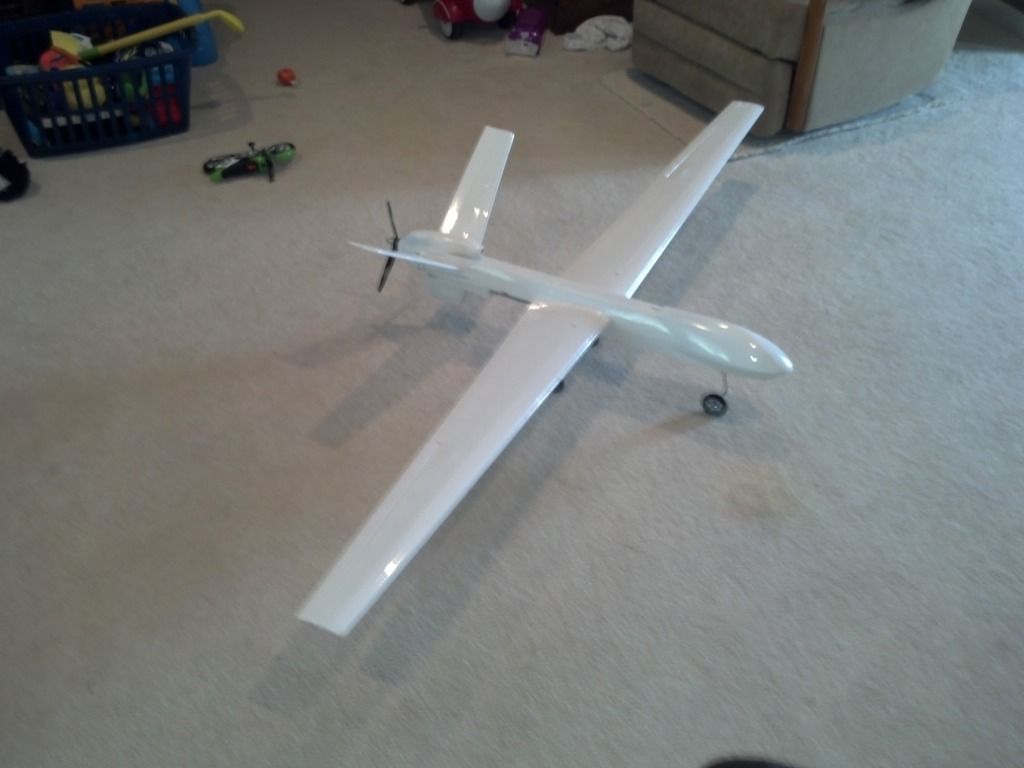
After being talked into building a nightflyer, I wanted to do something diferent and cool. The predator definatly fit the bill. I bought the HK predator, and 12 strips of lights. It would be recovered in white. I also was convinced I would stick my spiderweb infested .15 size eflight retracts in it for a nicer plane. The bottom of the plane will be filled in flat for scale lines, and also happen to help hide the gear when retracted. The Predator's build was as cheap and poor as I had read and thought it would be. One out of 6 ribs were actually glued in. The rest were held together via ultracoat. I see now why broken wings are common. I decided to use my park 480 with a 3 blade for scale. The plastic was sanded for weight and repainted. The plane is almost done now, but I intended to start the build when I started the plane. With an hour of ups showing up, it was just a skeleton.

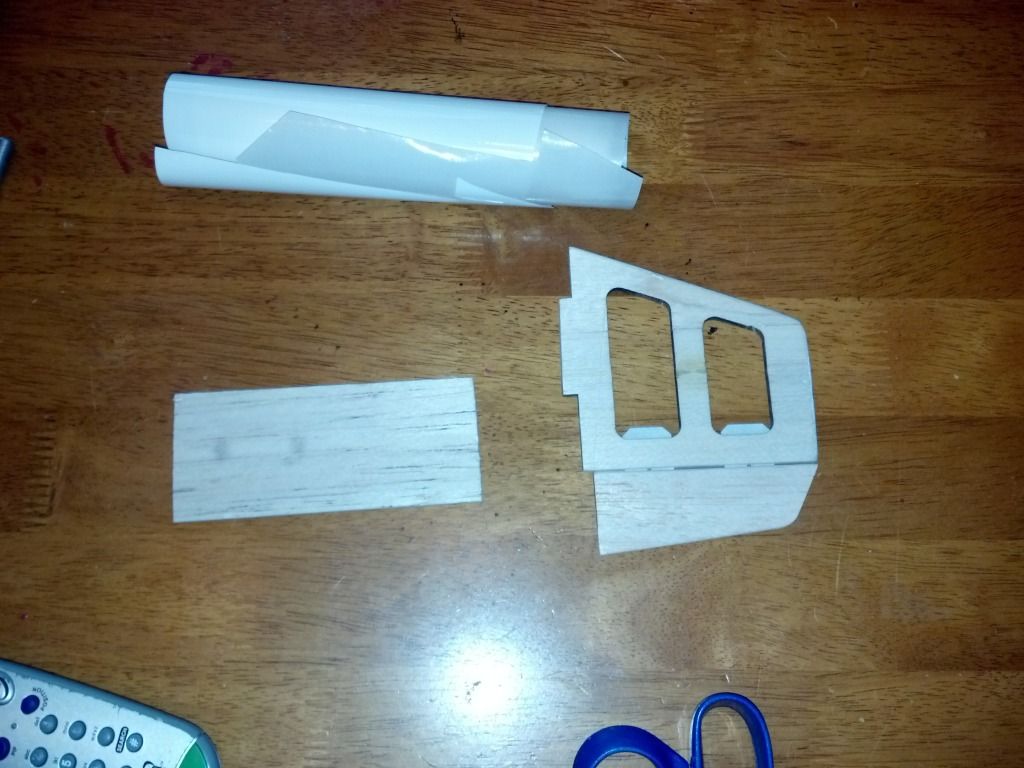
Started cutting a hole for the nose wheel to fit. Fitting the main retracts
 Added a carbon spar to make the wings removable. Also glued the garolite spar that came with the kit into the fuse to give the center of the fuse the strength it would need.Also started adding lights
  Tailsection recovered with lights installed under the covering.
Started cutting a hole for the nose wheel to fit.
Fitting the main retracts Added a carbon spar to make the wings removable. Also glued the garolite spar that came with the kit into the fuse to give the center of the fuse the strength it would need.Also started adding lights Tailsection recovered with lights installed under the covering.
 08-27-2012 | 05:57 AM
#2
Thread Starter
My Feedback: (15)
Joined: Jun 2002
Posts: 369
Likes: 0
Received 0 Likes
on
0 Posts
From: TX
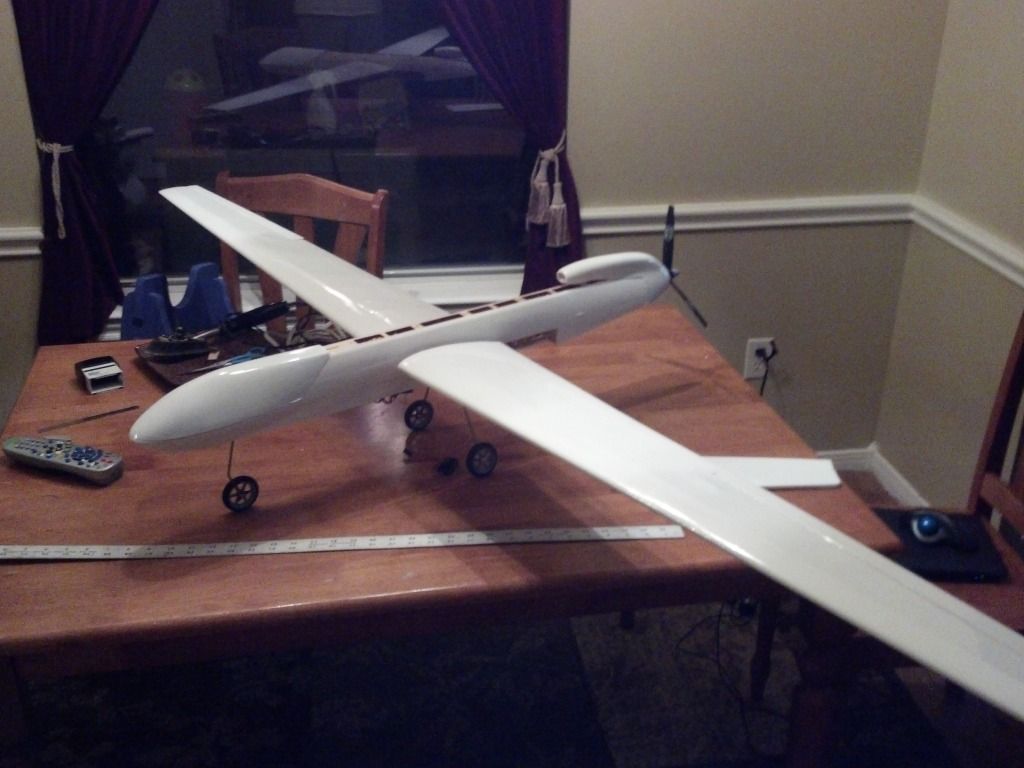
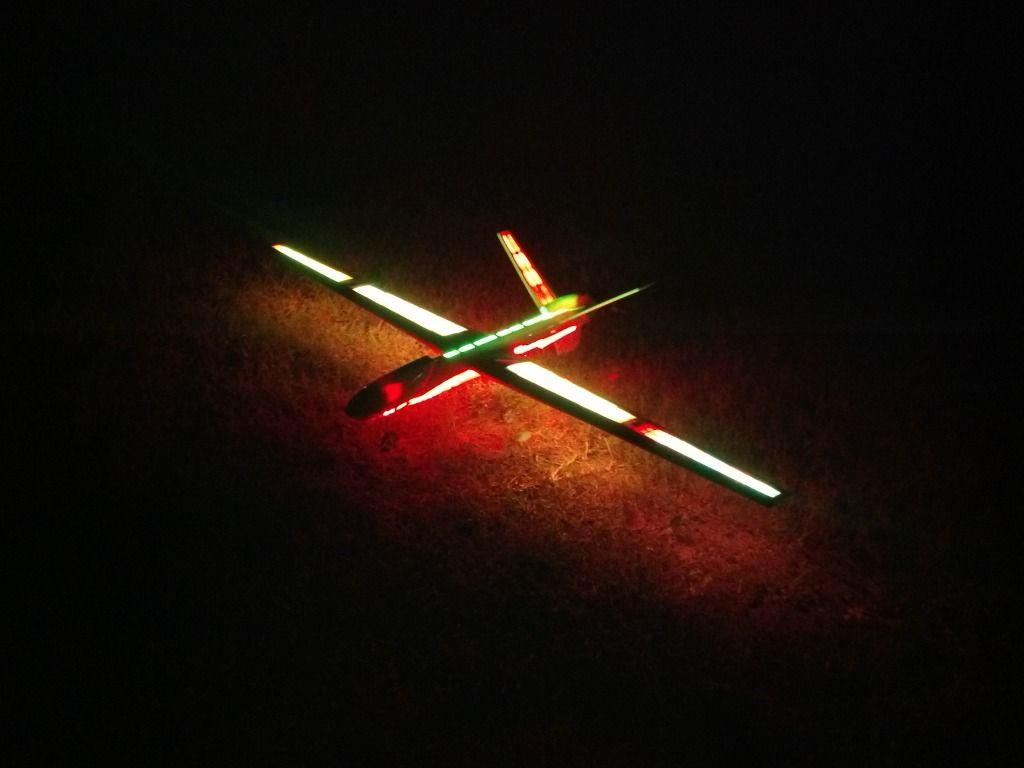
 First light test.
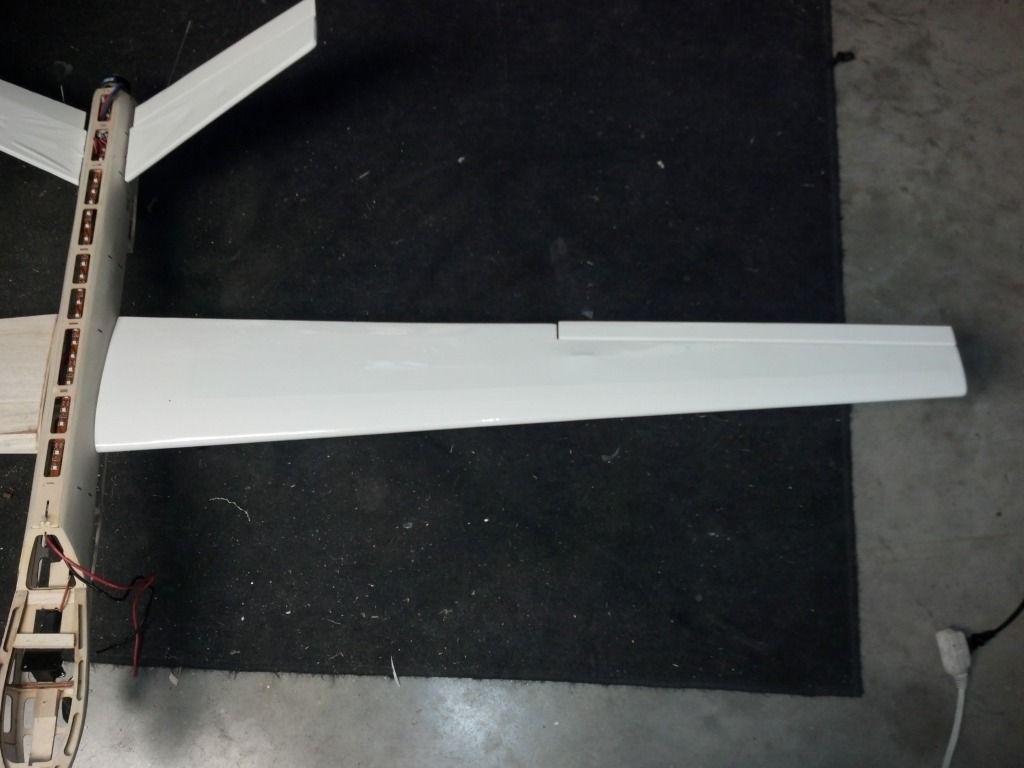
 lights in wings and covering going on.
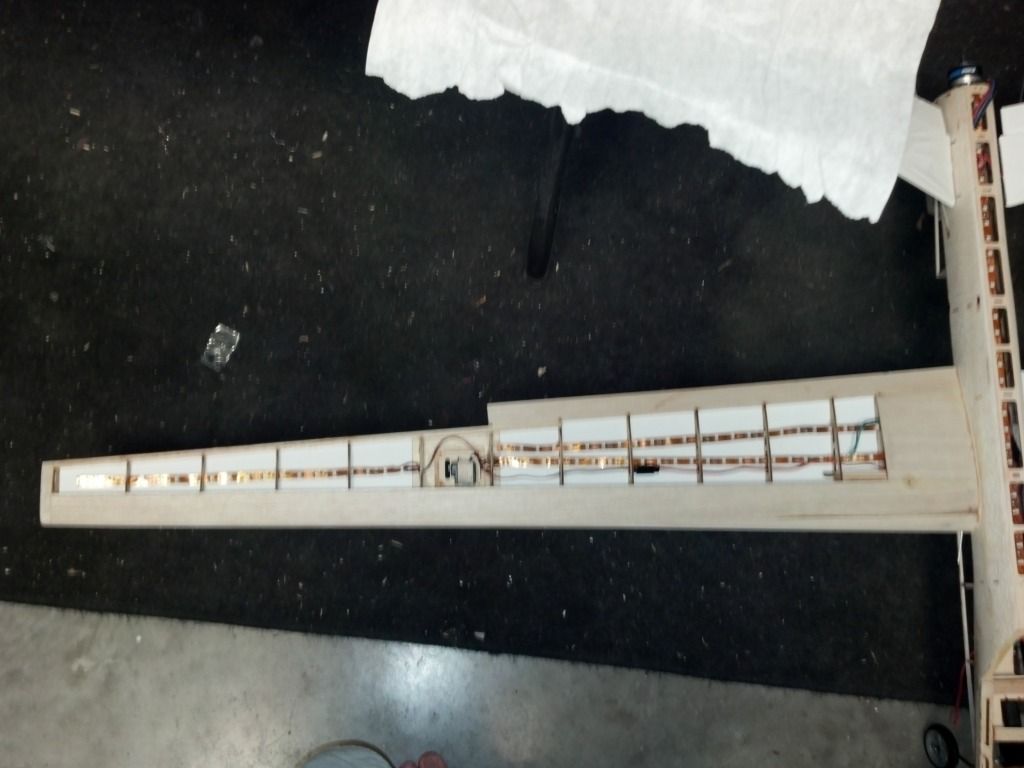
I ignore the wrinkles in the covering. Not going to streach anything til stabs are glued on. Going to add washout to the tips also
.
 08-27-2012 | 06:33 AM
#3
Thread Starter
My Feedback: (15)
Joined: Jun 2002
Posts: 369
Likes: 0
Received 0 Likes
on
0 Posts
From: TX
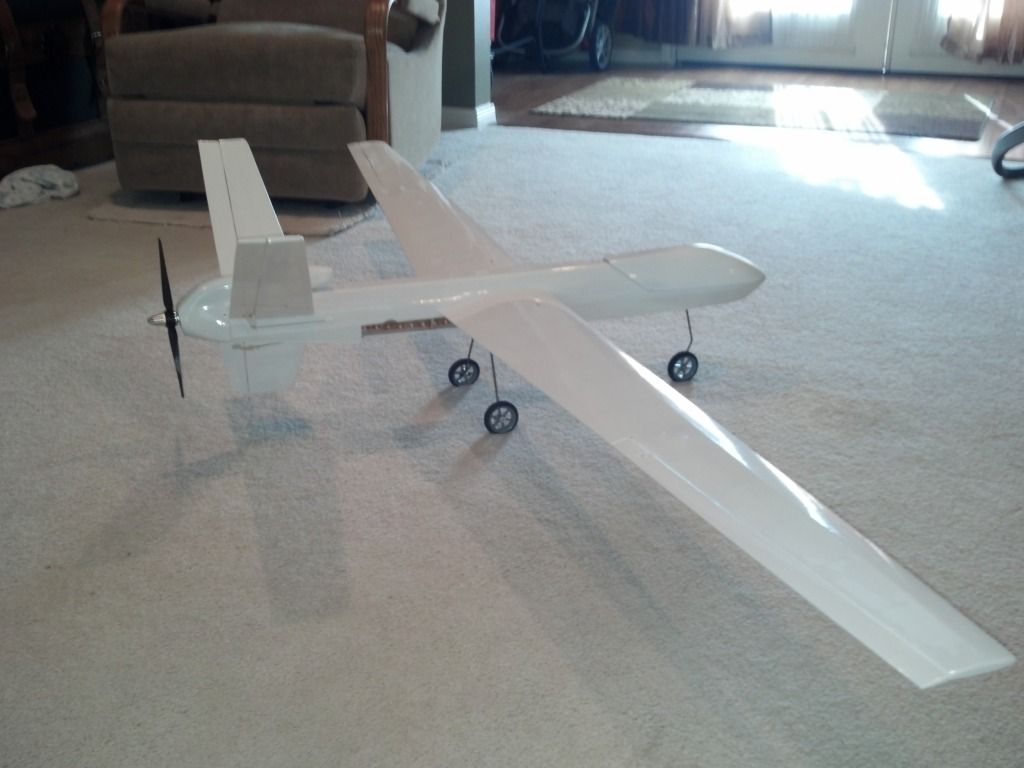
Decided to add a rudder.
Some internals
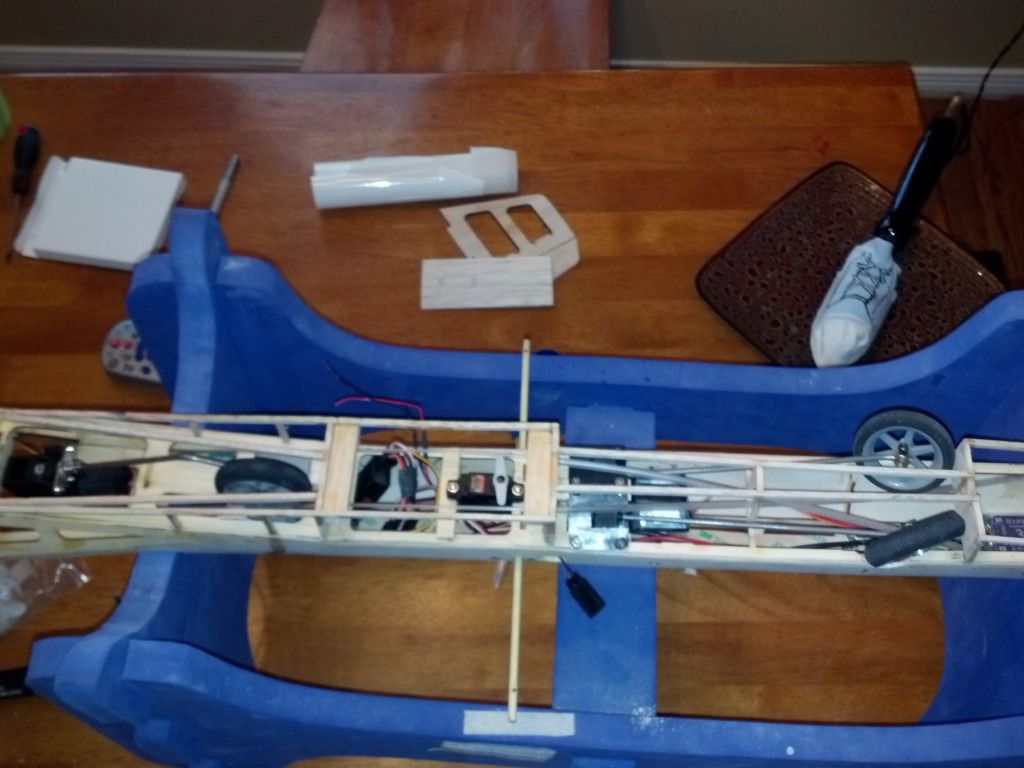
Added a hatch for access to the reciever and rudder/steering servo. Its really tight up front with the retract and batt.
Finally starting to come together
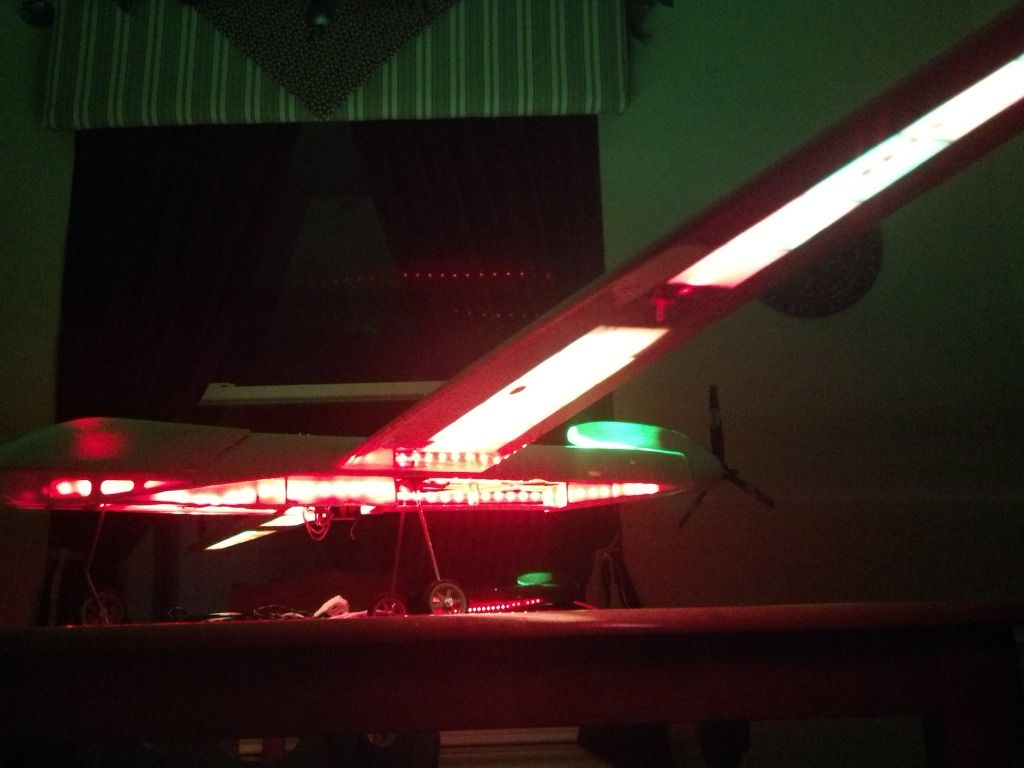
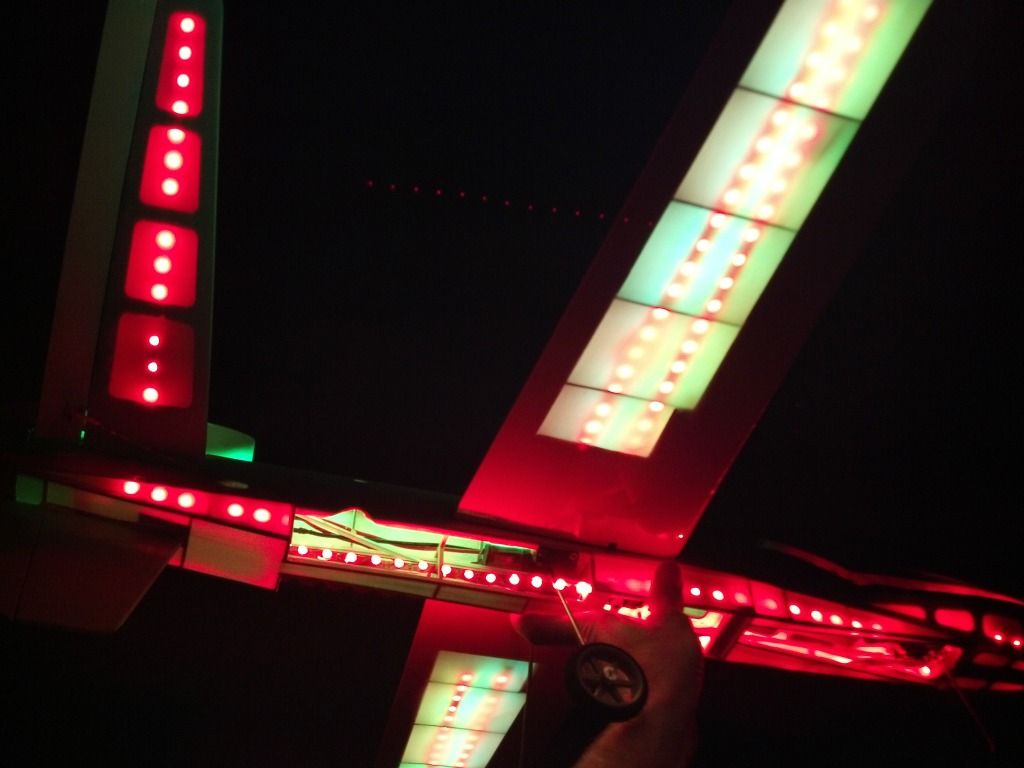
more light testing
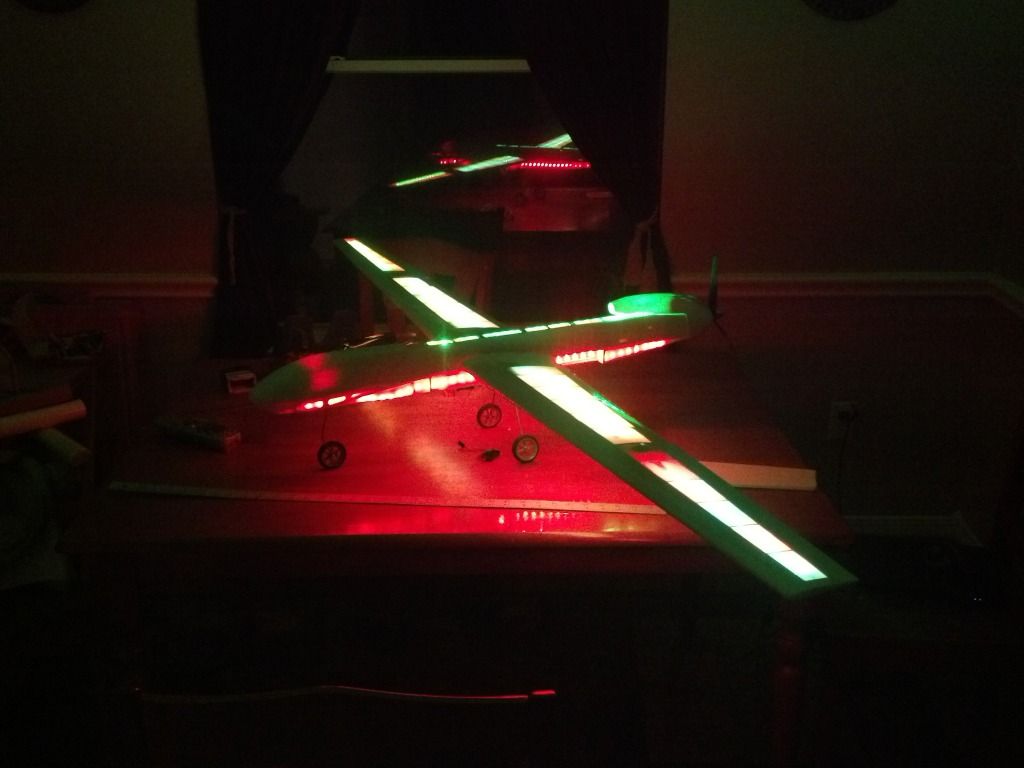
I will eventually build a new canopy hatch withthe proper bubble to it to finish the standoff sale apearance, maybe some dropable bombs, and a camera turrett up front. Will post more pics in next few days.
Some internals
Added a hatch for access to the reciever and rudder/steering servo. Its really tight up front with the retract and batt.
Finally starting to come together
more light testing
I will eventually build a new canopy hatch withthe proper bubble to it to finish the standoff sale apearance, maybe some dropable bombs, and a camera turrett up front. Will post more pics in next few days.
 08-29-2012 | 06:26 PM
#6
Thread Starter
My Feedback: (15)
Joined: Jun 2002
Posts: 369
Likes: 0
Received 0 Likes
on
0 Posts
From: TX
Almost done. Need to add nose weight, so I will start on the new scale canopy, and fix the canopy hatch that fell off[:@] Have to shape the temporary foam spinner, and May start the camera turrett also.
10-16-2012 | 04:57 AM
#7
Junior Member
Joined: Oct 2012
Posts: 18
Likes: 0
Received 0 Likes
on
0 Posts
From: HendersonvilleNORTH CAROLINA
WOW Subscribed. I have had one of these for a while just haven't got around to starting it. Are you going to strobe those lights? Is this for FPV or AP? I wanted to use mine for FPV, and lipo's in the wings.


